How to Clean Cabinets Before Painting
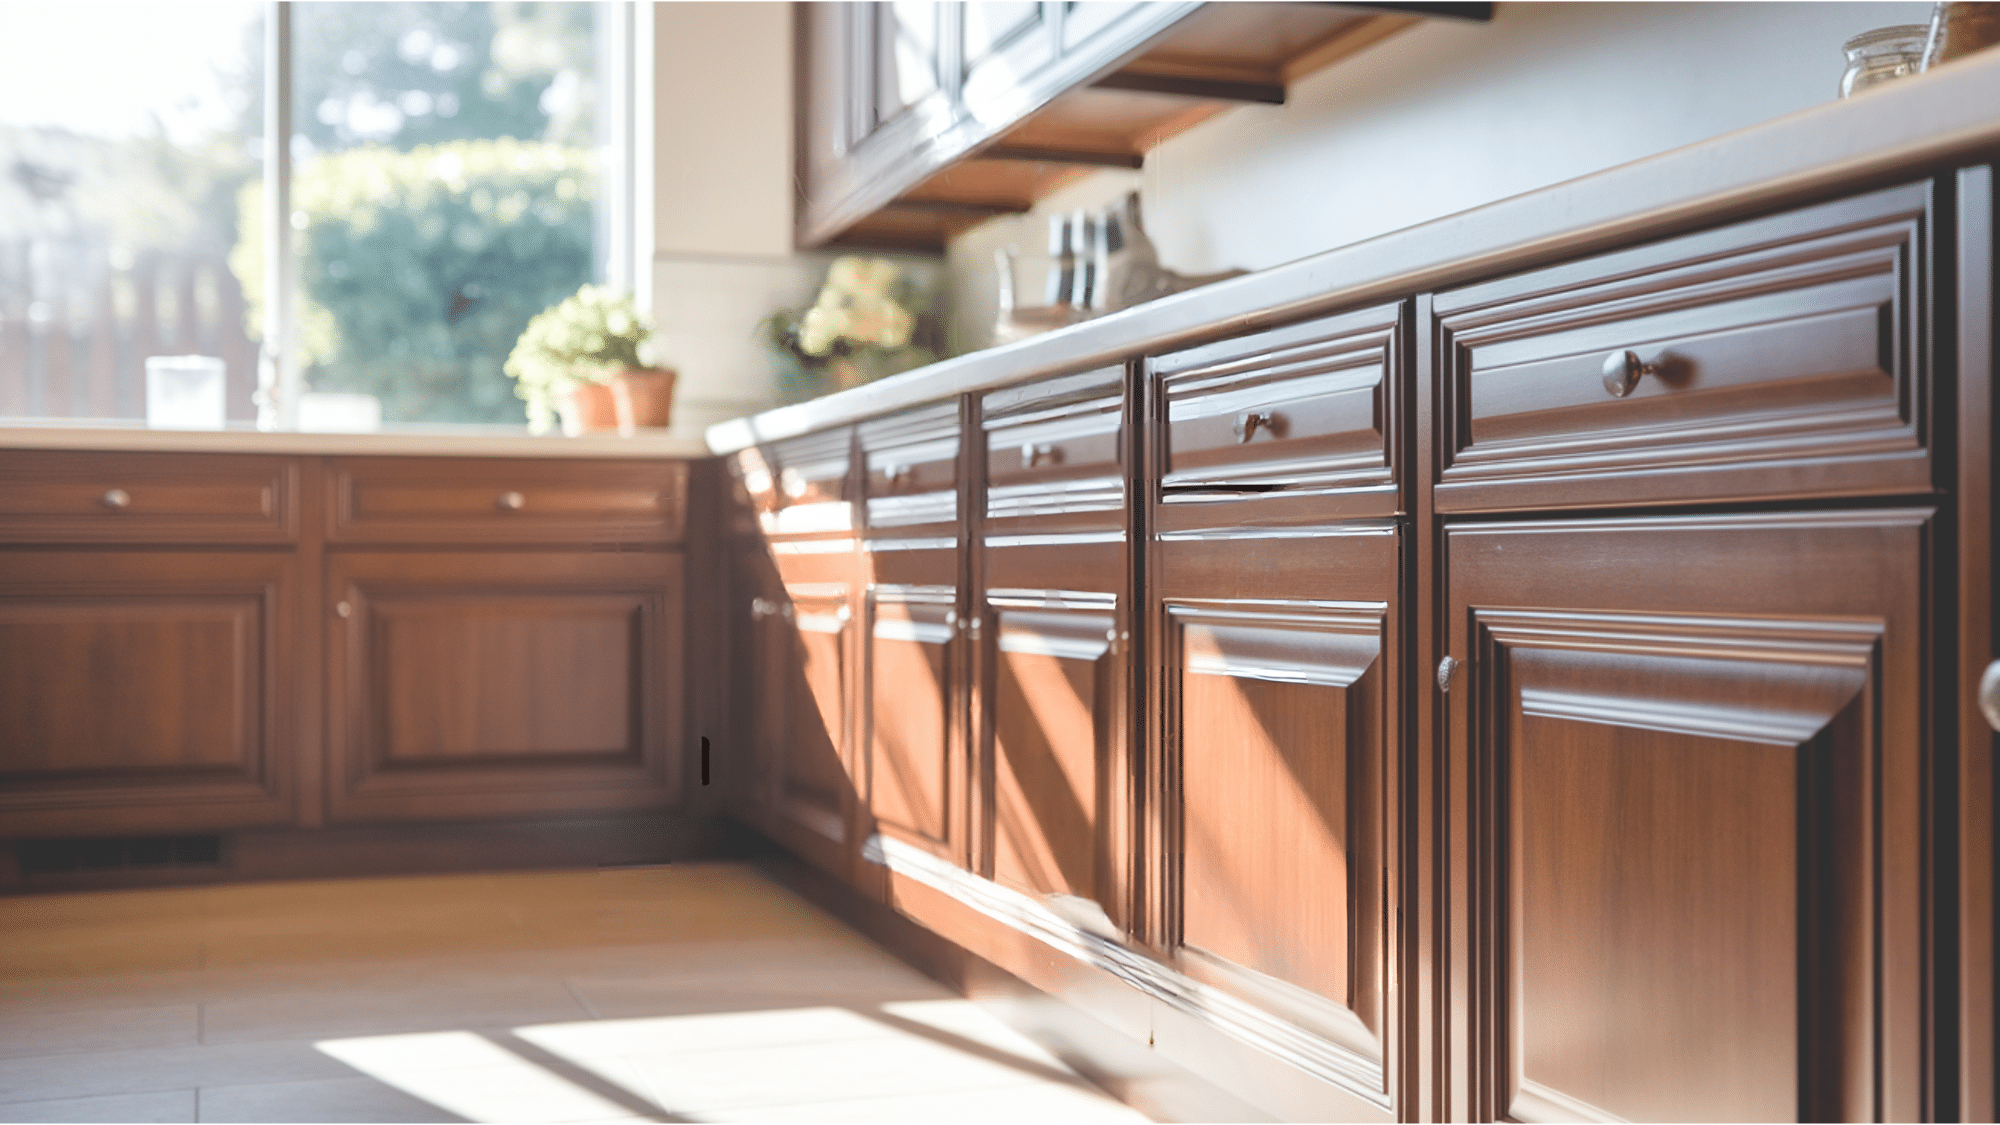
The key to getting great results when painting cabinets is proper cleaning beforehand. Many DIY painters skip this step and end up with peeling paint or an uneven finish.
Dirt, grease, and grime build up on kitchen and bathroom cabinets over time – sometimes in layers you can’t even see!
This blog will show you a simple method for cleaning cabinets that works every time. No fancy products or tools needed, just a bit of patience and the right approach.
Each step of the cleaning process will be covered, from removing hardware to the final wipe-down. So grab your supplies and get those cabinets ready for a fresh coat of paint!
Materials You Will Require for Cleaning Cabinets
Guide to Cleaning Cabinets Before Painting
Follow these simple steps to thoroughly clean your cabinets and prepare them for painting, ensuring a smooth, long-lasting finish.
Step 1: Empty Cabinets
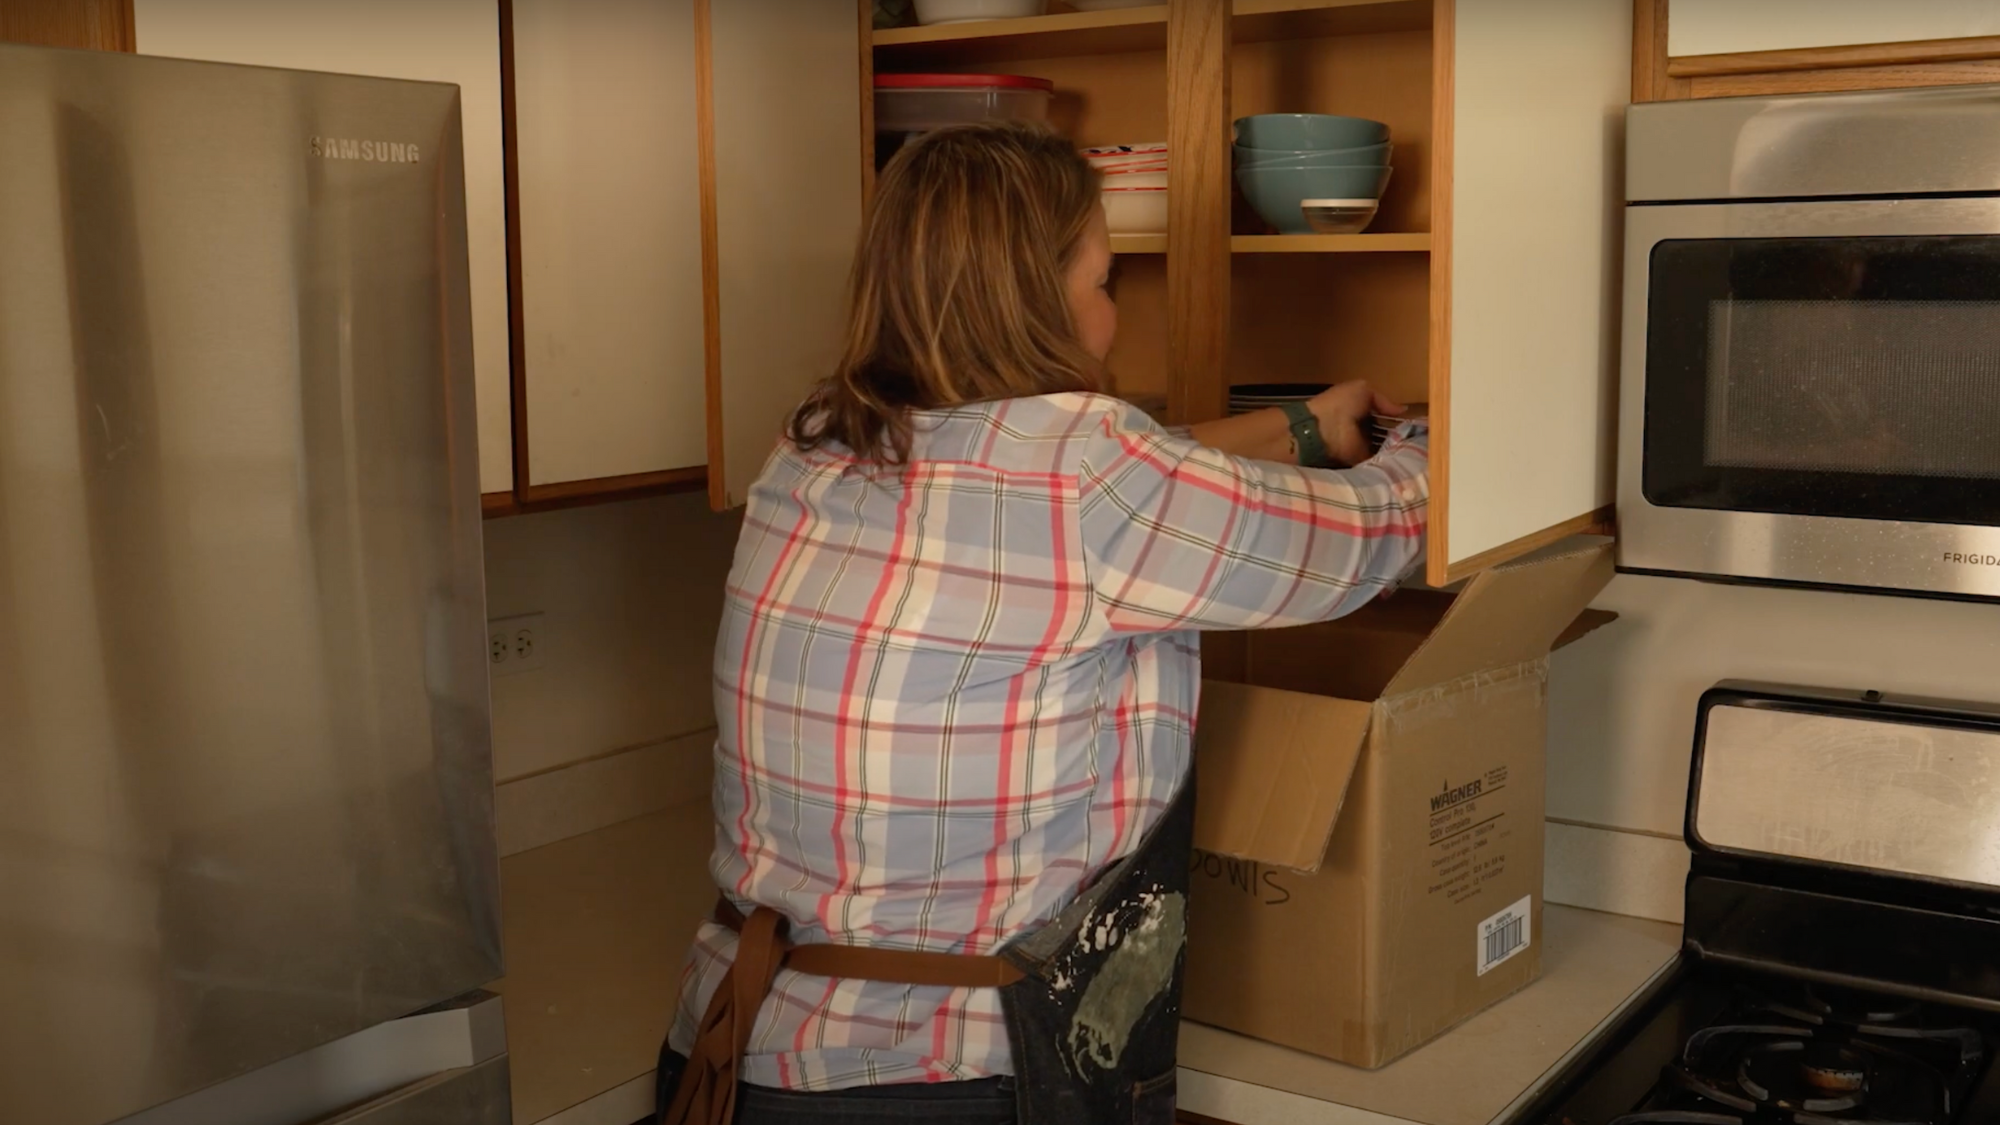
Remove all items from your cabinets, starting with the uppermost sections. Place dishes, food items, and other contents in the cardboard boxes and mark the boxes.
If you don’t have boxes, you can work methodically through each cabinet, one at a time. Take photos of the original organization if needed to remember where everything belongs after your project is completed.
Consider this opportunity to sort through items you no longer need. Creating separate piles for keeping, donating, and discarding will make the restoration process more rewarding.
Step 2: Vacuum Cabinets
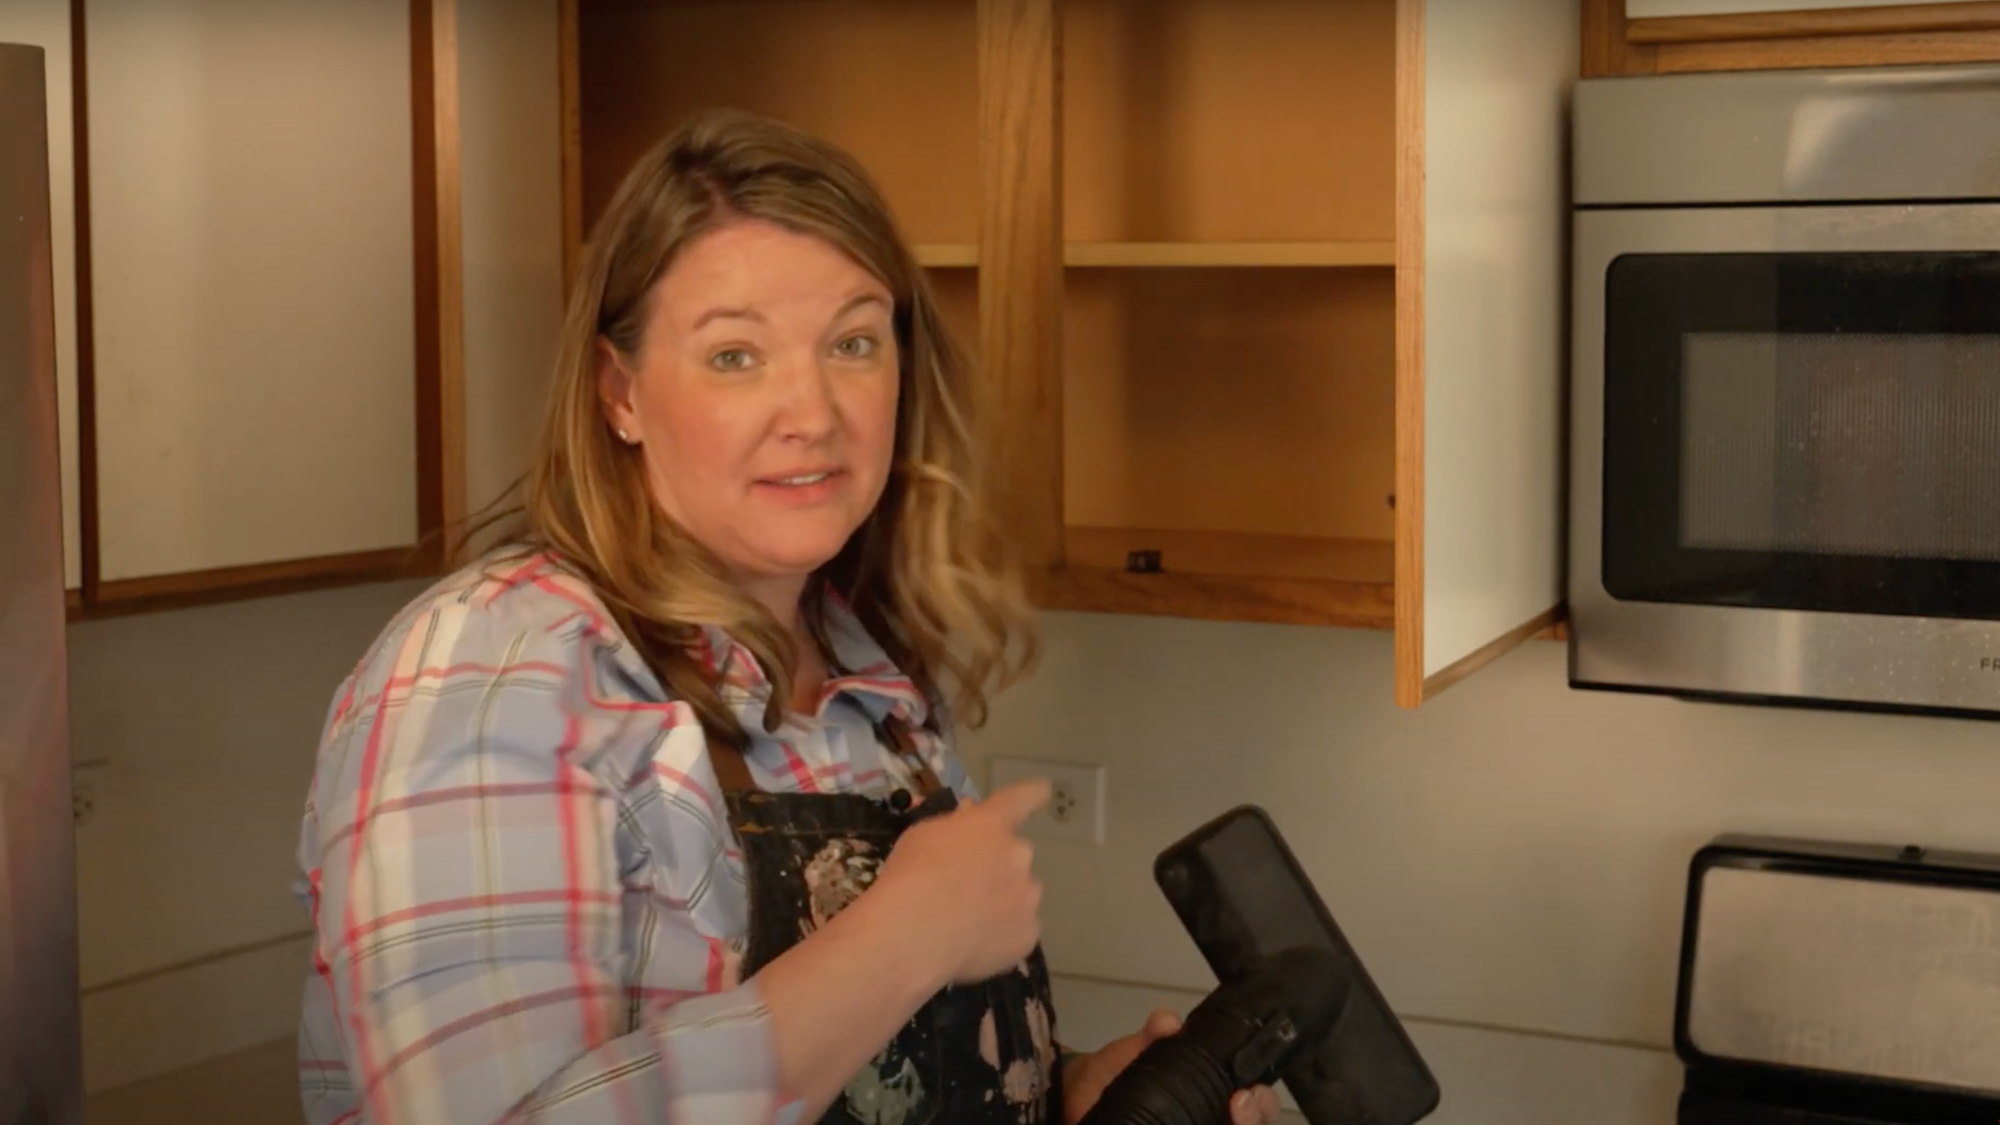
Use a vacuum cleaner with a brush or crevice attachments to remove loose debris. Start from the top of your cabinets and work your way down to collect dust that falls during cleaning.
Focus on interior corners and seams, where crumbs and dust tend to accumulate. The small brush attachment works well for getting into tight spaces and along cabinet edges.
Don’t forget to vacuum cabinet doors, including their backside and decorative elements. These areas often accumulate dust that can mix with paint, creating an uneven finish.
Step 3: Clean Cabinets
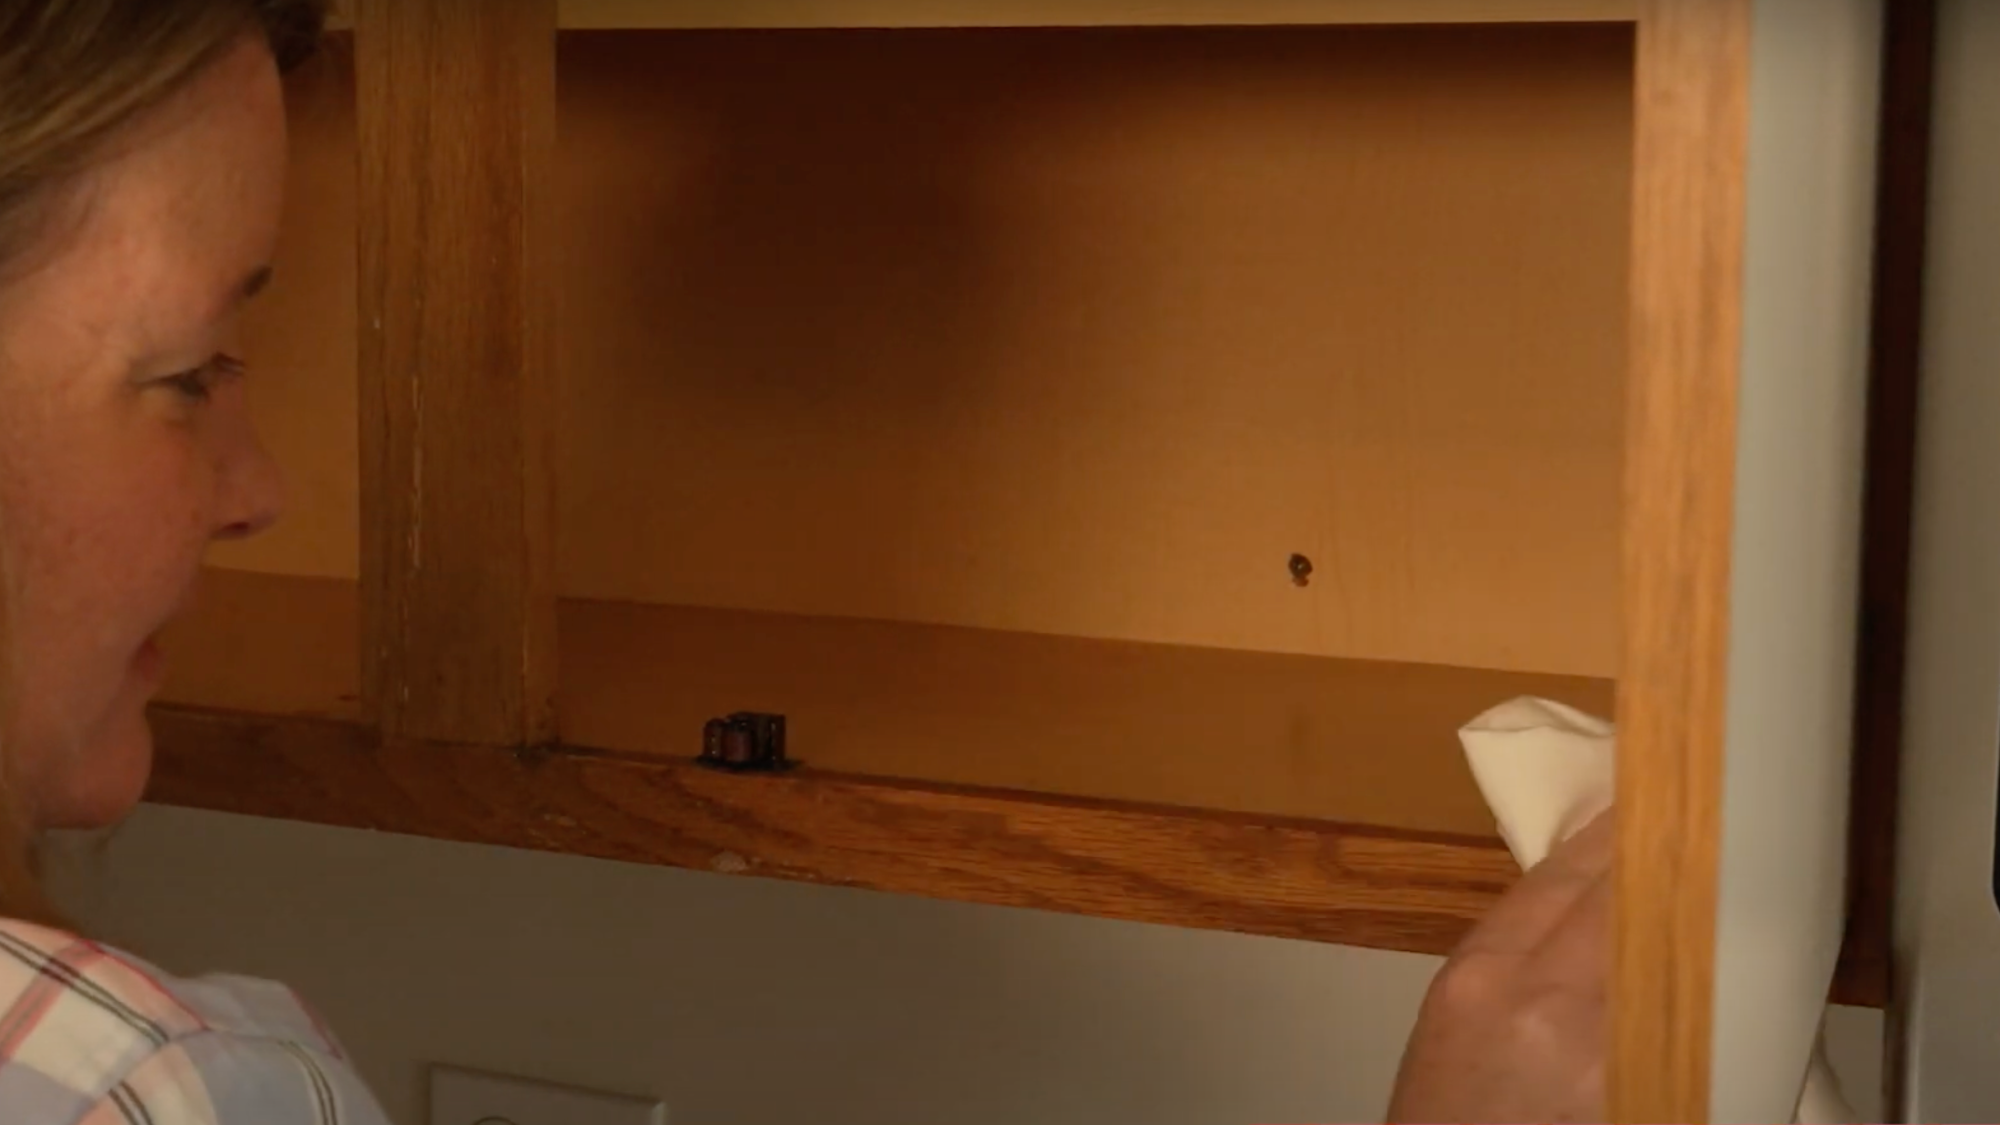
Spray Krud Kutter or a suitable degreaser on the cabinets, and then wipe gently with a damp cloth. Avoid harsh chemicals that might damage wood or leave residue that affects paint adhesion.
Work in small sections, applying gentle pressure to remove sticky spots or grease buildup.
Rinse with a second cloth dampened with clean water to remove any residue. Allow time for complete drying before proceeding, as moisture trapped under the paint can cause problems later.
Step 4: Clean Drawers
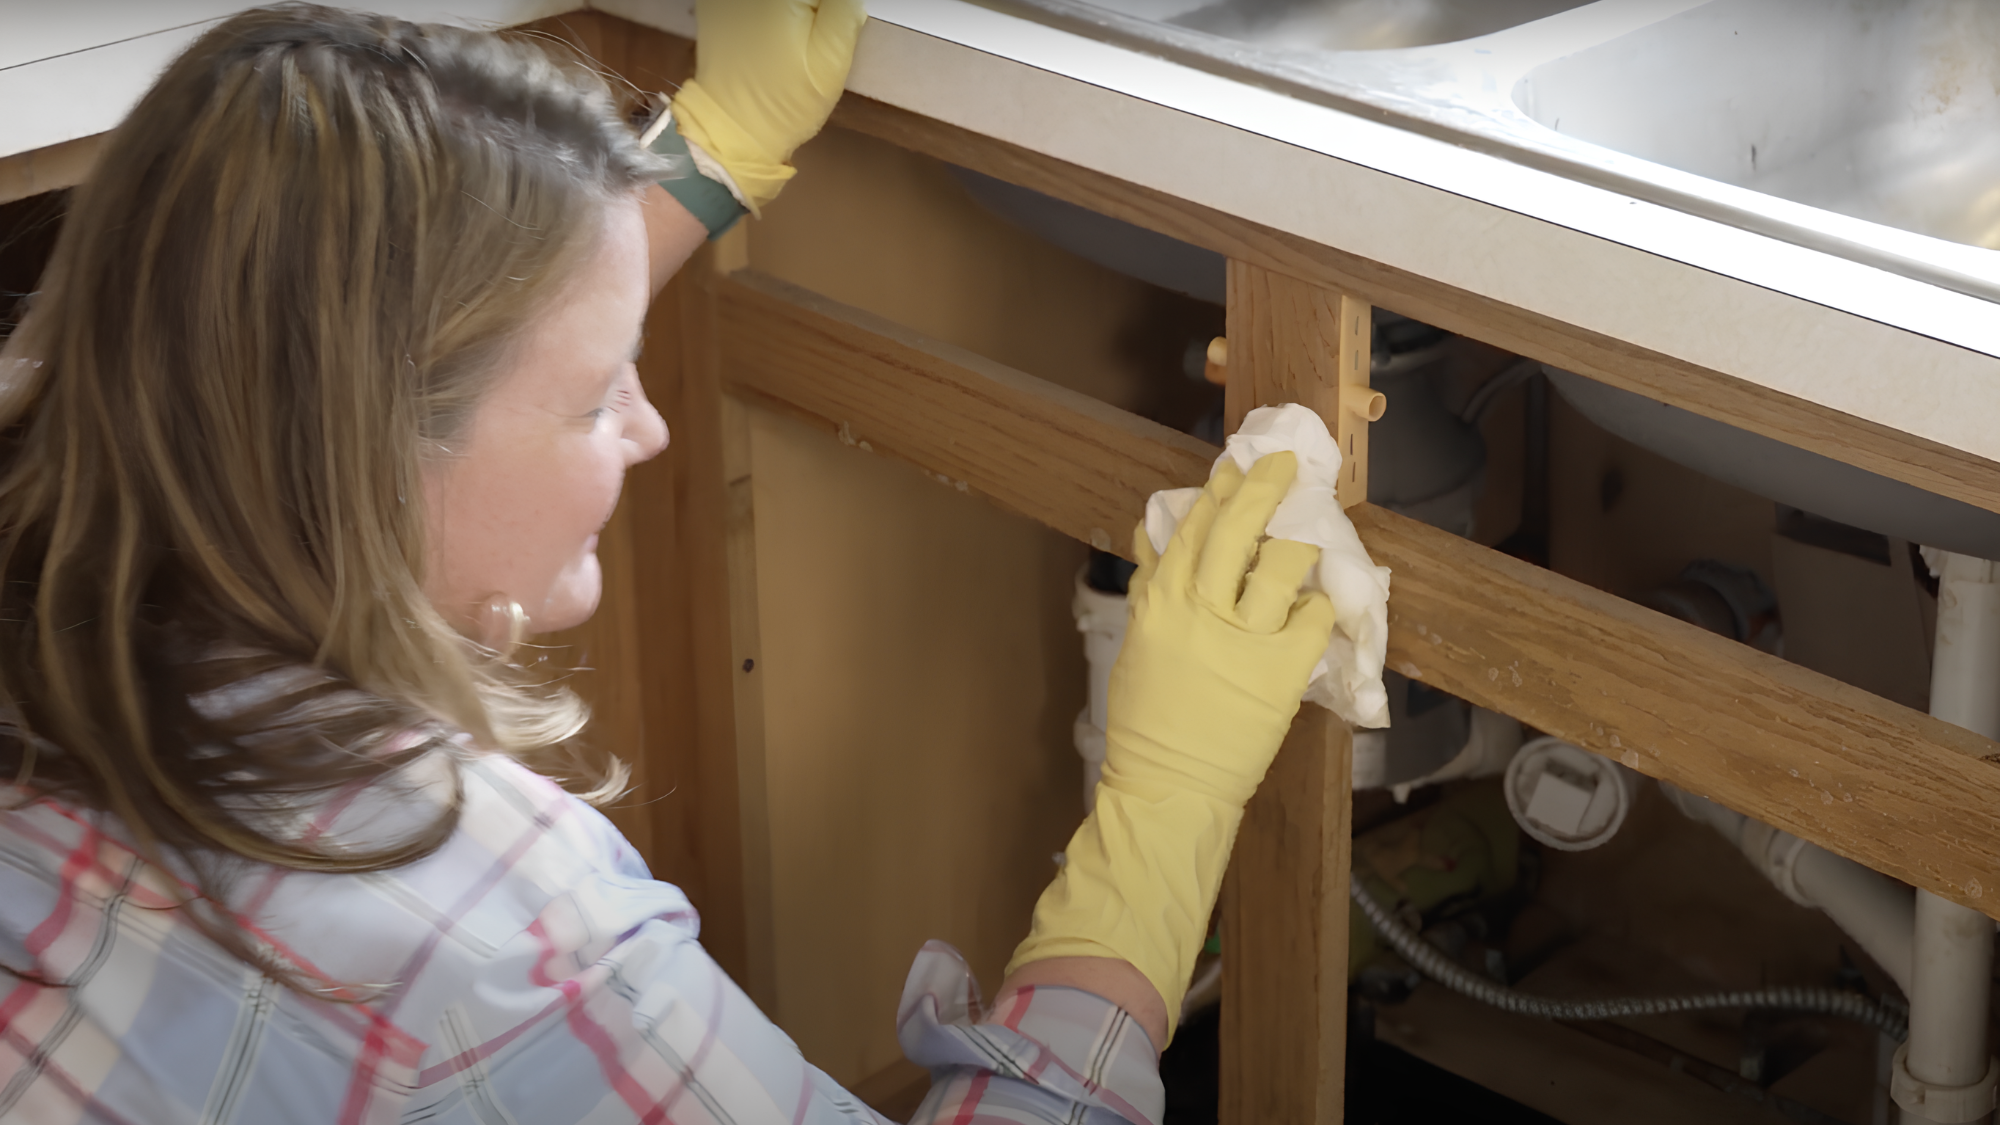
Pull drawers completely out of their housing to access all surfaces. Clean both the drawer itself and the cabinet frame where the drawer slides in and out.
Scrub interior and exterior surfaces with Krud Kutter. Pay special attention to handles, sides, and bottoms where hands have left oils that can prevent paint from sticking properly.
Use an old toothbrush for cleaning hardware and drawer glides. These tight spaces collect surprising amounts of dust and kitchen grease that regular cleaning might miss.
Leave it for a few minutes to dry; then your cabinets are ready to be painted anew.
For a more detailed tutorial on how to clean cabinets before painting, check out the video below:
Tips After Cleaning and Before Painting Cabinets
Before painting, follow these essential steps to ensure a smooth and lasting finish for your cabinets, starting with proper preparation and precautions.
- Allow Complete Drying Time: Give cabinets 24 hours to dry thoroughly. Trapped moisture causes paint bubbling and poor adhesion later.
- Remove All Hardware: Take off hinges, handles and knobs. Store parts in labeled bags to remember placement for reinstallation.
- Sand All Surfaces: Lightly sand with fine-grit sandpaper. This creates texture for better paint adhesion on smooth surfaces.
- Use a Primer – Apply quality cabinet primer first. This ensures even color coverage and stronger bonding with fewer topcoats needed.
- Tape Off Areas Not Being Painted: Protect surrounding surfaces with painter’s tape to prevent damage. This prevents stray paint marks on walls and countertops.
- Label Everything: Number doors and create a matching diagram. This ensures all components return to their original positions after painting.
- Test Your Paint: Apply paint to the hidden area first. Confirm color satisfaction before committing to the entire cabinet project.
Conclusion
Proper cabinet cleaning creates the foundation for paint that lasts. Your attention to detail now prevents issues with adhesion and finish quality later.
This simple process requires minimal investment but yields significant returns. Clean cabinets accept paint more evenly, resulting in professional-looking results that impress visitors.
Taking time for thorough preparation shows in the final product. Small cleaning steps make a big difference between amateur work and truly beautiful cabinetry.
Remember that patience during cleaning pays off with cabinets that maintain their fresh appearance for years. Quality preparation today means fewer touch-ups tomorrow.
Frequently Asked Questions
Can I Use Dawn to Clean Cabinets Before Painting?
Yes, you can use Dawn dish soap to effectively clean cabinets before painting by removing grease and dirt.
How Long Should Cabinets Dry Before Painting?
Allow your cabinets to dry completely for 24-48 hours before painting to ensure optimal paint adhesion.
What’s the Best Way to Clean Inside Cabinet Corners?
Use an old toothbrush or small scrub brush to reach tight corners and crevices where dirt collects.


