How to Skim Coat a Textured Wall in Easy Steps
Upgrading outdated textured walls to smooth, modern surfaces doesn’t require professional skills, just patience and the right approach.
If you’re tired of looking at popcorn, orange peel, or knockdown texture that dates your space, skim coating is the affordable DIY solution you need.
This guide breaks the skim coating process into manageable steps that even beginners can follow. With a little patience and some good music, you’ll be running your hand over beautifully smooth walls before you know it.
What is Skim Coating
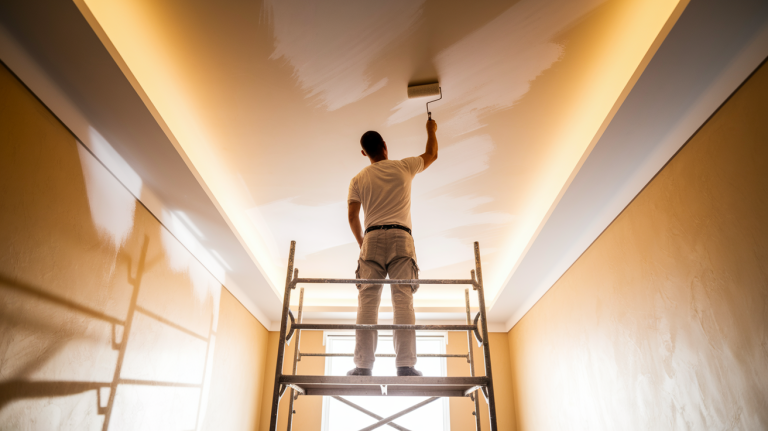
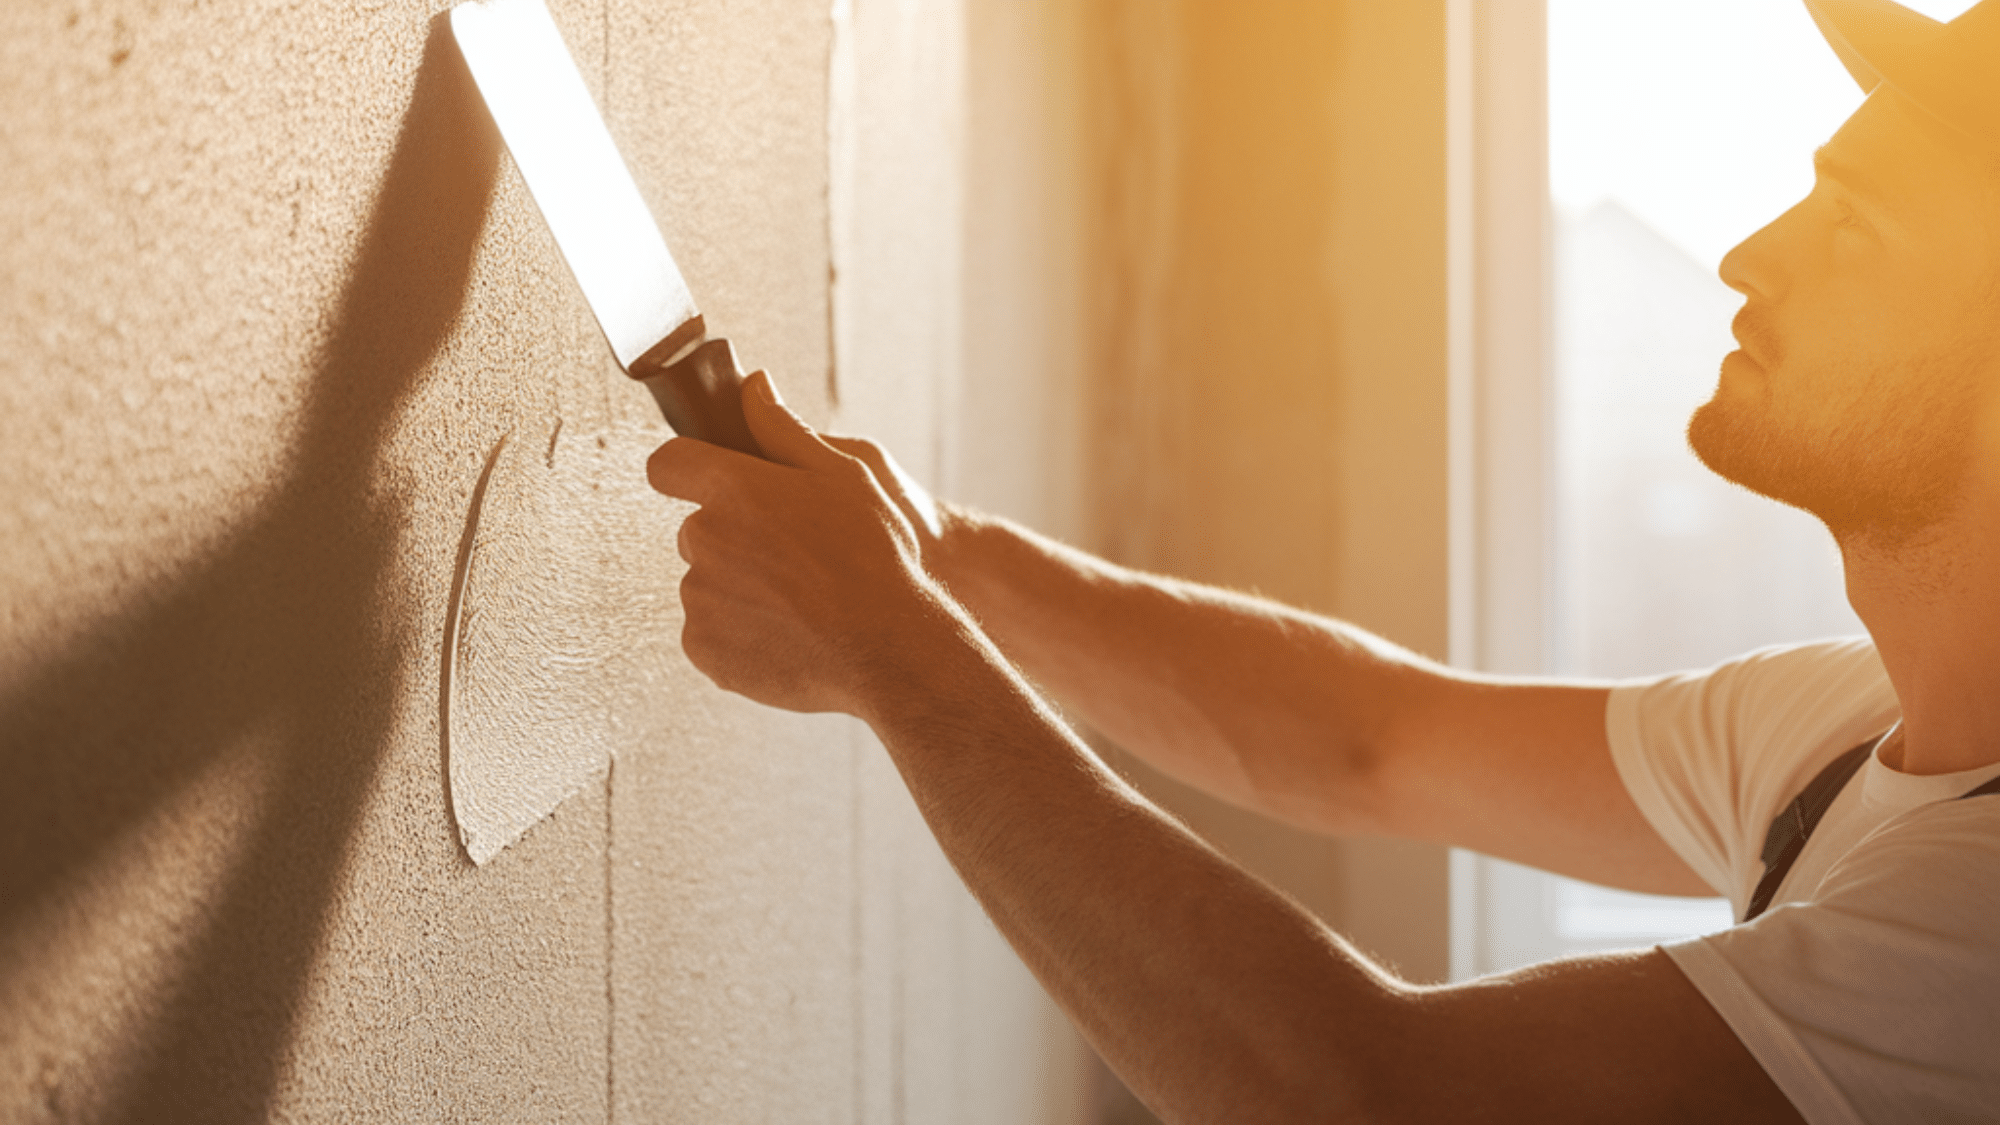
Skim coating is simply the process of applying a thin layer of joint compound over your existing walls to create a smooth, flat surface.
This technique works by filling in all the little valleys and covering the peaks of your textured walls, leaving you with a fresh canvas that looks modern and clean.
Unlike complete drywall replacement, skim coating keeps your existing walls intact while changing their appearance.
It’s the perfect solution when you want to update the look of your home without the mess, cost, and hassle of tearing out walls.
Tools and Materials Required for Skim Coating
| Tools | Materials |
|---|---|
| 1¼-inch paint roller | Lightweight all-purpose joint compound |
| 12-14 inch drywall knife | Sandpaper (100 grit and 240 grit) |
| Wide skimming blade (48-inch recommended) | Painter’s tape |
| Drywall hawk or mud pan | Drop cloths |
| Drywall sander (electric or manual pole sander) | A bucket for water |
| Angled sanding sponges | |
| Drill with a mixing paddle | |
| Shop vac with dust separator (optional) |
Step-by-Step Process to Skim Coat a Textured Wall
Seven easy steps are given below that you can follow to skim coat a textured wall at your own pace:
Step 1: Prepare the Room
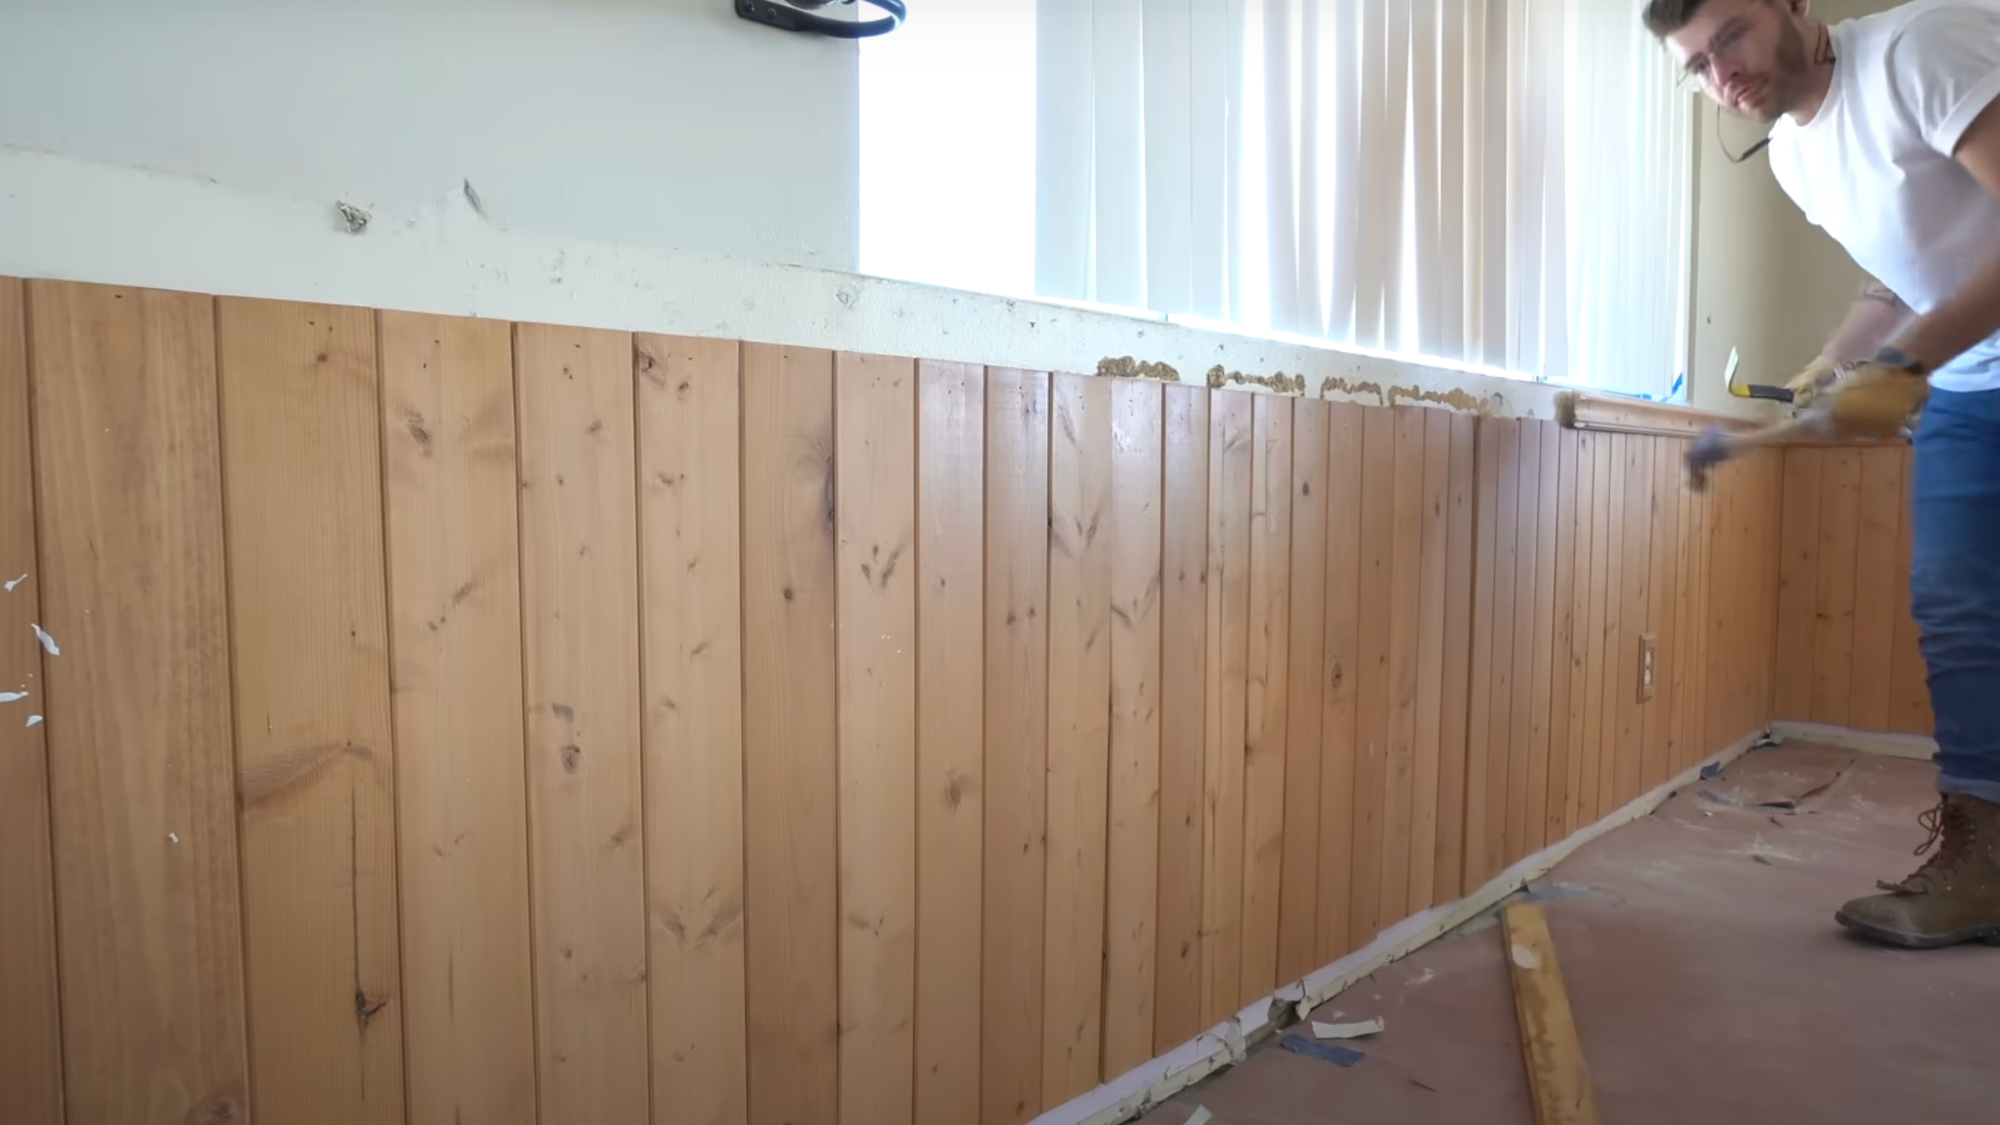
Start by removing all trim, chair rail, and paneling from your walls. Use a paint scraper to carefully remove any adhesive residue, paint blobs, or bumps that could affect your smooth finish.
If you’re going for a modern, trimless look, remove baseboards and door trim as well. Protect all electrical outlets, HVAC vents, and fixtures that can’t be removed by carefully masking them with painter’s tape.
Finally, lay down drop cloths to protect your floors from the mess that comes with skim coating.
Step 2: Prepare Joint Compound for First Coat
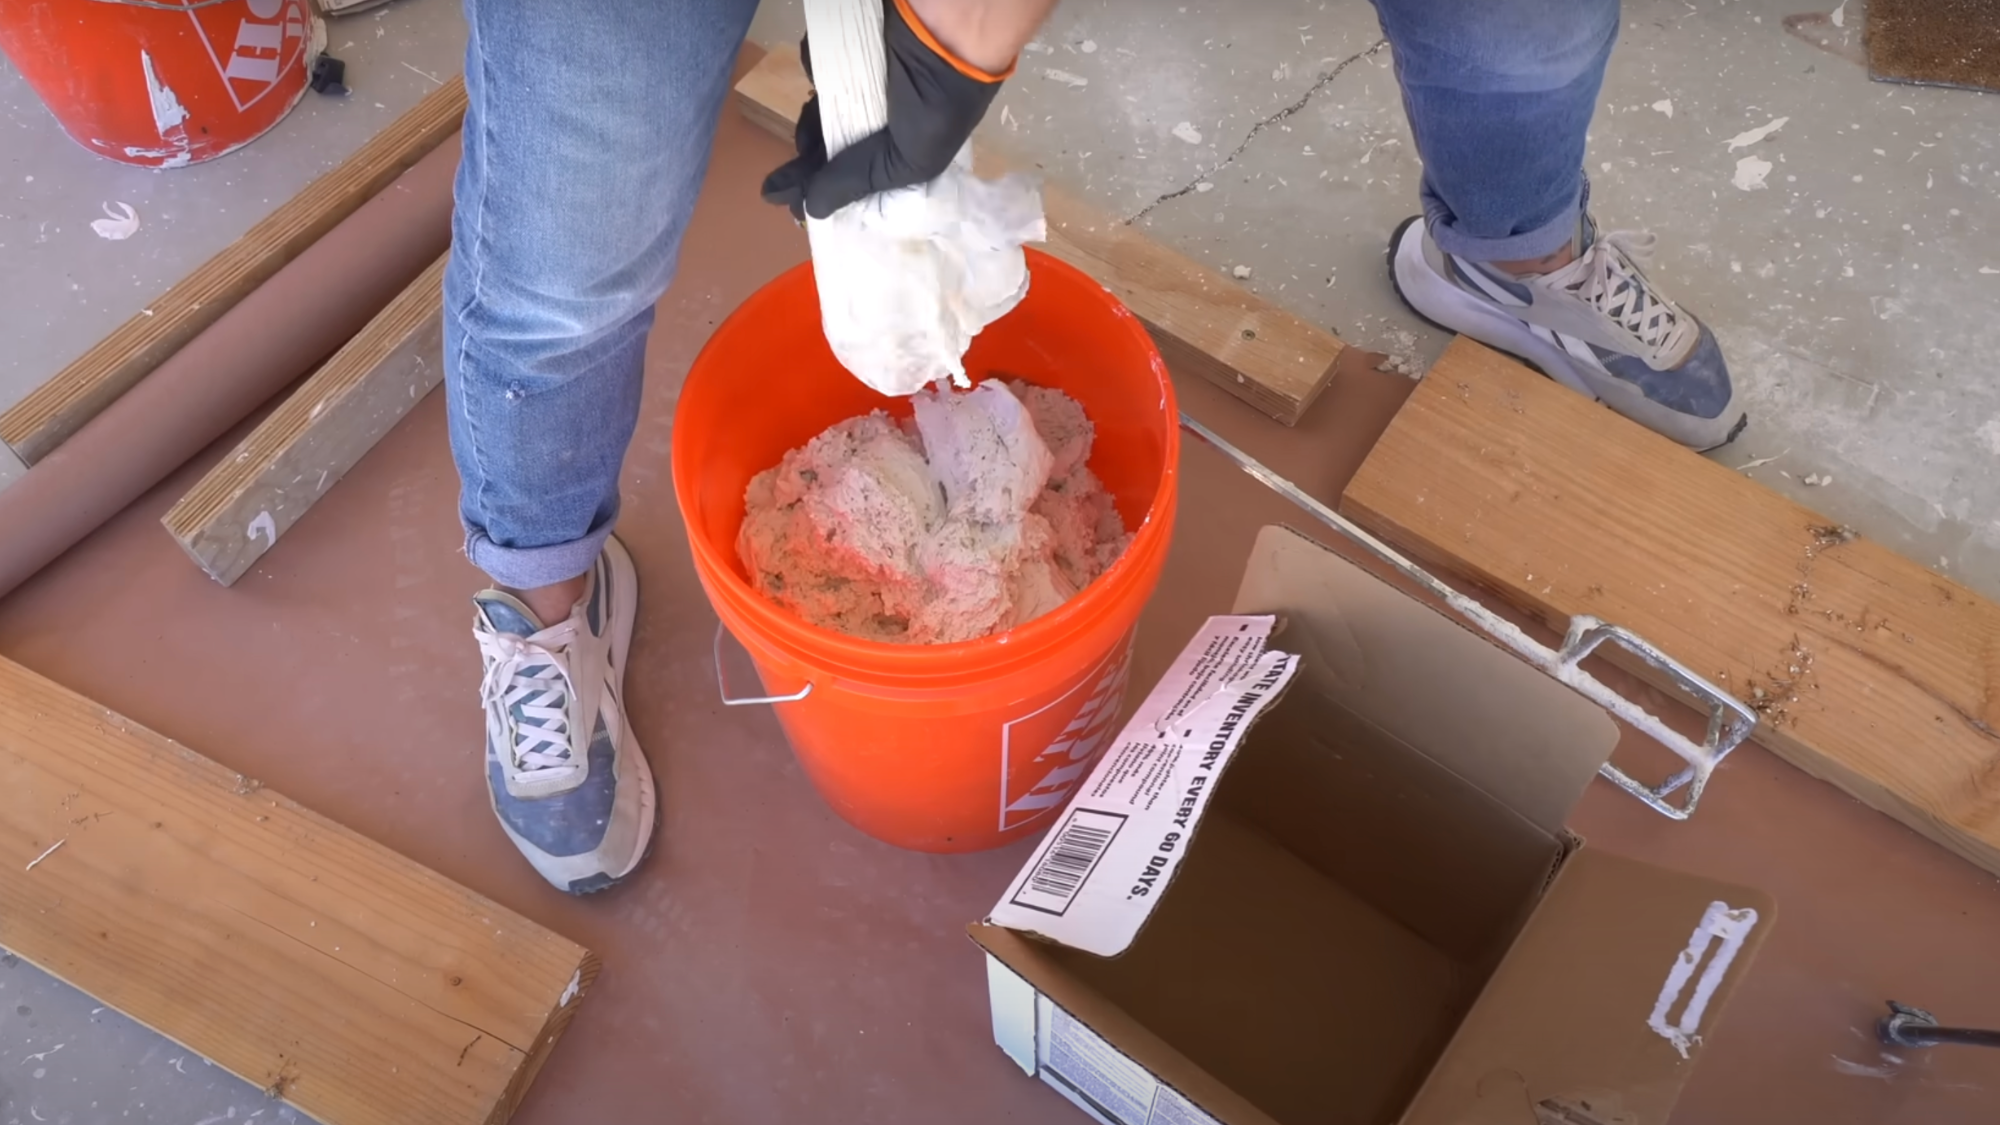
Pour lightweight all-purpose joint compound into a large bucket. Add just a small amount of water; be careful not to add too much, as this may cause the compound to crack as it dries.
Use a drill with a mixing paddle to thoroughly blend until you achieve a consistency similar to pancake batter: thick but still spreadable with a roller.
Step 3: Apply First Skim Coat
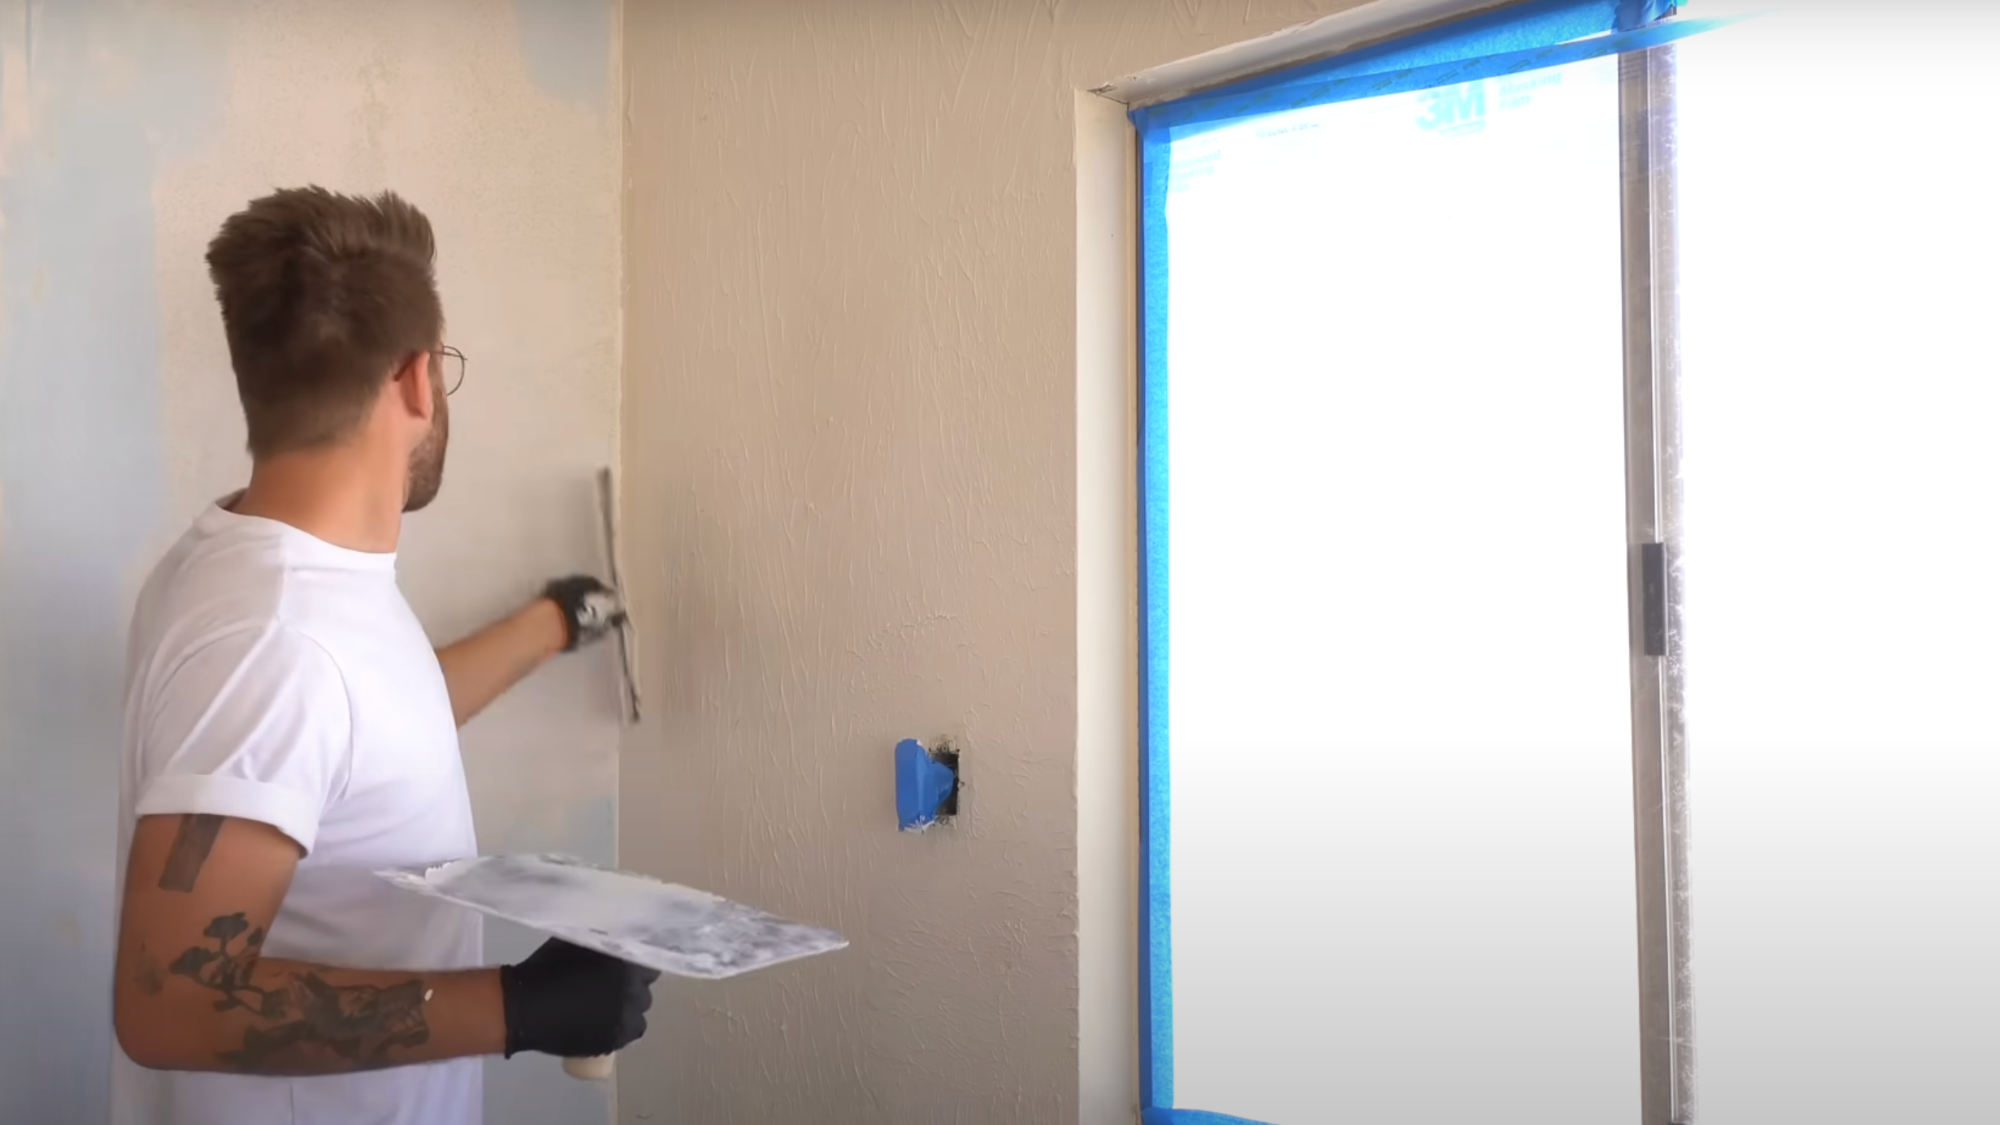
Work in manageable sections, approximately 4×4 feet, to prevent the compound from drying before you can smooth it. Roll joint compound onto the wall using a 1¼-inch roller, then immediately smooth it with a drywall knife, working into corners first.
Use light pressure when smoothing to maintain a thick enough coat. Hold your knife at a slight angle, gradually bringing the handle closer to the wall as you move down.
Don’t worry about small imperfections during this first coat. When working around doorways, fill any negative space and use drywall joint tape over gaps to prevent future cracking.
Step 4: Sand First Coat
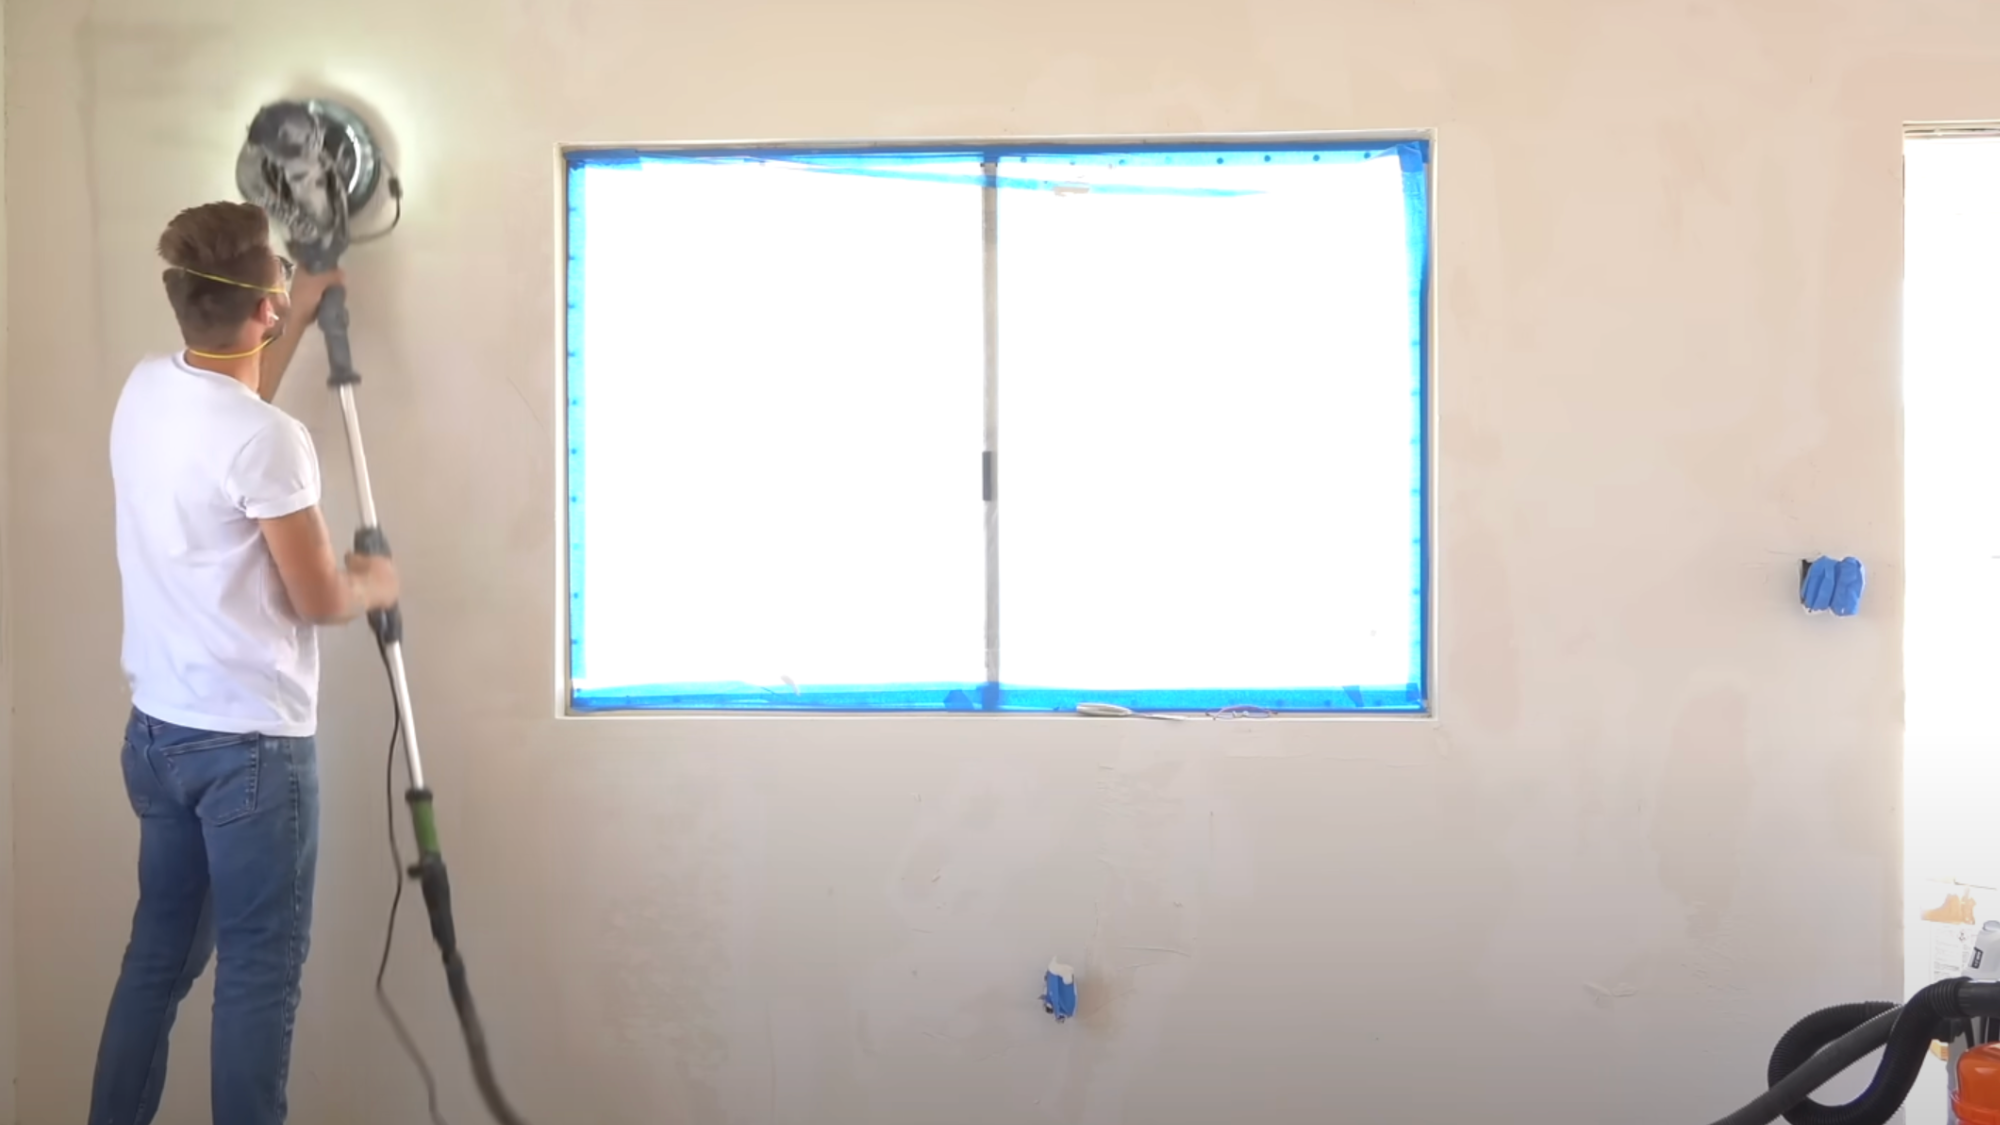
Allow your first coat to dry completely, which usually takes about 24 hours. Sand the dried surface using 100-grit sandpaper attached to a pole sander or electric drywall sander.
Focus only on removing high spots and ridges; you’re not trying to achieve a perfectly smooth surface yet.
Pay special attention to corners and edges where compound tends to build up. When finished, clean all dust from the walls before applying your second coat.
Step 5: Apply Second Skim Coat
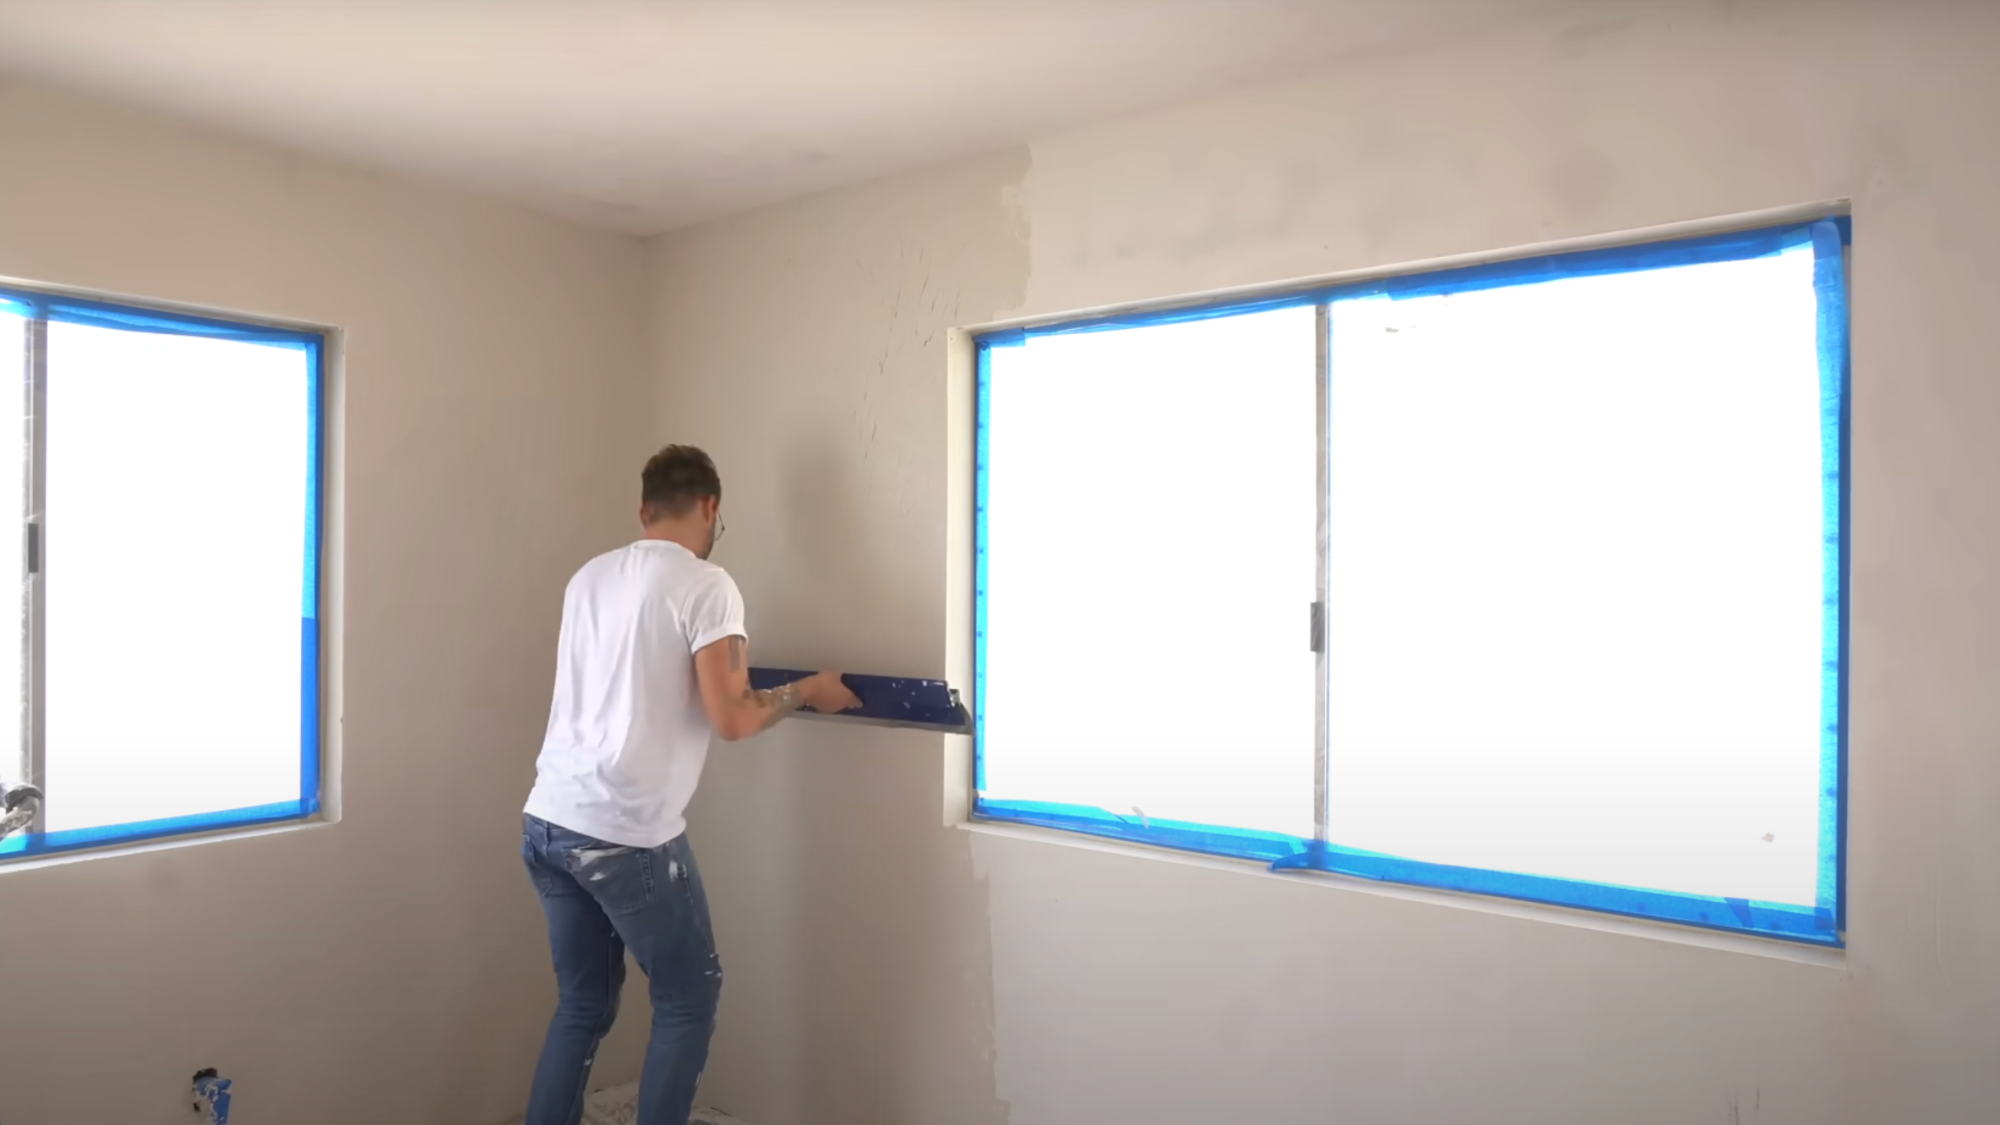
Mix the joint compound for your second coat just as you did for the first, maintaining that thick, workable consistency. Roll the compound onto the wall in sections as before.
A drywall hawk works better than a mud pan for holding compound during this stage. Start with corners and edges before moving to the main wall surfaces.
Apply slightly more pressure with your knife or skimming blade on this second coat to achieve a flatter finish. Keep your tools clean throughout the process; wetting the blade occasionally helps with smooth application.
This second coat should smooth your walls to about 95%.
Step 6: Fill Remaining Voids
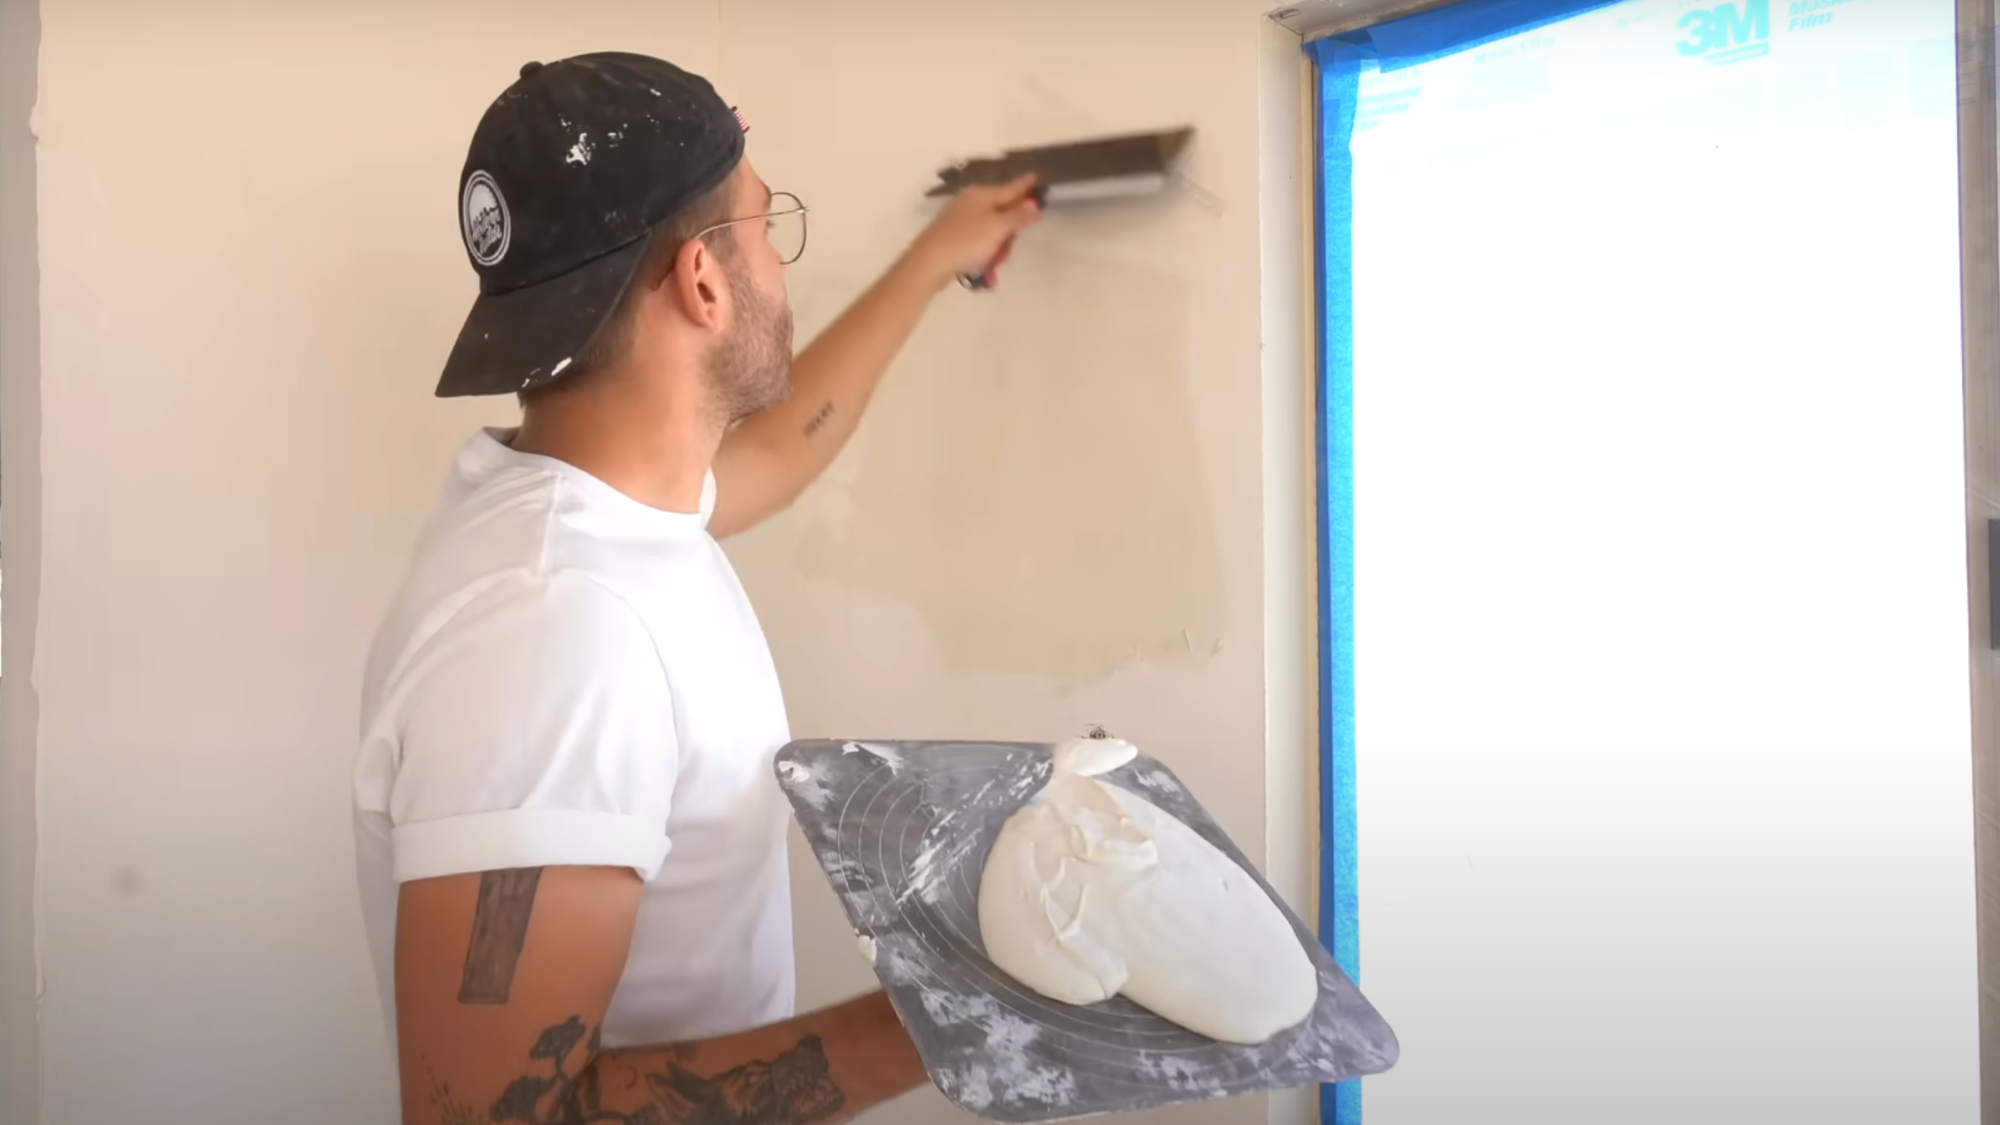
After your second coat dries completely, carefully examine the walls to identify any remaining voids or negative spaces.
Apply small amounts of joint compound directly to these areas, using your knife to squeegee the compound flat without building up thickness.
Be methodical and thorough during this step; finding and filling all imperfections now significantly reduces the amount of touch-up work needed after your final sanding.
Step 7: Final Sanding
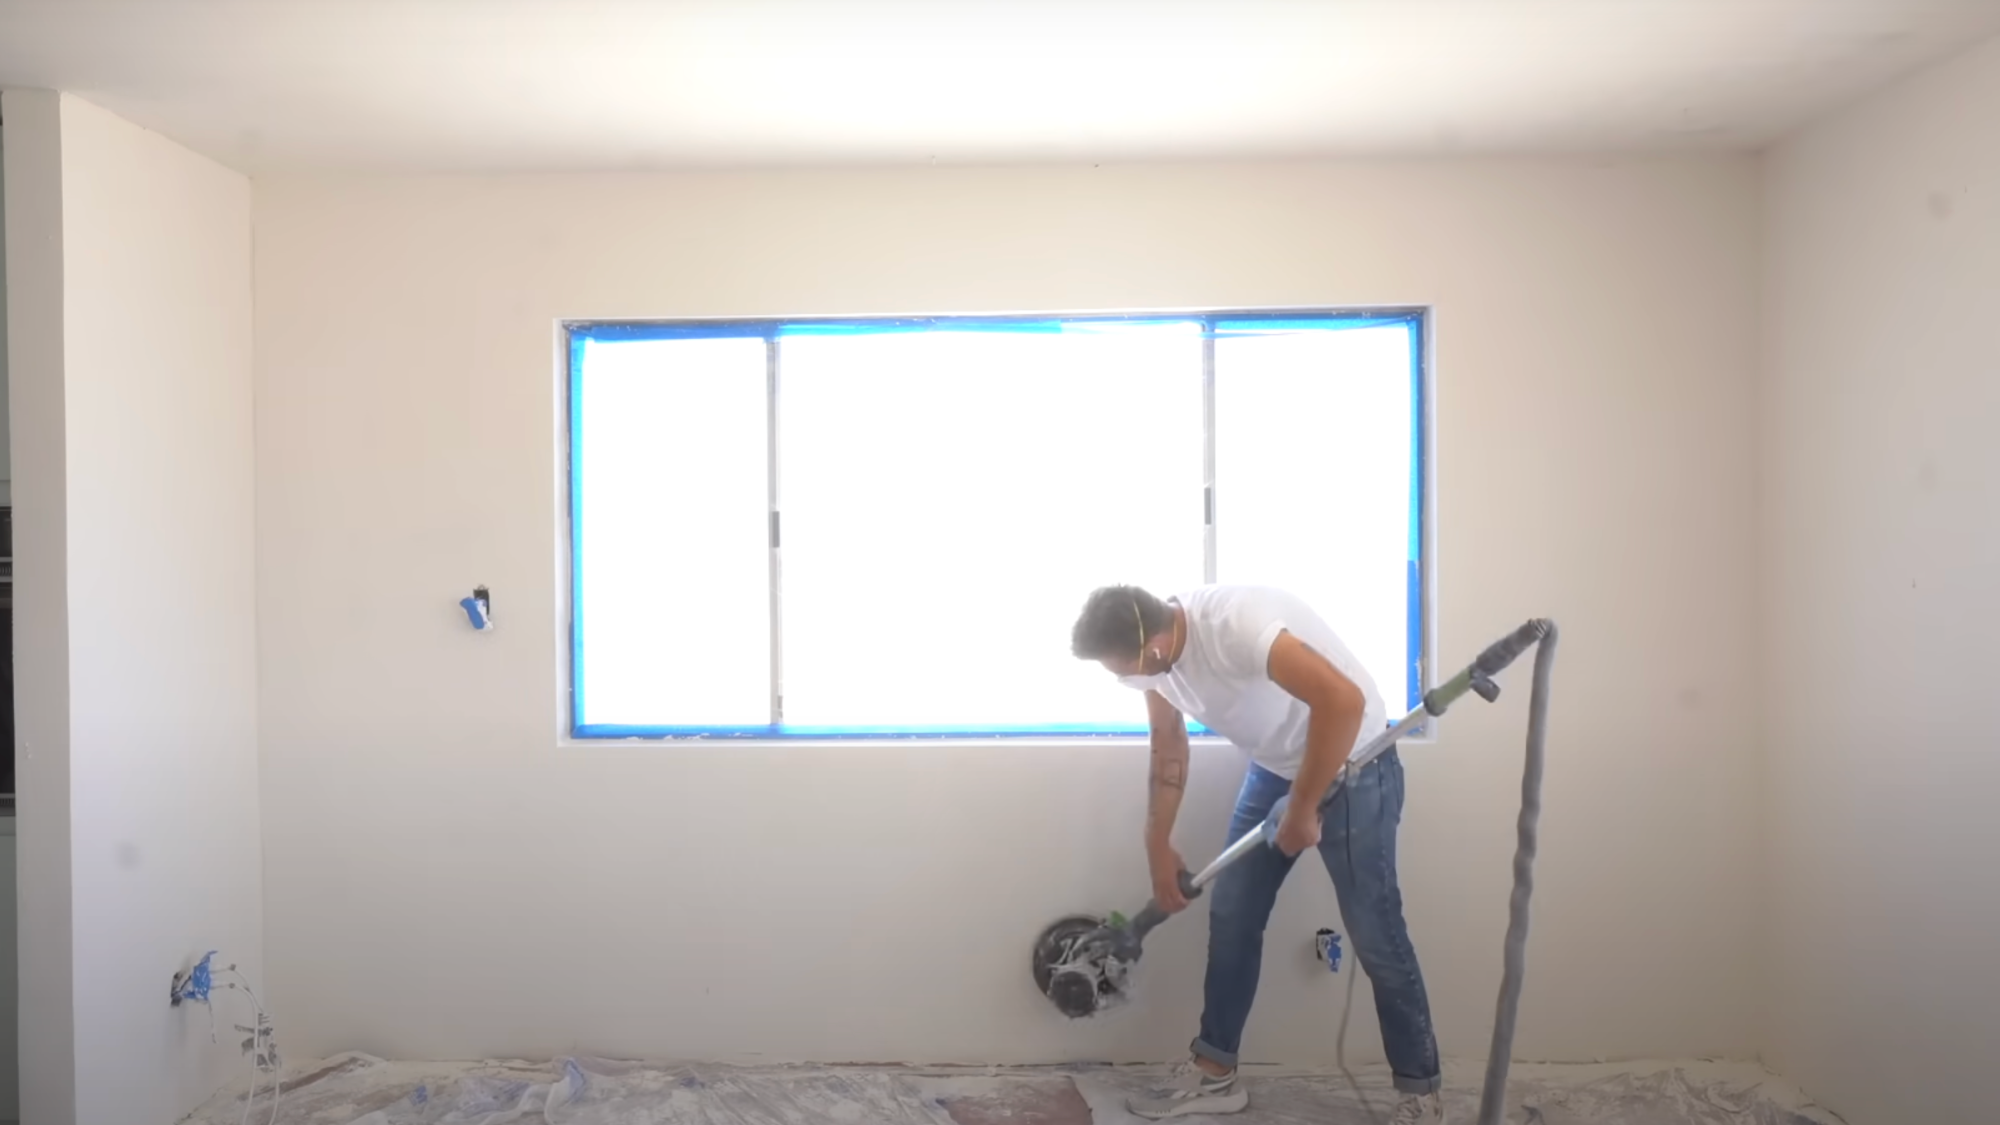
For the final smoothing, replace your 100-grit sandpaper with fine 240-grit sandpaper or a sanding net. Sand the entire surface using light, even pressure to avoid creating new low spots.
Use angled sanding sponges for corners and window frames where flat sanders can’t reach. To prevent damaging adjacent surfaces, cut away some sandpaper from the long edge of your pole sander when sanding where walls meet ceilings.
Periodically check your progress by viewing the wall with light at different angles to spot any remaining imperfections.
Here’s a Detailed Tutorial Video on How to Skim Coat a Textured Wall in Easy Steps that You Can Refer To:
Common Mistakes to Avoid While Skim Coating
- Skipping Wall Preparation: Not cleaning or priming the wall properly can stop the compound from sticking well.
- Using the Wrong Compound Consistency: Too thick is hard to spread, too thin can crack; aim for a creamy, spreadable texture.
- Applying Too Much Compound at Once: Thick layers take longer to dry and are harder to smooth; thin, even coats work best.
- Not Letting Each Coat Fully Dry: Rushing the drying process can lead to cracks and uneven surfaces later.
- Skipping Sanding Between Coats: Light sanding after each coat helps smooth ridges and avoids a rough final finish.
- Using Dirty or Dry Tools: Dirty or dry tools can leave streaks and rough patches in the skim coat.
- Neglecting Corners and Edges: Overlooking corners and edges leaves noticeable flaws when painting.
- Over-Sanding the Final Coat: Sanding too hard can damage the finish; use light, even pressure.
- Not Checking the Wall Under the Lights: Good lighting helps spot bumps and dips before painting begins.
How Long Does It Take to Skim Coat a Wall
Skim coating a standard 10×12 room typically takes 3-5 days from start to finish, with about 10-16 hours of actual working time spread across those days.
The biggest time factor isn’t the application itself but the necessary 24-hour drying periods between coats.
For a single wall, you might spend 2-3 hours on preparation, 1-2 hours applying the first coat, a full day for drying, 1 hour for sanding, another 1-2 hours for the second coat, another day for drying, and a final hour for finish sanding.
Your experience level significantly impacts this timeline; beginners should expect to add 30-50% more time as they learn the techniques.
Other factors affecting your timeline include room humidity, the severity of existing texture, and the number of obstacles like outlets and windows that require careful work around edges.
Conclusion
Turning bumpy walls into smooth ones isn’t a quick weekend project, but when you’re done, you’ll wonder why you didn’t do it sooner.
Don’t be discouraged if your first attempt isn’t perfect. Each coat gets you closer to the smooth finish you’re dreaming of. Remember that patience is key. Rushing the drying time or skipping steps will only create more work in the long run.
Once you’ve painted your newly smooth walls, you’ll be amazed at how much more modern and clean your space feels.
Frequently Asked Questions
How Much Does it Cost to Skim Coat a Wall?
The cost depends on the size of the area and the materials used, but is generally more affordable than replacing drywall entirely.
How Do I Clean Up After Skim Coating?
Allow excess compound to dry before scraping it off tools and surfaces. Clean the tools with water immediately after use to prevent buildup.
Is Skim Coating Suitable for All Types of Walls?
Skim coating works well on drywall and plaster walls but may not adhere properly to surfaces like rock lath without additional preparation.

