How to Make Easy DIY Soap Dish
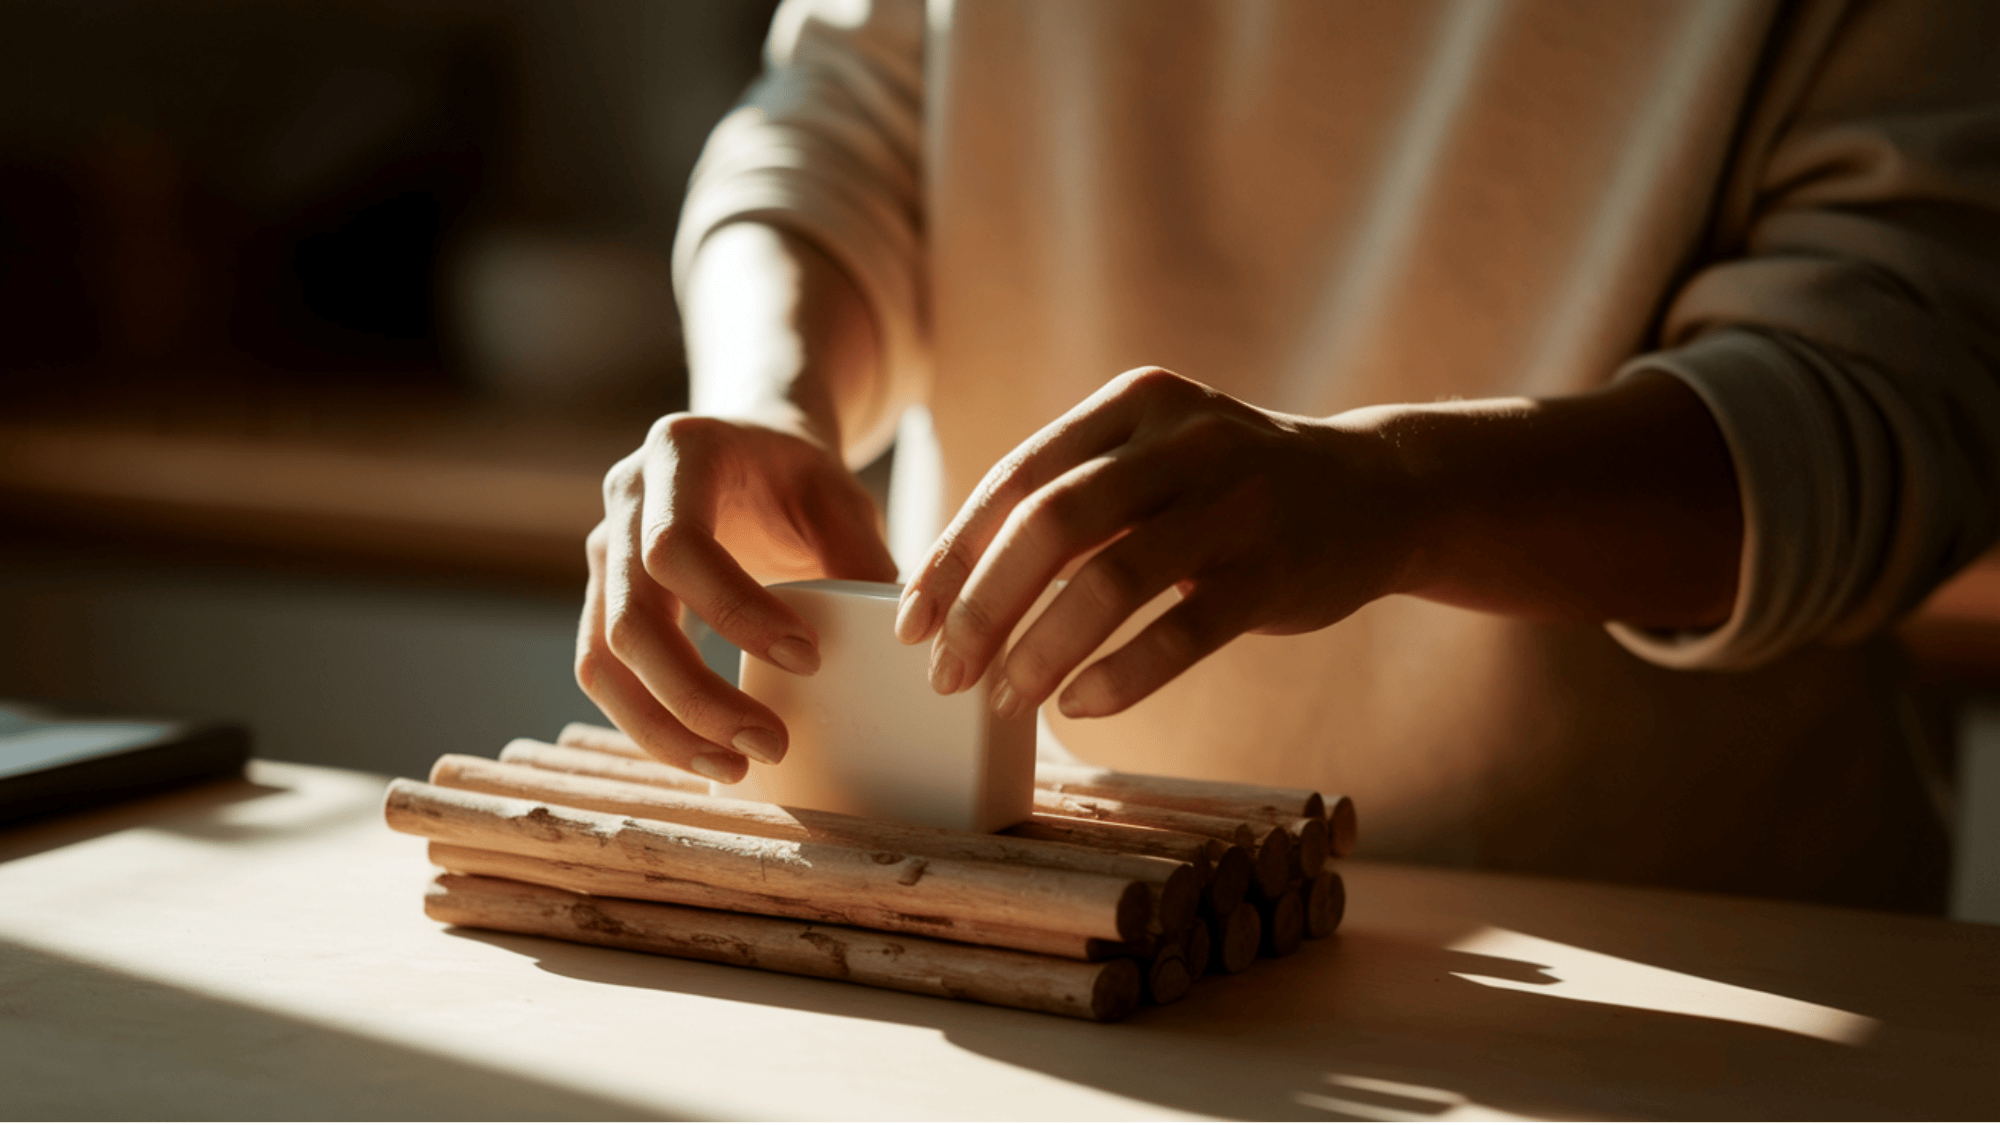
Are you tired of soggy soap and messy countertops? Creating your own DIY soap dish is a simple, satisfying project that combines practicality with personal style.
If you’re looking to add a custom touch to your bathroom decor or create a thoughtful handmade gift, making your own soap dish allows you to design something that perfectly suits your needs and preferences.
This blog covers everything you need to know to create beautiful, functional soap dishes using materials you might already have at home.
What is a Soap Dish
A soap dish is a small container designed to hold bar soap when it’s not in use. While this might seem like a simple concept, a well-designed soap dish serves several important functions:
- It keeps your soap dry between uses, extending its lifespan
- It prevents soap residue from building up on your countertops or in your shower
- It adds a decorative element to your bathroom or kitchen
- It keeps your soap in a designated place, maintaining organization
The best soap dishes allow for drainage, keeping your soap from sitting in water and turning into mush. They should also be easy to clean and durable enough to withstand a wet environment.
Tools and Materials Required for DIY Soap Dish
| Materials | Tools |
|---|---|
| Ice cream sticks | Ruler |
| Strong glue (hot or wood glue) | Pencil |
| Acrylic paint or markers (optional) | Sandpaper |
Step-by-Step Guide to Make a Soap Dish Using Sticks
Below is the process for making your own DIY ice cream stick soap dish. Follow these simple steps to craft a practical and creative soap holder at home.
Step 1: Gather Your Materials
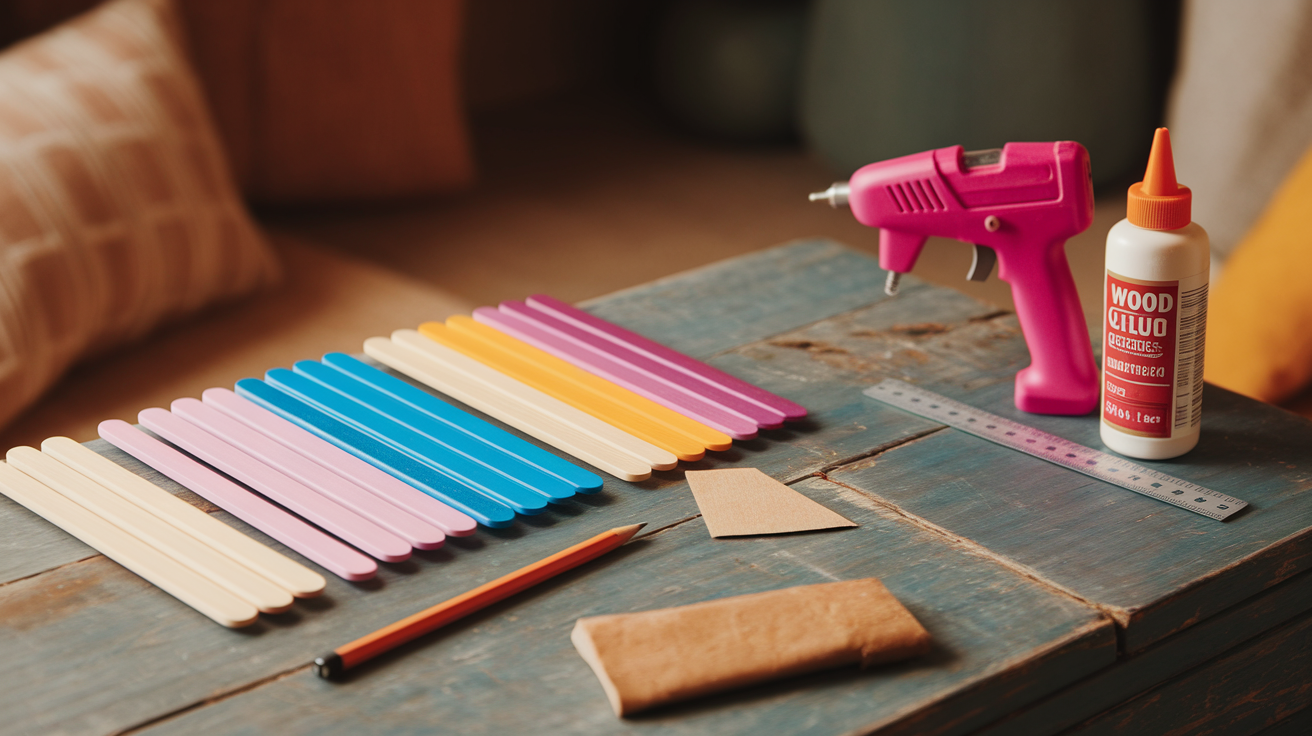
Start by gathering all the materials you’ll need, such as ice cream sticks, strong glue (like hot glue or wood glue), a ruler, a pencil, and sandpaper.
Make sure the ice cream sticks are clean and dry if you’re using colored or patterned sticks, set aside the ones you want for the top or sides for a better visual finish.
Step 2: Create the Base
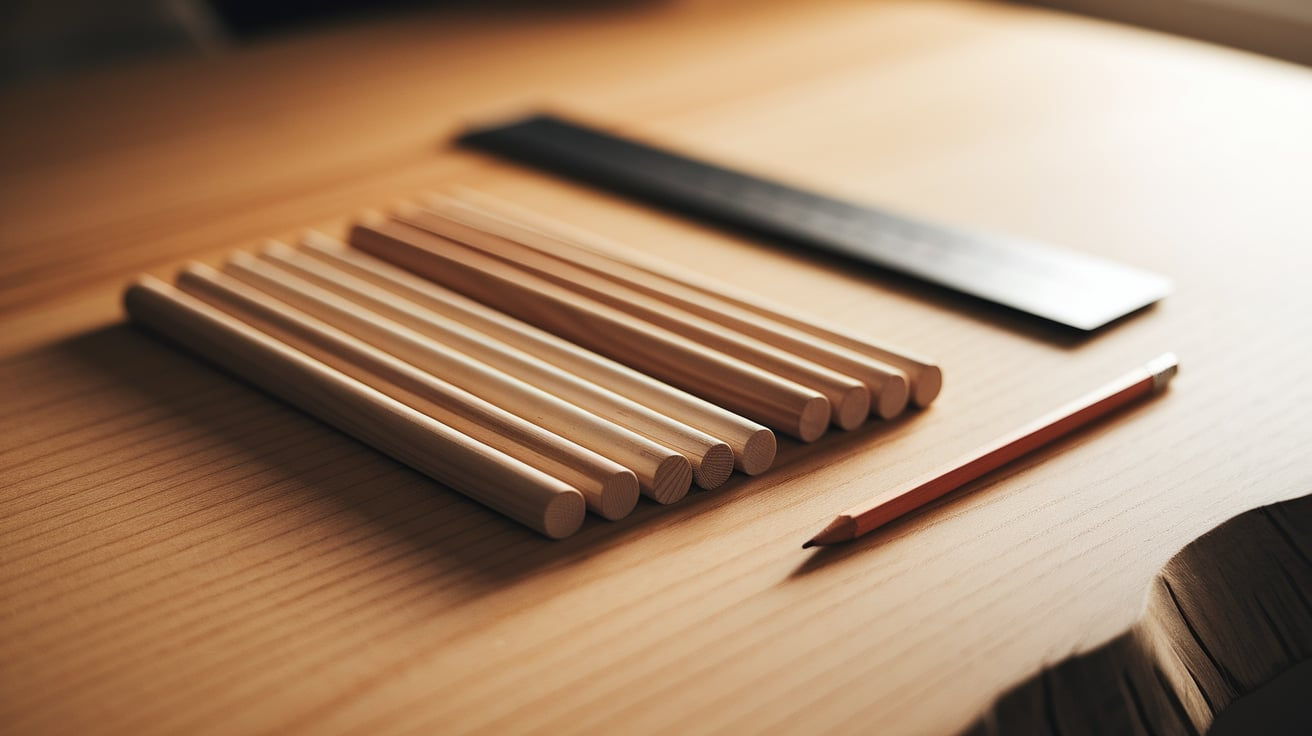
Use the ruler and pencil to mark the length for your soap dish base, typically around 10–12 cm. Then, line up several sticks side by side to form that base.
Depending on how wide you want the base, you can use 6–8 sticks. Try to keep the sticks aligned evenly for a neat and balanced look.
Step 3: Secure the Structure
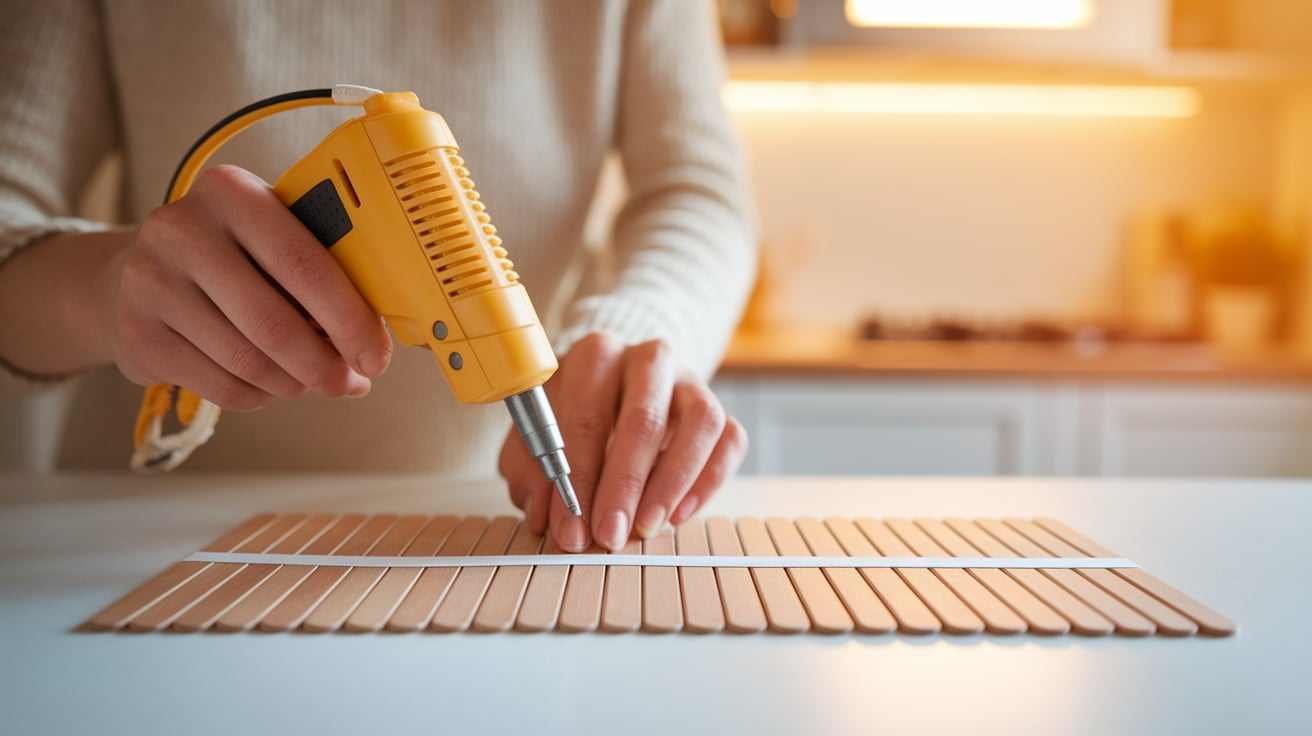
Take two more sticks and glue them across the width of the base, one at the top and one at the bottom, to hold the structure together and keep the sticks in place.
Press and hold the glued areas for a few seconds to make sure they bond well. While drying, you can also place a small weight on top to keep it secure.
Step 4: Add Raised Edges

To create slightly raised edges, glue a few sticks vertically along the sides of the base, stacking 1–2 sticks high to help keep the soap from sliding off.
This step adds both style and function. You can also angle the side sticks slightly outward to help with water drainage.
Step 5: Finish and Test
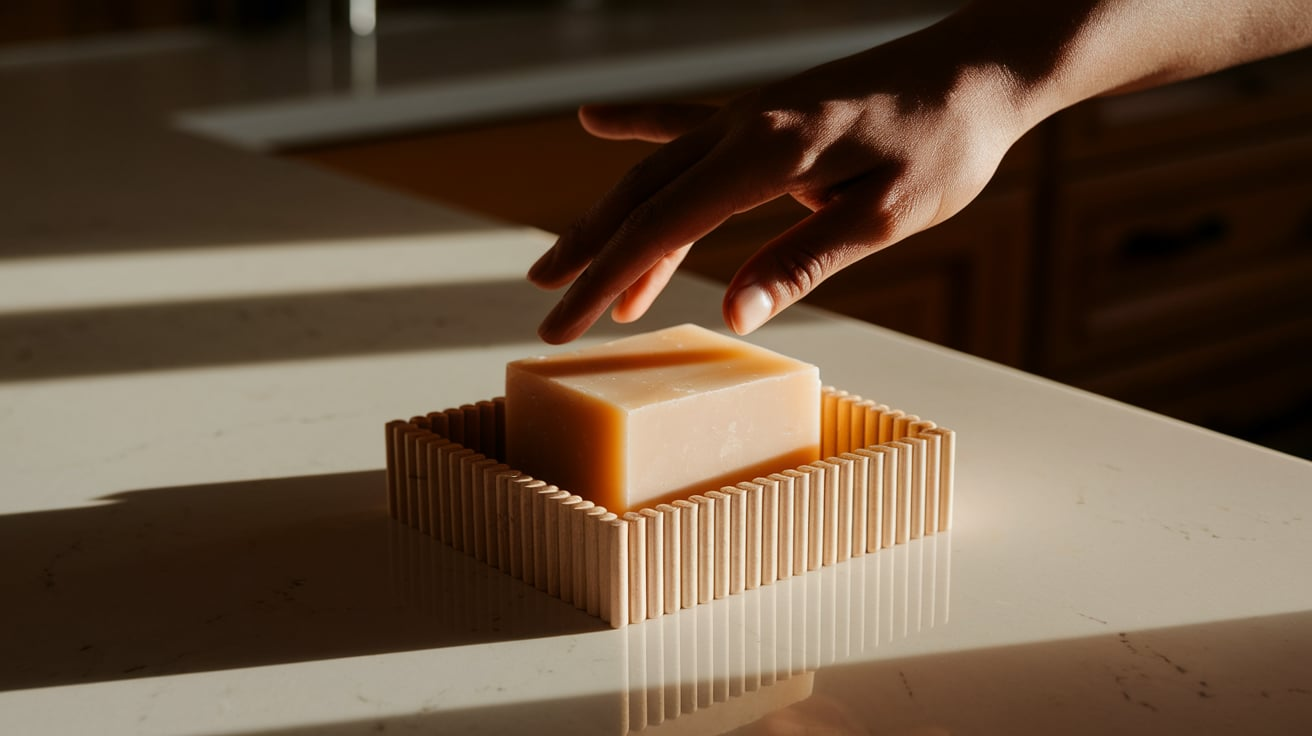
Lightly sand any rough or uneven edges, then allow the glue to dry completely before using your handmade soap dish.
Make sure all parts are firmly attached and the dish feels sturdy. Once dry, give it a test run by placing a bar of soap on it and checking the fit and stability.
Other Ways to Make DIY Soap Dish
There’s more than one way to create a unique soap dish that suits your style. From natural wood to sturdy concrete, these creative methods offer options for every home.
1. Clay or Ceramic Soap Dish
| Materials | Purpose |
|---|---|
| Air-dry clay / Polymer clay | Main material for shaping dish |
| Rolling pin | To flatten the clay |
| Knife or sculpting tool | To shape and trim the clay |
| Sandpaper (fine grit) | Smooth edges after drying |
| Optional: Paint/Glaze | For decoration or finish |
Steps to Make Clay or Ceramic Soap Dish
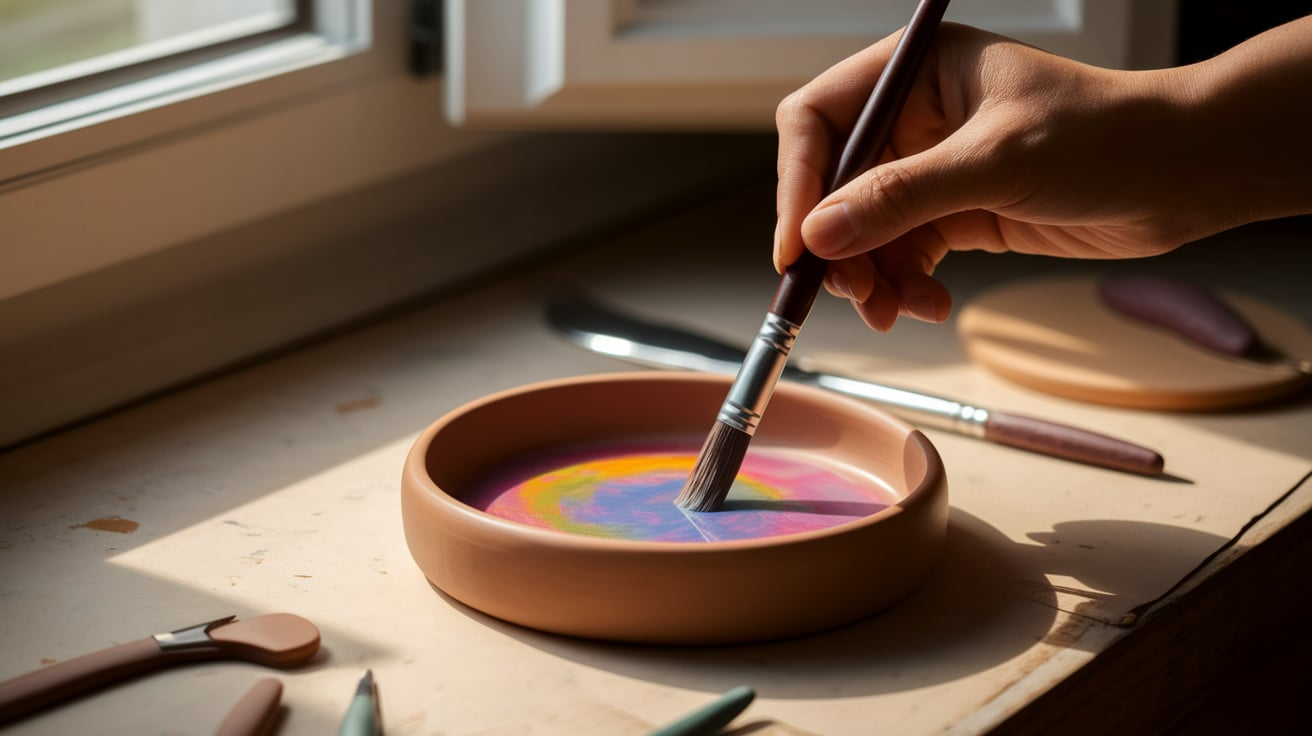
Shape your soap dish with clay or ceramic for a handmade, artistic touch. It’s a great way to customize size, color, and style to match your space.
Step 1: Start by rolling out the air-dry clay or polymer clay with a rolling pin to get an even, flat surface about 1/4 inch thick.
Step 2: Use a knife or sculpting tool to cut the clay into your desired soap dish shape—oval, rectangle, or something creative.
Step 3: Add any design details, such as small ridges, holes for drainage, or texture using tools or stamps.
Step 4: Let the dish dry completely according to the clay’s instructions. Once dry, gently sand the edges and surface to smooth out any rough spots.
Step5: Optionally, paint or glaze the dish for decoration and allow it to dry fully before using.
2. Wood Soap Dish
| Materials | Purpose |
|---|---|
| Wood piece (e.g., cedar, pine) | Main base material |
| Saw | To cut wood to size |
| Sandpaper | To smooth surfaces and edges |
| Wood glue or nails | To join parts if needed |
| Drill (optional) | For drainage holes |
| Wood finish (optional) | Protect from moisture |
Steps to Make Wood Soap Dish
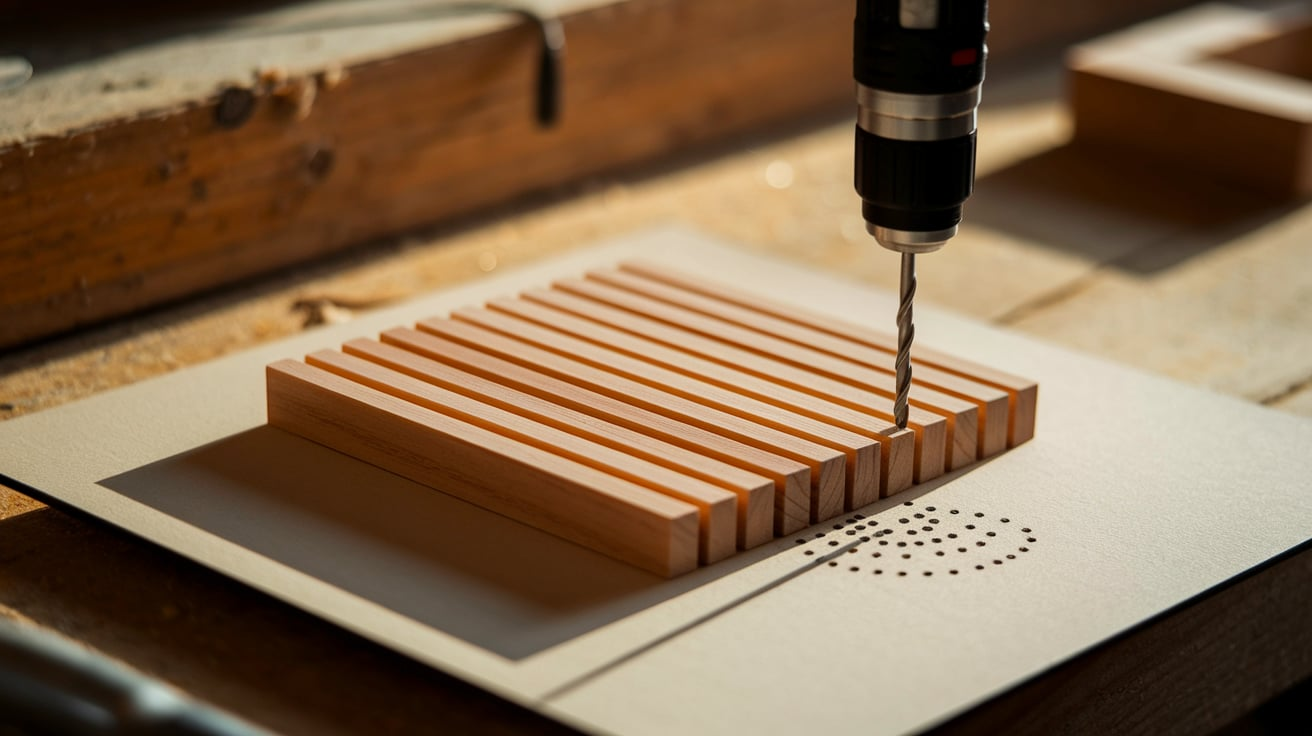
A wooden soap dish brings natural warmth to your bathroom. With just a few cuts and some sealing, you’ll have a durable and eco-friendly option.
Step 1: Measure and mark your wood piece using a ruler and pencil according to the desired size of your soap dish. A common size is around 4×3 inches.
Step 2: Then, cut the wood piece based on your markings. If you’re making a slatted-style dish, you can also cut small slats.
Step 3: Smooth all cut edges and surfaces with sandpaper to remove splinters and rough spots.
Step 4: If you’re using multiple slats or a raised base, join the parts with wood glue or small nails. For better drainage, drill a few small holes in the base.
Step 5: Optionally, apply a wood finish or sealant to protect the soap dish from water damage and let it dry completely before use.
3. Concrete Soap Dish
| Materials | Purpose |
|---|---|
| Cement mix | Main material |
| Water | To mix with cement |
| Mold (plastic container/silicone) | To shape the soap dish |
| Mixing stick/container | To mix and pour cement |
| Sandpaper (wet/dry) | To smooth surface after curing |
| Cooking spray/oil (for mold) | To help release mold easily |
Steps to Make Concrete Soap Dish
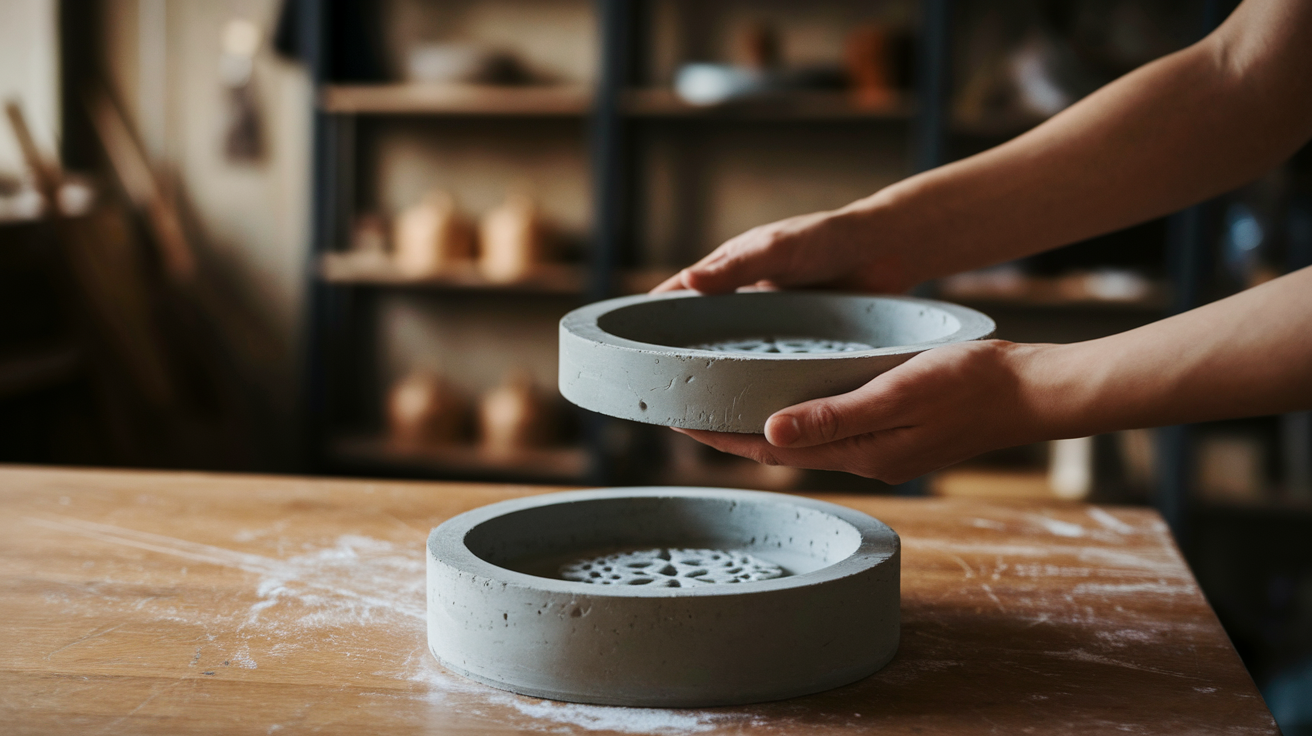
Concrete soap dishes are sleek, sturdy, and surprisingly easy to craft. Perfect for modern spaces, they add a minimalist, industrial vibe.
Step 1: Mix the cement mix with water in a container using a mixing stick, following the ratio on the cement package and stir until the mixture is smooth and lump-free.
Step 2: Lightly coat your mold (plastic container or silicone) with cooking spray or oil to make sure the concrete releases easily after setting.
Step 3: Pour the cement mixture into the mold slowly, tapping the sides gently to remove any air bubbles and level the surface.
Step 4: Let the cement cure completely, usually for 24–48 hours, depending on the mix instructions. Once fully set, carefully remove the soap dish from the mold.
Step 5: Use wet/dry sandpaper to smooth the edges and surface for a clean, finished look. Your DIY concrete soap dish is now ready to use.
4. Upcycled Materials Soap Dish
| Materials | Purpose |
|---|---|
| Old plastic container/tin can | Base for soap dish |
| Scissors/utility knife | To cut or shape material |
| Super glue / hot glue | To attach or modify parts |
| Paint or stickers (optional) | For decoration or finishing touch |
Steps to Make Upcycled Materials Soap Dish
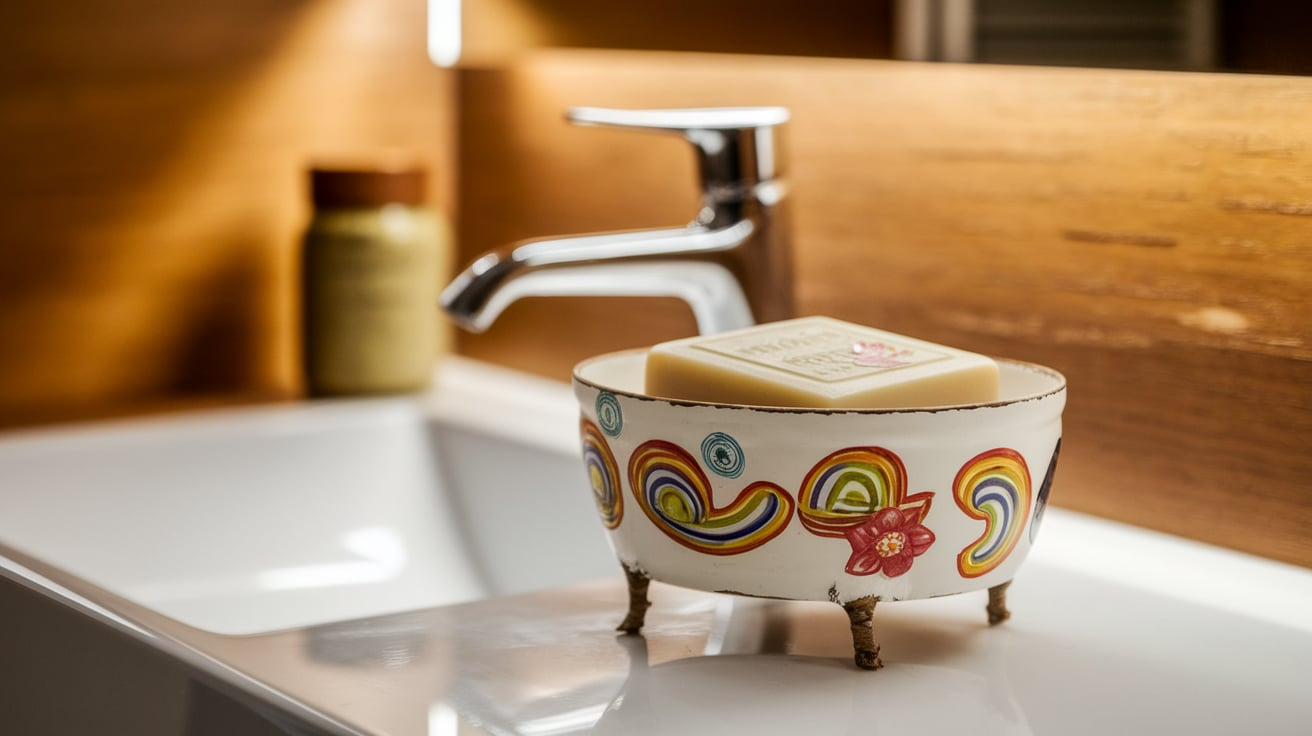
Turn everyday items into unique soap dishes with upcycled materials. It’s a creative and sustainable way to give old objects a fresh purpose.
Step1: Choose an old plastic container or tin can and clean it thoroughly to remove any residue or labels.
Step2: Use scissors or a utility knife to carefully cut and shape the container into your desired soap dish size and design, such as a shallow tray with sloped edges.
Step3: If needed, trim and smooth any rough or sharp edges to make the dish safe to handle and use.
Step4: Use super glue or hot glue to attach any extra features, such as legs, dividers, or raised ridges for drainage inside the dish.
Step5: Decorate the soap dish with paint or stickers if desired, and let everything dry completely before using it.
Conclusion
Creating your own DIY soap dish is not only fun and budget-friendly but also a great way to personalize your space while being eco-conscious.
If you are working with wood, clay, concrete, or upcycled materials like ice cream sticks or tin cans, each method allows you to express your creativity and make something useful.
These simple yet practical projects can be completed with basic tools and minimal effort, making them perfect for beginners and craft lovers alike.
Plus, a handmade soap dish adds charm and functionality to your bathroom or kitchen. So why not give it a try? You might end up with a unique piece you’re proud to display or even gift to others!

