Deck Stain Before and After Results
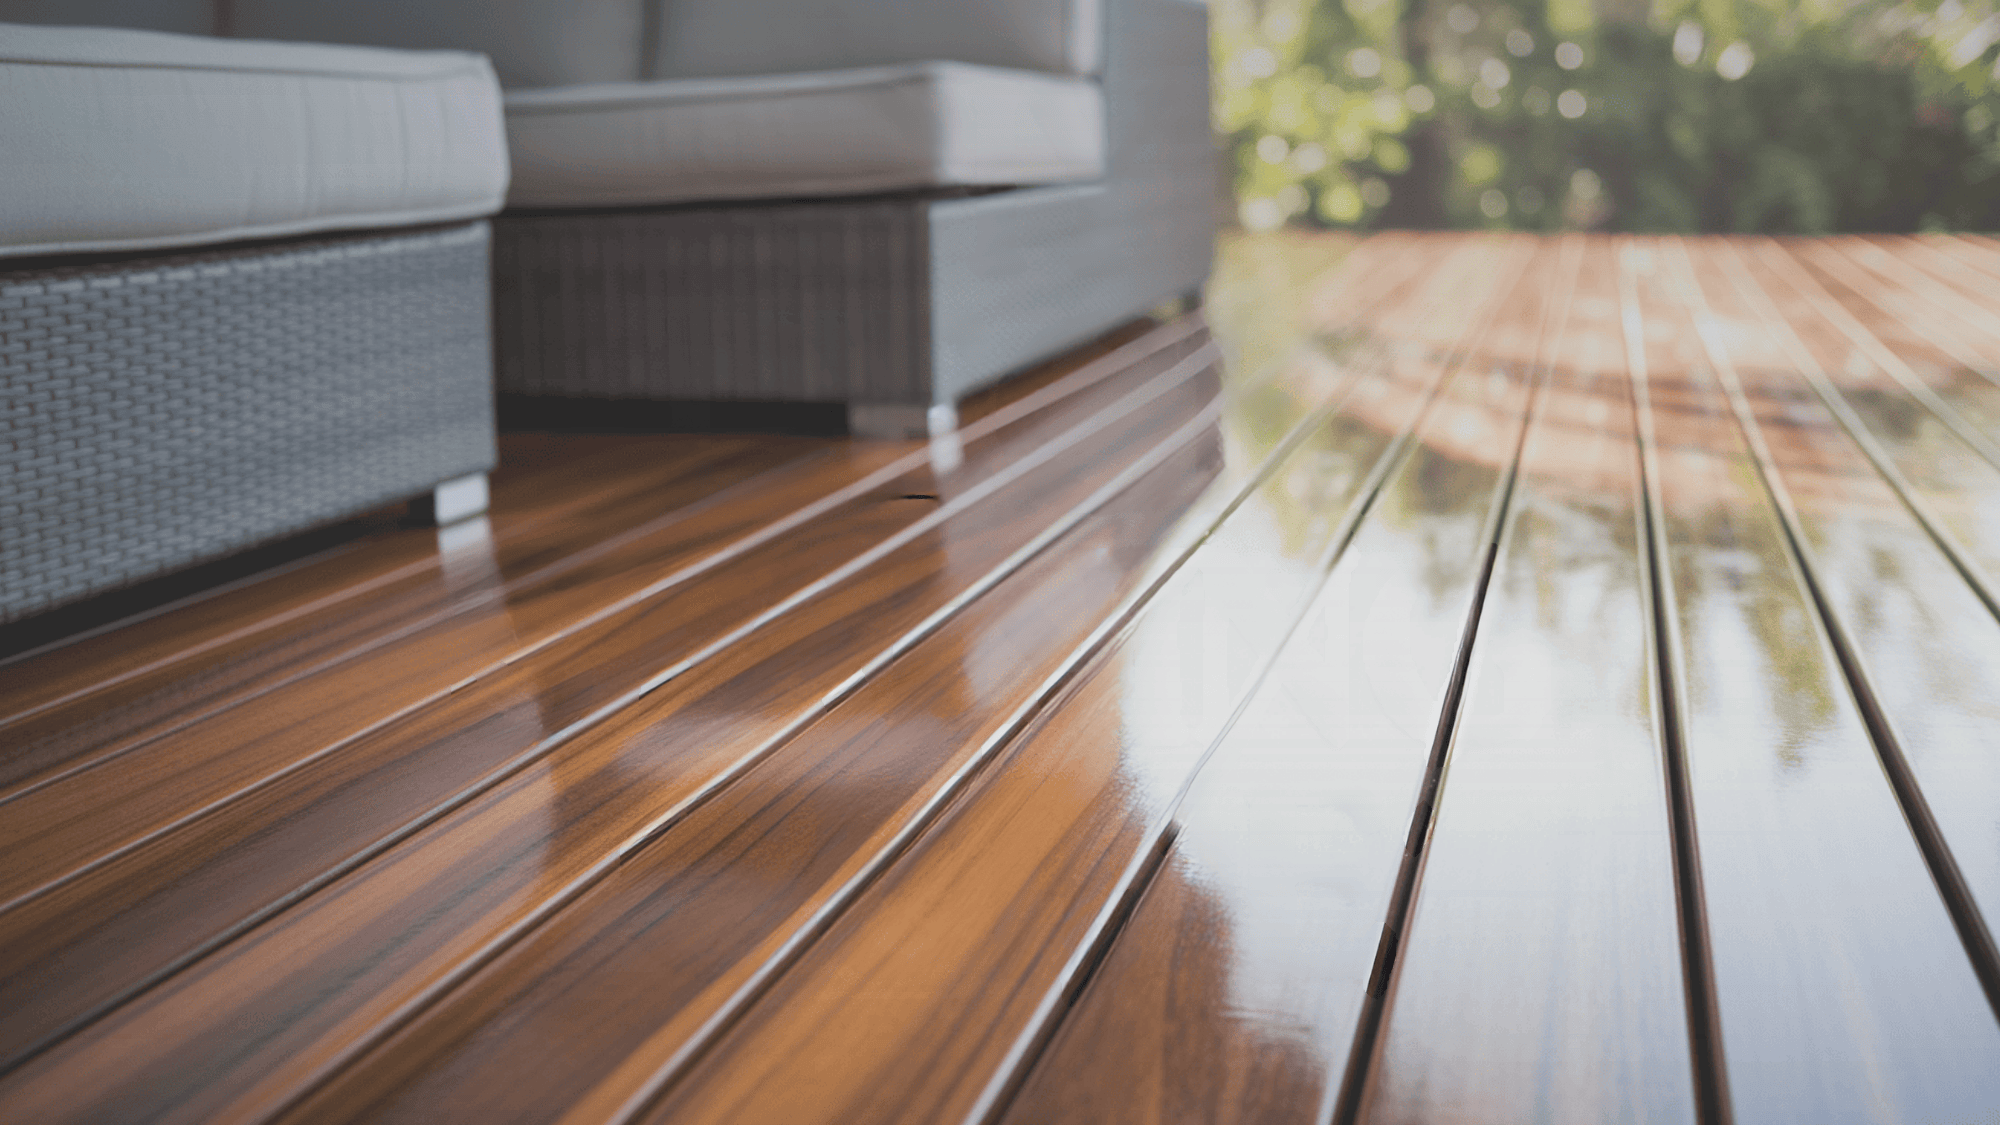
A well-maintained deck can completely change your outdoor space into a functional extension of your home.
Wood decks, in particular, offer warmth and character, but they need proper care to protect them from sun damage, moisture, and everyday wear and tear.
This blog provides a straightforward, step-by-step guide to deck staining, which you can easily complete over a weekend.
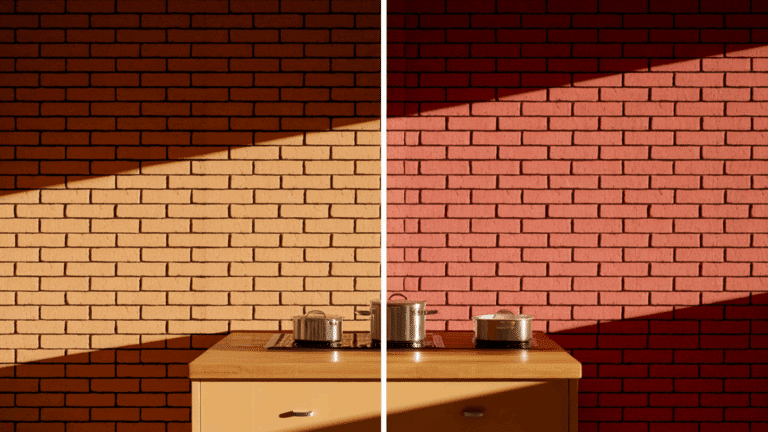
If you’re aiming for a fresh look or a protective finish, a deck before and after can showcase the dramatic improvements you can achieve.
With the right materials and these easy-to-follow tips, you’ll significantly extend the life of your deck while increasing its beauty.
Plus, the satisfaction of seeing your hard work pay off makes this practical home improvement project even more rewarding.
Tools and Materials Required to Stain a Deck
| Tools | Materials |
|---|---|
| Pressure washer | Deck stain |
| Stiff brush | Deck cleaner |
| Pad applicator or brush | Plastic drop cloths |
| Paint roller with extension pole | Painter’s tape |
| Sanding materials | Gloves |
Approximate Budget Range: $165-300, depending on what you already own and the size of your deck.
Step-By-Step Guide to Staining a Deck
Staining your deck is an effective way to protect and refresh its look. Follow this step-by-step guide to achieve a professional-looking finish quickly and easily.
1. Clear the Space
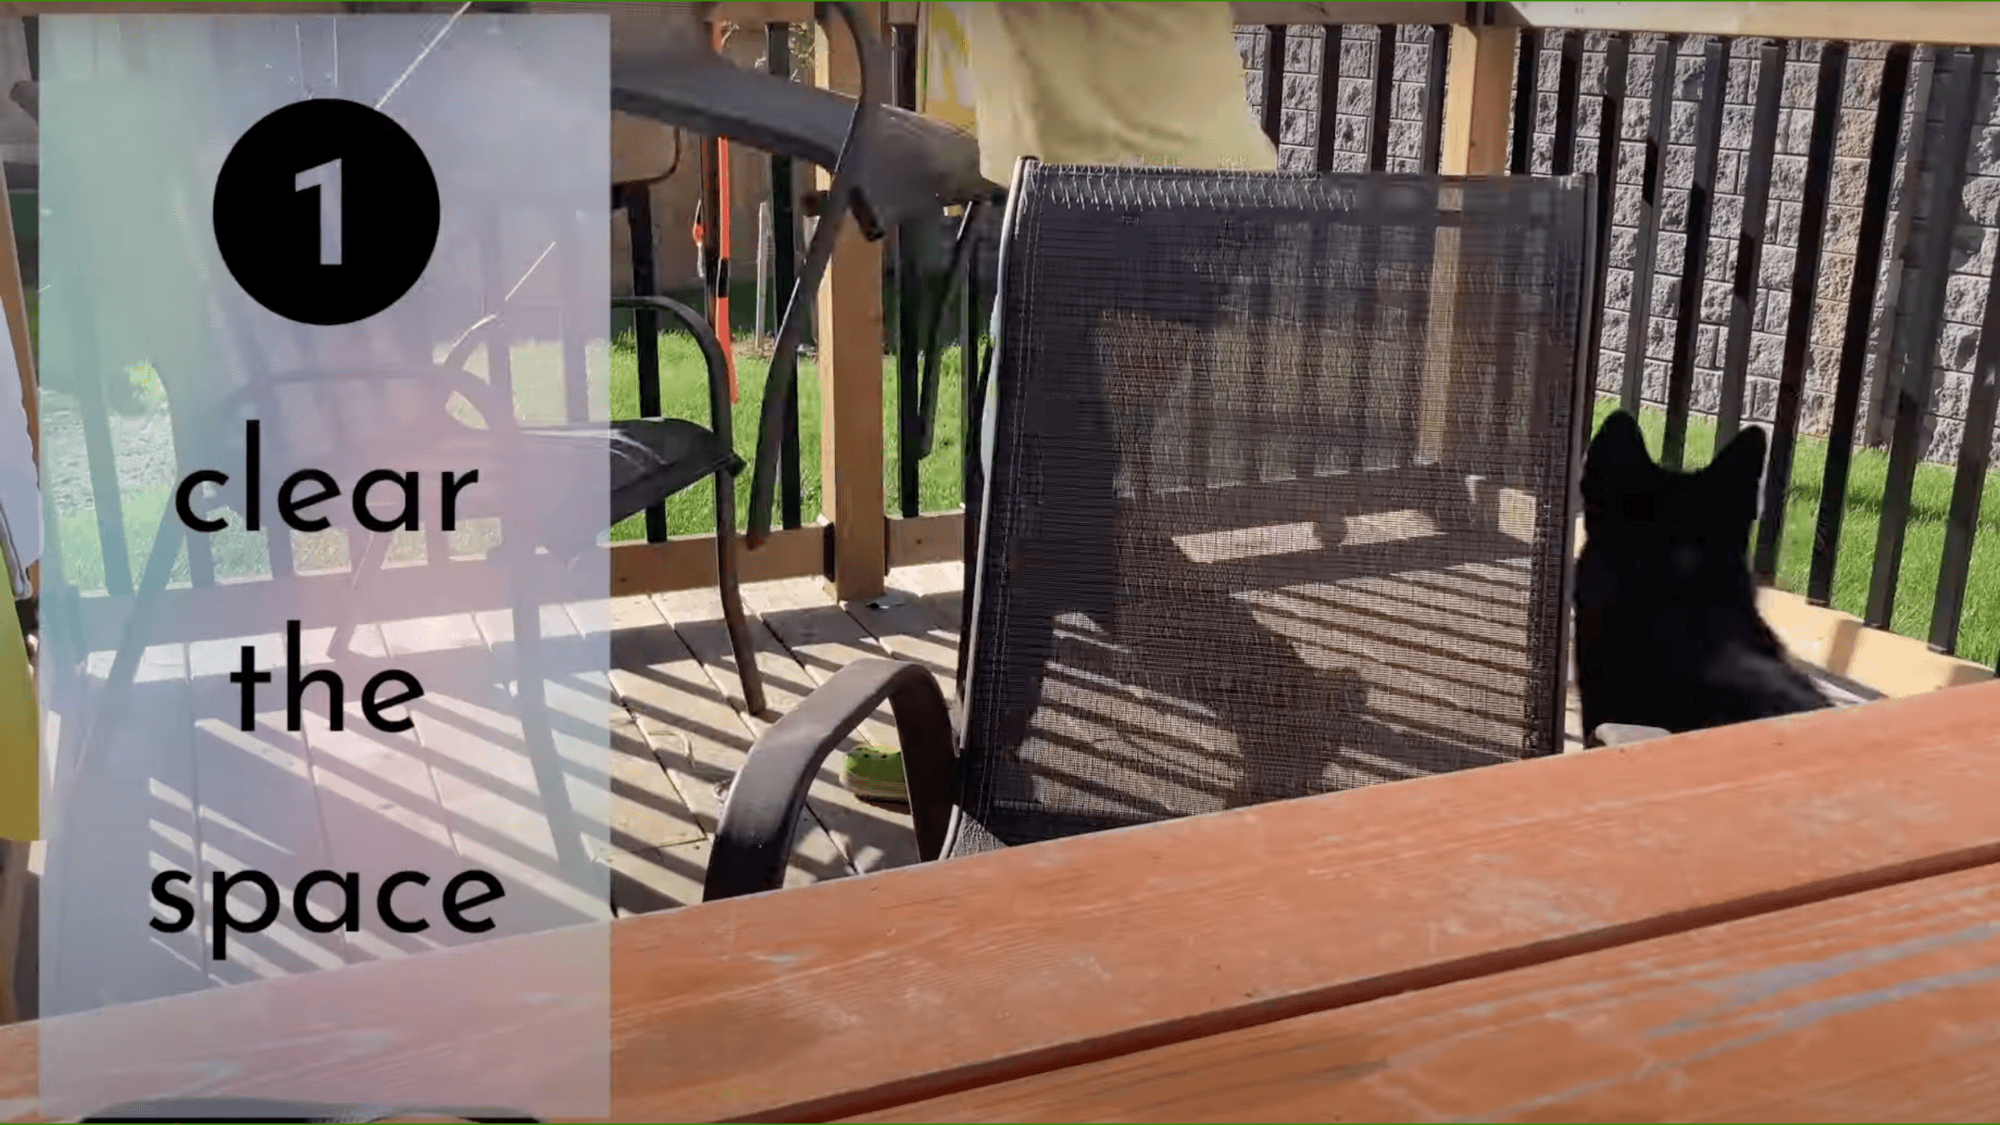
Begin by completely removing all furniture, planters, and decorative elements from your deck. This thorough clearing ensures no objects obstruct your staining process or create uneven application areas.
Clear away smaller items, such as grills, toys, and doormats, to expose the entire wooden surface. Proper preparation creates an unobstructed workspace, allowing you to move freely while applying stain to every board.
2. Tighten Deck Screws
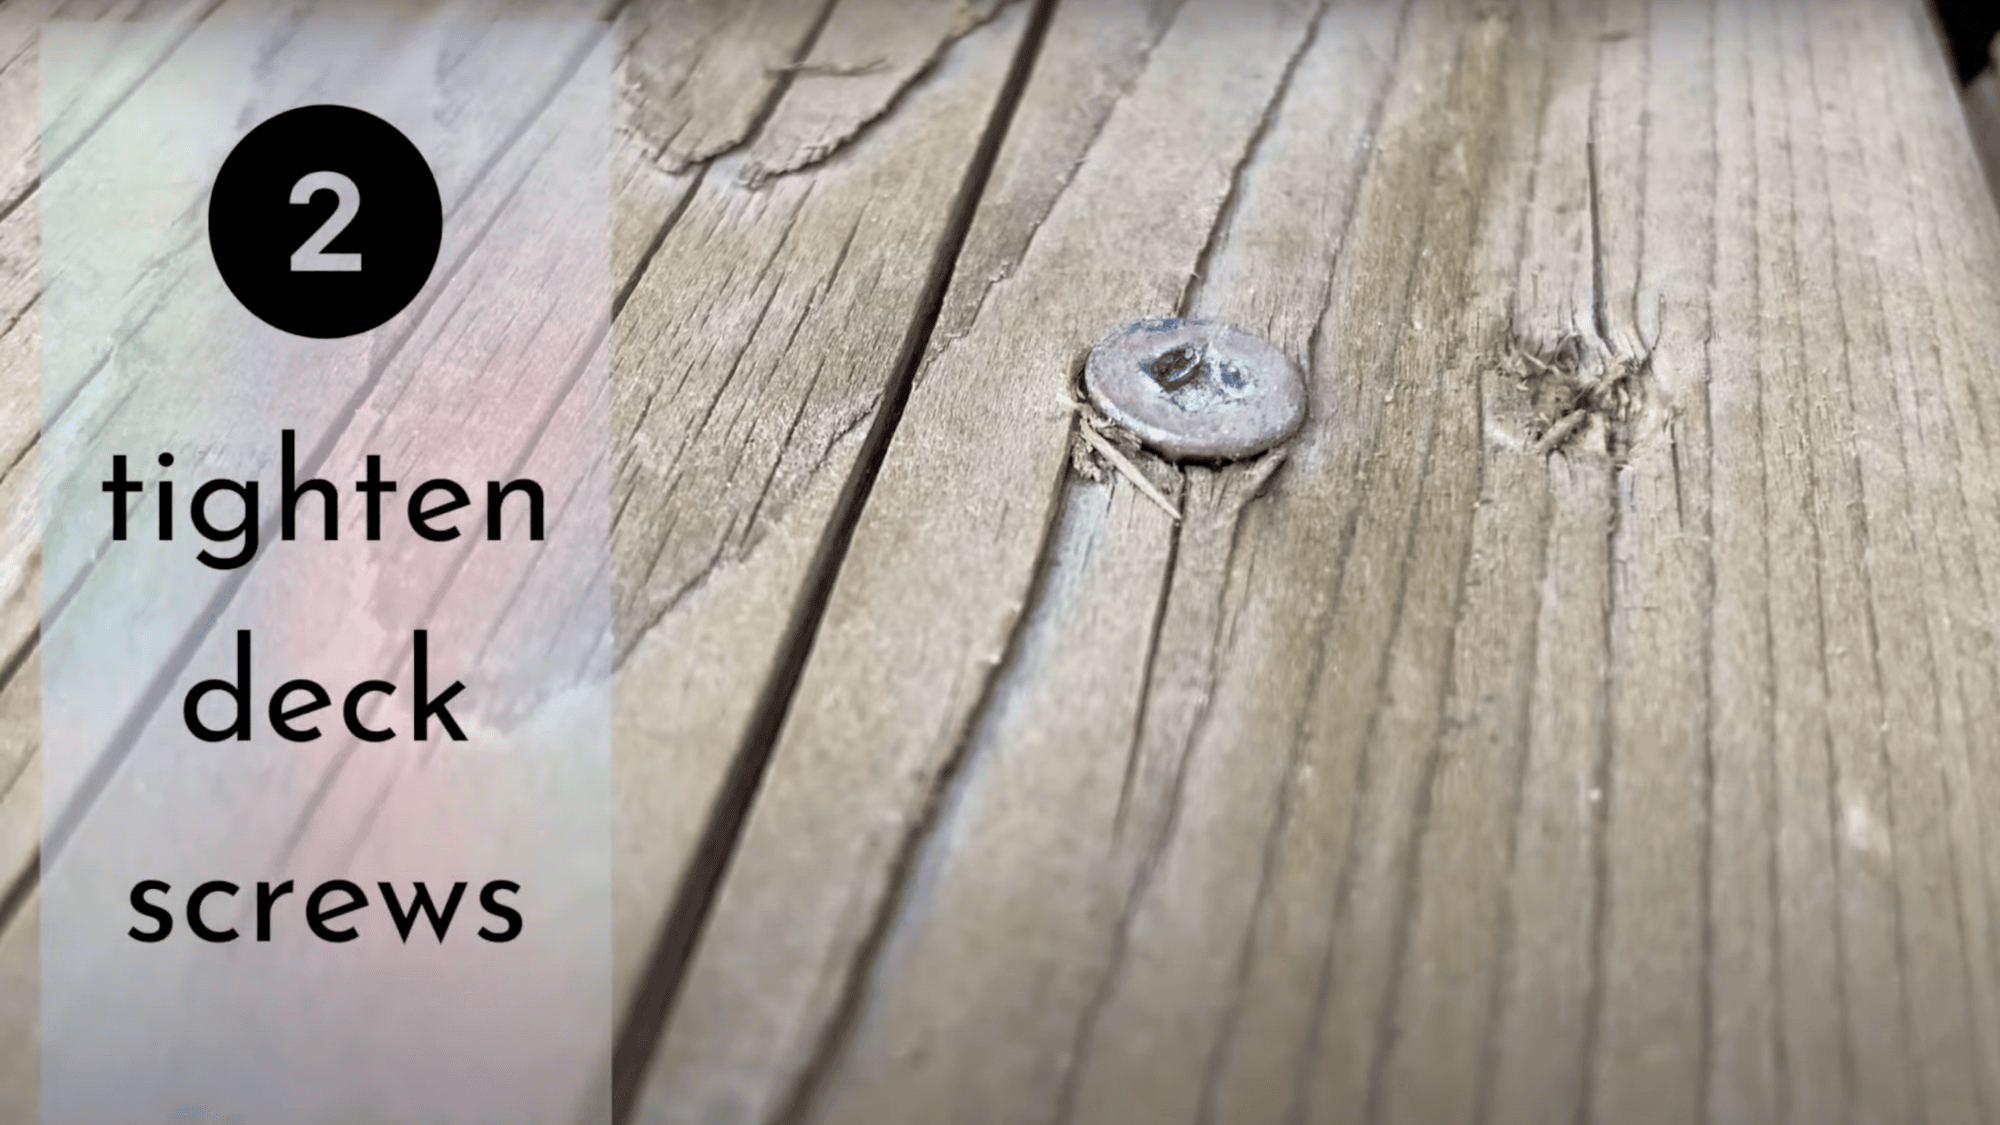
Examine your deck carefully for any loose or protruding fasteners that could pose a hazard. Use a power drill to tighten loose screws and tap down any raised nails to create a smooth, secure surface.
Check both visible and hidden areas, including under railings and between boards. This maintenance step prevents future issues and ensures your stain application tools won’t catch on uneven hardware.
3. Wash the Surface Area

Clean your deck thoroughly using a garden hose with a spray attachment or a pressure washer on a low setting. Start from a distance to avoid causing damage and work methodically from one end to the other.
Remove all surface dirt, mildew, and residue from previous finishes to allow for proper stain absorption. Allow adequate drying time after washing, typically 24-48 hours, until the wood reaches its natural color again.
4. Sand Rough Areas
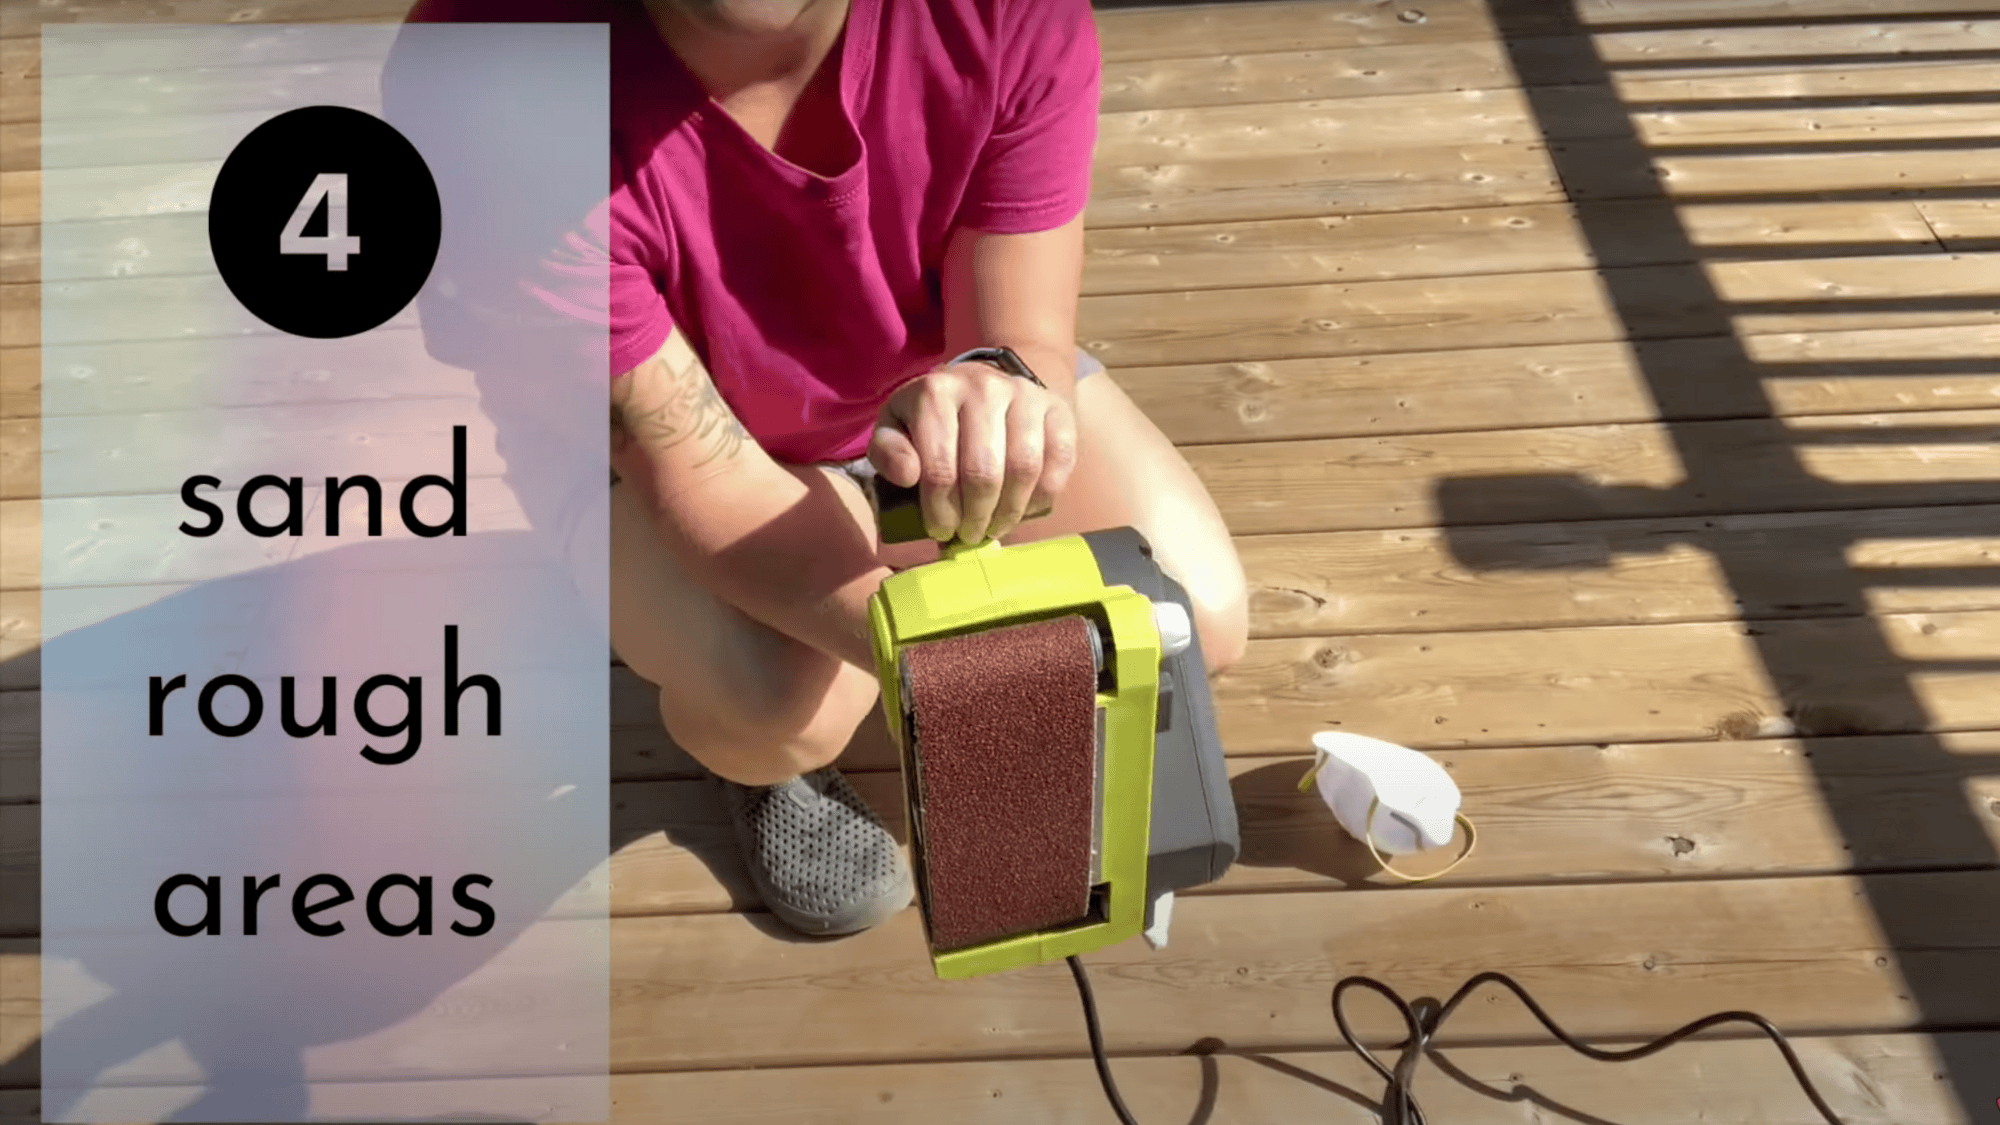
Identify splintered or rough sections that need attention and use an electric sander with 80-grit sandpaper. move the sander in the direction of the wood grain to avoid creating cross-grain scratches.
Focus on high-traffic areas and spots where people might walk barefoot. After sanding, clear away all dust using a leaf blower or broom; any remaining particles will affect how evenly the stain absorbs.
5. Stain the Deck
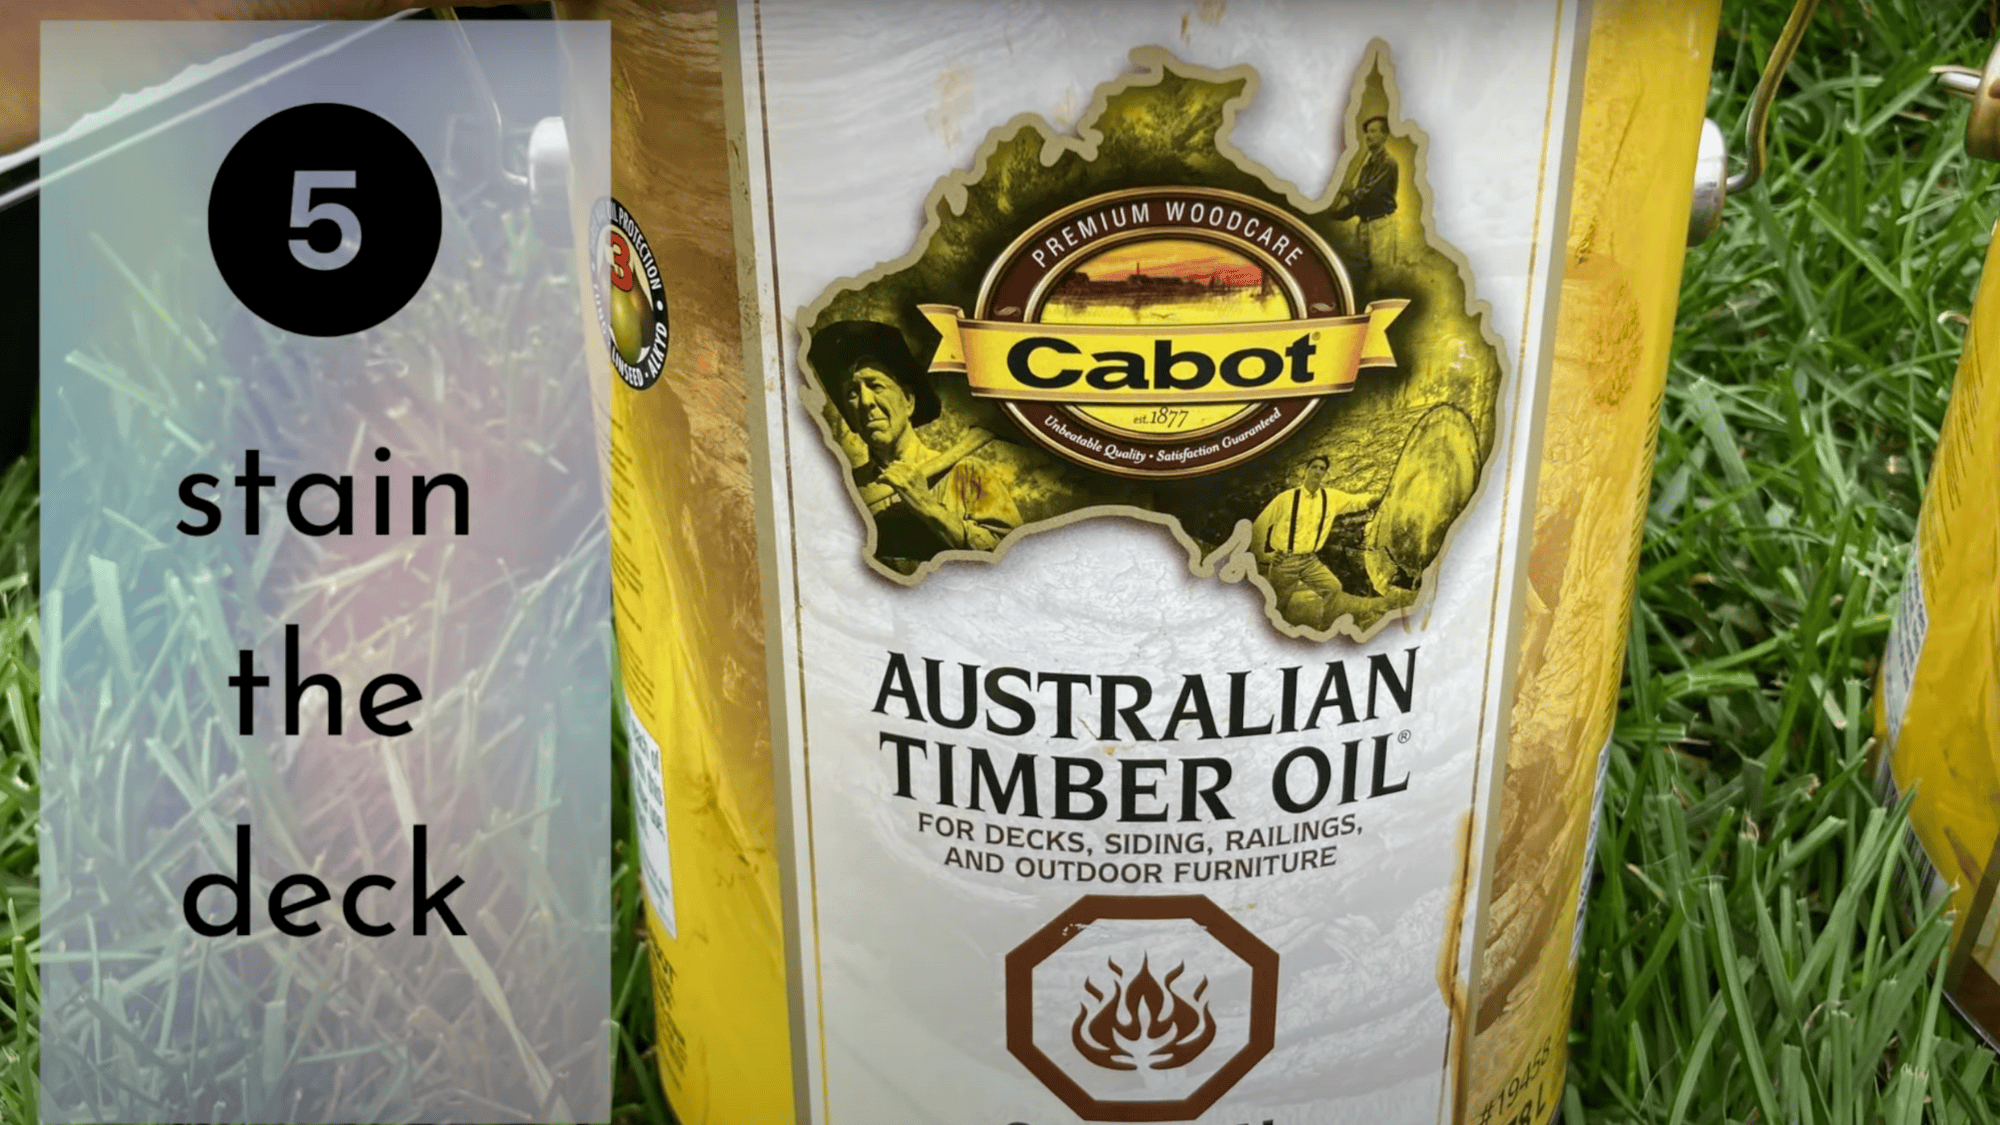
Pour your stain carefully using painter’s tape as a makeshift spout to prevent messy drips. Begin application in a less noticeable corner to perfect your technique before moving to more visible sections.
Work methodically across the deck, using a wide-bristled brush for large areas and a smaller, angled brush for edges. Blend stain from multiple containers to prevent color variations and allow complete drying before considering a second coat.
For a More Detailed Tutorial on How to Stain Your Deck, Check out the Video Below:
Deck Stain Before and After
Convert your outdoor living space with these beautiful color options that breathe new life into tired wooden surfaces.
1. Rich Walnut
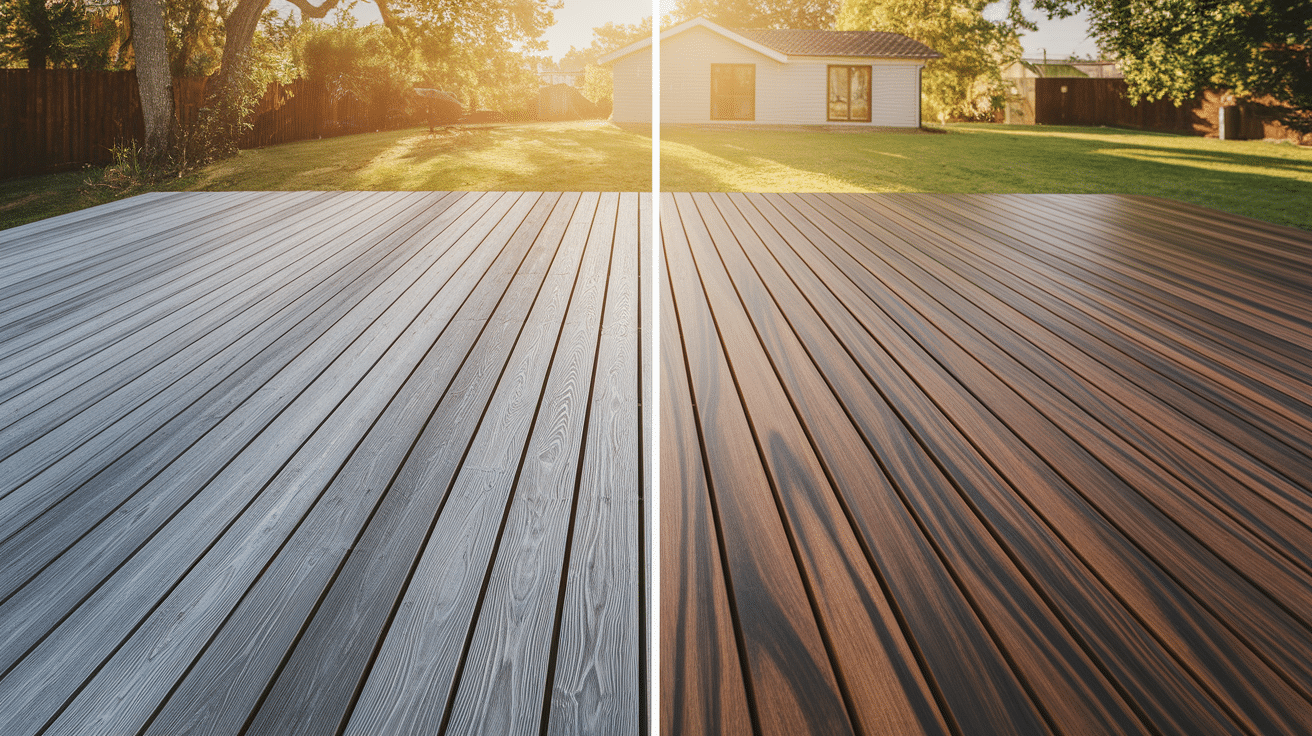
Before: The tired gray deck reveals years of sun damage, with boards appearing lifeless and worn, showing fading color and a rough texture throughout.
After: Warm walnut stain revives aged boards, rich chocolate tones bring depth, highlighting grain patterns while creating an inviting outdoor entertaining space.
2. Deep Mahogany
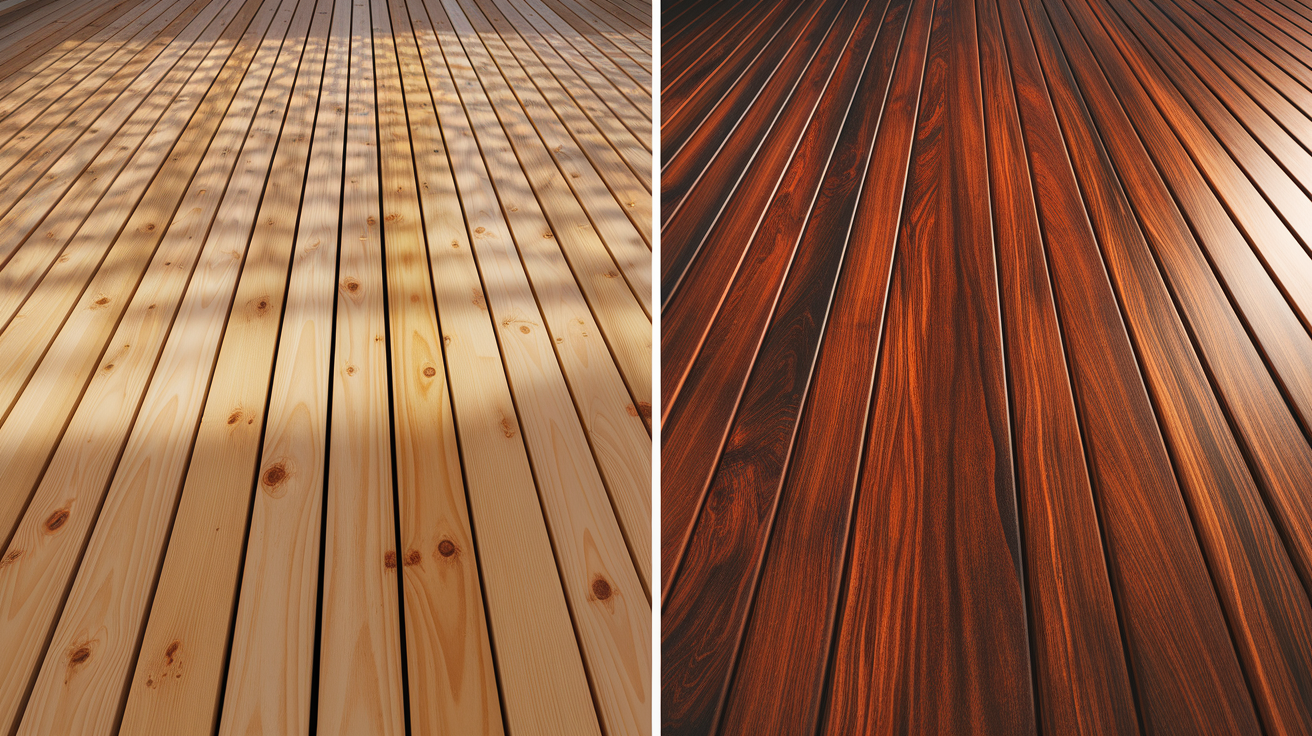
Before: Raw Pine deck displays yellowish undertones and light coloration, knots and grain patterns seem washed out against the pale wood surface.
After: A luxurious mahogany change showcases a dramatic red-brown finish, with wood grain popping with enhanced definition, creating a stylish foundation for outdoor gatherings.
3. Navy Blue
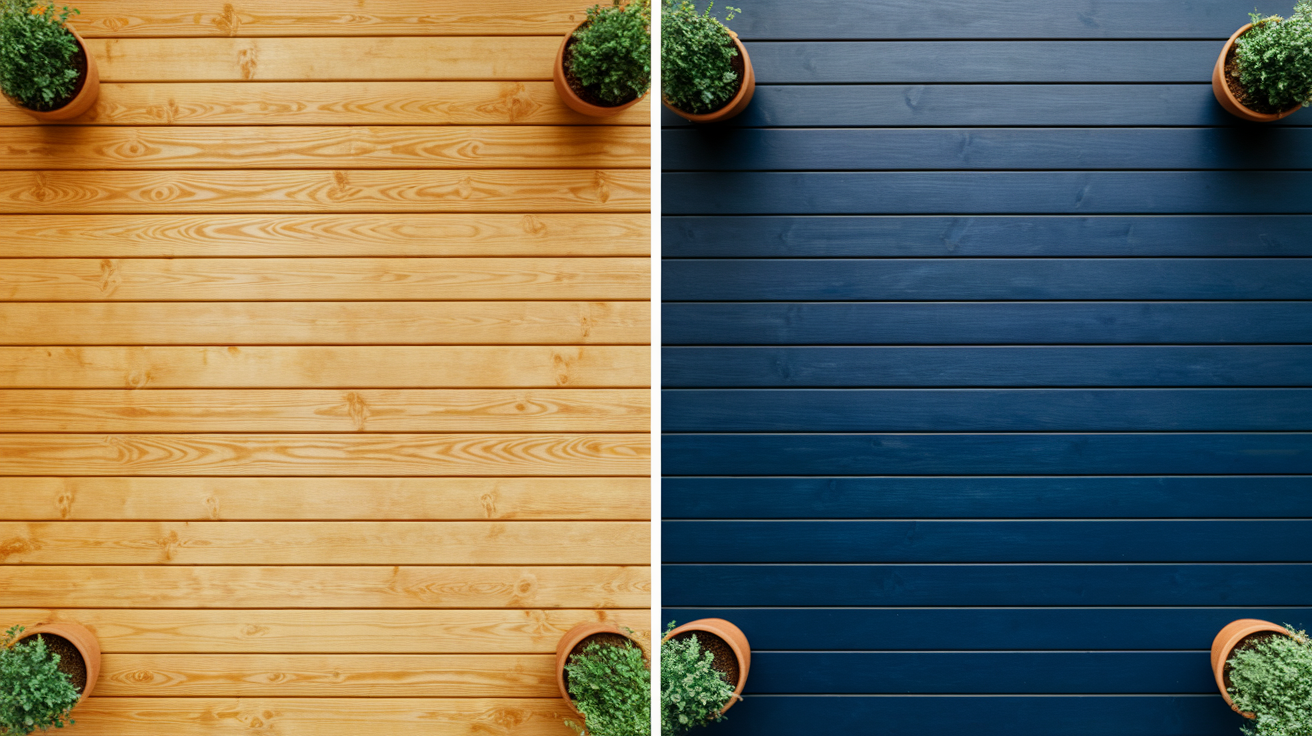
Before: The faded cedar appears dull and lacks vibrancy; once-beautiful boards now exhibit uneven coloration due to prolonged sun exposure and weather damage.
After: Bold navy blue finish makes a contemporary statement. Uniform color application maintains visible wood texture while adding dramatic contrast against the surrounding landscape.
4. Rustic Redwood
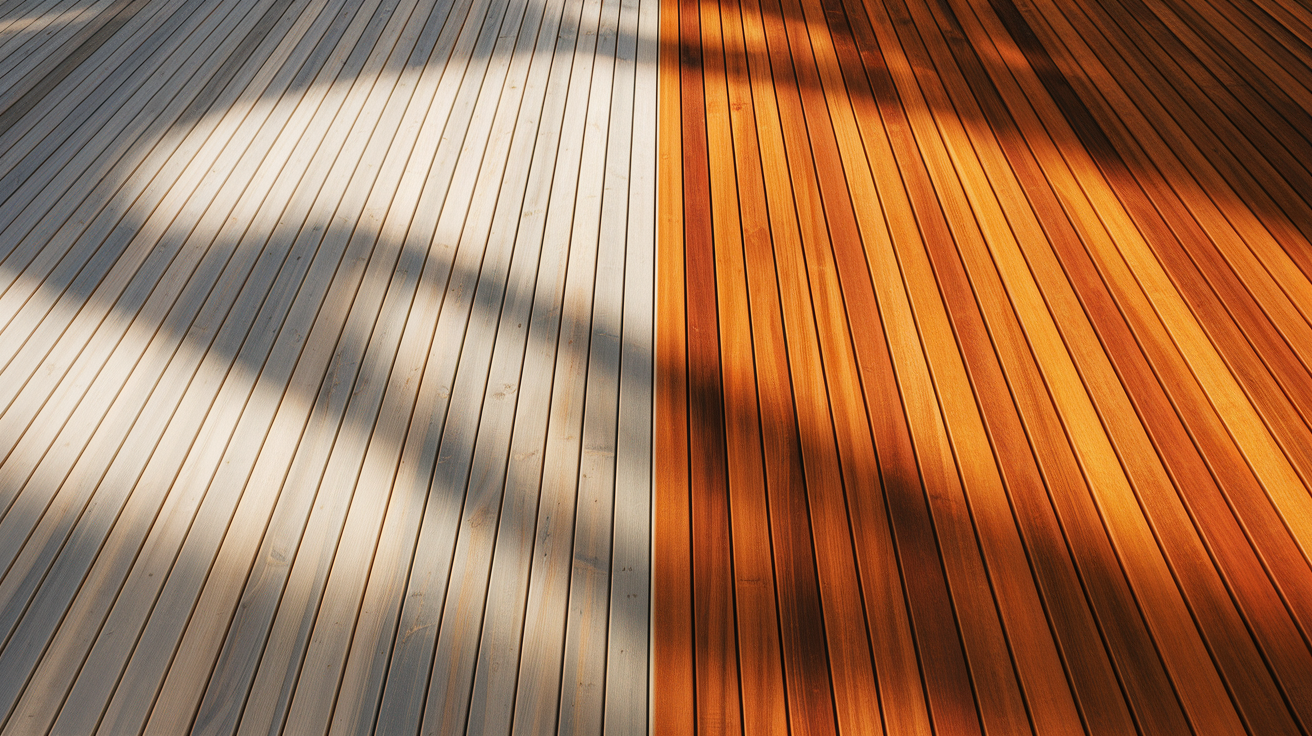
Before: Sun-damaged teak appears washed out and gray; the wood grain remains visible but lacks warmth, with a stripped, colorless appearance across all boards.
After: Vibrant redwood stain restores the natural beauty and warmth, while rich amber-red tones highlight grain patterns, creating a classic outdoor look that ages gracefully.
5. Ebony Black
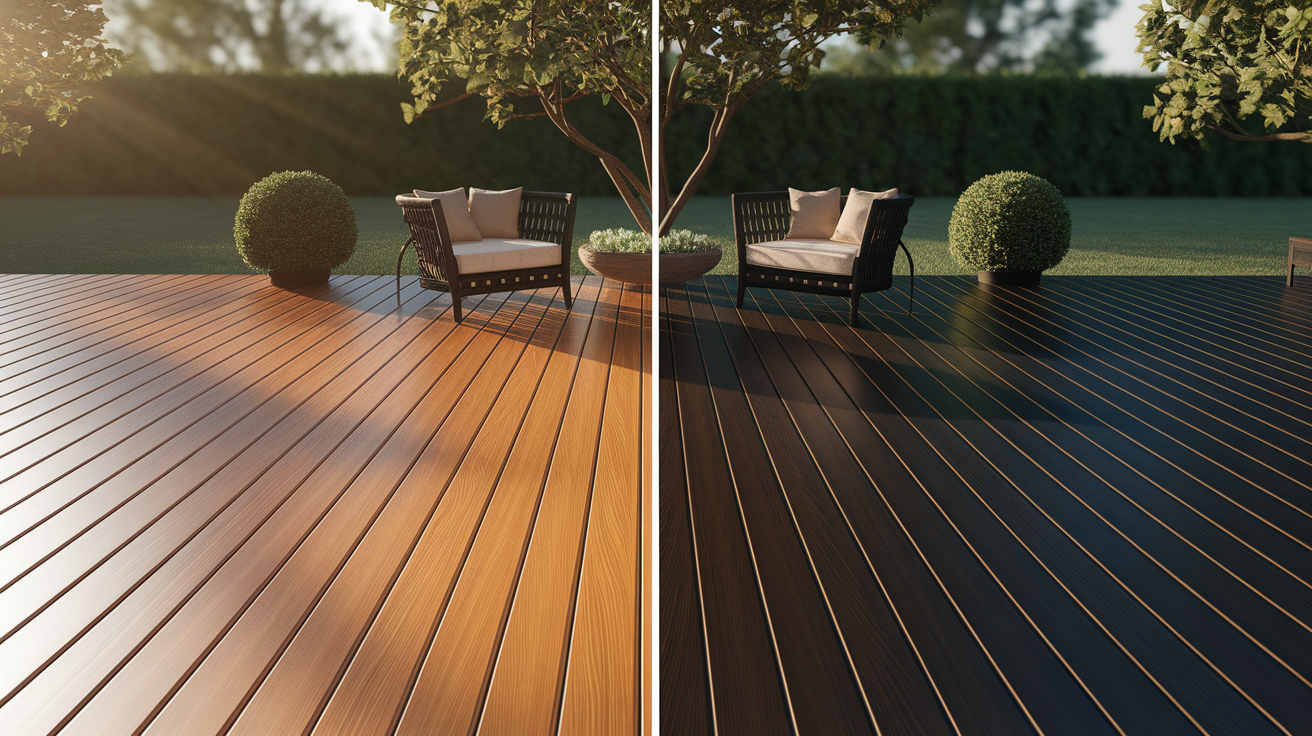
Before: The Medium-Toned honey oak deck appears ordinary and forgettable, golden-brown coloration lacks personality, and fails to make a visual impact outdoors.
After: The striking ebony finish creates a modern focal point, while the intense black pigment maintains subtle grain visibility, establishing bold contrast with the surrounding environment.
Tips for Best Results
To achieve a perfect finish when staining wood, follow these expert tips for optimal coverage and durability, ensuring your project lasts longer.
- Always read the stain manufacturer’s specific instructions.
- Work in the shade whenever possible to slow down drying and allow for better stain absorption.
- Consider the wood type when selecting a stain; cedar, pine, and pressure-treated woods absorb stains differently.
- Older decks might need more stain than newer ones.
- Less is often more; thin coats are better than thick ones.

Final Thoughts
Staining your deck is an easy and rewarding way to protect and refresh your outdoor space. By following these simple steps, you can extend the life of your deck while enjoying a beautiful, well-maintained outdoor area.
Don’t wait for the damage to get worse—get started on your deck staining project today and experience the beautiful before-and-after results yourself.
Ready to transform your deck? Gather your materials, roll up your sleeves, and let’s make your outdoor space shine!

