DIY Wood Shutters: Build Your Perfect Window Accent
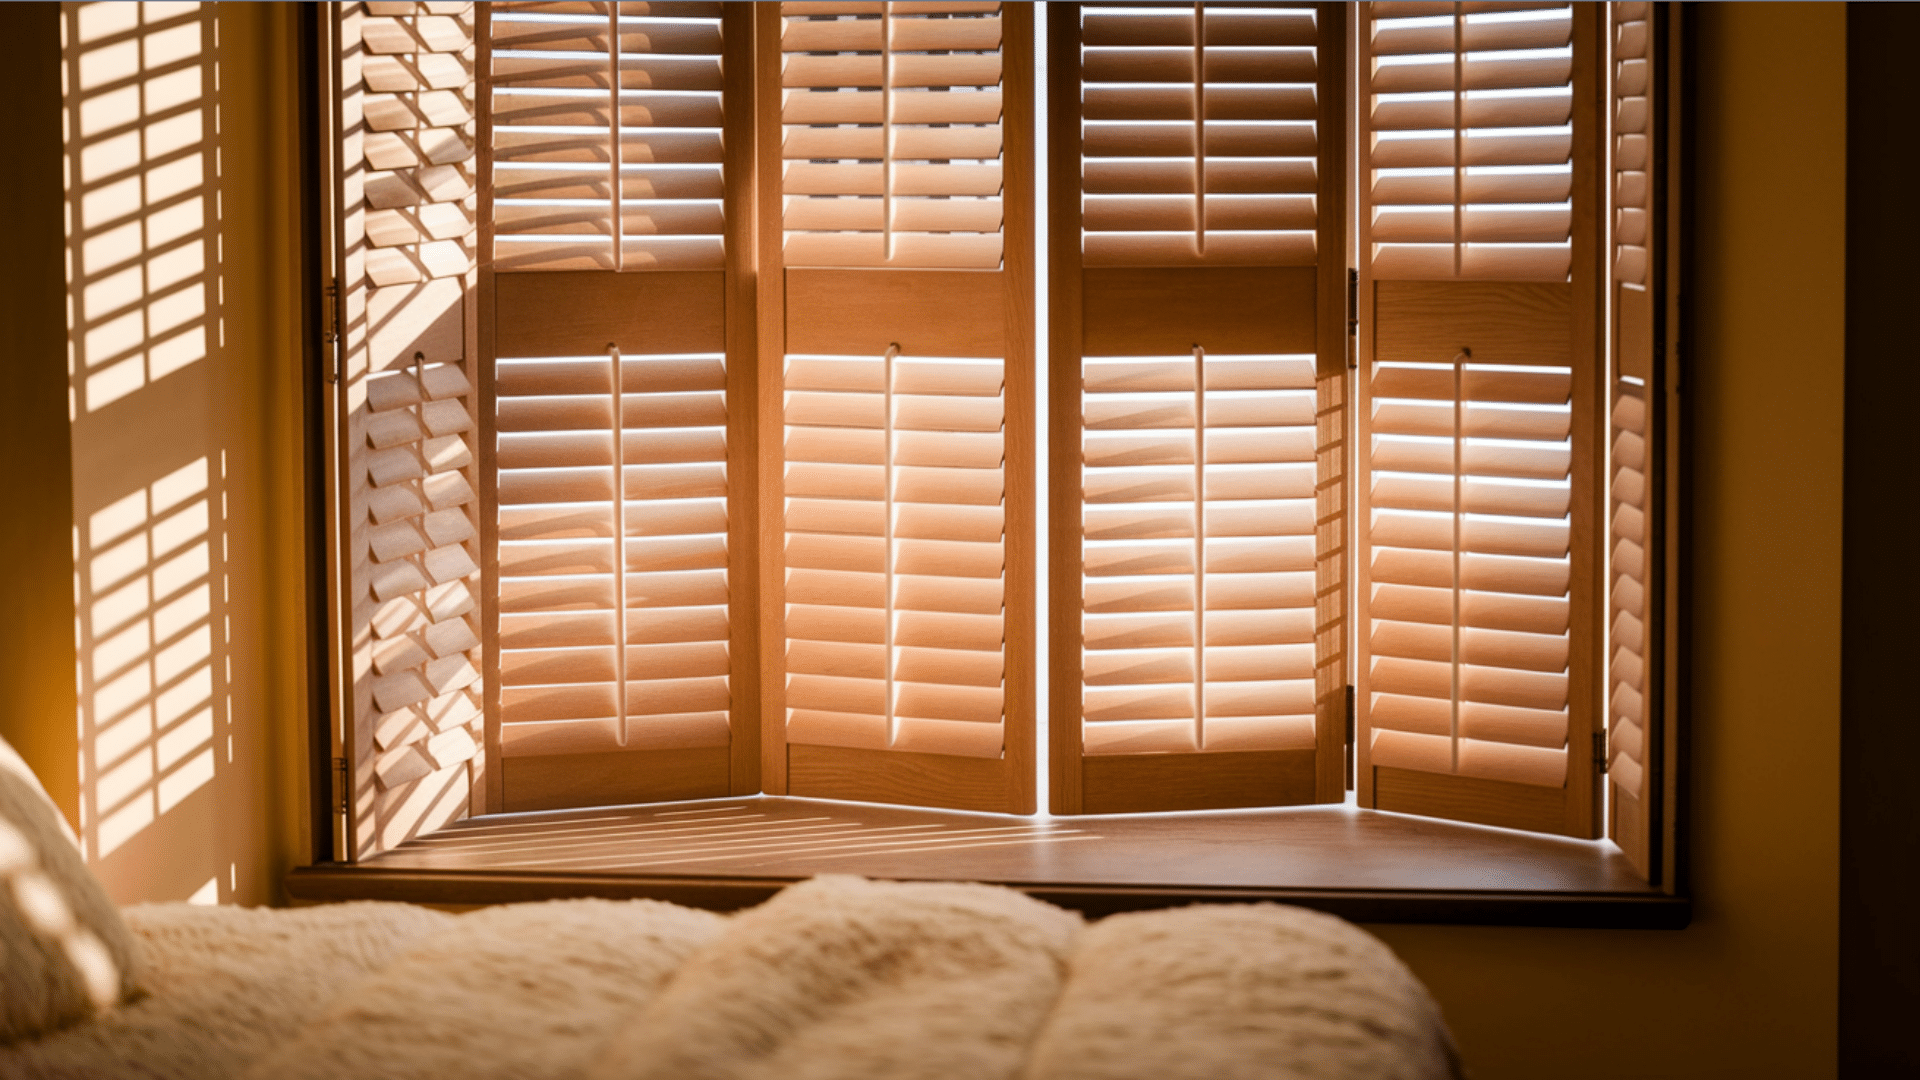
Wood shutters are a great way to add style and charm to any window. They can help block out light, offer more privacy, and even improve the temperature inside your home.
Making your own shutters is a fun and rewarding project that lets you personalize your space without breaking the bank.
It doesn’t matter even if you are new to DIY; this project is perfect for adding a unique touch to your home.
It’s easier than you might think! We will walk you through each step, from measuring your windows to adding those final finishing touches.
Why Choose Wood Shutters?
Wood shutters are wooden panels that fit over your windows. You can open or close them to control how much light gets in and to make sure no one can see inside.
They’re also great for keeping your home comfortable by blocking out heat in the summer or keeping warmth inside during the winter.
Shutters look nice and can make any room feel more stylish, even if you are going for a classic or modern look.
They’re built to last, so you won’t have to replace them often. Plus, they’re easy to clean and maintain, making them a smart choice for your home.
Tools and Materials Required to Make Wood Shutters
To create beautiful and functional wood shutters for your home, you’ll need some basic materials and tools. Here’s a list of what you’ll need to get started:
| Item | Cost Range |
|---|---|
| Wood Boards | $10–$30 per board |
| Screws or Nails | $5–$10 per pack |
| Wood Glue | $3–$6 per bottle |
| Paint | $30–$70 per gallon |
| Stain | $20–$50 per gallon |
| Sandpaper | $5–$10 per pack |
| Saw | $100–$250 |
| Drill | $50–$100 |
| Tape Measure and Pencil | $5–$10 |
| Clamps | $10–$20 |
| Sander | $50–$100 |
Step-by-Step Guide to Making Wood Shutters
Making wood shutters for your windows is a simple DIY project that can bring a stylish, classic look to any room.
With the right materials and a few tools, it’s easy to create custom shutters that fit your windows perfectly.
Step 1: Measure Your Window
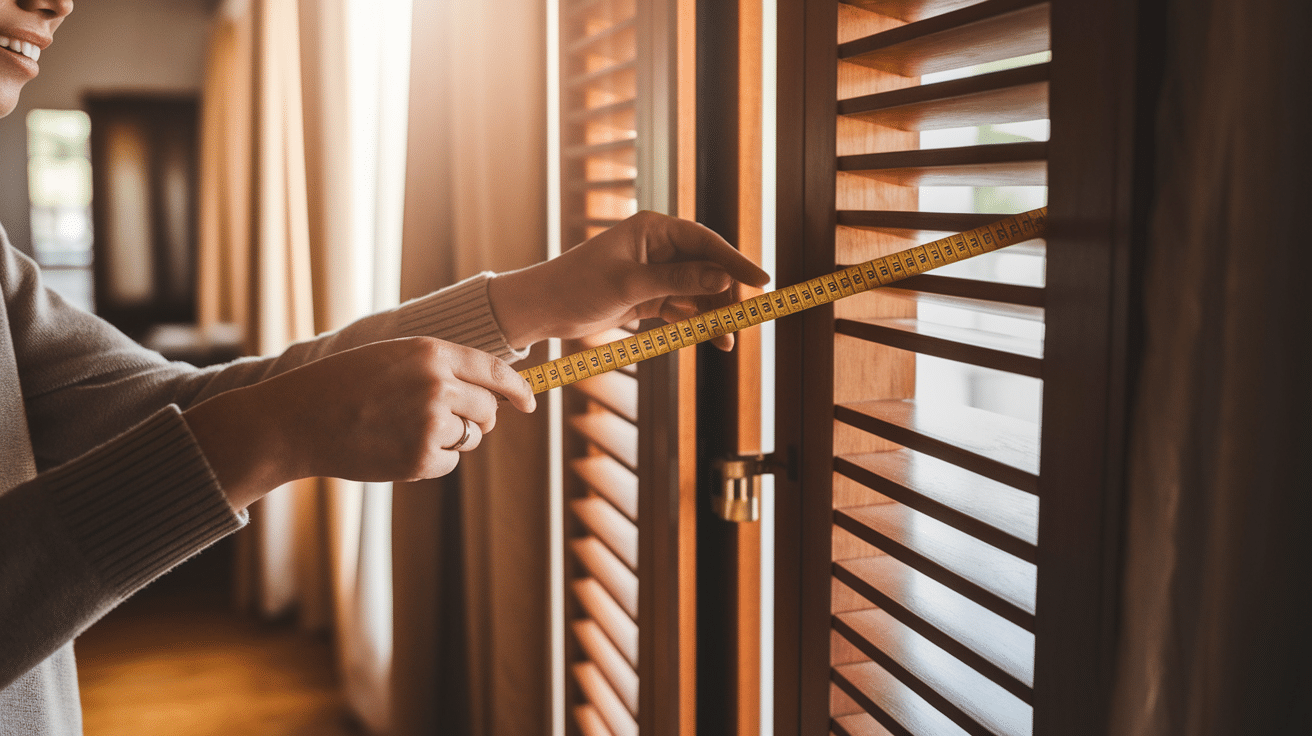
Start by carefully taking accurate measurements of your window’s height and width to make sure your custom shutters will fit perfectly and function as intended.
- Measure the width and height of your window carefully.
- Double-check the depth of the window frame to ensure the shutters won’t be too thick.
- It’s a good idea to measure in a few spots to get the most accurate measurements.
Step 2: Choose the Right Wood
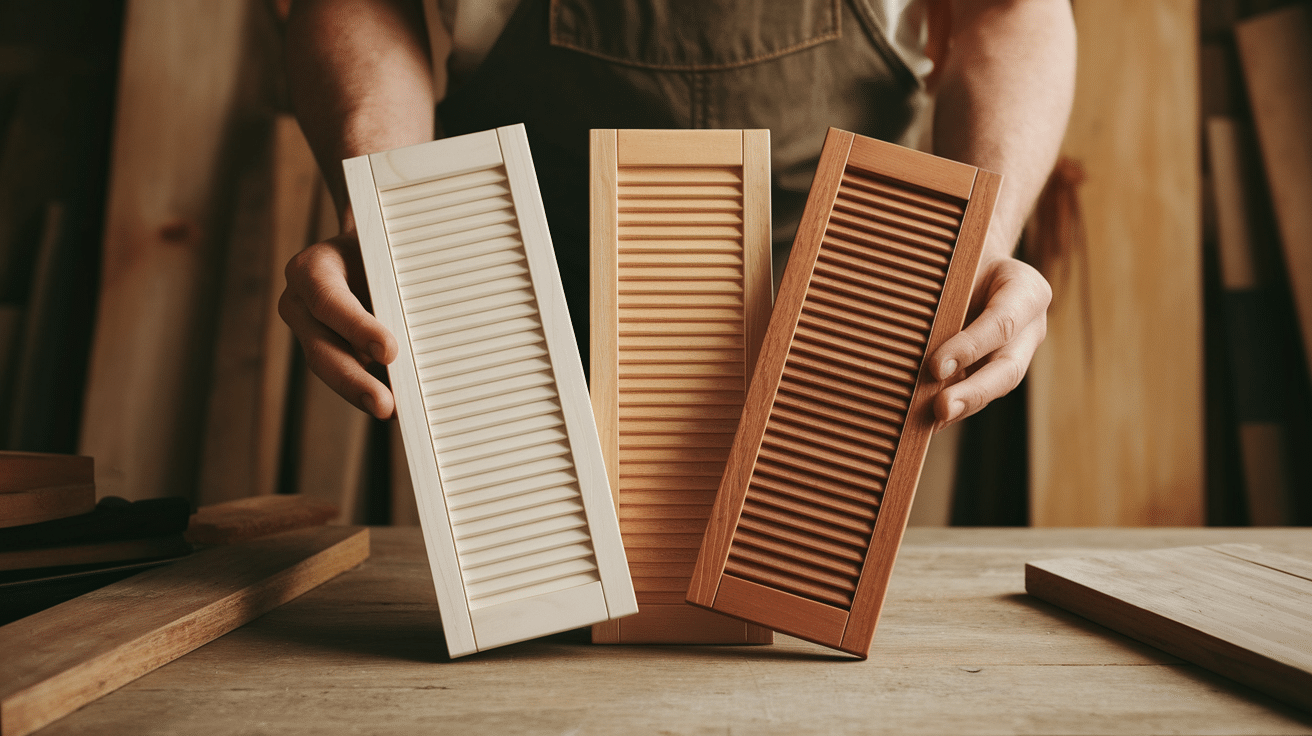
Picking the right wood for your shutters is important for both durability and appearance, as different types of wood offer varying levels of strength, texture, and weather resistance.
Popular wood choices for shutters include pine, cedar, and oak.
- Pine is affordable and easy to work with, but it’s softer and may get damaged more easily.
- Cedar has a nice look and is more durable, but it can be a little expensive.
- Oak is very strong and long-lasting, but it can be heavier and harder to cut.
Step 3: Cut the Wood to Size
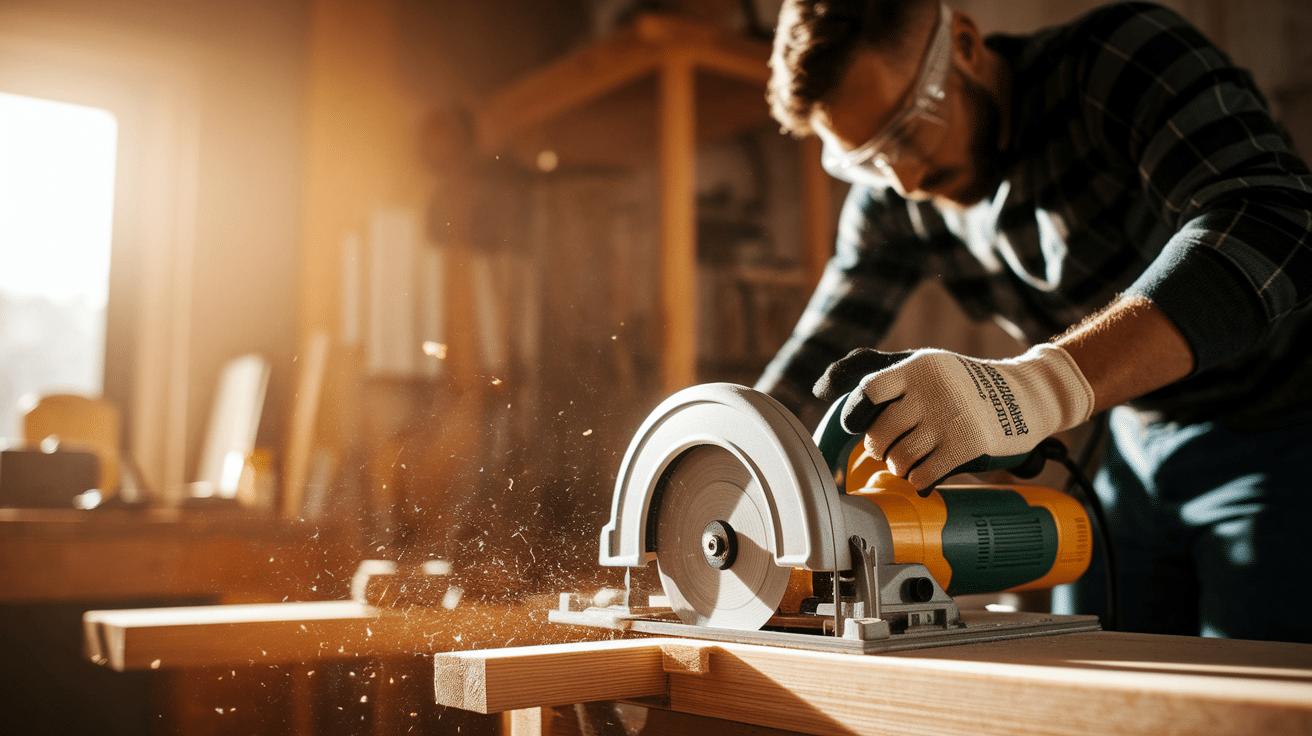
Once you have your wood, it’s time to carefully measure and cut each piece to the correct size, making sure all panels fit your window frame perfectly and evenly.
- After measuring, carefully cut the wood panels and slats to the right size using a saw.
- Always wear safety gear like goggles and gloves when working with power tools.
- Be sure to cut straight lines to ensure the pieces fit together perfectly.
Step 4: Sand and Prepare the Wood
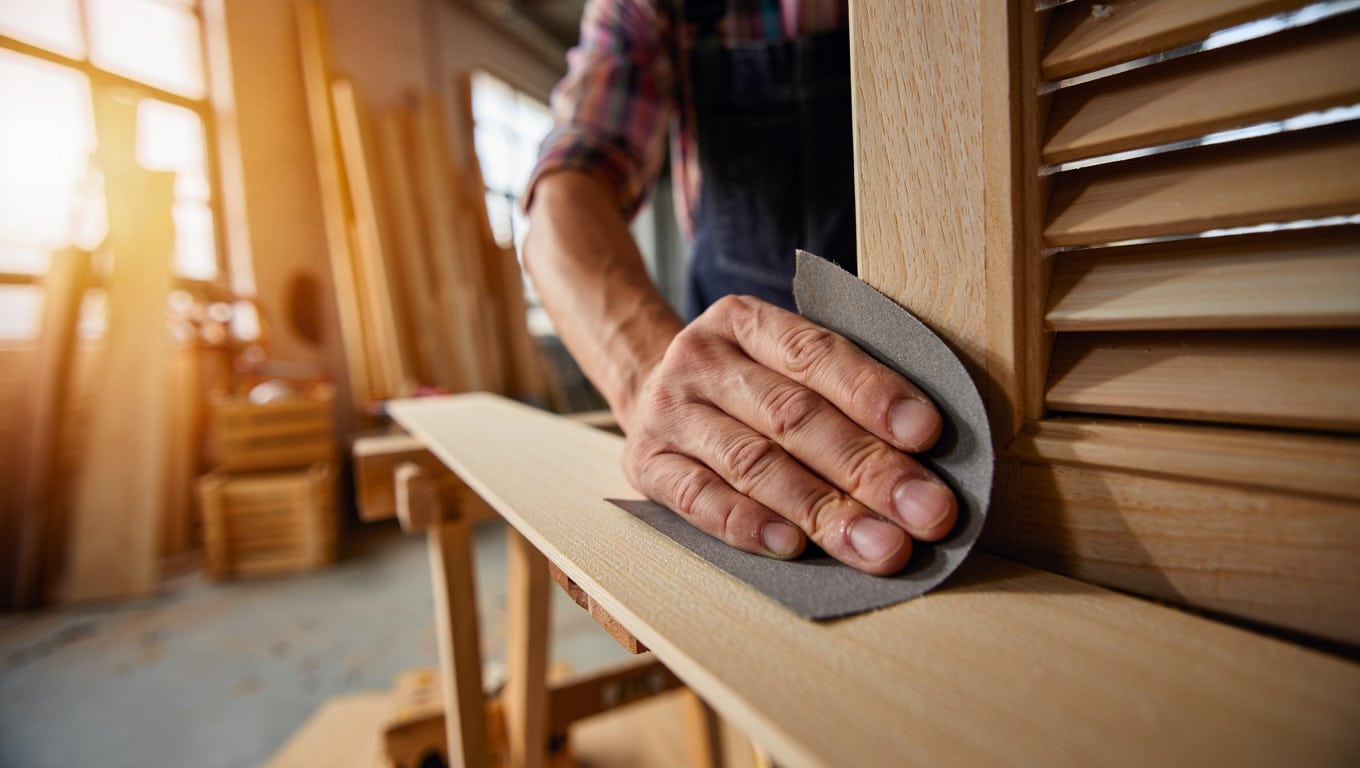
Sanding smooths out rough edges, removes any splinters or uneven surfaces, and helps prepare the wood so that paint or stain will stick better and last longer.
- Sand down the rough edges and surface of the wood until it’s smooth.
- Sanding helps the paint or stain go on evenly, giving the shutters a clean look.
- Make sure the wood is dust-free before moving on to the next step.
Step 5: Assemble the Shutter Frame
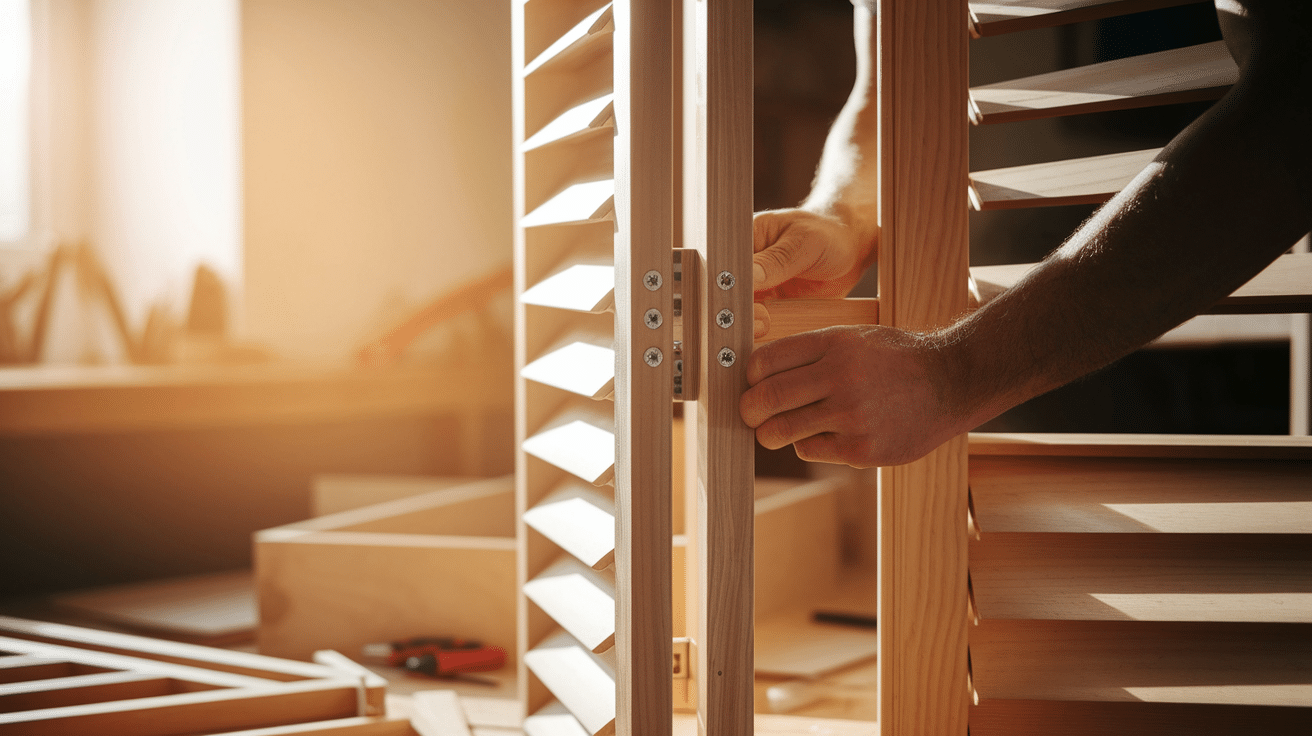
Now it’s time to put the frame together by carefully aligning the wooden pieces, making sure all corners match up, and securely fastening them with wood glue and screws.
- Start by putting together the outer frame of the shutters.
- Attach the frame pieces securely with screws, making sure everything lines up straight.
- If needed, use wood glue to reinforce the joints for extra strength.
Step 6: Attach the Slats to the Frame
Once the frame is done, attach the slats one by one using nails or screws, making sure they are evenly spaced and properly aligned to complete the shutters.
- Evenly space the slats across the frame, making sure they’re level.
- Use screws or nails to attach the slats, and check that they’re securely fixed.
- You can also adjust the angle of the slats for more control over light and privacy.
Step 7: Apply the Finish (Paint or Stain)
Now it’s time to finish the shutters with paint or stain, making sure to apply an even coat that protects the wood and gives it a clean, polished look.
- Choose a paint or stain that suits the look you want and can withstand wear.
- Apply the paint or stain evenly using a brush or cloth, making sure to cover all areas.
- Let the finish dry completely before moving on to the next steps.
Styles for Wood Shutters
When it comes to wood shutters, there are several styles to choose from, each offering a unique look. Here are a few popular styles to consider:
- Plantation Shutters: Wide, horizontal slats that offer great light control and a clean, classic look for both modern and traditional homes.
- Café Shutters: Cover only the bottom half of the window to keep privacy while letting natural light in through the top.
- Louvered Shutters: Angled slats allow airflow and filtered light, with a look that works in both old and new-style interiors.
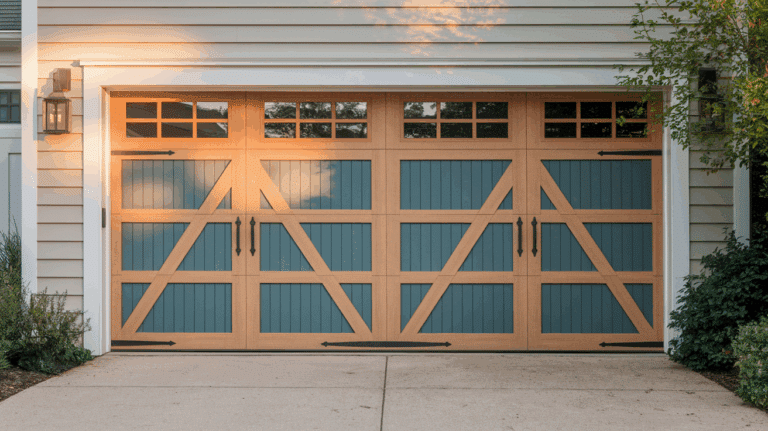
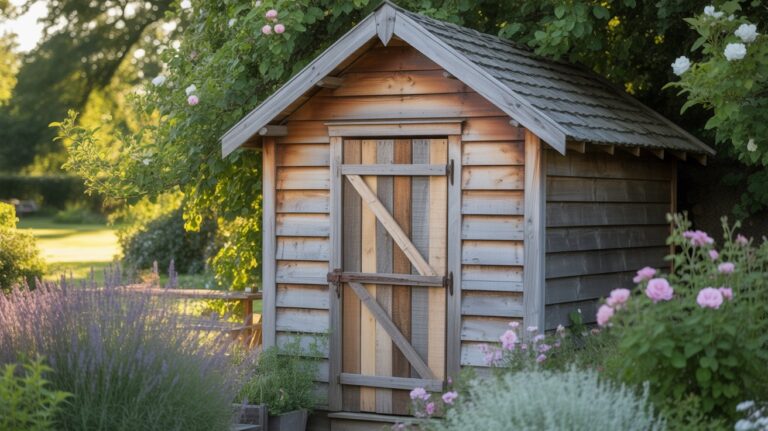
- Board and Batten Shutters: Made from vertical boards with cross slats, giving a rustic, strong look, often used on exteriors.
- Raised Panel Shutters: Feature slightly raised center panels for a formal, polished look, great for dining rooms or classic spaces.
Final Notes
DIY wood shutters are more than just a weekend project.
They’re a fun way to build something useful, personal, and long-lasting for your home.
You can choose any paint or stain, pick a style you love, and fit them to your windows just right.
These shutters not only look good, but they also provide better light control and privacy.
Plus, they save you money and make your space feel special. If you’re ready to try something creative and smart, DIY wood shutters are a great place to start.
Have you made wood shutters before, or do you plan to try this soon? Tell us, share with us in the comments below.

