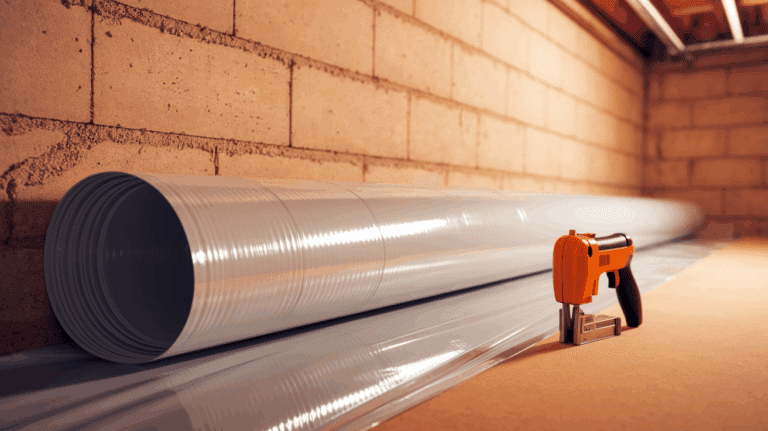
French Drain Basement Installation Guide

Thinking about fixing a wet basement?
Installing a French drain is a smart way to keep water out of your property.
It helps move water away from your foundation before it causes damage.
A French drain works by using a small trench, a pipe with holes, and gravel to carry water into a sump pump, which then pushes it outside.
It may sound complicated, but don’t worry. This guide will walk you through each step.
From breaking the floor to sealing it back up, keep things simple so you can follow along, even if it’s your first time working on a project like this.
Signs You Need a Basement French Drain
Here are some signs that water is winning the battle against your foundation:
- Water stains on walls or floors that seem to appear out of nowhere
- Peeling paint or wallpaper that keeps coming back, no matter how many times you fix it
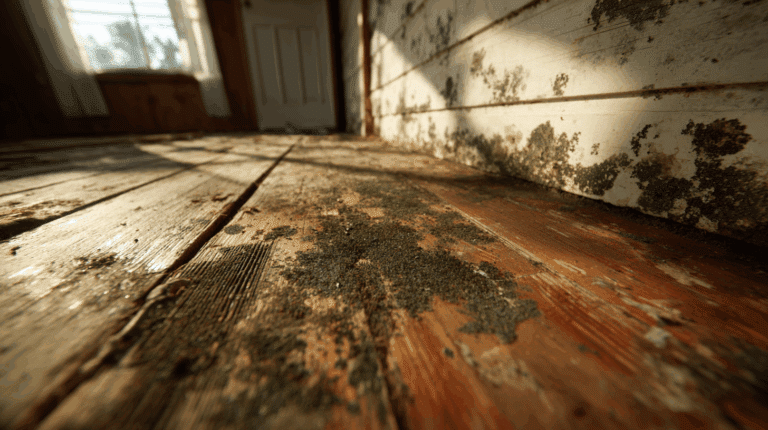
- Musty odors and mold growth that make your basement smell like a swamp
- Puddles or standing water after heavy rains or snow melts
- Foundation cracks that are getting bigger or multiplying over time
A French drain might seem like a big project now, but it’s way better than dealing with major foundation damage or a flooded basement later.
When your house starts talking, it’s time to listen!
Interior vs. Exterior French Drain Systems
When it comes to French drains, you have two main options: tackle the problem from inside your basement or address it from the outside.
Each approach has its advantages and trade-offs, so let’s break down what you need to know.
1. Interior French Drain (Under-slab)
This system gets installed beneath your basement floor around the perimeter and connects to a sump pump.
The upside? No digging up your beautiful yard, and it costs less upfront (around $4K-8K).
The downside? You’ll need to demolish some concrete, and you’re completely dependent on that sump pump working perfectly.
2. Exterior French Drain (Perimeter)
This approach intercepts groundwater before it even reaches your foundation walls by digging trenches around your home’s perimeter.
It’s the most effective way to prevent hydrostatic pressure and avoid interior damage altogether.
Just be prepared for some serious excavation work and landscape disruption.
Tools and Materials Used in Basement French Drain Installation
Before getting ready to install the French Draining system, make sure you have the necessary tools & materials ready:
| TOOL | MATERIAL |
|---|---|
| Jackhammer | Filter Fabric |
| Drill with Masonry Bit | 4-inch Perforated PVC Pipe |
| Shovel | ¾-inch Clean Gravel |
| Trowel | Sump Pump with Float Switch |
| Utility Knife | PVC Discharge Pipe |
| Bucket | Concrete |
Step-by-Step Guide for French Drain Installation
This guide outlines the essential process for installing a French drain within a basement or garage to manage water and protect your foundation from flooding effectively.
Step 1: Break the Concrete and Dig the Trench
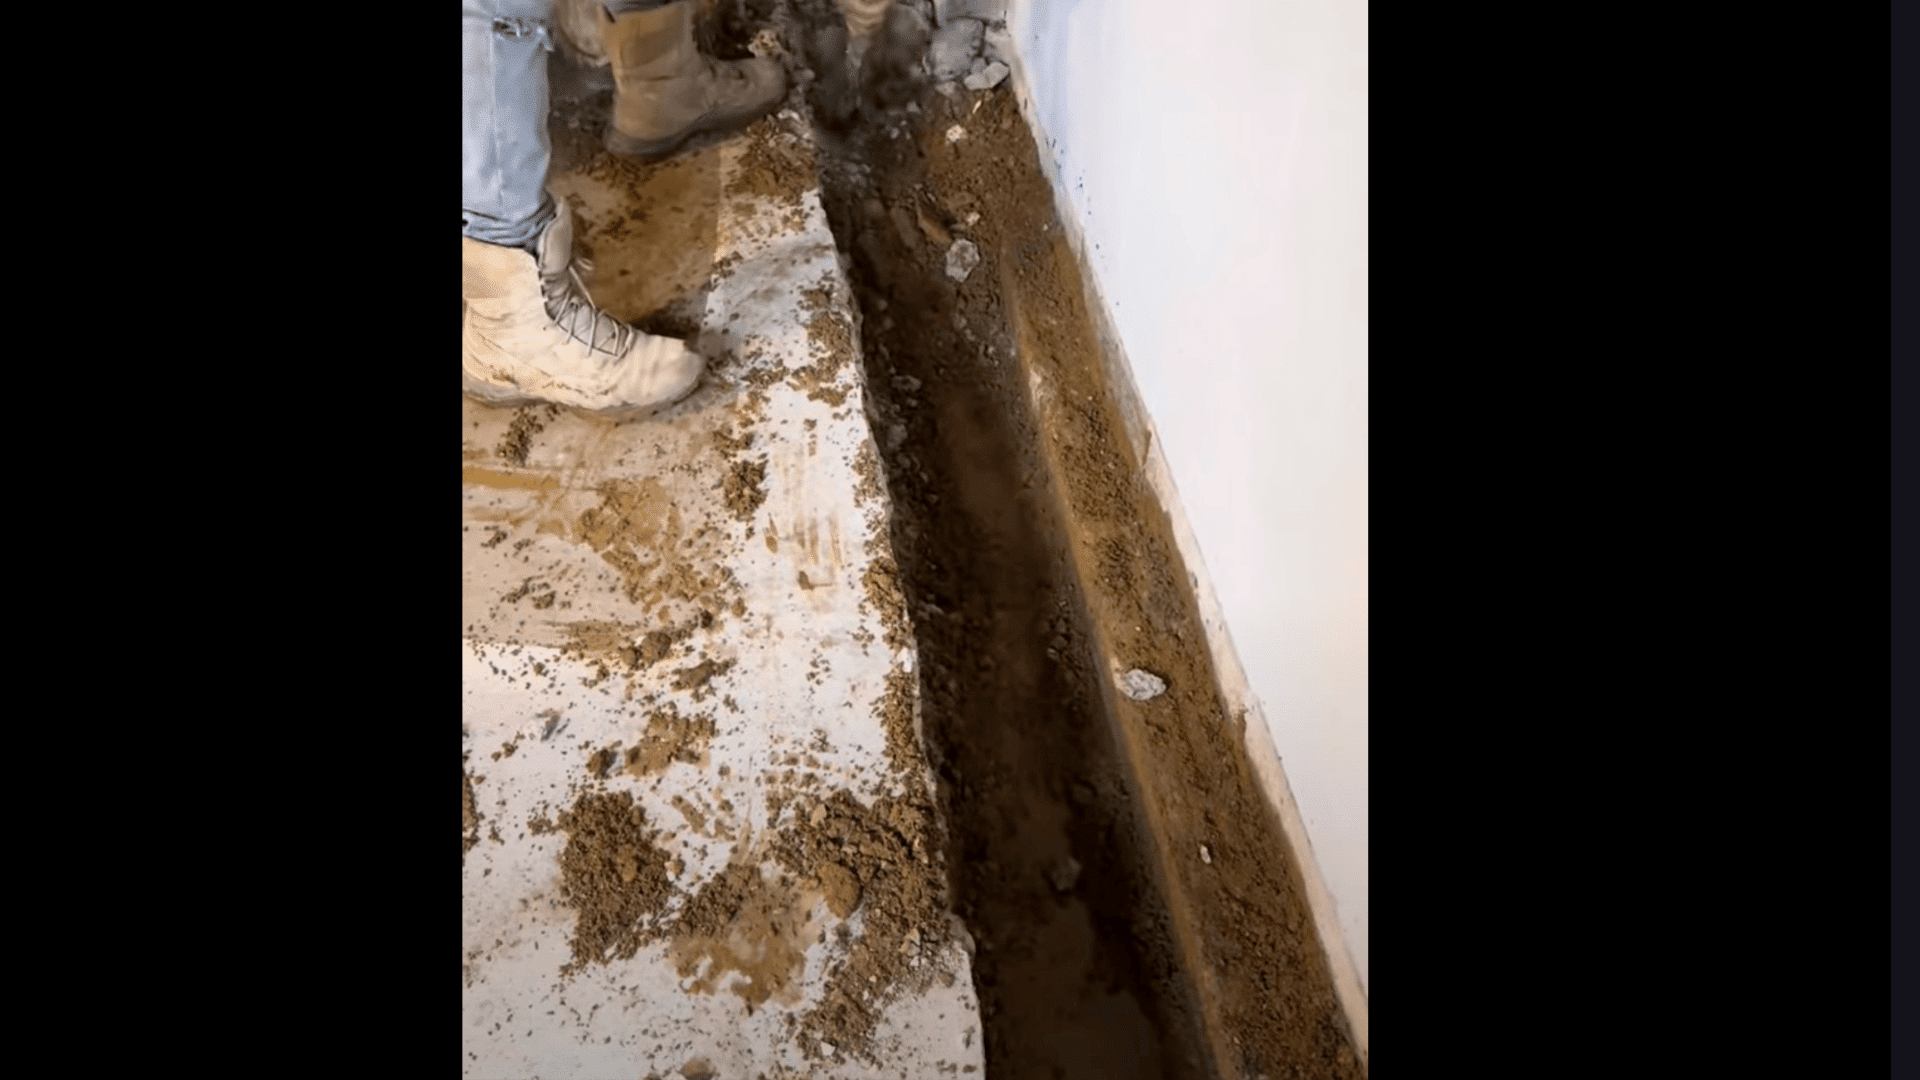
Using a jackhammer, break around two feet of concrete along the inside perimeter of the basement or garage.
Dig a trench approximately two feet deep, ensuring it surrounds the space.
Maintain a gradual slope toward the sump pit area to guide water properly through the drain system once installed.
Step 2: Drill Wall Weep Holes
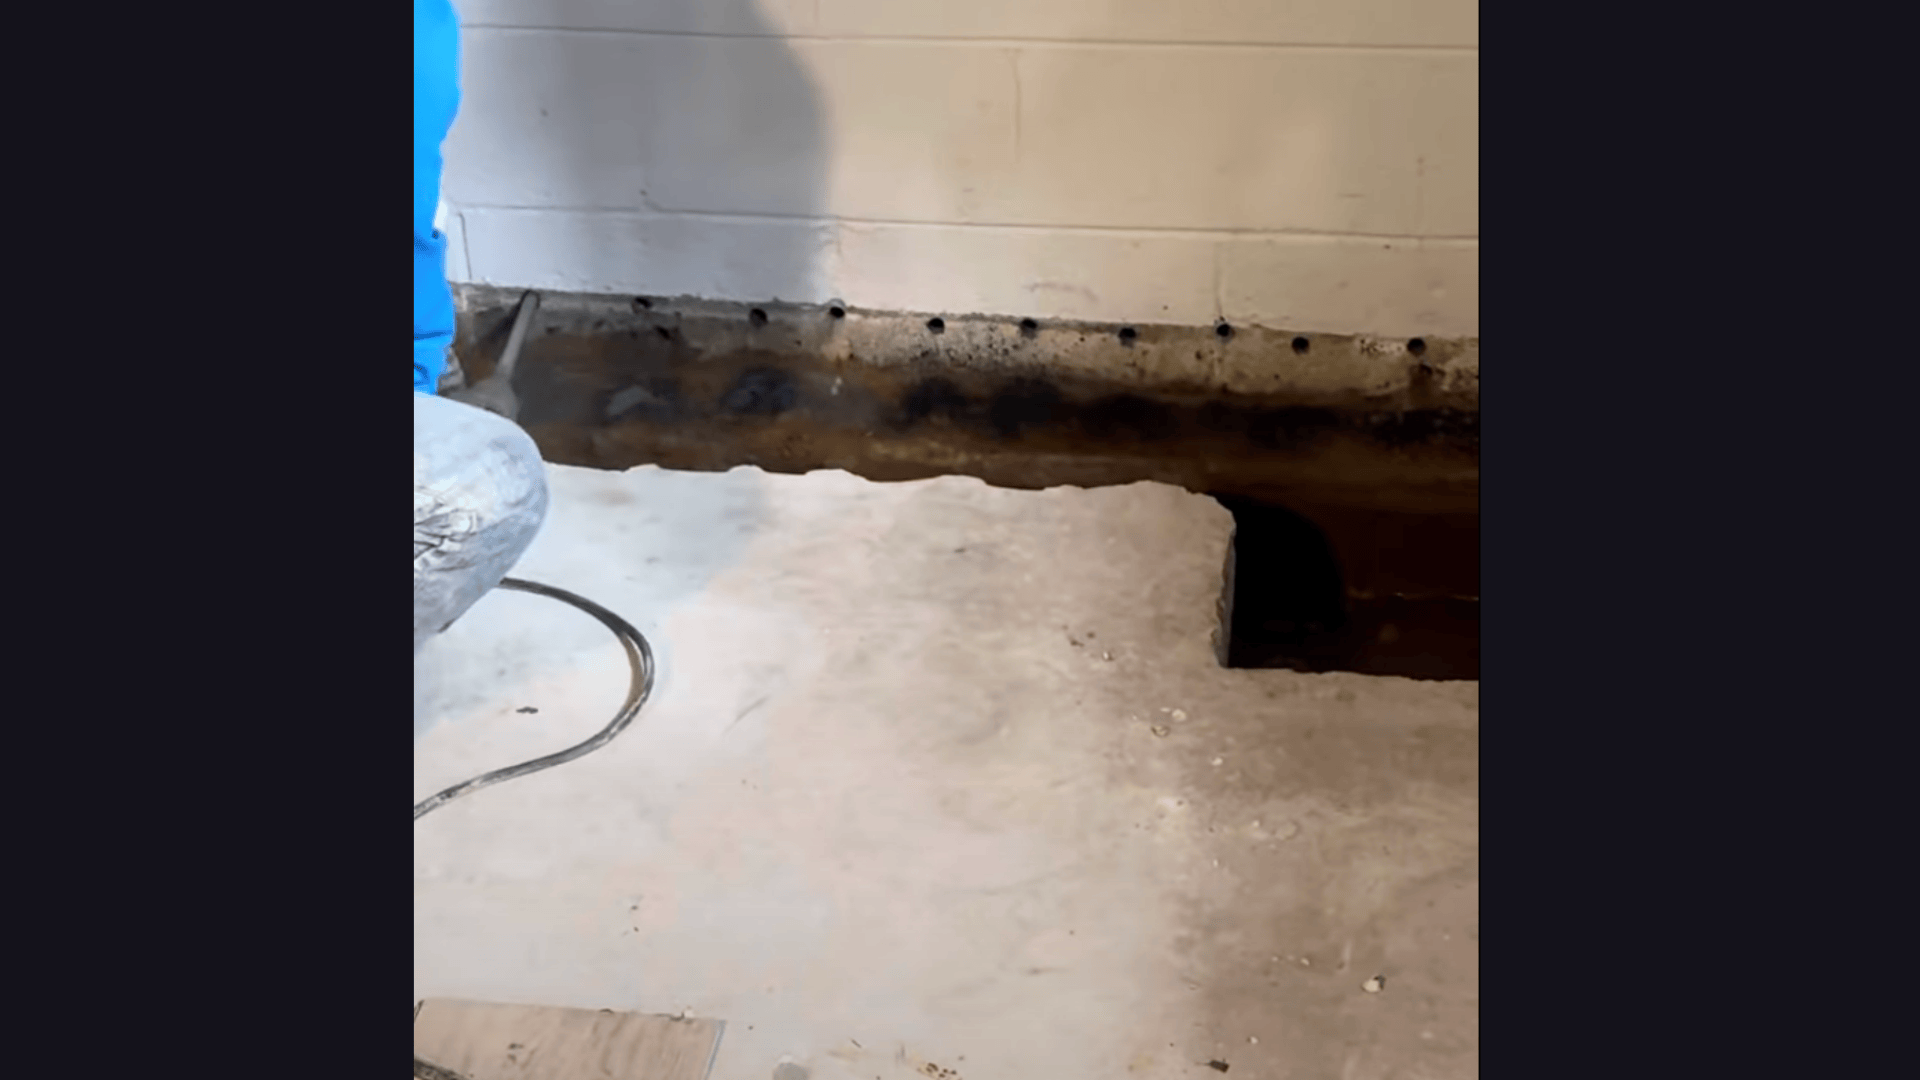
Drill three evenly spaced holes at the bottom of each concrete block section along the trench line.
These weep holes allow water trapped within block cavities to drain into the trench.
This step is crucial in reducing hydrostatic pressure against the foundation walls and preventing moisture from entering the drainage system.
Step 3: Install Weed Barrier and Drain Pipe
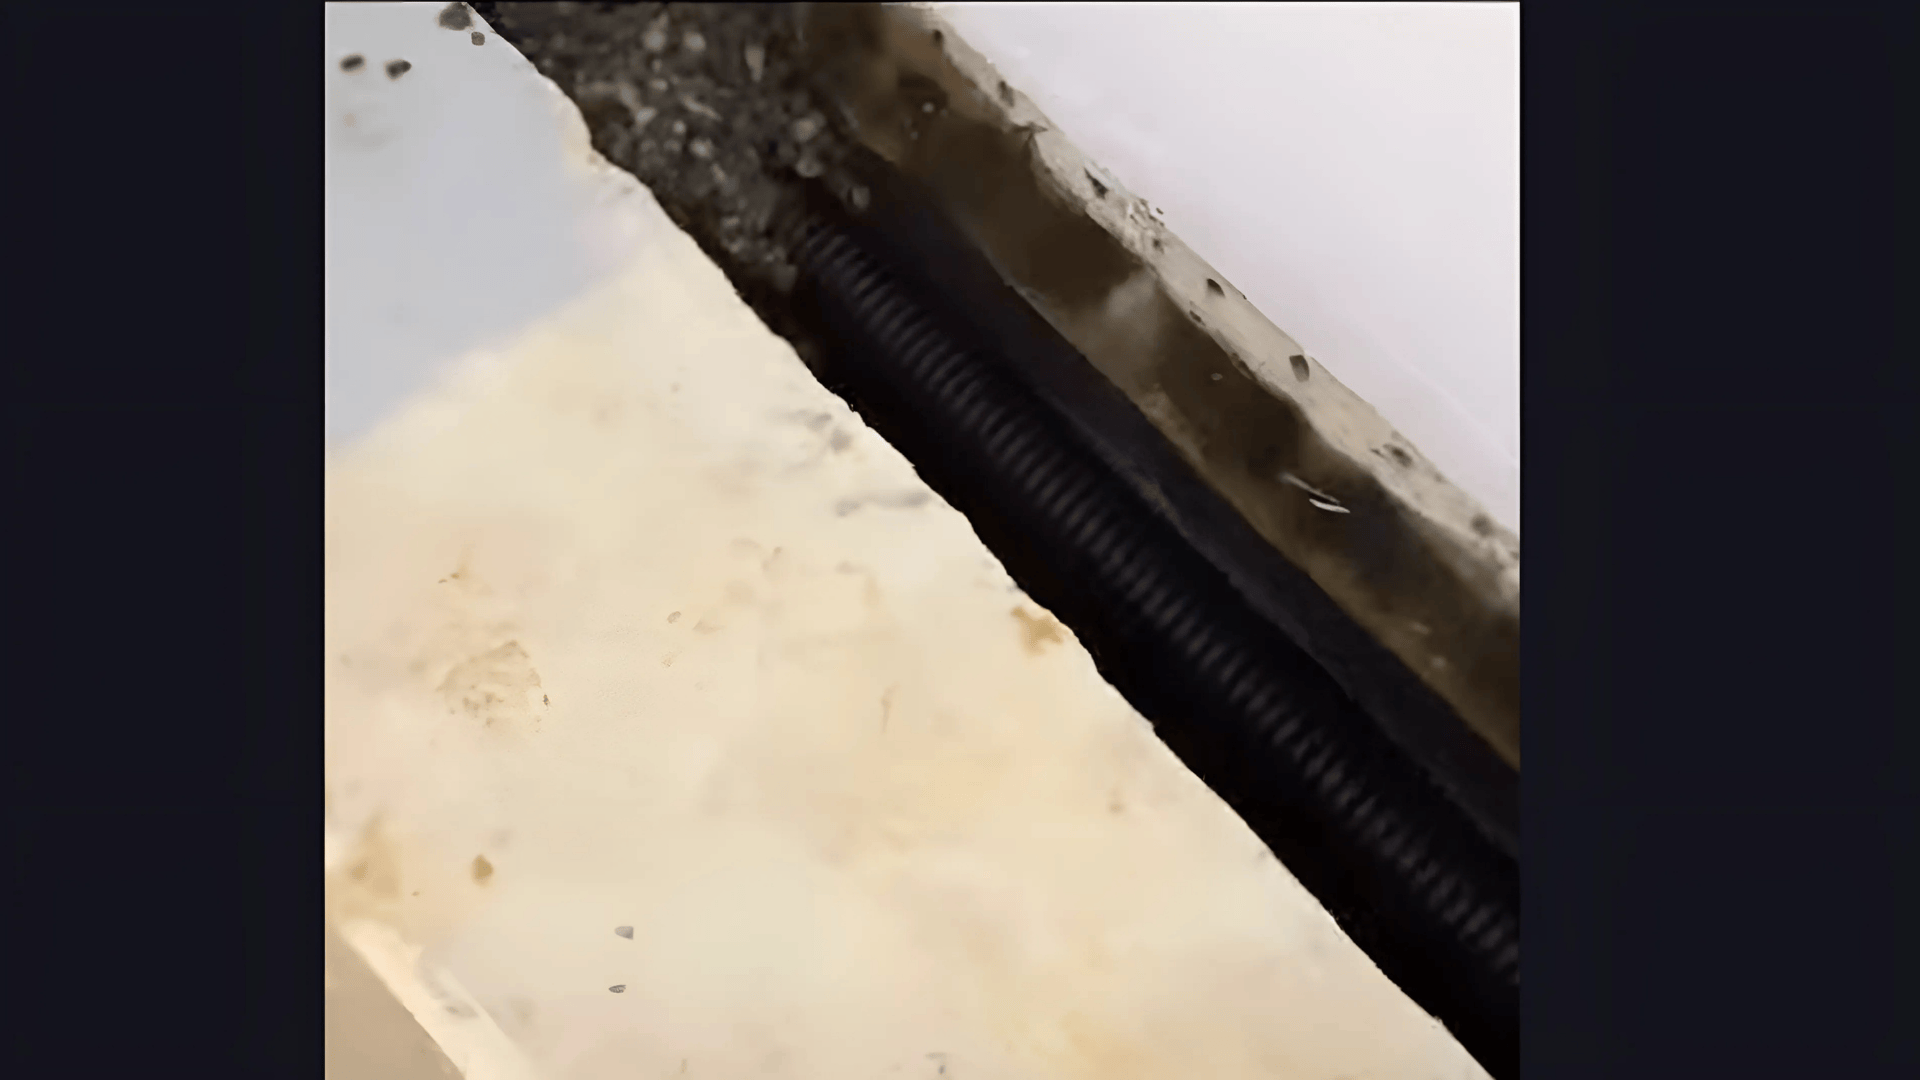
Place a layer of weed-blocking fabric across the bottom of the trench.
Then lay a perforated pipe with downward-facing holes on top of the fabric.
This pipe collects groundwater and directs it to the sump pit. The fabric helps prevent soil or debris from clogging the pipe, keeping water flow unrestricted and efficient.
Step 4: Add Drainage Gravel
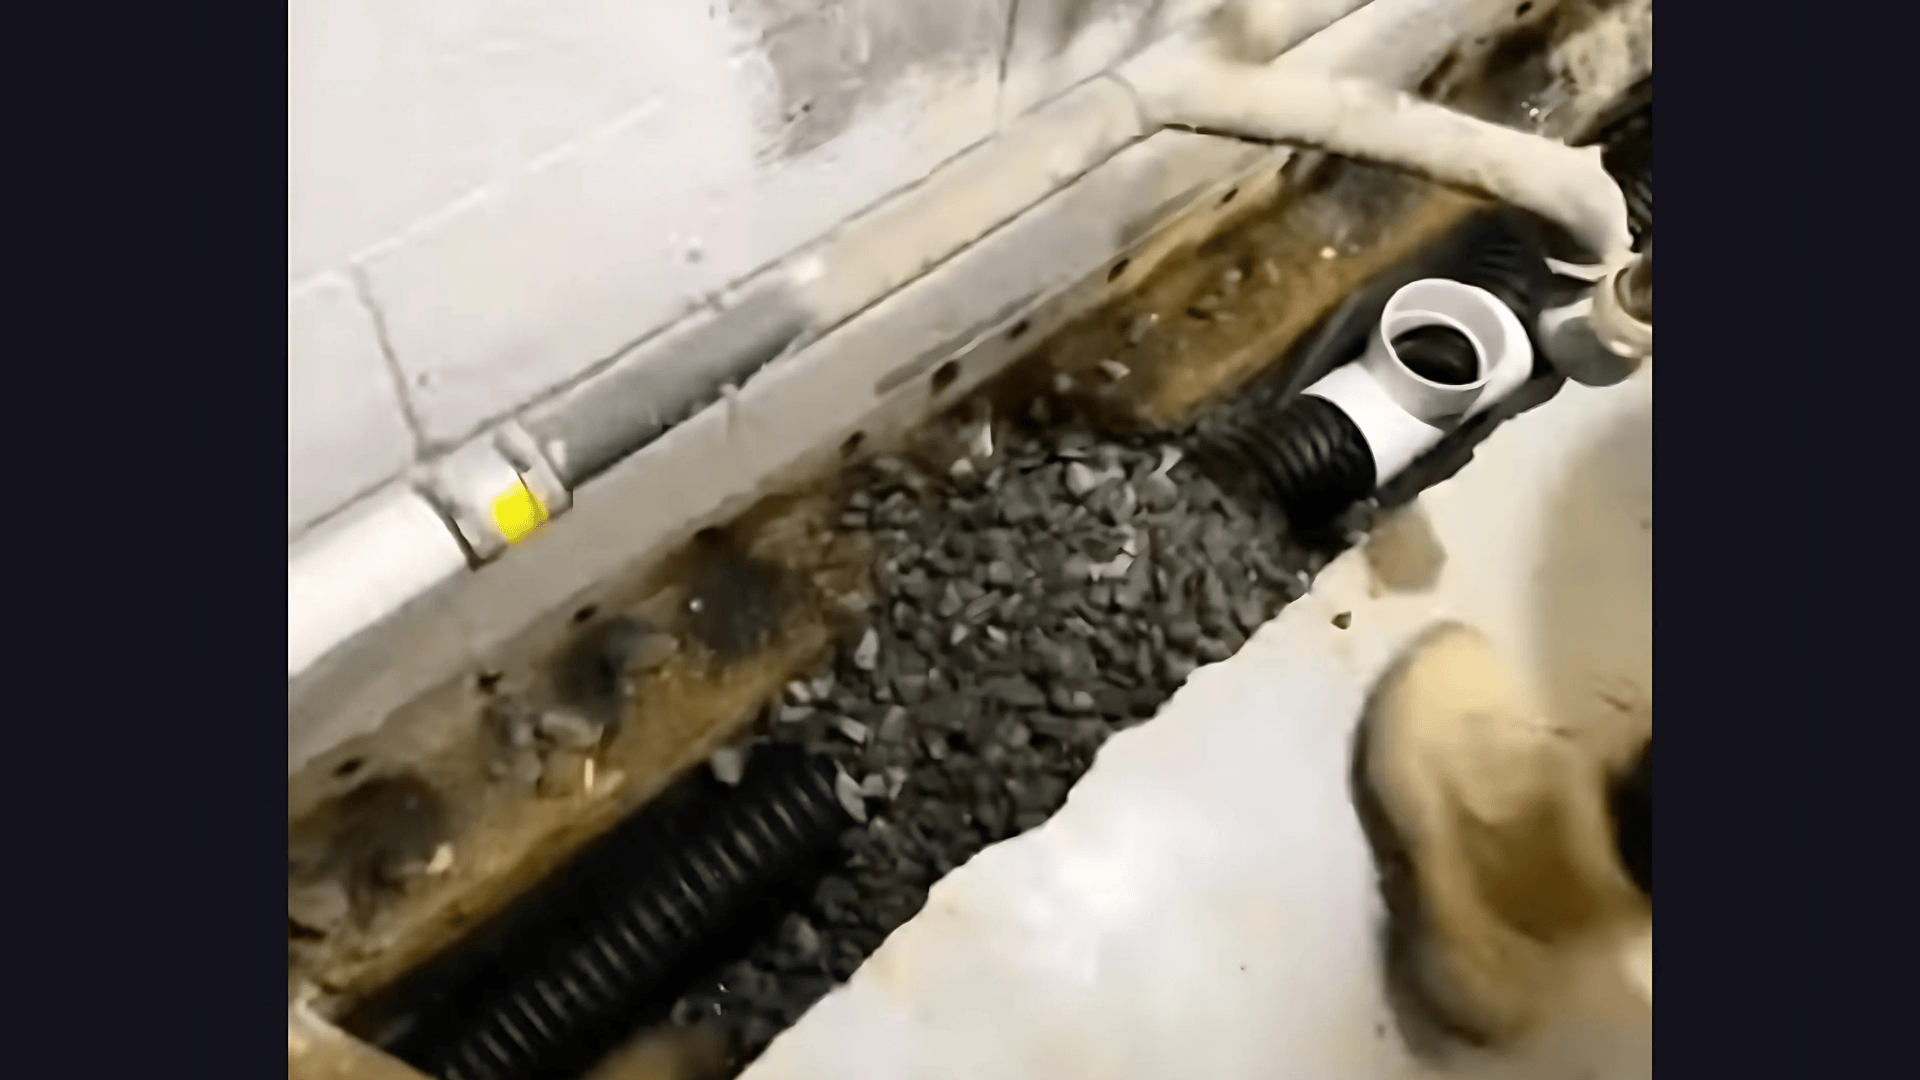
Pour three-quarter-inch gravel over and around the perforated drain pipe.
The gravel helps with water filtration and ensures a steady flow of moisture into the pipe.
Distribute the gravel evenly and fill to just below the floor surface level, leaving space for the vapor barrier and concrete to be added later.
Step 5: Install Vapor Barrier and Wall Channel

Lay a six-mil plastic vapor barrier over the gravel. This sheet prevents moisture from rising through the concrete.
Above the trench line on the wall, attach a J-channel using plastic-coated nails.
This wall channel catches dripping moisture and directs it into the trench, enhancing the system’s ability to control wall seepage.
Step 6: Pour Concrete Over the Trench
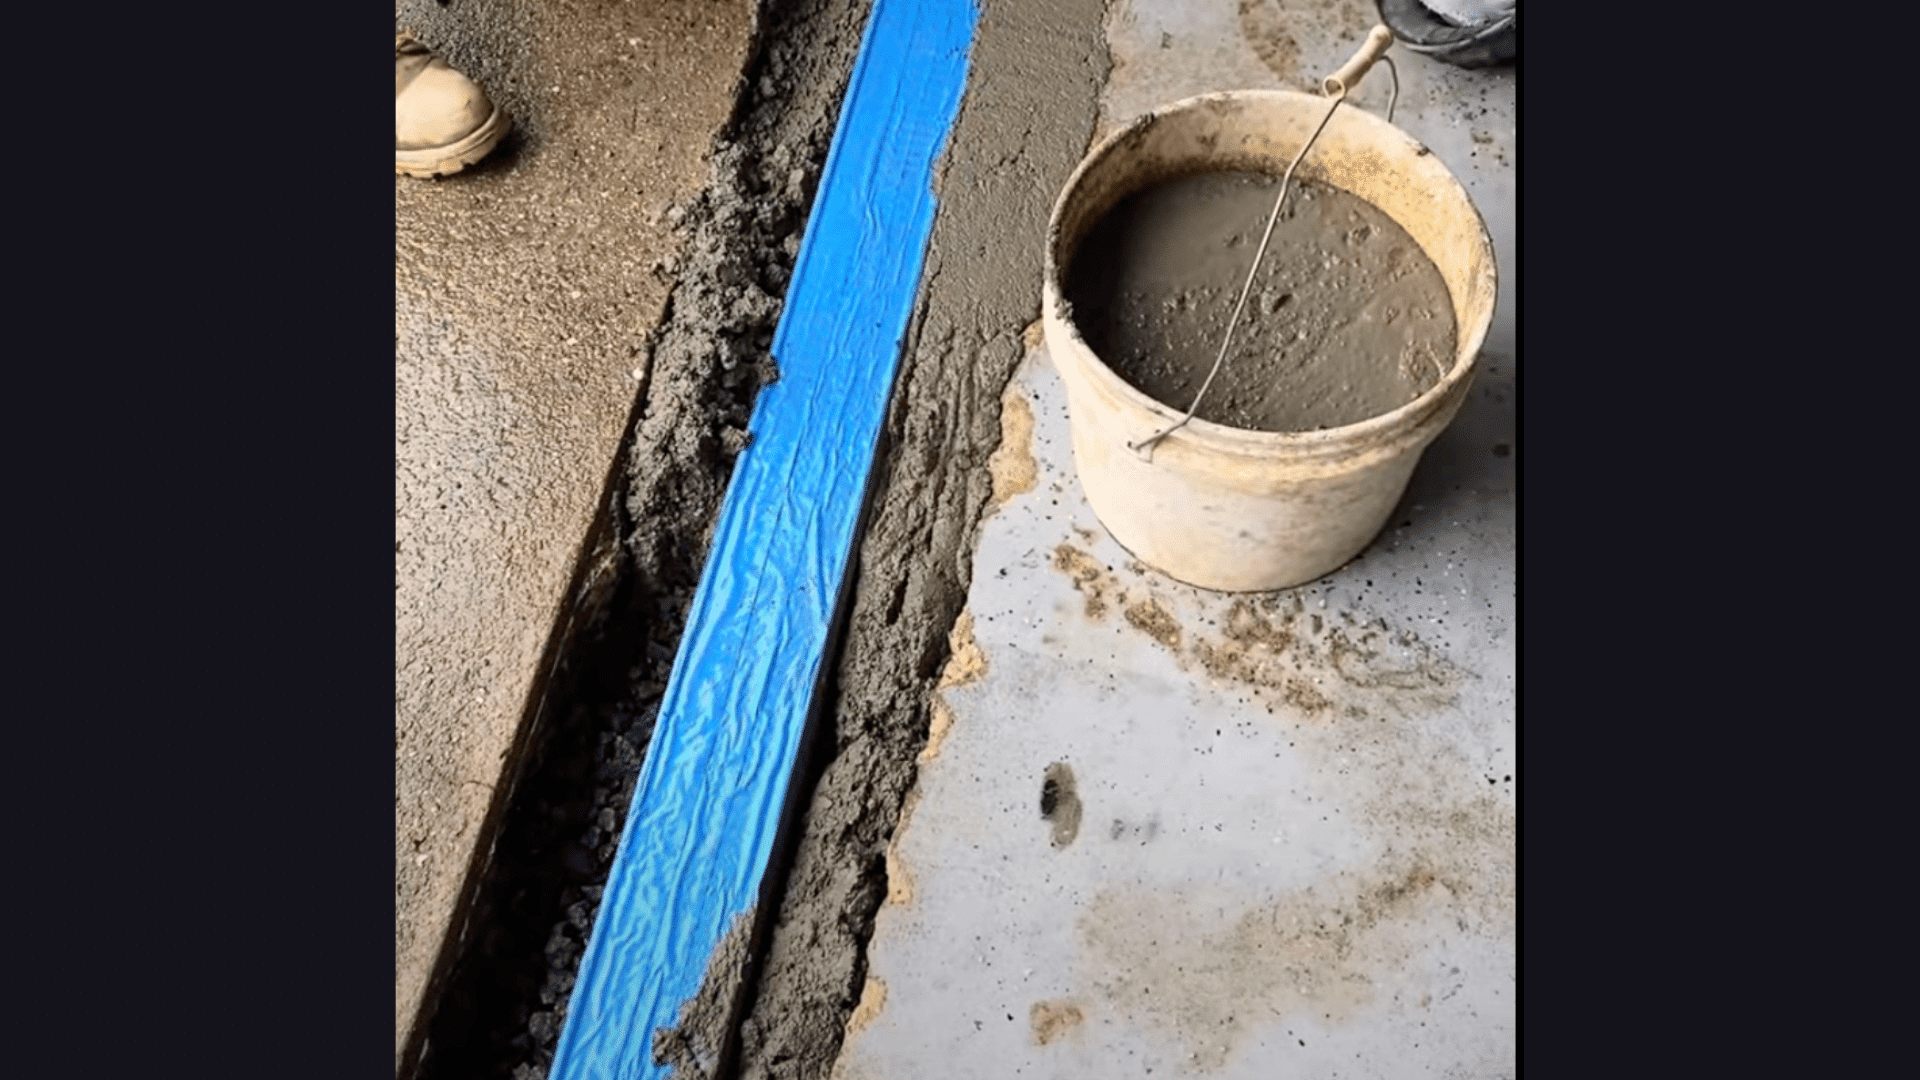
Mix concrete using Portland cement, sand, and gravel.
Carefully pour it over the plastic-covered trench to match the original floor level. Smooth and level the surface using a mag float.
Ensure the concrete fully seals the trench and locks everything in place to restore the finished look of the basement or garage.
Step 7: Install Sump Pit and Dual Pumps
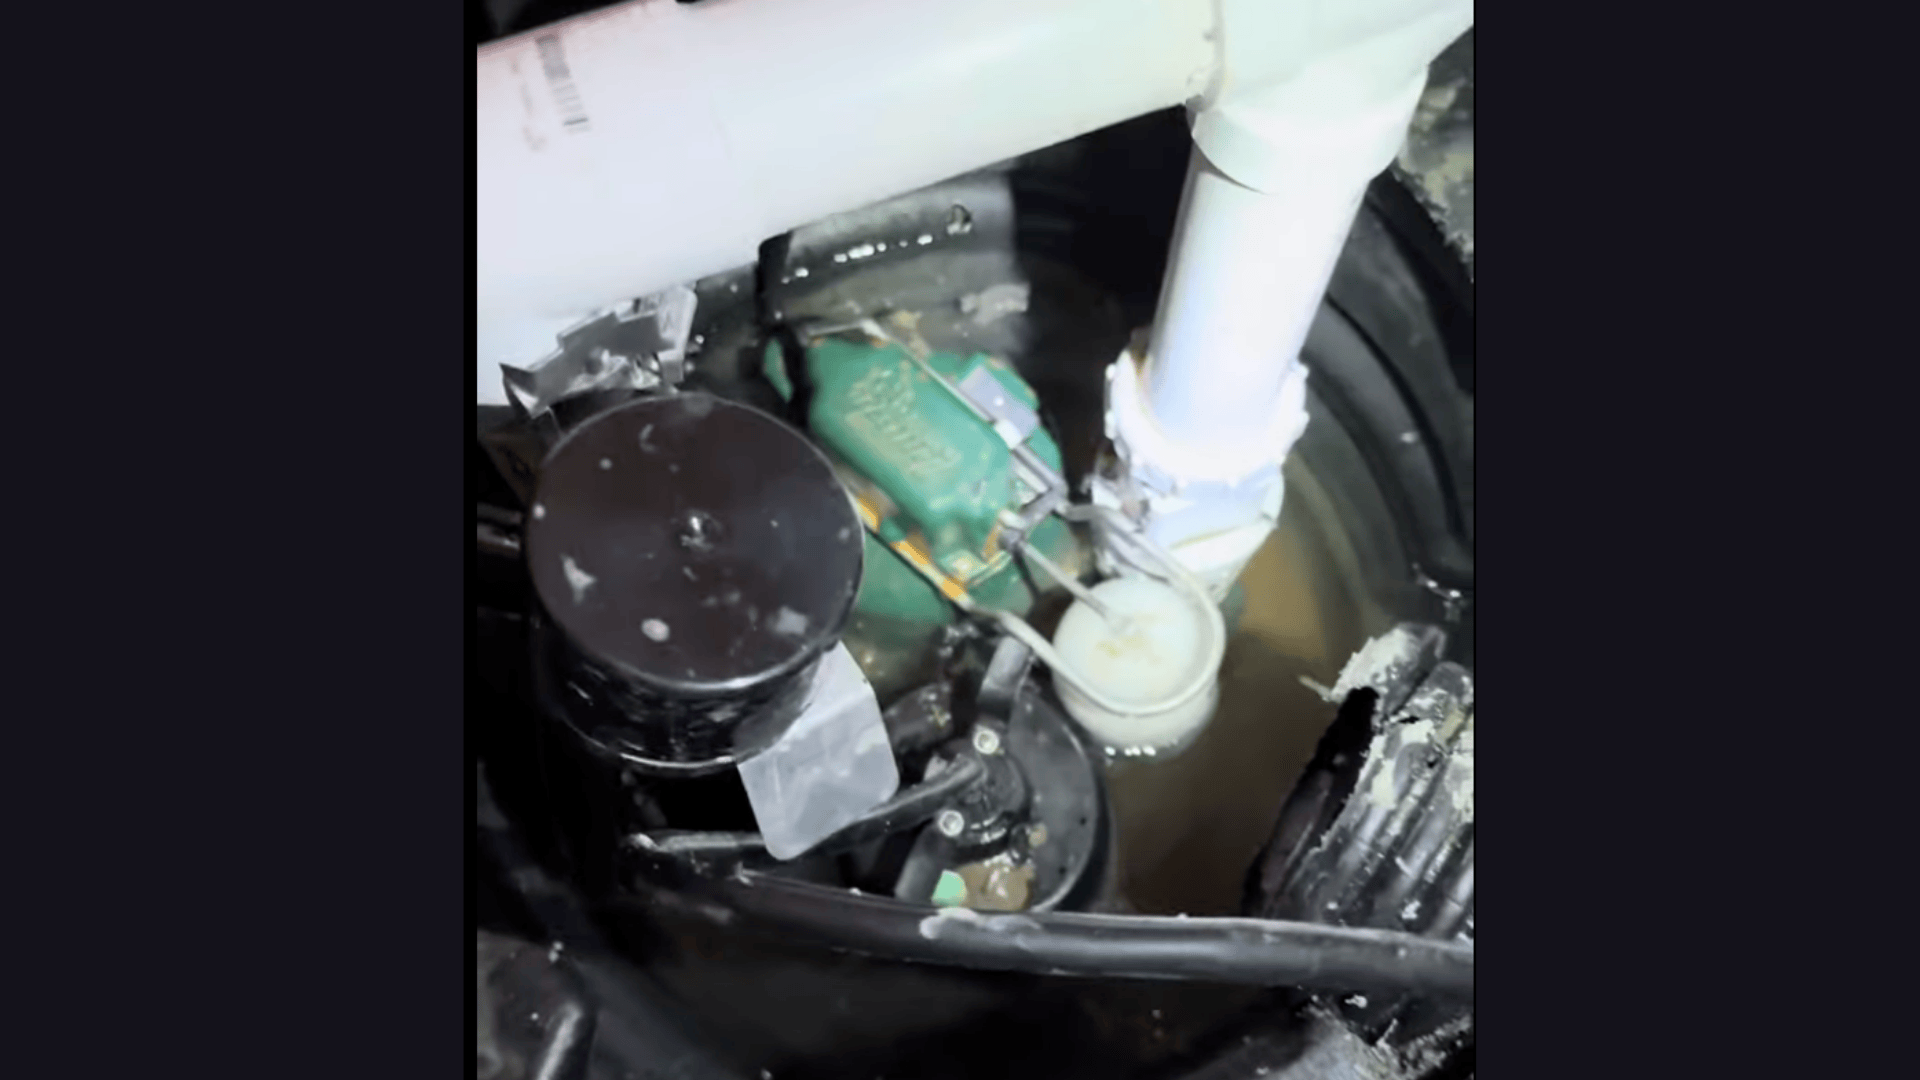
Place a sump pit at the lowest point in the drainage system.
Install two pumps in the pit, one as the primary and one as a battery-powered backup.
The dual setup ensures continuous operation in the event of power failures. Position both pumps securely, ensuring they sit level and are connected to the correct float switches.
Step 8: Connect Discharge Pipes
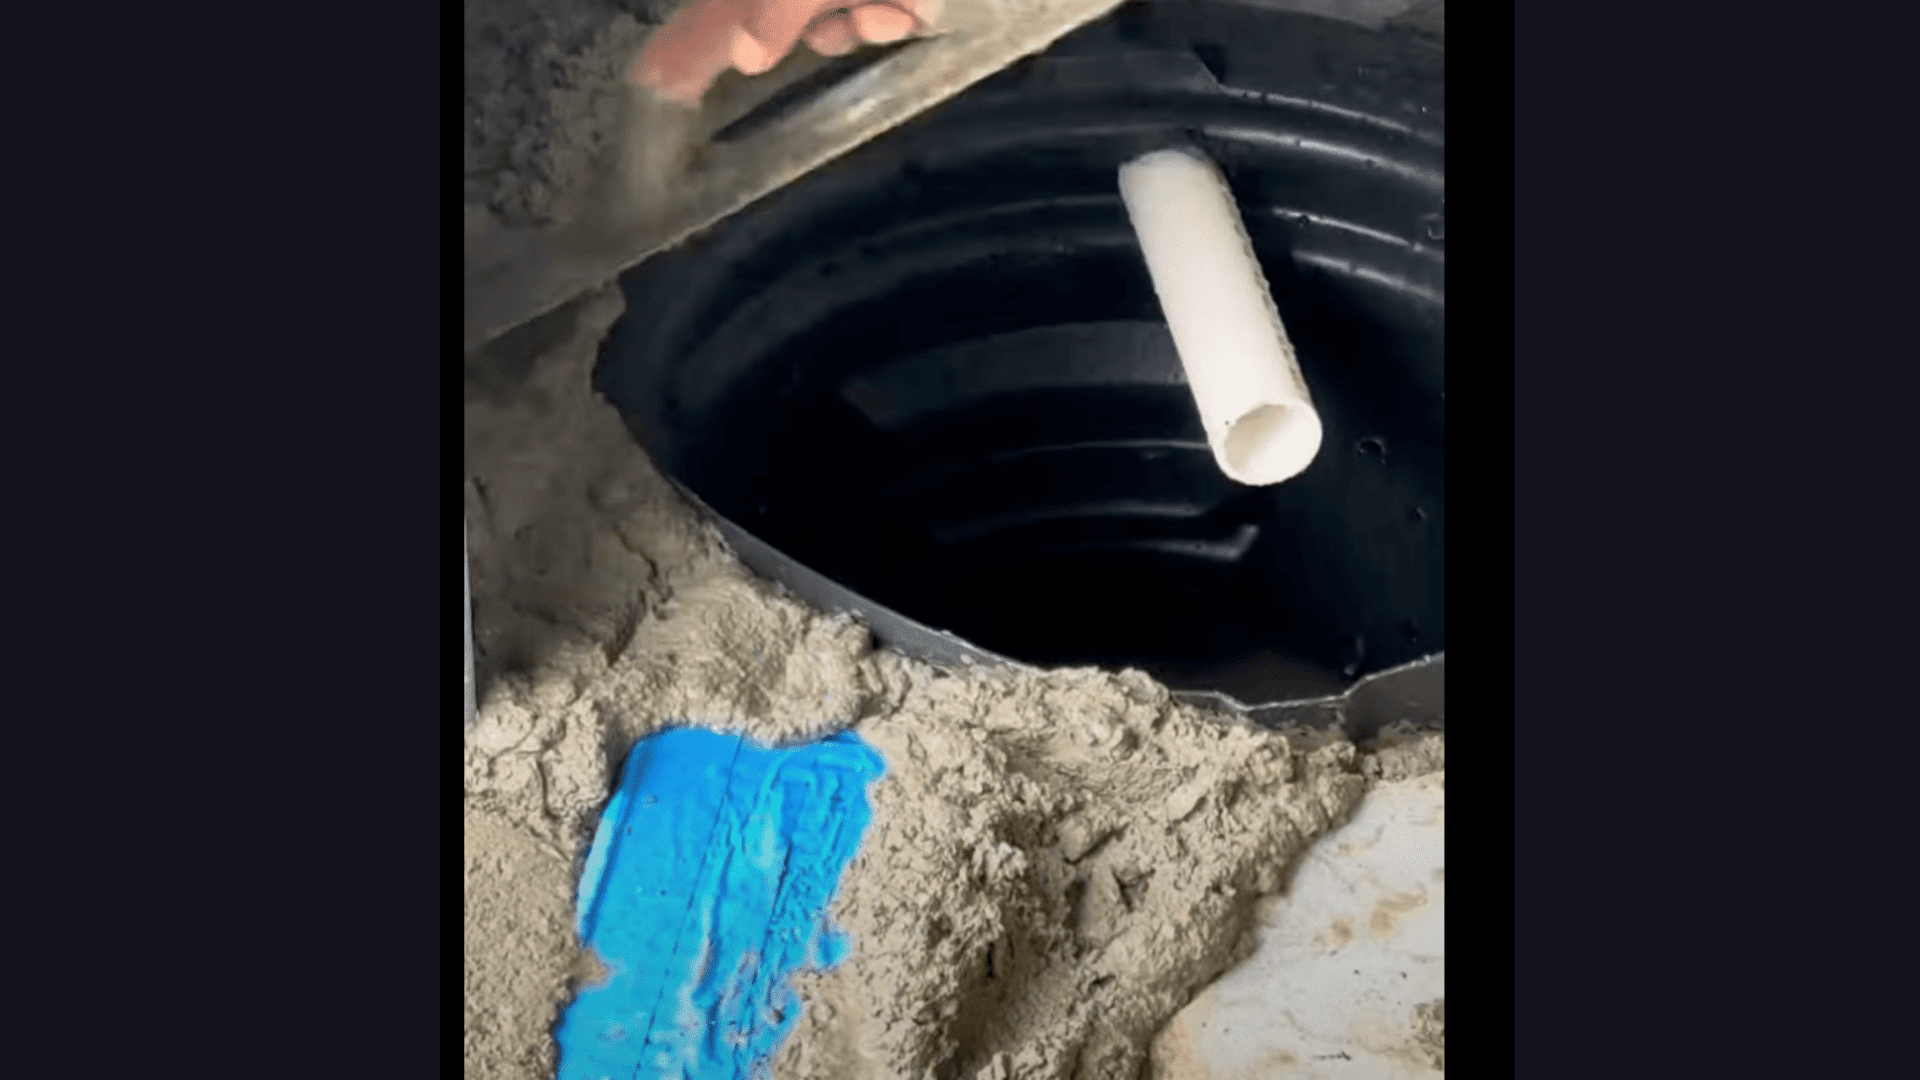
Use one-and-a-half-inch PVC pipes to connect the sump pump to the exterior.
Run the pipe vertically from the pit, out through the wall, and tie it into an outdoor downspout or storm drainage system.
This directs all collected water safely away from the home, preventing it from re-entering the foundation area.
Step 9: Power and Test the System
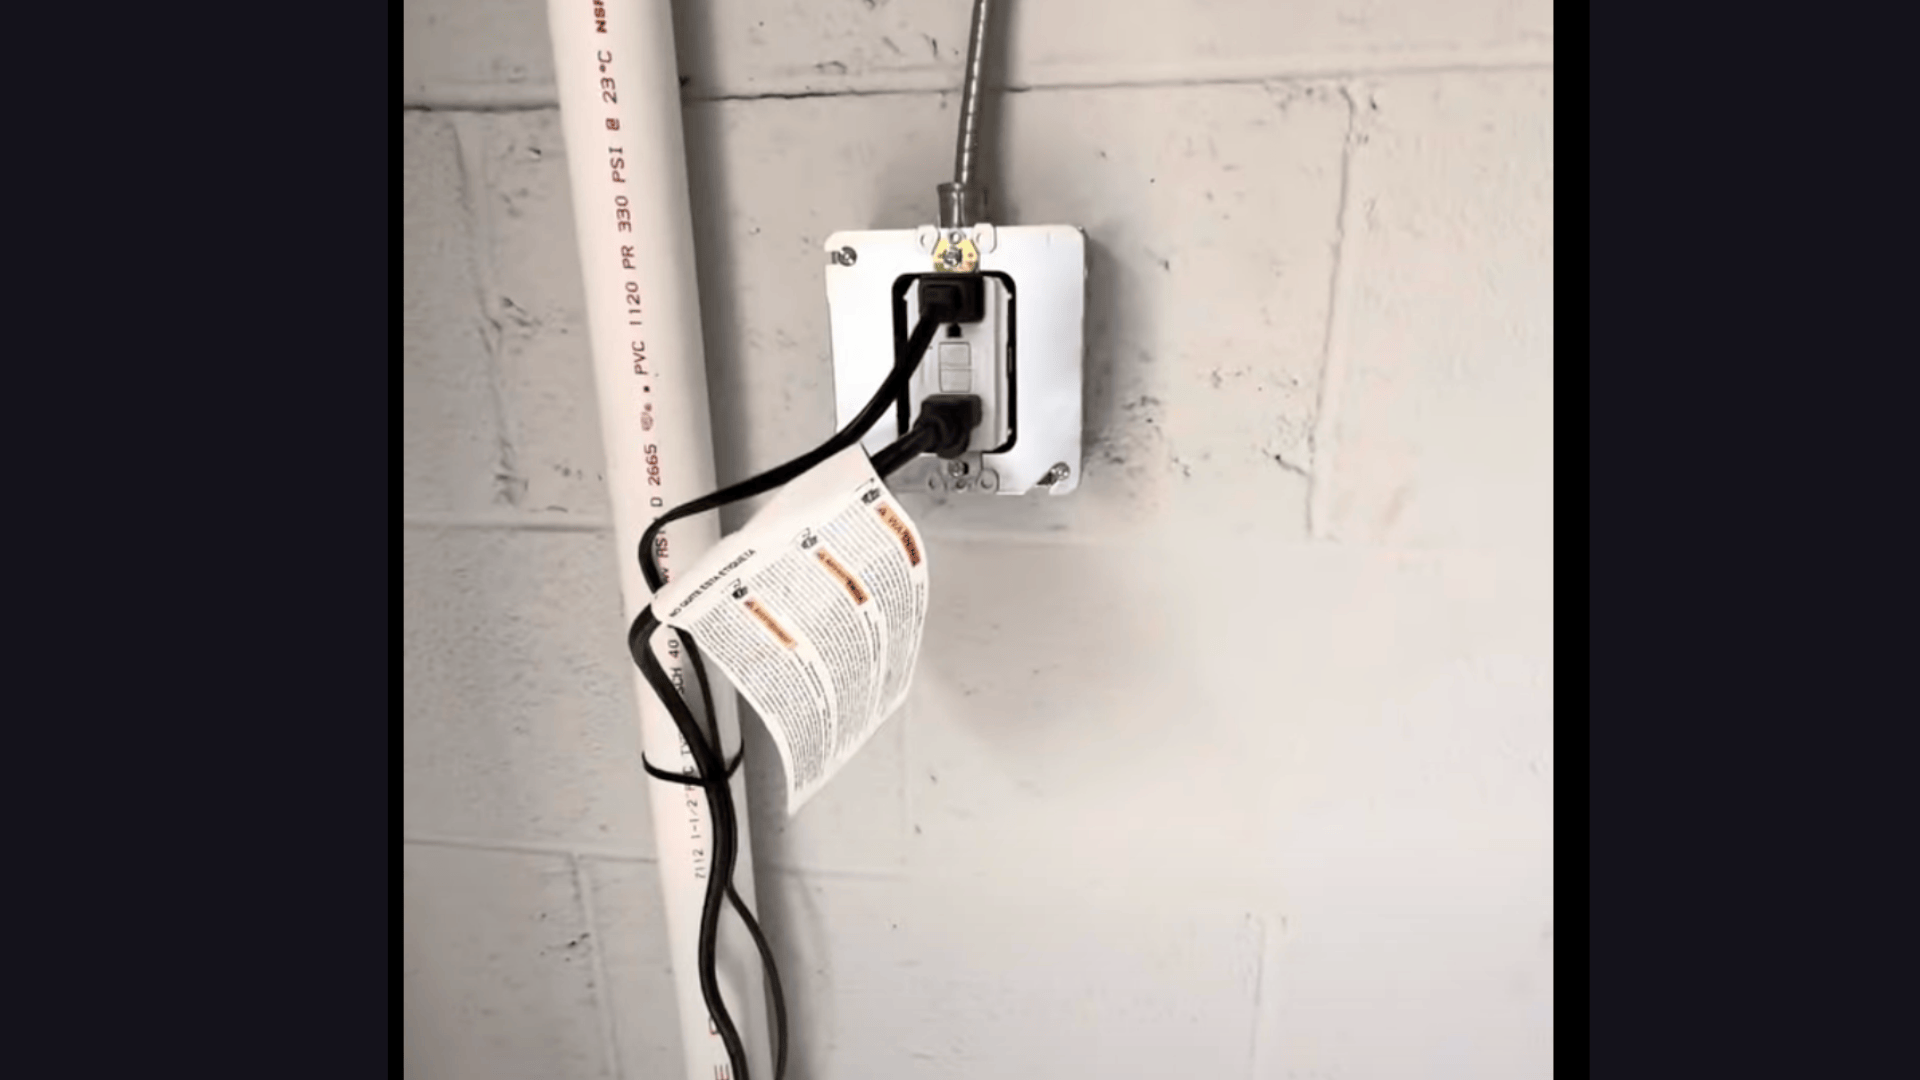
Install ground fault circuit interrupter (GFCI) outlets near each sump pump to provide safe electrical power.
Plug in the pumps and pour water into the pit to test operation.
Confirm that both primary and backup pumps activate, the discharge flow is precise, and the system runs smoothly without any electrical or plumbing issues.
Watch How It’s Done: French Drain Installation
For a more detailed visual walkthrough of the complete French drain installation process, watch the full step-by-step video guide by Downes Construction.
Advantages and Limitations of French Drain Systems
Like any solution, French drains have both advantages and disadvantages. Here is a quick table to help you decide:
| ADVANTAGES | LIMITATIONS |
|---|---|
| Prevents water buildup in the basement | It can be expensive to install |
| Lowers pressure on basement walls | The floor needs to be broken |
| Works in poor drainage areas | Requires regular pump maintenance |
| Can last many years | May clog without filter fabric |
| DIY option saves money | Not ideal for all soil types |
| Reduces indoor dampness and moisture | Needs backup during power cuts |
How Much Does French Drain Basement Waterproofing Cost?
The cost of installing a French drain in the USA varies depending on whether you hire a professional or opt for a DIY approach.
Professional Installation
If you prefer to have the job done by experts with minimal hassle, professional installation is the way to go.
- Expect to pay between $10 and $100 per linear foot, depending on location, system type, and excavation complexity.
- Interior French drains typically cost $3,000 to $7,000 for an average basement setup.
- Exterior French drains generally range from $5,000 to $12,000, involving more extensive excavation.
- Cost includes labor, materials such as perforated pipes and gravel, sump pump installation, and restoration work.
Choosing professional installation ensures the work is performed efficiently and backed by experience, giving you peace of mind.
DIY Installation
For those who want to save money and don’t mind doing the work themselves, a DIY approach can be rewarding.
- Material and tool rental costs generally range from $1,500 to $3,000 total.
- This covers essentials like gravel, filter fabric, perforated pipe, concrete, and jackhammer or other tool rentals.
- Although it requires a higher time commitment and labor effort, it can save thousands compared to professional installation.
DIY installation requires more effort but can significantly reduce upfront costs while giving you full control over the project.
Maintenance Tips for Your French Drain
Even though a French drain is low maintenance, it’s still essential to check it periodically. These small steps can help keep your system working correctly for years
- Check the sump pump regularly to make sure it works
- Keep the discharge pipe outside clear of leaves, dirt, or snow
- Clean the sump pit every few months to prevent clogs
- Watch for any signs of water backing up near the wall
- Test the float switch by slowly adding water into the pit
- If you notice slow drainage, call a pro to inspect the system
Final Thoughts
A wet basement can feel frustrating, but with the right plan and a working French drain, you can finally enjoy a safe and dry home.
Taking small steps today gives you peace of mind tomorrow because water damage only grows worse when it is ignored, and prevention always costs less than repair.
Although installing a French drain may seem like hard work, the reward of a clean basement is worth it every single time.
Have you ever thought about adding a French drain to protect your home? Tell us, share with us in the comments below.


