A Step-by-Step Guide on How to Install Cement Board on Floor
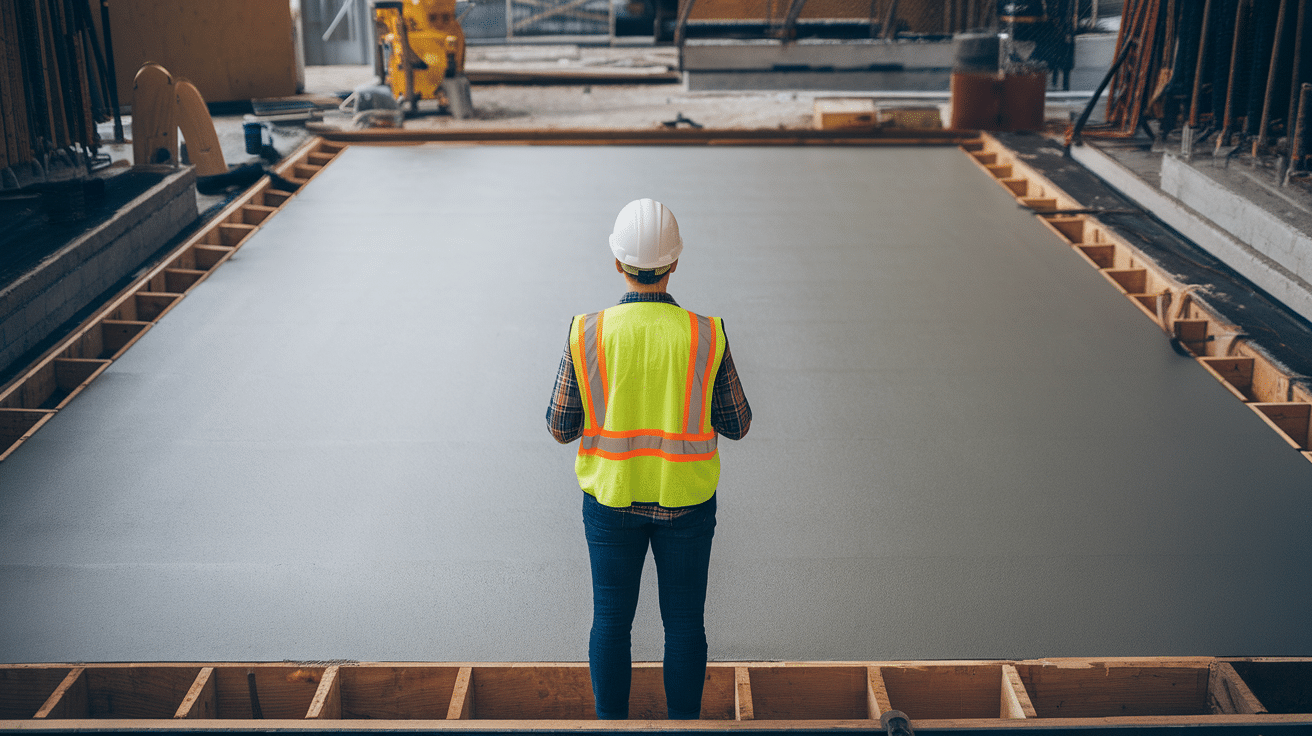
Thinking about tiling your floor? Before you start, have you installed the cement board yet?
It’s the secret to a solid and long-lasting base for your tiles.
Cement board helps prevent cracks and provides extra moisture resistance.
We will show you how to install cement board on your floor step-by-step, so your tile installation stays secure for years to come.
Plus, we’ll share helpful tips to ensure everything is done right.
But first, let’s discuss the equipment you will need for it.
Tools and Materials You Will Need
Before you begin installing the cement board on your floor, it’s important to gather all the necessary tools and materials.
Here’s a list of what you’ll need:
Tools:
| Item | Estimated Cost |
|---|---|
| Cement Board | $15 – $40 |
| Screws (corrosion-resistant, 1-1/4″ length) | $5 – $15 |
| Drill with screwdriver bit | $30 – $150 |
| Measuring tape | $5 – $20 |
| Utility knife or jigsaw | $10 – $100 |
| Carpenter’s square | $10 – $25 |
| Trowel (1/4″ square-notched) | $5 – $15 |
| Level | $10 – $40 |
| Safety gear (gloves, goggles, dust mask) | $10 – $30 |
Materials:
| Material | Typical Budget Range (USD) |
|---|---|
| Thin-set mortar (50 lb bag) | $15 – $32 |
| Alkali-resistant fiberglass tape (150 ft) | $10 – $26 |
| Mortar for bedding cement board (50 lb) | $20 – $23 |
| Cement board screws (box of 100–200) | $5 – $12 |
How to Install Cement Board on Floor: Step-by-Step Guide
Now we’ll look into the step-by-step instructions to install a cement board on the floor.
Step 1: Preparing the Subfloor
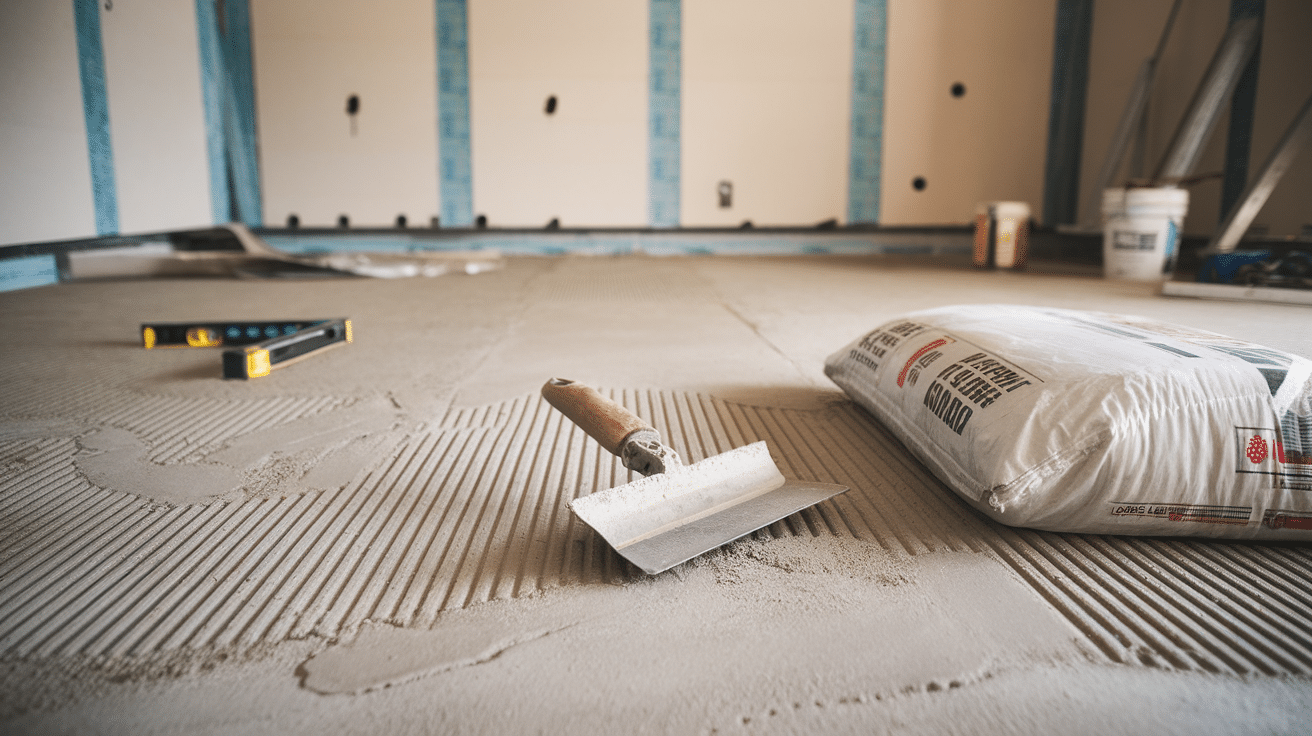
Before you begin, it’s important to make sure your subfloor is clean and in good condition. Sweep away any dirt or debris, and check for any damage.
If there are any cracks or holes, fix them before moving on. A solid, clean subfloor ensures the cement board will adhere properly.
Step 2: Cutting the Cement Board to Fit
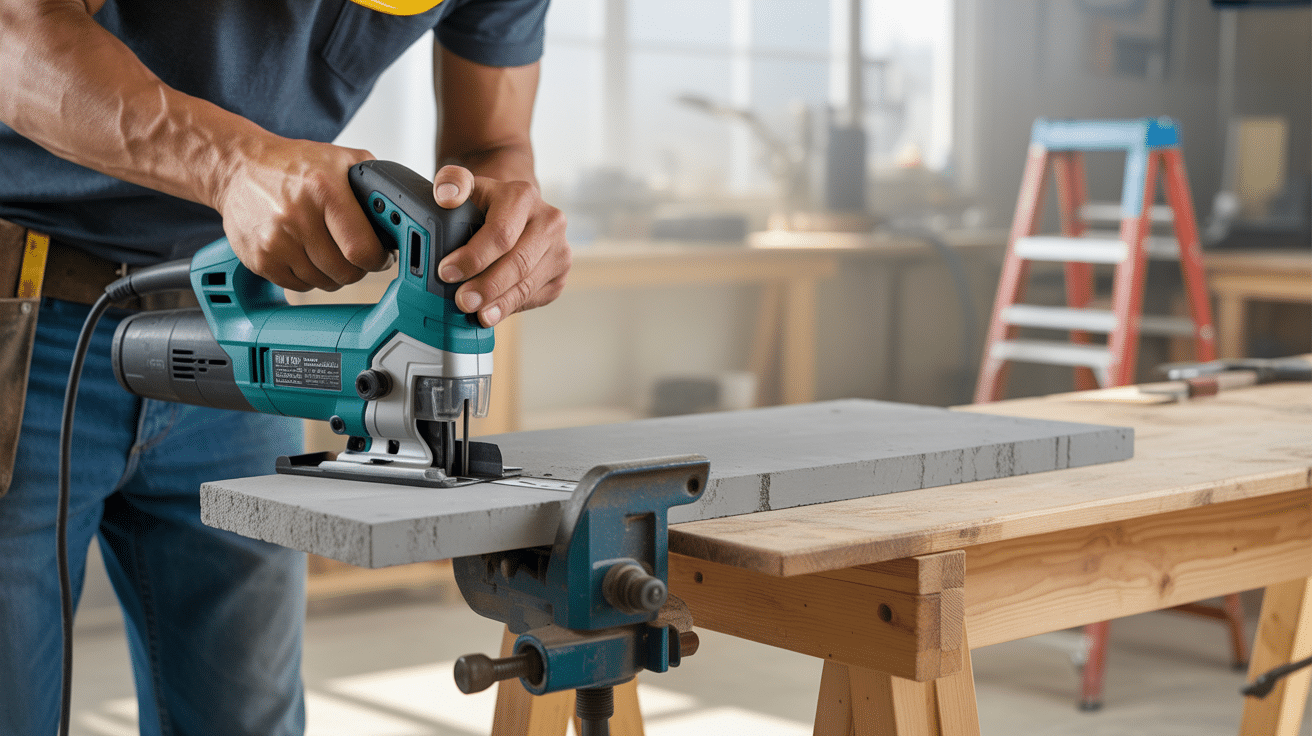
Measure the area carefully to determine how much cement board you’ll need.
When it’s time to cut, score the board along the measured lines using a utility knife.
Once you’ve scored it, simply snap the board and use a jigsaw for any curved cuts. Be sure to handle the cement board gently to avoid breaking it.
Step 3: Laying the Cement Board
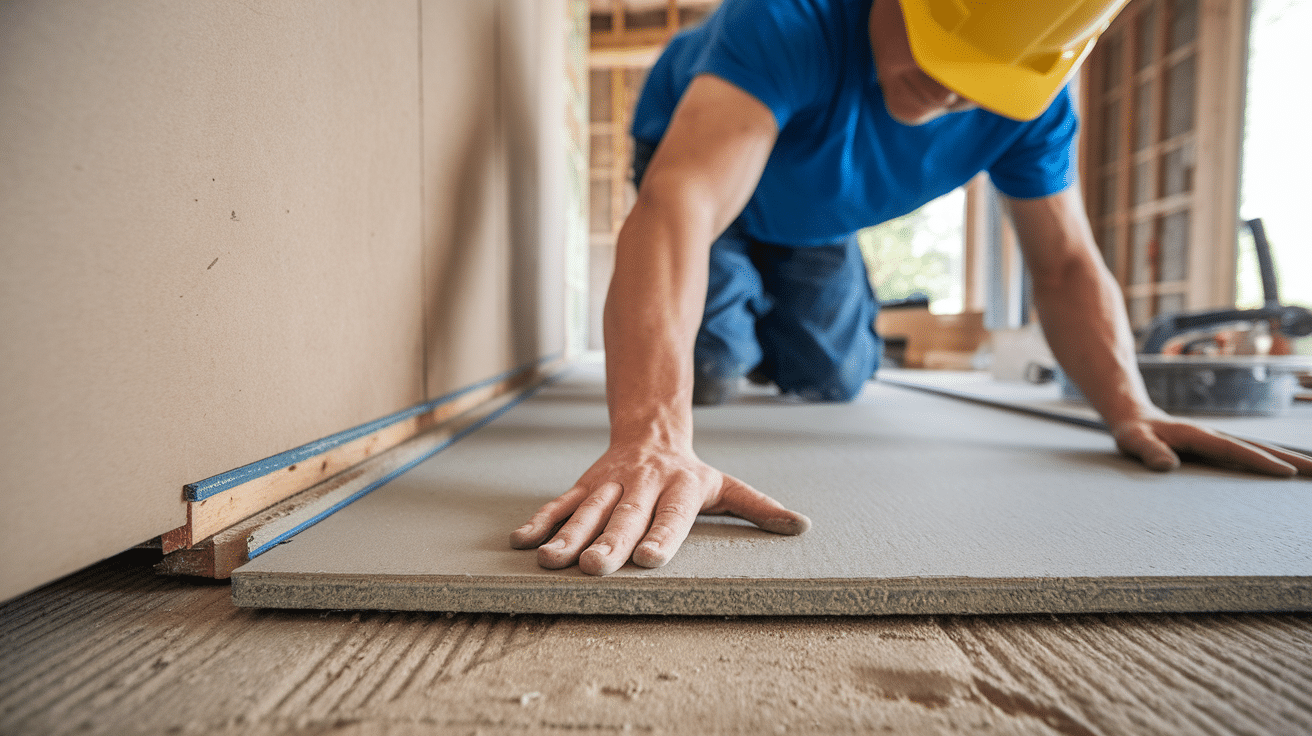
Start by positioning the cement board on the subfloor to check how it fits. Leave a small gap (about 1/4 inch) between the board and the walls for expansion.
Make sure the boards don’t line up exactly, especially at the corners; staggering them helps avoid weak spots.
Step 4: Securing the Cement Board
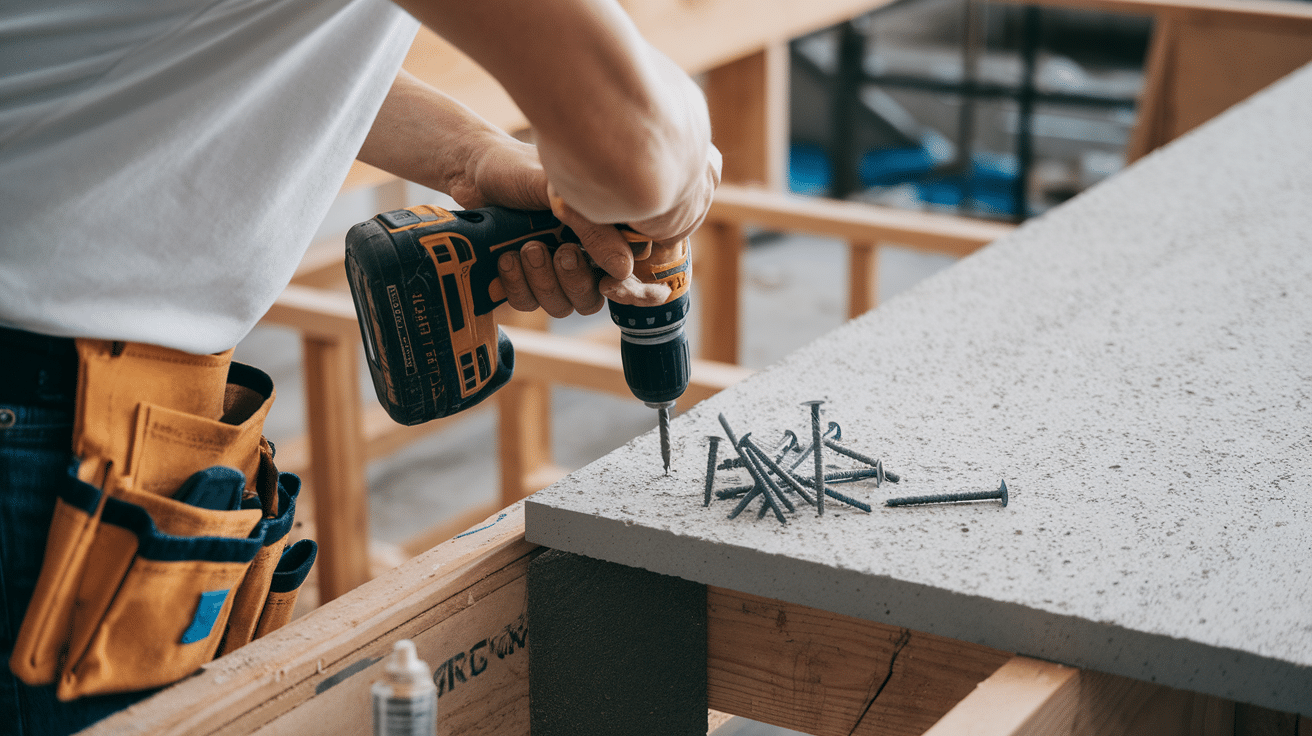
Once the boards are in place, it’s time to secure them.
Drill screws through the cement board and into the subfloor, ensuring they’re spaced about 8 inches apart along the edges and 12 inches apart in the middle.
Make sure the screw heads are flush with the surface, not sticking out.
Step 5: Applying Tape and Mortar
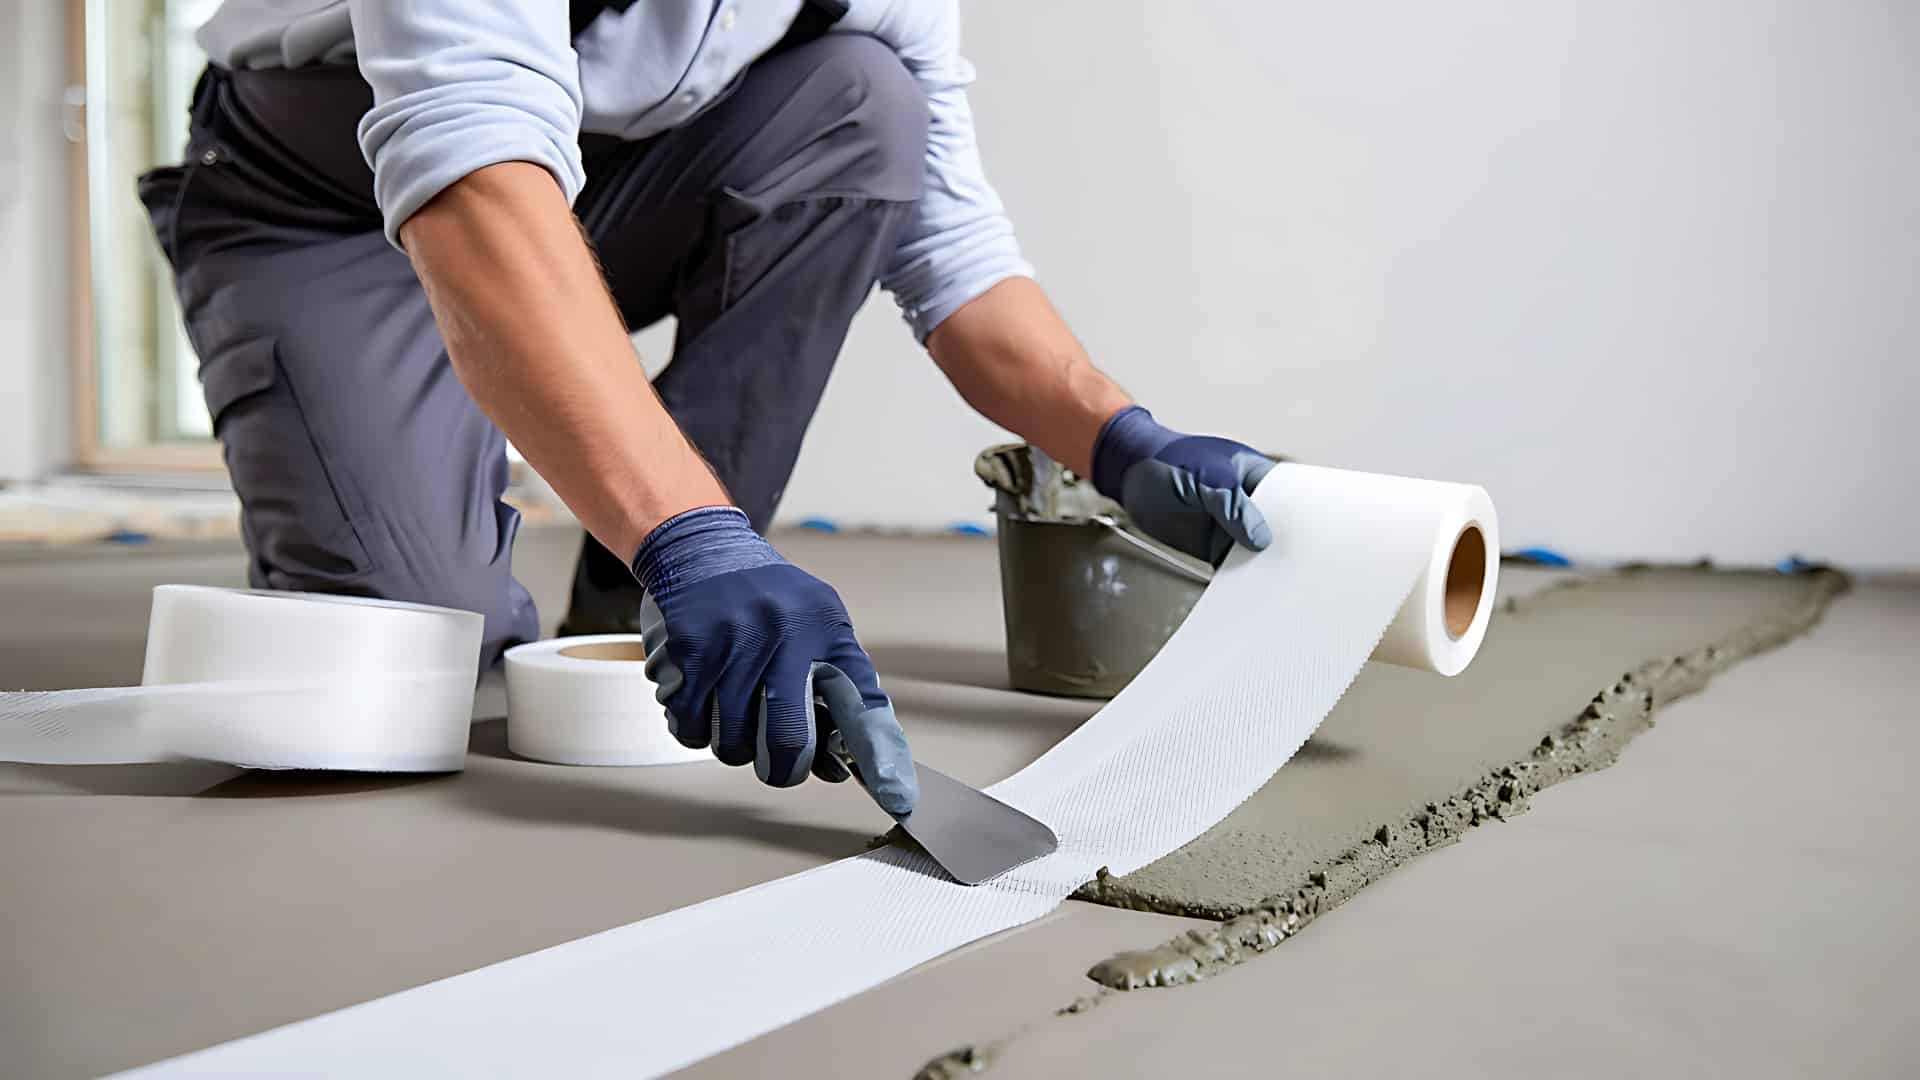
To reinforce the seams, apply fiberglass tape over the gaps between the boards.
After that, spread a thin layer of mortar over the tape to smooth out the seams. This will help create a smooth, even surface once the mortar sets.
Step 6: Final Inspection
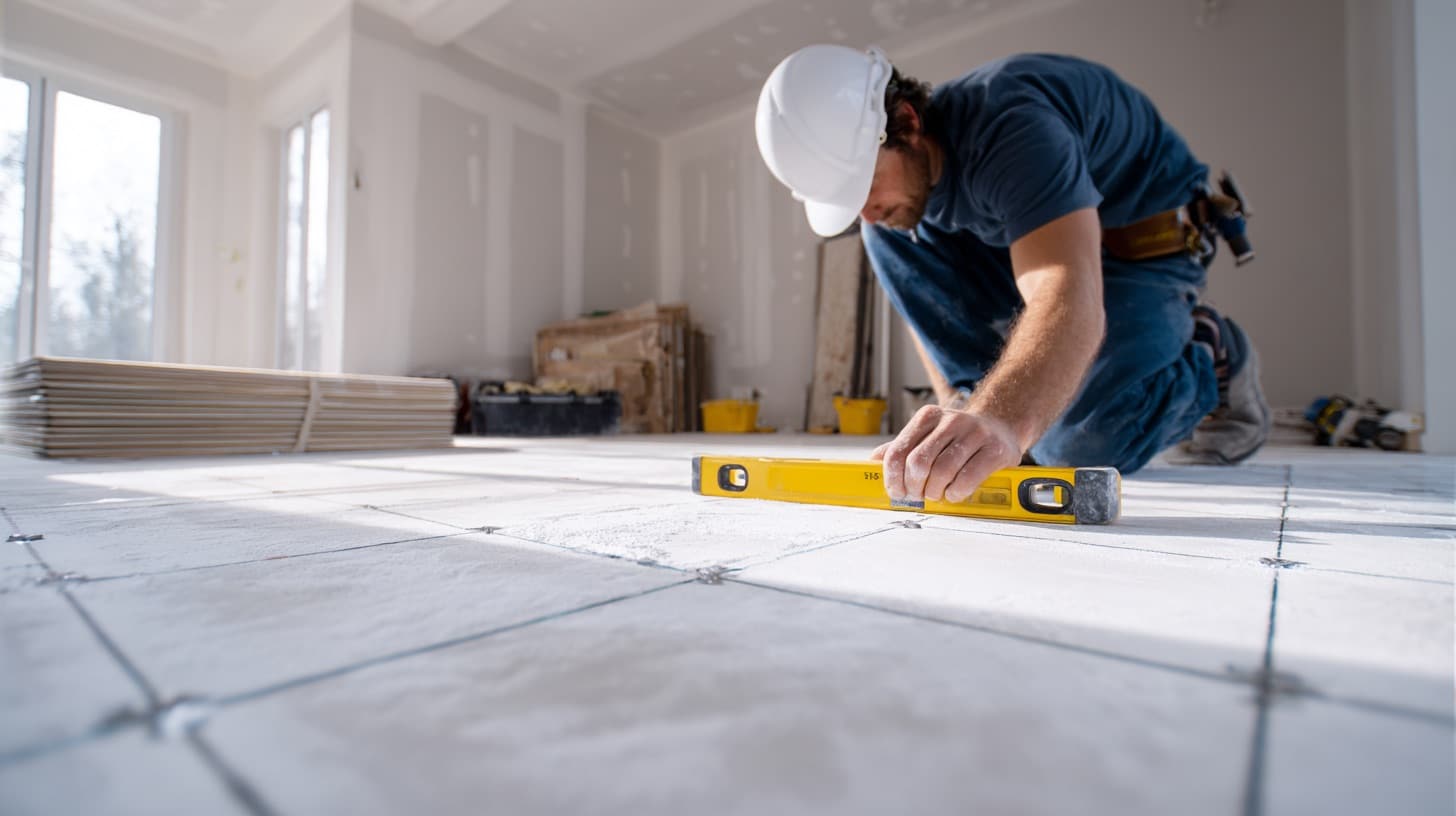
After everything is secured and the mortar has dried, do a final inspection. Check for any gaps, uneven spots, or loose screws.
Fix any issues before moving on to laying your flooring. A clean and level surface now will make your floor installation much easier.
Things to Consider Before Installing Cement Board
Before you start installing the cement board, here are a couple of important things to keep in mind:
- Clean and Level Subfloor: Ensure the subfloor is clean and free of debris. Check for any uneven spots to create a solid, level foundation.
- Choosing the Right Type of Cement Board: Select the appropriate cement board for your project. Some are specifically designed for wet areas like bathrooms, while others are meant for general floor use.
- Proper Adhesive: Use the right type of thin-set mortar to bond the cement board securely to the subfloor for the best results.
- Spacing Between Boards: Leave a small gap between the cement boards (about 1/4 inch) to allow for expansion and prevent cracking.
- Safety Precautions: Always wear safety gear, including gloves, goggles, and a dust mask, when cutting and installing cement board to protect yourself from debris and dust.
- Pre-Check for Damage: Inspect your cement boards for any damage or cracks before installation to avoid issues later on.
Ensuring these factors are considered will give your cement board installation a strong foundation, helping you achieve a lasting and successful tile floor installation
The Bottom Line
Now that you’ve successfully installed your cement board, you’re ready for the next step in your tile flooring project.
It’s important to allow the mortar to fully cure before proceeding, ensuring a strong and secure surface.
Taking the time to get this step right will pay off in the long term, with your floor staying intact for years to come.
By following these steps, you’ve laid the foundation for a professional-quality floor installation.
How did your cement board installation go? Tell us, share with us in the comments below!


