How to Install Metal Roofing on a Shed?
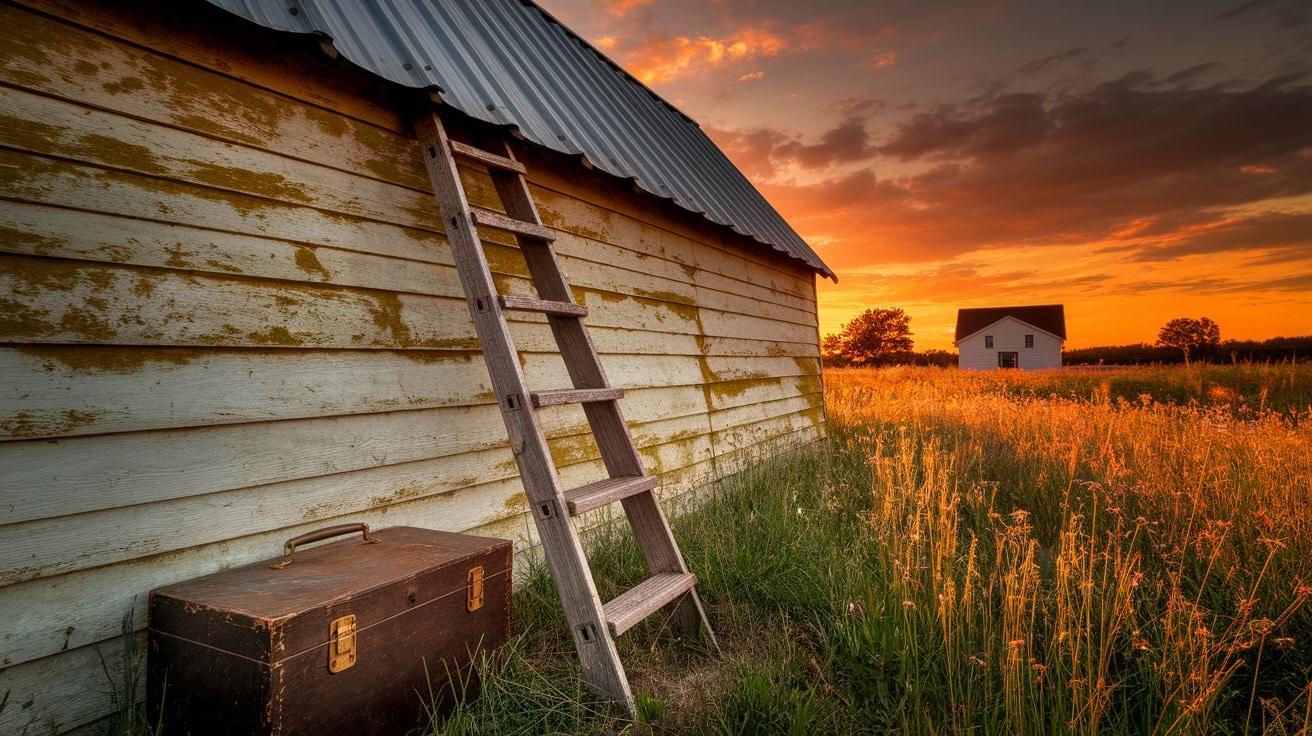
If you want to enhance your shed with a sturdy, weatherproof roof, metal roofing is a great option.
It’s not only durable but also easy to install, offering excellent protection from the elements.
We’ll take you through the full process of installing metal roofing on your shed, starting from preparing the roof deck to securing the panels.
It doesn’t matter if you’re an experienced DIYer or just starting out; you’ll find all the steps you need to ensure a successful project.
Metal Roofing & Its Types
Metal roofing is a type of roofing material made from metal pieces or tiles that are used to cover a structure’s roof.
Metal roofs are known for their durability, longevity, and ability to withstand harsh weather conditions, such as high winds, heavy rain, and snow.
They are also energy-efficient, as they reflect solar heat, which can help reduce cooling costs in warmer climates.
Several types of metal are commonly used in metal roofing:
- Steel: Affordable, strong, and durable, with varieties like galvanized and galvalume offering corrosion resistance.
- Aluminum: Lightweight, corrosion-resistant, perfect for coastal areas, but more expensive, with excellent long-term protection.
- Copper: Durable, unique aesthetic with a green patina, minimal maintenance, but costly.
- Zinc: Highly durable, corrosion-resistant, ideal for harsh weather, develops a protective patina over time.
Tools Used in Metal Roofing
Here are some common tools used when installing metal roofing:
- Measuring Tape: Essential for measuring roof dimensions and ensuring accurate placement of metal panels.
- Power Drill: A drill with screwdriver bits is used to secure the metal panels to the roof with screws.
- Tin Snips: These tools are used for cutting metal roofing panels to the appropriate size and shape.
- Step Ladder: Necessary for safely reaching the roof while installing the metal panels.
- Circular Saw: For cutting larger panels of metal roofing when tin snips are insufficient.
Step-by-Step Process for Installing Metal Roofing
Follow these detailed steps to install your metal roofing, ensuring a durable, weatherproof, and professional-quality finish for your shed.
Step 1: Prepare the Roof Deck
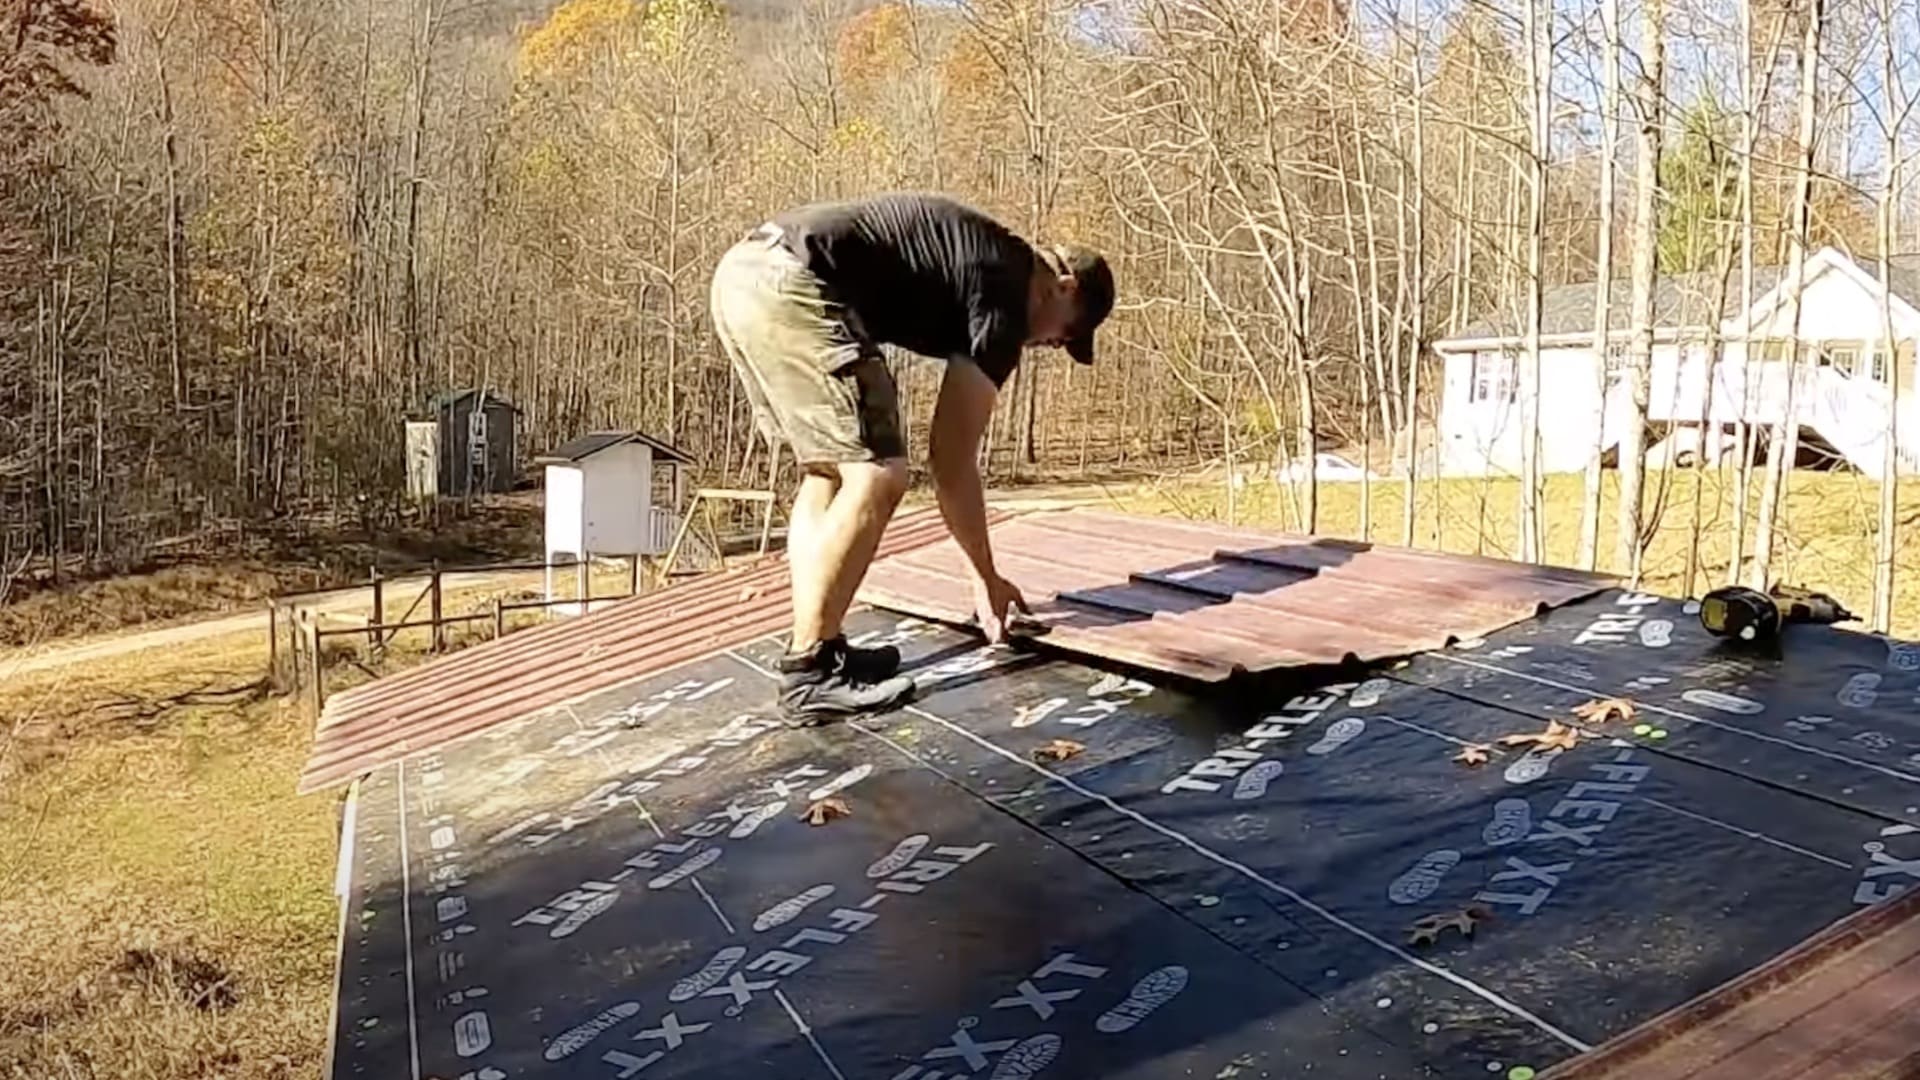
Before installing the metal roof, you need to ensure that the roof deck is in good condition.
Begin by cleaning the surface thoroughly, removing debris, dirt, and any old roofing materials. Inspect the deck for any signs of damage, such as rot or mold.
If you find any soft spots or weak areas, repair them before proceeding.
Step 2: Install Roofing Underlayment and Drip Edge
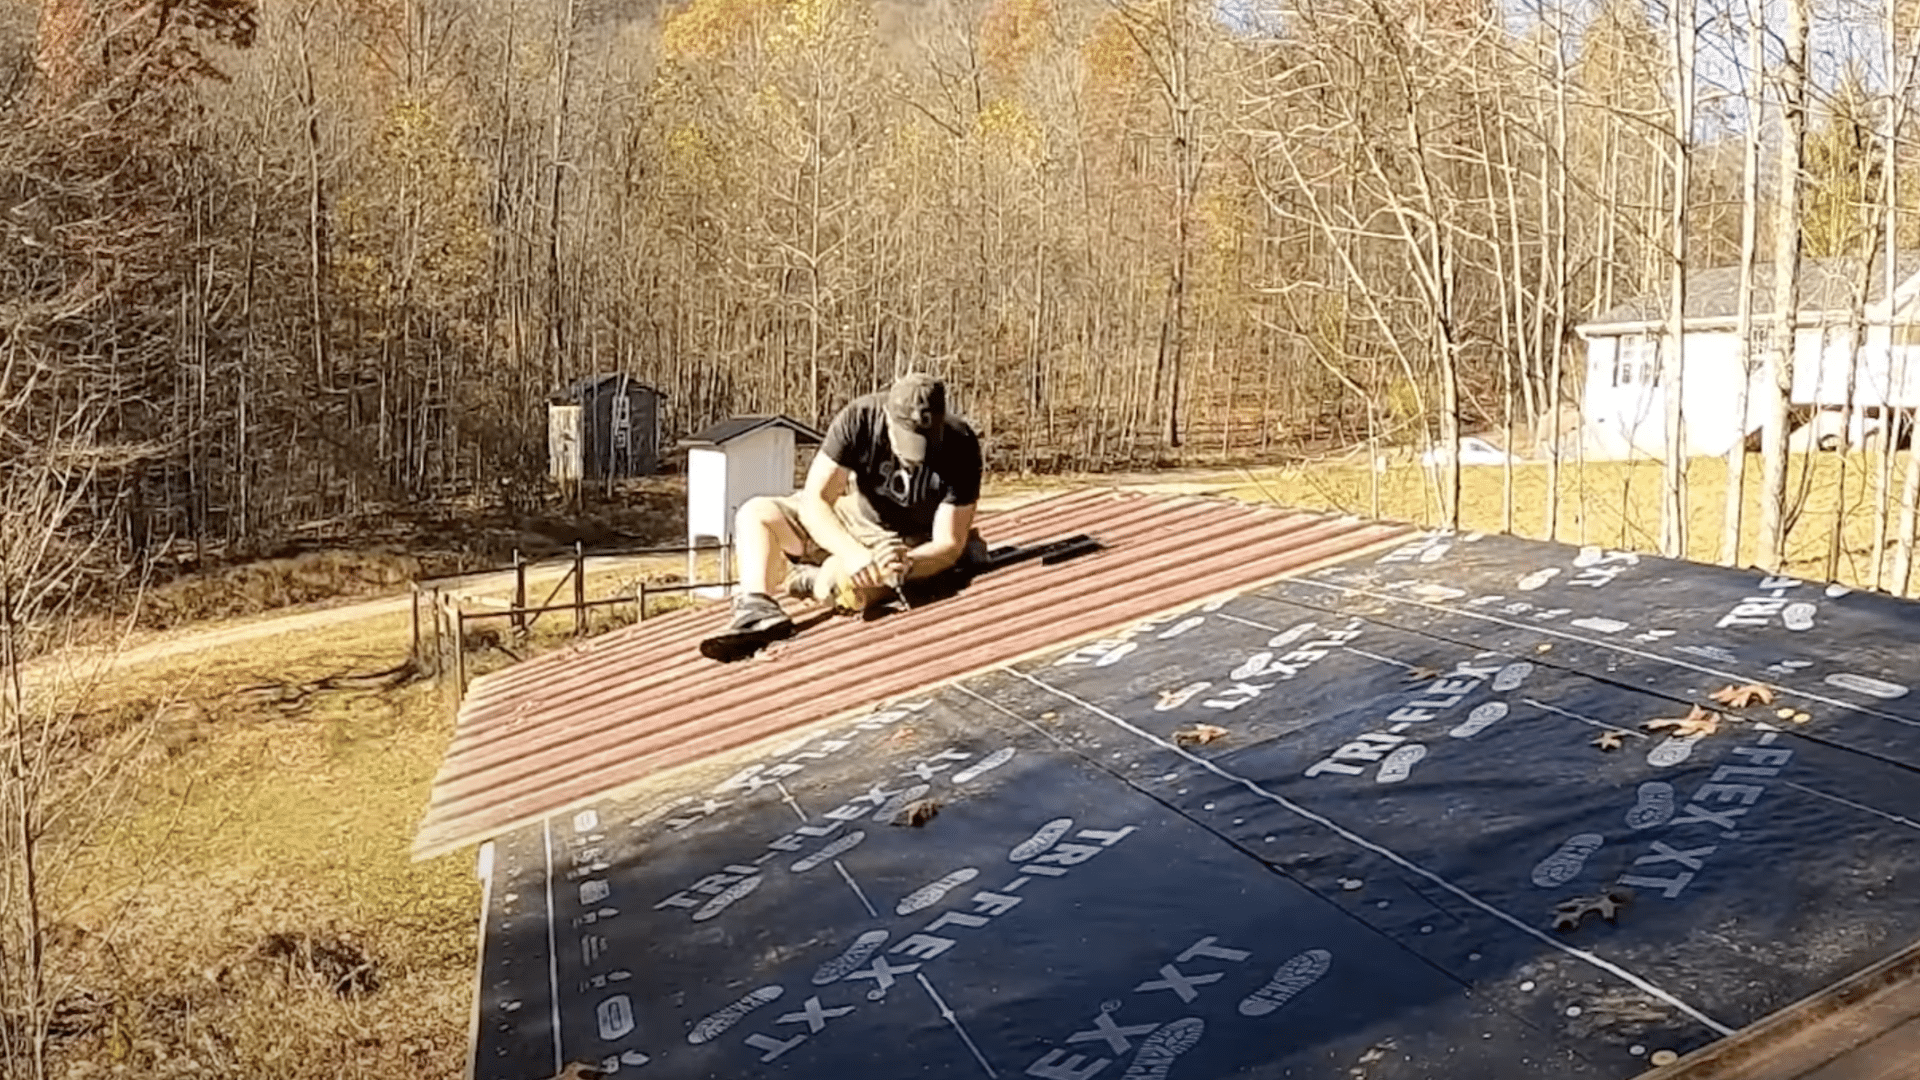
The underlayment is a protective barrier that prevents moisture from seeping under the roofing material.
Lay it across the roof, starting at the eaves, and secure it with staples or nails.
Overlap each section of underlayment by 6 to 12 inches to ensure complete coverage. After the underlayment is in place, install a drip edge along the eaves and gable ends.
Secure it with roofing nails along the edges.
Step 3: Fastening Panels Correctly
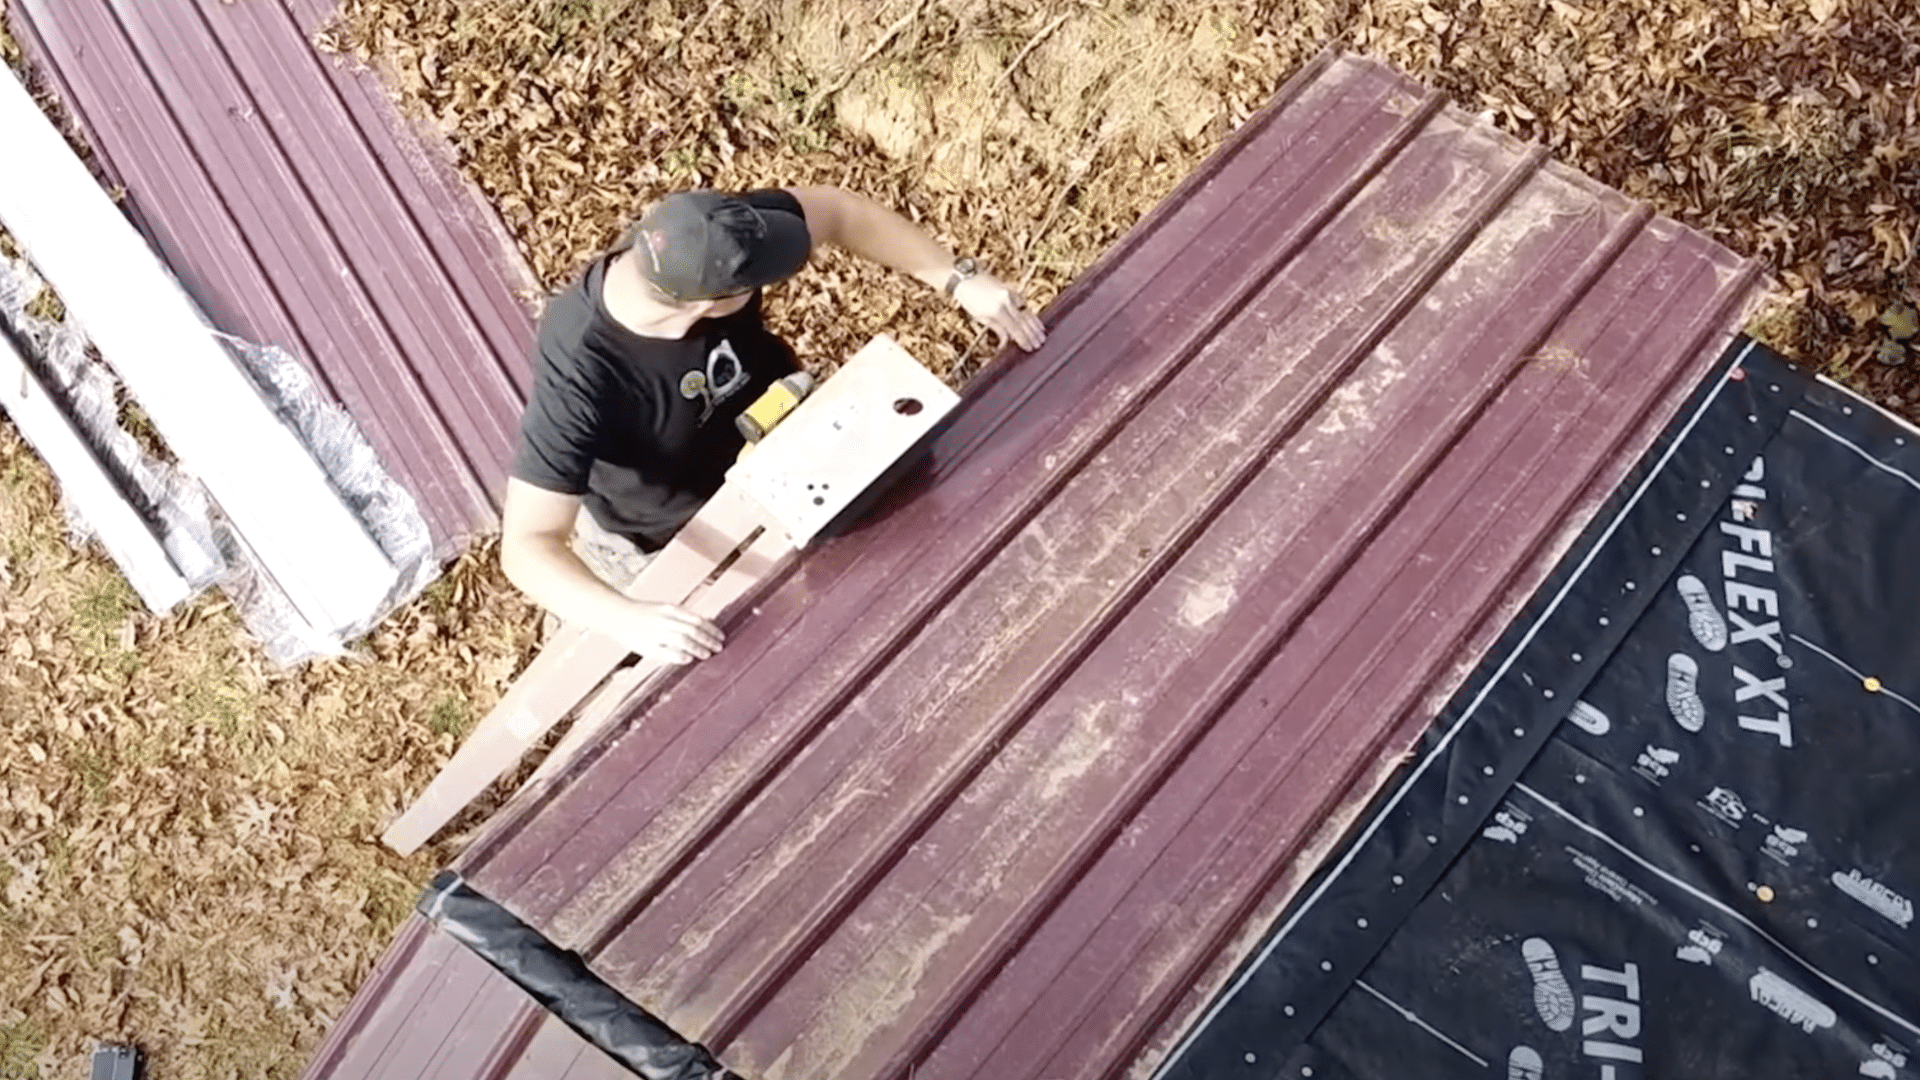
Metal roofing panels need to be securely fastened to the roof deck to withstand high winds and harsh weather.
Begin by positioning the first panel along the roof’s edge, ensuring it is straight and aligned with the roofline.
Use roofing screws with rubber washers to fasten the panels into the roof deck. The screws should be placed in the ridges of the panels, not the flat areas, to prevent leaks.
Be sure to space the screws consistently, typically every 12 to 24 inches, according to the manufacturer’s recommendations.
Step 4: Panel Overlap and Positioning
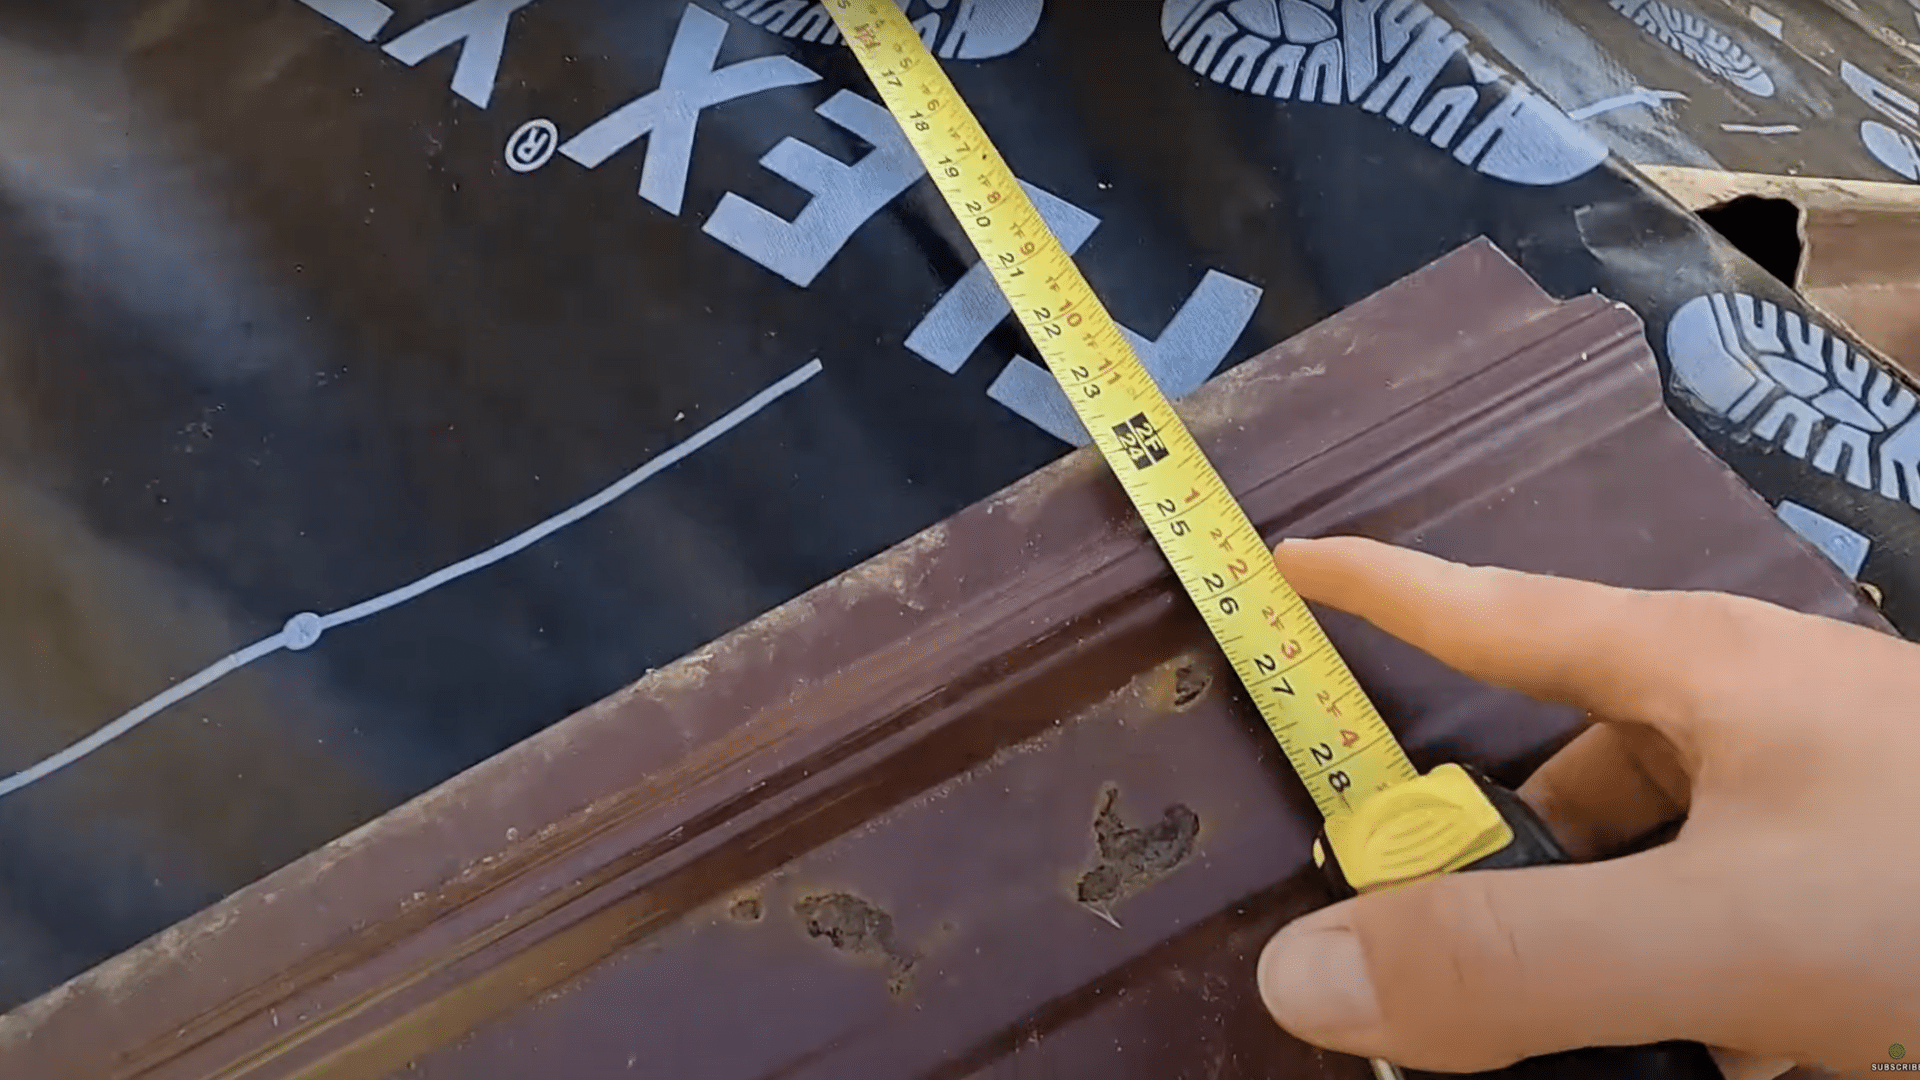
When installing subsequent metal roofing panels, ensure that each panel overlaps the previous one by at least 1 to 2 inches.
This overlap is crucial for creating a waterproof barrier and preventing rain from getting under the panels.
Position each new panel precisely, keeping it level and in alignment with the first.
The edge of the panels should sit flush against the drip edge, and you must secure each panel with the same consistent fastener spacing.
Step 5: Install Ridge Caps and Flashing
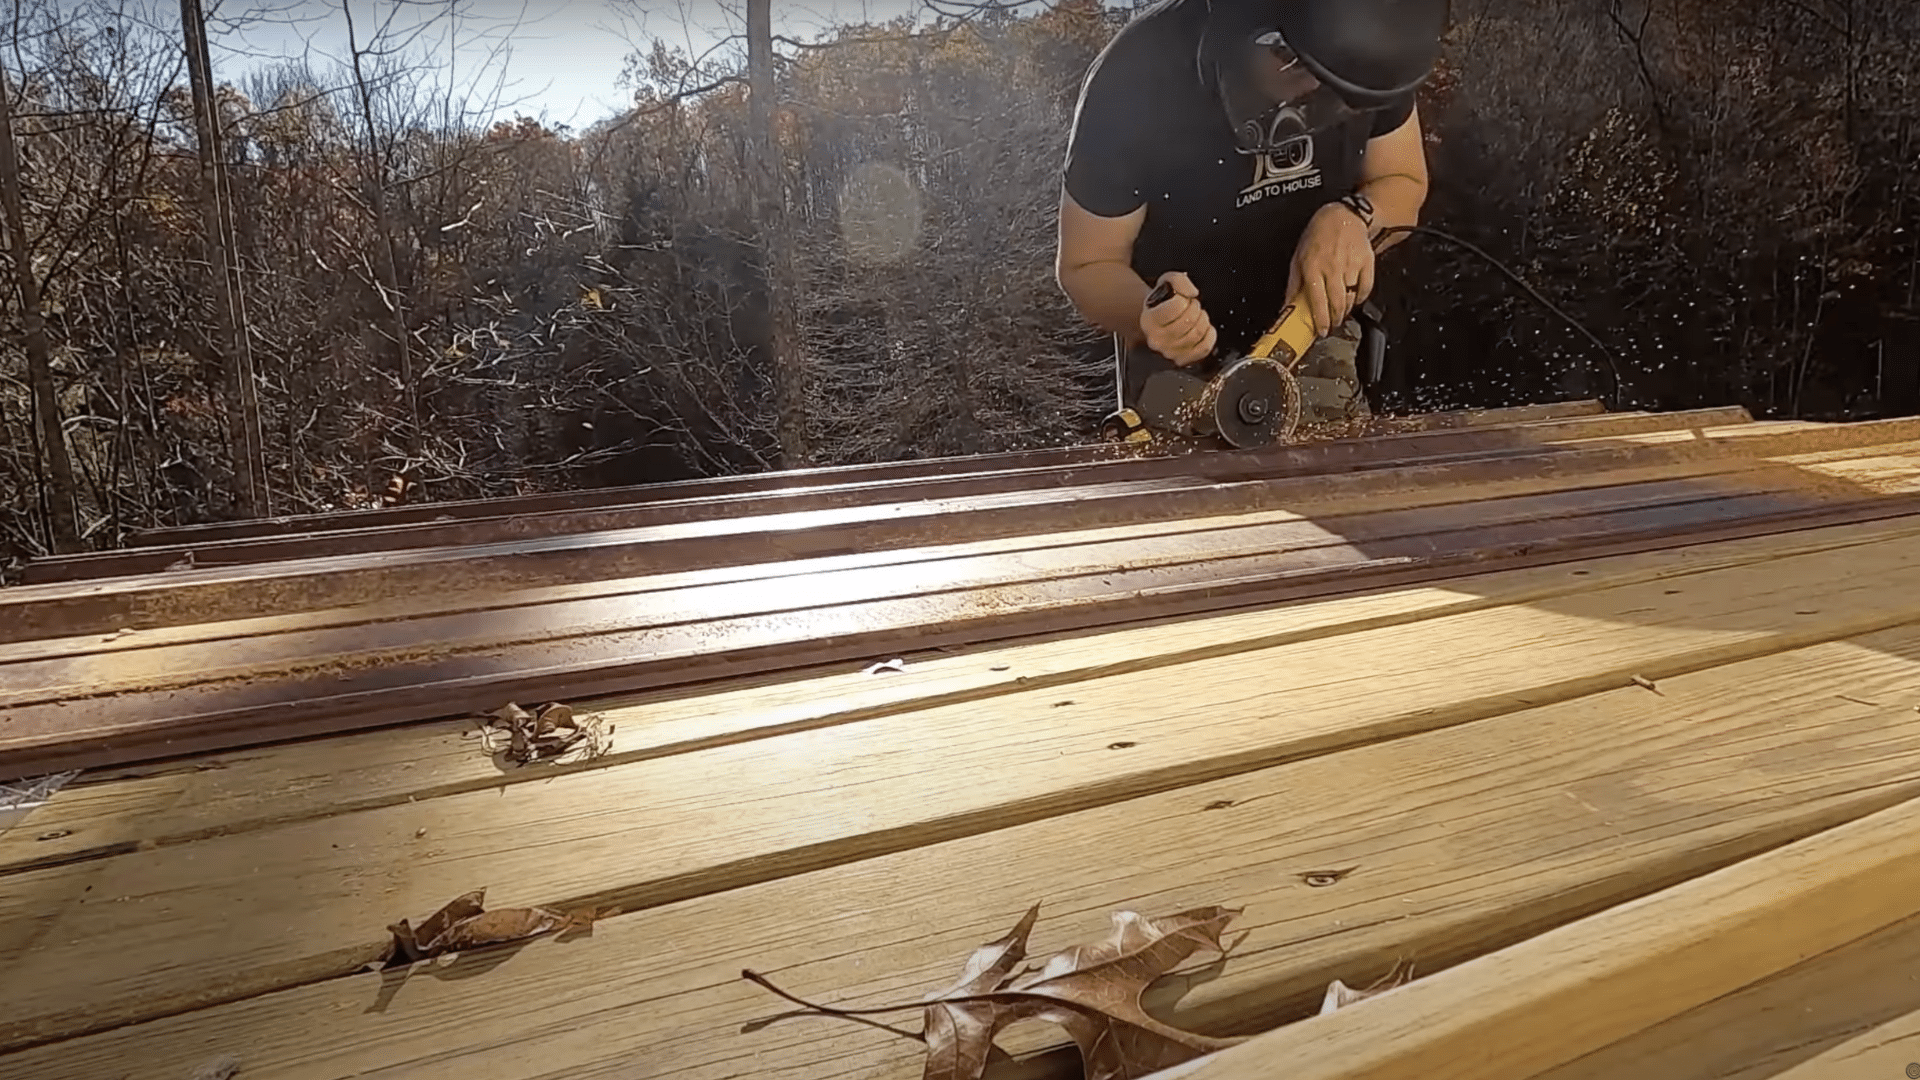
Once the main panels are installed, the ridge caps should be placed at the peak of the roof.
The ridge cap covers the seam between the two sides of the roof, protecting the roof from wind-driven rain and snow.
Secure the ridge cap using screws or clips, and make sure the panels underneath the cap are tucked beneath it.
Additionally, install flashing around any protrusions, such as chimneys, vents, and skylights.
Flashing is necessary to keep water from infiltrating these vulnerable areas, and it should be secured with nails or screws and sealed at the edges.
Step 6: Sealing Joints and Edges
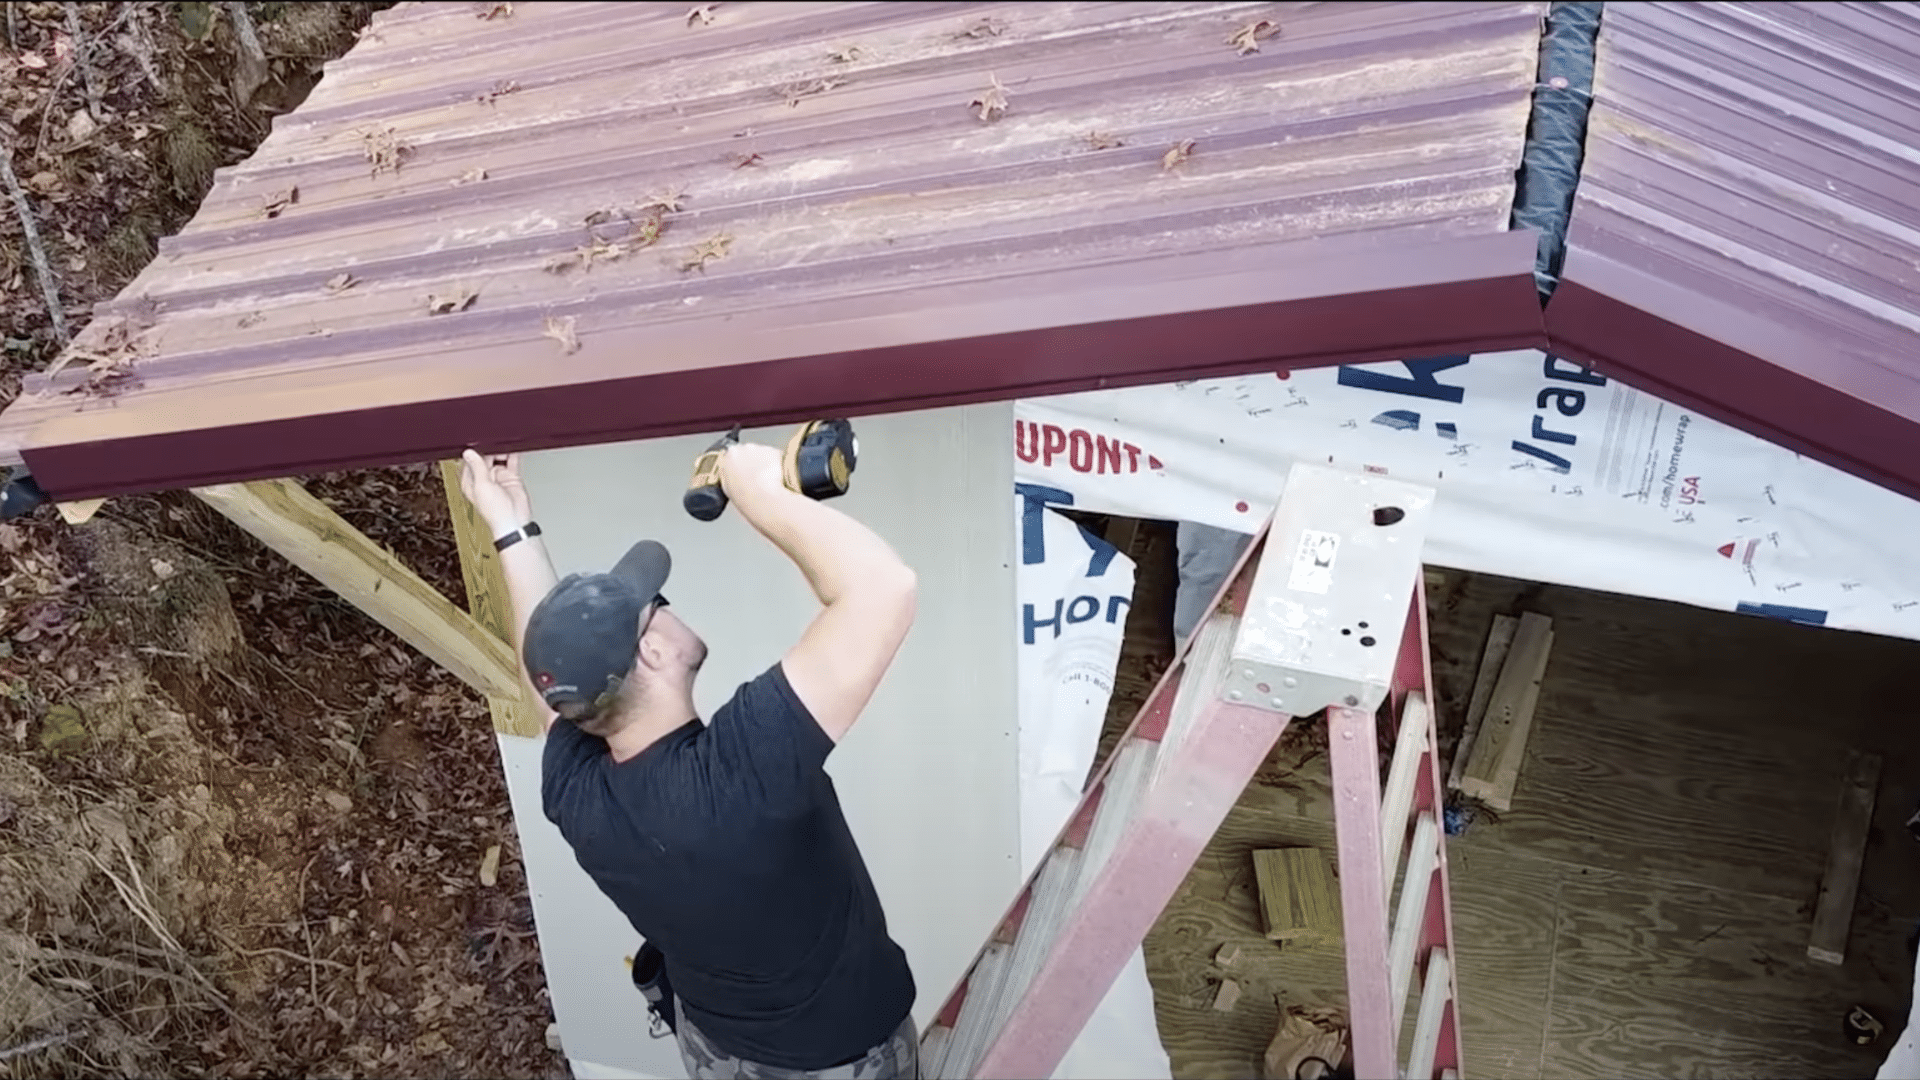
The final step in the installation process is sealing all the joints and edges to prevent leaks.
Apply a high-quality roofing sealant along the seams, around screw heads, and where panels overlap.
This sealant acts as an extra layer of protection against water infiltration. Ensure that any gaps, such as around vents, skylights, or flashing, are also sealed tightly.
A good sealant prevents moisture from entering the roof system, which can cause rust or structural damage over time.
After sealing, inspect the roof to make sure all areas are well-protected and there are no loose fasteners or uncovered seams.
Watch How It’s Done: Installing a Metal Roof on a Shed
For a more detailed visual guide, check out this video by Land to House LLC.
Shed Roof Preparation Guide
Here’s a detailed guide on the essential steps for roof preparation before you begin the actual installation process:
- Remove Old Roofing Materials: Strip away old shingles, tiles, and underlayment to create a clean surface.
- Inspect and Repair the Roof Deck: Check for damage like rot or mold and replace any weak or damaged sections of the deck.
- Clean the Roof Surface: Remove dirt, debris, and dust to ensure proper adhesion of the underlayment.
- Check for Proper Roof Slope and Ventilation: Ensure the roof has the correct slope for water runoff (minimum 3:12 pitch) and proper attic ventilation.
- Reinforce the Roof Structure (if Needed): Add support beams or bracing if the roof deck shows signs of weakness.
- Ensure the Roof Deck Is Dry: Make sure the surface is completely dry before proceeding to avoid moisture-related issues.
Pros & Cons of Installing Metal Roofing
Here’s a quick look at the pros and cons of installing metal roofing on your shed:
| Pros | Cons |
|---|---|
| Durability: 40-70 years | Cost: High initial cost |
| Weather resistance: Harsh conditions | Noise: Noisy during rain/hail |
| Low maintenance: Easy upkeep | Denting: Prone to dents |
| Energy efficiency: Reflects heat | Expansion: May affect fasteners |
Some Tips for Installing Metal Roofing
Here are some helpful tips for installing metal roofing to ensure a smooth and successful project:
- Choose the Right Material: Select metal roofing based on climate and budget (e.g., aluminum for coastal areas, steel for durability).
- Ensure Proper Ventilation: Adequate attic airflow prevents heat buildup and reduces moisture risks.
- Wear Safety Gear: Protect yourself with gloves, goggles, and a helmet to avoid injury.
- Install in Dry Conditions: Work in dry weather to prevent slippery surfaces and accidents.
- Follow Safety Guidelines: Always prioritize safety during installation to ensure a secure and injury-free process.
The Bottom Line
Learning how to install metal roofing on a shed is not just about adding protection; it is about giving your shed strength, style, and long-lasting value.
The right installation will help your shed handle harsh weather, reduce upkeep, and even save on energy costs over time.
When done carefully, you get a sturdy roof that keeps your belongings safe and your shed looking great for years.
What is the biggest challenge you face when installing metal roofing on a shed? Tell us in the comments below.

