Can You Spray Polyurethane
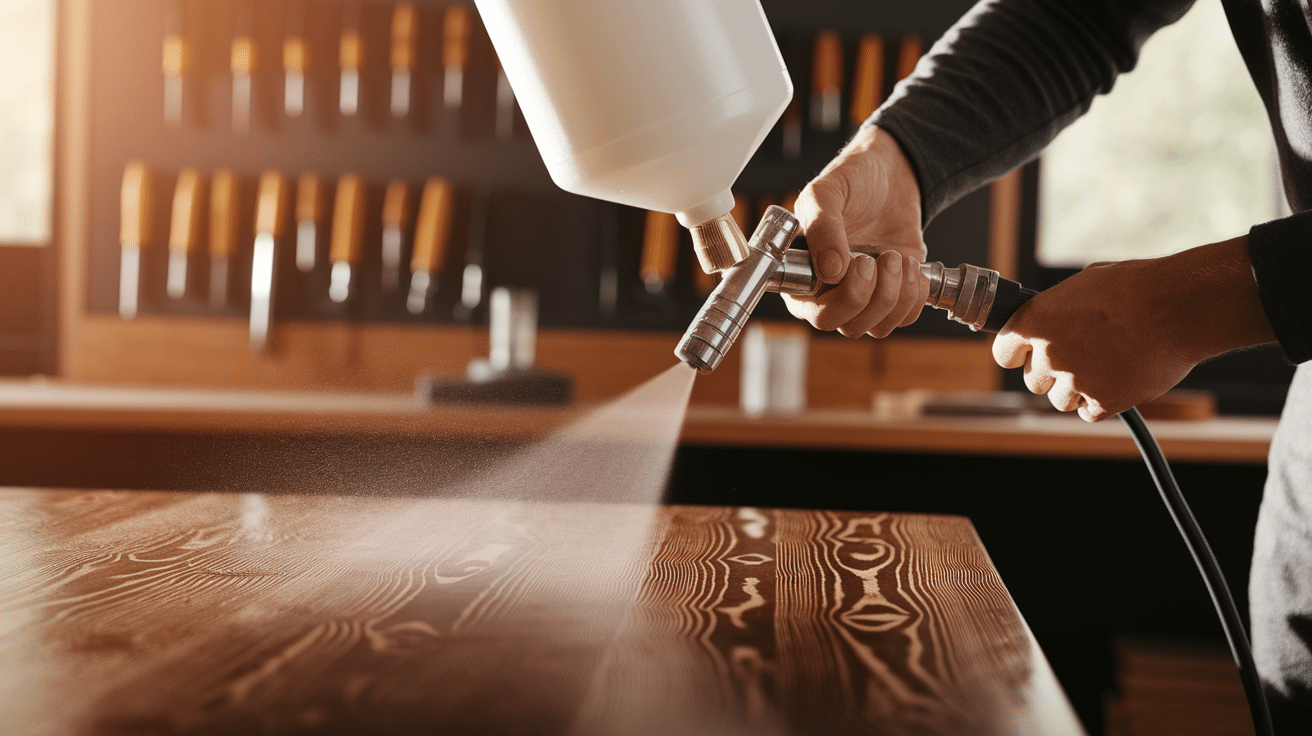
Have you ever looked at a wood project and wished the finish could be smoother, shinier, and free from streaks or marks that brushes leave behind?
Many people wonder if there’s a faster and easier way to protect wood without losing quality, and that question often leads to polyurethane.
If you’ve ever wondered if polyurethane can be sprayed, you are not alone.
We’ll be discussing the process of spraying polyurethane, including how it works, the different types, safety tips, and common mistakes.
Can You Spray Polyurethane?
Yes, you can spray polyurethane, and it is one of the best ways to get a smooth and professional finish on wood.
Spraying works for both oil-based and water-based polyurethane, giving you the option to choose the type that fits your project.
When applied correctly, spraying creates an even coat without brush marks and covers detailed areas that are hard to reach with a brush.
With the right equipment, preparation, and safety steps, spraying polyurethane makes the process faster and the results more consistent.
Why Spray Polyurethane Instead of Brushing?
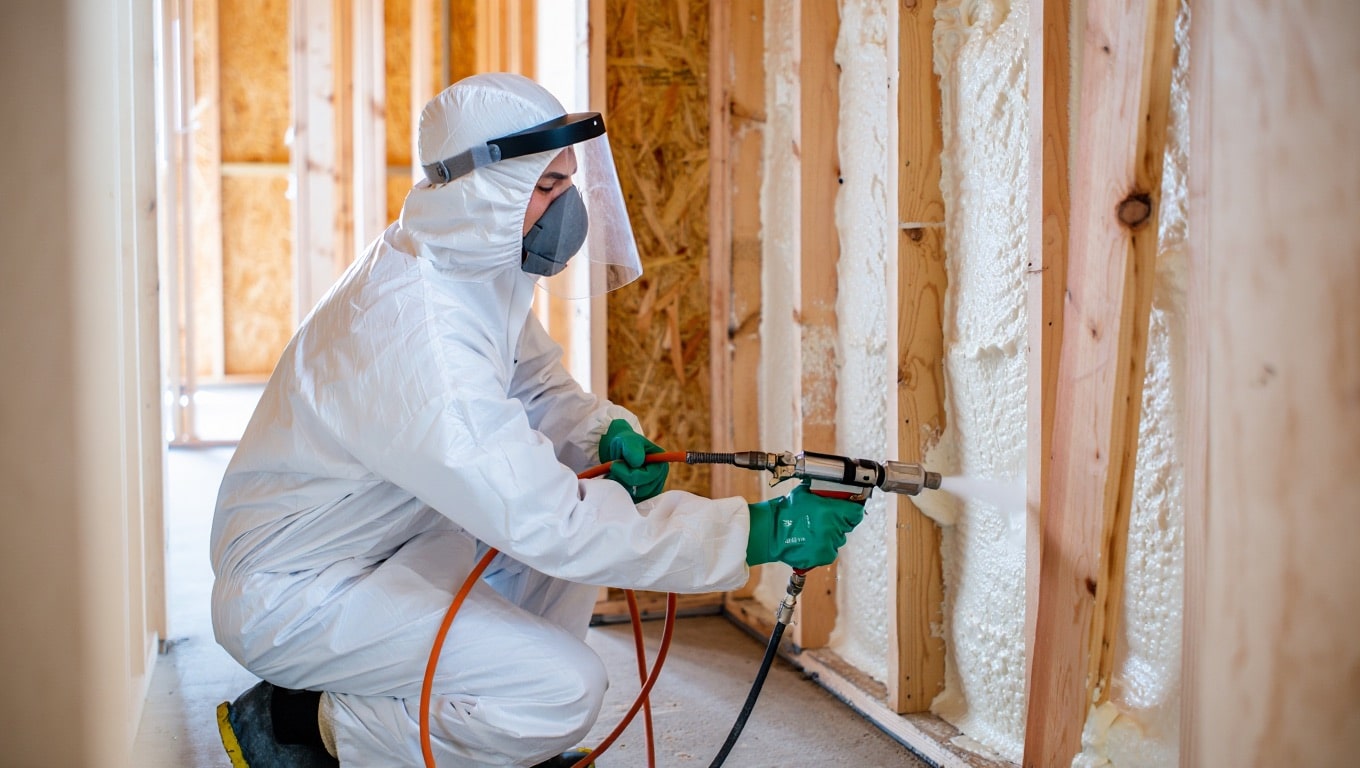
Many woodworkers debate about the best way to apply polyurethane.
Spraying offers several key benefits that make it worth thinking about for your next project.
- Smoother Finish: The spray lands evenly on the wood surface, so there are no brush marks or streaks to worry about.
- Faster Application: You can cover large areas in minutes instead of hours with a brush.
- Better for Detailed Work: Spray reaches into cracks, corners, and carved areas that brushes can’t touch.
- Even Coating: The finish thickness remains consistent throughout the project, unlike brush strokes that may vary in thickness.
- Less Chance of Bubbles: Spraying tends to create fewer air bubbles than brushing, so your finish looks cleaner.
The choice between spraying and brushing often comes down to your specific project needs, but the quality of a sprayed finish is hard to beat once you get the hang of it.
Choosing Between Oil-Based and Water-Based Polyurethane
Picking the right type of polyurethane can make a big difference in how your project turns out.
Both oil-based and water-based options have their pros and cons, so let’s examine what makes each one unique.
- Durability: Stands up better to heat, scratches, and daily wear. This makes it perfect for floors, tables, and other surfaces that get a lot of use.
- Amber Glow: Adds a warm, golden tone to wood. Many folks love this rich look, especially on darker woods like walnut or mahogany.
- Longer Dry Time: It takes 24-48 hours between coats. The slow drying means fewer bubbles, but it also means your project takes longer to finish.
- Strong Smell: Has a powerful odor during application and drying. You’ll need good airflow and maybe even a mask when working with it.
- Quick Drying: Ready for another coat in 2-4 hours. This speed means you can finish a project in a single day.
- Clear Finish: It dries crystal clear without yellowing. This finish is great for light woods like maple or ash, where you want to keep the natural color.
- Low Odor: These have much less smell than oil-based options. They are better for indoor use, especially in homes with kids or pets.
- Less Durable: It may not hold up as well to heavy use. It is still plenty tough for most furniture, but it may not be the best for high-traffic floors.
The right choice depends on your specific project needs. Consider how the item will be used, how soon you need it finished, and what look you’re going for. When sprayed correctly, either type can give great results.
Spray Equipment Options
Finding the right spraying equipment can make a huge difference in the outcome of your polyurethane project.
The market offers several options at different price points, and each has its strengths for different project sizes.
| Sprayer Type | Best For | Key Benefits |
|---|---|---|
| HVLP Sprayers | Furniture, cabinets | Better control, minimal overspray |
| Airless Sprayers | Large projects like fences, decks | Fast coverage; applies thicker coats |
| Turbine Systems | Home workshops | Portable, easier to set up than compressor-based systems |
| Aerosol Cans | Small or budget-friendly projects | No cleanup; convenient, but limited spray control |
| Conversion Spray Guns | Those who already own an air compressor | Cost-effective, utilizes existing compressor setup |
The right sprayer depends on your budget, project size, and how often you plan to use it.
For beginners, an HVLP system or even aerosol cans might work best, while professionals might prefer the speed of an airless system.
Do You Need to Thin Polyurethane Before Spraying?
Most polyurethanes need thinning before spraying to flow properly through the spray equipment. Oil-based poly usually needs 10-20% mineral spirits added, while water-based poly might need 5-10% water.
Check your specific product label first, as some newer formulas come “spray-ready” and don’t need thinning at all.
Test your mixture on scrap wood before starting your project; it should spray evenly without drips or an orange-peel texture.
If it’s too thick, you’ll get clogs and uneven coverage; if it’s too thin, you’ll need extra coats for protection.
The right consistency flows like warm syrup and creates a smooth, even coat.
Step-by-Step: How to Spray Polyurethane
Getting great results with sprayed polyurethane requires careful preparation and technique. Follow these steps for a smooth, professional finish on your woodworking project.
Step 1: Prepping the Surface
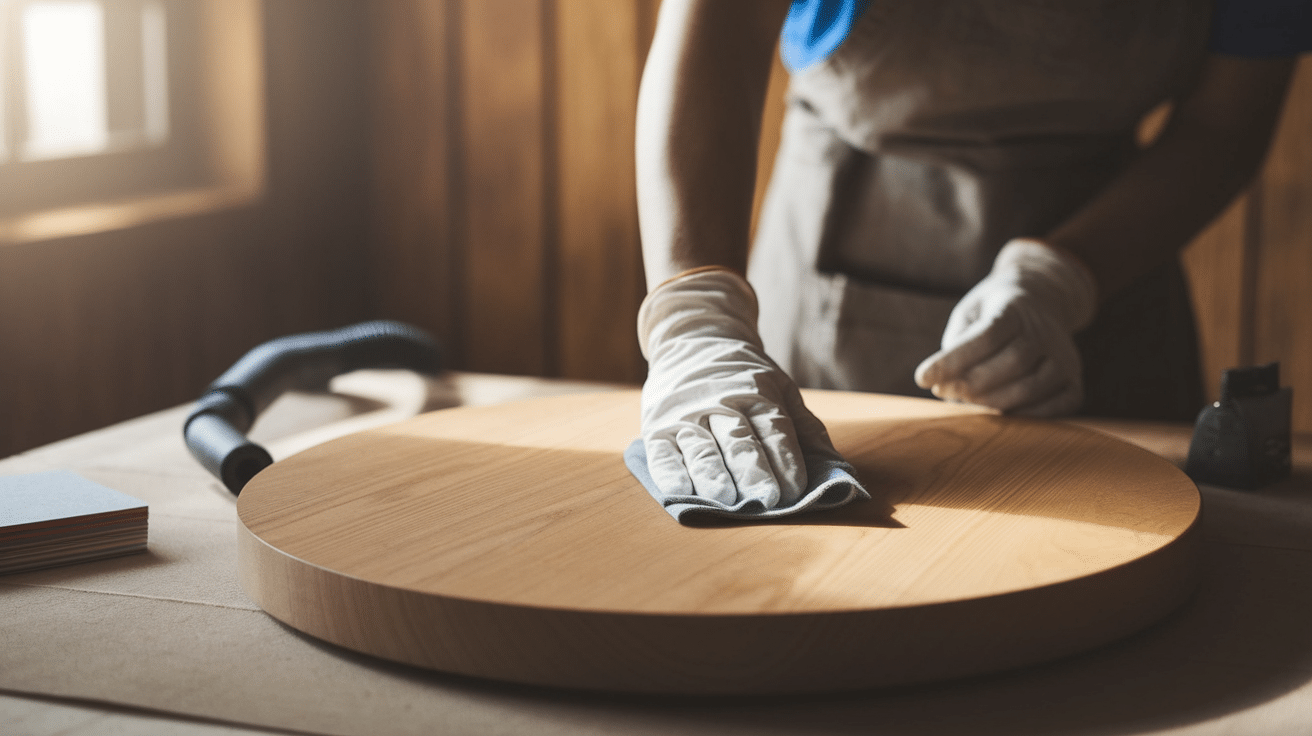
Start with thoroughly sanded wood (up to 220 grit), and remove all dust with a vacuum and tack cloth.
Any tiny bits of dust left behind will show up in the clear finish.
Light sanding helps the new coat stick better on previously finished surfaces. Make sure the wood is completely clean and dry before you begin spraying.
Step 2: Setting Up Your Spray Area
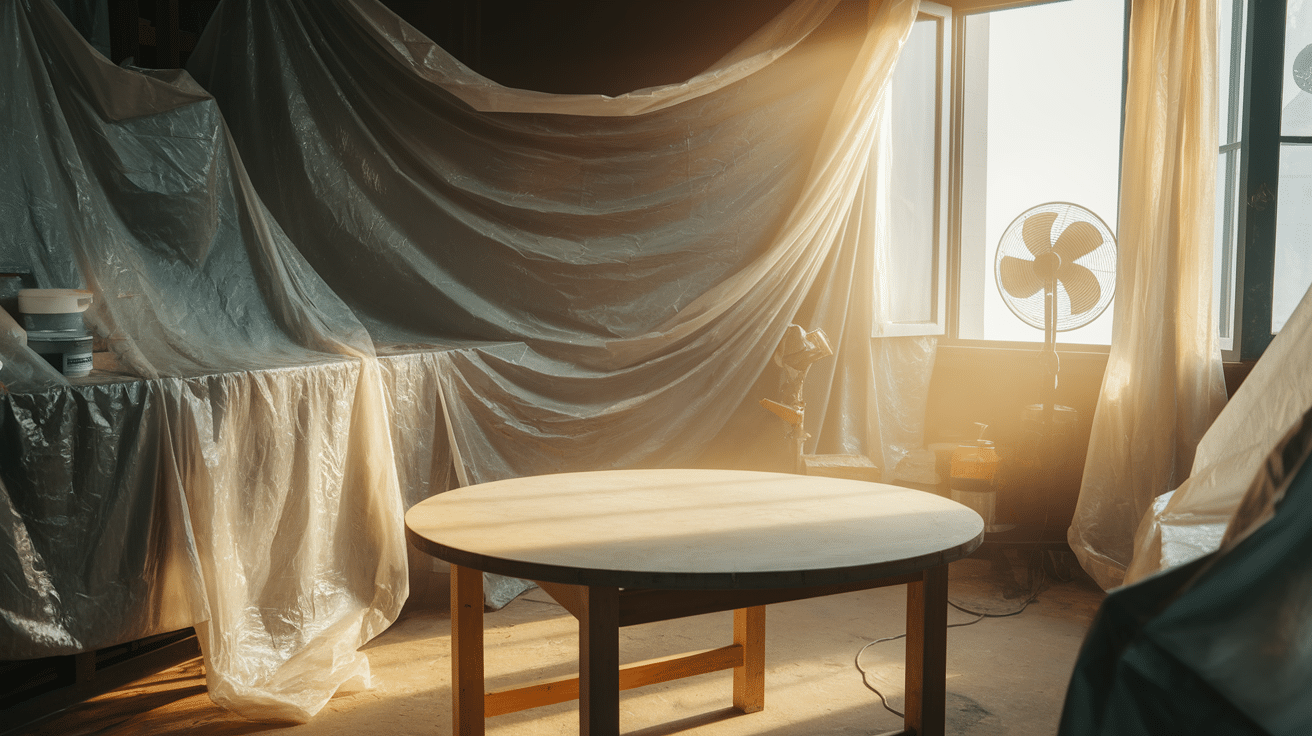
Good ventilation is necessary when spraying polyurethane. Open windows, use fans, and consider working outdoors if possible.
Cover anything you don’t want sprayed with plastic sheeting and painter’s tape. The spray can travel farther than you might think!
Position your project so you can easily walk around it, and make sure the area is dust-free.
Step 3: Mixing and Thinning
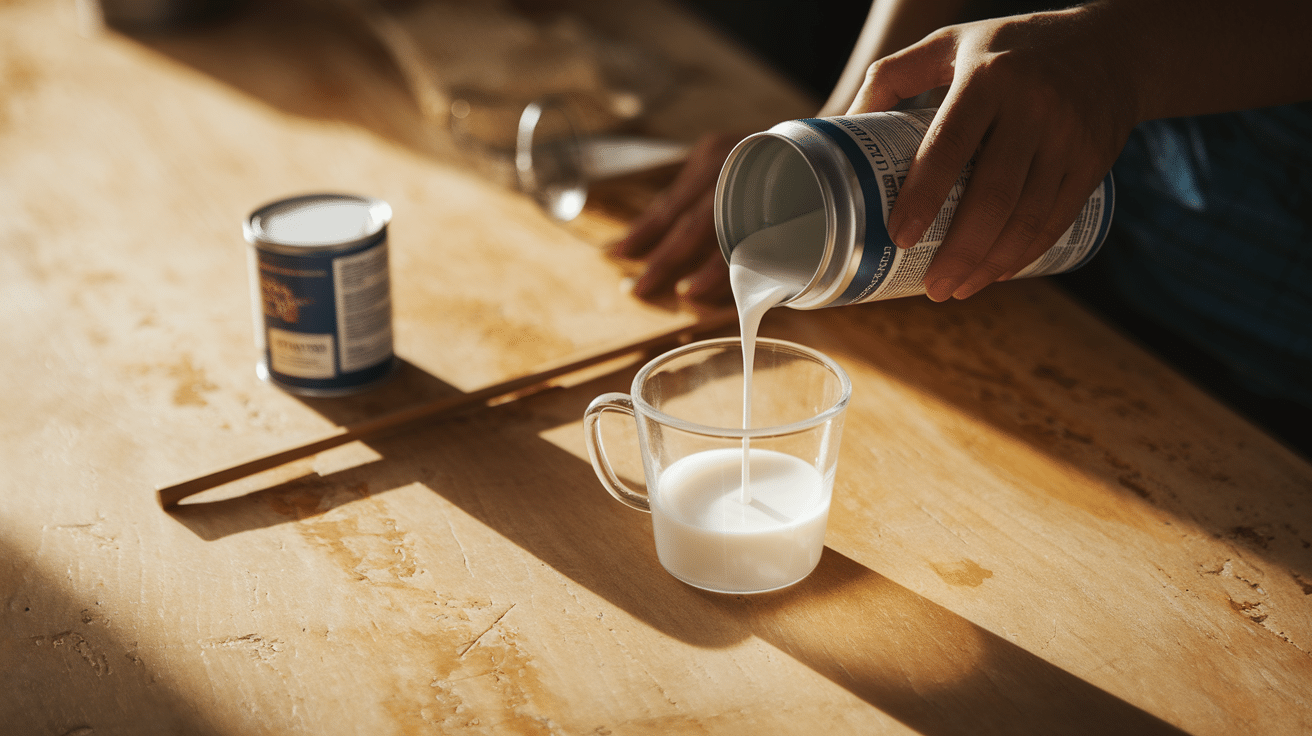
For most spray equipment, polyurethane needs thinning, as discussed above.
Mix in a clean container using a stir stick (never shake, which creates bubbles). The right consistency feels like warm syrup.
Always strain the mixture through a fine mesh filter to catch any tiny particles that could clog your sprayer.
Step 4: Spraying Technique
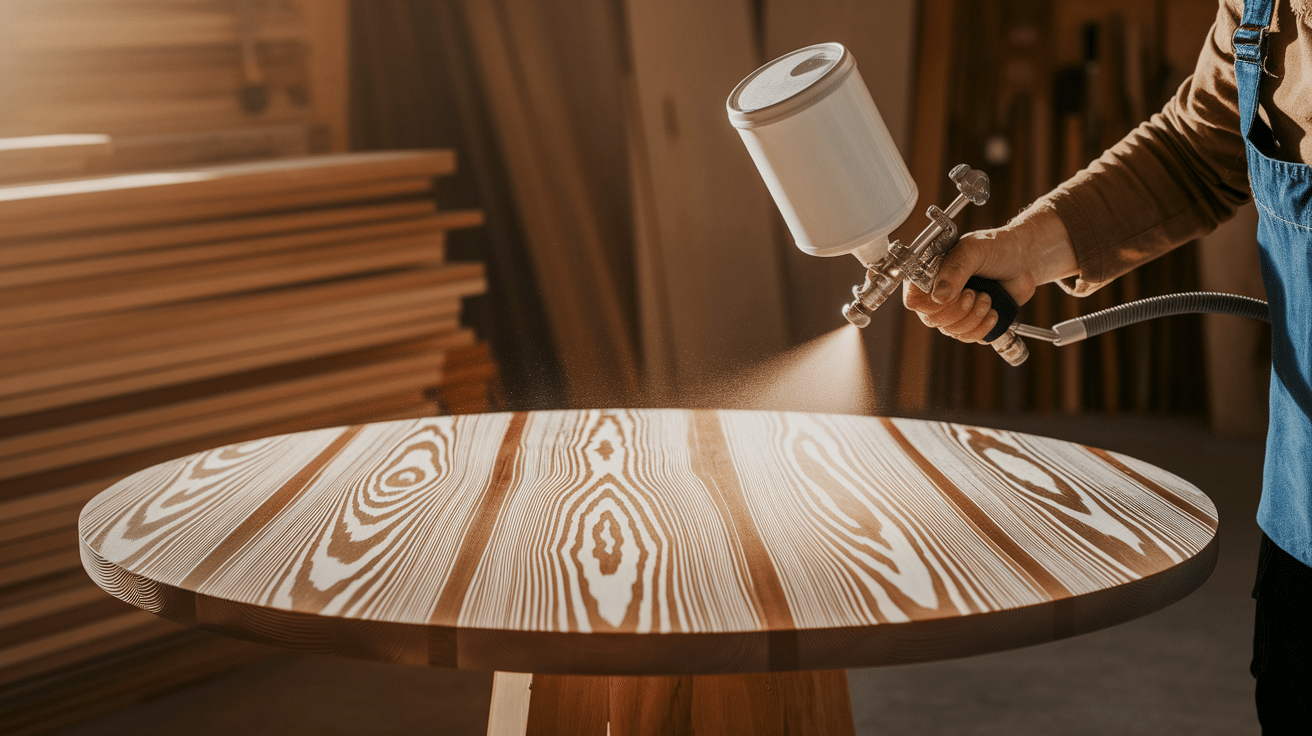
Hold the sprayer 8-12 inches from the surface and move in steady, straight passes. Overlap each pass by about 50% to avoid thin spots.
Start and stop your spray beyond the edges of the project for even coverage.
Keep your arm moving at a consistent speed, too slow causes drips, too fast leaves thin spots.
Always spray horizontal surfaces first, then vertical sides.
Step 5: Dry Time & Recoating
Check the product label for exact times, but generally allow 2-4 hours for water-based and 24 hours for oil-based between coats.
The room temperature and humidity significantly affect drying times.
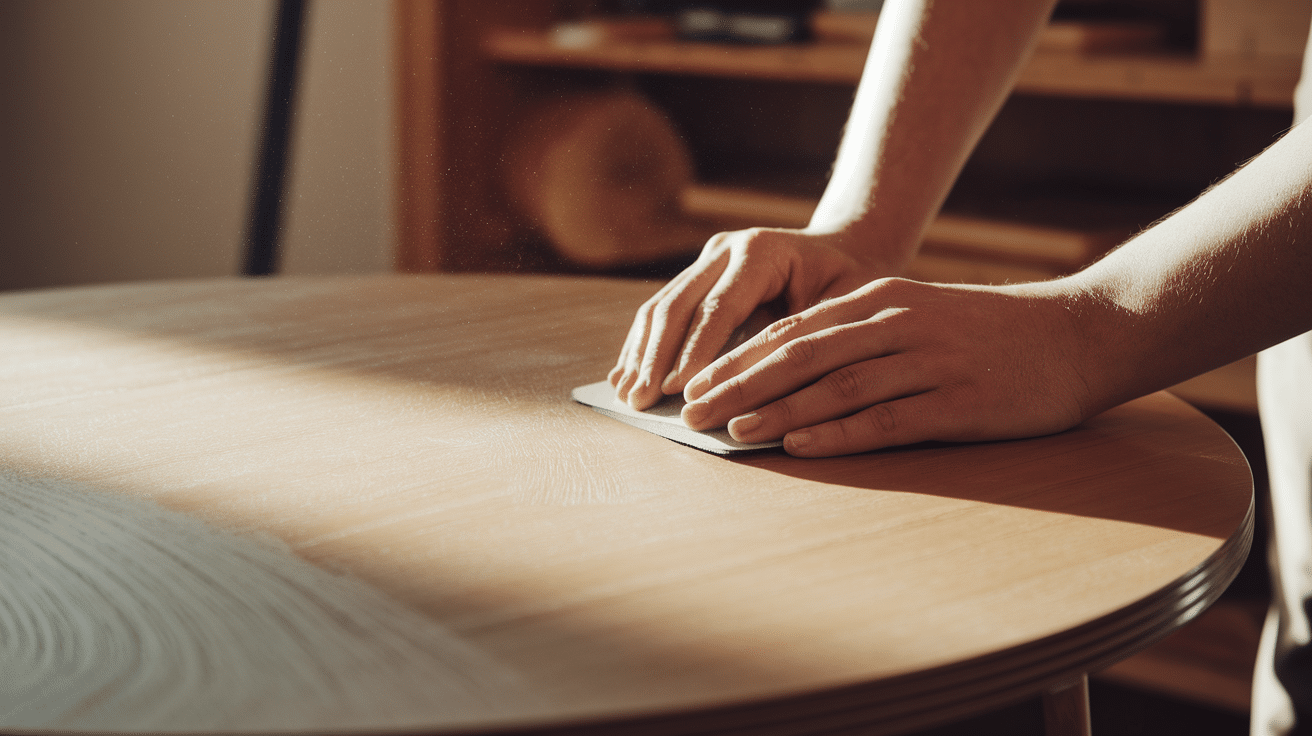
Lightly sand between coats with very fine sandpaper (320+ grit) or a sanding pad, then remove all dust before applying the next coat. Most projects need 2-3 coats for proper protection.
The final coat needs a longer curing time; usually 24 hours for water-based and several days for oil-based.
Don’t use or handle the item heavily until the polyurethane has fully cured, which may take up to a week to achieve maximum hardness.
Cleanup and Safety Tips
Proper cleanup and safety practices protect both your health and your equipment when working with polyurethane. Follow these essential guidelines:
- Dried polyurethane can permanently clog sprayers; clean thoroughly with the appropriate solvent right after use.
- Use a respirator rated for organic vapors. Regular dust masks aren’t enough.
- Open windows, use fans, or work outdoors whenever possible to reduce inhalation risks.
- These can spontaneously combust. Lay them flat to dry or store them in a sealed metal container filled with water.
- Keep polyurethane and solvents in tightly sealed containers, away from heat and direct sunlight in a cool, dry space.
Common Mistakes and How to Avoid Them
Even skilled woodworkers make mistakes when spraying polyurethane. Here are the most common errors and simple fixes:
- Spraying too thick: Apply multiple thin coats to prevent drips.
- Improper thinning: Follow the 10–20% rule and test on scrap wood.
- Dirty surface: Use a tack cloth and keep the area dust-free.
- Shaking instead of stirring: Stir gently to avoid bubbles.
- Rushing between coats: Allow each coat to fully dry before recoating.
Final Thoughts
Spraying polyurethane gives your woodworking projects a smooth, professional finish that’s hard to beat with a brush.
The choice between water-based and oil-based depends on your specific needs, while the right equipment makes all the difference.
Remember that patience pays off when applying polyurethane. Take time to prepare surfaces properly, thin the product correctly, and allow full drying between coats.
These small steps lead to big results. Good ventilation and proper protective gear keep you healthy while creating beautiful projects.
Ready to try spraying polyurethane on your next project? Start small with a simple piece to build your skills before tackling larger items.

