How to Master Rough-In Plumbing? All You Need To Know
Are you trying to learn about rough-in plumbing but feel confused by all the pipes and measurements? You’re not alone.
Many homeowners and new plumbers find this stage of construction hard to understand. Rough-in plumbing is the first phase of setting up pipes in a new building, so understanding is very important.
This blog will help you master rough-in plumbing techniques.
It covers everything from selecting the right tools to reading plumbing plans and avoiding common mistakes.
The path to successful plumbing starts with a solid rough-in, and this guide aims to make that path clearer for you.
Understanding the Basics of Rough-In Plumbing
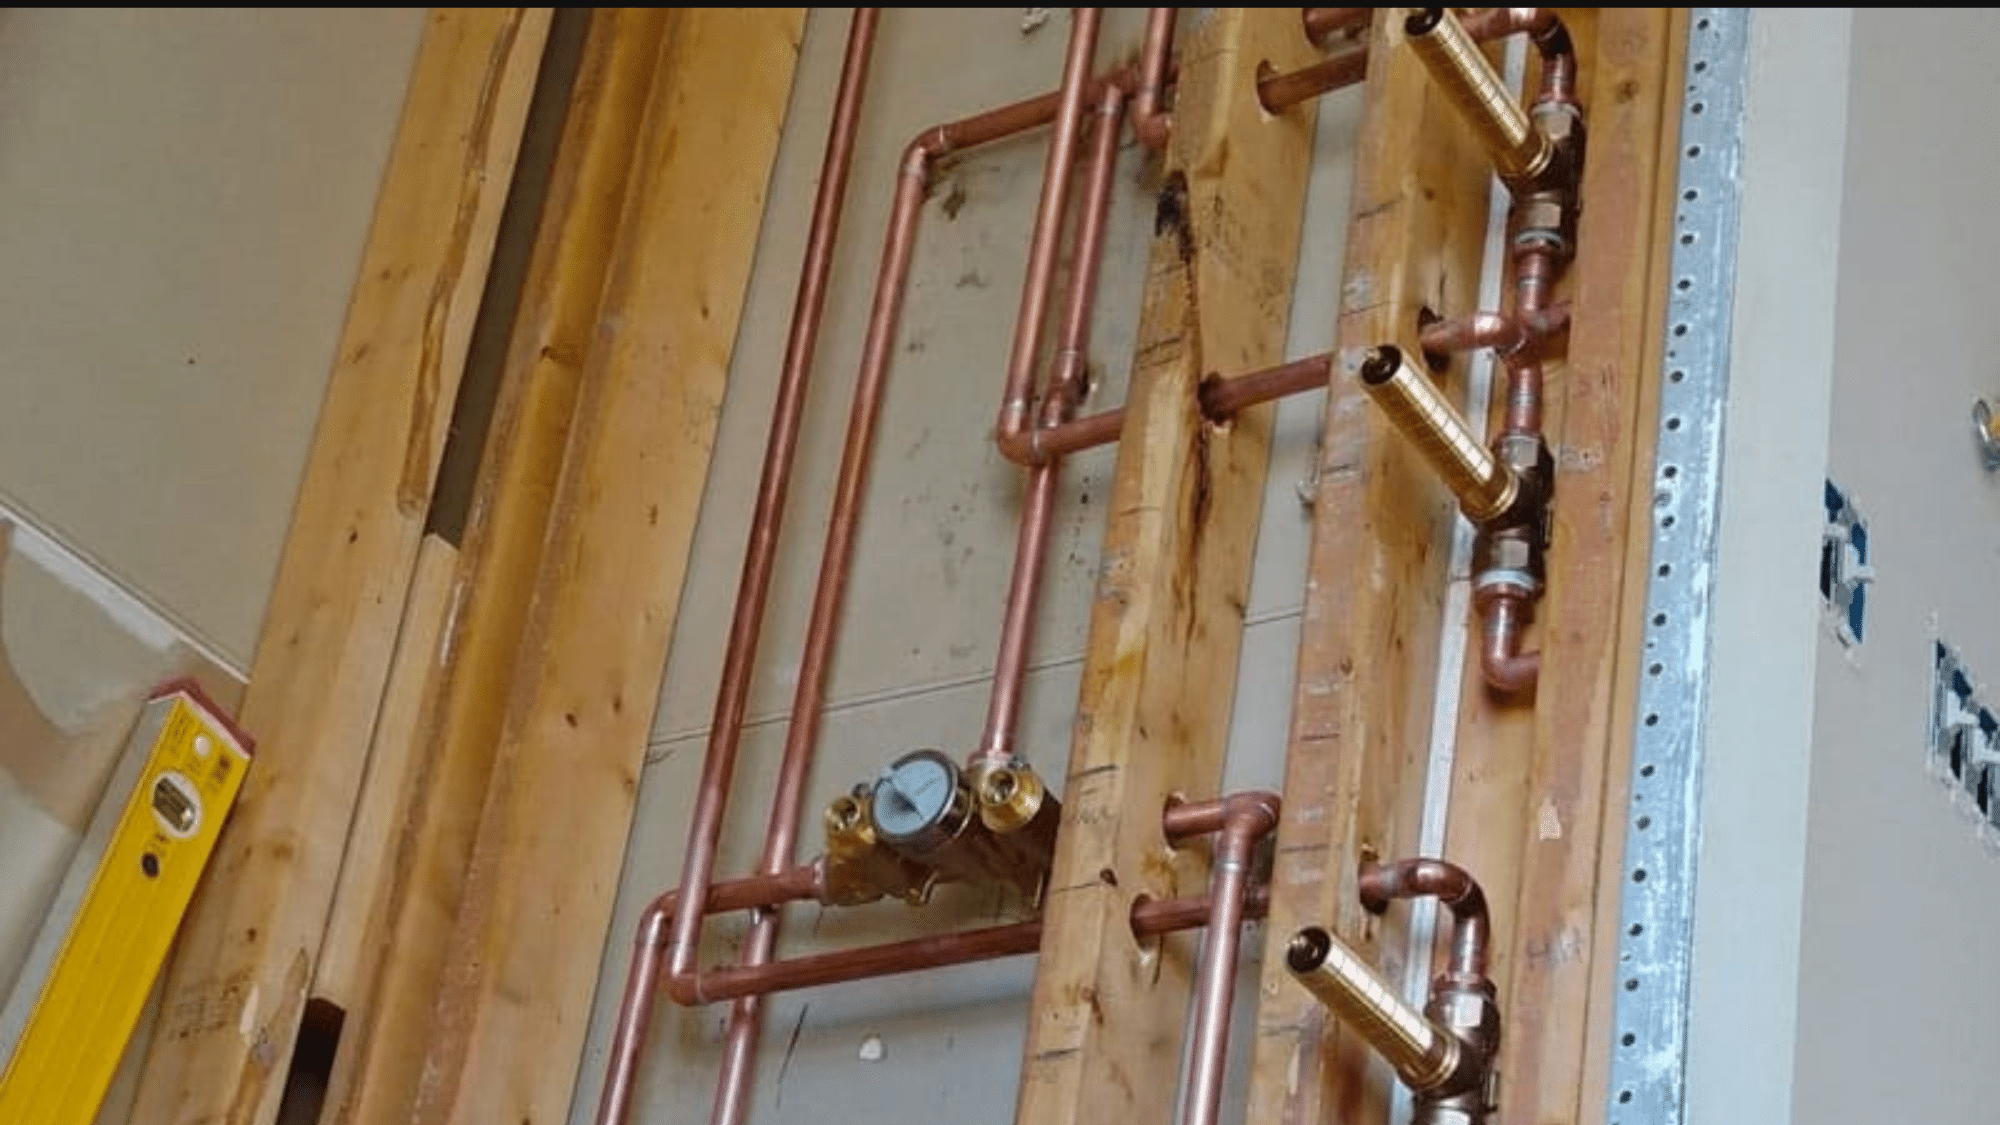
Rough-in plumbing might sound complex, but it’s simply the setup work done before walls go up and fixtures get placed.
This phase involves installing pipes in the correct locations for future connections to sinks, toilets, and other water-using fixtures.
The term rough-in comes from the fact that this stage looks, well, rough.
Pipes come out from floors and walls, with no decorative fixtures attached yet. Building inspectors check this work before anyone covers it with drywall or flooring.
Key measurements are done during this phase. Each fixture needs specific spacing from walls and other objects.
For example, toilets need about 12-15 inches from the center of the drain to the nearest wall. Getting these numbers wrong can cause big headaches later.
Time plays a role, too. Rough-in work happens at a particular point in construction, after framing but before finishing touches. Miss this window, and costs rise fast.
Key Tools and Materials Needed
Getting ready for rough-in plumbing work means having the right tools and supplies on hand.
The job goes much smoothly when everything sits within reach.
- Pipe cutters: For making clean cuts through different pipe materials
- Measuring tape: Must be accurate to at least 1/16 of an inch
- Level: Ensures pipes slope correctly for proper drainage
- Pipe materials: PVC for drains, copper or PEX for water supply lines
- Venting pipes: Made from ABS or PVC to maintain system pressure
- Fittings: Elbows, tees, couplings, and reducers to connect pipes
- Pipe wrench: For tightening and loosening threaded connections
- Soldering tools: For copper pipe connections (torch, solder, flux)
How to Map Your Plumbing System?
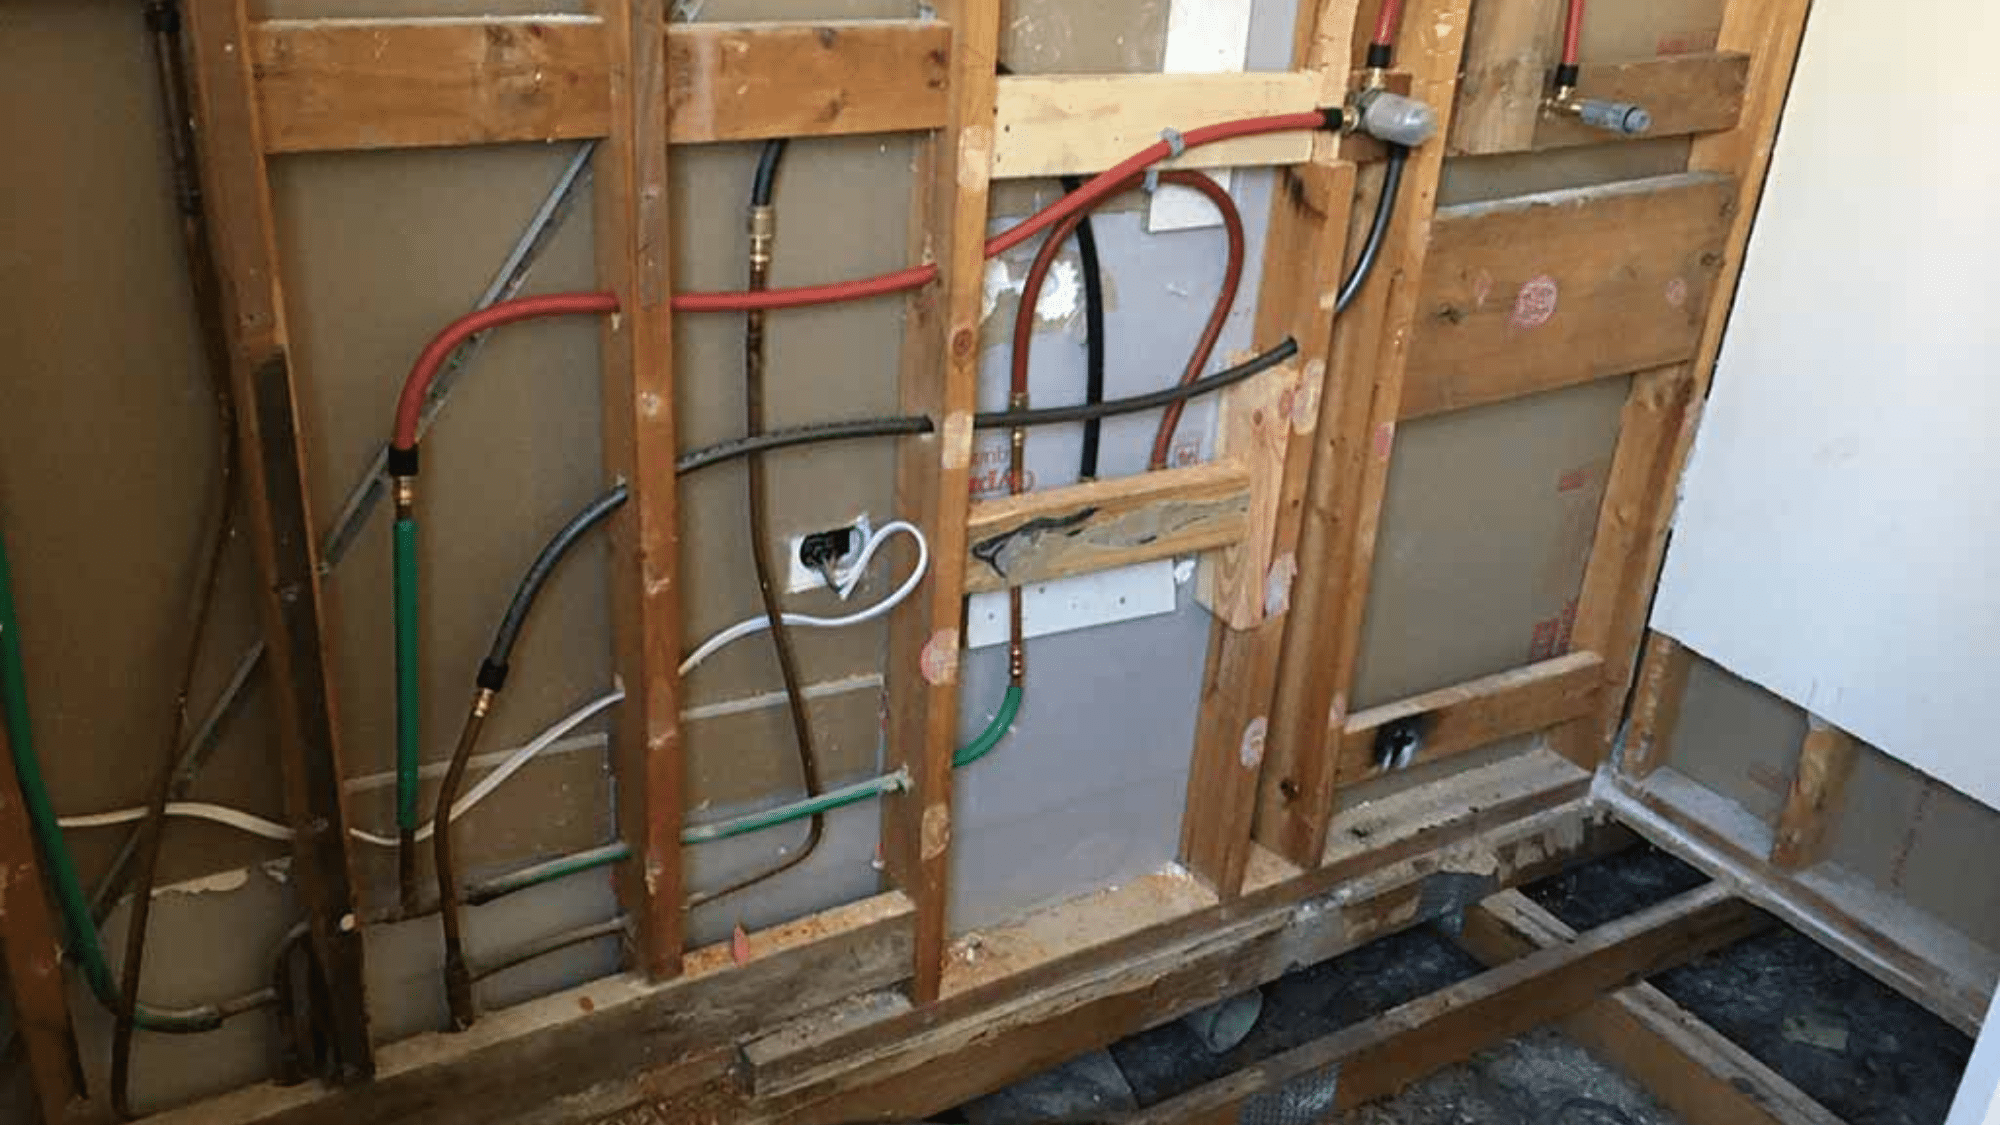
Proper planning saves time, money, and frustration before touching any pipes.
A good plumbing layout starts with understanding where fixtures will go and how water moves through a building.
1. Study the Blueprints
Study the blueprints carefully to locate all fixtures. Mark the exact positions for toilets, sinks, and showers.
Note the distances between fixtures and walls. This step helps determine pipe runs and prevents conflicts with other building elements.
Make sure to check for any structural elements, like load-bearing walls, that cannot be modified easily.
2. Plan Water Supply Lines
Plan water supply lines for both hot and cold water. Design direct routes for supply lines to maintain pressure.
Consider the shortest paths possible to reduce materials and potential pressure loss. Keep in mind that copper pipes expand and contract with temperature changes, so allow for movement.
Account for insulation needs, especially in exterior walls or cold climates.
3. Allow Proper Spacing
Proper spacing around fixtures per local building codes prevents cramped installations later. Most toilets require a clearance of at least 15 inches from the center to any side wall.
Sinks typically require 4 inches from the edge to the nearest wall. Check the manufacturer’s specifications for each fixture to ensure adequate clearance.
Remember that tight spaces make future repairs much harder.
4. Design Drain Lines
Plan drain lines with correct slope (1/4-inch drop per foot). Poor slopes lead to clogging issues. Map out the most direct path to the main stack or sewer line.
Consider how multiple fixtures might share common drain lines to save materials. Based on the expected water flow, account for the pipe diameter needed.
Remember that toilets need 3-inch or 4-inch pipes, while sinks can use 1.5-inch pipes.
5. Position Vent Pipes
Position vent pipes to connect with drains and extend upward. These prevent airlocks in the system. Each fixture needs proper venting within a specific distance.
Some fixtures can share a common vent if they’re close enough together. In most cases, vent pipes need to extend through the roof.
Make sure these positions won’t create leakage points in the roof structure.
6. Account for Wall Thickness
When marking pipe locations, account for wall thickness. This ensures pipes end up exactly where needed. Different walls may have different thicknesses throughout the building.
Remember that finished walls include drywall, tile, or other materials that add to thickness. Mark stud locations to plan for the secure mounting of heavy fixtures.
7. Consider Access Points
Consider future access points for maintenance. Some areas may need clean-outs or access panels. Plan these in less visible but still accessible locations.
Main clean-outs should be placed where the horizontal drain meets the vertical stack.
Additional clean-outs may be needed for long horizontal runs or at 90-degree turns. Think about how someone might need to access these points years later.
8. Check Local Codes
Check local codes for any special requirements that might apply to your specific region. Some areas have unique rules about pipe materials or installation methods.
Water conservation requirements might affect fixture choices and pipe sizing. Frost line depths vary by location and affect how deep pipes must be placed.
Local inspectors often look for specific details that might not be in general plumbing guides.
Measuring and Cutting Pipes for Accuracy
Getting measurements right makes all the difference in rough-in plumbing. A fraction of an inch off can cause major problems later when fixtures need to connect to these pipes.
- Take Multiple Measurements: Always measure at least twice before cutting any pipe. Use a quality tape measure with clear markings.
- Account for Fittings and Connections: Remember that pipes fit inside fittings, so their effective length changes. Make a test connection first to see exactly how much length gets lost in the joint.
- Choose the Right Cutting Tools: Different pipes need different cutting tools. Using the wrong tool creates rough edges that leak or fail to seal properly.
- Create Square Cuts: Angled cuts lead to leaks. Use a marker to draw a straight line around the pipe where you’ll cut.
- Deburr All Cut Ends: After cutting, pipes often have rough edges or burrs. Use a deburring tool specific to your pipe material.
Installing Water Supply Lines and Drainage Systems
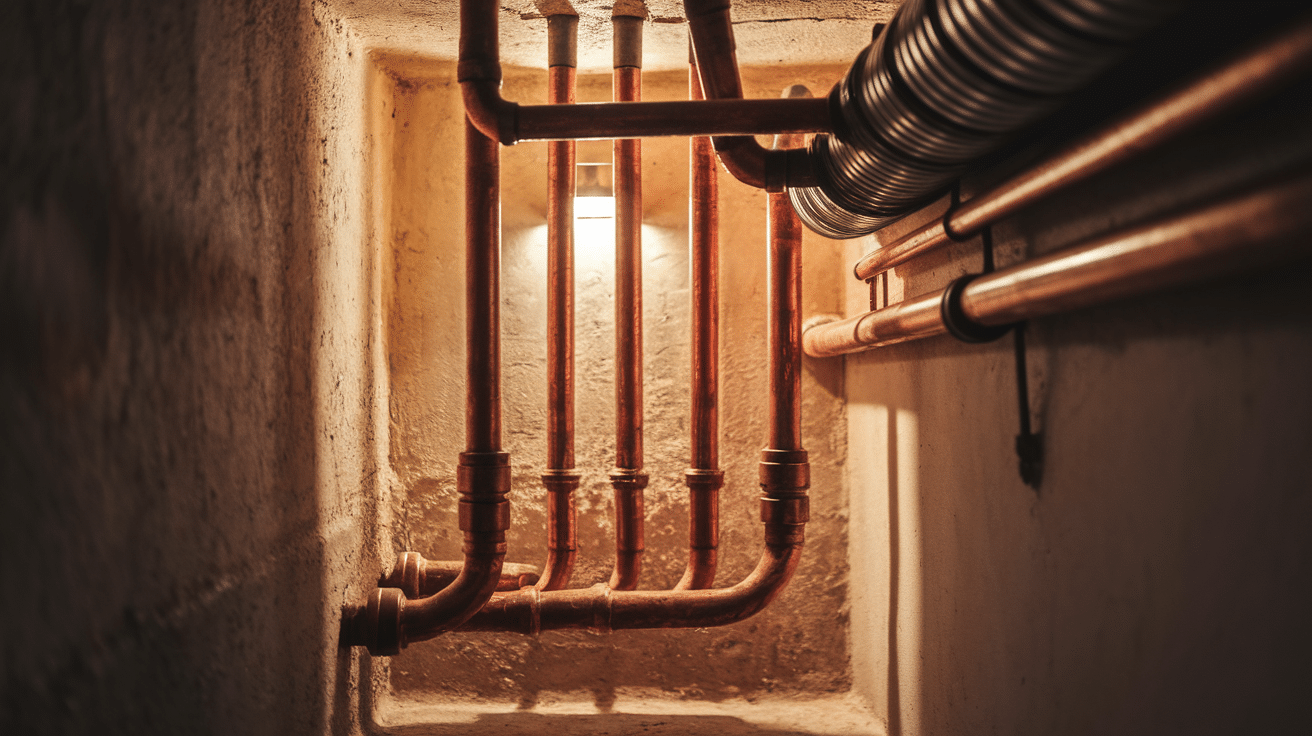
When working on rough-in plumbing, both water supply lines and drainage systems must be installed correctly.
Follow these key steps to ensure reliable performance.
1. Water Supply Lines
Water supply lines deliver clean water under pressure.
Materials like copper, PEX, or CPVC are commonly used, and your choice depends on building codes, water quality, and budget.
These lines must be strong, reliable, and resistant to leaks, making them a key part of the rough-in plumbing stage for long-term performance.
2. Best Practices for Supply Runs
Keep supply runs short to save on materials and reduce pressure loss.
When connecting the same fixture, make the hot and cold lines equal in length for balance.
Secure pipes with hangers on studs or joists, but leave room for expansion.
Following these practices ensures stable water pressure and smooth function in your plumbing system.
3. Drainage System Slope
Drainage systems rely on gravity to move wastewater.
Horizontal drain pipes must slope downward at a standard of one-quarter inch per foot. Too little slope can cause clogs, while too much leaves solid waste behind.
Proper slope setup during rough-in plumbing ensures drains remain clear, efficient, and capable of handling everyday use without frequent maintenance.
4. Fittings and Venting
Use long-sweep elbows instead of tight 90-degree turns for smoother wastewater flow.
Sharp turns create blockages that require repairs later. Each plumbing fixture also needs proper venting to prevent airlocks, gurgling sounds, and slow drainage.
Correct fittings and venting at the rough-in stage protect your system from costly issues and keep everything flowing freely over time.
5. Testing Connections
Before walls are sealed, test both supply and drain systems using water or air pressure.
This step ensures no leaks or weak points exist in your rough-in plumbing.
Identifying problems early saves time, avoids expensive repairs, and helps your installation pass inspection without delays, giving you confidence that your plumbing is safe and reliable.
Common Mistakes to Avoid
Even skilled plumbers can make errors during rough-in work. Knowing the common pitfalls helps prevent costly fixes later.
- Poor planning leads to many problems. Taking time to map everything before cutting the first pipe pays off.
- Incorrect measurements cause major headaches. Double-checking every measurement saves time and materials.
- Ignoring local codes brings trouble during inspections. Each area has specific rules about pipe materials, slopes, and venting.
- Forgetting about wall thickness trips up many beginners. Pipes need to end at the right spot after the drywall goes up.
- Using the wrong pipe materials can lead to leaks or even system failure. Different parts of the plumbing system need specific materials.
Hiring a Professional vs DIY Rough-In Plumbing
Thinking whether to save money or time, here’s a comparison between DIY rough-in vs professional rough-in:
| Factor | Hiring a Professional | DIY Rough-In Plumbing |
|---|---|---|
| Experience | Professionals bring years of experience and knowledge. | Best for those with basic building or plumbing skills. |
| Cost | Typically $45-$200 per hour; bathroom rough-in takes 8-10 hours. | Can save substantial money, often thousands for a whole house. |
| Time | Professionals complete the job faster (one day for a bathroom). | DIY takes longer, possibly several weekends, for homeowners. |
| Local Codes & Inspections | Inspectors typically approve work on the first try. | Must ensure compliance with local codes, and may need permits. |
| Project Complexity | Best for complex layouts or multiple fixtures. | Simple layouts suit DIY; complex systems need more expertise. |
| Risk of Errors | Reduced risk of errors and future repairs. | Higher risk of mistakes, which could lead to costly repairs. |
The Bottom Line
Mastering rough-in plumbing takes patience and careful work. We have covered just the basics, from picking the right tools to avoiding common mistakes.
The proper measurements make all the difference in rough-in work.
A small error at this stage can cause big problems later when fixtures need to connect.
The most important thing is to take your time. Rushing through rough-in plumbing never ends well.
Test your work before walls go up, and don’t be afraid to ask for help when needed.
With these tips, your next rough-in plumbing project should go much more smoothly.
Good luck with your plumbing work!


