Free Bathroom Remodel Checklist PDF: No Sign Up Needed!
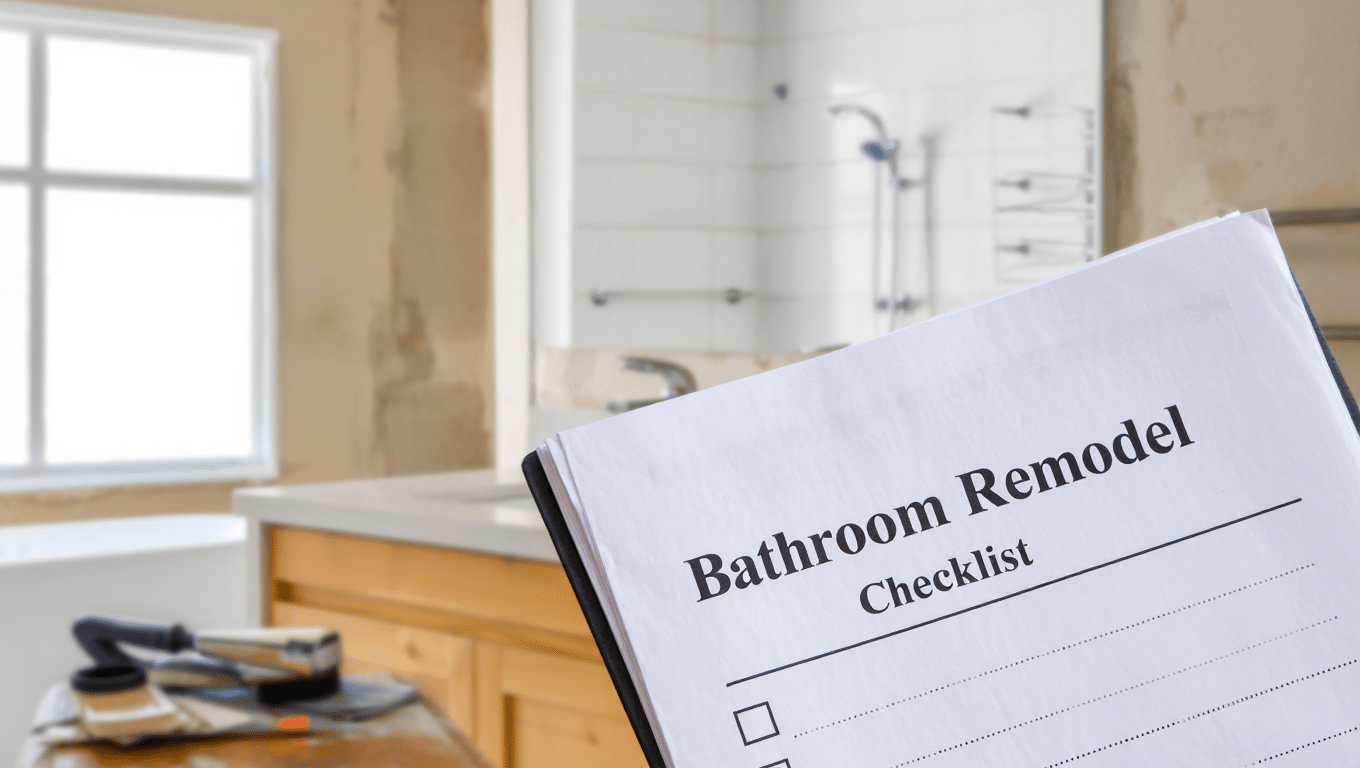
Remodeling a bathroom can feel overwhelming, but with the right checklist, it becomes a smooth and exciting process.
If you’re upgrading an outdated look, fixing long-standing issues, or creating a personal spa-like retreat, a clear plan helps ensure success.
We will cover everything you need to know, from pre-renovation steps to materials, layout planning, budgeting, and choosing between DIY and hiring professionals.
Most importantly, we will be providing you with a checklist to download for free.
With this checklist in hand, you’ll avoid common mistakes and end up with a bathroom that’s both beautiful and functional.
What Is a Bathroom Remodel Checklist?
A bathroom remodel checklist is more than just a to-do list.
It’s a complete guide to help homeowners plan, organize, and manage every stage of renovation.
From setting a budget and hiring professionals to picking the right tiles and scheduling each step, this checklist works like a roadmap.
It keeps you on track, helps avoid common mistakes, and ensures no detail is overlooked.
Why Does A Checklist Matter?
Bathroom remodels can be overwhelming.
With so many moving parts, plumbing, design, materials, and timelines, it’s easy to miss something important.
That’s why we’ve created a comprehensive, easy-to-download checklist that will guide you from start to finish.
But before we go into the checklist itself, let’s go over some essential prep work you’ll want to handle first.
Prep Work Before Starting
Before swinging a hammer or ordering materials, it’s important to prepare.
Laying the groundwork ensures your remodel runs smoothly, stays on budget, and avoids unexpected roadblocks.
Here are the key steps to take before starting:
1. Set a Clear Budget
Decide how much you can realistically spend and break it down into categories, materials, labor, permits, and a 10–20% buffer for surprises.
A solid budget keeps your project in check and prevents overspending.
Consider whether you want a luxury retreat or a simple update, as that will shape your cost range.
2. Create a Design Vision
Collect inspiration from magazines or home improvement sites, such as Pinterest, Houzz, and Reddit, to visualize your dream bathroom.
Build a vision board that includes colors, layouts, fixtures, and storage ideas.
Having a clear design concept early makes it easier to choose materials and communicate your style to contractors.
3. Decide: DIY or Hire Professionals
Some tasks, like painting or swapping hardware, are manageable DIY projects.
But plumbing, electrical work, and structural changes are best left to licensed pros.
Evaluate your skills, time, and tools before deciding. Hiring professionals may cost more upfront, but it often saves money by avoiding costly mistakes.
4. Check Local Permits & Codes
Many bathroom remodels require permits, especially when moving plumbing or electrical lines.
Check with your local building department to understand what approvals are needed.
The following codes not only ensure safety but also protect you if you ever sell your home. Skipping this step could lead to fines or redoing the work later.
5. Build a Timeline
A remodel can take weeks or even months, depending on its complexity.
Create a realistic timeline that outlines demolition, plumbing, electrical, tiling, and finishing. Factor in lead times for ordering materials and possible delays.
A good timeline keeps your project on track and avoids unnecessary downtime.
Bathroom Remodel Materials Checklist
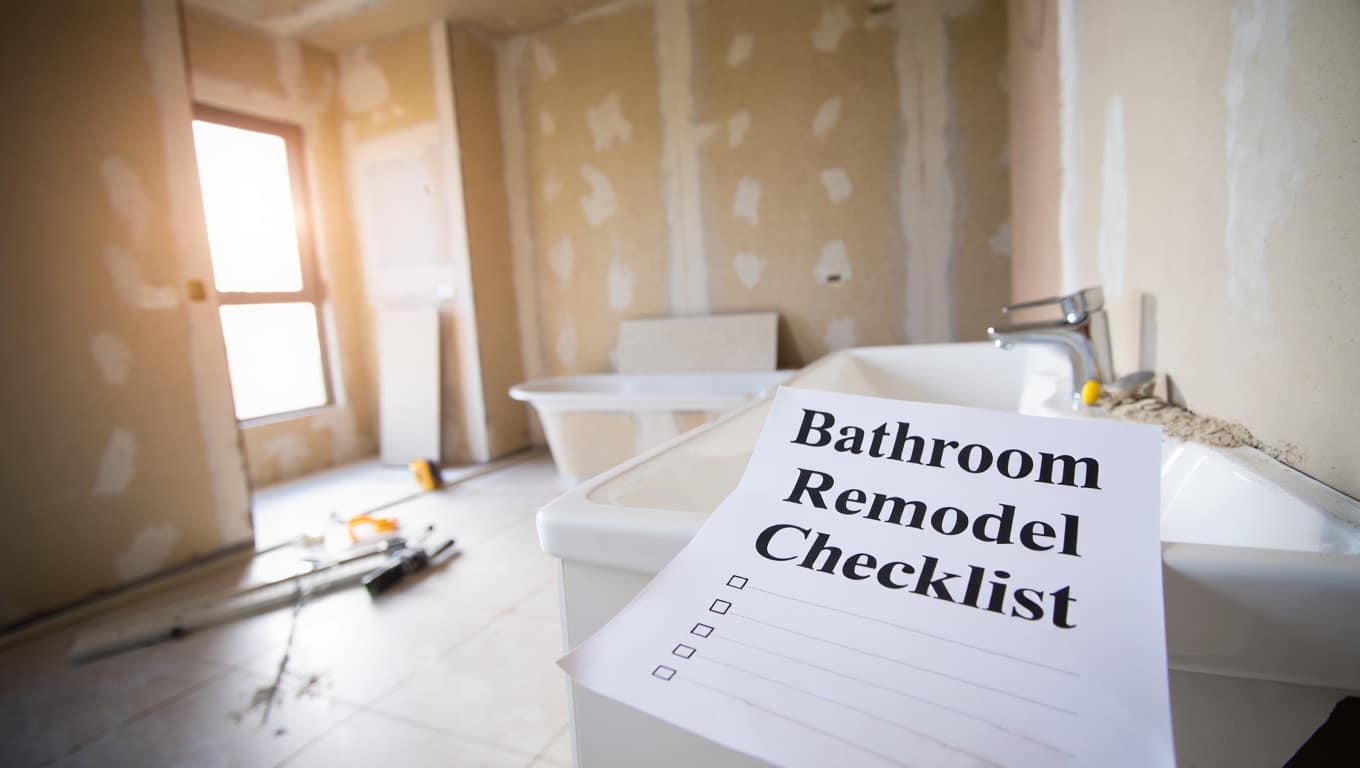
This checklist is designed to guide you step by step through the process, ensuring nothing gets overlooked.
It combines insights from homeowners and professionals to give you a practical tool you can actually use.
No matter you are tackling your very first renovation or adding a secondary bathroom to increase convenience, this resource will help you stay organized, confident, and on track from start to finish.
You can download the checklist from below and then either save it on your device or print it according to your needs.
Click Here to Download the bathroom remodel checklist.
Step-by-Step Bathroom Remodel Checklist
Before removing fixtures and flooring, turn off water and electricity for safety. Cover nearby areas to protect them from dust and debris during demolition.
1. Demolition and Site Preparation
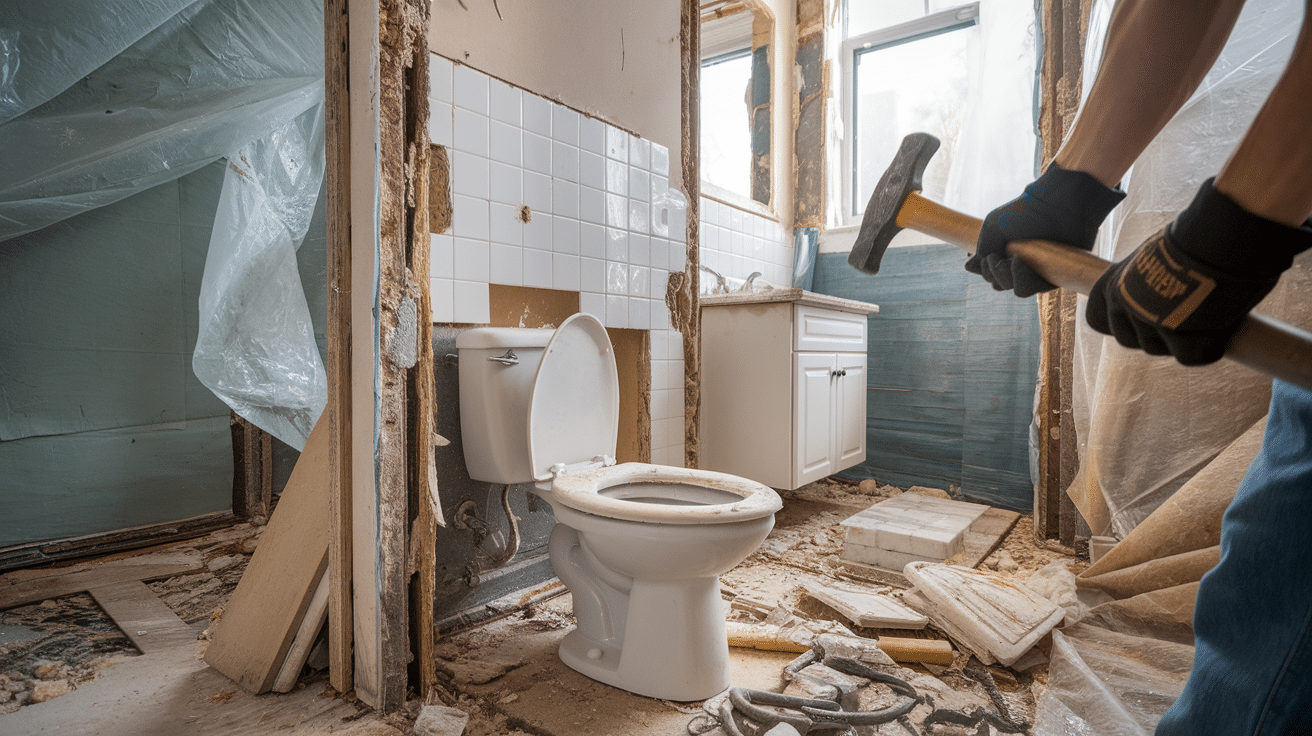
Before starting any construction, shut off the water and electricity to avoid accidents.
Begin by removing old fixtures like the toilet, vanity, tiles, cabinets, and flooring.
This step can get messy, so cover nearby furniture, vents, and hallways with plastic sheets or tarps to control dust and debris.
Carefully take everything apart to avoid damaging pipes or structural elements. Use gloves, safety glasses, and proper tools for safe removal and cleanup.
2. Framing and Structural Changes
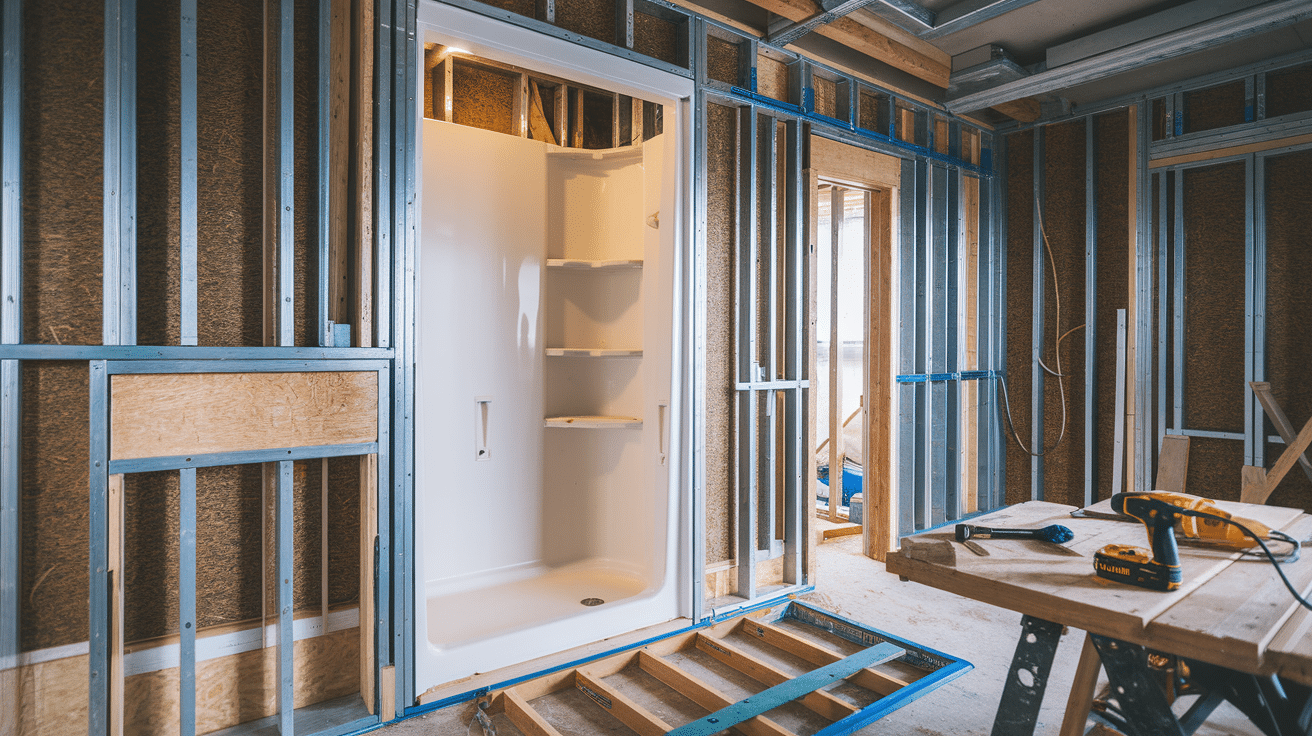
If your remodel involves moving or opening walls, expanding the space, or repairing damage like rot or mold, now is the ideal time.
Make sure framing is level, plumb, and strong enough to support any new installations like heavy tile or shelving. Reinforce joists if needed.
Double-check measurements and placements for things like shower niches or new door openings.
This phase sets the foundation for the plumbing, electrical, and drywall steps.
3. Plumbing and Electrical Rough-Ins
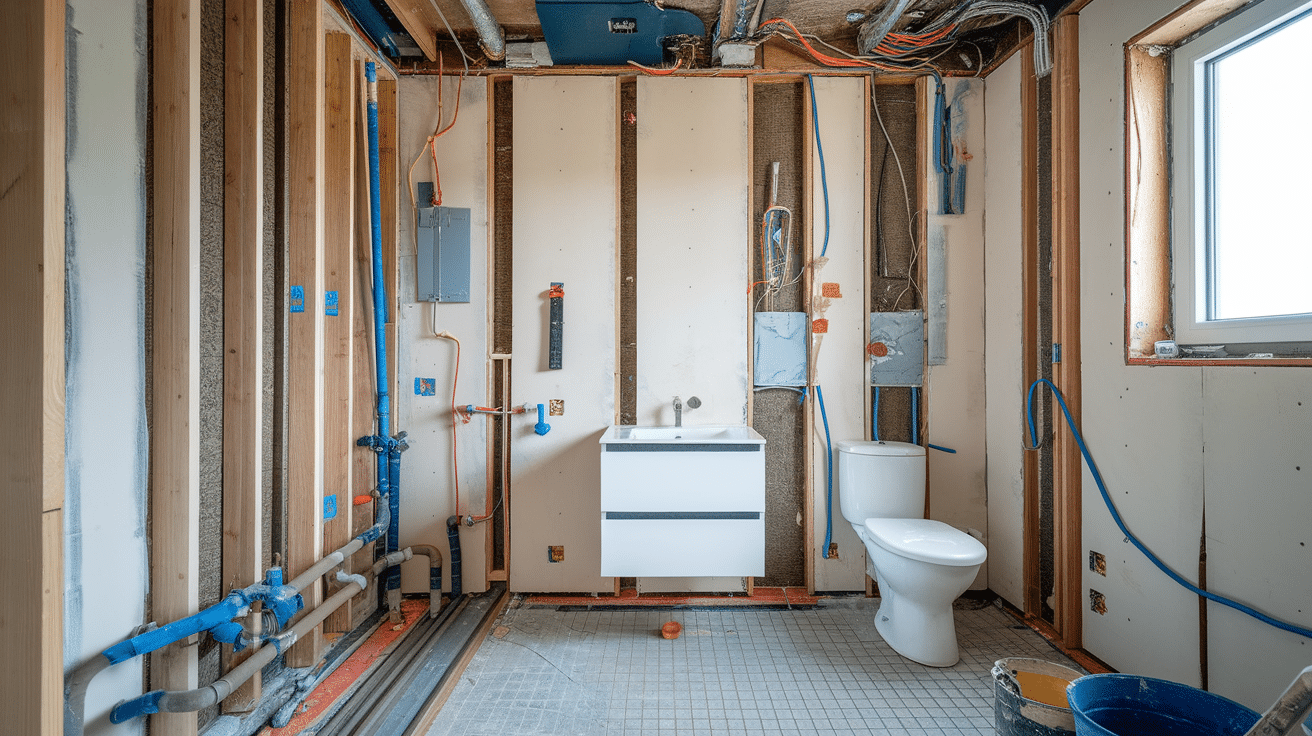
Rough-in work involves running new pipes and wiring behind the walls before the drywall is installed.
You might need to shift plumbing to fit a new vanity, install a rainfall showerhead, or add extra outlets and lighting.
A licensed plumber and electrician should handle this stage to meet local building codes and ensure safety.
This is also the time to add ventilation fans or heated floors if you’re including them in the remodel.
4. Drywall and Waterproofing
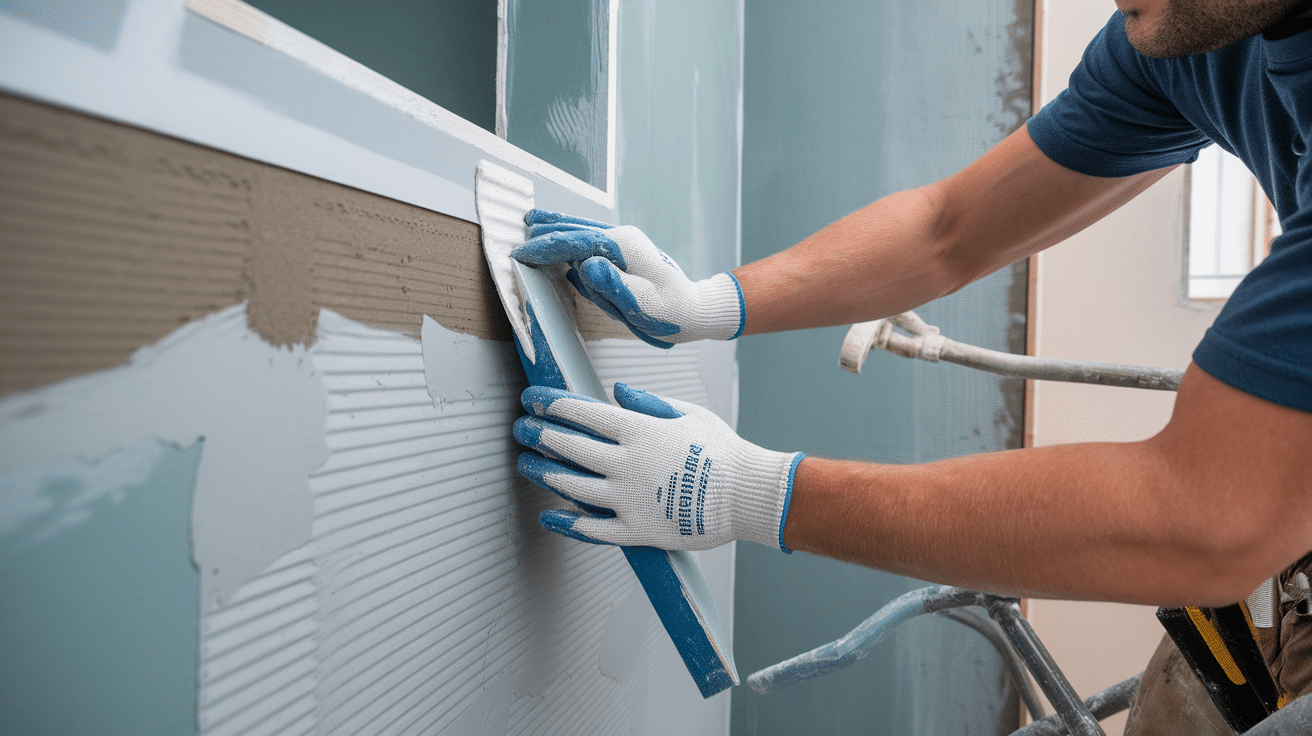
Once rough-ins are done, install moisture-resistant drywall or cement backer board, especially around wet areas like showers and tubs.
Tape and mud the seams, then apply a waterproof membrane or paint-on sealant in areas that will be exposed to water.
This step is crucial for preventing leaks, mold, and long-term water damage.
Let everything dry fully before moving on to painting or tile work. Don’t skip this, even in powder rooms.
5. Painting (First Coat)
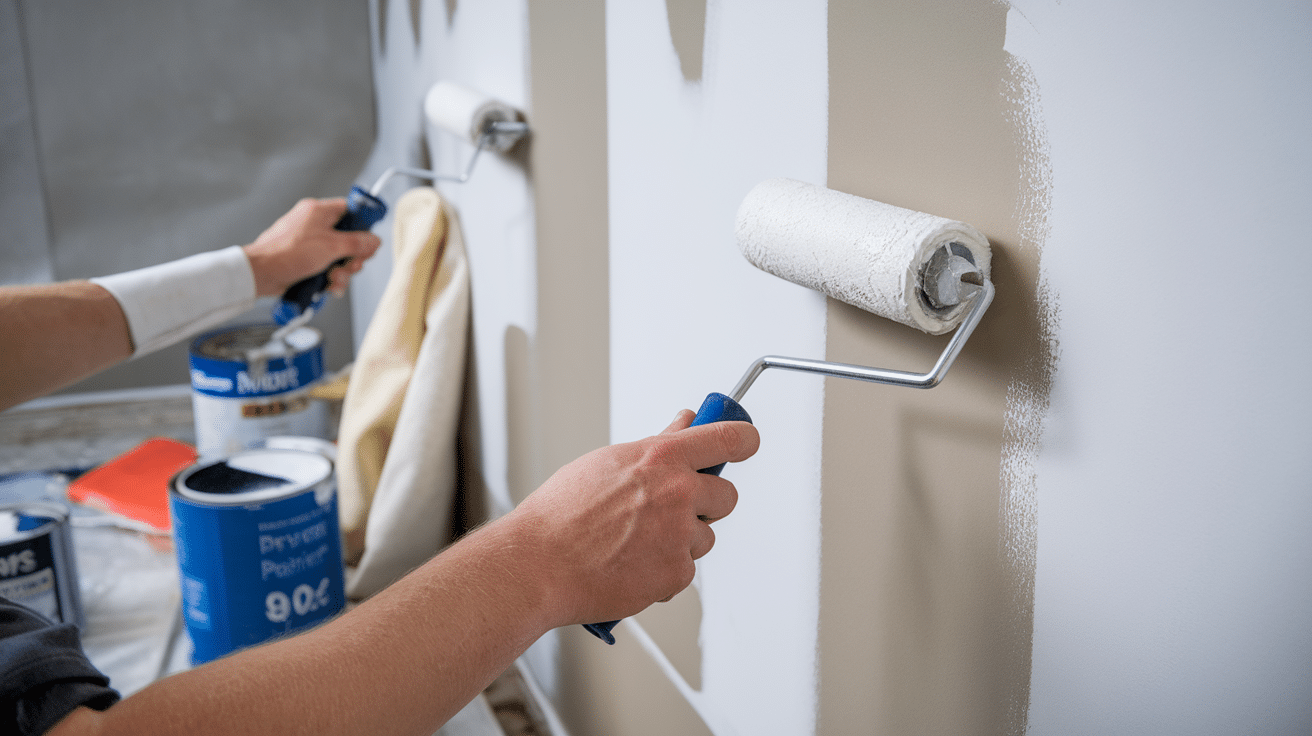
Apply your first coat of paint before installing fixtures, cabinets, or flooring.
Use a mold- and mildew-resistant bathroom paint, which helps protect walls from moisture.
Lighter colors can make small bathrooms feel bigger, while darker shades add cozy drama.
Focus on even coverage and clean edges. This step helps prevent paint drips or smudges on new tile and trim later.
Be sure to let the paint dry fully before continuing your remodel.
6. Flooring Installation
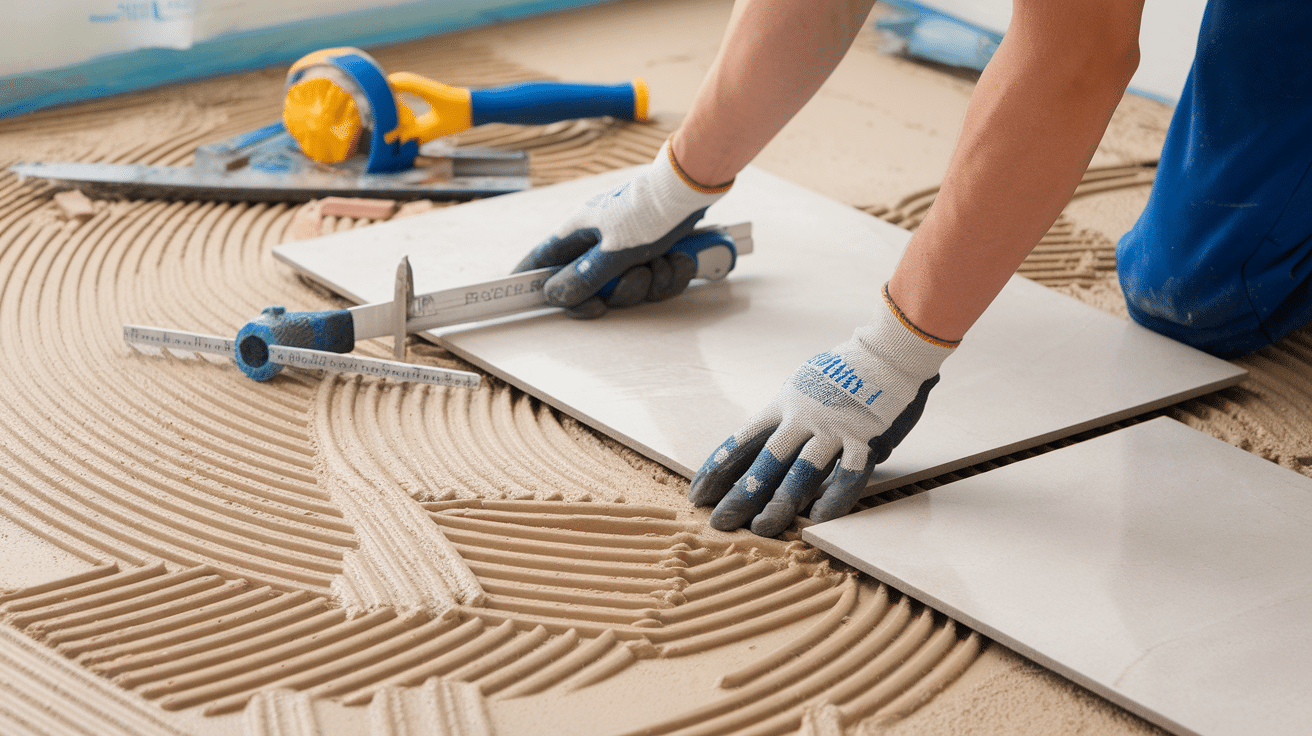
Install your new flooring now, whether its ceramic tile, luxury vinyl, or waterproof laminate.
Make sure the subfloor is completely clean, dry, and level before laying the new surface.
Use a quality underlayment if needed for added comfort and moisture protection.
Take time to measure and cut precisely around fixtures or edges.
After installation, seal any gaps or grout lines to prevent future water damage and extend the life of your flooring.
7. Shower/Tub Installation and Tiling
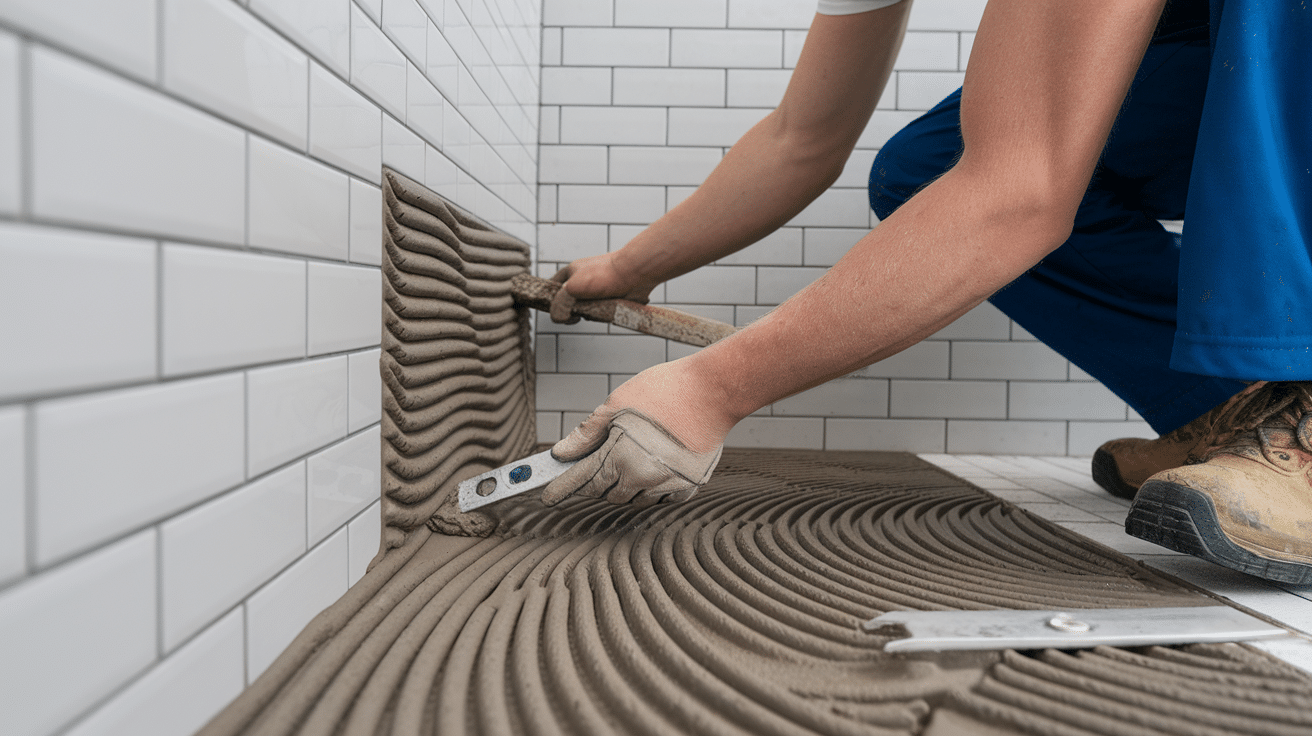
Set the new shower or tub in place according to the manufacturer’s directions.
After installation, tile the walls and floor around these features.
Use a waterproof adhesive and grout, and be sure to slope tiles properly to guide water toward the drain.
Take your time with tiling; uneven lines are noticeable.
Once everything is grouted, seal the tile to protect it from stains and moisture. Let it cure for the full recommended time before use.
8. Vanity and Countertop Installation
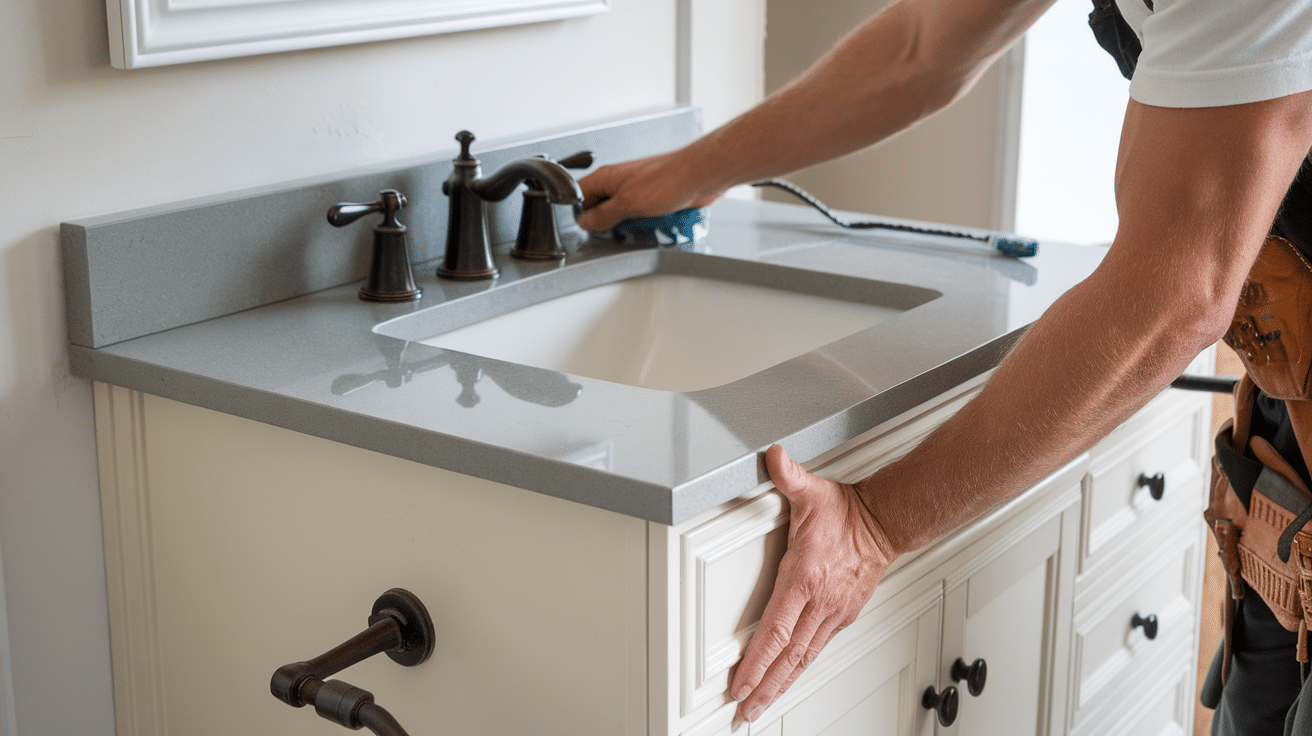
Now that the floor and shower are done, it’s time to install your vanity.
Place it carefully, ensuring it’s level and securely attached to the wall.
Add the sink and countertop, checking for any gaps between the wall and fixtures.
If you’re using stone countertops like quartz or granite, follow the proper sealing and care instructions.
Make any final plumbing connections under the sink, and double-check that drawers and doors open smoothly.
9. Plumbing and Lighting Fixture Installation
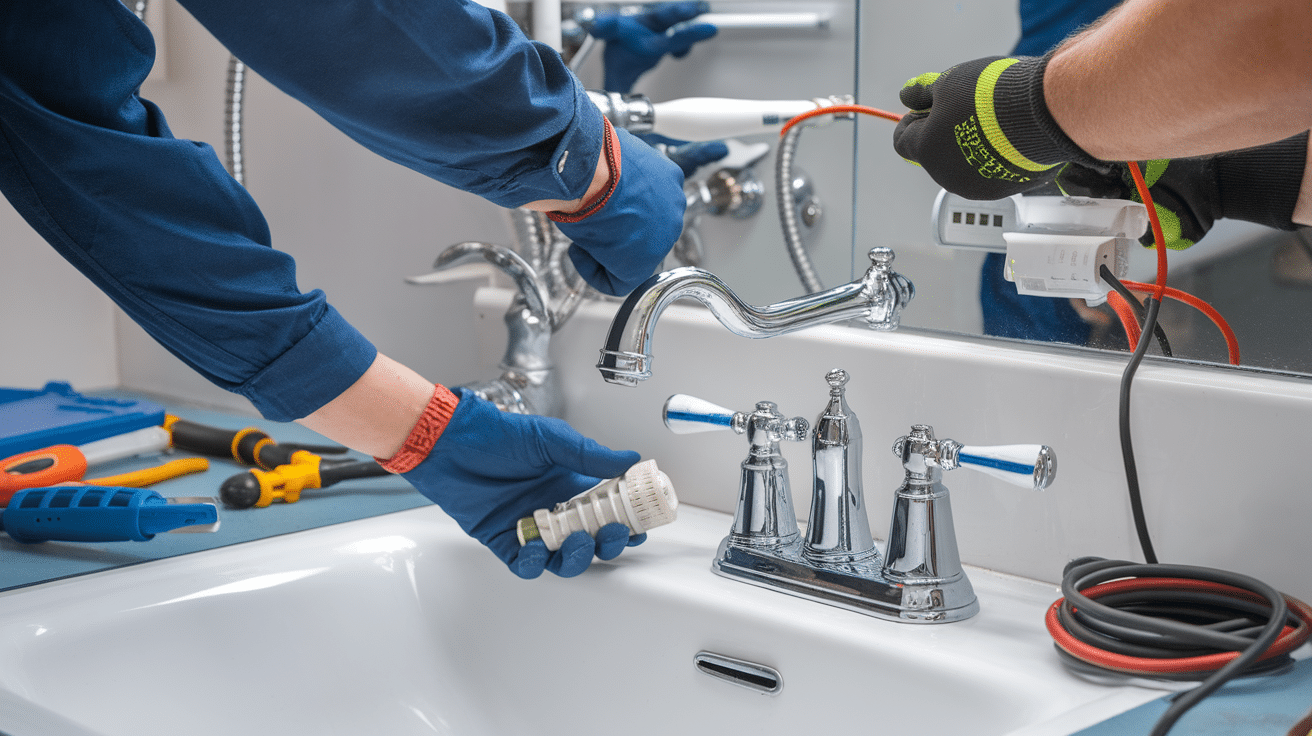
With the vanity and major features in place, attach your new plumbing fixtures: faucets, showerheads, sprayers, and the toilet.
Then install lighting such as vanity lights, ceiling fixtures, and sconces.
Test everything to make sure water flows correctly and electrical fixtures function as intended.
Fix any leaks or loose connections now before finishing the walls. A good lighting layout can brighten up the space and make it feel larger and more inviting.
10. Baseboards, Trim, and Carpentry
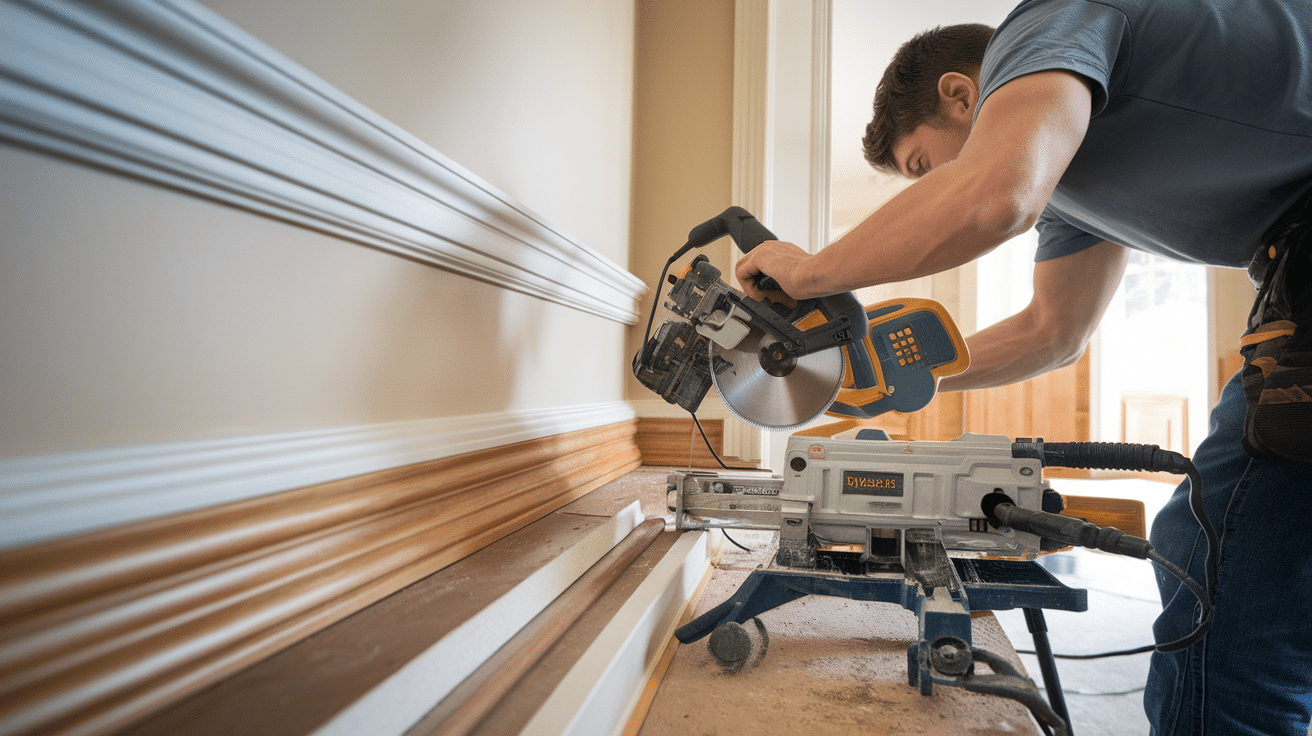
Add the finishing woodwork, including baseboards, door casing, crown molding, or trim around mirrors and windows.
These small details make the bathroom look complete and polished. Use a level to ensure straight lines, and caulk seams for a smooth finish.
Choose moisture-resistant trim materials, especially near tubs or floors.
If you’re adding shelving, towel racks, or decorative wood panels, install them now to avoid scratching walls or fixtures after painting.
11. Second Coat of Paint and Touch-Ups
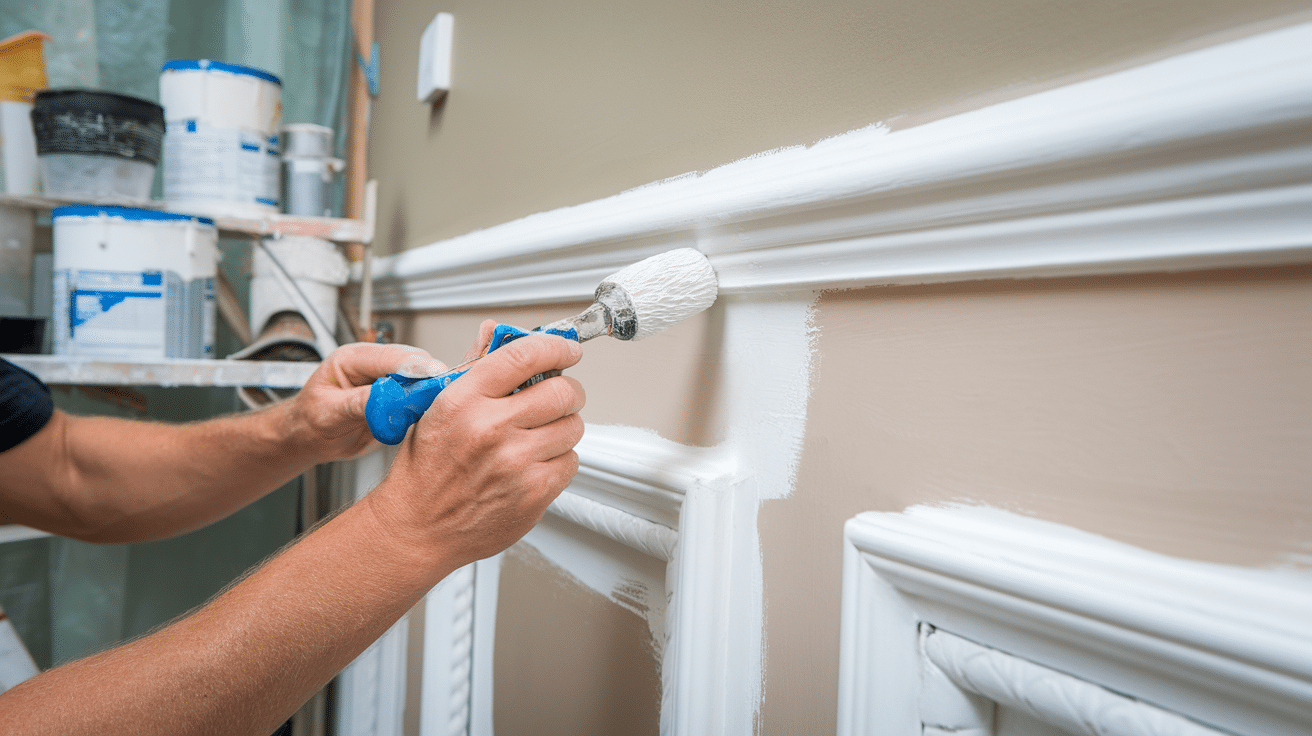
After carpentry is complete, apply the second coat of paint.
This gives your walls and trim a smooth, professional finish. Use this time to touch up any spots that were missed earlier or got nicked during installation.
Look carefully around corners, edges, and behind newly installed items like mirrors or cabinets.
Clean up drips or uneven areas for a fresh, finished look. Once dry, your walls are officially done and ready for accessories.
12. Install Mirrors, Hardware, and Accessories
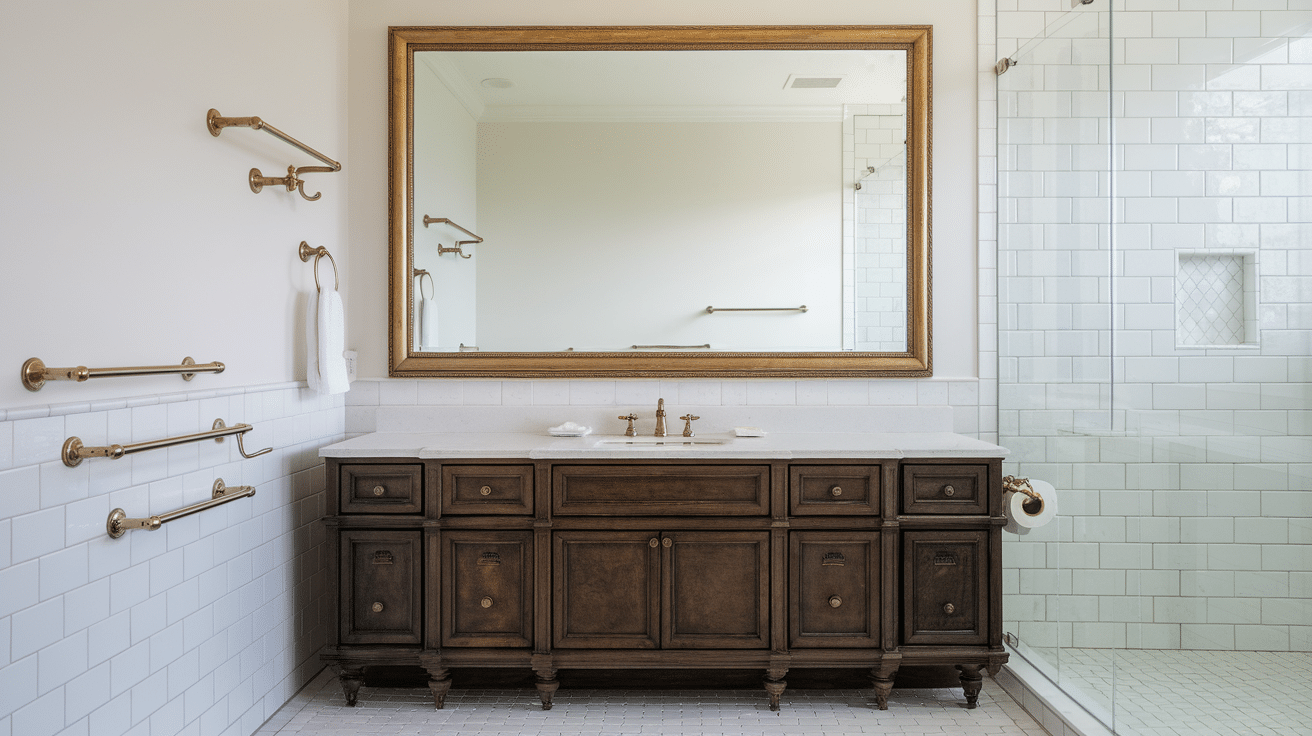
Time to add the personal touches.
Hang mirrors above the vanity, install towel bars, toilet paper holders, robe hooks, and floating shelves.
Don’t forget bathroom essentials like shower rods and curtain rings.
Make sure all hardware is securely mounted, level, and easy to reach.
Use anchors if mounting into drywall. Choose accessories that match your faucet or lighting finish for a cohesive look.
This step makes your bathroom functional and beautiful.
13. Final Clean-Up and Inspection
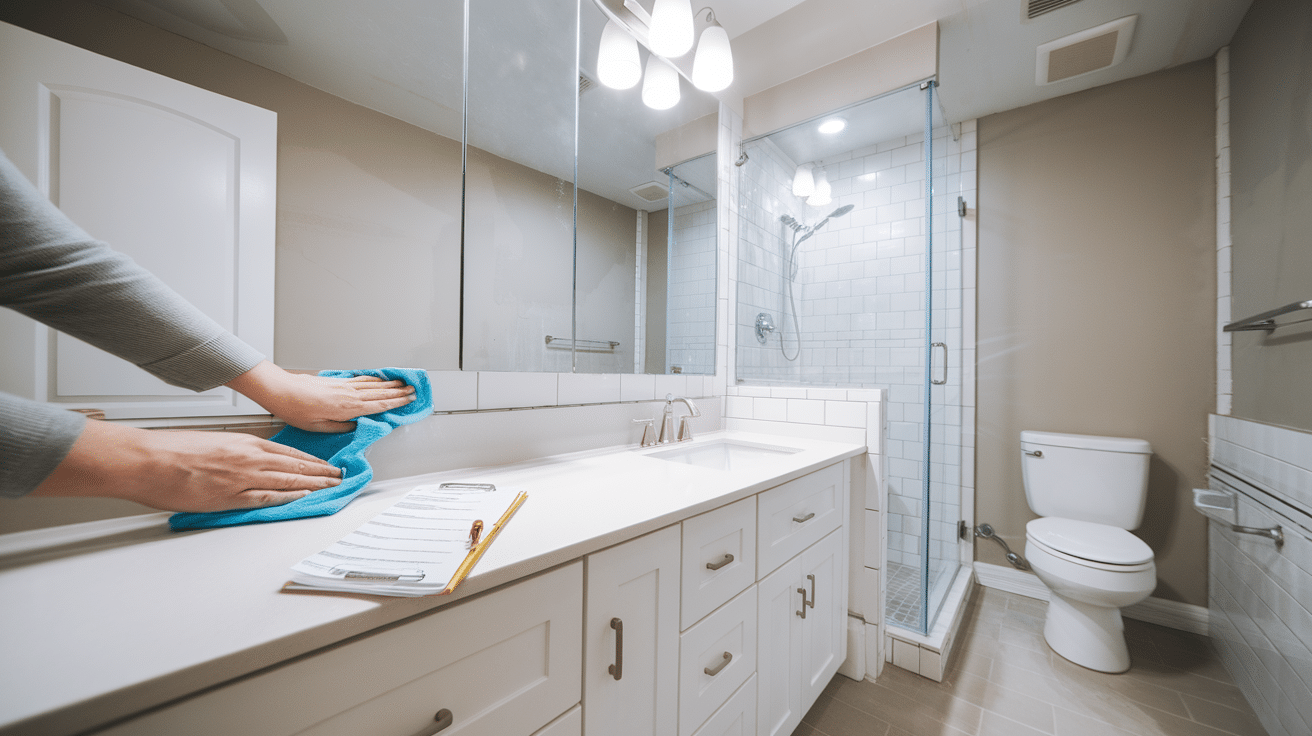
Before you call it done, give the bathroom a deep clean.
Wipe down all surfaces, remove dust from vents, and clean mirrors, tiles, and floors.
Check that all lights, plumbing, and fixtures are working properly. Look for scratches, loose fittings, or caulk gaps and fix them as needed.
Walk through the space with a checklist or helper to catch anything missed. Once everything is clean and working, your remodel is officially complete!
Hiring Professionals vs. DIY
Before you choose to remodel your bathroom, you may consider choosing a professional.
Here’s a difference between choosing a professional and doing it yourself.
| Aspect | DIY Approach | Hiring Professionals |
|---|---|---|
| Cost | Saves money, no labor fees | More expensive due to labor and expertise |
| Control | Full creative control | Less control over minor details |
| Satisfaction | Personal accomplishment and learning experience | Peace of mind with expert handling |
| Time | Often time-consuming | Faster and more efficient |
| Quality | May lack polish, higher chance of mistakes | High-quality, professional finish |
| Skill Needs | Requires tools, knowledge, and trial-and-error | Licensed and trained for complex tasks |
| Risk | Greater risk of costly errors | Lower risk, backed by expertise |
| Best For | Painting, demolition, and minor updates | Plumbing, electrical, tiling, full remodels |
Budgeting Tips for Bathroom Renovations
Here are some budgeting tips for bathroom renovations to help you save money.
- Know the Average Cost: Bathroom remodels range from $5,000 for a small update to $25,000+ for luxury renovations.
- Break It Down: Divide your budget by category; fixtures, flooring, labor, materials, etc.
- Include a Buffer: Always keep 10–20% extra for surprise expenses.
- Get Multiple Quotes: Compare prices for materials and labor.
- Don’t Compromise on Plumbing or Waterproofing: These are areas where quality is essential.
The Bottom Line
A bathroom remodel becomes easier when you stay focused with a clear checklist and make smart choices that match both your budget and lifestyle.
Careful planning helps you avoid stress and gives you confidence to bring your vision to life step by step.
Every choice, from fixtures to lighting, can make your bathroom more comfortable and welcoming.
A remodel done thoughtfully not only creates daily comfort but also adds real value to your home.
What’s the first upgrade you dream of for your bathroom? Tell us, share with us in the comments below.

