Can You Paint Over Existing Lead Paint
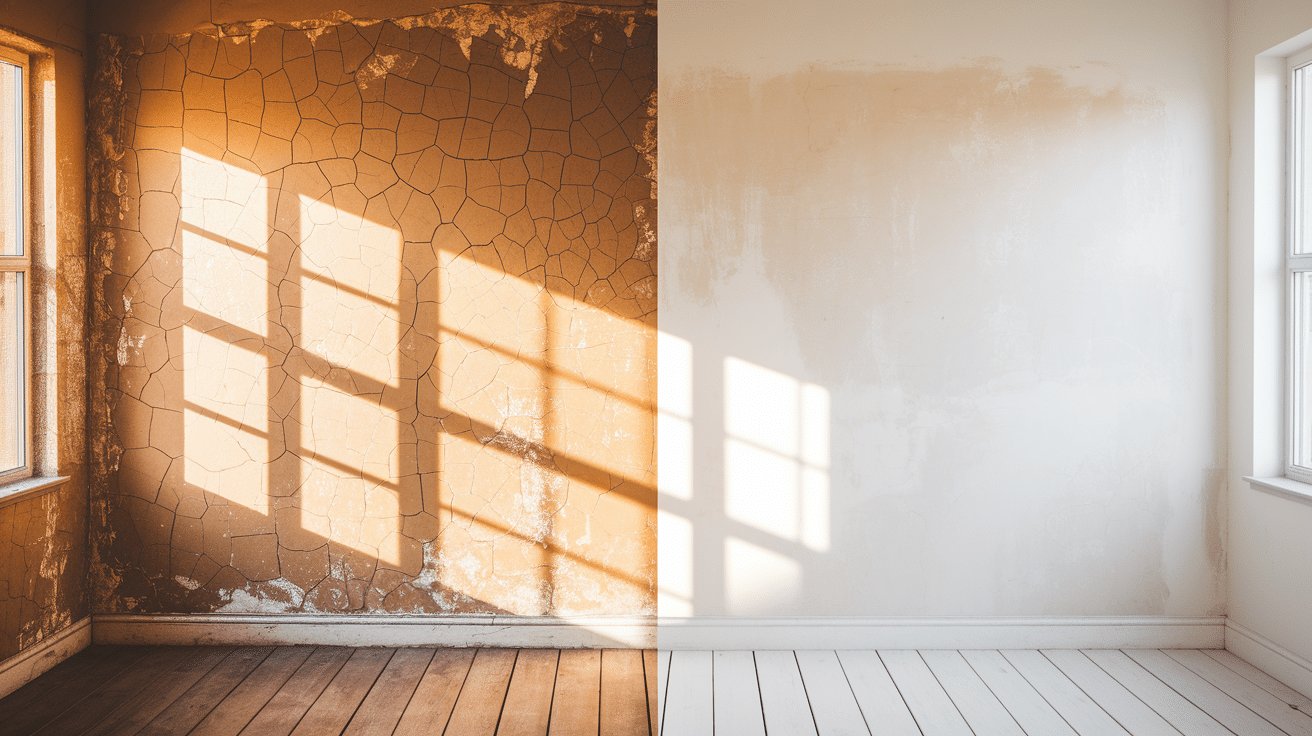
Ever wondered why homes built before the 1980s come with so many warnings about paint?
That’s because lead-based paint was once all the rage. It dried fast, resisted moisture, and looked great. But then came the bad news—lead is toxic. Really toxic.
Especially when it starts to chip, flake, or turn to dust, exposure can cause a range of health problems, from headaches to serious developmental issues in children.
So here’s the big question: if you have lead paint on your walls, can you simply apply a new coat of paint over it and call it a day?
Or is that just masking a health hazard? This blog is here to answer this question and also guide you through the process of painting safely.
Can You Paint Over Lead Paint
Yes, you can paint over lead paint, but there’s a big BUT here. Simply applying a new coat of paint over lead paint is considered a temporary solution at best.
It doesn’t remove the lead; it just covers it up if the paint is in good condition (with no chips, cracks, or peeling). Painting over it can help seal in the lead and reduce immediate health risks.
This approach is sometimes referred to as “encapsulation” and utilizes special paints specifically designed to create a watertight bond over the existing paint.
However, remember that this isn’t a permanent solution. The new paint will eventually wear down or get damaged, potentially exposing the lead paint underneath.
You’re good to go with encapsulation if:
- The surface is smooth and intact (no peeling or flaking)
- The area doesn’t get heavy wear or constant rubbing
- You’re using a product specifically designed for sealing lead-based paint
When Painting Over Lead Paint is NOT Okay
You should never paint over lead paint if:
- The existing paint is peeling, chipping, or cracking
- The surface gets a lot of friction or impact (like window sills where windows slide up and down)
- You’re dealing with children’s rooms or play areas
- You plan to do any sanding, scraping, or demolition that could release lead dust
In these cases, you need proper lead abatement, which is a whole different process.
What is an Encapsulant
Since simply painting over lead paint isn’t enough to keep you safe, that’s where an encapsulant comes in.
Think of it as a heavy-duty shield that locks in lead paint and prevents harmful particles from entering the air.
Unlike regular paint, an encapsulant is specially made to stick to old surfaces and create a strong, lasting seal. It helps reduce the risk without having to remove the lead paint entirely.
Types of Paint You Can Use Over Encapsulant
As regular paint won’t do the trick here, you need a paint that’s labeled for encapsulation. These are special coatings that form a thick, durable barrier between you and the old lead paint.
Some of the top types include:
- Epoxy-Based Coatings: great for moisture resistance
- Polymer-Based Encapsulants: flexible and strong
- Cement-Like Coatings: often used on masonry or concrete
Each type has its strengths, depending on the surface you’re covering.
Pro tip: Always read the label and follow the manufacturer’s instructions. Some products require priming, while others are one-and-done.
Tools and Materials Required
To safely paint over lead paint, proper prep and protection are key. This isn’t a regular paint job; it requires the right tools to keep everyone safe and ensure long-lasting results.
- Lead test kit
- Protective gear (gloves, mask, goggles, coveralls)
- Plastic sheets and painter’s tape (for sealing the area)
- HEPA vacuum or wet wipes (for cleaning dust)
- Encapsulant paint or lead-safe primer
- High-quality paintbrushes and rollers
- Mild detergent and water (for surface cleaning)
- Putty knife or sandpaper (if minor smoothing is needed)
Step-by-Step Guide to Painting Over Lead Paint
Now that we have covered all the necessities needed to paint over lead paint, let’s finally get started with the steps:
Step 1: Set Up a Safe Work Area
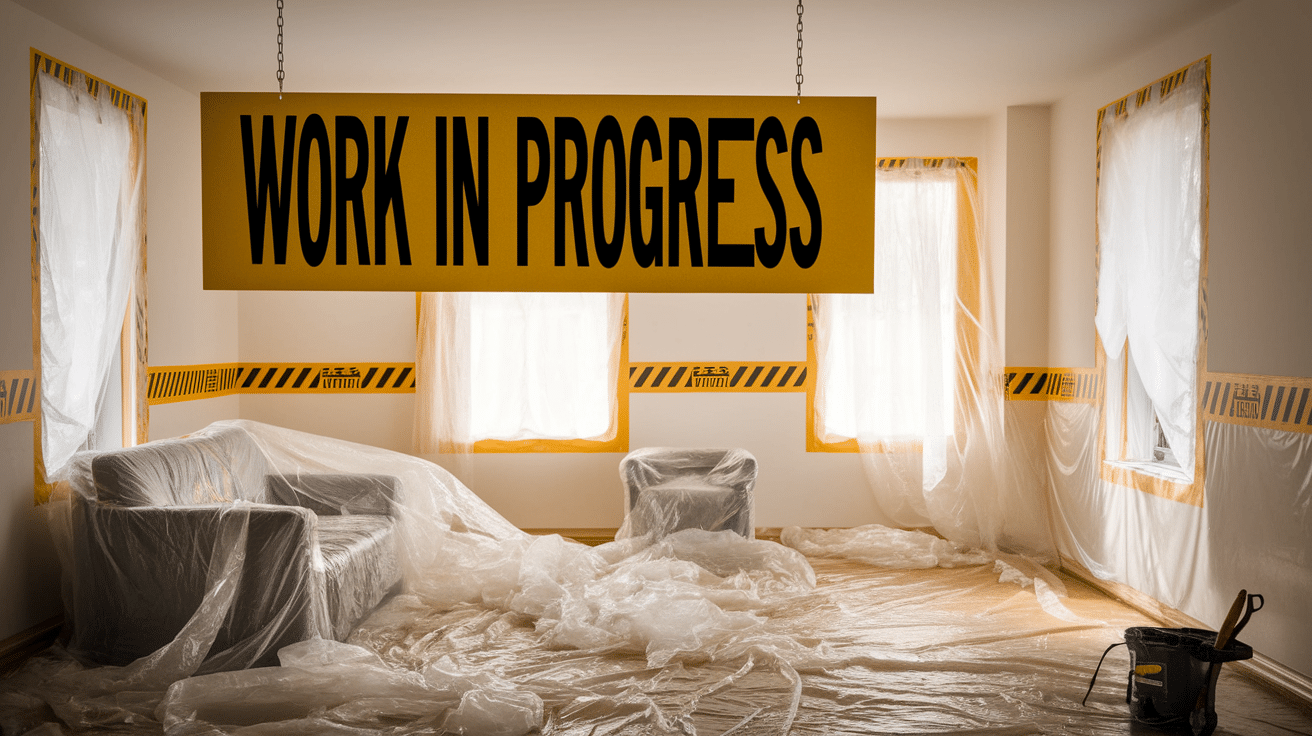
Once lead paint is confirmed, the next step is to create a controlled and safe space. Start by removing furniture or covering it with plastic sheeting.
Use painter’s tape to seal off vents, windows, and doorways—this keeps any potential dust from spreading through the house. Lay plastic or thick drop cloths on the floors to catch any debris. Keep children and pets far away from the work zone.
It’s also helpful to put up a sign that says “Work in Progress” so others know to avoid the area. This setup ensures that the rest of the home stays clean and safe.
Step 2: Put on Protective Gear

Working with lead paint, even when not sanding or scraping, can still release tiny dust particles. That’s why personal protection is a must.
Wear disposable gloves, a dust mask or, better yet, a certified respirator, and safety goggles. Long-sleeved clothing or a disposable coverall will help keep particles off skin and clothes.
If the area is small, these steps may seem excessive, but safety should always take priority when lead is involved.
Once finished, dispose of used gear properly and wash hands thoroughly. Taking these extra precautions helps prevent accidental contamination and keeps everyone in the home healthy.
Step 3: Clean the Surface Thoroughly
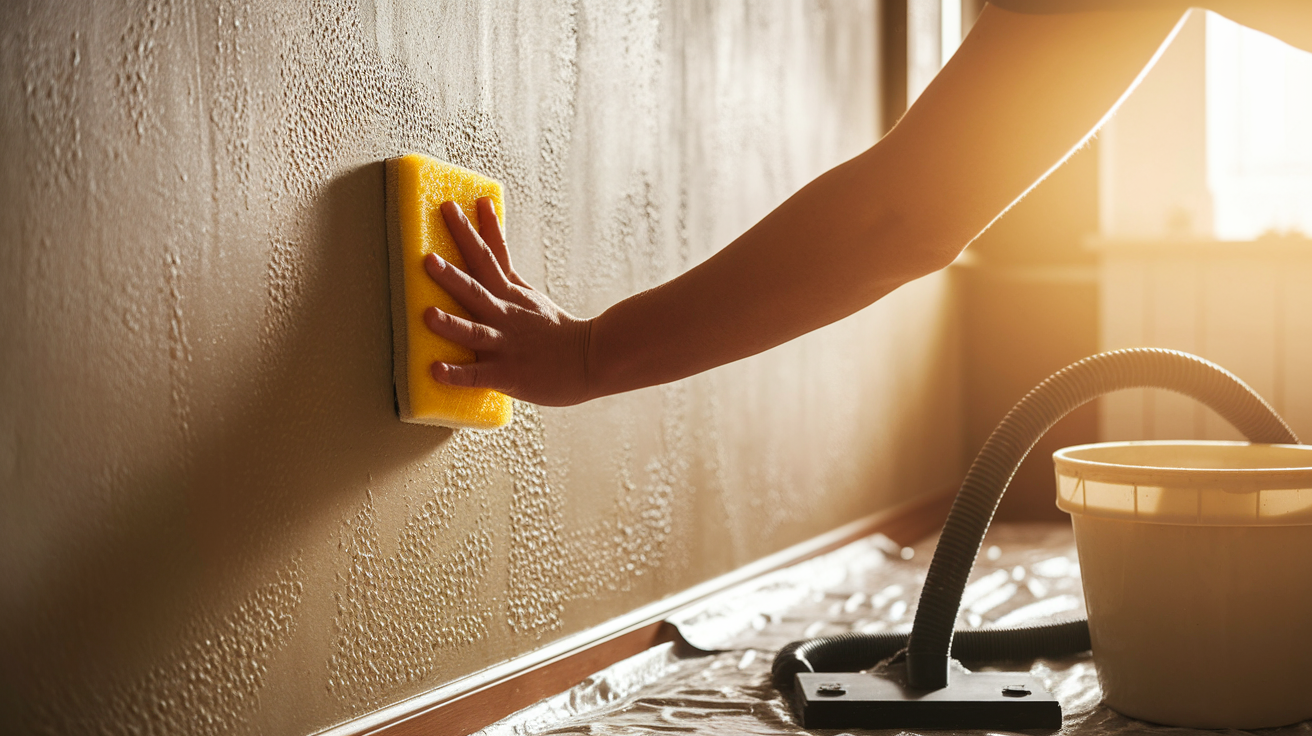
Before any painting or sealing can happen, the surface needs to be clean and dry. Use a mixture of mild detergent and water to clean away dust, grease, and dirt gently.
This helps the encapsulant stick properly and ensures a longer-lasting finish. Avoid using harsh chemicals or scrubbing too aggressively, as this could disturb the existing lead paint and make things worse.
After washing, rinse with clean water and let the surface dry completely. If dust or debris builds up while cleaning, use a HEPA vacuum or a damp cloth to pick it up safely. A clean start is key for a solid finish.
Step 4: Inspect the Paint Condition
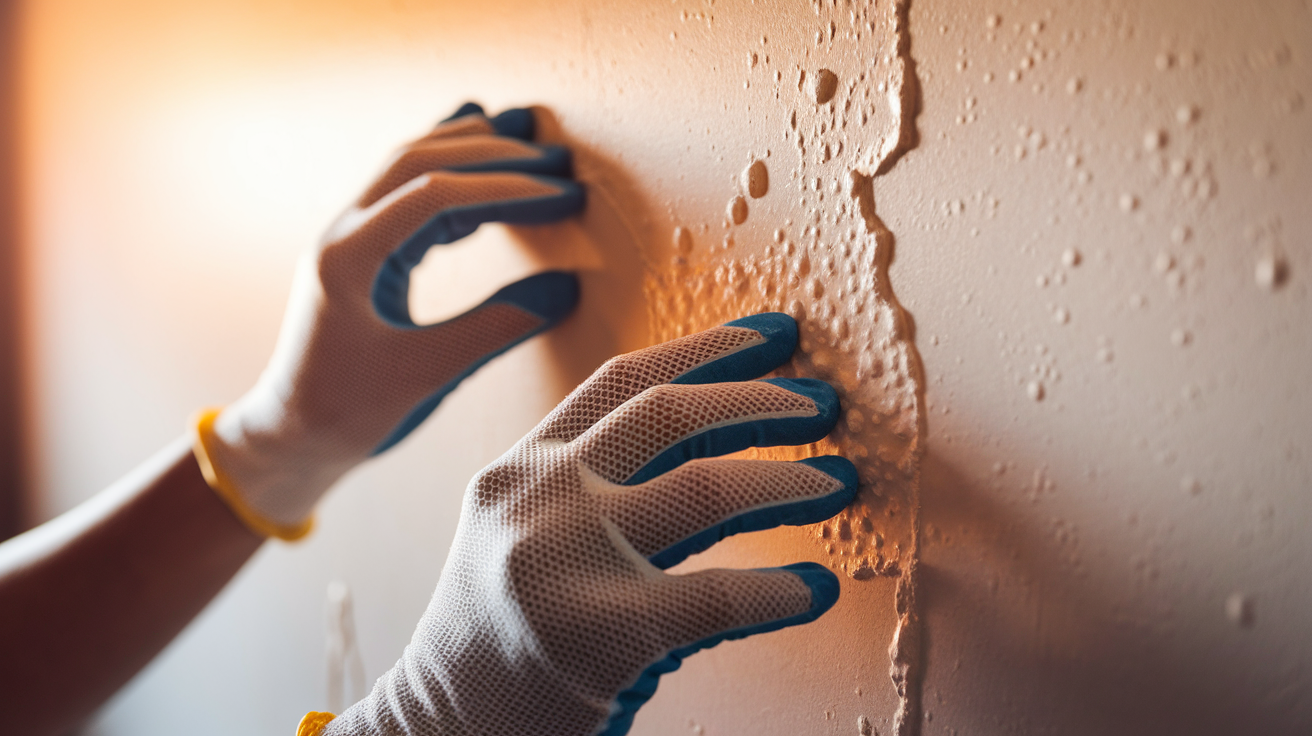
Painting over lead paint is only safe when the original paint is still in good shape. Take a close look at the surface—if the paint is chipping, bubbling, or flaking, it’s a red flag.
Encapsulants only work when applied over intact surfaces. If there’s damage, it’s best to stop and call in a professional for proper lead removal.
Trying to cover damaged paint can actually make the problem worse, releasing particles into the air.
On the other hand, if the paint is solid and smooth, it’s ready for encapsulation. A quick inspection now can save a lot of trouble later.
Step 5: Apply the Encapsulant
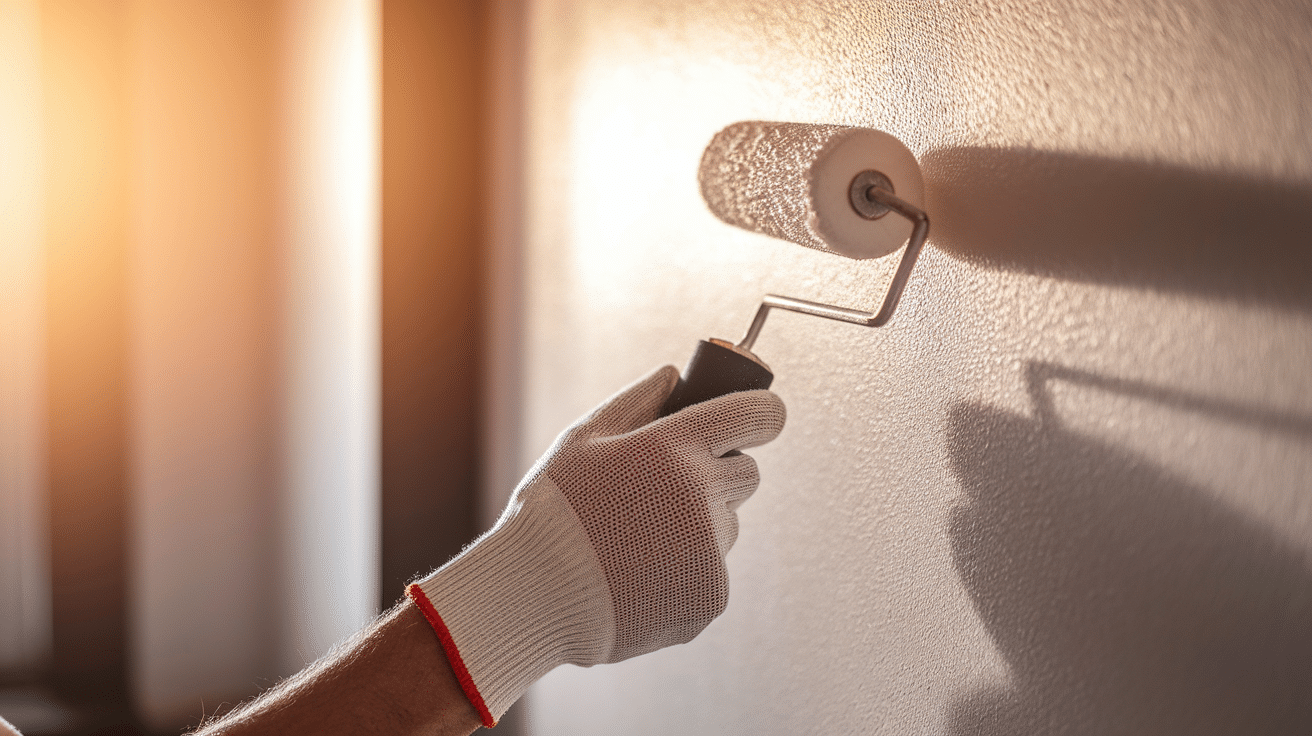
Now it’s time to apply the star of the show: the encapsulant. This is a specially formulated coating that locks in the lead paint and stops harmful dust from escaping.
It’s not the same as regular paint, so be sure to buy one specifically labeled for lead encapsulation. Use a high-quality brush or roller to apply it evenly over the surface.
Some products may need a second coat, so read the instructions carefully. Work in small sections and avoid rushing.
A well-applied encapsulant creates a strong, durable barrier that keeps the lead sealed in and protects the home long-term.
Step 6: Allow It to Dry Completely

Drying time matters. Once the encapsulant is applied, it needs to fully cure to form an effective barrier.
Rushing this step could lead to poor sealing and wasted effort. Check the label for drying times, as some may take a few hours, while others may need overnight curing.
Make sure the room is well-ventilated to speed up the process and reduce moisture. Avoid touching or painting over the surface too soon.
Once it’s dry, check for even coverage and any missed spots. A properly dried encapsulant provides a solid foundation for the final paint layer and long-term protection.
Step 7: Paint Over the Surface
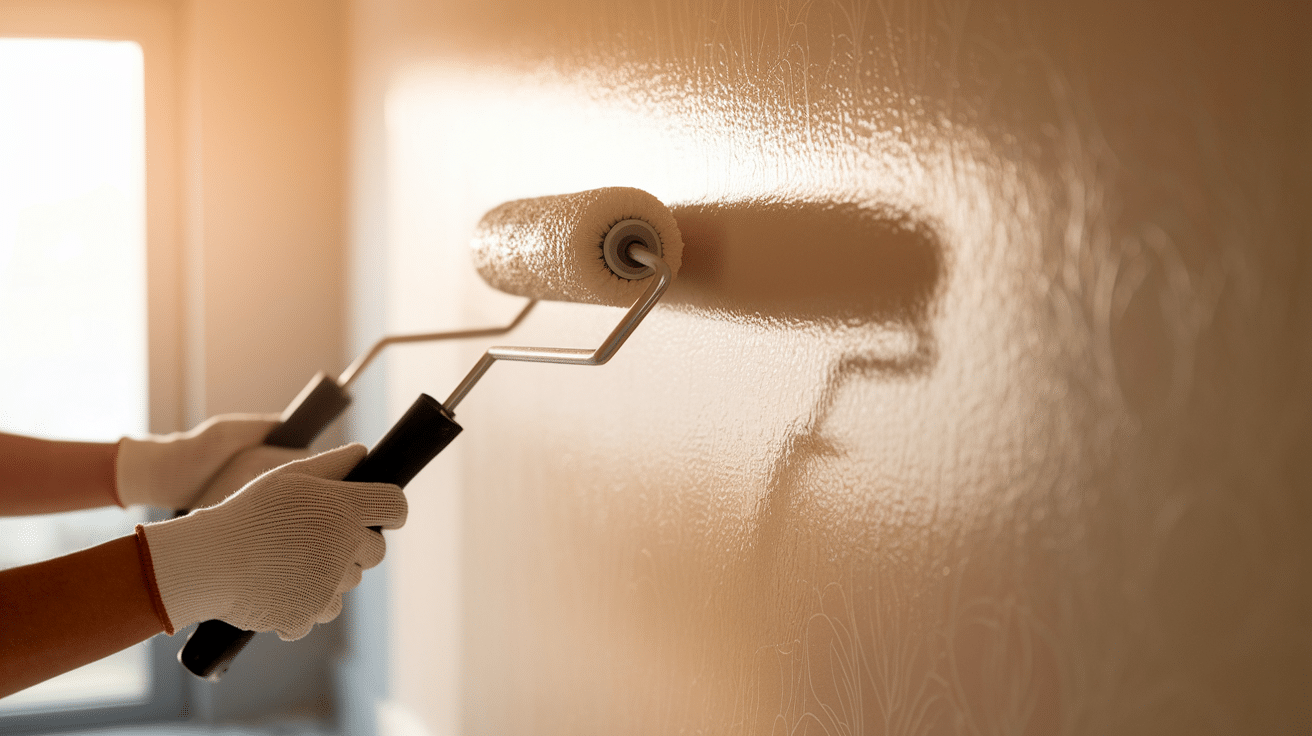
With the encapsulant dry and set, the surface is ready for a fresh coat of paint. Choose a high-quality interior paint in the desired finish and color.
Use clean brushes or rollers, and apply the paint in smooth, even strokes. Depending on the color and coverage, one or two coats may be needed.
Let each coat dry thoroughly before applying the next. This final layer doesn’t just enhance the look of the space—it adds an extra layer of protection.
At this point, the job is done. The lead paint is safely sealed, and the room has a fresh, new look.
Possible Risks and Safety Guidelines
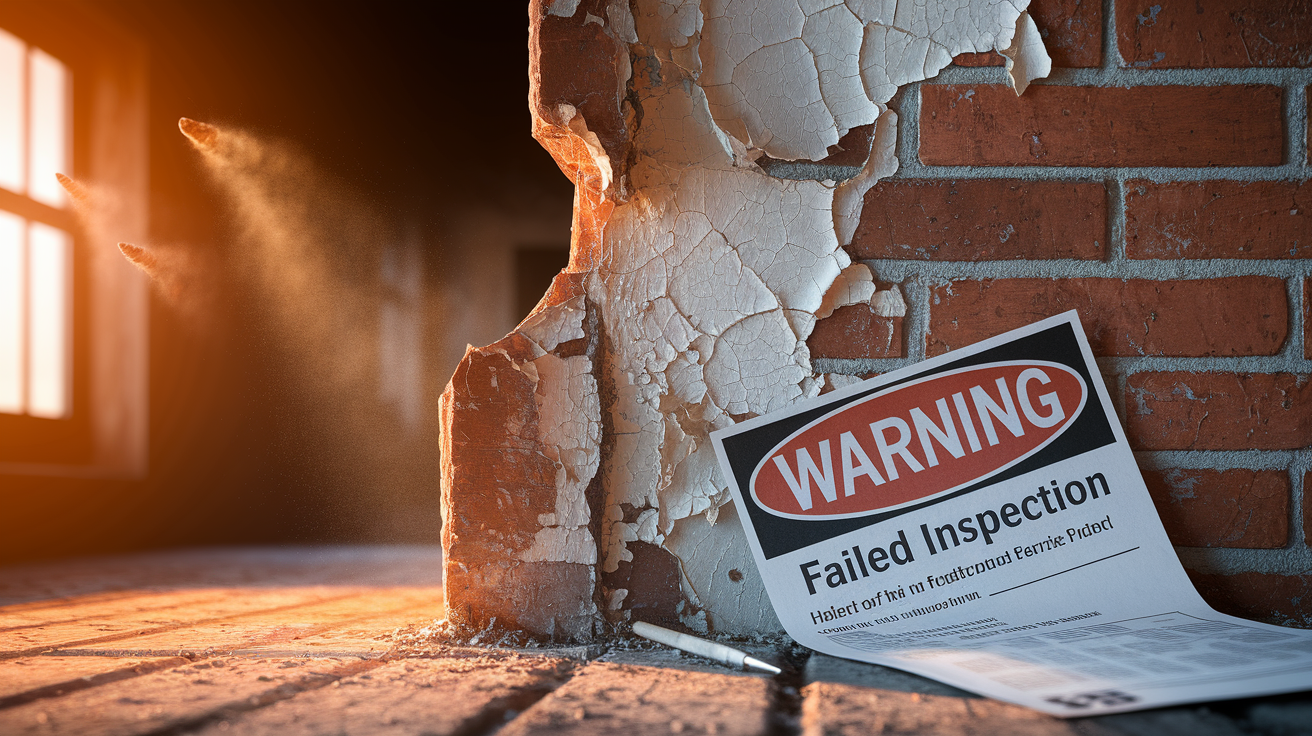
Before picking up a brush, it’s important to understand the risks involved and the safety steps that help keep everyone protected.
Lead exposure is no joke, especially in homes with kids, pets, or pregnant individuals. Even small mistakes during the process can release harmful particles into the air.
Possible Risks
Before beginning any project that involves lead paint, it’s essential to be aware of the potential risks and hazards associated with it. These are not just minor mishaps—they can impact health, safety, and even the value of a home.
- Lead dust may be released if the paint is disturbed, especially during sanding or scraping.
- Inhalation of lead particles can cause long-term damage to the brain, kidneys, and nervous system.
- Small lead particles can travel and settle in other parts of the home if the space isn’t sealed off.
- Children and pregnant individuals are at higher risk of lead poisoning.
- Improper handling can result in failed inspections or legal issues during future home sales.
Safety Measures to Be Taken
Knowing the risks means taking smart steps to stay safe. These simple measures help ensure the process goes smoothly and keeps everyone healthy:
- Always perform a lead test before starting any painting or renovation project.
- Never sand or dry-scrape surfaces coated with lead paint, as this releases toxic dust.
- Wear proper protective gear such as gloves, goggles, and a certified dust mask or respirator.
- Seal off the workspace using plastic sheeting and painter’s tape to prevent dust from spreading.
- Clean the area regularly with a HEPA vacuum or a damp cloth to remove any lingering particles.
- Use only EPA-approved encapsulants and lead-safe products specifically designed for this purpose.
- Keep children and pets out of the work area until the project is fully complete and cleaned.
Conclusion
So there you have it, a full guide on painting over lead paint. It’s not as simple as grabbing any can from the store and slapping on a new coat. But with the right approach, you can make your home both beautiful and safe.
Remember that old saying, “better safe than sorry”? It couldn’t be more true when dealing with lead paint. The key is taking your time, following the steps carefully, and treating lead paint with the seriousness it deserves.
And if you’re feeling loaded, that’s okay, too. Professional help is always an option. Your local paint store can often recommend contractors who specialize in lead paint encapsulation.
So go ahead—roll up those sleeves, gear up, and paint with confidence!


