10 Common Types of Ceiling Cracks with Pictures Explained
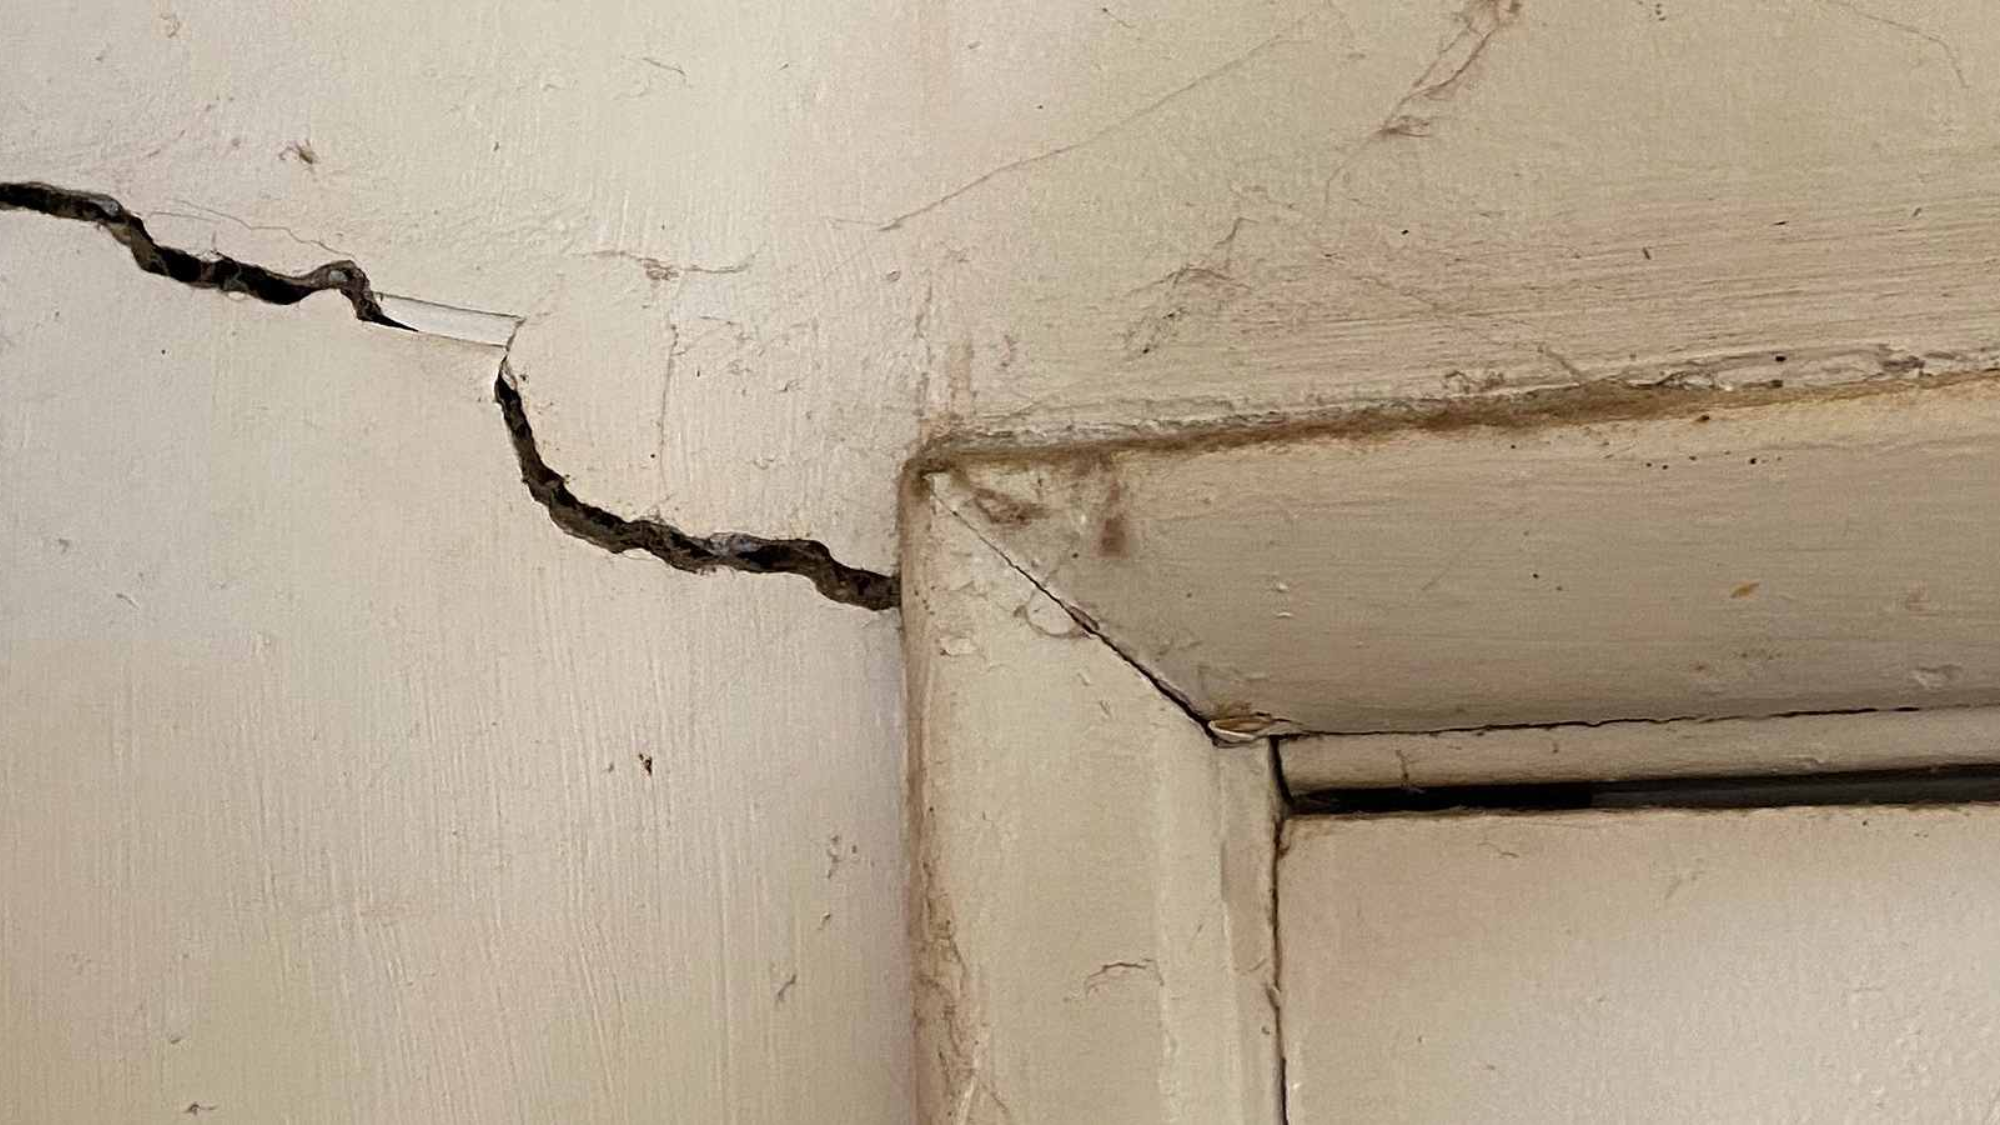
Have you ever looked up and noticed that fine line zigzagging across your ceiling? Those mysterious lines can be more than just cosmetic concerns.
Ceiling cracks range from harmless indicators of settling to warning signs of serious structural issues that require immediate attention.
Understanding the different types of ceiling cracks, their causes, and how to prevent them can save homeowners both stress and costly repairs.
This guide will help you identify common ceiling crack patterns, understand their potential causes, and learn practical prevention strategies.
Types of Ceiling Cracks
Understanding the different types of ceiling cracks helps you distinguish between harmless cosmetic issues and potentially serious problems that need attention. Let’s examine the most common patterns of ceiling cracks in your home.
1. Hairline Cracks

Hairline cracks, measuring less than 1 mm in width, typically appear in newly constructed homes as building materials settle during the initial phase of construction.
Generally harmless, these cracks result from minor shifts in the house structure or from natural drying of drywall mud.
Causes: Normal house settling in the first 1-2 years, drying and slight shrinking of drywall compound, minor seasonal expansion and contraction of building materials, and temperature fluctuations between seasons.
Prevention:
- Maintain consistent indoor humidity levels (30-50%)
- Ensure proper insulation to minimize temperature fluctuations
Maintenance:
- Fill with lightweight spackle using a flexible putty knife
- Sand smooth when completely dry
- Apply primer before touch-up paint
- Monitor to ensure they don’t widen over time
2. Spider Web Cracks
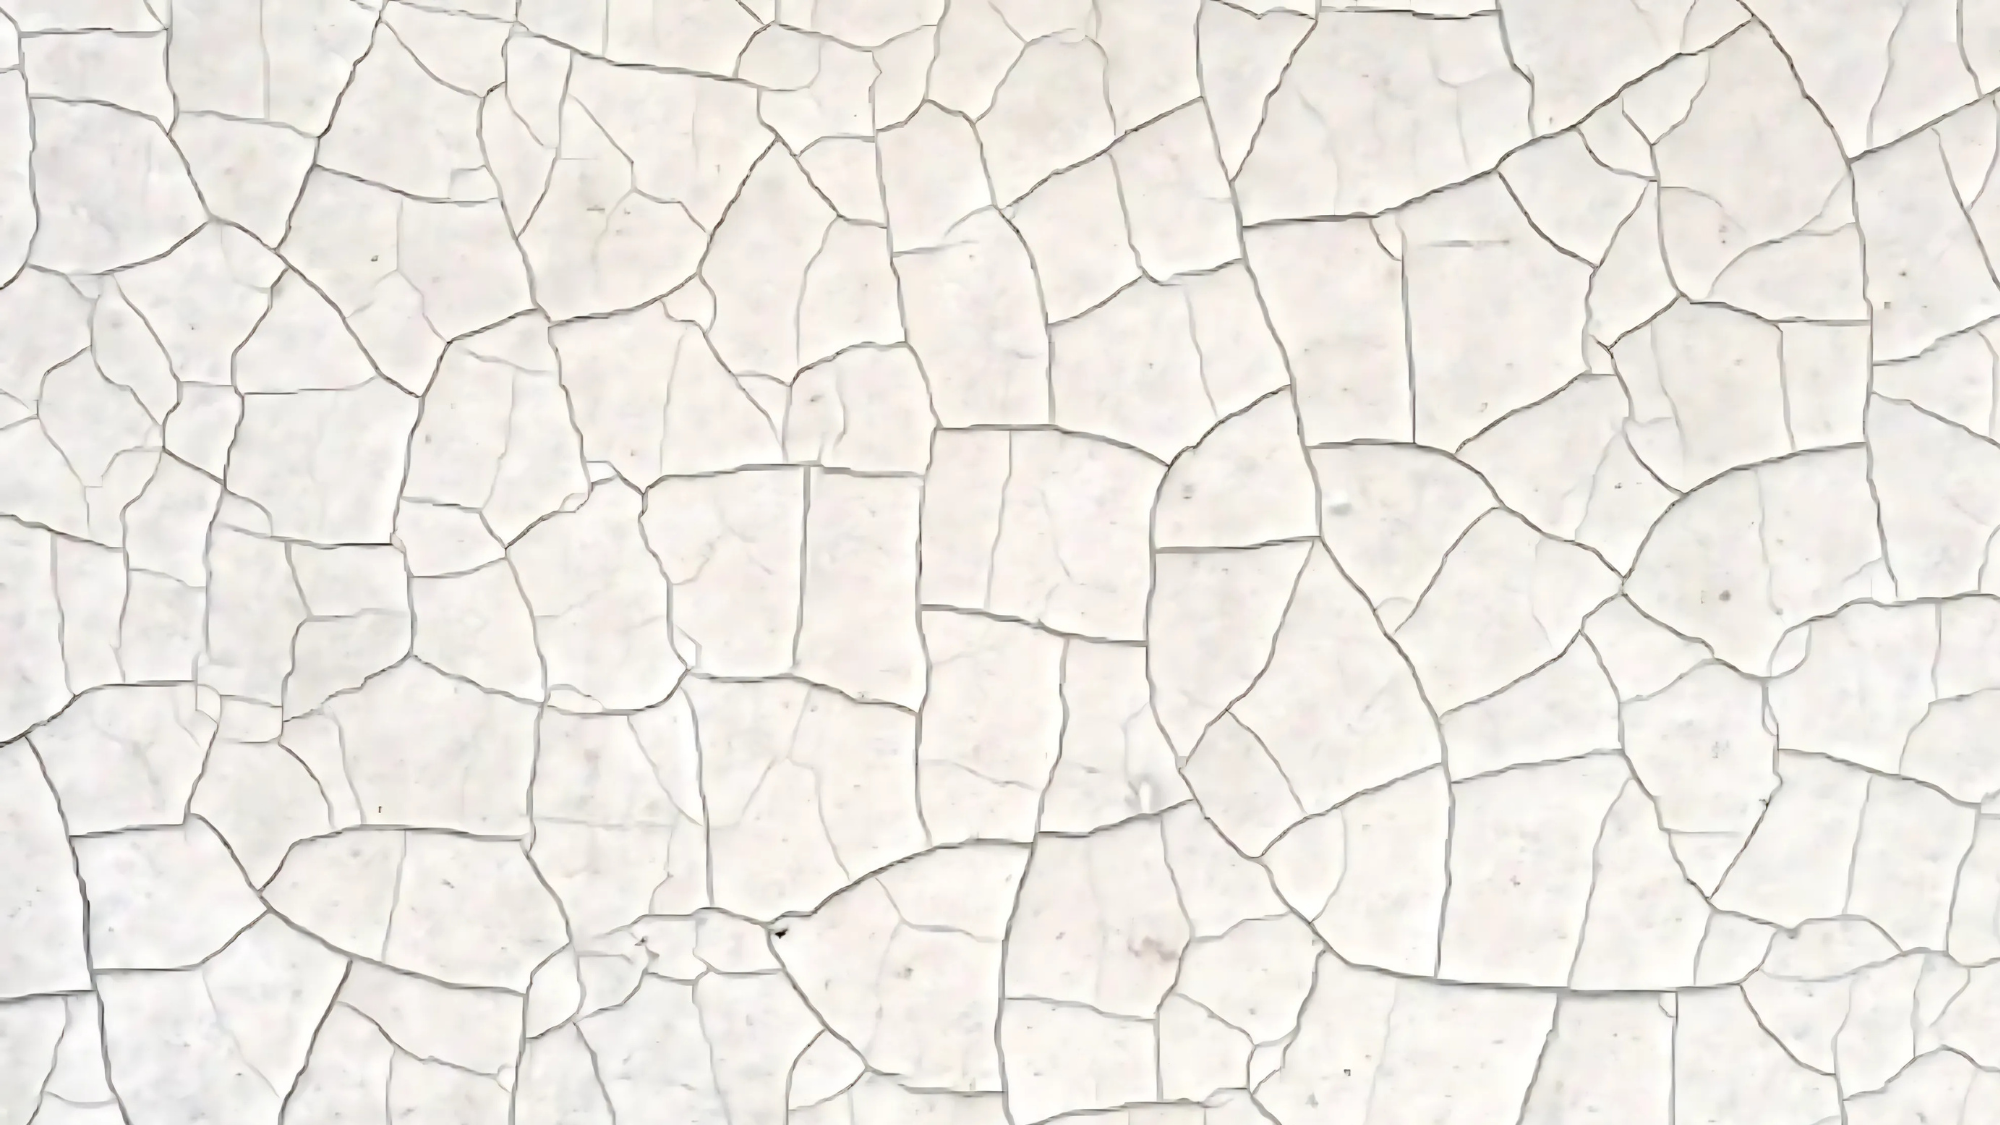
Like their namesake, these cracks radiate outward from a central point in a starburst or web-like pattern.
In older homes with plaster ceilings, these cracks might develop over time as the plaster ages and loses flexibility. Spider web cracks usually remain superficial and don’t indicate structural problems.
Causes: Direct impact to the ceiling, vibrations from slamming doors or heavy objects dropped upstairs, aging and brittle plaster in older homes, and poor adhesion between plaster and underlying lath.
Prevention:
- Install door stops to prevent slamming
- Use area rugs upstairs to dampen impact noise and vibration
Maintenance:
- Scrape away loose material before repair
- Apply mesh tape over larger spider cracks
- Use setting-type joint compound for better adhesion
- Prime and paint the entire ceiling section for a uniform appearance
3. Straight Line Cracks
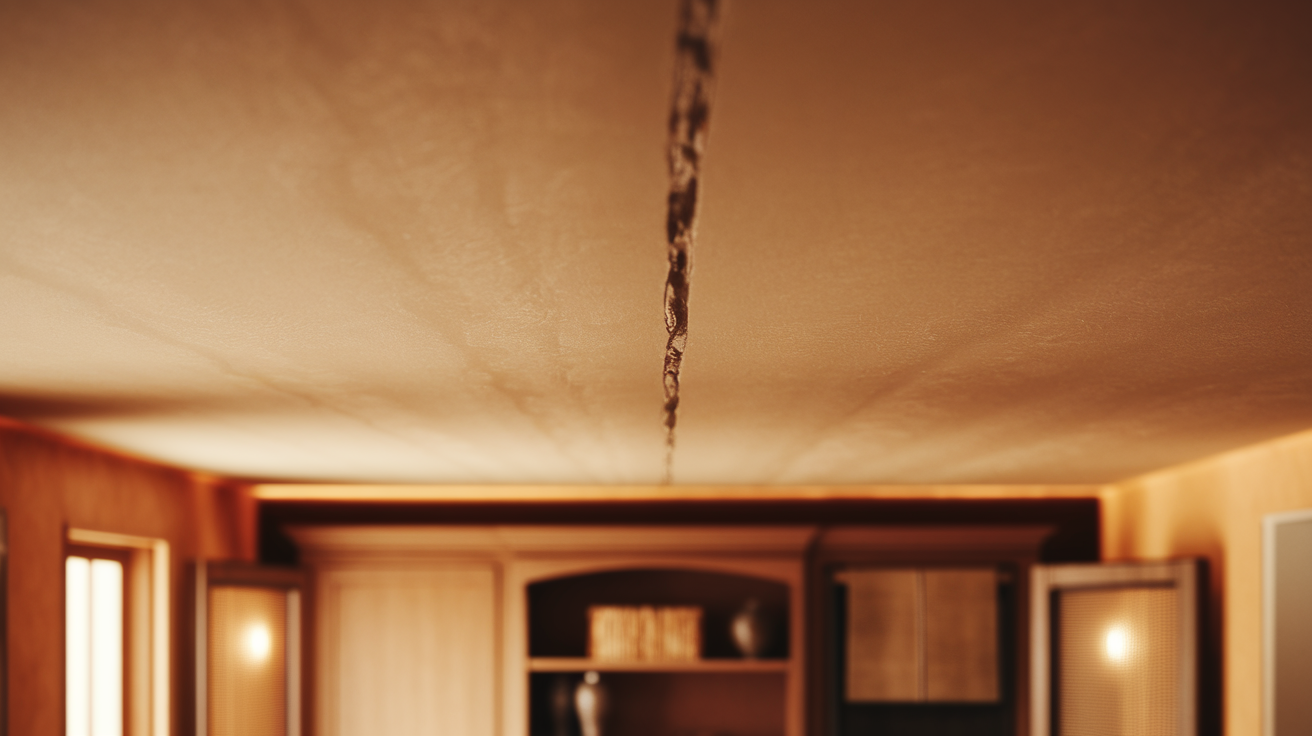
Following a precise, linear path across your ceiling, straight line cracks typically trace the seams where drywall panels meet.
These cracks indicate issues with the initial installation, possibly due to the drywall tape not adhering properly or the joint compound not being applied correctly.
Temperature fluctuations can worsen these cracks as ceiling materials expand and contract. While generally not structural concerns, these cracks can be persistent.
Causes: Improper drywall tape application, insufficient layers of joint compound, poor-quality drywall materials, and inadequate screwing of drywall panels to ceiling joists.
Prevention:
- Hire experienced drywall installers
- Apply multiple thin coats of joint compound rather than one thick layer
Maintenance:
- Remove old tape if it’s pulling away
- Apply new paper tape with setting-type compound
- Feather the edges of repair at least 12 inches on each side
- Allow complete drying between coats of compound
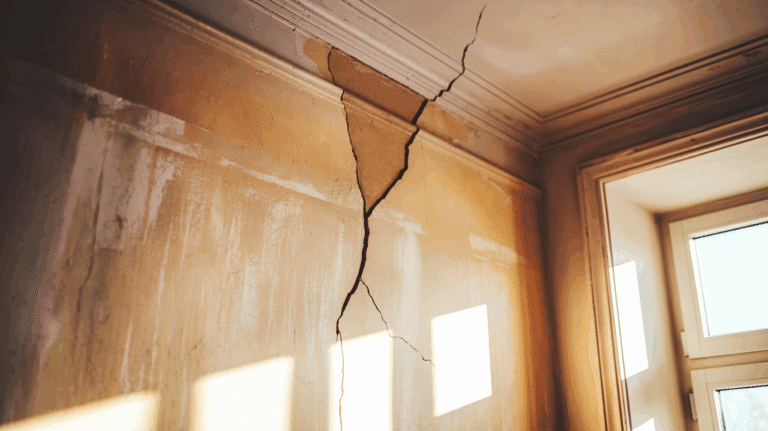
4. Ceiling and Wall Junction Cracks
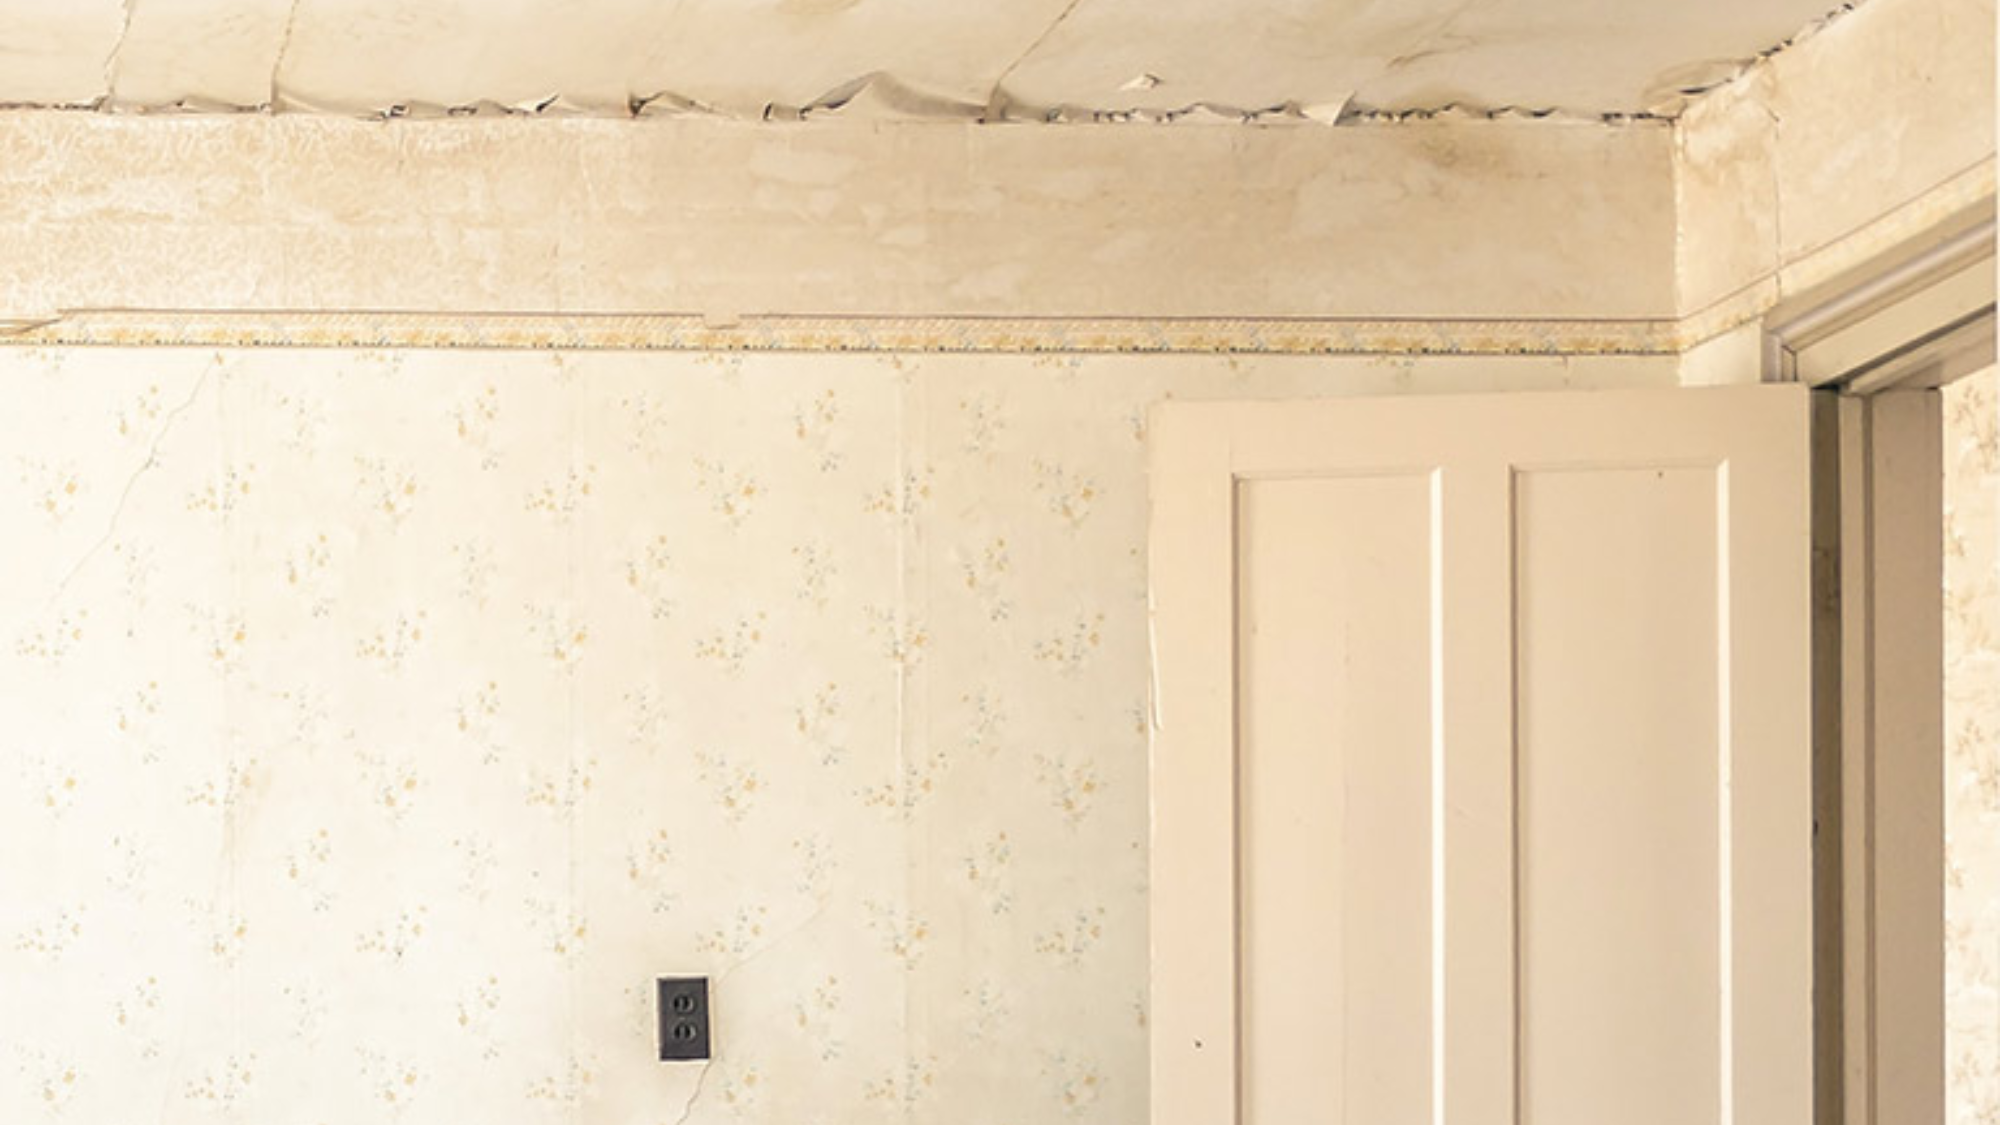
Appearing where your ceiling meets the walls, these cracks often run parallel to the wall and might extend several feet.
They commonly result from the natural settling of your home, as the house adjusts over time, the walls and ceiling can move slightly in different directions.
These cracks are generally harmless in newer homes; however, in older structures, persistent junction cracks may indicate more significant settling issues.
Causes: Different materials meeting (drywall ceiling to wall), truss uplift during seasonal changes, house settling at different rates, and poorly installed crown molding.
Prevention:
- Use flexible caulk at wall/ceiling junctions instead of drywall mud
- Consider installing crown molding to hide junction areas
Maintenance:
- Clean the crack thoroughly before repair
- Apply paintable silicone caulk rather than spackle
- Smooth with a damp finger for clean edges
- Touch up with paint after the caulk is fully cured
5. Yellowish/Brown Discolored Cracks
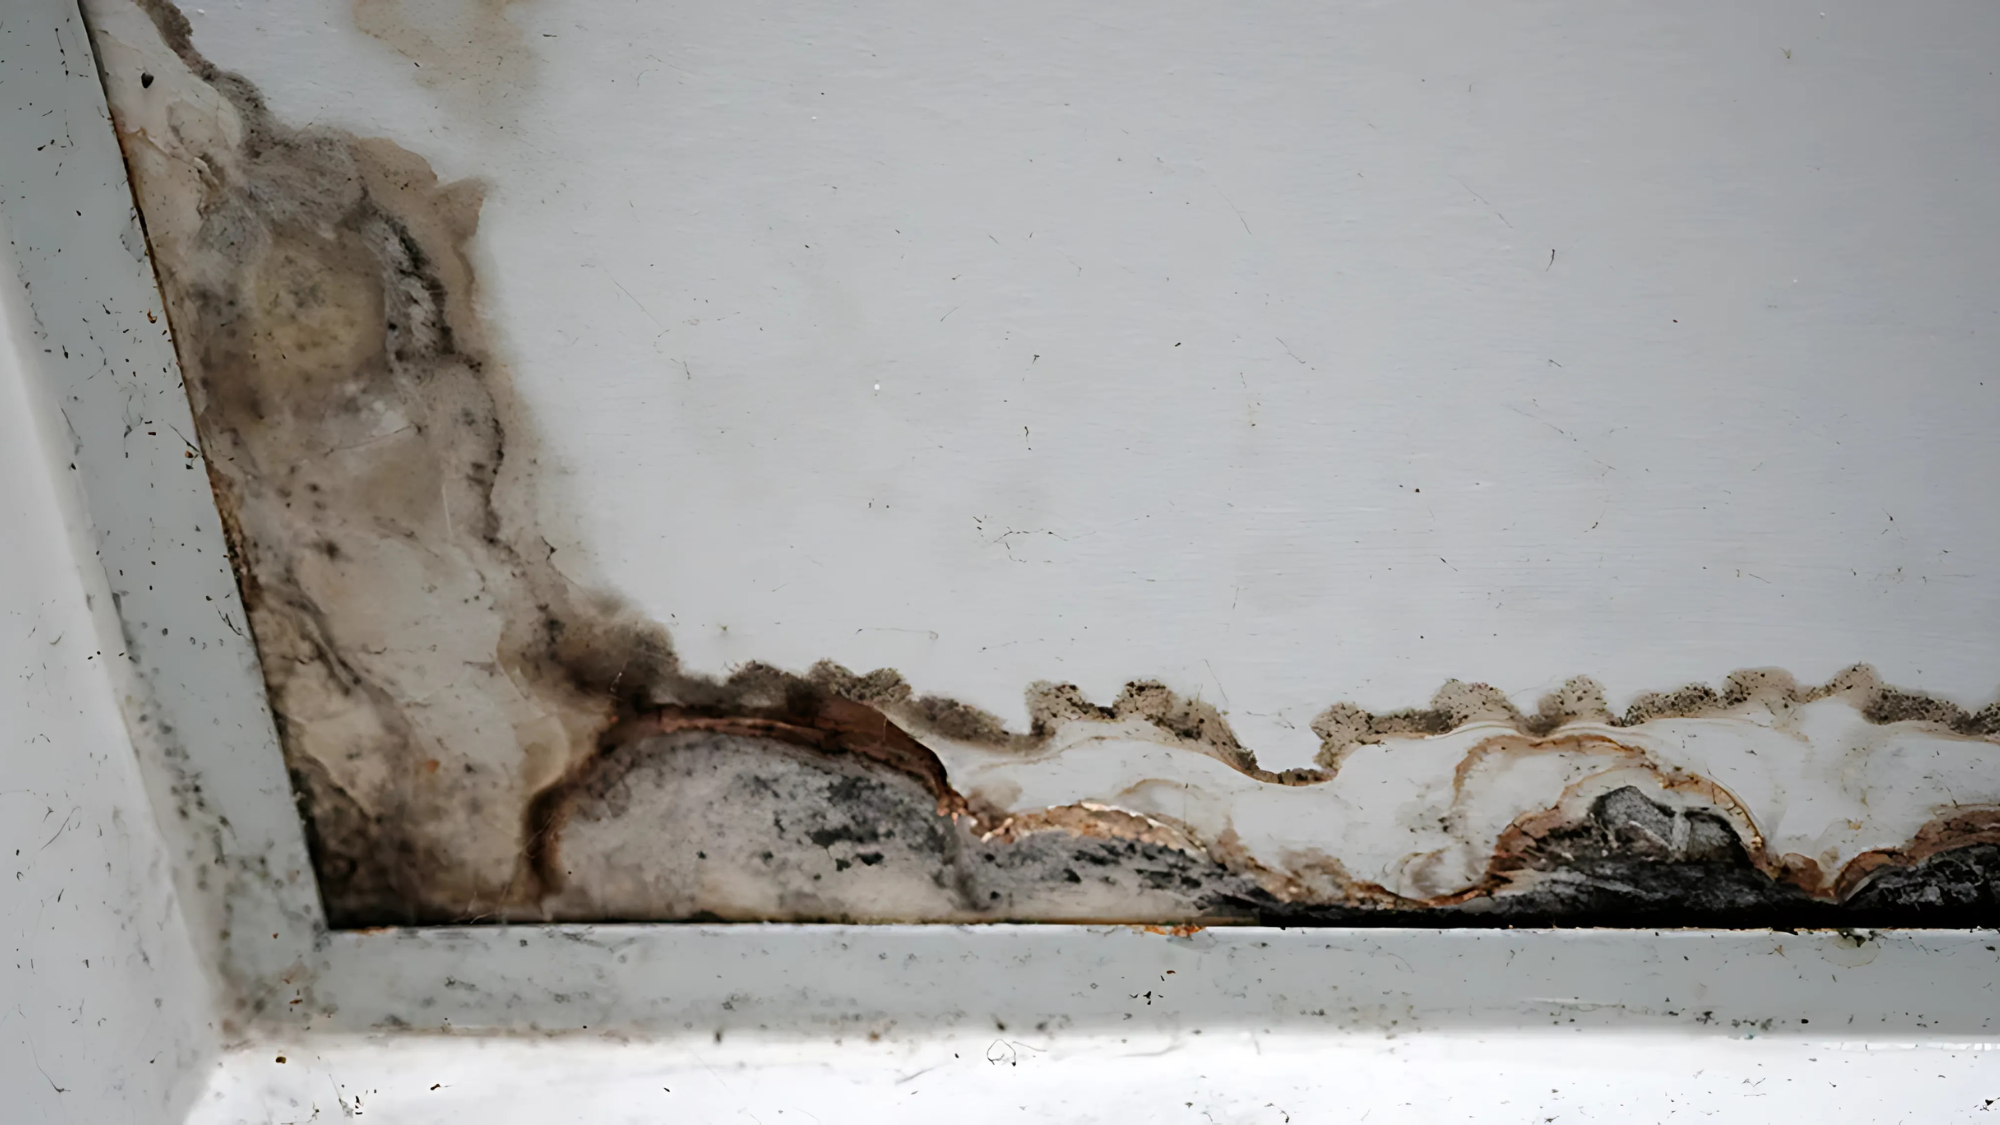
When ceiling cracks appear with yellowish or brownish staining, you’re likely dealing with water damage.
These cracks form as moisture weakens the ceiling material, causing it to sag and eventually crack. The discoloration comes from dissolved materials in the leaked water or from mold growth.
Common sources include roof leaks, plumbing problems, or condensation issues in the attic.
Causes: Roof leaks during rainstorms, plumbing leaks from bathrooms above, condensation in the attic due to inadequate ventilation, and leaks or condensation in the HVAC system.
Prevention:
- Regular roof inspections and maintenance
- Proper attic ventilation and insulation
Maintenance:
- Find and fix the water source before repairing the ceiling
- Allow the area to dry completely (use fans if needed)
- Apply stain-blocking primer before patching
- Replace severely damaged drywall sections entirely
6. Horizontal Cracks Along Walls
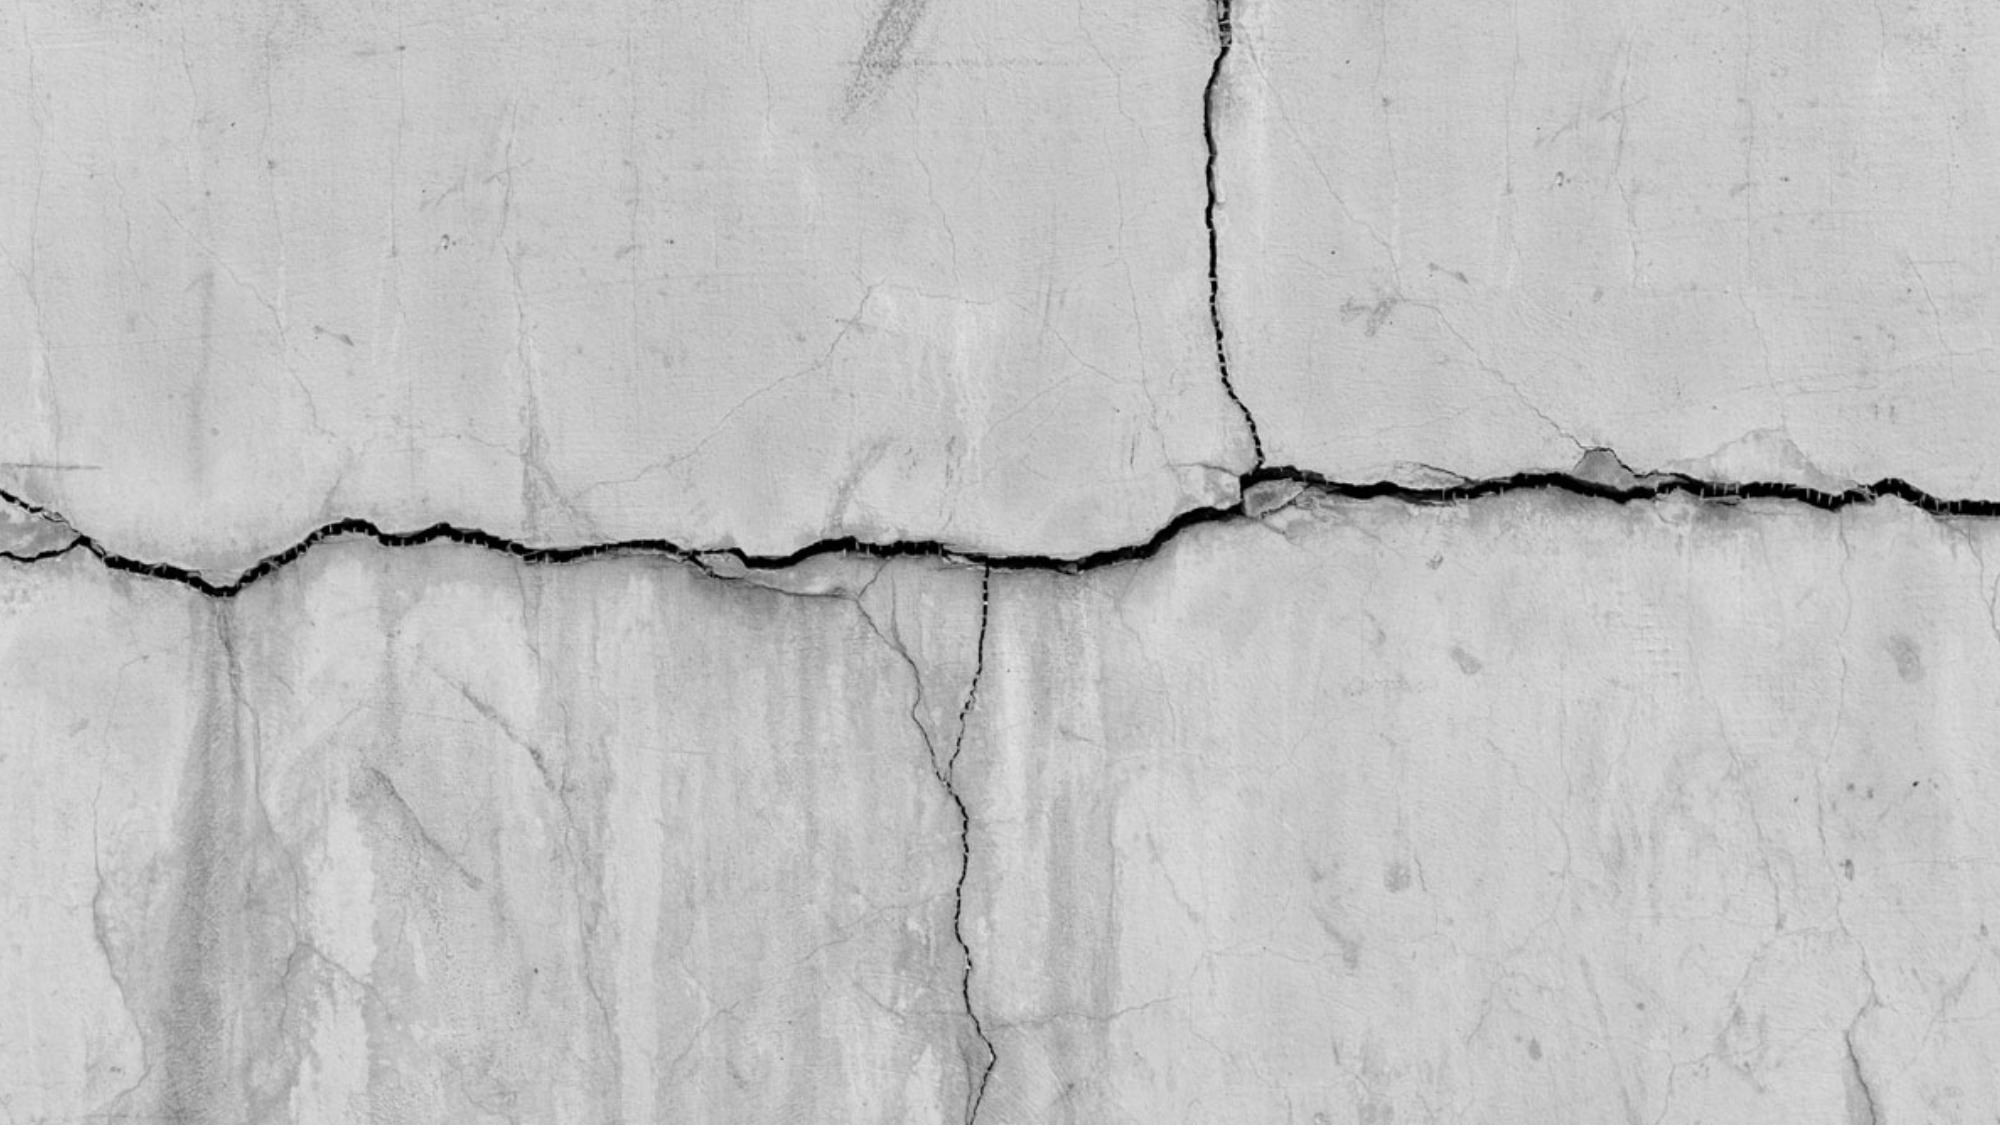
Though primarily wall issues, horizontal cracks that extend to where walls meet the ceiling often indicate foundation problems.
These cracks suggest that the walls are experiencing unusual pressure, possibly due to soil issues around your foundation.
If these horizontal cracks appear alongside ceiling cracks in multiple rooms, it’s time to consult a structural engineer. Foundation problems rarely resolve themselves.
Causes: Soil expansion/contraction around foundation, poor drainage causing hydrostatic pressure against foundation, inadequate foundation for soil type, and extreme temperature variations causing foundation movement.
Prevention:
- Ensure proper grading away from the foundation (6-inch drop over 10 feet)
- Install and maintain gutters and downspouts
Maintenance:
- Document cracks with dated photos to monitor progression
- Consult a structural engineer for a proper assessment
- Consider foundation repair methods appropriate to your situation
- Address drainage issues around the home’s perimeter
7. Stepped Cracks
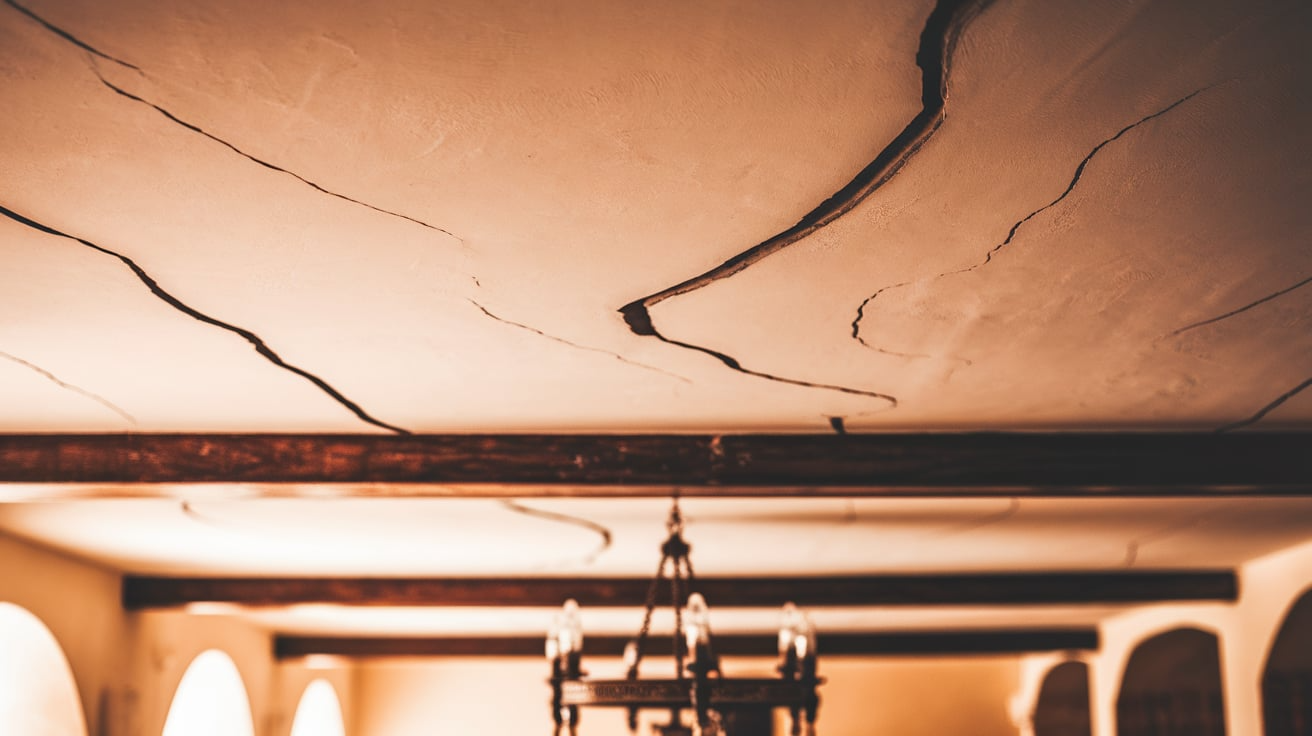
These distinctive zig-zag pattern cracks follow the outline of ceiling materials, creating a stair-step or jagged appearance rather than a smooth line.
Stepped cracks often indicate that your home is experiencing more significant structural movement.
They commonly appear when a foundation is shifting unevenly or when there’s substantial settling in one area of the house. These cracks require professional evaluation.
Causes: Uneven foundation settlement, soil movement under specific areas of the foundation, poor original construction or inadequate footings, and underground water eroding the soil beneath the foundation.
Prevention:
- Proper soil compaction before construction
- French drains or other water management systems
Maintenance:
- Monitor crack width and length over time
- Check doors and windows nearby for proper operation
- Have a structural engineer assess the foundation
- Consider foundation stabilization methods like piers or underpinning
8. Large, Widening Cracks
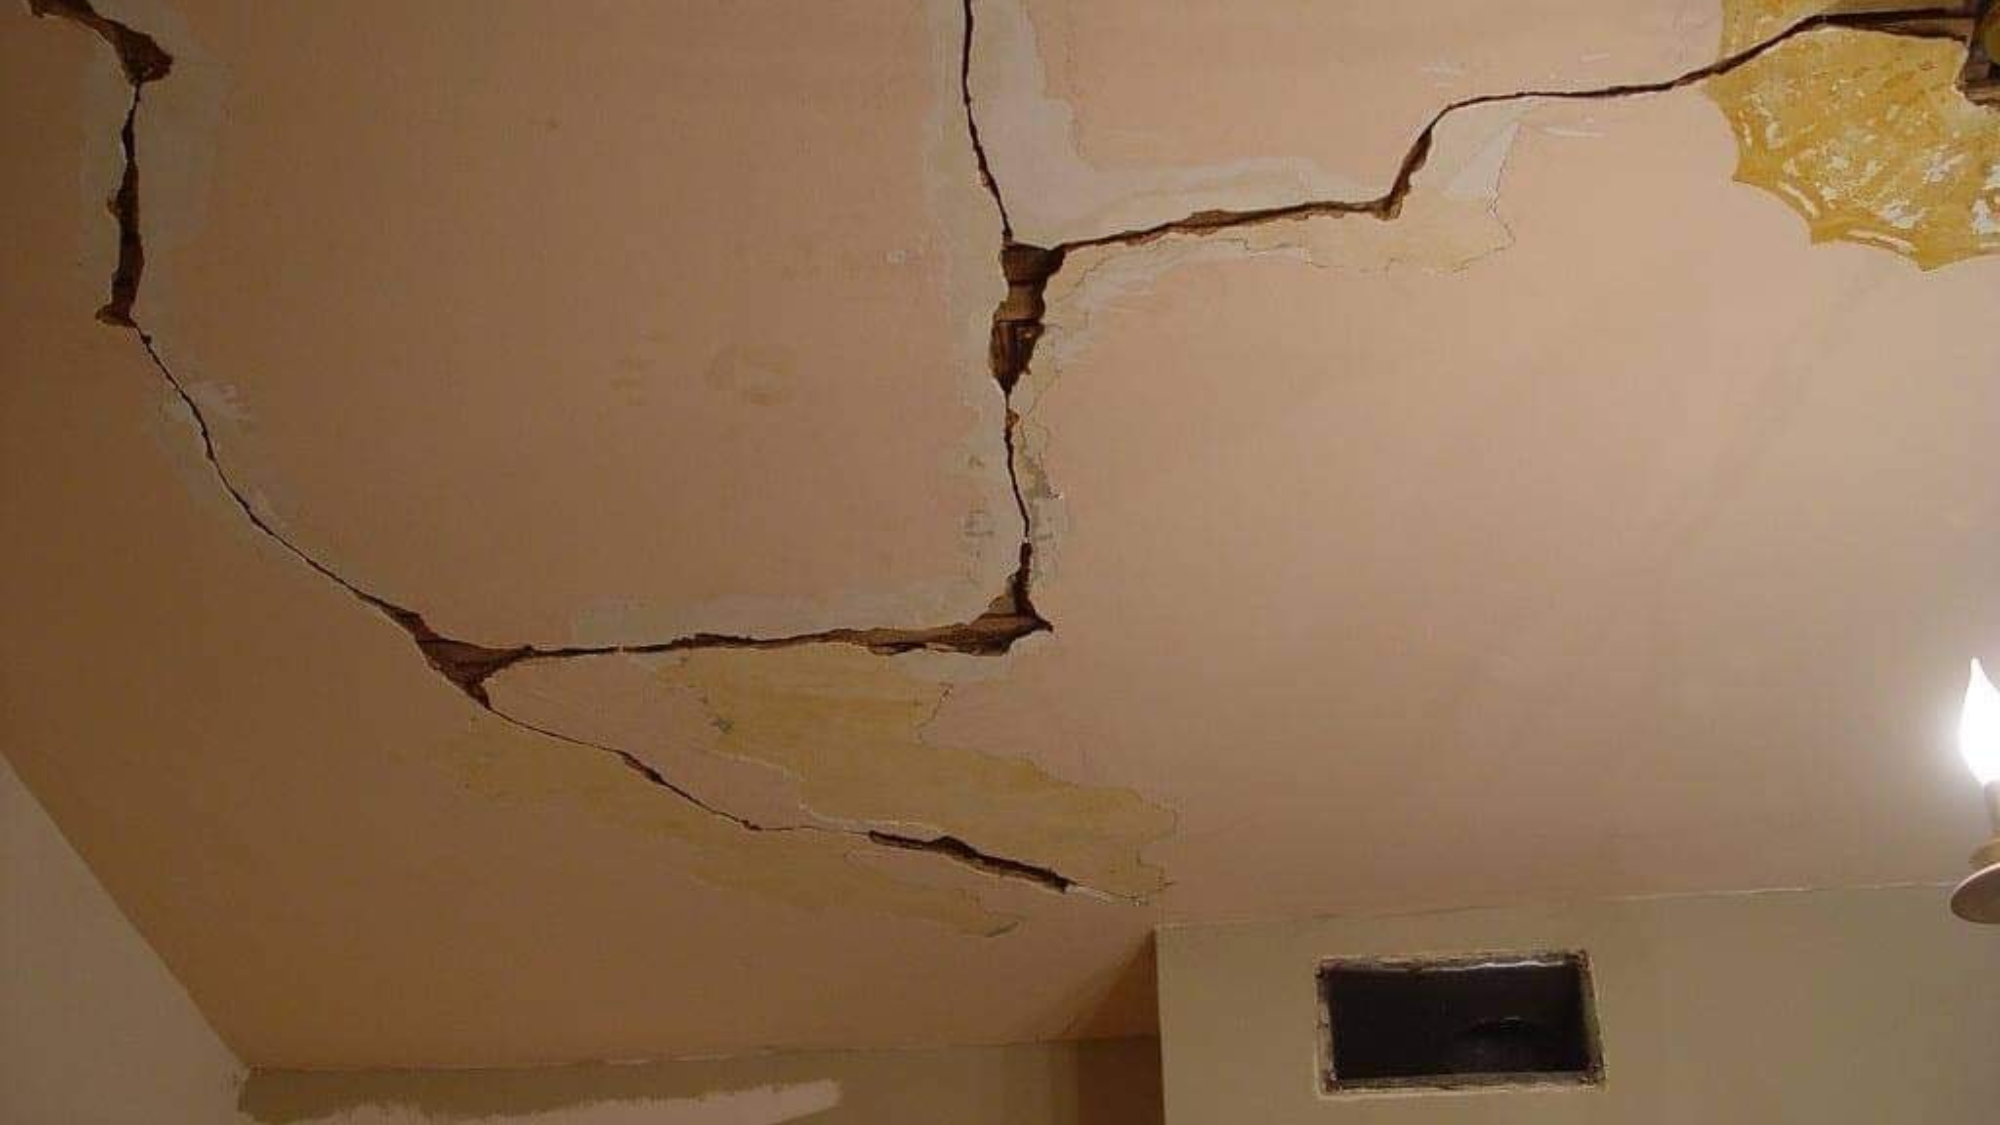
Any ceiling crack that exceeds 1/8 inch in width or continues to widen over time requires immediate attention. These substantial gaps suggest active movement in your home’s structure.
As the underlying issue, whether it is foundation problems, structural overloading, or water damage, continues to worsen, the crack expands accordingly.
Causes: Ongoing structural movement, foundation shifting or settling, support beam or joist problems, and excessive weight loads above the ceiling.
Prevention:
- Regular home inspections to catch issues early
- Proper load distribution for heavy items upstairs
Maintenance:
- Mark the ends of cracks and measure the width to monitor changes
- Take dated photos for documentation
- Consult a structural engineer promptly
- Address the underlying cause before cosmetic repairs
9. Bowed Ceiling with Cracks
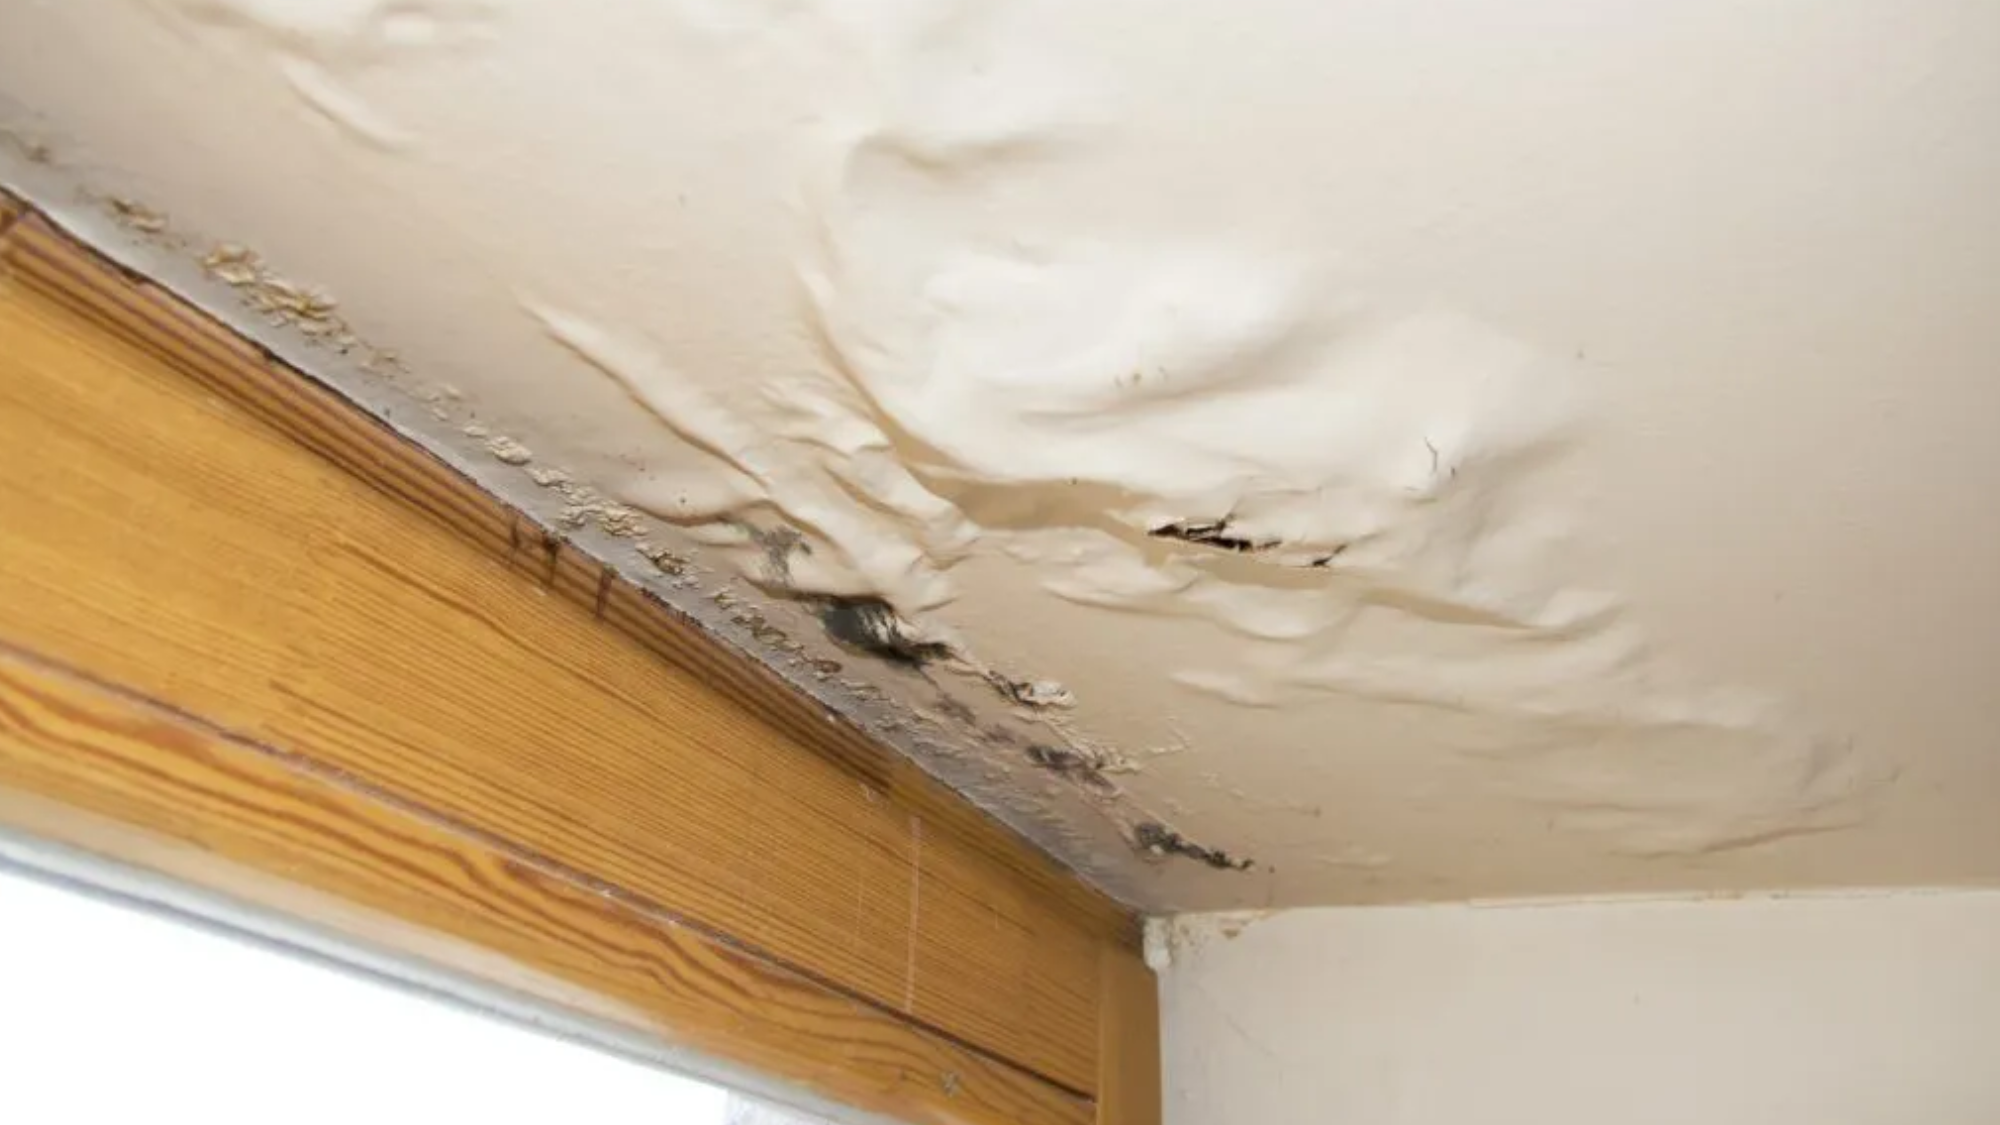
When your ceiling develops a noticeable curve or sag accompanied by cracking, you’re facing a potentially serious situation.
Ceiling materials should remain flat, any deviation suggests the ceiling is under stress or has been weakened.
Common causes include water damage, structural issues with ceiling joists, or excessive weight from the floor above. A bowed ceiling should be inspected promptly by a professional.
Causes: Water damage weakening drywall or plaster, overloaded ceiling joists, improperly sized ceiling joists for the span, and removal of load-bearing walls during renovations.
Prevention:
- Address leaks immediately
- Distribute heavy items stored in the attic across multiple joists
Maintenance:
- Evacuate the area if the sagging is severe
- Install temporary supports if needed
- Have a professional assess structural integrity
- Complete recommended structural repairs before cosmetic fixes
10. Corner Cracks
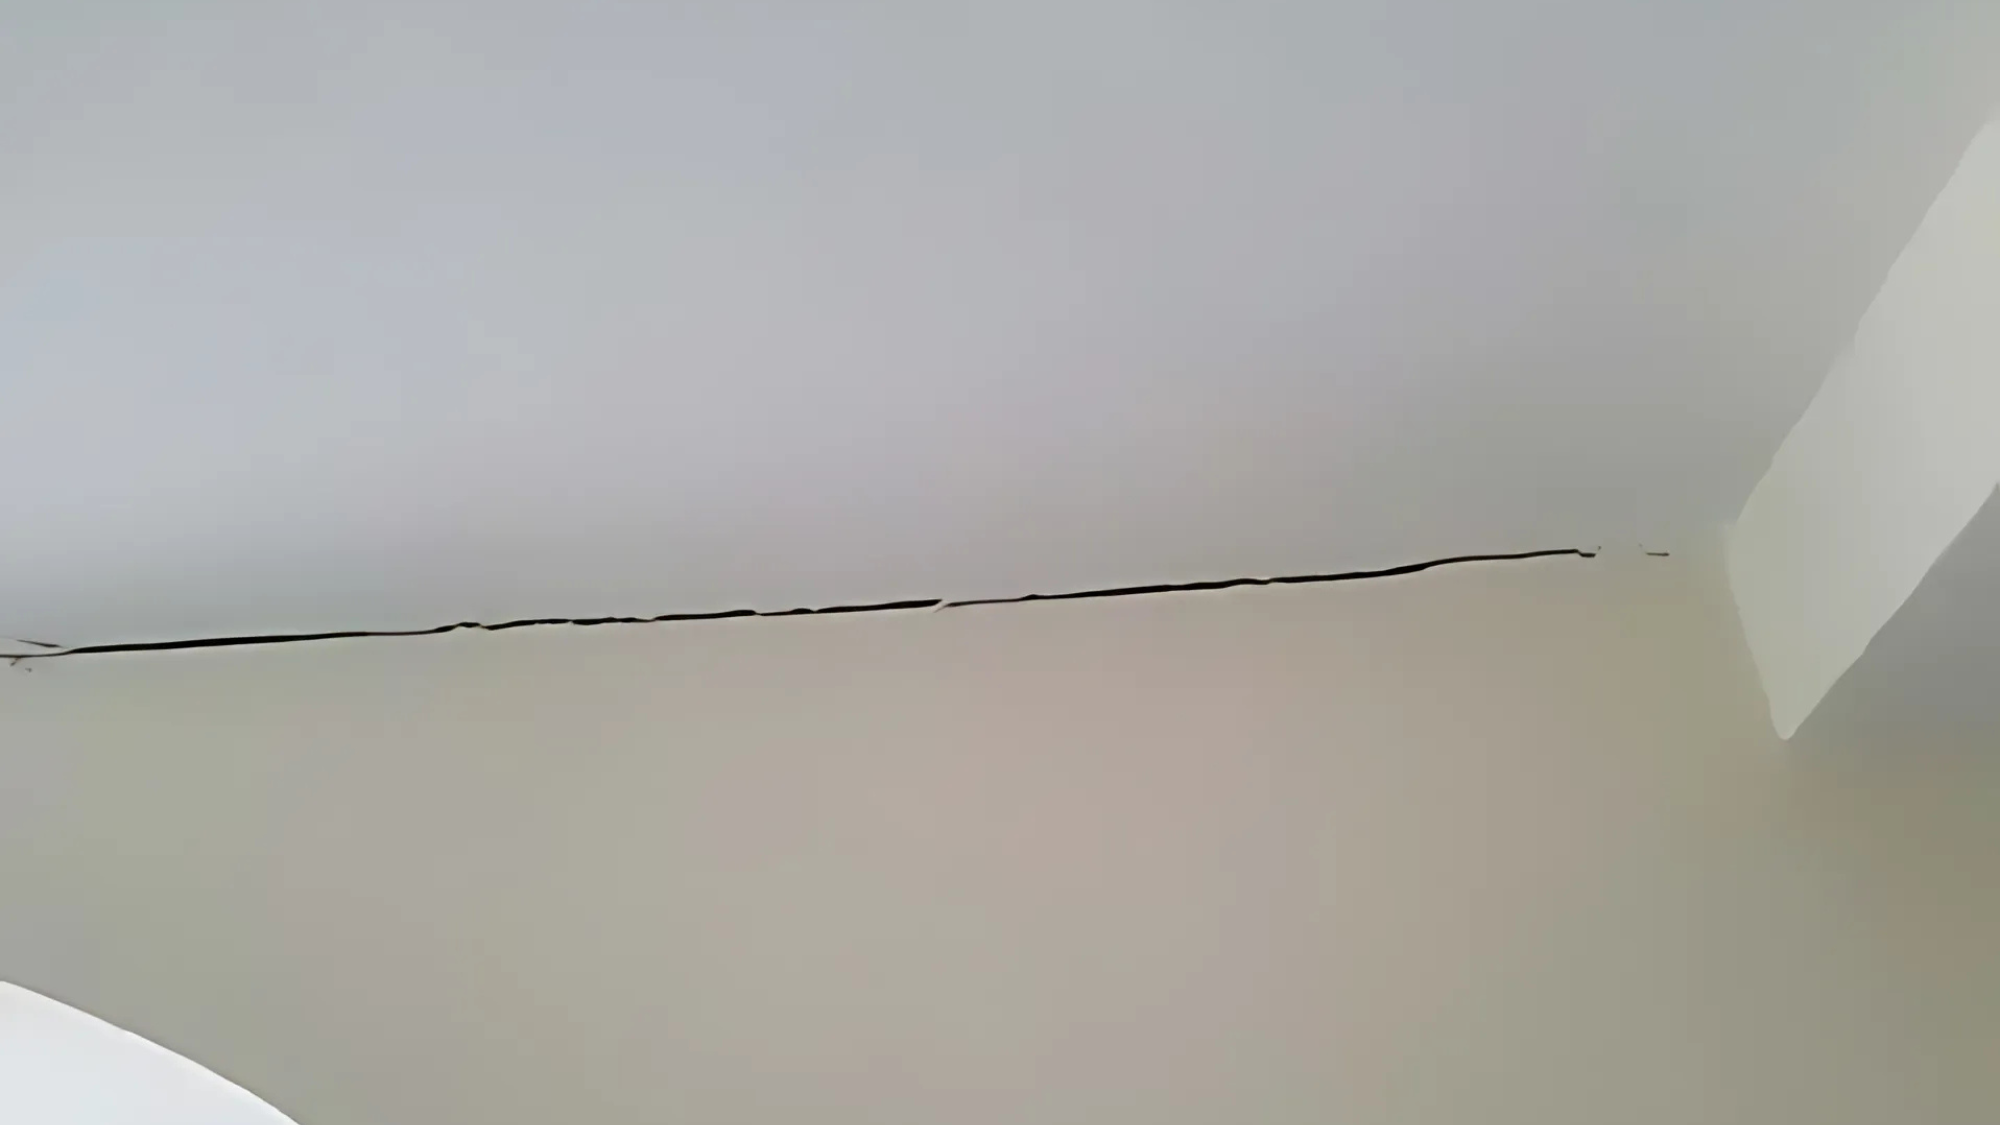
Forming at the internal corners where walls and ceilings intersect, these cracks typically run at a 45-degree angle and may be more prevalent during extreme seasonal changes.
They result from different materials expanding and contracting at varying rates in response to temperature and humidity fluctuations.
Though usually cosmetic, persistent corner cracking in multiple rooms might indicate excessive house movement. Flexible repair materials work best.
Causes: Different materials meeting at corners (such as drywall, wood, and plaster), seasonal temperature and humidity changes, normal house settling, and improper taping techniques during initial construction.
Prevention:
- Use paper tape and proper corner bead installation
- Maintain consistent indoor humidity year-round
Maintenance:
- Clean out loose material before repair
- Apply elastic caulk rather than drywall compound
- Allow full cure before painting
- Monitor for recurrence during seasonal changes
How to Measure the Severity
Wondering whether that ceiling crack needs immediate attention or can wait until your next home improvement project? Lets go through this table on how to decide the severity of the ceiling cracks:
| Severity Level | Description | Characteristics | Action Needed |
|---|---|---|---|
| High Severity | Major structural concern |
|
|
| Moderate Severity | Noticeable but not urgent |
|
|
| Low Severity | Minor, cosmetic cracks |
|
|
How to Fix Ceiling Cracks by Yourself
Before you begin fixing ceiling cracks, it’s important to gather the right tools and materials to ensure a smooth and effective repair. Here’s a list of what you’ll need to get started.
1. Gather Your Materials
Tools and Materials:
- Spackle or joint compound
- Putty knife or drywall knife
- Sandpaper or sanding block (fine grit)
- Primer and paint
- Caulk or gap filler (for larger cracks)
- Paintable crack filler (for smaller cracks)
- Drop cloth (to protect the floor)
2. Inspect the Crack
Measure the width and length of the crack and note any discoloration or water stains that might indicate underlying moisture issues.
Small hairline cracks, typically less than 1/8 inch wide, often indicate normal settling and can be easily repaired.
Larger cracks, especially those wider than 1/4 inch or those with a stair-step pattern, may indicate structural problems that require professional assessment.
If a sagging ceiling accompanies the crack or appears to be growing, consult a structural engineer before attempting repairs.
3. Clean the Crack
Use a utility knife or small screwdriver to gently remove any loose material or debris from within the crack.
Widen the crack slightly to create a “V” shape, which helps the new compound adhere better than filling a narrow, straight crack. Be careful not to apply too much pressure, which could damage the surrounding drywall or plaster.
After scraping, use a shop vacuum with a brush attachment to remove all dust and small particles.
4. Apply Joint Compound or Spackle
For small cracks: Use a putty knife to apply a thin layer of joint compound or spackle directly into the crack. Smooth it out and feather the edges so it blends seamlessly with the ceiling surface.
For larger cracks: If the crack is wider than 1/8 inch, you may need to apply a reinforcing mesh tape to hold the joint compound in place.
First, apply a thin layer of joint compound, then press the tape into the crack and cover it with another layer of compound.
5. Smooth and Sand the Area
Allow the compound to dry completely, following the manufacturer’s instructions for the recommended drying time.
Once dry, use fine-grit sandpaper to smooth the surface until it’s level with the rest of the ceiling. Be sure to sand evenly and avoid oversanding, which can create divots.
6. Prime the Repaired Area
Apply a high-quality primer over the repaired crack to prevent “flashing,” where the repaired areas appear different from the surrounding surfaces.
This seals the porous joint compound, preventing it from absorbing too much paint. For water damage, use a stain-blocking primer.
Let the primer dry fully according to the package directions, which is usually 1-2 hours. Test by gently touching before proceeding to the next step.
7. Paint Over the Repair
Apply ceiling paint that matches your existing color and finish, usually flat or matte for ceilings. If you don’t have leftover paint, take a small sample to a paint store to be matched.
Use a roller with a nap length suitable for your ceiling texture. Paint in a “W” pattern, extending at least 12 inches beyond the repair.
Feather the edges to blend with the existing ceiling for a seamless finish.
8. Repeat if Necessary
For deeper cracks, apply additional layers of compound, allowing each to dry completely (about 24 hours) before sanding with fine-grit sandpaper.
Make each layer wider than the previous one to create a gradual transition. Remove all dust between applications with a vacuum and a damp cloth.
After final sanding, check by hand for any remaining imperfections before priming and painting.
When to Seek Professional Help
While minor cracks in ceilings can be a simple DIY project, there are certain situations where professional help is needed:
- Large, Growing Cracks: If the cracks are wide (greater than 1/4 inch), it could be a sign of structural issues.
- Ceiling Sagging: Ceiling sagging often indicates water damage, joist failure, or issues with the roof. A structural engineer or contractor should inspect it immediately.
- Water Damage: Water damage requires professional attention to prevent mold growth and further structural damage. This could be due to roof leaks or HVAC issues.
- Cracks Around Fixtures: If cracks appear around light fixtures, ceiling fans, or vents, it may indicate issues with their mounting or support.
- Multiple Cracks Across the Ceiling: If you notice cracks in multiple areas of the ceiling, it may indicate that the ceiling is shifting due to foundation settlement or other structural issues.
- You Are Uncomfortable With DIY Repairs: If you feel unsure about the repair process, it’s best to call in a professional to ensure the job is done safely and effectively.
Conclusion
While many cracks are simply cosmetic issues resulting from normal home settling, others may signal problems that require professional attention.
By learning to identify different types of cracks, recognize their causes, and assess their severity, you’ve gained valuable knowledge to protect your home’s integrity and your family’s safety.
Monitor suspicious cracks, address water damage immediately, and consult a structural engineer if you notice widening cracks or multiple concerning patterns.
With the information in this guide, you’re now equipped to make informed decisions about when to grab the spackling paste and when to call in the experts.

