DIY Bathroom Wall Tile Installation

Tiling your bathroom walls might seem like a big project, but with the right approach, it can be a rewarding DIY experience.
Whether it’s revamping a shower or completely changing the space, using bathroom wall tiles can bring a fresh, modern look to your bathroom. The best part is that achieving a professional finish is well within reach, even without expert help.
This guide takes you through each step of the process—from preparing your walls to laying the tiles and finishing with a flawless touch.
With simple instructions and helpful tips, tiling your bathroom walls becomes an enjoyable project that anyone can tackle. Get ready to make your bathroom shine with beautiful, durable tiles!
Why Tiling Your Bathroom is Important
Tiling your shower isn’t just about making it look nice—it’s about protecting your walls and creating a space that’s easy to maintain.
Tiles help prevent water from seeping into the walls, which can cause damage such as mold or mildew. Plus, a well-tiled shower makes cleaning a breeze.
It’s also a great way to give your bathroom a fresh, updated look that adds value to your home.
Tools and Materials Required For Bathroom Tiling
| Tools | Materials |
|---|---|
| Hammer | Plastic Sheeting |
| Chisel | Respirator (dust rated) |
| Reciprocating Saw | Drop Cloth |
| Shims | Cement Backer Board |
| Putty Knife | Backer Board Screws |
| Trowel (Notch Side) | Concrete Backer Board Screws |
| Tile Cutter | Thinset Mortar |
| Tile Nippers | Seam Tape |
| Hole Saw | Paint-on Waterproof Membrane |
| Ziplock Bag | Tile & Tile Spacers |
| Rubber Float | Grout (including Haze Remover & Sealer) |
| Wet Sponge | Silicone Sealant |
Step-by-Step Process For Tiling Your Bathroom Wall
Here’s a simple guide to help you tackle your shower tile installation from start to finish. It’s all about following the right steps and taking your time to get a professional result.
Step 1: Preparation and Demolition
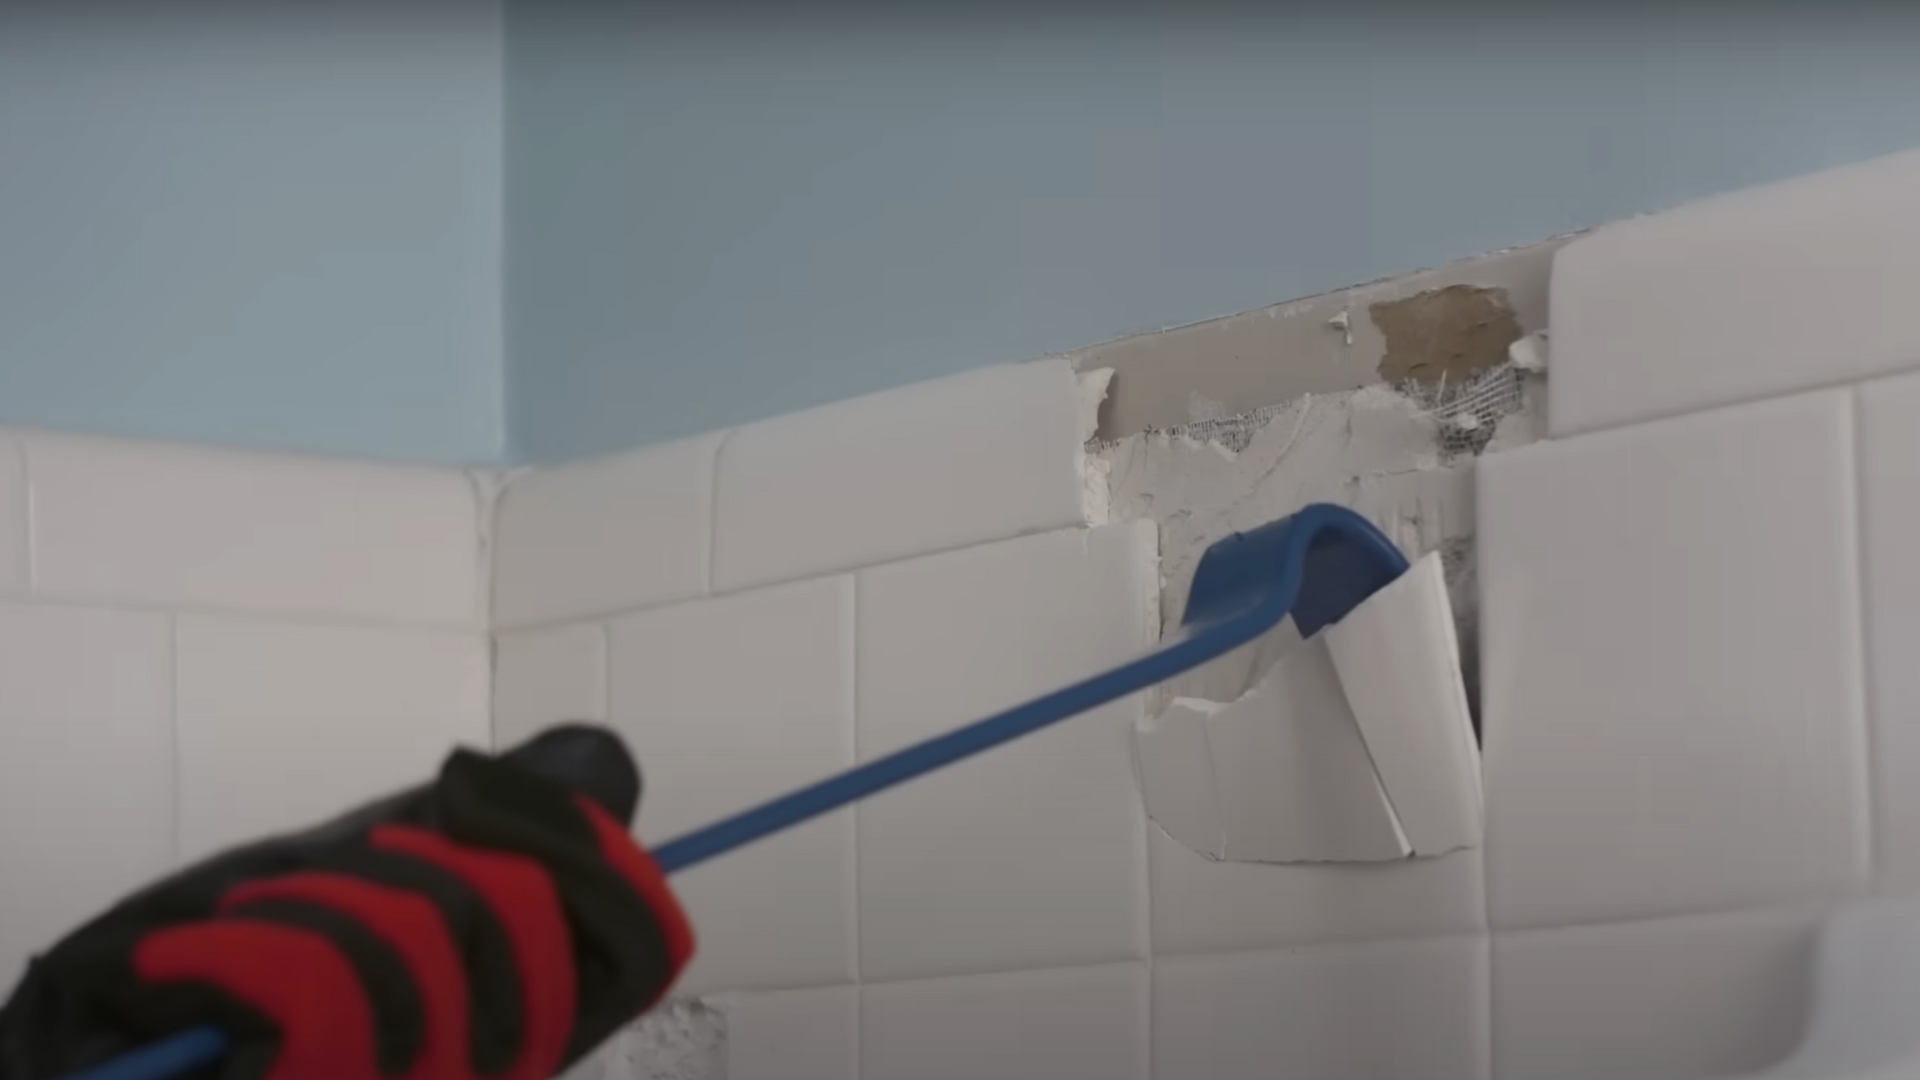
First, you’ll need to remove the old tile or fiberglass from your shower. Use a hammer and chisel to break up and remove the existing tiles.
If there are screws holding things together, you can use a reciprocating saw to cut through them. Once you’ve removed all the old items, ensure that you clean up any remaining debris.
Step 2: Inspect and Prepare the Wall
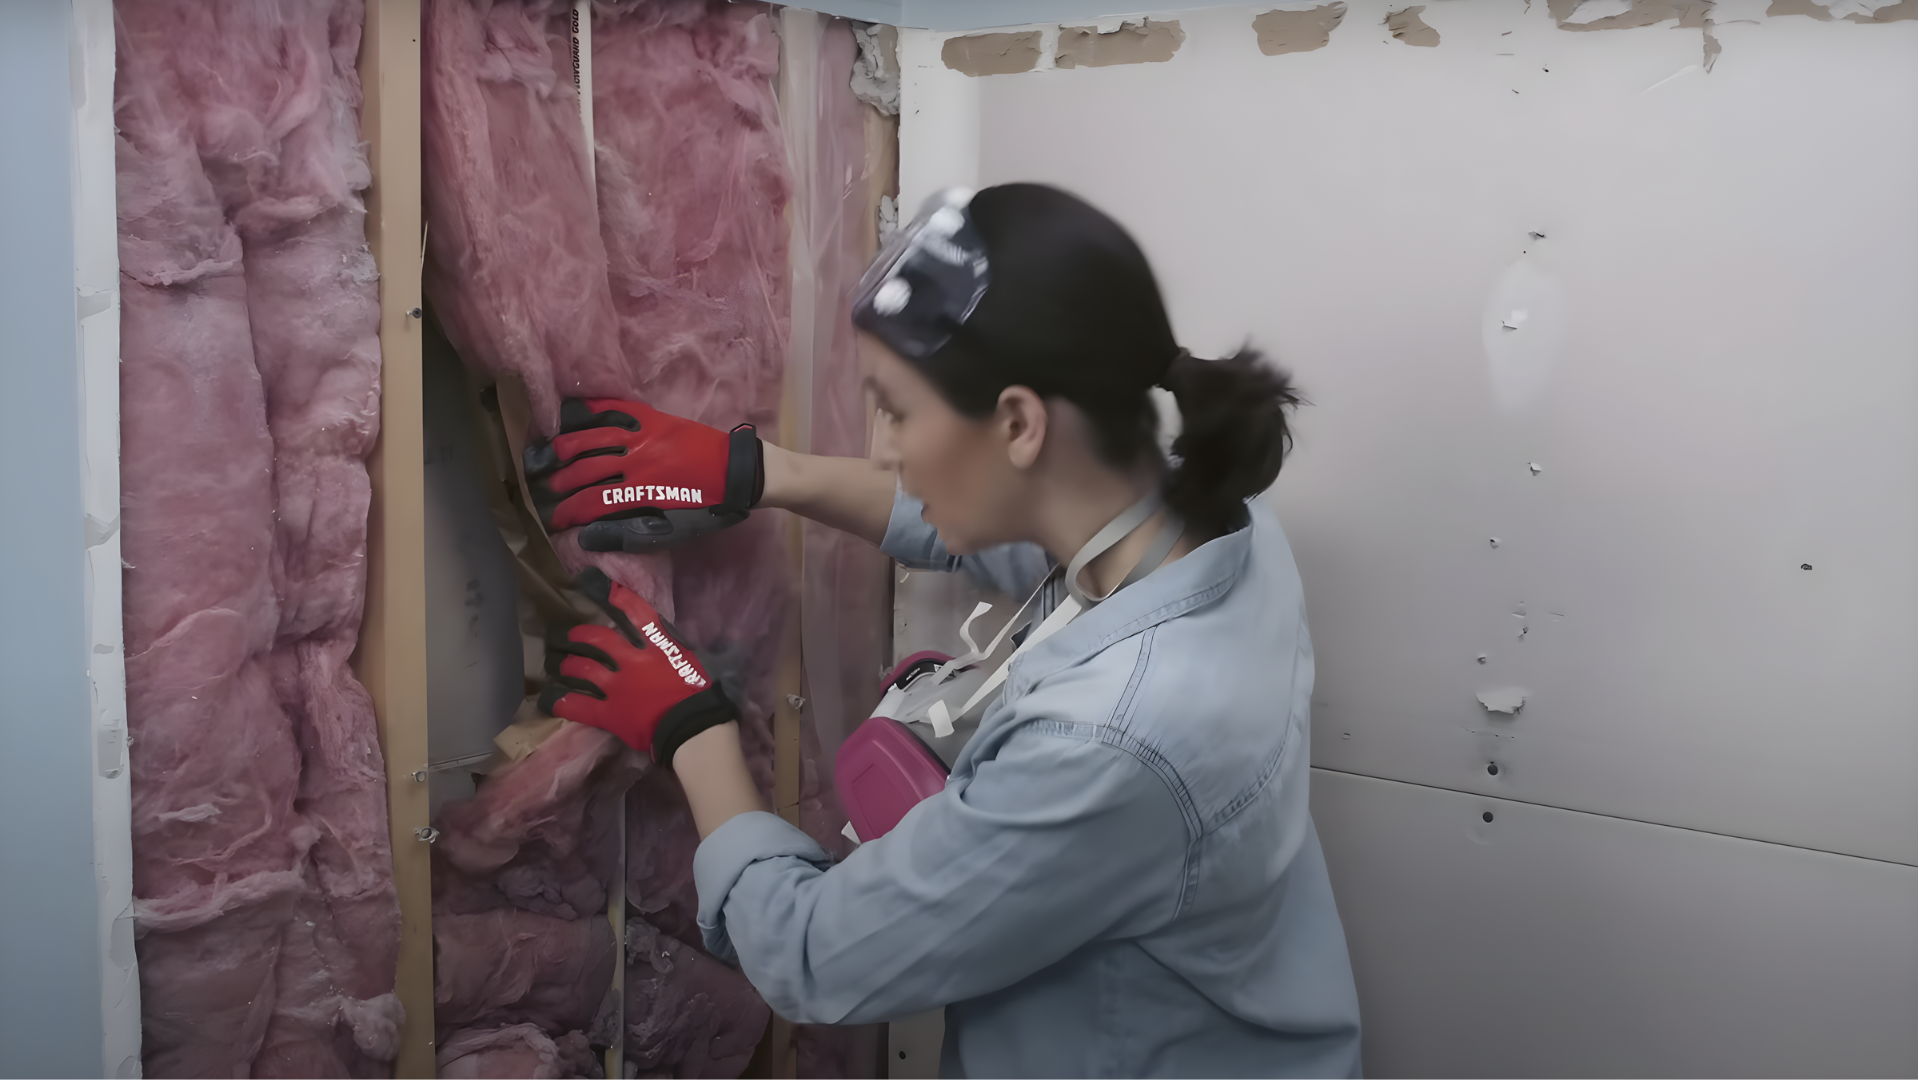
Once the old tiles are gone, take a good look at the wall. Is it damaged? If there’s mold or crumbling drywall, you’ll need to fix that.
It’s a good idea to replace the drywall with cement backer board, which is more resistant to moisture.
Step 3: Install Cement Backer Board
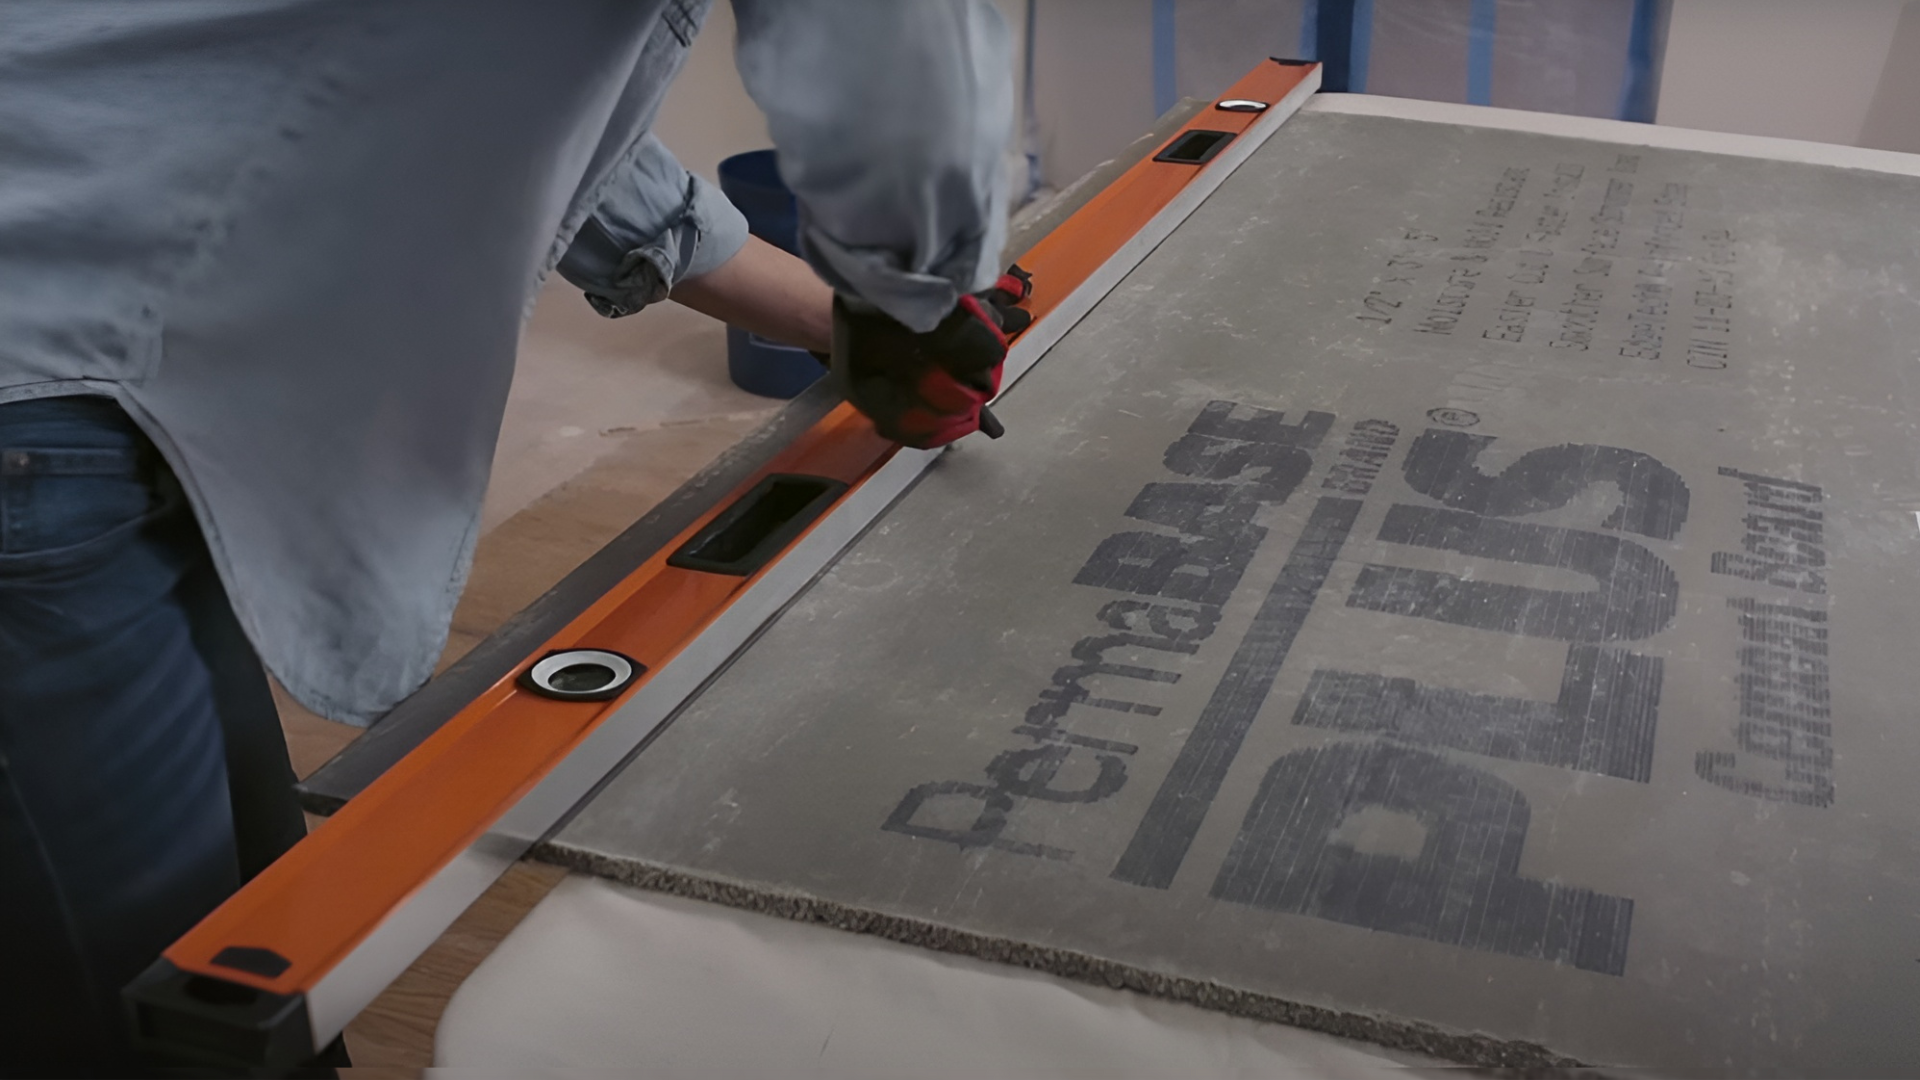
Now, it’s time to cut and install the cement backer board. This will give you a solid, water-resistant base for your tiles.
Cut the backer board to fit the shower area, then screw it into the studs with screws designed for backer board.
Ensure everything is level, and don’t forget to leave a small gap (approximately a quarter inch) at the bottom to allow the wall to move without cracking.
Step 4: Waterproofing
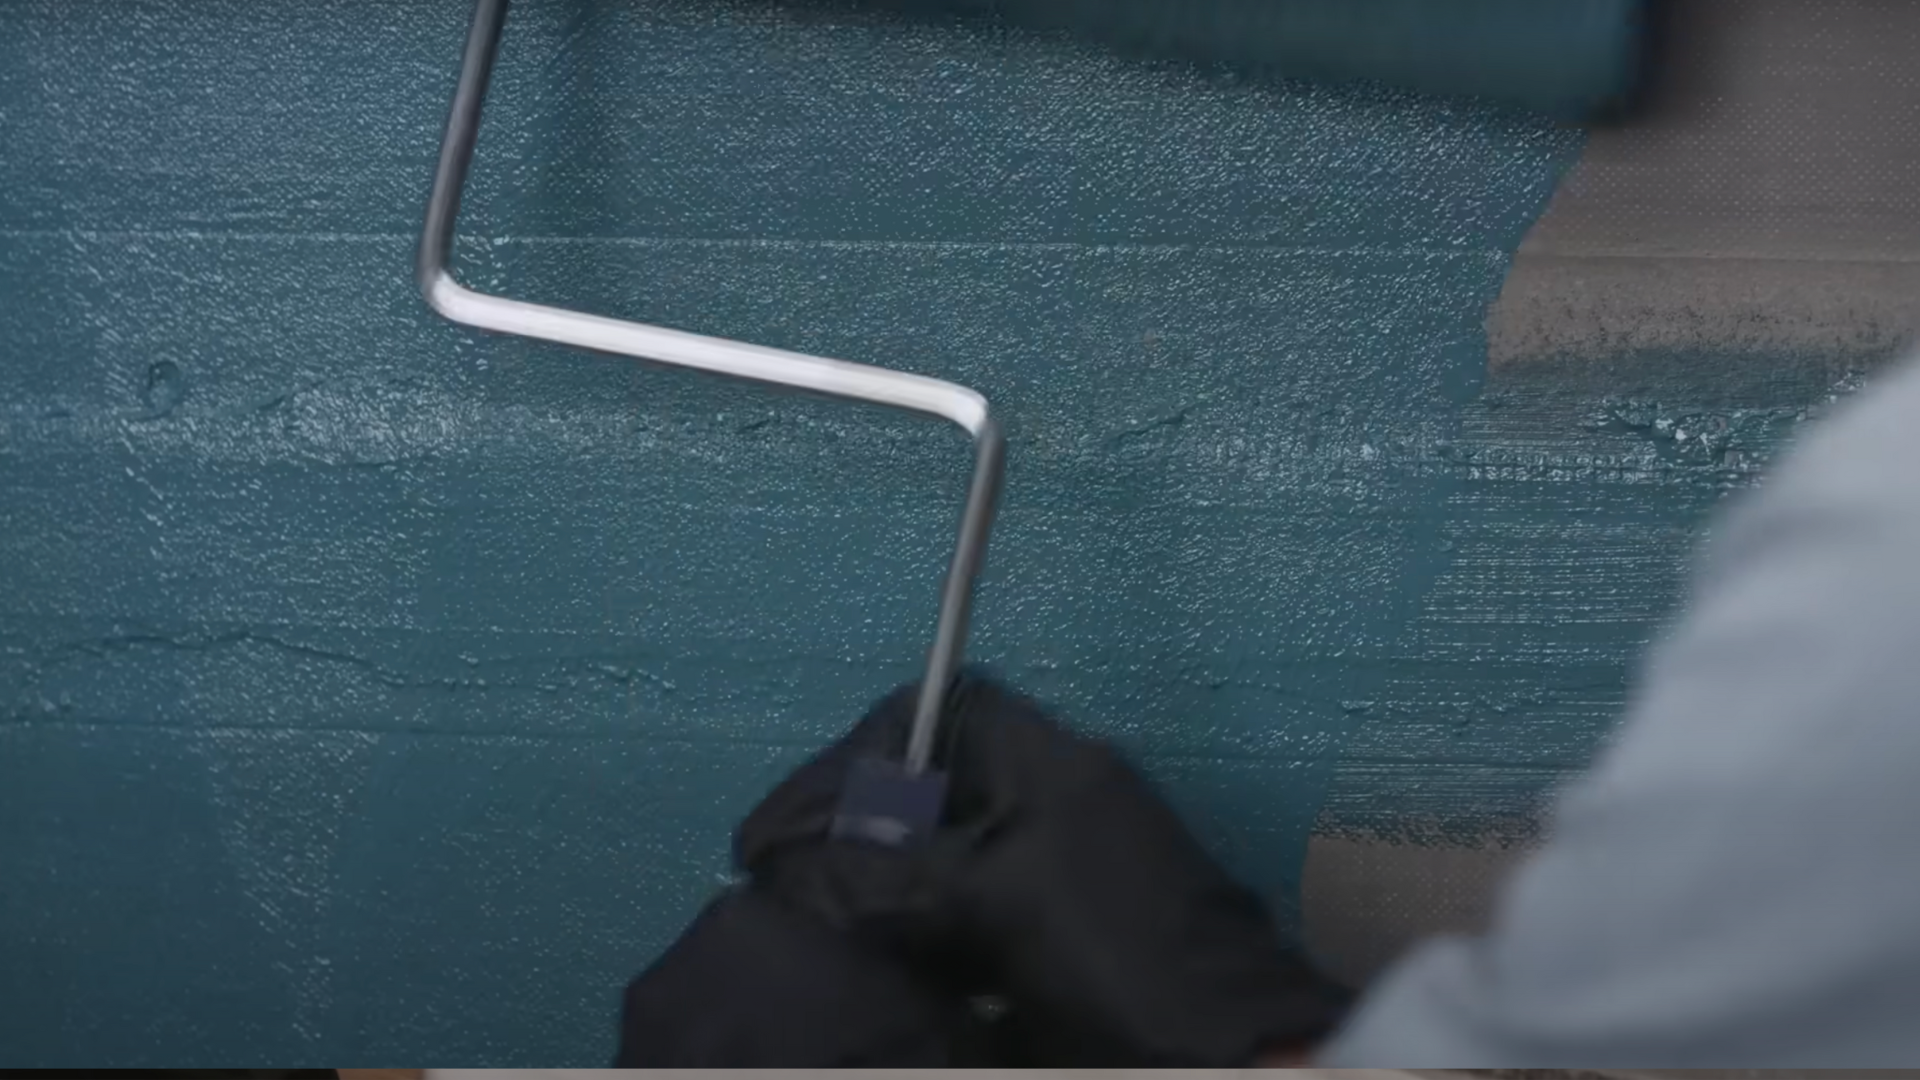
To prevent water from damaging your walls, you need a waterproof layer. You can apply a paint-on waterproof membrane or install a plastic vapor barrier behind the backer board.
Most people use the paint-on membrane. Simply roll on a thin layer, let it dry, and then apply a second coat for extra protection.
Step 5: Planning the Tile Layout
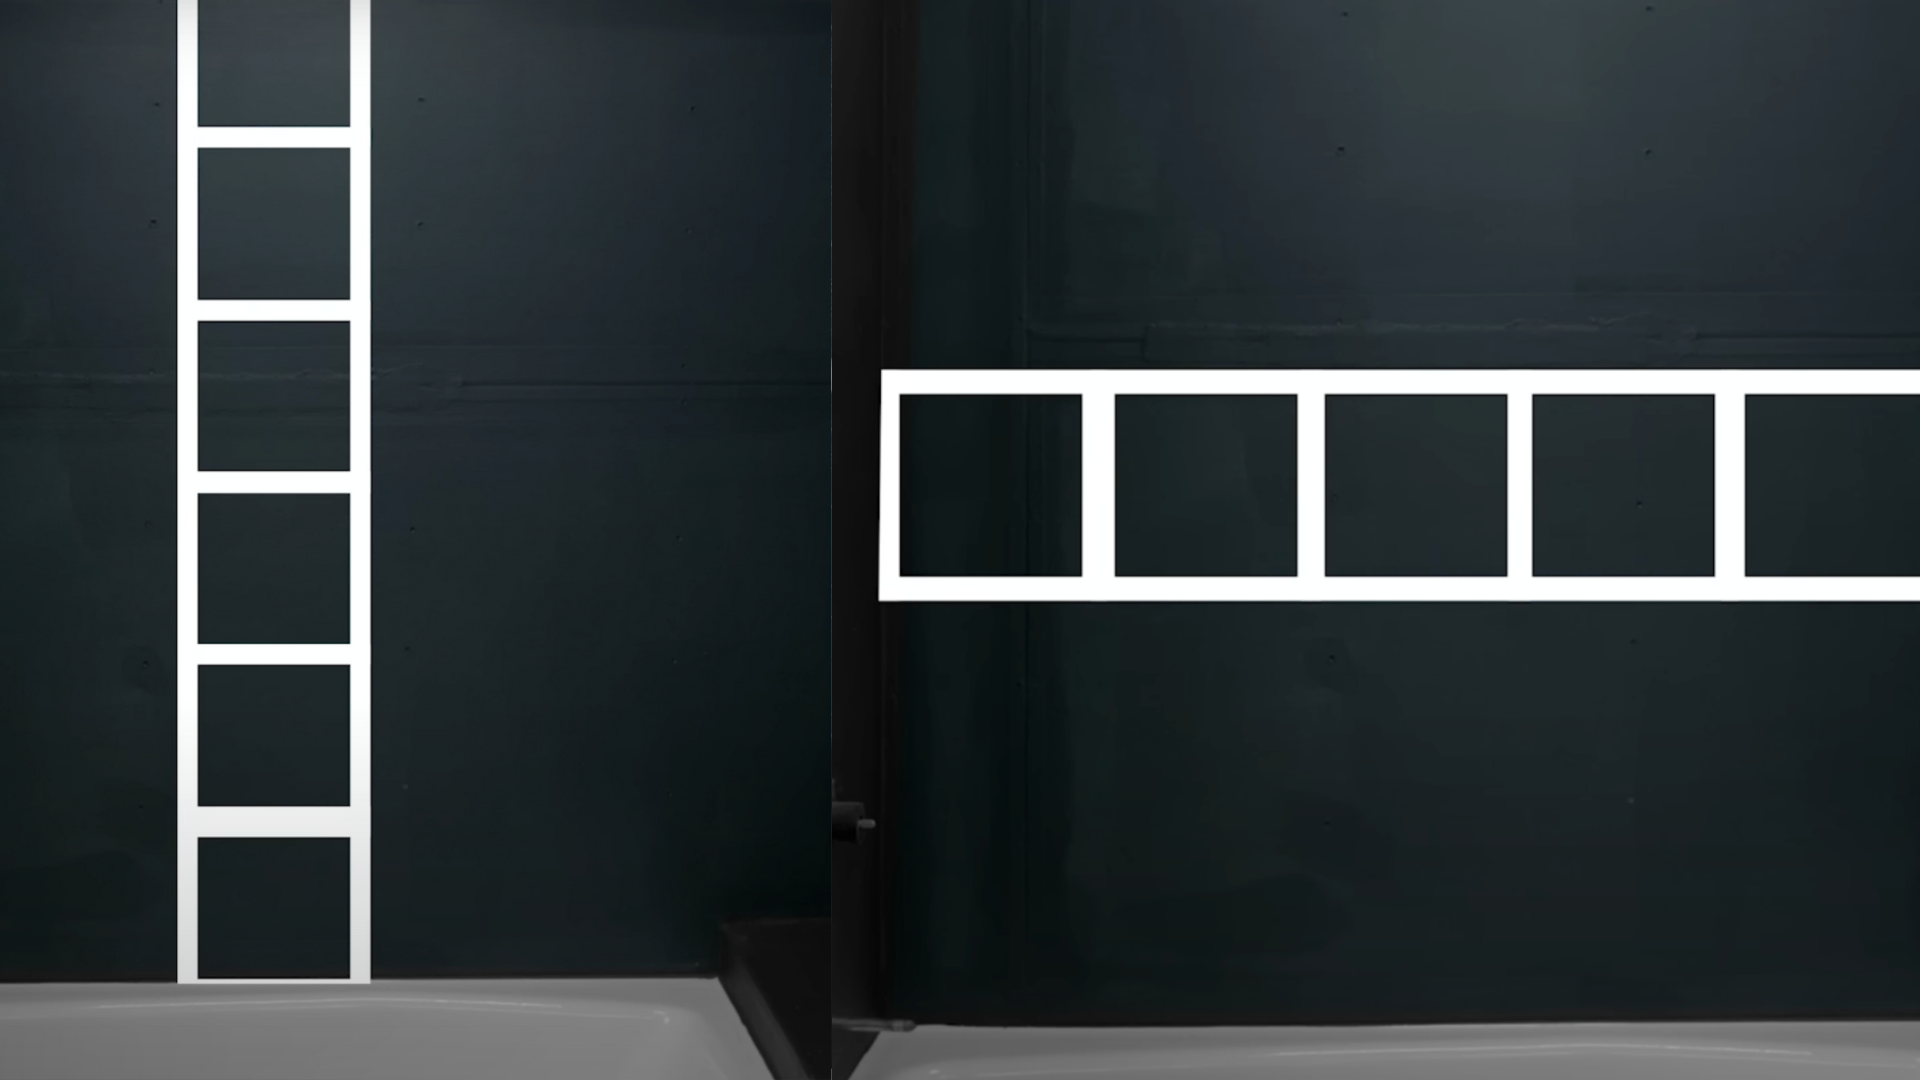
Before installing tiles, measure the space to determine the quantity of tiles needed. To maintain consistency in color, use tiles from the same batch, also known as a dye lot.
Plan where the tiles will go so that you have full tiles at the top and minimal cuts around the edges. Centering the tiles on the wall is a good way to create a uniform appearance.
Step 6: Installing the Tiles
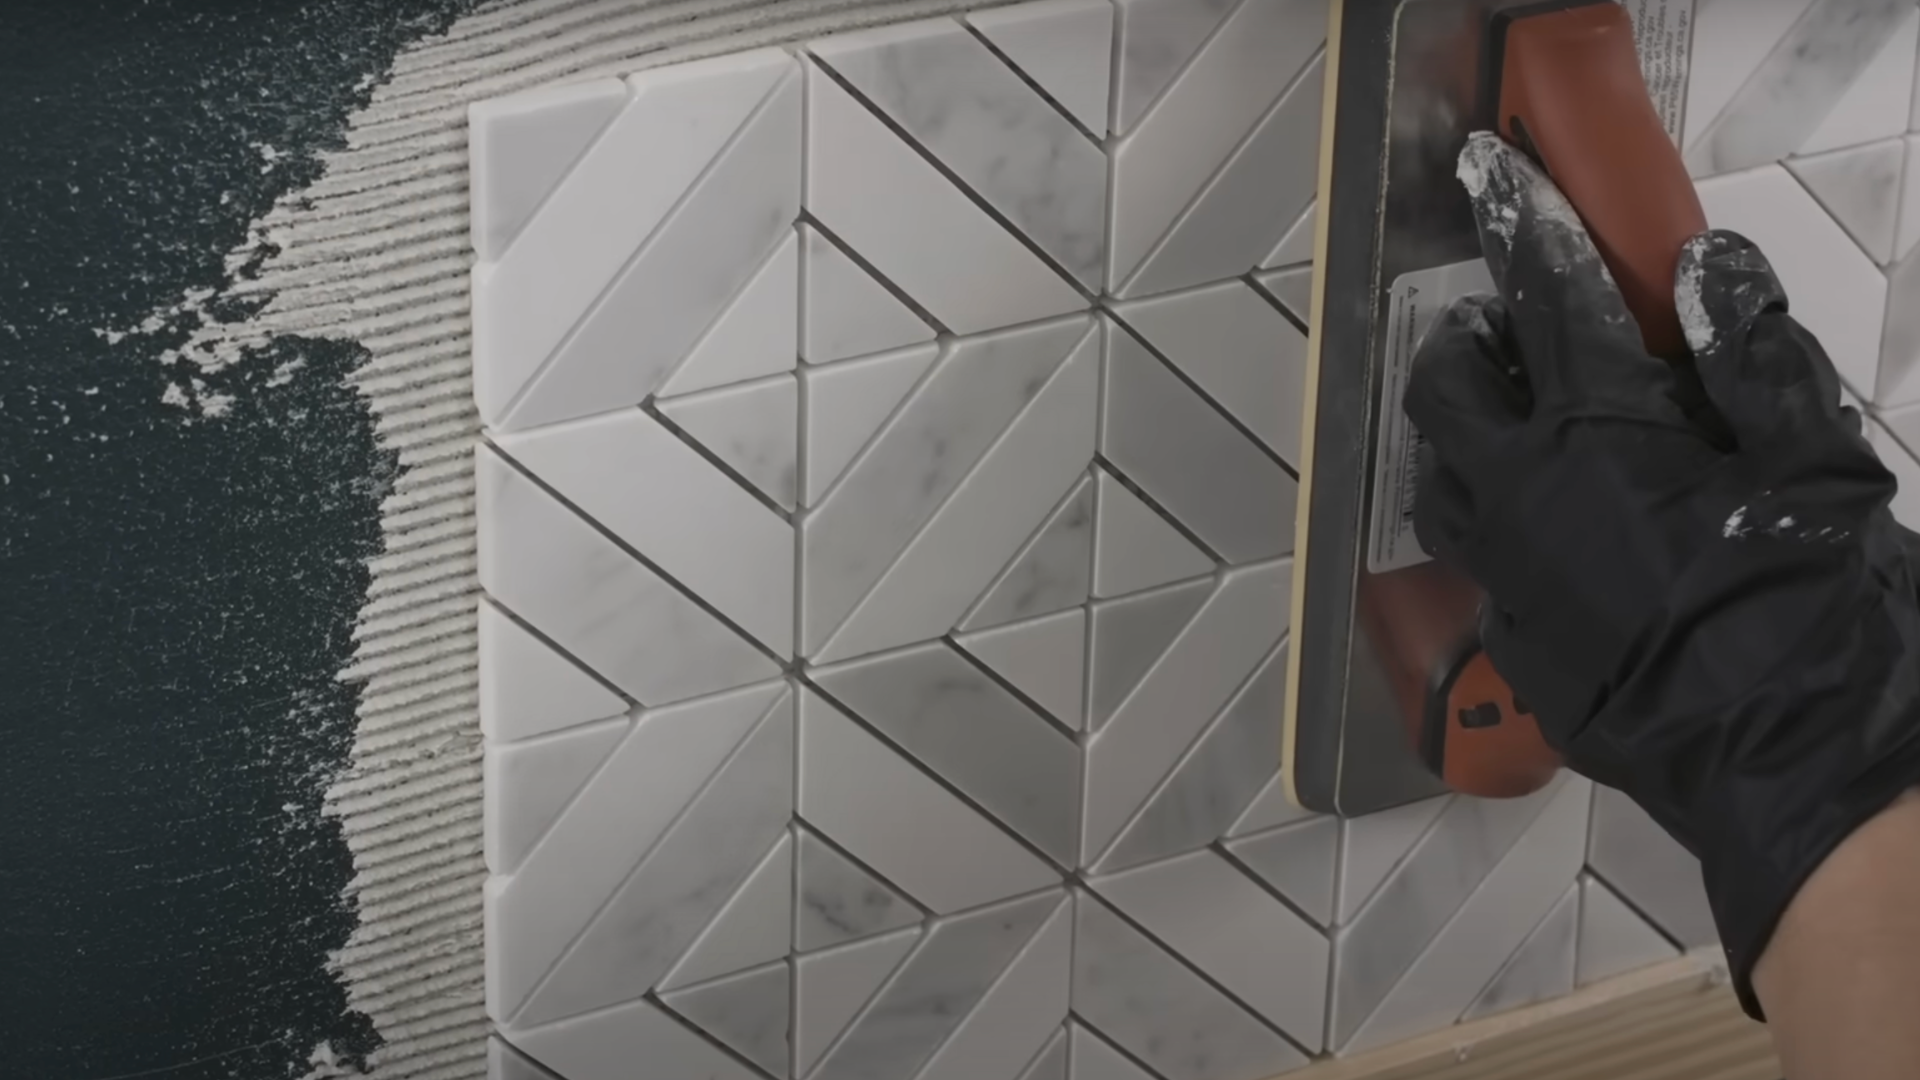
Mix your thin-set mortar until it’s the consistency of peanut butter. Using a notched trowel, spread the mortar on a small section of the wall.
Press each tile firmly into the mortar, using spacers to keep an even gap between tiles. Don’t try to do too much at once; work in small sections so the mortar doesn’t dry out before you’re done.
Step 7: Cutting Tiles
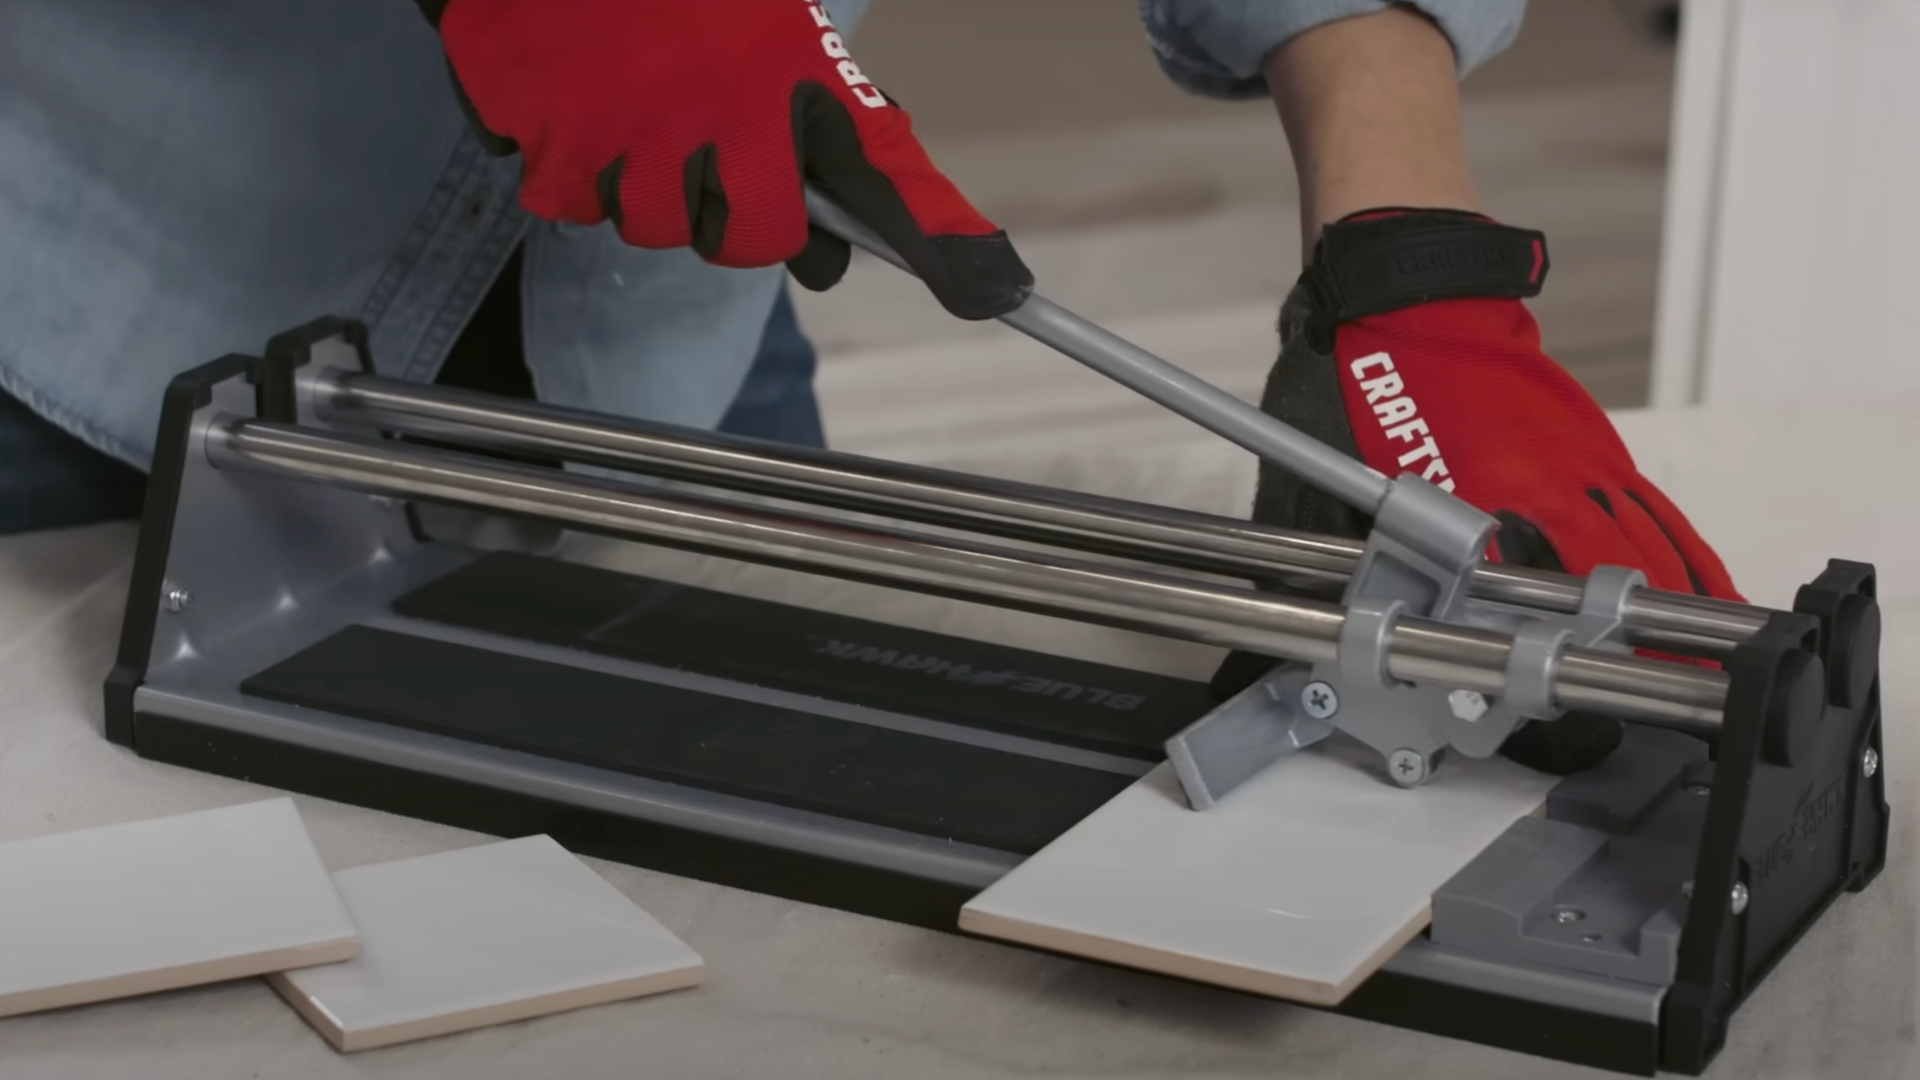
Some tiles will need to be cut to fit around edges or fixtures. For straight cuts, use a tile cutter. If you need curved cuts, use tile nippers or a hole saw.
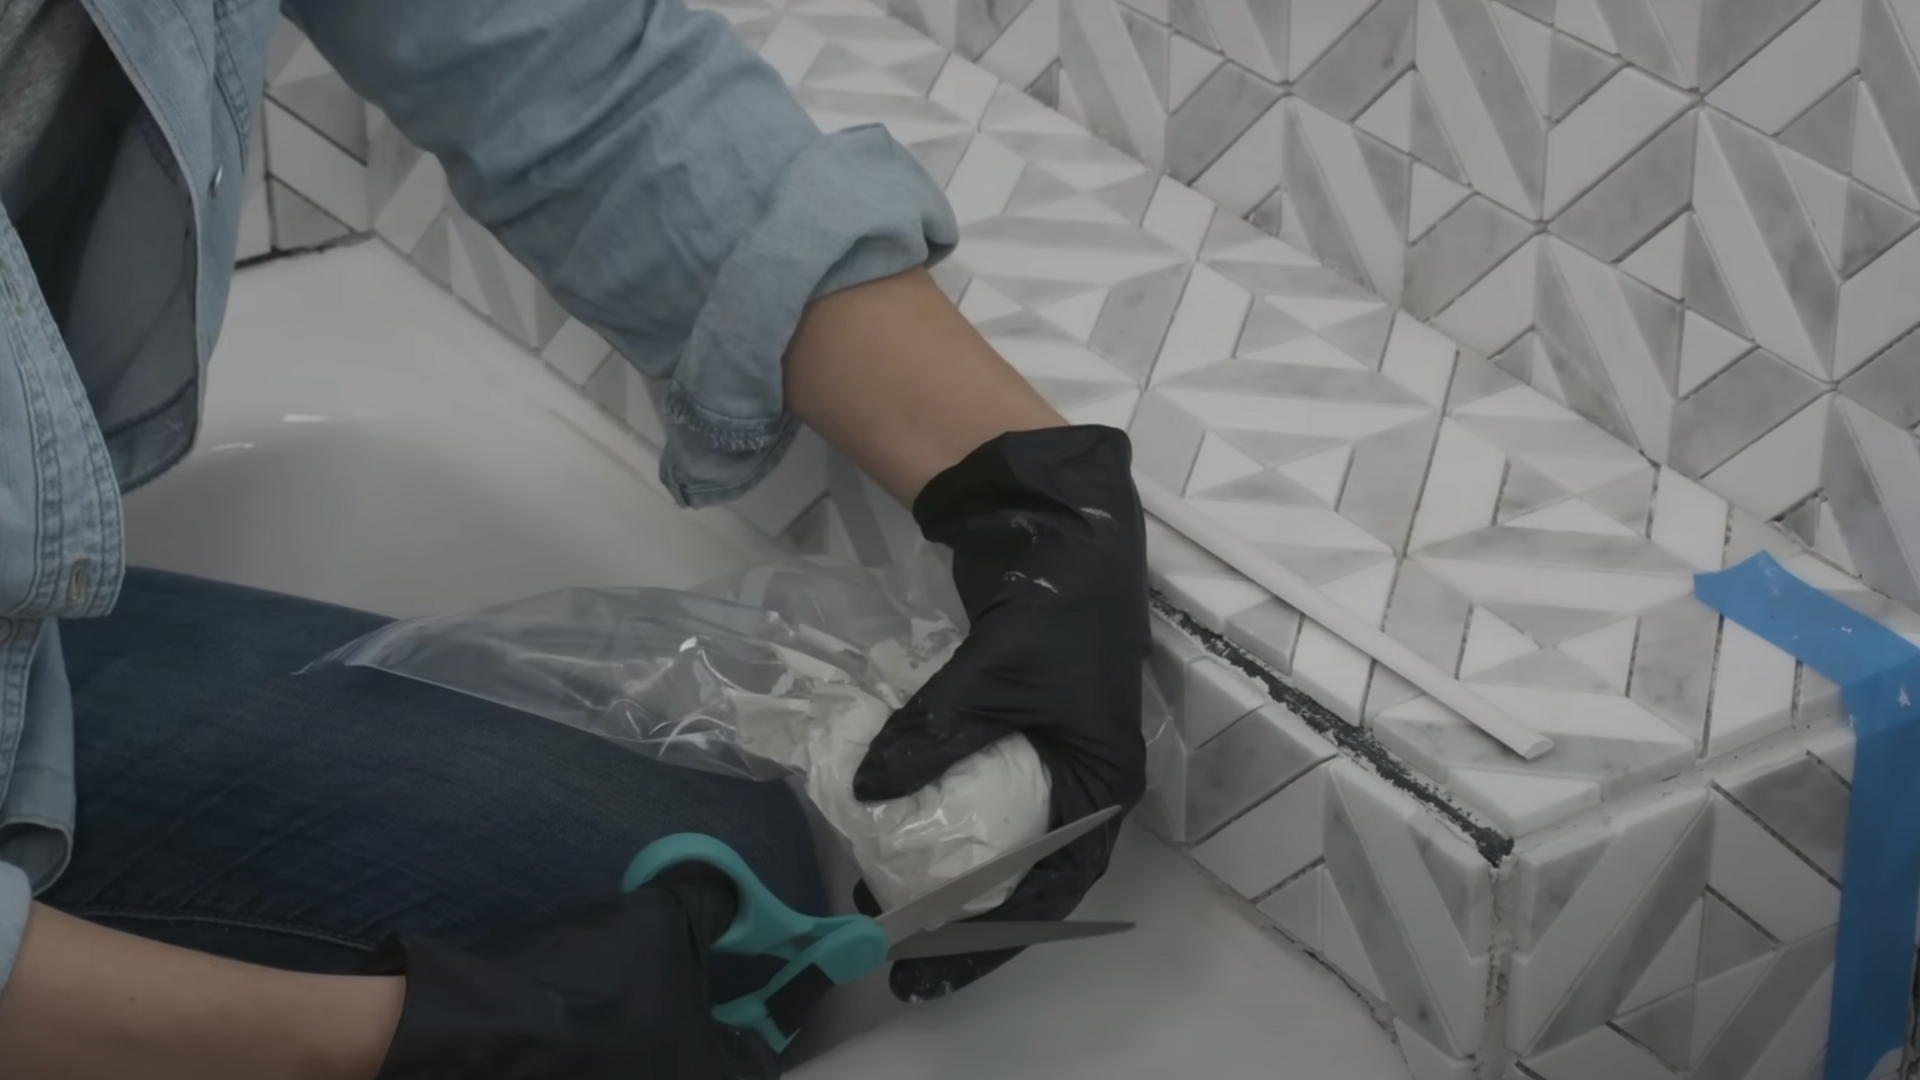
For edge tiles, put some mortar into a Ziplock bag, cut off the corner, and pipe it onto the edge of the tiles like frosting. This will help you get a clean application along the edges.
Step 8: Grouting
After the mortar has dried (usually 24 hours), you can remove the spacers and start grouting. Use a rubber grout float to spread the grout into the spaces between the tiles.
Work it in with a diagonal motion, making sure the grout fills every gap. Allow the grout to sit for approximately 10 minutes before cleaning up the excess with a damp sponge.
Step 9: Finishing Touches
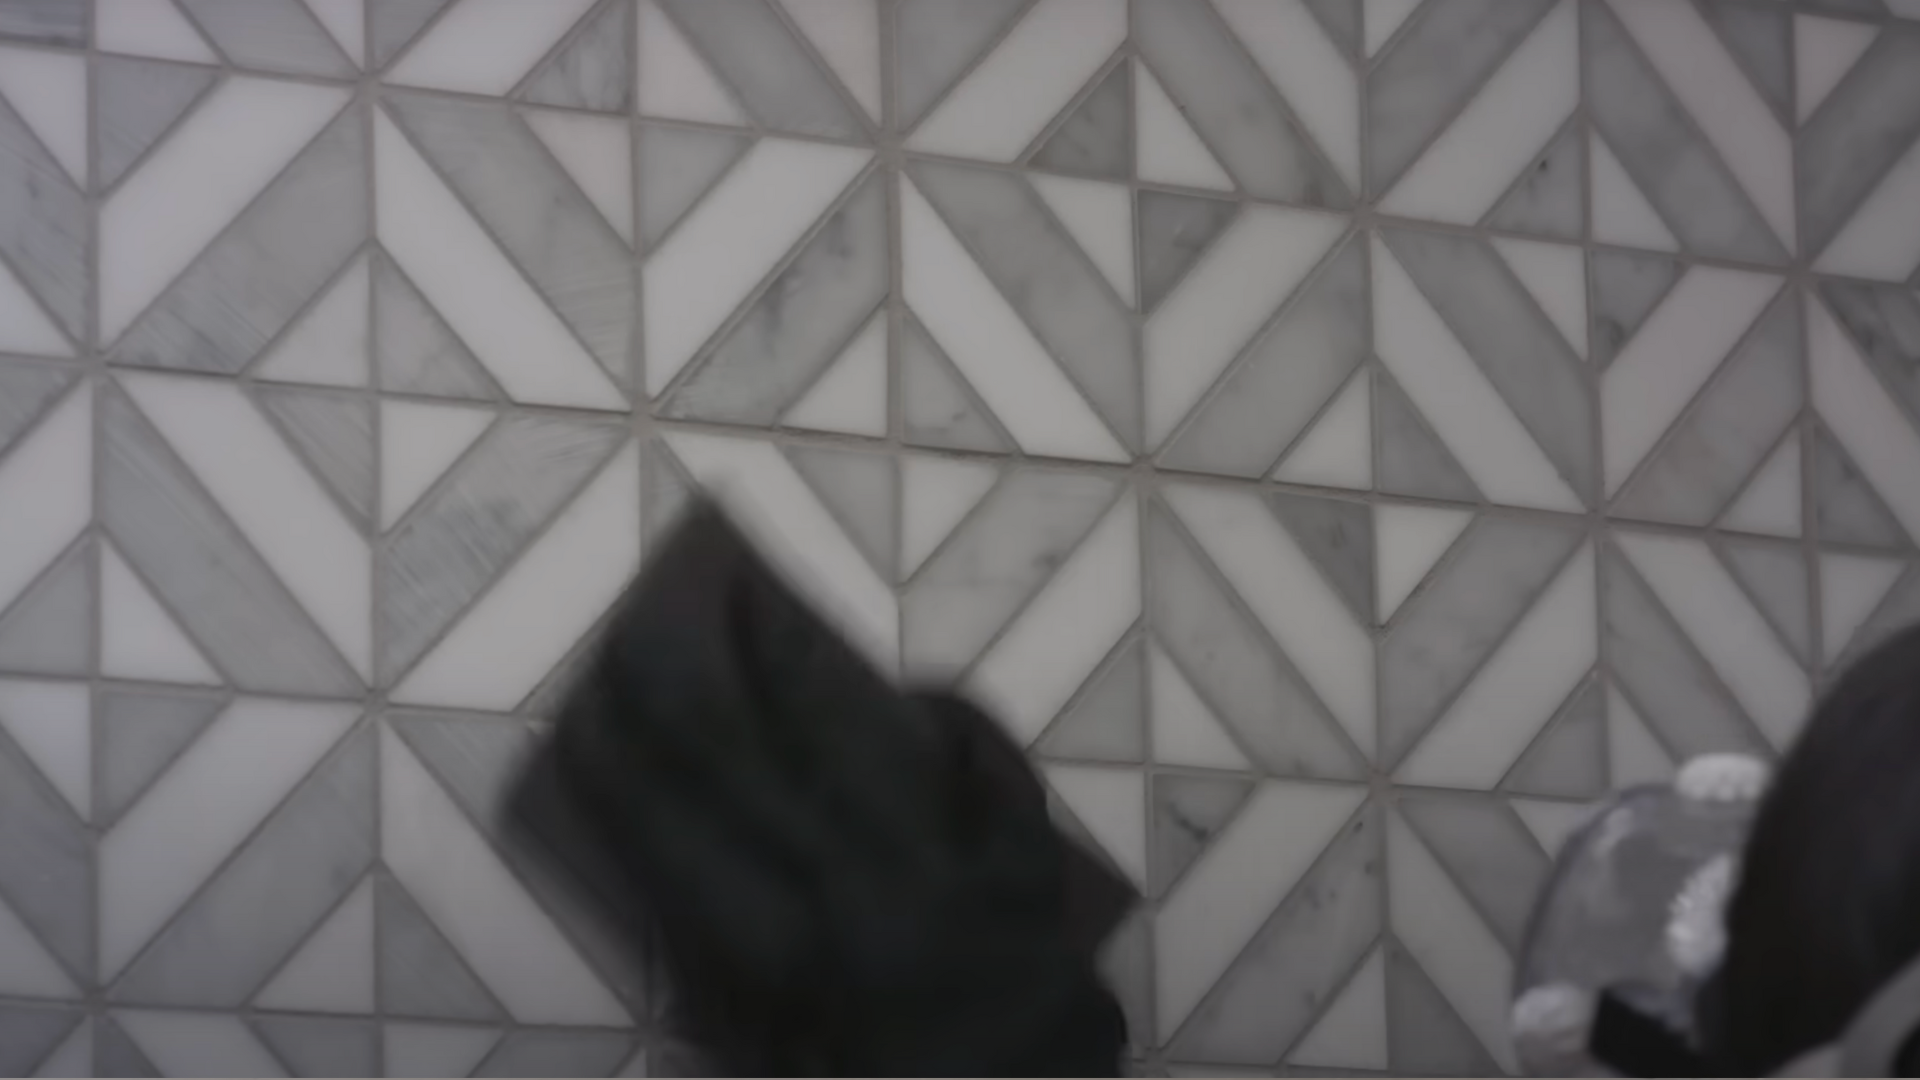
Once the grout has dried, you might notice a slight haze on the tiles. Use a grout haze remover to clean it off.
After a few days, apply a grout sealer to protect the grout from water and stains. Lastly, seal the corners and joints with silicone sealant to ensure everything remains watertight.
And there you have it! You’ve just installed your shower tiles like a pro. Enjoy your fresh, new shower!
For a More Detailed Tutorial on How to Install Bathroom Wall Tiles, Check out The Video Below:
Different Types of Bathroom Tiles
| Tile Type | Approx. Cost (per sq. ft.) | Description |
|---|---|---|
| Ceramic | $1 – $7 | Affordable, versatile, easy to maintain, suitable for walls and floors. |
| Porcelain | $3 – $10 | Dense, water-resistant, durable, ideal for floors and high-traffic areas. |
| Vitrified | $4 – $12 | More durable and water-resistant than porcelain, mainly for floors. |
| Natural Stone | $7 – $20+ | Includes marble, granite, slate; unique look, higher maintenance. |
| Glass | $7 – $30 | Brightens spaces, ideal for accents and backsplashes, delicate. |
| Subway | $2 – $7 | Classic rectangular, easy to maintain, versatile for traditional/modern. |
| 3D/Patterned | $5 – $15 | Raised surfaces or printed patterns add depth to walls or floors. |
| Textured | $4 – $12 | Tactile surfaces for slip resistance and safety, great for wet areas. |
| Hexagon/Geometric | $5 – $15 | Modern, geometric shapes like hexagons, for floors or feature walls. |
| Designer/Highlighter | $10 – $30 | Custom designs for accent areas, featuring a luxurious effect, are made from a variety of materials. |
Maintenance and Durability Tips
Regular maintenance is crucial to keep your shower looking its best and functioning properly. A few easy steps can help you avoid big problems like mold or water damage.
- Cleaning: After each shower, wipe down the tiles and grout with a towel or cloth. This helps keep soap scum and water spots from building up.
Cleaning regularly will keep your shower looking fresh and prevent damage to the tiles. - Grout: The sealer helps protect the grout from water, keeping it clean and preventing the growth of stains or mold.
This small step will keep your grout looking new. - Check for Damage: Inspect the tiles periodically for cracks or loose tiles. If you notice any damage, repair it immediately.
This will prevent water from seeping behind the wall and causing more significant problems. By taking care of your tiles and grout, you’ll make sure they last longer and stay clean.
Conclusion
Tiling your bathroom walls doesn’t have to be a tough task. With the right approach and a bit of patience, you can easily take on this DIY project and achieve great results.
By following the steps outlined in this guide, you’ll learn how to prep, tile, and finish your bathroom with confidence.
If you’re refreshing a small space or giving your entire bathroom a makeover, you’ll find that tiling is a satisfying and cost-effective way to upgrade your wall.
So, gather your tools and materials, take it one step at a time, and enjoy the process of changing your bathroom into a beautiful, functional area that you’ll love. Happy tiling!

