DIY Board and Batten Entryway
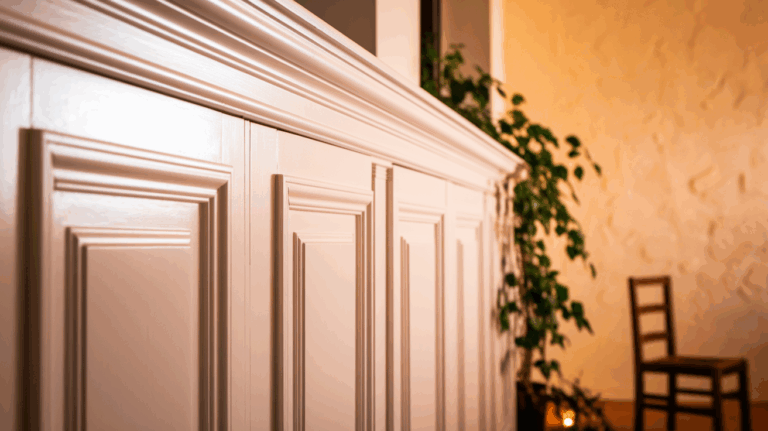
Tired of your entryway feeling plain and forgettable? A board and batten entryway could be the perfect fix. This easy wall treatment can turn a dull space into something full of charm and style without a lot of hard work.
The best part is that you don’t need to be a pro to pull it off. Board and batten is a classic look that’s simple, stylish, and totally doable.
If you want to add character, make a big impact, or just freshen up an old wall, this step-by-step guide will show you how.
Get ready to create an entryway that’s warm, welcoming, and sure to impress anyone who walks through your door.
What is Board and Batten
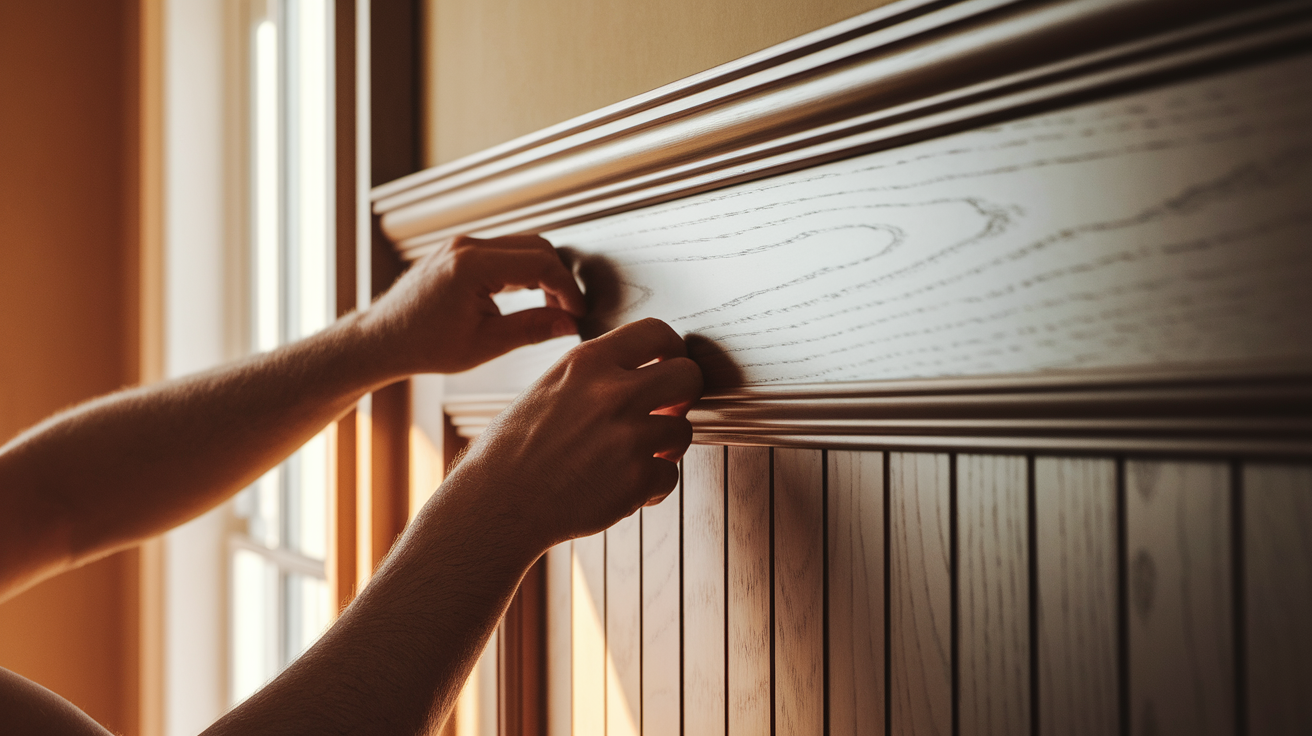
Board and batten is a classic exterior and interior siding technique that adds texture, depth, and visual interest to walls.
This style consists of wide wooden boards installed vertically, with narrower strips covering the seams between those boards.
It’s a simple yet striking design that can transform a plain wall into a charming, dimensional surface.
From accent walls in living rooms to full exterior home cladding, this timeless technique can instantly uplift the style and character of any space.
Supplies Required for Board and Batten Entryway
| Materials | Tools |
|---|---|
| Pre-primed boards (for vertical battens) | Stud finder |
| 1×4 board (for top shelf) | Level |
| 1×3 board (for shelf edge) | Nail gun and nails |
| Gorilla Glue (optional) | Spackling tools |
| Spackle | Sandpaper |
| Caulk | Paint rollers |
| Paint | Paint brushes for edges |
| Clear top coat | Painter’s tape |
| Hooks |
Step-by-Step Installation Board and Batten Entryway
Here’s a step-by-step overview on how to install a Board and Batten Entryway in easy steps:
Step 1: Preparation

Start by ensuring the wall is clean and free of debris. Decide on the height of your board and batten wall.
Use a stud finder to locate and mark the wall studs, as these will be crucial for securing your baseboard and vertical battens.
Step 2: Install the Bottom Base
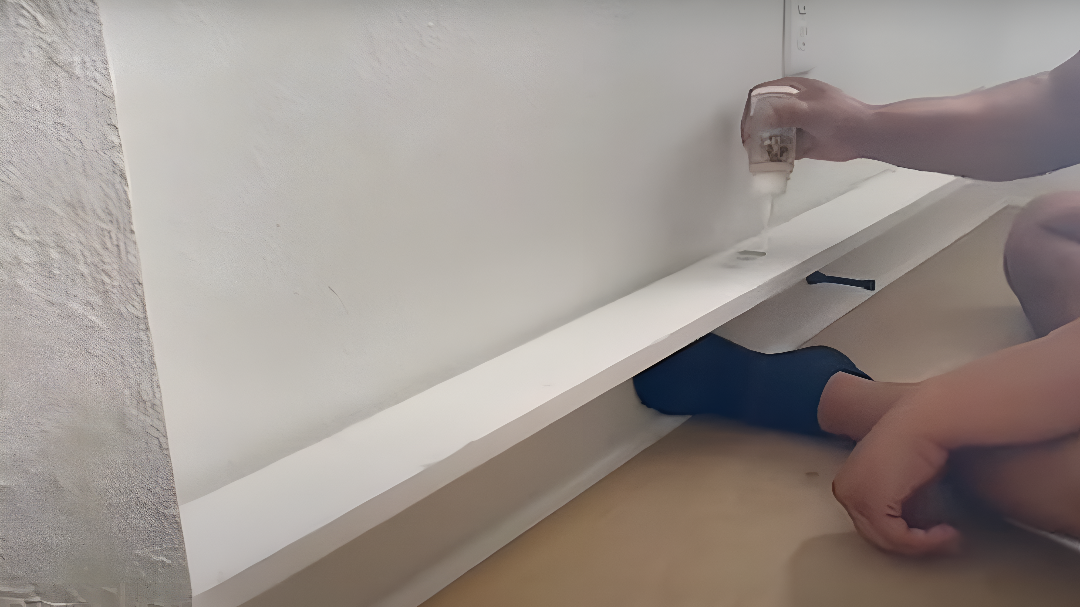
Measure and cut the bottom baseboard to match the width of your wall. If extra support is desired, apply Gorilla Glue to the back of the item.
Use a level to ensure the board is straight, then secure it to the wall with a nail gun, making sure to hit the studs for strong attachment.
Step 3: Prepare the Vertical Boards
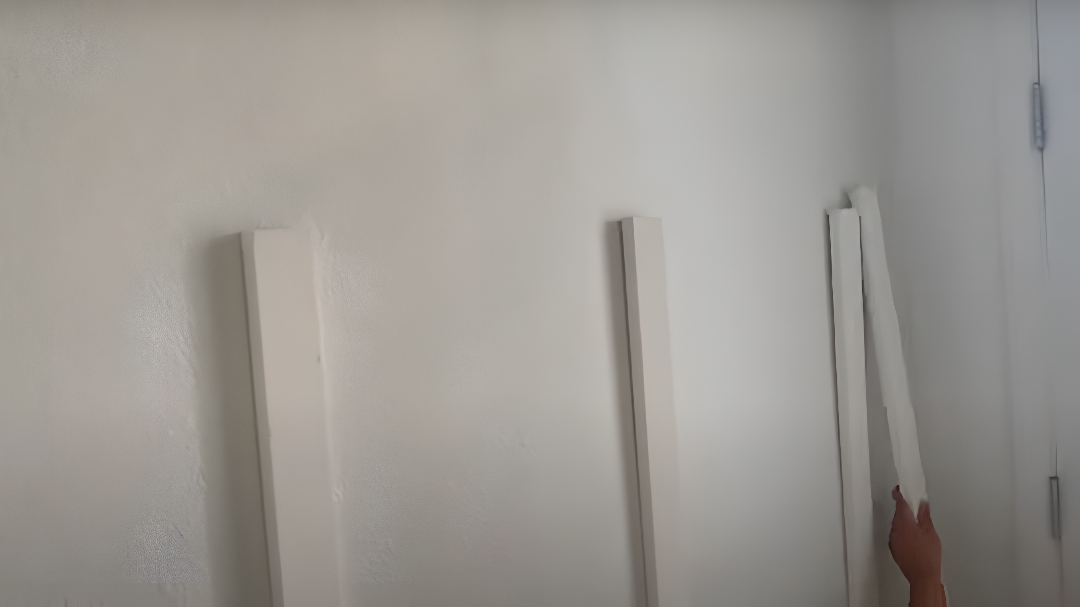
Cut all vertical battens to your desired height. Lay out the boards against the wall to determine the spacing between them and the number of boards needed.
Adjust the spacing until you find a layout you like.
Step 4: Install Vertical Boards

Apply Gorilla Glue to the back of each vertical board (optional). Position the boards on the wall, using a level to ensure they are perfectly straight.
Secure them to the wall with a nail gun. Repeat the process for all vertical boards, ensuring they align properly.
Step 5: Fill and Smooth

Use spackle to fill all the nail holes, ensuring a smooth finish. Allow the spackle to dry completely, then sand the boards down to a smooth surface.
Apply painter’s tape along the edges to protect areas you don’t want to paint.
Step 6: Caulk the Seams

Apply caulk along all seams and edges where the boards meet the wall or where the boards join together.
Smooth the caulk with your finger for a clean, smooth finish. This step helps eliminate any gaps, creating a polished look.
Step 7: Paint
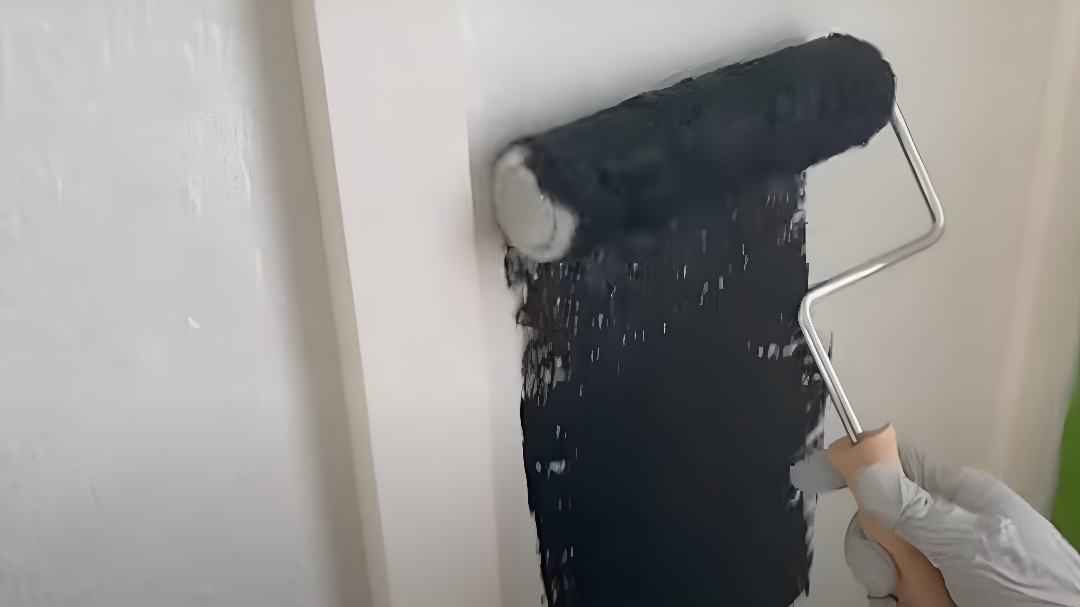
Choose your desired paint color. Use a large roller for the wall areas and a smaller roller for the boards. A paintbrush will be helpful for getting into corners and edges.
Remove the painter’s tape before the paint fully dries, then let the paint dry completely.
Step 8: Add the Top Shelf
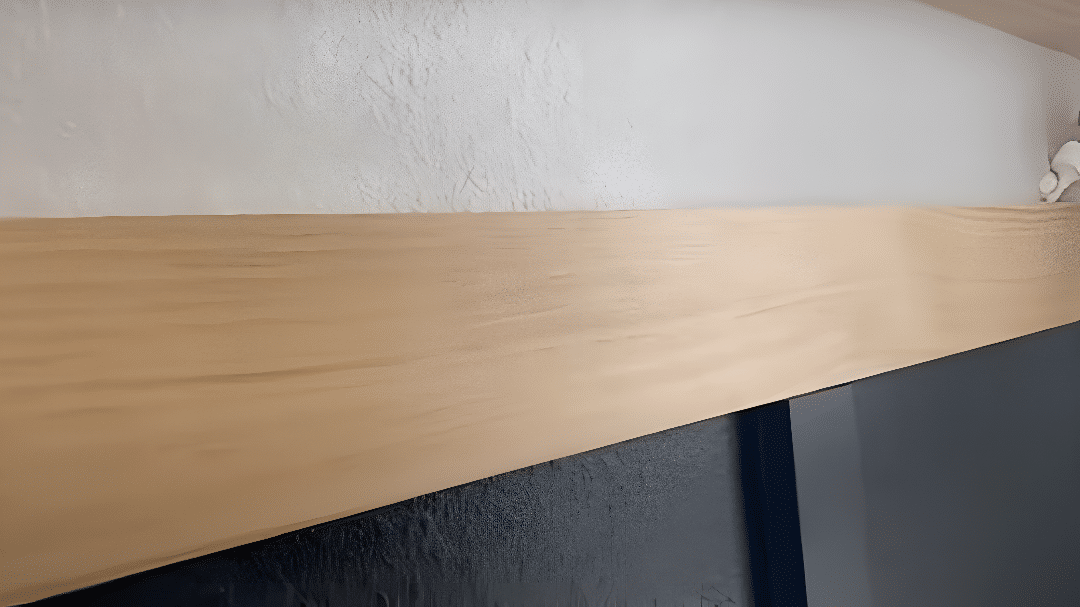
Cut a 1×4 board to the width of your wall and sand it until smooth. Apply a clear top coat (instead of polyurethane) for a natural finish and allow it to dry.
Optionally, apply Gorilla Glue to the back, then position it above the battens. Secure it to the wall using a nail gun.
Step 9: Add Shelf Edge

Cut a 1×3 board to match the width of the shelf and apply a clear top coat.
Once dry, place this board on top of the 1×4 to create a ledge. Secure it into place with a nail gun, ensuring it attaches securely to the 1×4 below.
Step 10: Add Hooks
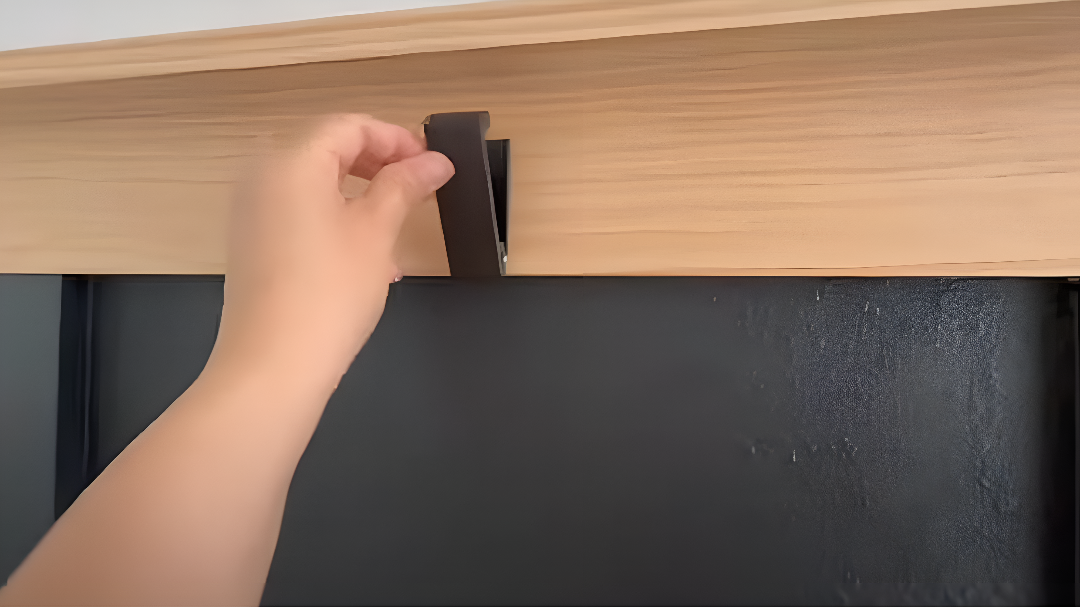
Install collapsible hooks along the board and batten wall, spacing them evenly for a clean look.
These hooks can be opened when needed for storage and closed when not in use, providing a sleek and functional design.
Check Out the Detailed Tutorial Video on How to Install a Board and Batten Entryway
Common Mistakes to Avoid While Installing
- Always double-check wall dimensions and board lengths; even small errors can throw off spacing and alignment.
- Remember: a 1×3 board is not actually 3 inches wide. Measure the true width of your boards for correct spacing.
- Failing to clean or scrape the wall beforehand can lead to uneven boards and poor adhesion.
- Even if walls or floors seem straight, always use a level to ensure your boards are perfectly aligned.
- If you have heavy wall texture and skip a backer board, it may show through or affect board adhesion.
- Eyeballing spacing can lead to uneven gaps. A DIY spacer ensures consistency across the whole wall.
- If boards aren’t pre-primed, skipping primer can lead to uneven paint coverage or visible seams.
- Take your time with caulking and filling holes. Smooth seams and clean lines make a professional finish.
Style Your Board and Batten Entryway

Once your board and batten wall is installed, it’s time for the fun part: styling your entryway.
- Add Functional Hooks and Storage: Install sturdy hooks along the horizontal board to hang coats, hats, and bags. Consider adding a small bench or cubbies underneath for shoes and baskets.
- Choose the Right Paint Color: Bold colors like forest green or navy can make a strong statement, while soft neutrals create a welcoming feel. Match the wall color with nearby rooms for a cohesive flow.
- Layer in Wall Decor: Hang a mirror above or around your board and batten to make the space feel brighter and larger. Add artwork or seasonal wreaths for personality and easy updates.
- Incorporate Natural Textures: Pair your board and batten with natural materials like woven baskets, wooden benches, or greenery to add warmth.
- Add a Statement Light Fixture: A pendant or chandelier creates an inviting atmosphere as guests enter your home, drawing the eye upward. Lighting adds both practical illumination and an opportunity to enhance your design.
Conclusion
Creating the perfect board and batten entryway isn’t about spending a fortune or following rigid design rules. It’s about making your space work for you.
Doesn’t matter if you’re a DIY enthusiast or planning to hire a pro; remember that your entryway is more than just a transition space.
It’s the first chapter of your home’s story, a welcome mat that says something about who you are.
Start small and be creative. Your desired entryway is just a few boards, battens, and personal touches away.
Frequently Asked Questions
How Do I Fill the Gaps Between Battens and Walls?
Use paintable caulk to fill gaps where battens meet the wall or other wood pieces. Fill nail holes with wood putty, sand smooth, and then apply paint.
What Colors Work Best For Board and Batten Walls?
Neutral tones like white, gray, beige, or navy are popular choices as they create a clean and timeless look.
Can I Remove the Board and Batten Later Without Damaging the Wall?
Yes, but removing it may leave nail holes or adhesive residue that will require patching and repainting.

