DIY Breakfast Nook Plans for a Cozy Kitchen
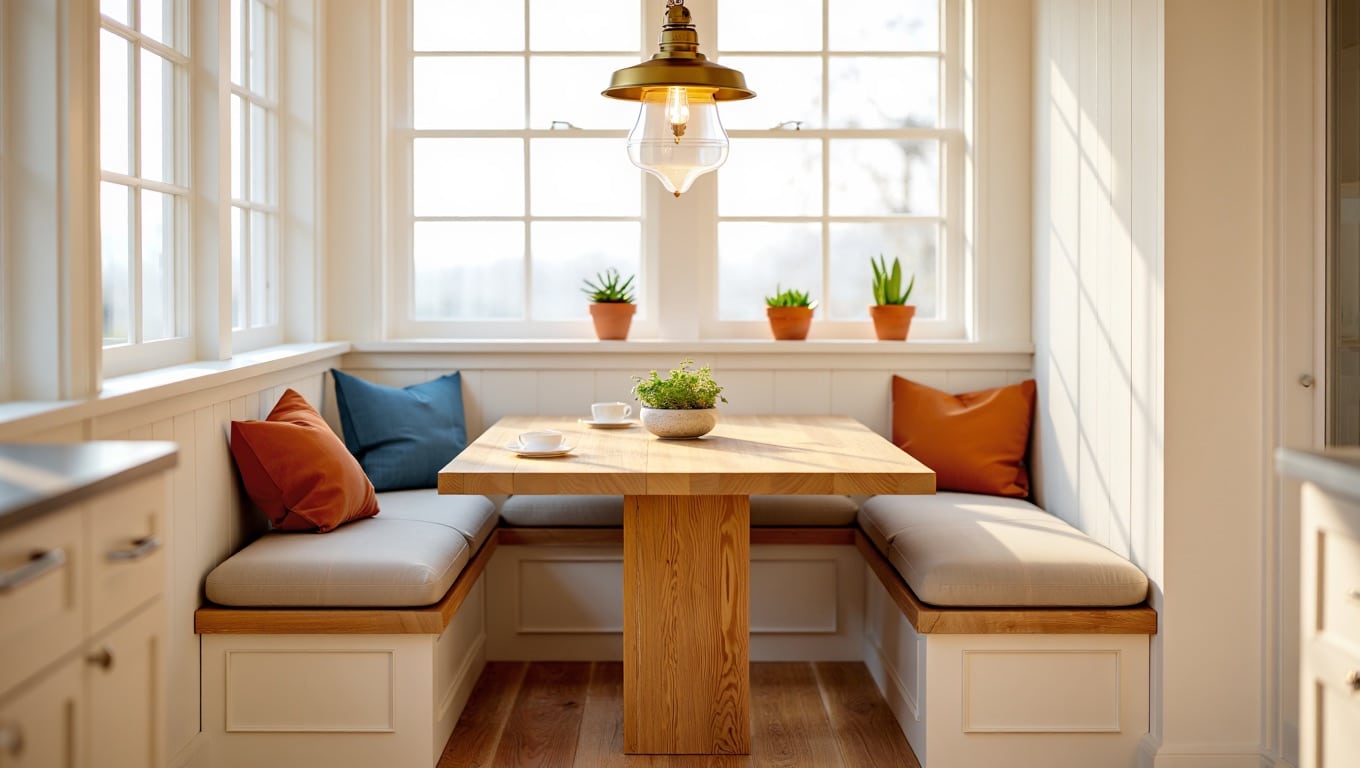
A cozy breakfast nook can turn any empty corner into the most loved spot in your kitchen where family gathers for meals and memories.
Designing your own nook is easier than you think, and with the right breakfast nook plans, you can create a space that feels both warm and useful.
You can save money, match it to your style, and even add storage for extra function.
Here, we’ll share step-by-step DIY breakfast nook plans and simple design ideas to inspire you.
Why Build a DIY Breakfast Nook?
A DIY breakfast nook is more than just a money-saving project; it is a way to create a corner that truly fits your family.
Store-bought sets may look nice, but they rarely match your space perfectly, while custom plans let you decide the size, shape, and features.
You can add hidden storage, choose materials and colors that match your kitchen, and design seating that feels comfortable every day.
Building it yourself also brings respect, turning unused space into a cozy place for meals, homework, and conversations.
Tools and Materials Required
Before building a nook, ensure you have the necessary tools & materials ready.
| Tools | Materials |
|---|---|
| Measuring tape and level | 2×4 lumber |
| Pencil and speed square | 3/4″ plywood and 1/2″ plywood |
| Circular saw or miter saw | Wood screws (2″, 2.5″, 3″) |
| Drill with various bits | Finishing nails |
| Sander or sandpaper (med/fine) | Wood glue |
| Screwdriver set | Corner brackets |
| Hammer | Hinges |
| Staple gun | Paint or stain and clear coat |
Steps For Creating a DIY Breakfast Nook
Follow these detailed steps to plan and create your cozy breakfast nook, designed to balance functionality, comfort, and style.
Step 1: Planning Your Breakfast Nook
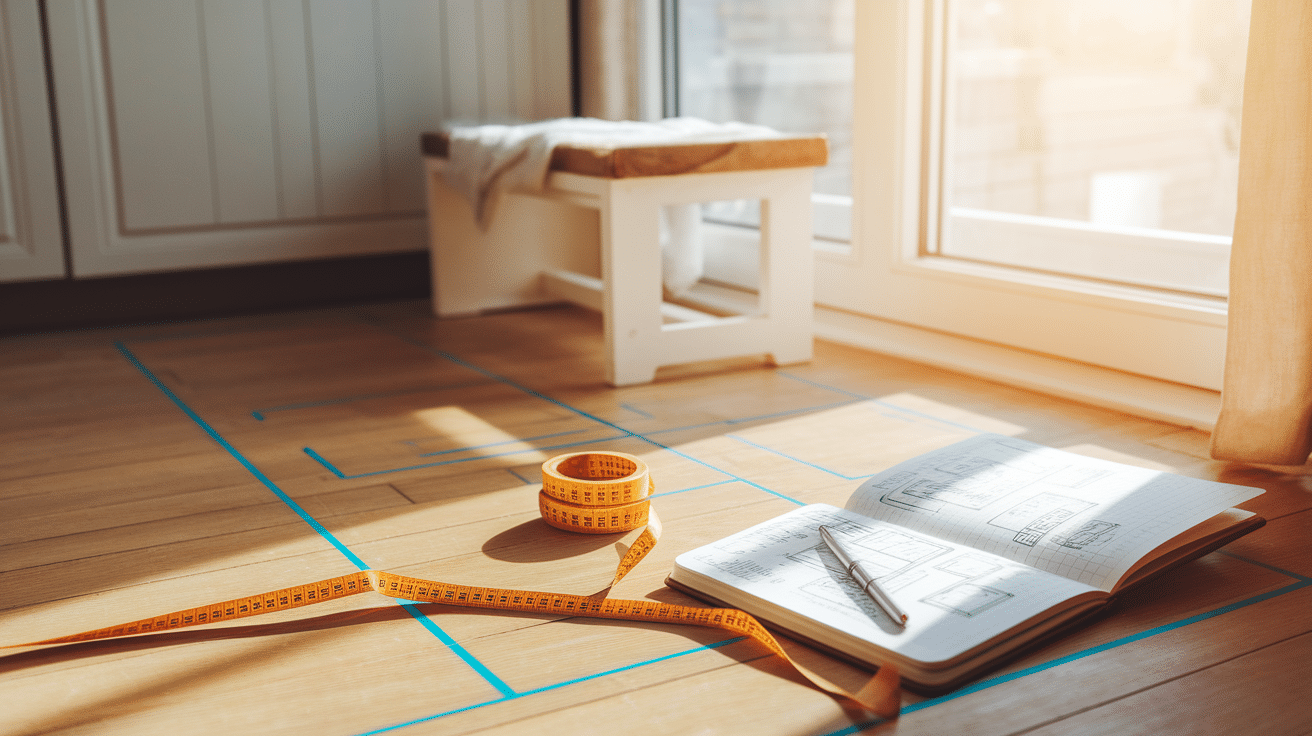
Before grabbing tools, take a moment to plan ahead and save effort later.
Measure your space carefully and sketch a simple layout. Consider the number of people who will use the nook and ensure at least 36 inches of clearance around the table for traffic flow.
Choose a bright spot near a window or plan lighting, then list all materials and tools.
Pro Tip: Outline the nook with painter’s tape for better visualization.
Step 2: Building a DIY Breakfast Nook Bench
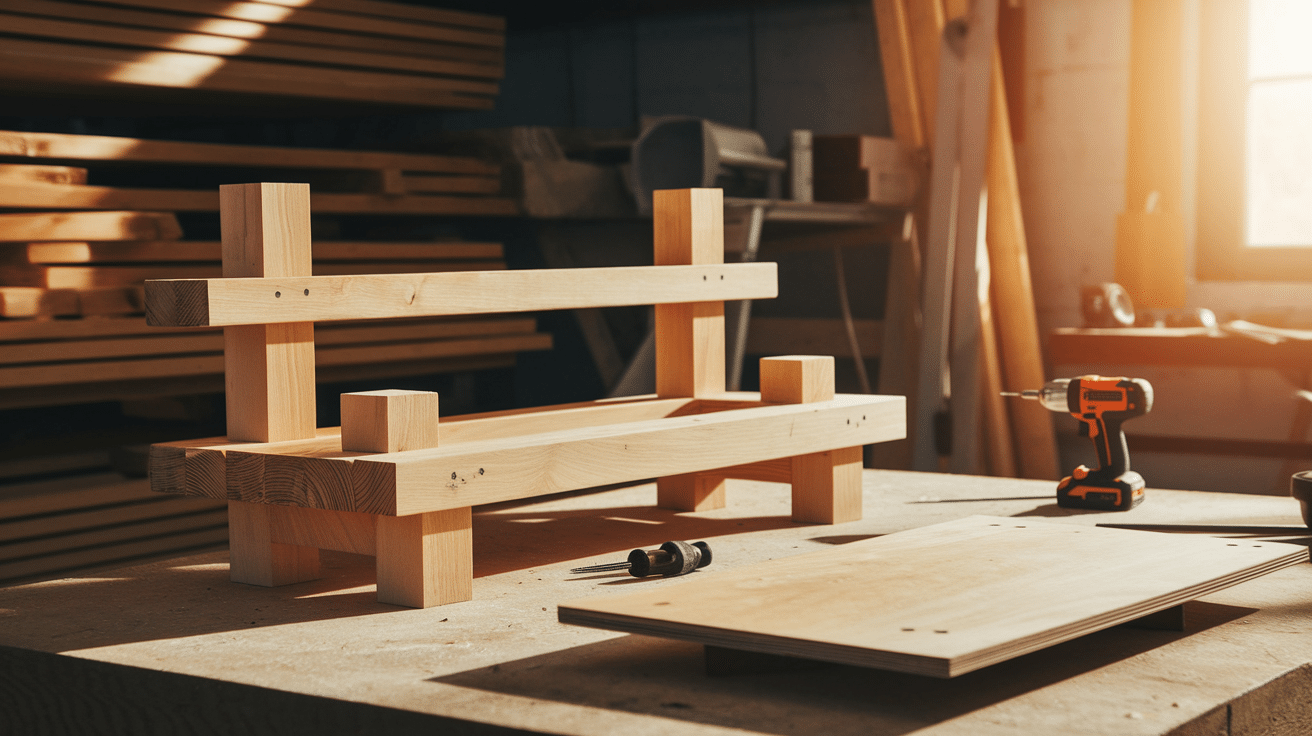
Start with sturdy bench frames made from 2x4s, adding cross supports every 16 inches for strength.
Keep the benches about 16-18 inches tall and 16-20 inches deep for comfort. Use plywood for the top and add optional backs with vertical supports.
Finish with decorative fronts, beadboard, or trim, and plan storage with lift-up seats or doors.
Sand and finish everything neatly.
Pro Tip: Pre-drill holes to prevent splitting.
Step 3: Simple Built-In Bench
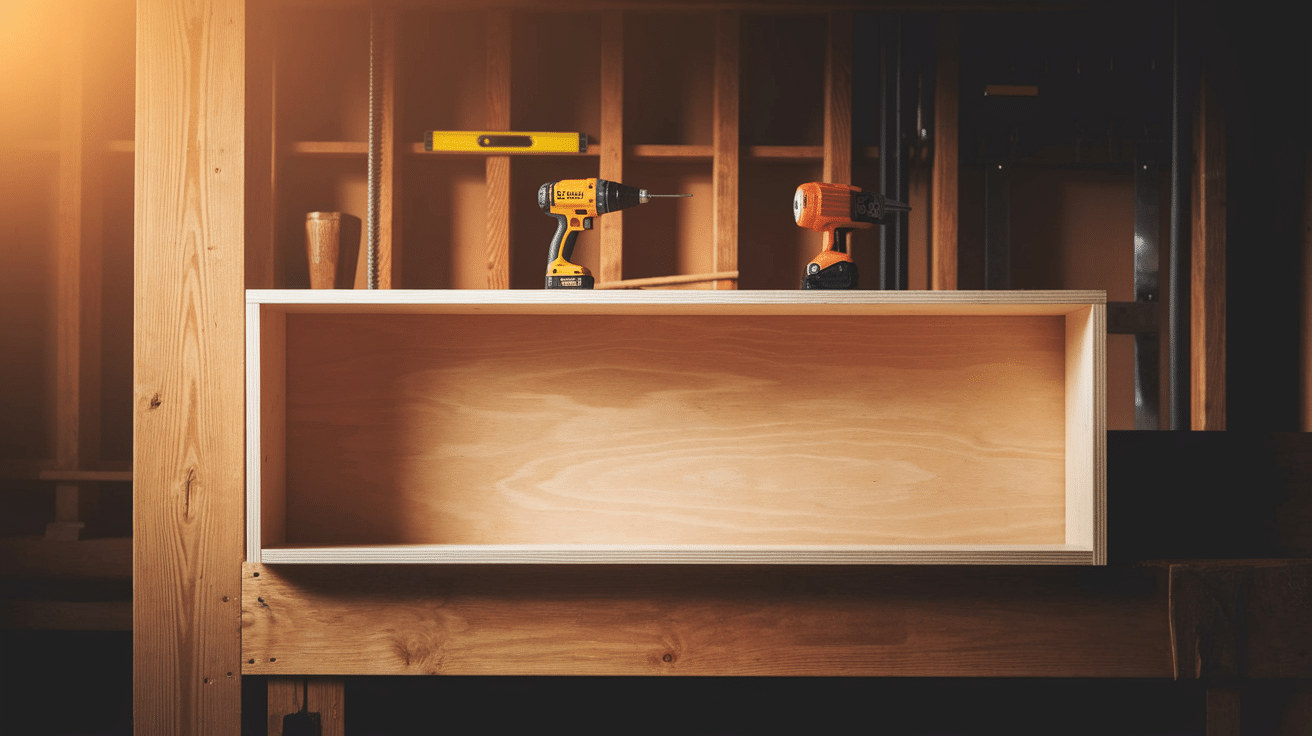
Attach the bench directly to the wall for a compact built-in look.
Locate wall studs and secure a sturdy box frame about 16 inches deep and 18 inches tall, with legs for support.
Add plywood for the seat, front, and sides, then finish with trim to hide seams.
Sand, fill, and paint or stain for a polished finish.
Pro Tip: Use a stud finder to anchor securely.
Step 4: Freestanding Bench With Storage
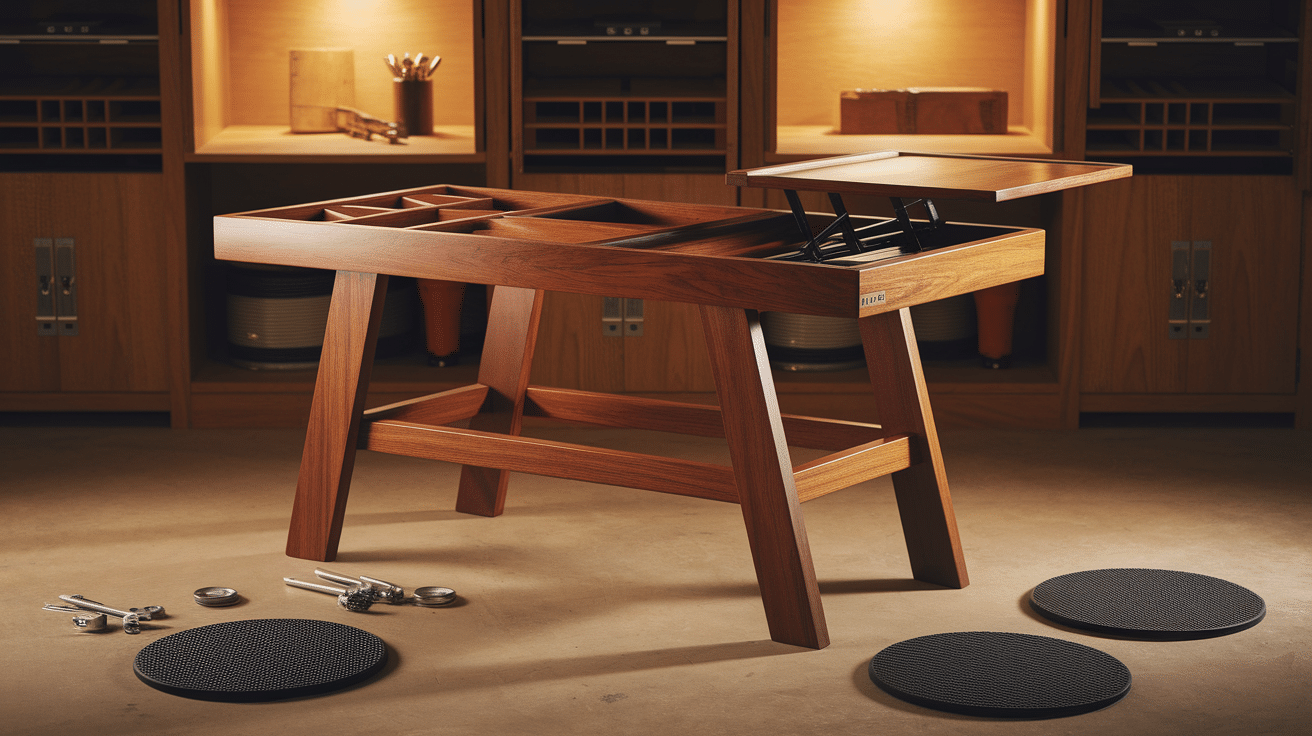
For flexibility, build a freestanding bench that doubles as storage.
Create a solid frame with internal supports and add either lift-top lids with piano hinges or front cabinet doors.
Use lid supports or chains for safety, and consider shelves or dividers inside.
Add pads to protect floors and finish with paint or stain.
Pro Tip: Line the storage interior with fabric or contact paper for a neat look.
Step 5: Choosing the Right Table
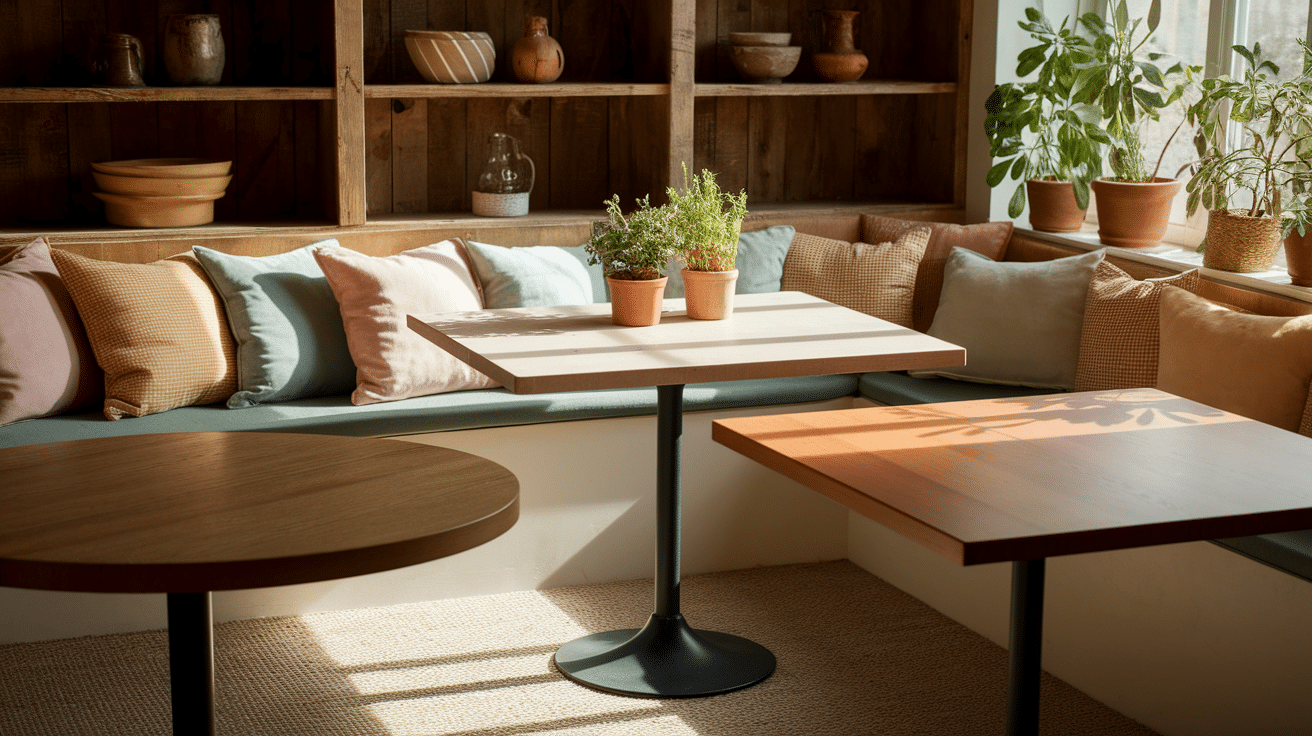
The table ties your nook together, so choose carefully.
Match the shape to your bench layout, using a round table for corners or a rectangular one for straight seating.
Keep dimensions proportional, around 30–36 inches for small spaces.
Pick durable materials like solid wood or laminate, and opt for pedestal bases for legroom.
Second-hand tables can also be refinished.
Pro Tip: Try a drop-leaf table in small kitchens.
Step 6: Adding Comfort & Style
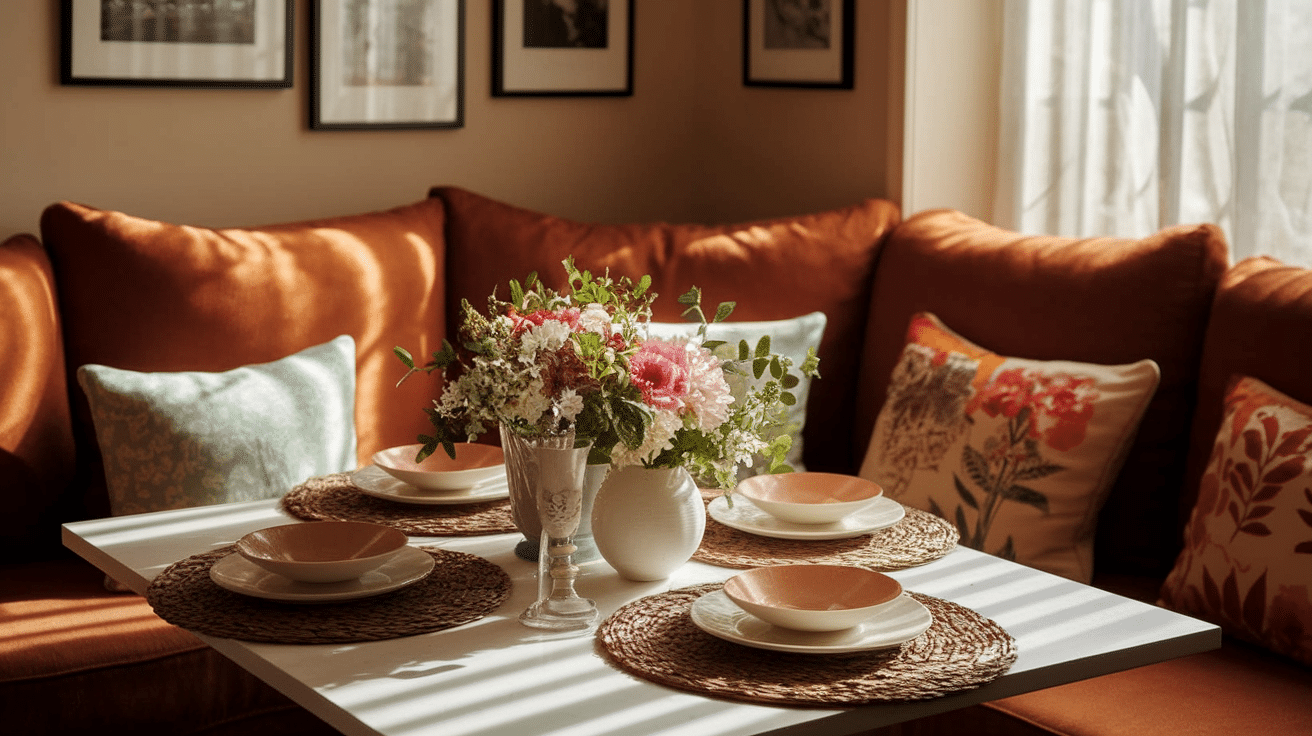
Make the nook cozy with cushions, fabrics, and details.
Use 2–4 inch foam for seats and 1–2 inch foam for backs, covered in durable fabrics like outdoor textiles.
Throw pillows add personality, while lighting, such as pendants or string lights, creates ambiance.
Decorative touches like placemats and vases add warmth.
Pro Tip: Secure cushions with Velcro or ties to prevent slipping.
Step 7: Decorating Your Breakfast Nook
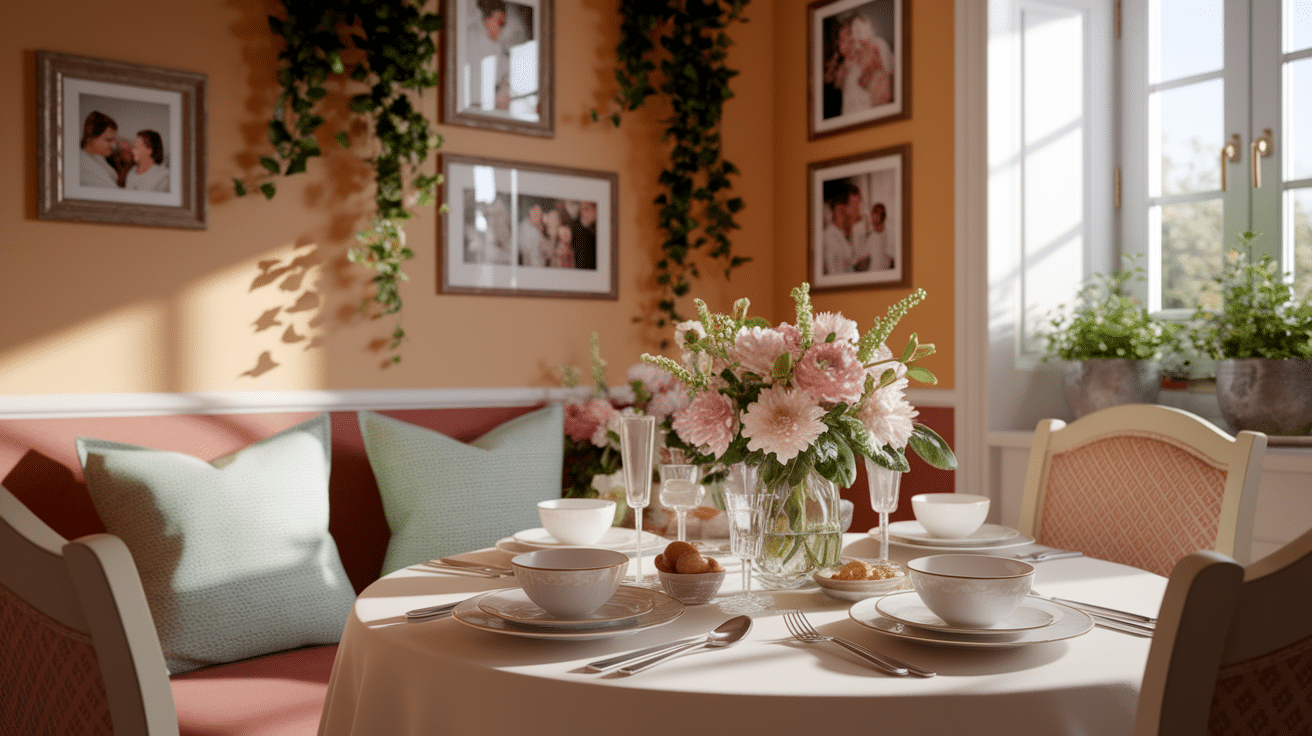
Finish your nook with décor that reflects your style.
Paint walls in light colors for a spacious feel or darker shades for a cozy atmosphere.
Add window treatments, mirrors, or greenery for freshness and light.
Display personal touches like family photos or prints, and style the table with placemats, cloth napkins, or seasonal centerpieces.
Pro Tip: Rotate decorations with the seasons for a fresh, inviting look year-round.
DIY Breakfast Nook Inspirations
Look at these inspiring real-life DIY breakfast nooks, which combine creativity, functionality, and charm and prove that style can be achieved on any budget.
1. Coastal Charm Nook
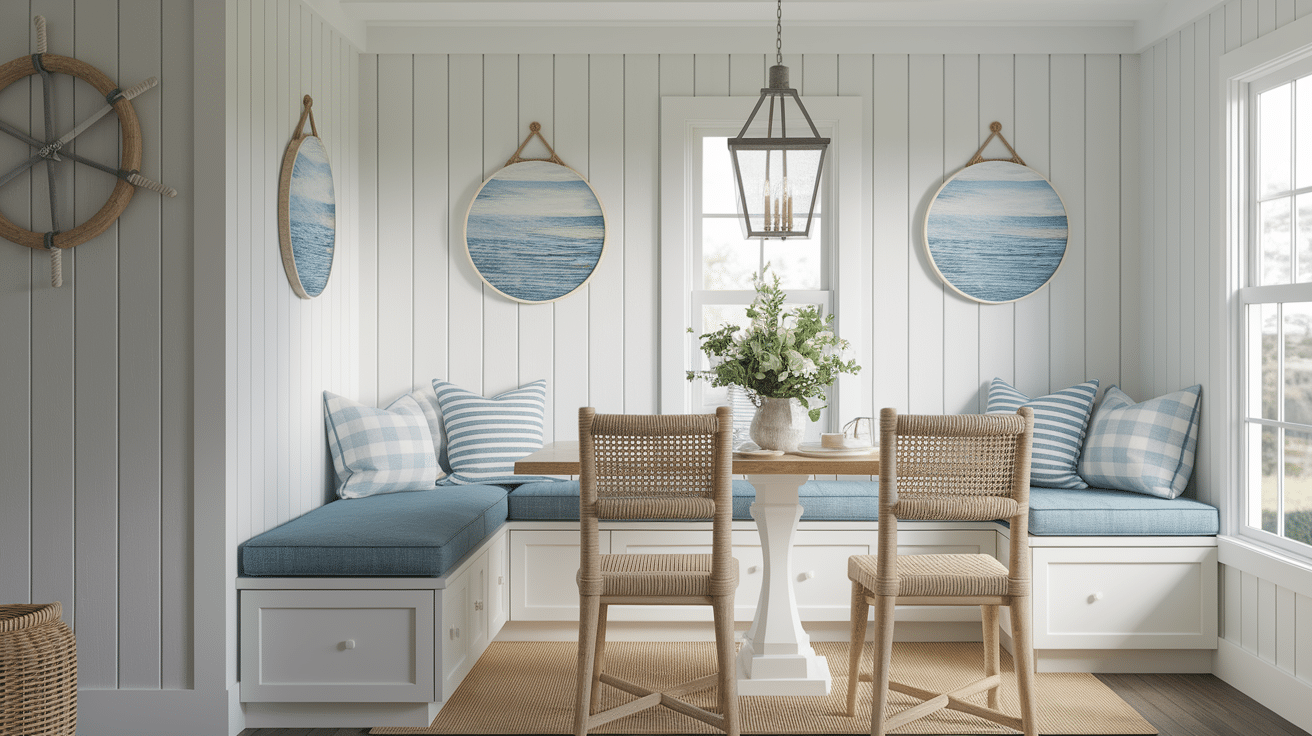
Change your kitchen into a breezy retreat with light colors like white and pale blue. Add nautical accents like striped cushions and driftwood decor.
Built-in storage benches and natural light improve the seaside vibe.
Feature: Light, breezy colors paired with nautical accents, such as striped cushions and driftwood décor, create a beachy vibe.
2. Farmhouse Cozy Nook
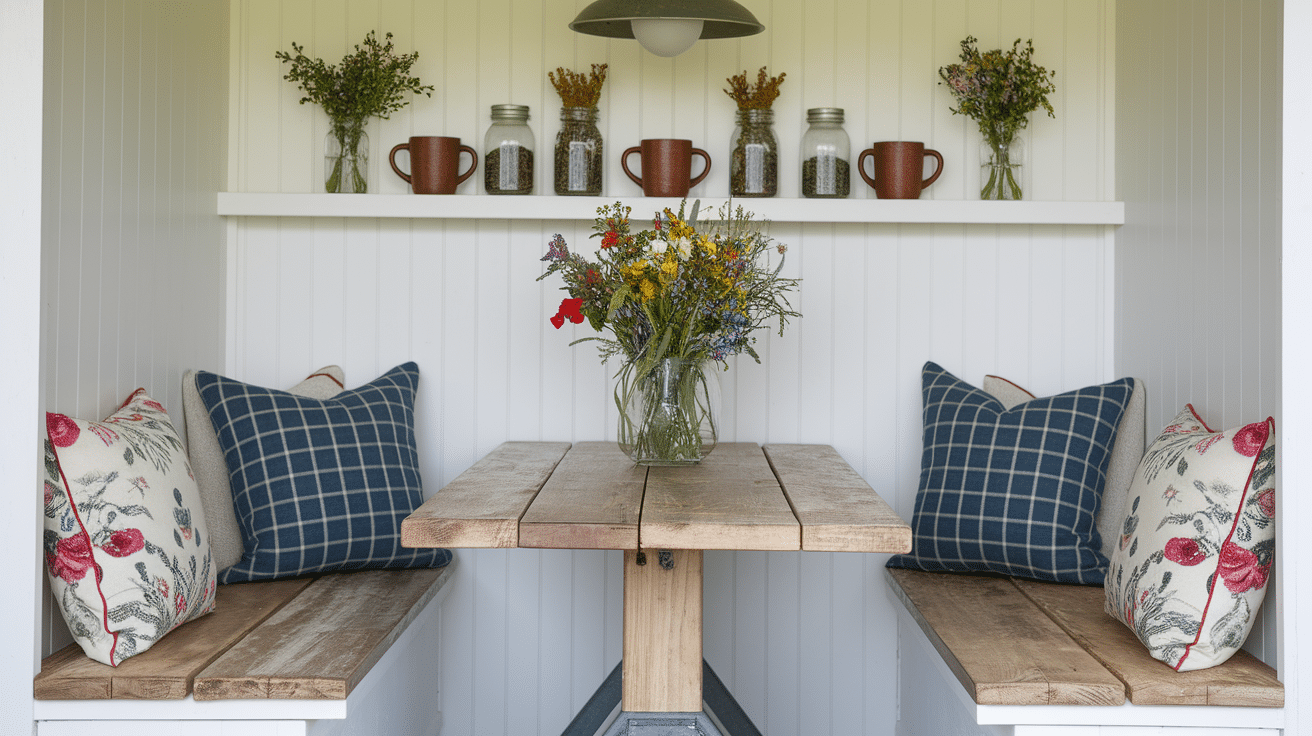
A farmhouse breakfast nook brings warmth and charm by blending rustic elements with comfort.
Using reclaimed wood for benches and tables adds a natural, time-worn look that feels both sturdy and inviting.
Soft cushions in floral or plaid fabrics, fresh wildflowers on the table, and vintage-style fixtures create a homey space perfect for daily meals or family gatherings
Feature: Reclaimed wood, soft cushions, and charming vintage touches make this nook feel inviting and cozy.
3. Modern Minimalist Nook
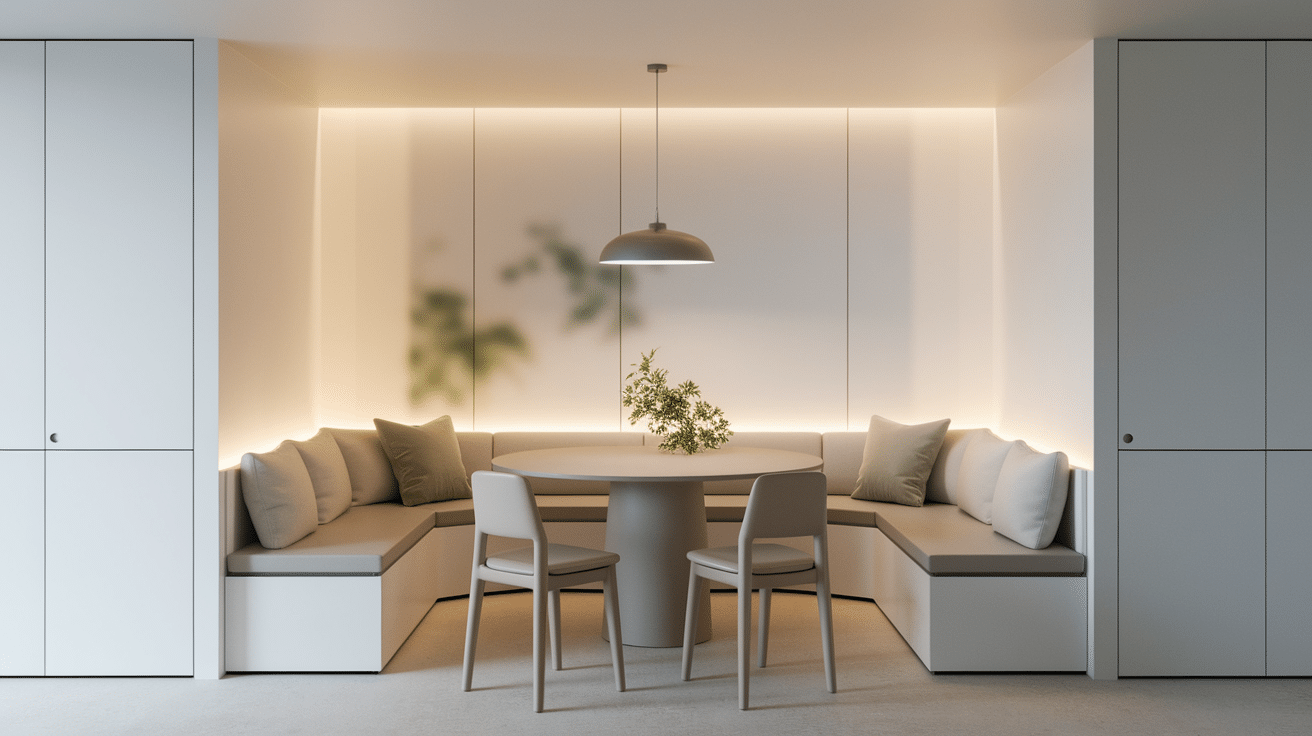
A neutral palette with shades of white, beige, or gray creates a calm and balanced look, while hidden storage under benches helps keep the area clutter-free.
Sleek furniture with straight edges and understated lighting, like pendant fixtures, brings style without overwhelming the space.
Feature: A neutral palette and hidden storage provide a sleek, clutter-free look.
Cost Breakdown of DIY vs. Store-Bought Nook
Choosing between a DIY nook and a store-bought option depends on your budget, customization needs, and the level of effort you’re ready to invest.
Here’s the cost breakdown of the DIY and store-bought nook.
| Category | DIY Nook | Store-Bought Nook |
|---|---|---|
| Materials | $150–$400 (wood, paint, hardware) | $300–$800 (pre-made unit) |
| Tools | $50–$150 (saw, drill, level) | Not required; pre-assembled |
| Labor | Free (DIY effort) | $100–$300 (delivery/installation) |
| Customization | Fully customizable | Limited customization options |
| Total estimated Cost | $200–$550 | $400–$1,100 |
Breakfast Nook Maintenance Tips
Follow these simple tips to keep your breakfast nook looking great, staying useful, and lasting a long time.
- Regular Dusting and Gentle Cleaning: Use a soft cloth for regular dusting, and clean with mild, soapy water. Ensure the wood is dried immediately to prevent damage.
- Tighten Screws and Joints Periodically: Check for loose screws every few months and tighten them to keep benches and tables sturdy and safe.
- Proper Care for Fabric Cushions: Follow cushion care labels, wash removable covers, and clean spills immediately to maintain freshness and prevent stains.
- Lubricate Hinges and Condition Wood Surfaces: Oil the storage bench hinges twice a year and apply food-safe mineral oil to wood surfaces every few months to prevent drying and squeaking.
- Touch Up Wear and Tear Early: Watch for scuffs or worn paint on edges and address them promptly to avoid more extensive repairs later.
- Protect from Sun Damage: Use curtains or UV-protective window film to shield your nook from direct sunlight and prevent the fading of fabrics and wood surfaces.
- Seasonal Deep Cleaning: Perform a thorough cleaning at the start of each season, including wiping down all surfaces, vacuuming under benches, and refreshing cushions.
The Bottom Line
Building your own breakfast nook is a rewarding project that saves money and creates a custom space for your kitchen.
The time spent measuring, cutting, and assembling turns into years of family meals, quiet coffees, and homework sessions in a nook made just for you.
Beyond saving money, a DIY nook becomes a special gathering spot where daily memories are made.
So grab your tools and get started.
With a little effort, you’ll enjoy a cozy, functional space that feels truly like home.

