How to Apply Spot Treatment for Termites?
Have you ever noticed tiny holes in your wooden furniture? Those small pests called termites might be the culprits.
Termites silently eat away at homes across the country, causing thousands in damage before most people notice them.
Spot treatment offers a focused way to attack these pests without treating your entire house.
This method targets specific areas where termites have been found, saving you time and money.
It works quickly on visible problems without disrupting your entire home.
You’ll learn how to identify termite trouble spots, apply treatments correctly, and prevent these wood-munching insects from returning.
What is a Spot Treatment for Termites?
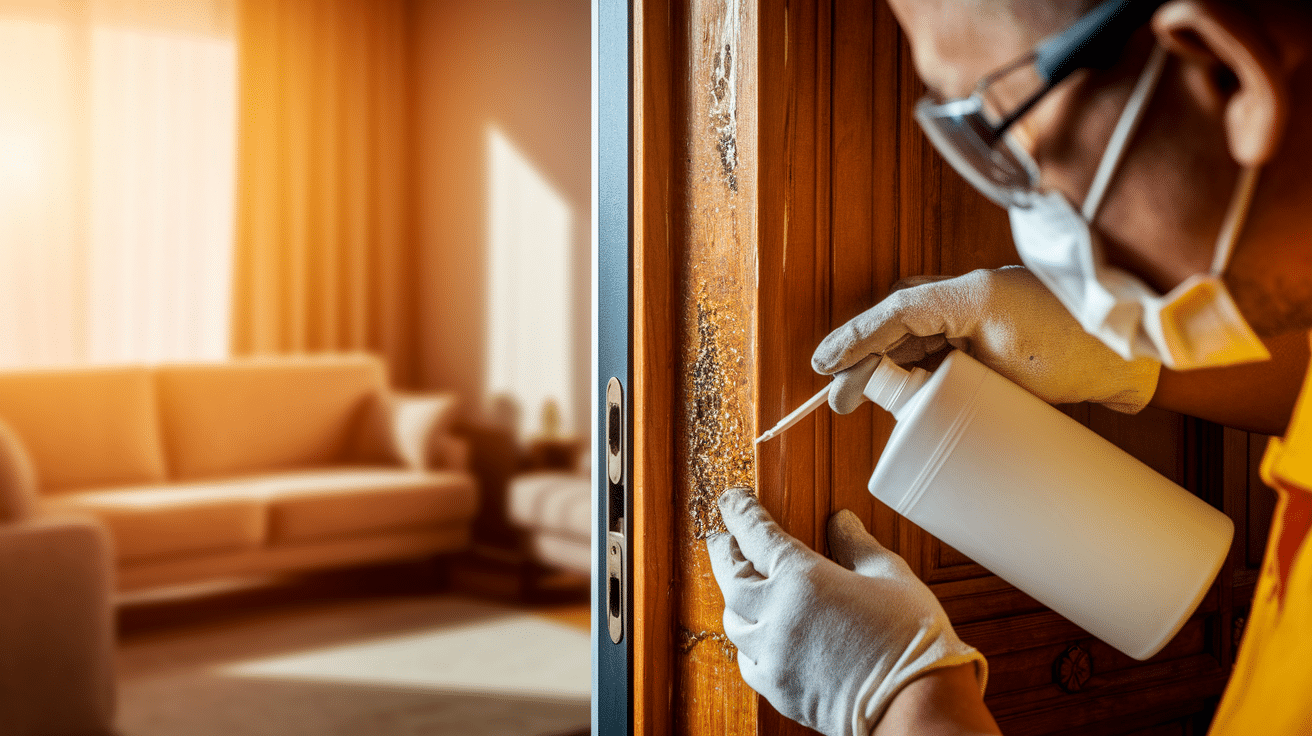
Spot treatment is a focused method that targets specific termite-infested areas like door frames, window sills, or furniture.
It’s best for small, contained problems caught early, saving you from treating the entire home.
The process uses products applied directly to affected wood, killing termites on contact while forming a protective barrier against future infestations.
Types of Spot Treatments
To take care of termites, there are many types of spot treatements you should know about:
- Liquid Termiticides: Long-lasting barriers that kill on contact.
- Foam Termiticides: Expand into tight voids and cracks.
- Bait Systems: Slow but effective at eliminating colonies.
- Heat Treatments: Chemical-free option for furniture or small areas.
- Boric Acid: Natural, affordable, but less durable.
- DIY Kits: Convenient and cost-effective, though less powerful than pro treatments.
Spot Treatment vs. Full-Scale Solutions
Choosing between spot treatments and full-house methods comes down to the size of your termite problem.
| Factor | Spot Treatments | Full-Scale Treatments |
|---|---|---|
| Coverage Area | Targets specific infested areas | Treats the entire property |
| Cost | $200–$500 | $1,500 and up (varies by home size) |
| Time Required | Few hours | Full day or more |
| Disruption | Minimal, homeowners can usually stay | Significant, may require vacating the home |
| Best For | Small, localized infestations caught early (e.g., one window or door) | Widespread infestations or homes with a history of termite problems |
| Effectiveness Risk | May miss hidden colonies | Creates complete protection, lowers the risk of missed pests |
| Typical Approach | Often first step with escalation if the problem persists | Chosen for severe or recurring infestations |
Types of Termites
Each type has unique habits, preferred living spaces, and telltale signs that give them away.
This guide helps you spot the culprits quickly so you can take the right action.
1. Drywood Termites
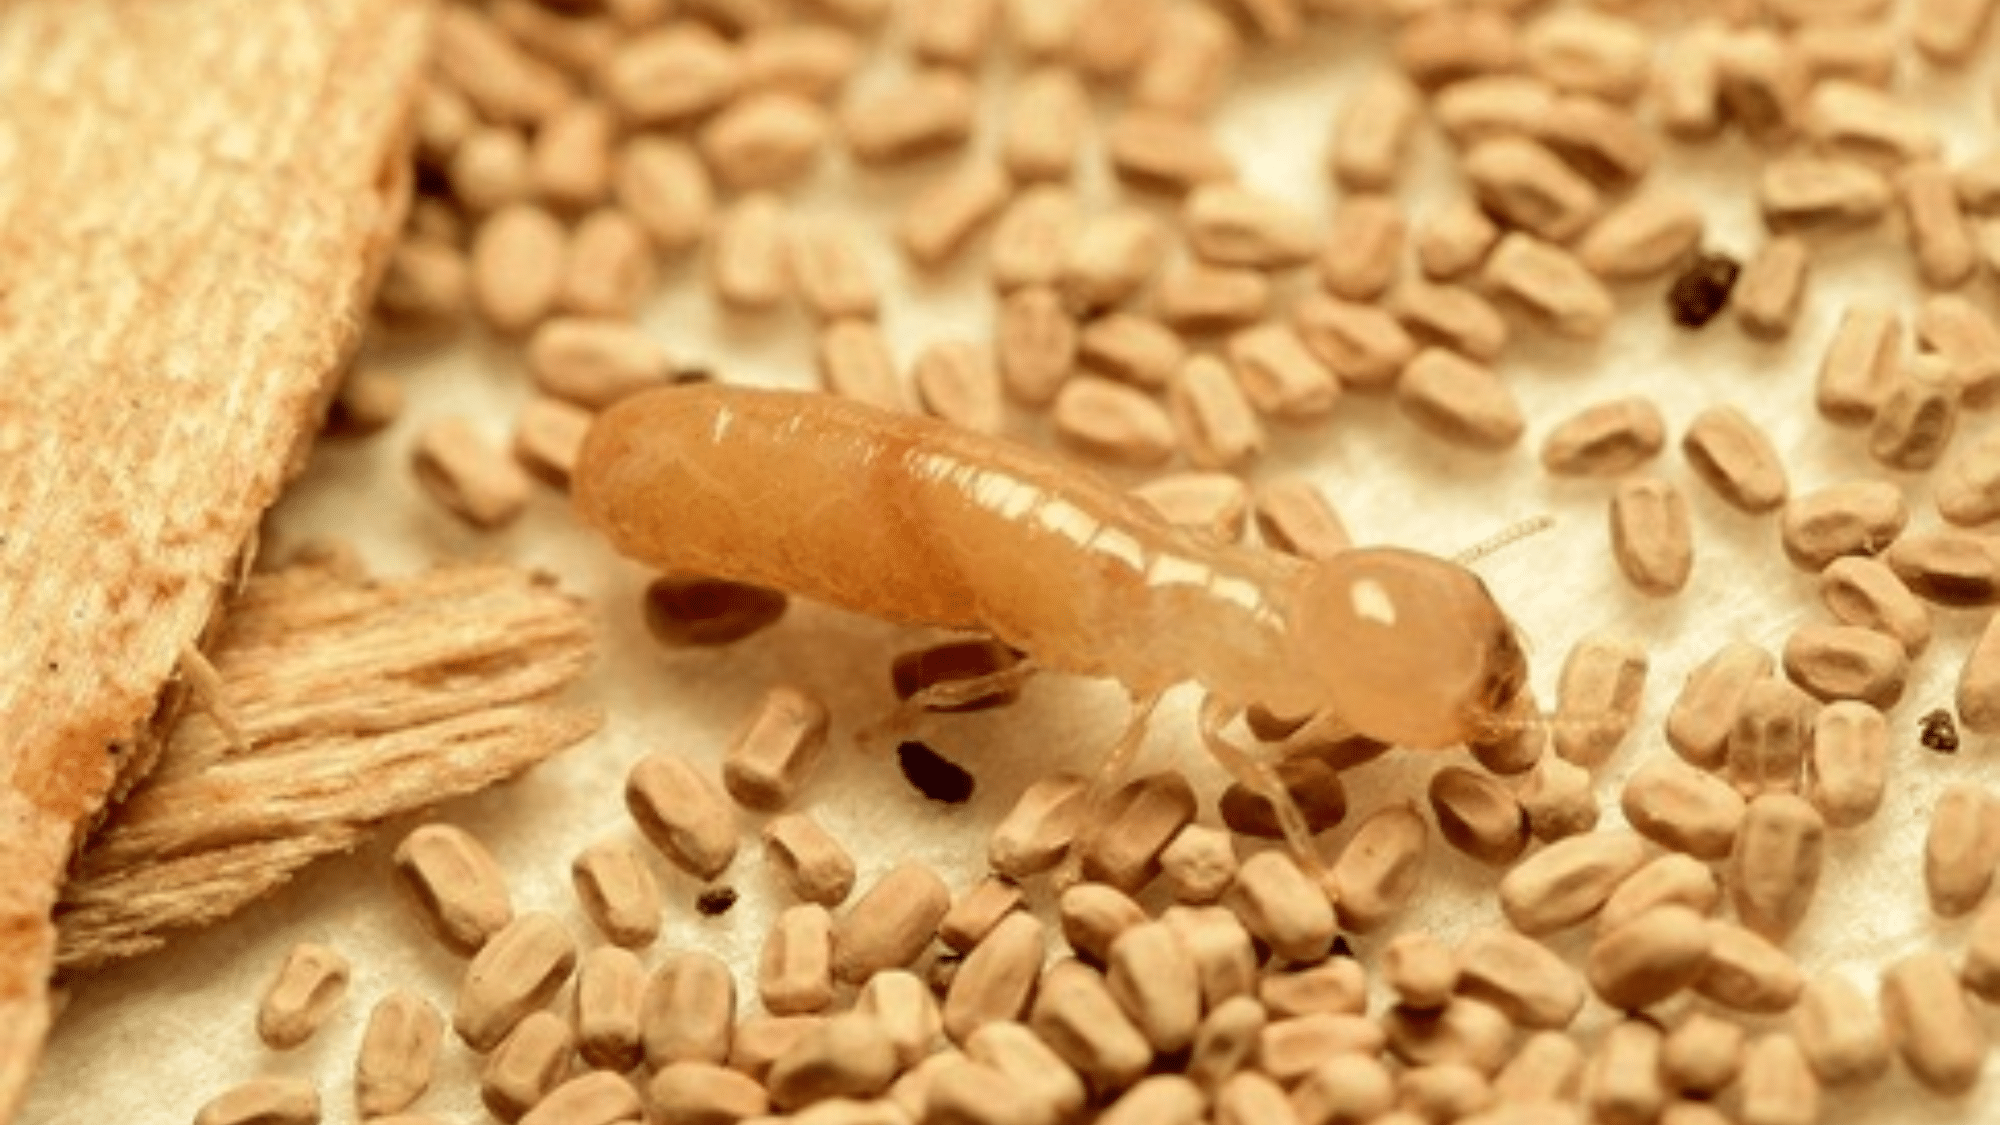
These termites live entirely within dry wood with no soil contact.
They tend to be larger than other types and are creamy white to light brown in color.
Their wings are equal in length, and they push out small pellets (frass) that look like tiny wood-colored balls from their tunnels.
2. Dampwood Termites
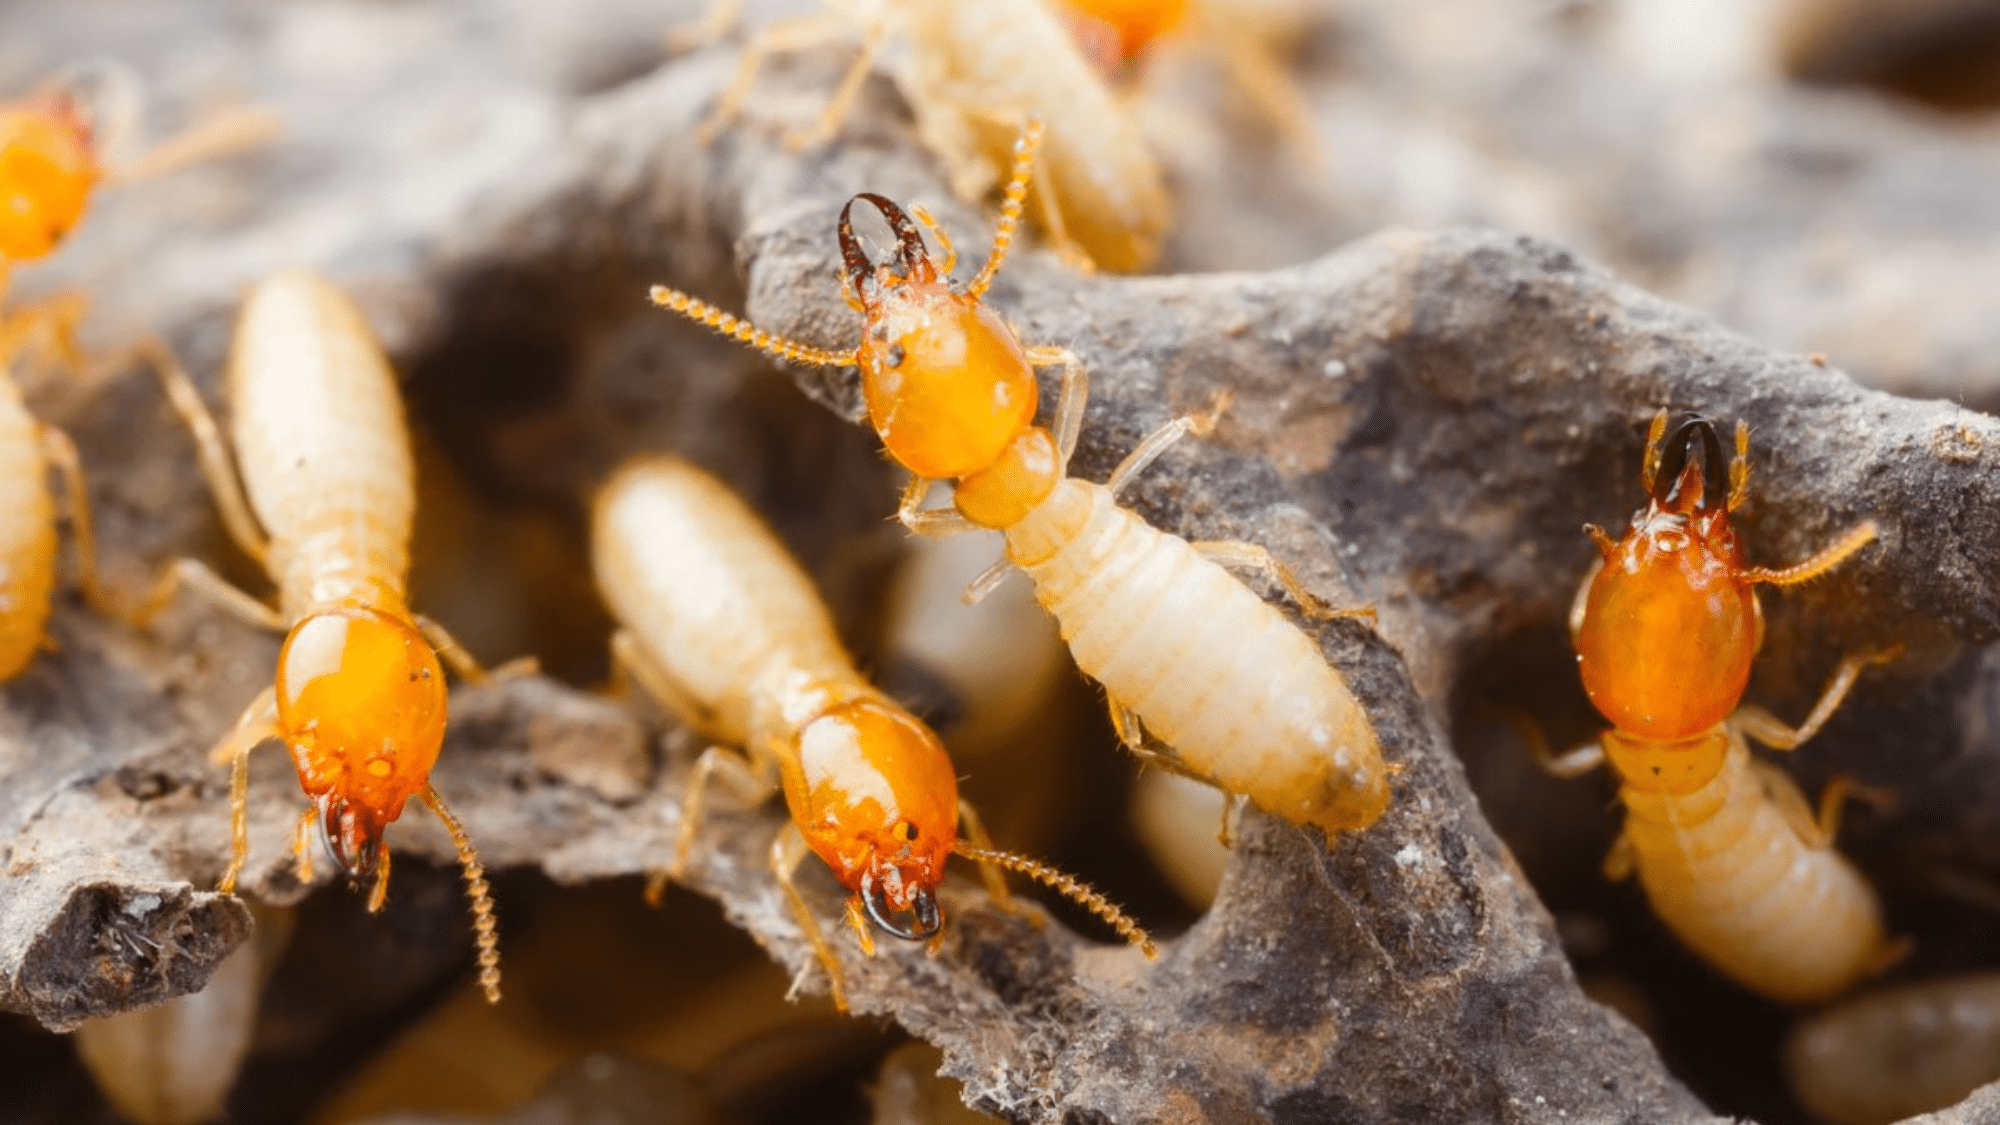
As their name suggests, these termites prefer moist, decaying wood. They’re the largest termite species, measuring up to 1 inch long.
Look for them in leaky areas, wood with ground contact, or rotting logs.
They don’t build mud tubes but create large, smooth tunnels in wood.
3. Subterranean Termites
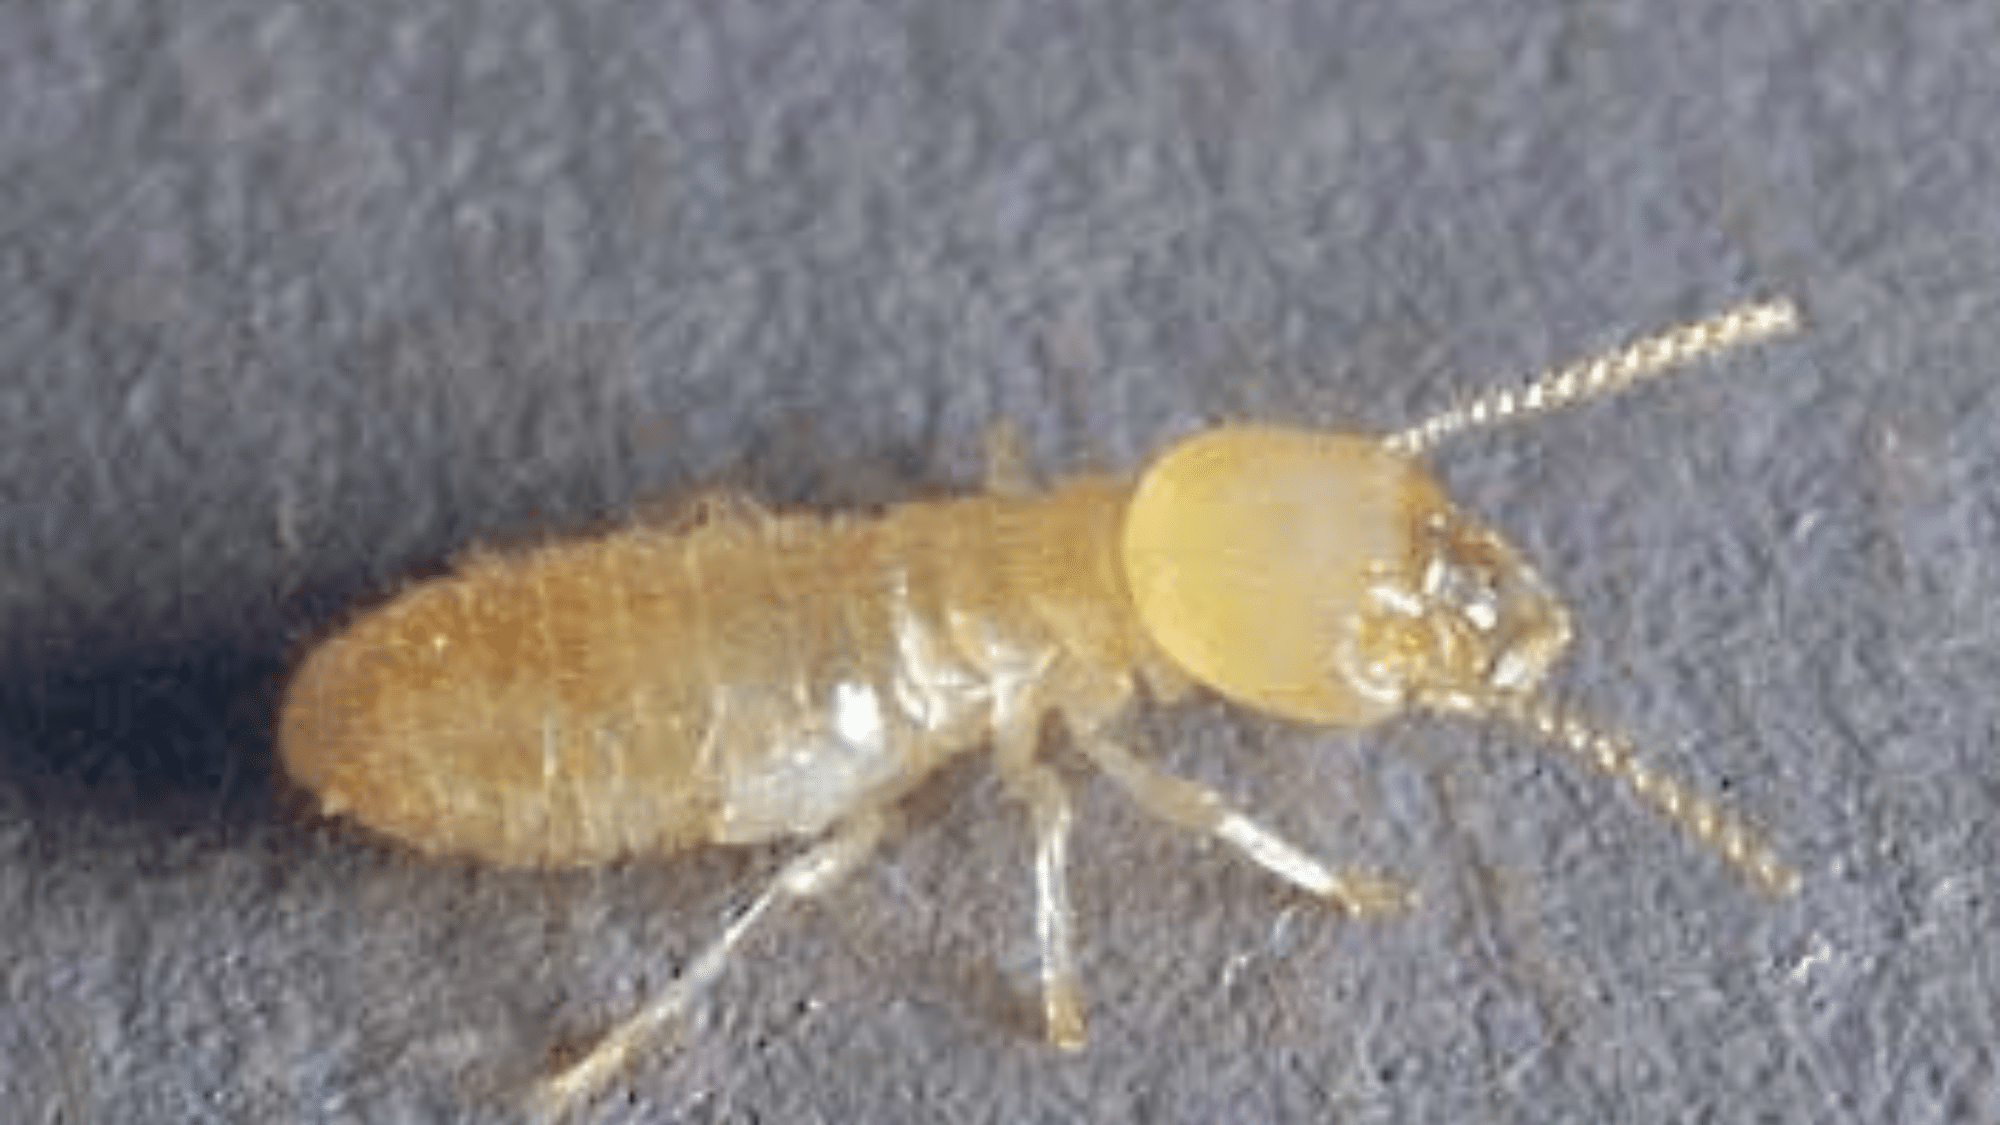
The most common and destructive type, these termites need soil contact and moisture.
They build distinctive mud tubes as highways between their colony and food sources.
They’re smaller than other termites, with a creamy white body and a darker head. Their workers avoid light and scatter when exposed.
Recognizing the Signs of a Termite Infestation
Keep an eye out for these warning signs before the damage worsens:
- Hollow-sounding wood when tapped with a screwdriver
- Pinhead-sized holes in wood surfaces
- Mud tubes about the width of a pencil along foundations or walls
- Discarded wings near windows, doors, or light fixtures
- Wood that seems crushed or damaged at structural joints
- Tiny wood-colored pellets resembling sawdust or coffee grounds
- Doors or windows that suddenly stick due to warping
- Bubbling or peeling paint that looks like water damage
- Clicking sounds in the walls
- Swarmers (flying termites) are inside the home, especially in the spring
If you see these signs, it’s time you should take actions against these pests.
Step-by-Step Guide to Spot Treatment
Taking on termites yourself can save money, but you’ll need to follow some key steps to get good results.
This guide covers the process from start to finish, making sure you target the right spots with the right methods.
Step 1: Gather Safety Gear

Before starting any termite treatment, gather the right safety equipment.
You’ll need rubber gloves to protect your hands, safety goggles to shield your eyes, and a mask or respirator to avoid breathing in chemicals.
Long sleeves, pants, and closed-toe shoes complete your protection. Chemical termiticides can irritate skin and eyes, making it essential to take precautions for your health.
Set everything out before you start working so you don’t have to search for items with chemicals on your hands.
Step 2: Identify Termite Type
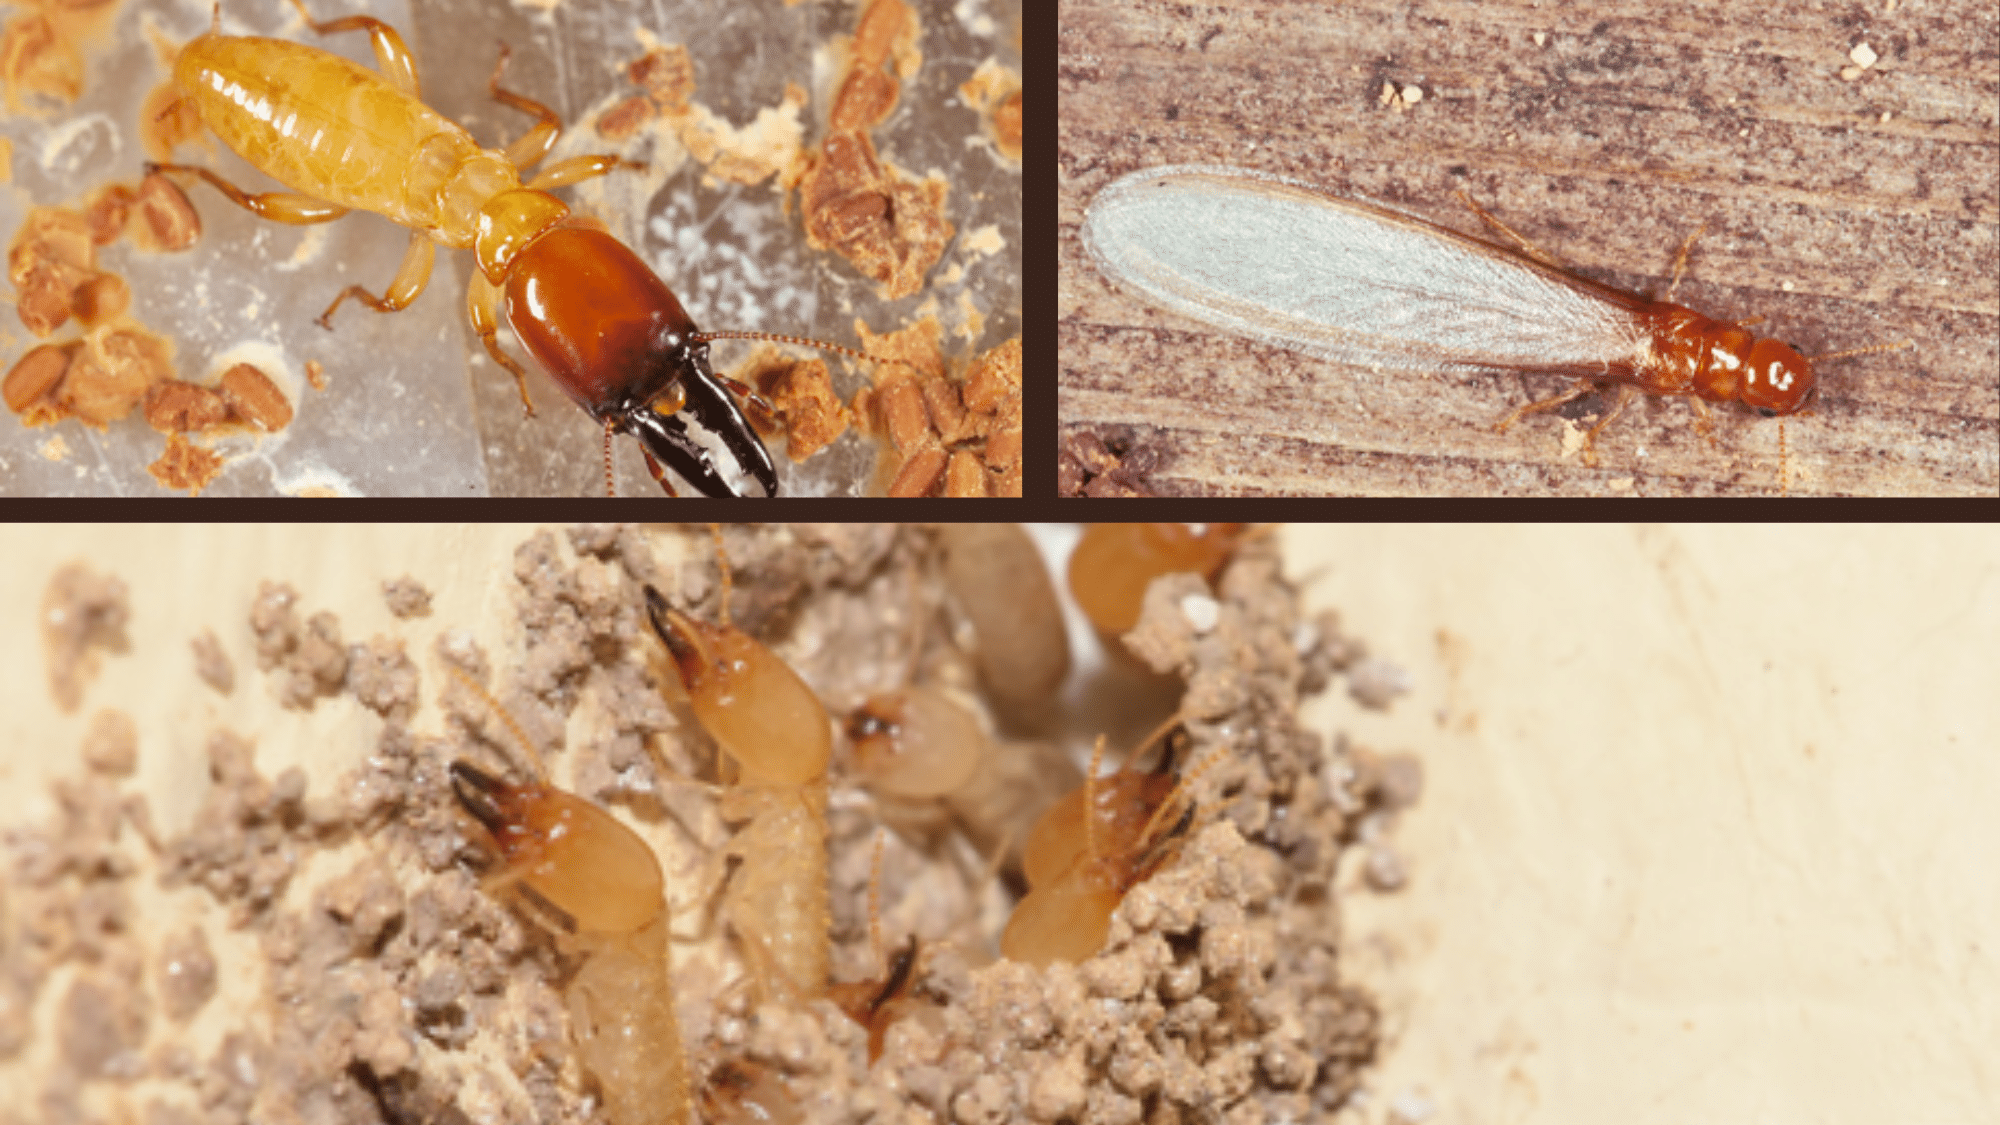
Look closely at any termites you find to determine which type has invaded your home.
Subterranean termites build mud tubes and need soil contact, while drywood termites live entirely in wood with no ground connection.
Different termites need different treatments. If you’re unsure, take photos or collect samples in a clear container.
Local extension offices can help with identification.
The termite type guides all your next steps, from product selection to application method, so don’t skip this crucial first step.
Step 3: Locate Infestation Areas
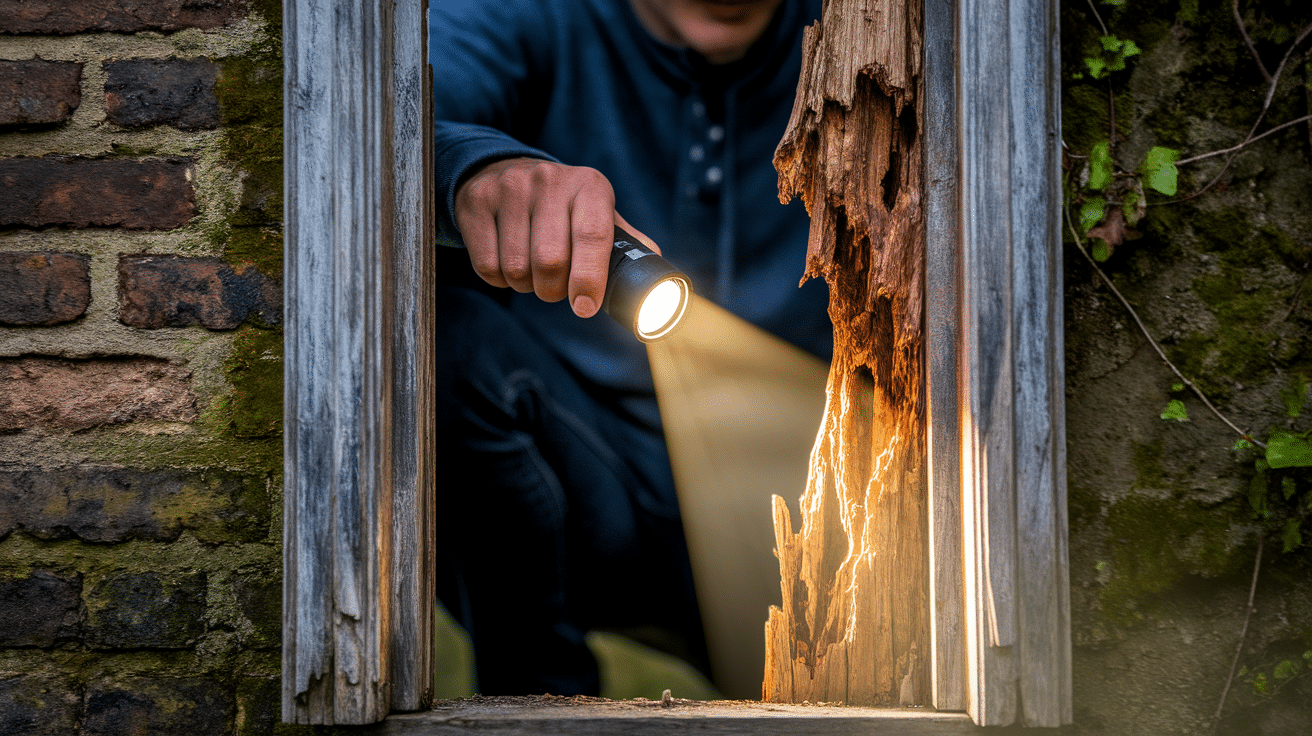
Check your home thoroughly for signs of termite damage. Tap wood surfaces with a screwdriver handle; hollow sounds often mean termites have eaten the inside.
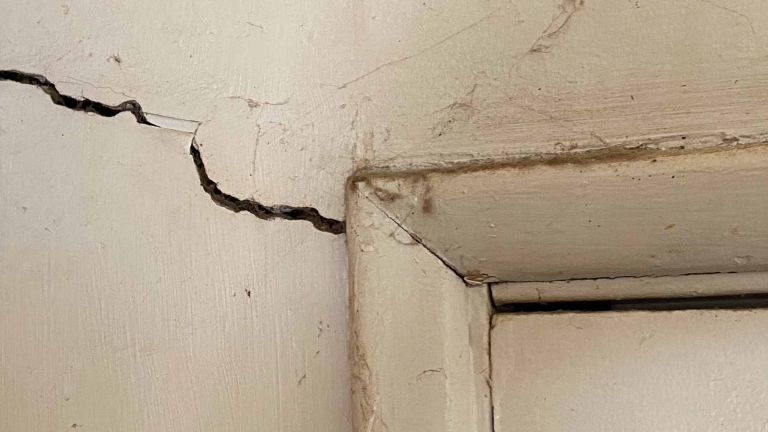
Look for mud tubes along foundations, tiny holes in wood, or piles of what looks like sawdust (frass) near wooden structures.
Mark each affected area with tape or sticky notes so you don’t miss spots during treatment.
Focus especially on damp areas, wood touching soil, and spaces around doors and windows.
A flashlight helps spot damage in dark crawl spaces or attics.
Step 4: Apply Treatment Correctly
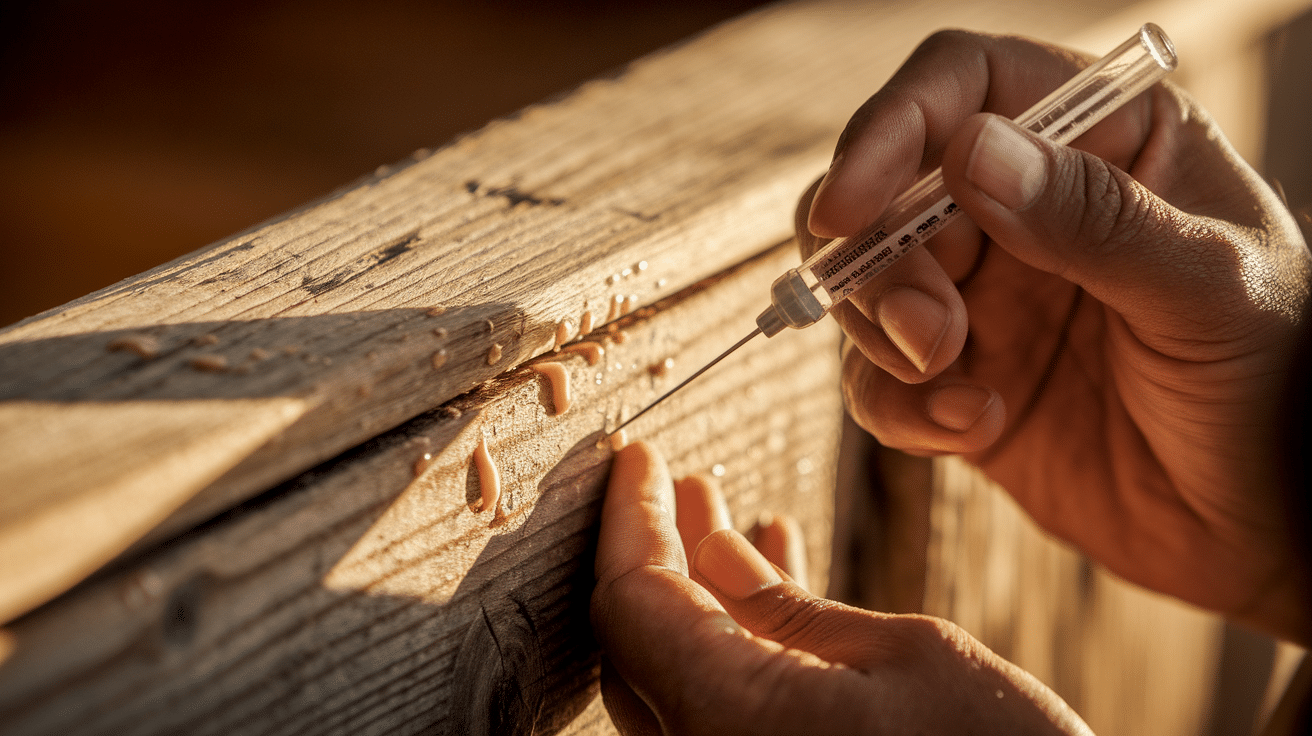
Read the product instructions completely before starting.
For liquid treatments, drill small holes about 10 inches apart into the infested wood.
Use a funnel to pour the termiticide into these holes, filling until the wood won’t absorb more. For foam products, inject directly into termite galleries or wall voids.
Apply treatments on dry days when rain won’t wash away the chemicals before they can work.
Treat all marked areas plus a buffer zone of at least two feet around each spot.
Take your time; don’t rush. Rushing can lead to missed spots that allow termites to survive and rebuild.
Step 5: Monitor and Follow-up

For the first month, check treated areas weekly, looking for fresh damage or live termites.
Place sticky traps near previously infested spots to catch any survivors.
Most spot treatments need reapplication every 3-6 months for complete elimination.
Keep records of treatment dates, products used, and where you applied them.
Take “after” photos to compare with future inspections.
Set calendar reminders for follow-up treatments since consistency matters more than initial application strength for lasting results.
Professional Spot Treatment Services
Sometimes, tackling termites yourself isn’t enough. Professionals bring expertise, stronger products, and the confidence that infestations are handled correctly.
- When to Call: For recurring or severe damage, hard-to-reach spots, or failed DIY attempts.
- Cost: $65–$265 for inspection, $225–$500 per treatment, plus $50–$100 for follow-ups; premium or emergency services cost more.
- Guarantees: 30–90 day warranties, free re-treatments, or annual contracts; some cover damage repair.
- Tools & Access: Pros use specialized equipment and chemicals unavailable to homeowners.
- Efficiency: Faster, more thorough treatments with long-lasting results.
Hiring professionals ensures the problem is fully addressed, protecting both your home and your investment.
Final Notes
Spotting termites early and acting fast can make all the difference in protecting your home.
It doesn’t matter if you choose DIY methods for small problems or call professionals for bigger issues; the key is not to wait. They munch through wood 24/7, and a small spot can quickly grow into major damage.
Start by checking your home carefully using the identification tips shared here. Based on your situation, pick the right spot treatment and follow the safety steps if you are doing it yourself.
Remember that spot treatments work best for limited problems, while widespread issues need more comprehensive solutions.
Don’t let these tiny pests cause big headaches. A quick response now could save thousands in repairs later.


