How to Build a Murphy Bed Easily?

If you don’t have a lot of space at home but still want a Murphy bed, don’t worry, there is a smart way to make it work!
With the right Murphy bed plans, you can build a bed that hides away when not in use, providing more space for other items.
It’s a great project for a weekend and doesn’t need expert-level skills, just some tools, time, and a bit of patience.
Whether you want to convert your home office into a guest room or make a small space more functional, this DIY project is a fun and helpful way to do it.
Let’s dive in and see how you can build your very own Murphy bed!
What is a Murphy Bed?

A Murphy bed, also known as a wall bed or pull-down bed, is a type of bed that folds vertically into a cabinet or wall to save space when not in use.
It’s designed to be both useful and space-saving, which makes it perfect for small apartments, guest rooms, or home offices.
When it’s folded up, a Murphy bed can look like a closet or storage cabinet. When it’s pulled down, it works just like a regular bed.
Many people choose to build a DIY Murphy bed at home because it lets them save money and customize it to fit their space and style.
These beds can be made to fold down either vertically or horizontally, depending on the amount of wall space and ceiling height available.
Tools and Materials Required for Building a Murphy Bed
Before you begin building your DIY Murphy bed, ensure you have the necessary tools and materials. A well-prepared workspace makes the project smoother, safer, and more enjoyable:
Essential Tools Required
Materials Required
Step-by-Step Process for Building a Murphy Bed
Building a Murphy bed at home can seem interesting, but breaking it into manageable steps makes the process much easier.
However, the following is a simplified guide to walk you through the key stages of building your DIY Murphy bed using common tools and a Murphy bed hardware kit.
Step 1: Measure and Plan
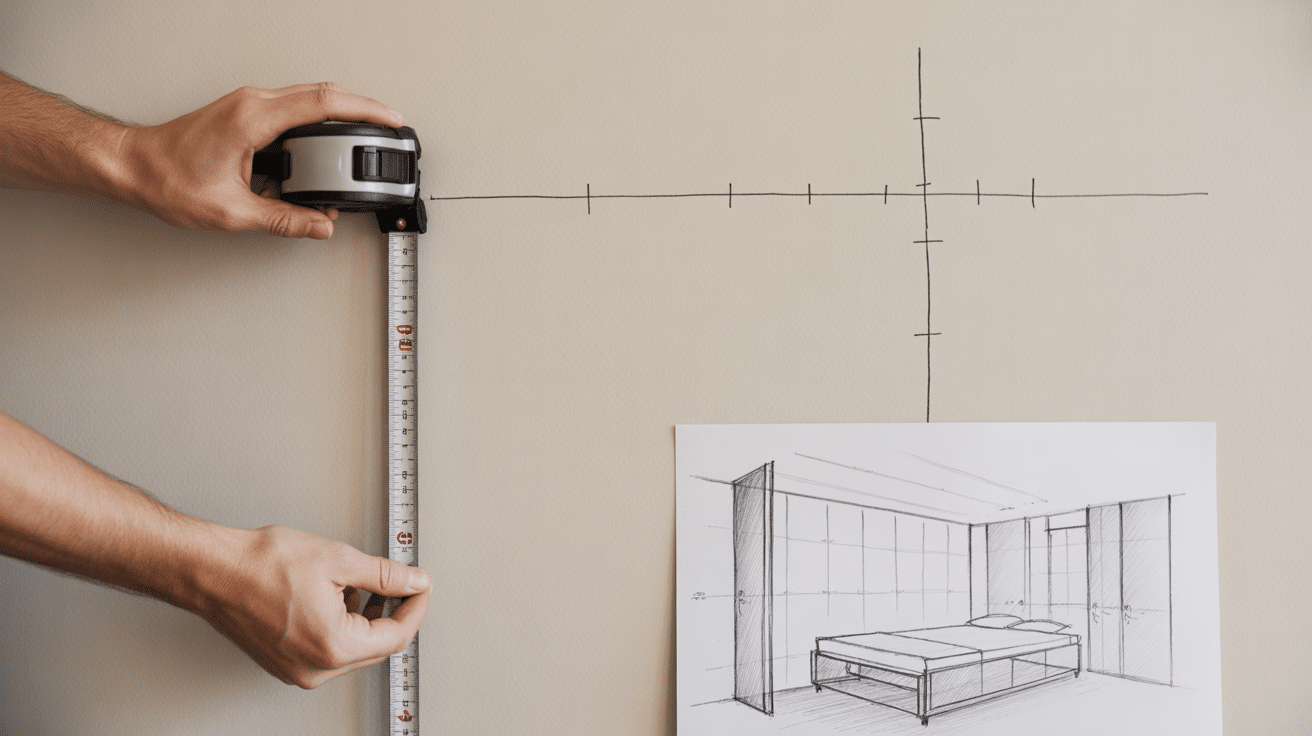
Measure your wall space and ceiling height to ensure the bed fits when folded and open.
Then, choose a suitable Murphy bed plan (vertical or horizontal).
After that, decide between built-in and freestanding options based on the room layout and installation comfort.
Step 2: Build the Bed Frame
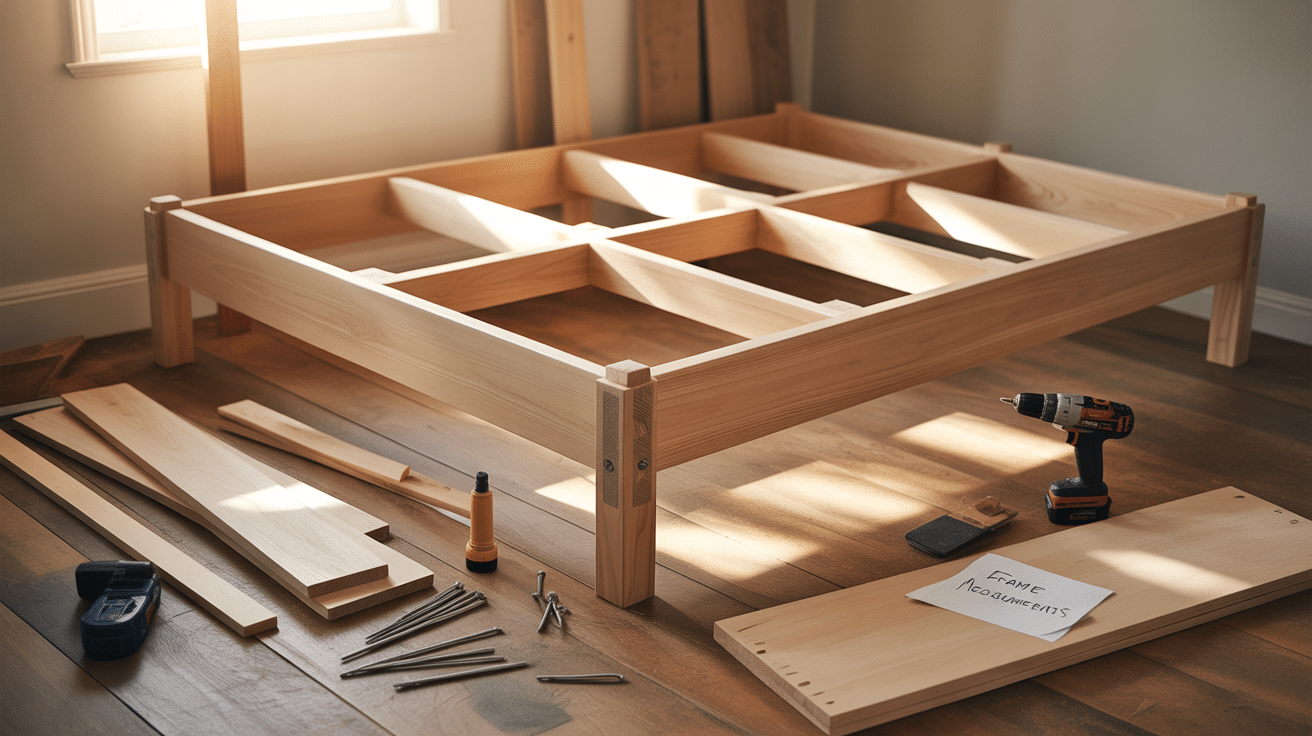
Once the measurement is done, start cutting your plywood and lumber according to the plan.
Then, just assemble the inner frame using wood glue and screws.
Add cross-supports to hold the mattress securely and ensure long-term stability.
Step 3: Construct the Cabinet
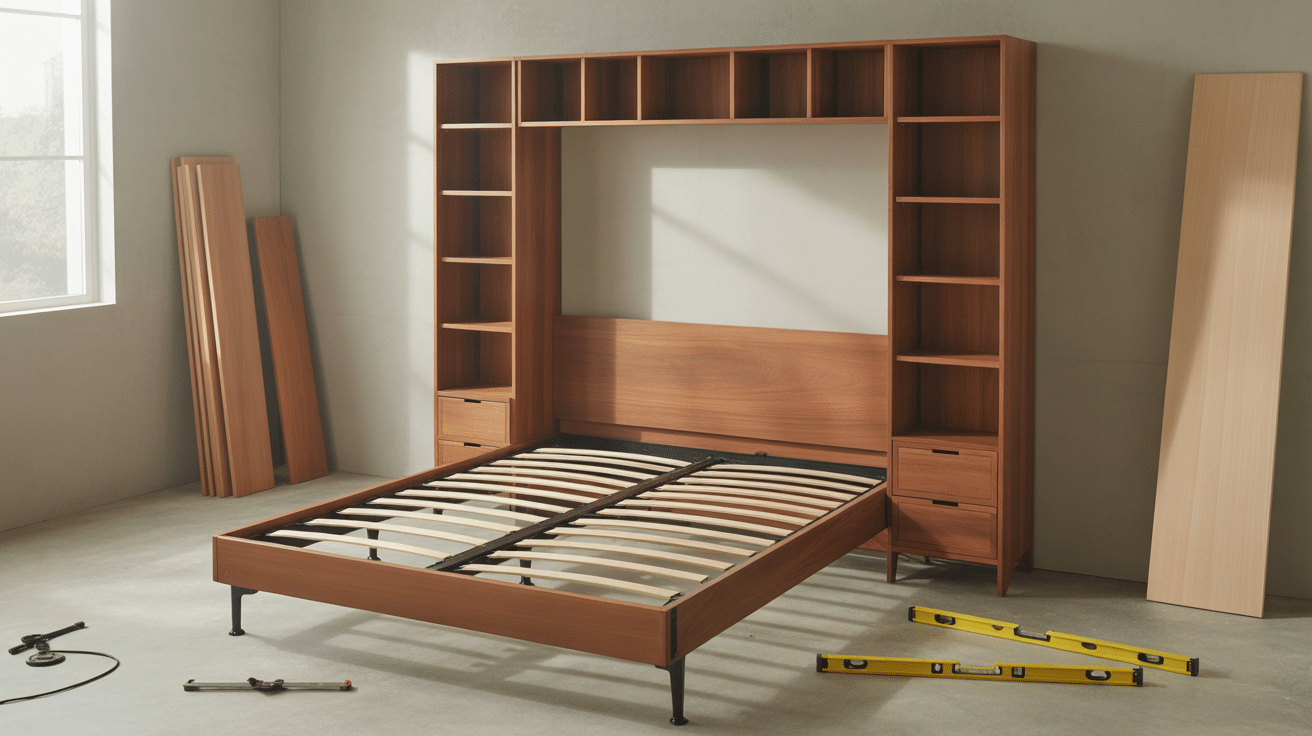
After assembling, build the cabinet that will house the bed when stored upright.
You can keep it square and stable using clamps and a level.
Along with that, add side panels and a backing board for strength and a finished look.
Step 4: Install the Murphy Bed Hardware

Immediately after the cabinet construction, you need to install it properly, following the instructions provided in your Murphy bed hardware kit.
Attach the pivoting arms, gas pistons, or springs to both the bed frame and cabinet.
Once done, check that the bed opens and closes smoothly.
Step 5: Mount the Bed to The Wall
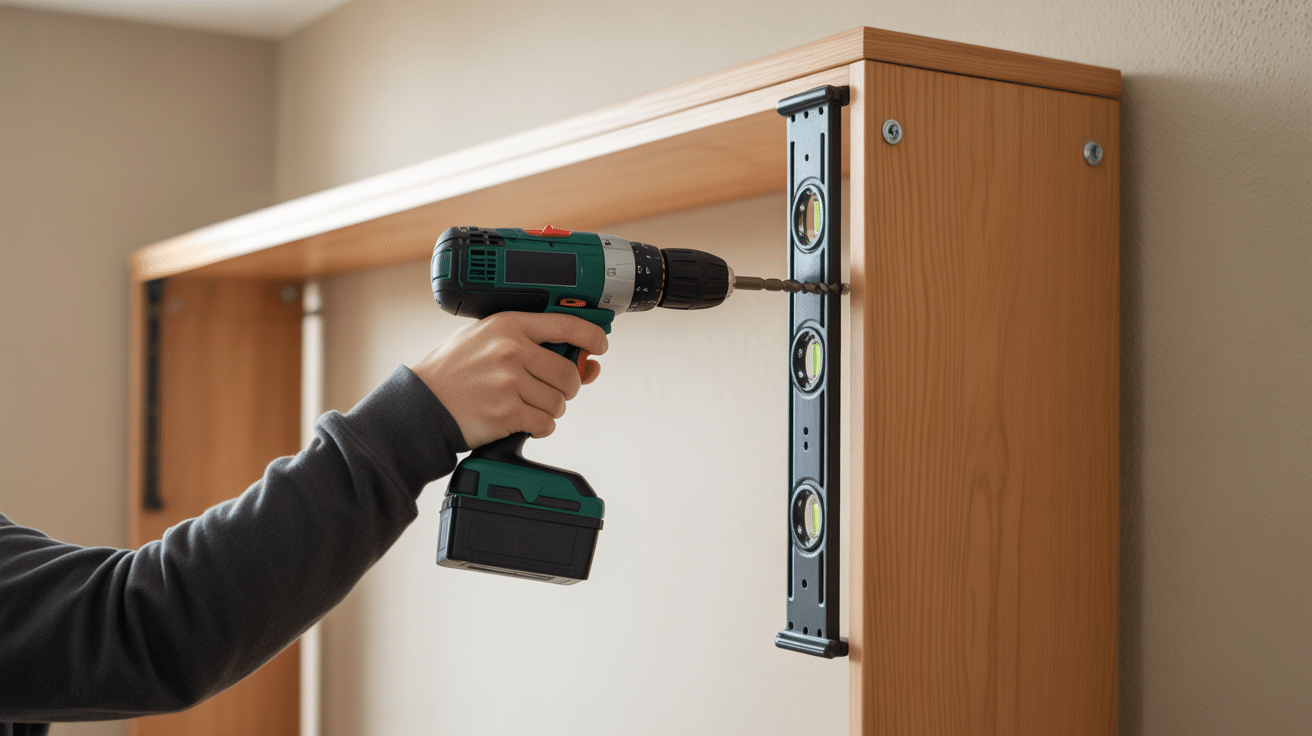
Then, use a stud finder to locate studs and anchor the cabinet securely to the wall.
After that, double-check the alignment with a level before fully tightening the bolts.
This step is critical for safety and long-term use.
Step 6: Finish and Customize

Last but not least, once everything is done, sand all surfaces for a smooth finish and fill any gaps or holes.
Then, paint or stain the wood to match your room’s decor.
Add extras like shelves, lighting, or trim for a custom touch.
For reference, please visit the link below.
Common Mistakes to Avoid While Building
Even with good Murphy bed plans, small errors can lead to big frustrations. However, avoiding these common mistakes will help ensure a smooth DIY experience and a safe, long-lasting result:
- Skipping Accurate Measurements: Failing to measure your space or lumber correctly can lead to a bed that doesn’t fit or operate properly. Always measure twice before cutting or assembling.
- Using the Wrong Hardware: Using mismatched or poor-quality hardware can cause safety issues. Stick to reputable Murphy bed hardware kits designed specifically for your bed style and weight.
- Ignoring Wall Anchoring: A Murphy bed must be securely anchored to wall studs. Mounting into drywall alone can result in dangerous tipping or collapse.
- Rushing the Assembly: Skipping steps or rushing through cuts and installs can lead to alignment problems and instability. Take your time and follow the plan carefully.
- Overloading with Extras Too Soon: Avoid adding heavy shelves, trim, or décor before the bed is fully functional. Extra weight can interfere with balance and movement if added too early.
Conclusion
Creating your own Murphy bed is a great way to save space and add a unique touch to your home.
So, just remember to take your time, follow the steps carefully, and always double-check your measurements.
It doesn’t matter if you choose a bed that folds up from the top (vertical) or from the side (horizontal); either way, you will end up with a bed that works great and looks awesome.
And the Best Part? You Made It Yourself!
Frequently Asked Questions
Is it Cheaper to Build a Murphy Bed Yourself?
Yes! DIY Murphy beds can cost between $300–$800, compared to buying one for $1,500–$3,000 or more. Building it yourself saves on labor and lets you customize the design.
How Hard is It to Build a Murphy Bed?
With clear plans, basic tools, and a Murphy bed hardware kit, it’s a moderate-level DIY project. It requires attention to detail, measuring accuracy, and comfort with tools like drills and saws.
Can I Build a Murphy Bed without a Kit?
Technically, yes, but it’s not recommended. Hardware kits include springs, pistons, and safety mechanisms designed for smooth operation and safety.

