How to Create a DIY Ceiling Medallion
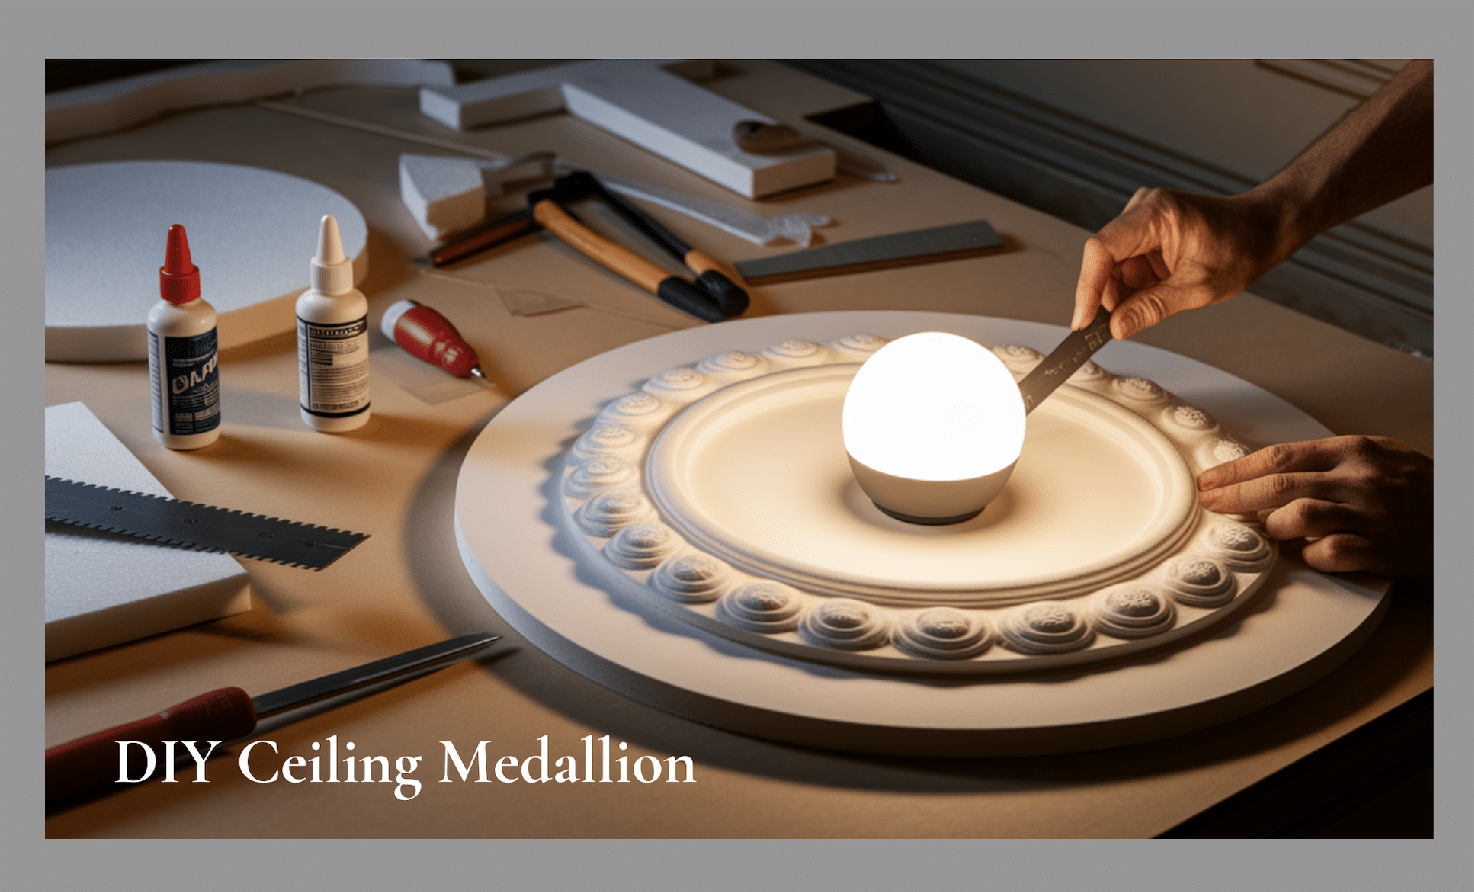
Creating a ceiling medallion at home can seem challenging, but it’s easier than most people think.
A handmade ceiling medallion makes a room look more expensive and draws attention to light fixtures in a good way. You don’t need to spend a lot of money on store-bought options when you can make one that fits exactly what you want.
With just a few basic tools and materials from any hardware store, you can have a beautiful ceiling detail in just a few hours.
This blog explains each step to creating a ceiling medallion that looks like professionals did it. From picking the right materials to putting the finished piece on your ceiling, everything is covered here.
How to Choose the Right Medallion
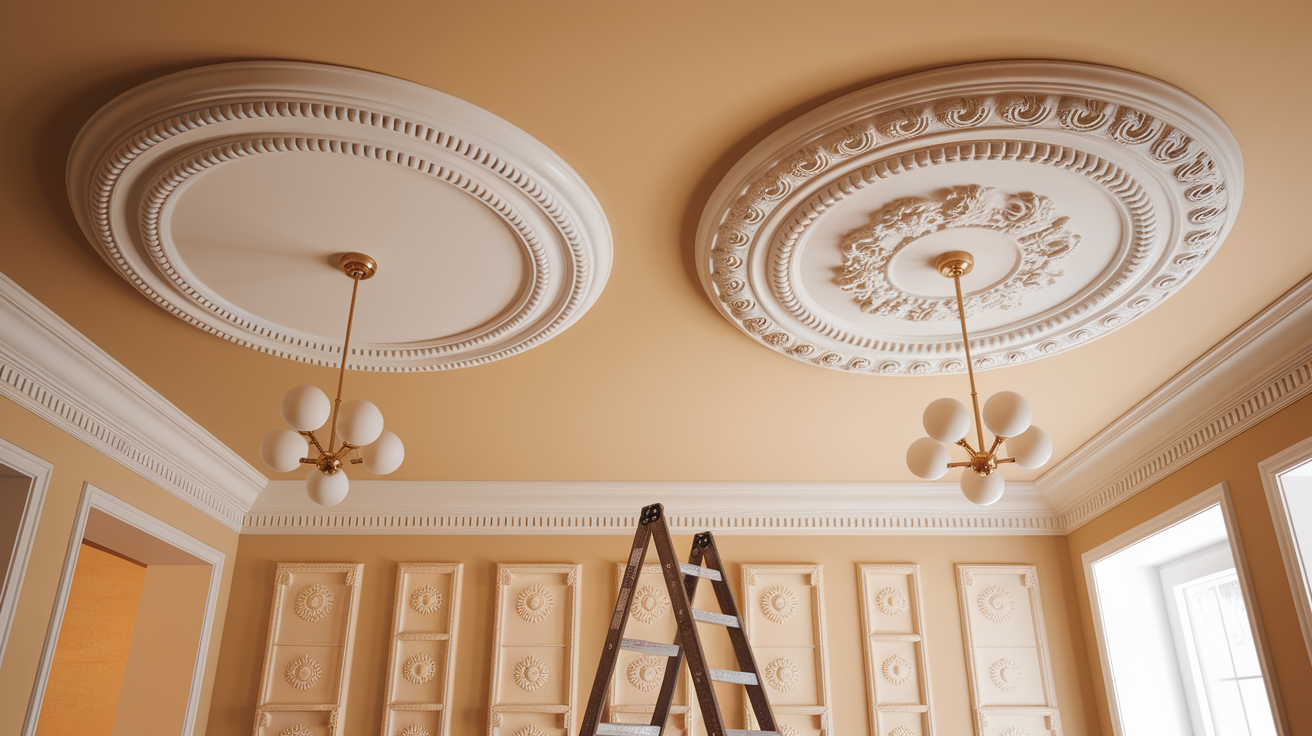
Picking the right ceiling medallion makes a big difference in how good it looks. The medallion should match the style of the room, modern designs for newer homes and classic patterns for traditional spaces.
Size matters too; a small medallion might get lost on a big ceiling, while an oversized one can make a room feel confined.
Most ceiling medallions are 10 to 30 inches wide. Look at the light fixture the medallion will surround; it should be about 1-2 inches wider than the fixture base.
Consider the height of your ceiling as well. Taller ceilings can handle larger medallions. Lightweight options like plastic or foam are easier to work with for beginners than heavy plaster ones.
Tools and Materials Needed to Make Medallion
| Tools | Materials | Optional Extras |
|---|---|---|
| Tape measure | Ceiling medallion (foam, plastic, or wood) | Painter’s tape to protect the ceiling |
| Pencil | Construction adhesive suitable for your ceiling type | Stud finder to locate ceiling joists |
| Utility knife | Caulk for sealing the edges | A helper to hold the medallion while you work |
| Sandpaper (medium and fine grit) | Screws (optional, for extra support) | |
| Paintbrush | Primer | |
| Drill with bits | Paint that matches or complements your ceiling color | |
| Ladder tall enough for ceiling |
Steps to Make a DIY Ceiling Medallion
Follow these easy steps to create a personalized DIY ceiling medallion that perfectly fits your room’s size, proportions, and style. This will improve your space’s visual appeal.
Step 1: Consider Room Size and Proportions
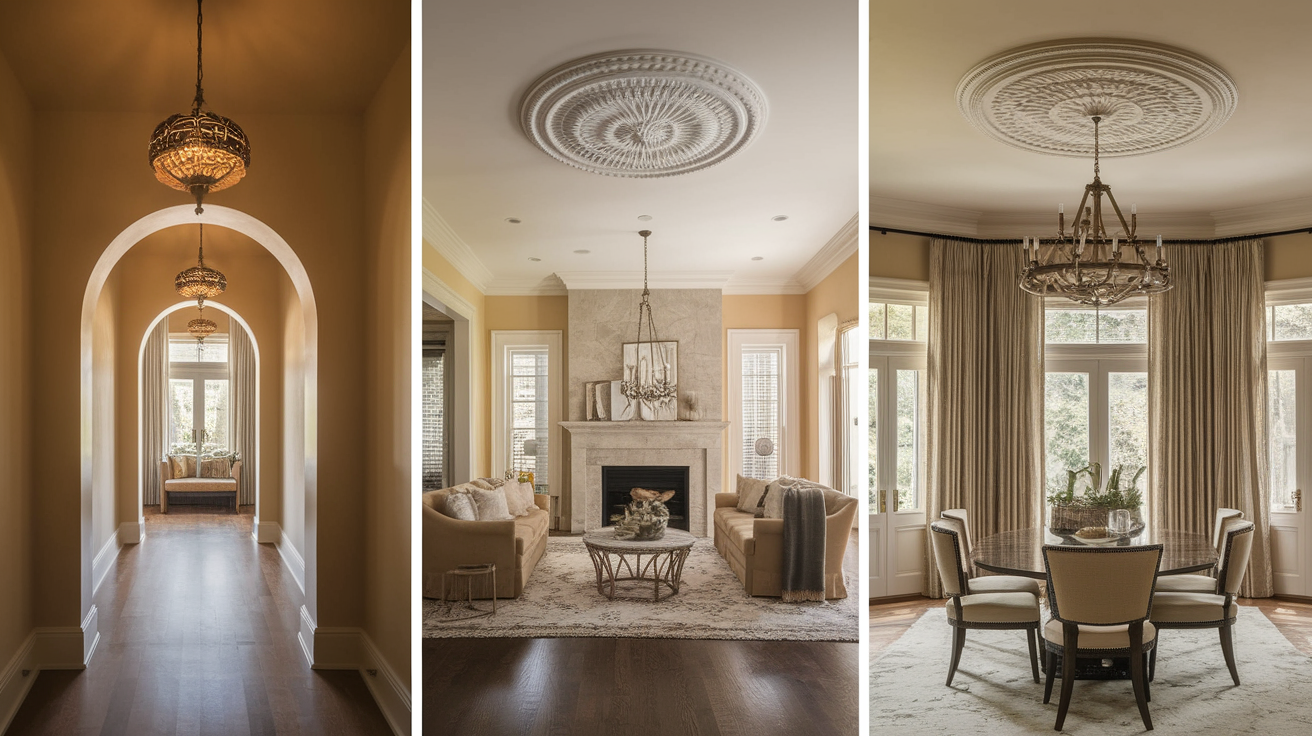
Room size and ceiling height guide medallion choice. For rooms under 140 sq ft, pick medallions 10–20 inches wide.
Medium rooms (140–210 sq ft) suit 20–30 inch sizes. Larger spaces over 210 sq ft can handle medallions over 30 inches. Match the ceiling height, too.
Higher ceilings handle bigger medallions. Square rooms look great with round medallions, while rectangular spaces benefit from oval or rectangular styles.
Tip: Always step back and visualize the look, ensuring balance without overpowering the ceiling.
Step 2: Material Selection
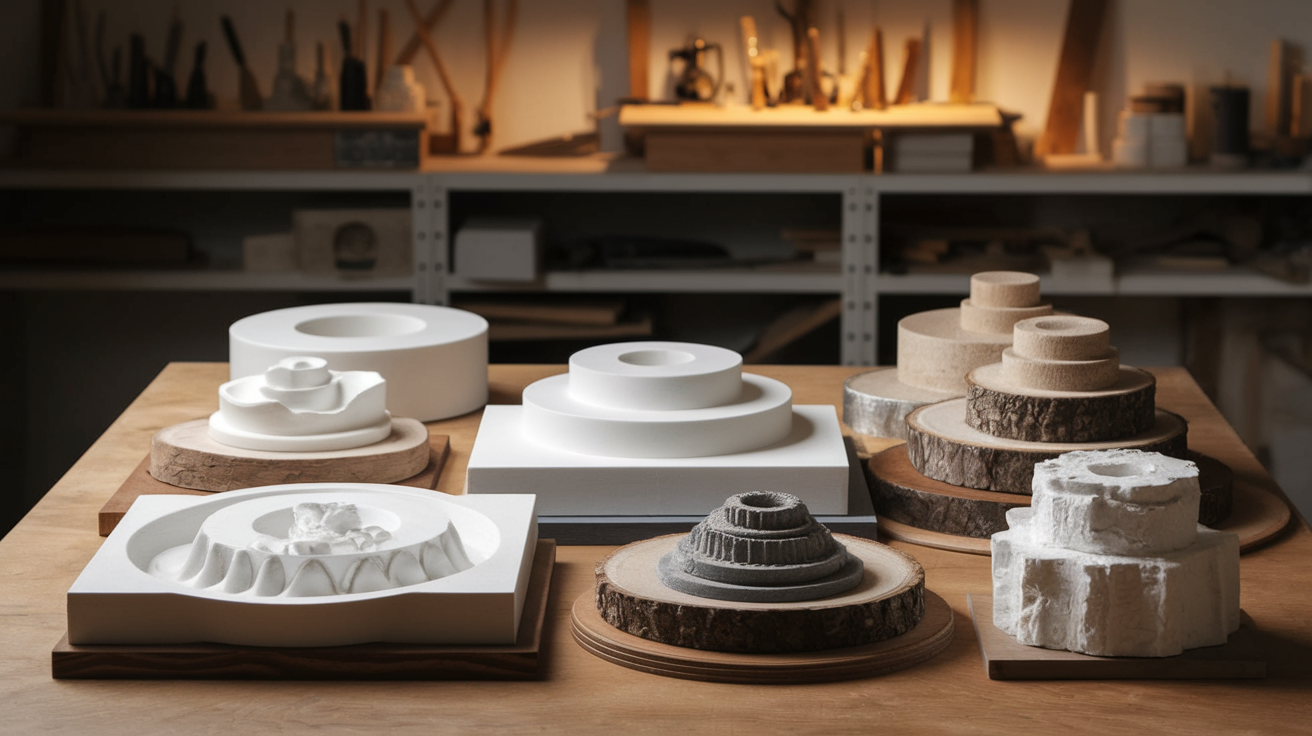
Choose medallion material based on your skill and room needs. Polyurethane is lightweight, moisture-resistant, and great for kitchens or bathrooms.
Plaster suits historic homes, offering depth but being heavier and costlier. Foam is budget-friendly and easy to cut, ideal for beginners. Wood offers natural beauty and can be stained, adding warmth.
Smart Tip: For creative options, try paper mache or decorative ceiling tiles. When picking your material, balance durability, budget, and style for the best long-term results.
Step 3: Style and Design
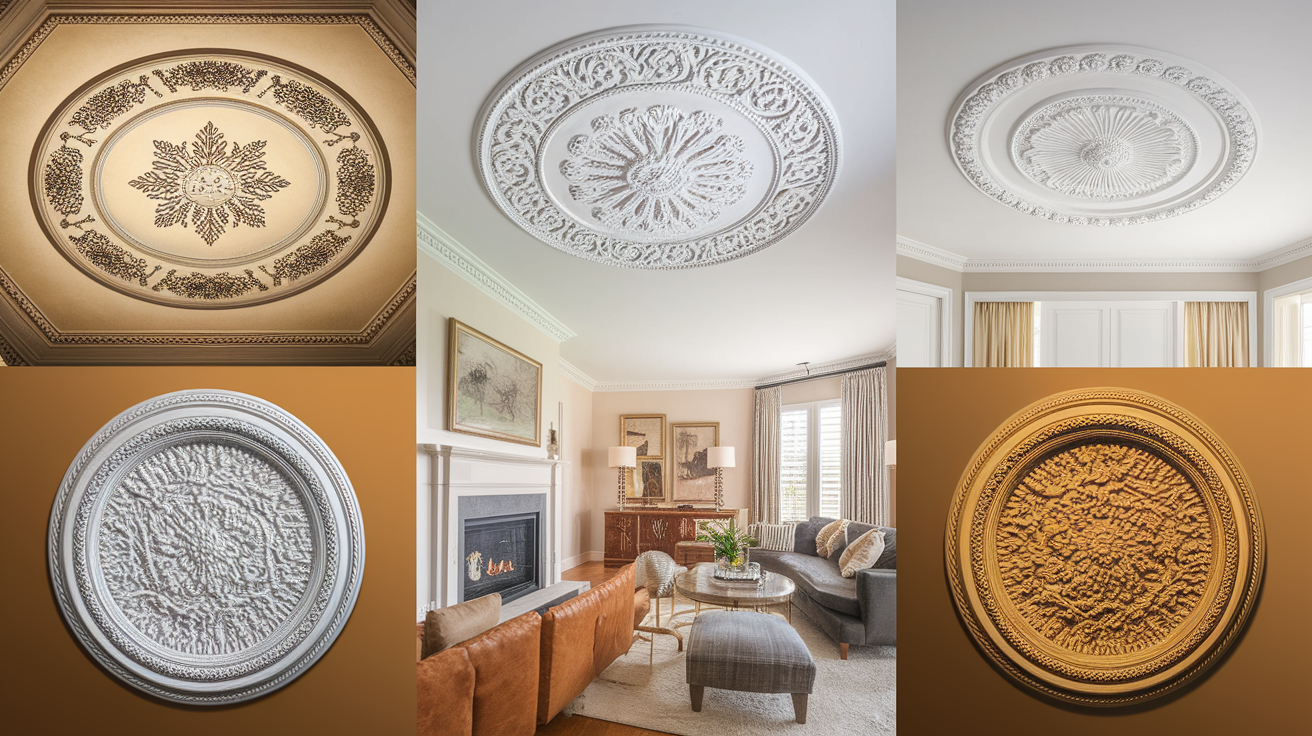
Select a medallion style that matches your room’s decor. Traditional spaces pair well with floral or ribbon motifs.
Modern designs are clean lines and geometric shapes. Victorian homes suit ornate, detailed medallions, while mid-century styles shine with starburst patterns.
Coordinate with existing trim and moldings for a unified look. Flat medallions bring mild charm, while deeper ones add dramatic shadows.
Tip: Simple designs work well with most decor styles.
Step 4: Pre-Installation Preparation

Preparation ensures smooth installation. Turn off the power at the breaker box, then remove your light fixture.
Clean the ceiling with mild soap and water, let it dry, and repair any cracks with spackle. Sand, then mark the center with painter’s tape.
Scrape away popcorn texture if needed. Pre-paint your medallion on a flat surface for easier detailing and drip prevention.
Tip: Allow the paint to dry fully for at least 24 hours before installation begins.
Step 5: Measuring and Marking
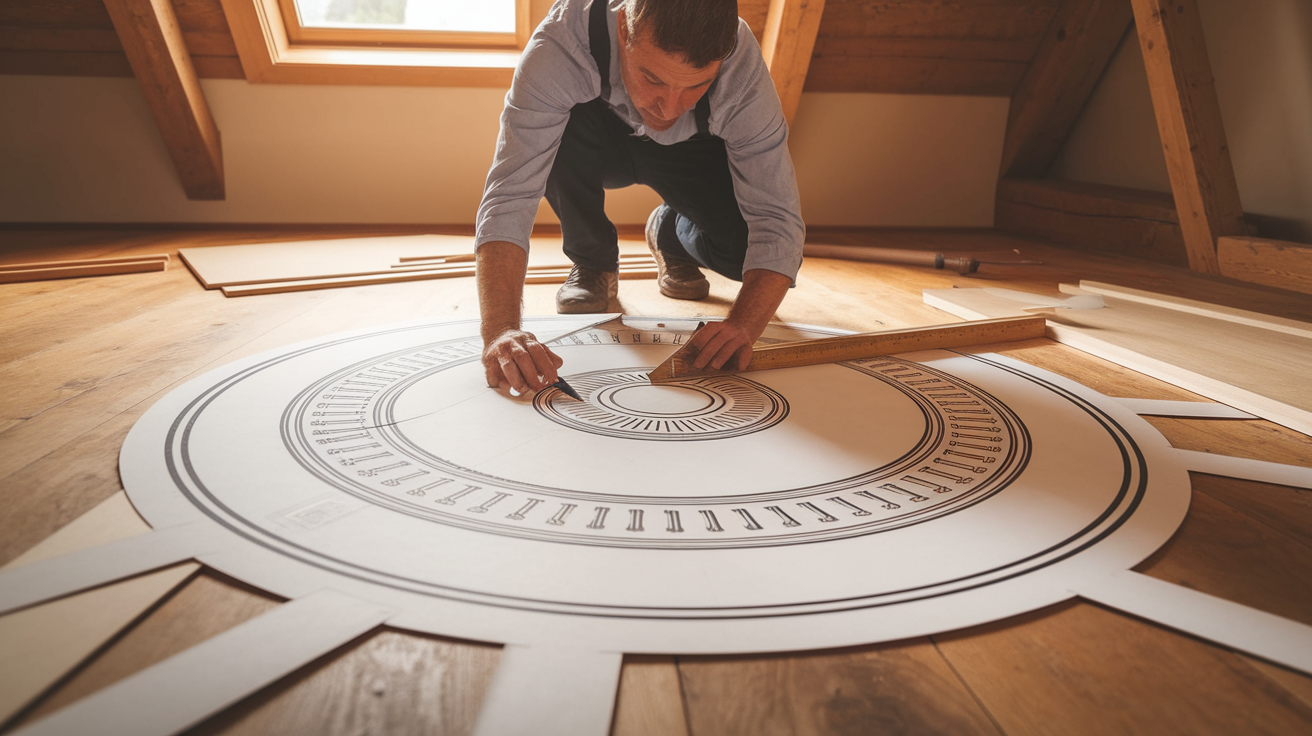
Accurate measuring keeps your medallion centered. Measure your ceiling’s length and width, then mark their halfway points to find the center.
Use pencil marks that can be painted over later. For larger medallions, use a paper template and tape it to the ceiling to visualize placement.
Lightly trace the medallion outline on the ceiling. If using multi-piece medallions, mark individual piece positions.
Tip: Always double-check measurements to ensure perfect alignment before applying adhesive.
Step 6: Applying Adhesive
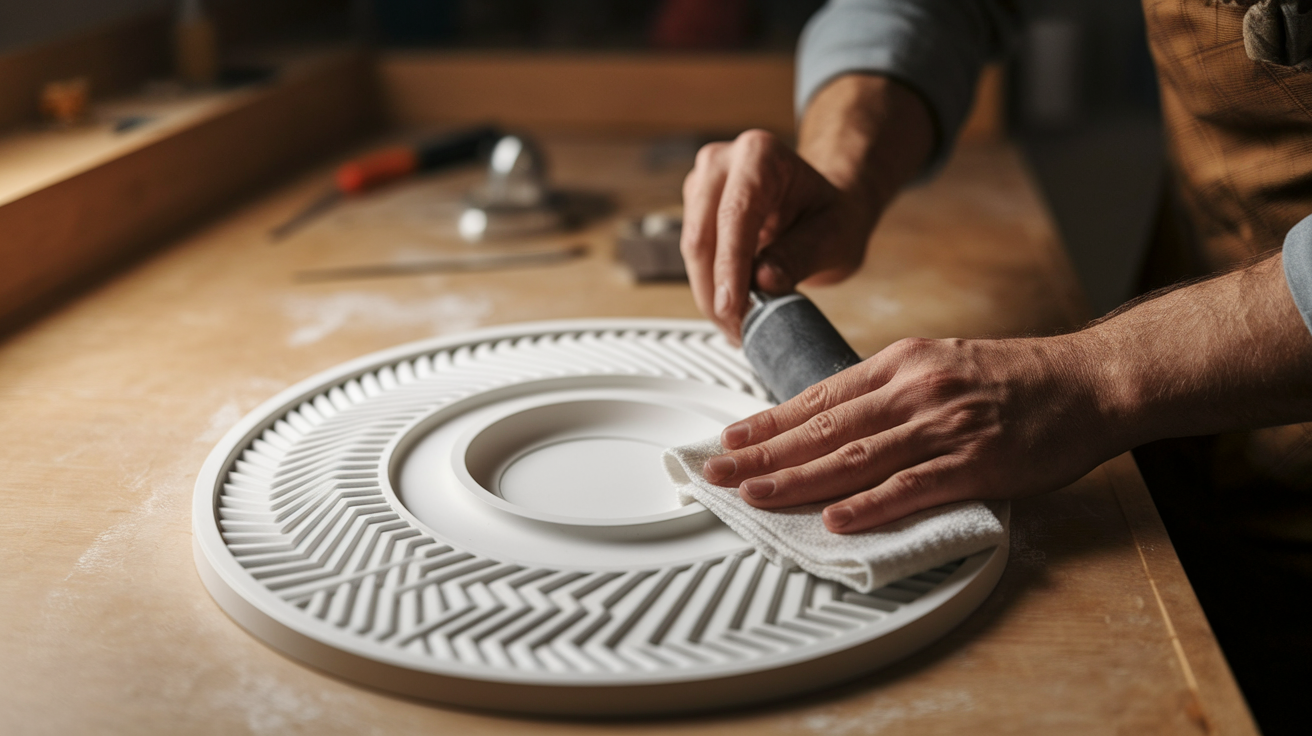
Proper adhesive application secures the medallion long-term. Select construction adhesive for heavier medallions or ceiling adhesive for lighter ones.
Apply in a zigzag pattern across the back, staying an inch from edges to prevent overflow.
For large medallions, work in sections to avoid drying too soon. Roughing surfaces with sandpaper may improve adhesion.
Smart Tip: Immediately wipe off any adhesive that squeezes out with a damp cloth. Careful application ensures a neat, lasting finish.
Step 7: Securing the Medallion

After placing the medallion, press firmly for 30–60 seconds to set the adhesive.
For heavy medallions, pre-drill holes and insert finishing nails or screws into ceiling support. Countersink fasteners slightly so they can be filled later.
Two-piece medallions should be secured half at a time, ensuring perfect alignment. Step back often to check balance and level.
Tip: Let the adhesive cure completely, typically for 24 hours, before reattaching any light fixtures or ceiling accessories.
Step 8: Finishing Touches
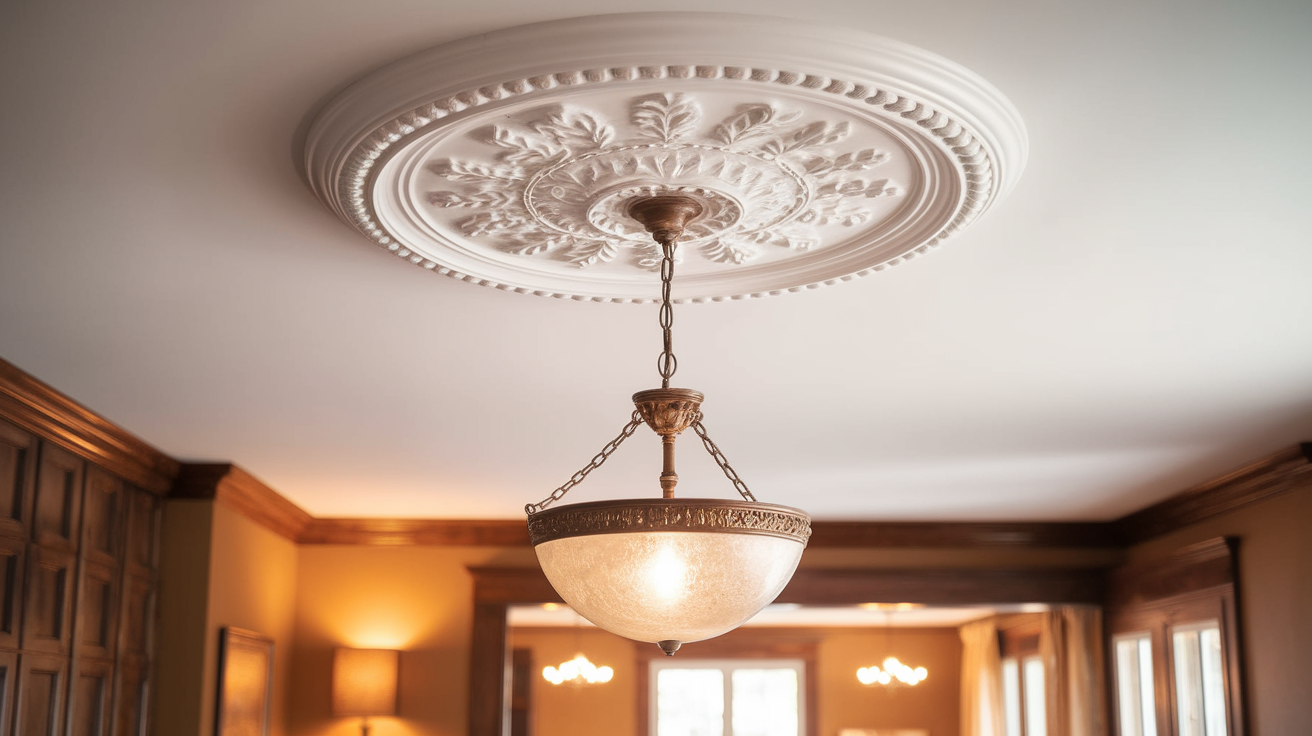
Final touches improve the medallion’s look. Fill nail holes or seams with paintable caulk, smoothing with a damp finger.
Caulk around edges for a neat finish, then allow it to dry fully. Touch up the paint with a small brush to cover imperfections.
Tip: For extra flair, consider using metallic paint to highlight raised details. Once completely dry, reinstall the light fixture securely.
These careful details make your DIY medallion look polished and professionally installed.
Some Creative Ideas for Ceiling Medallions
Here are some easy DIY ideas for ceiling medallions. Make a lace design for a soft touch, or try a starburst style for something bold; both are sure to brighten up your space.
1. DIY Lace Ceiling Medallion
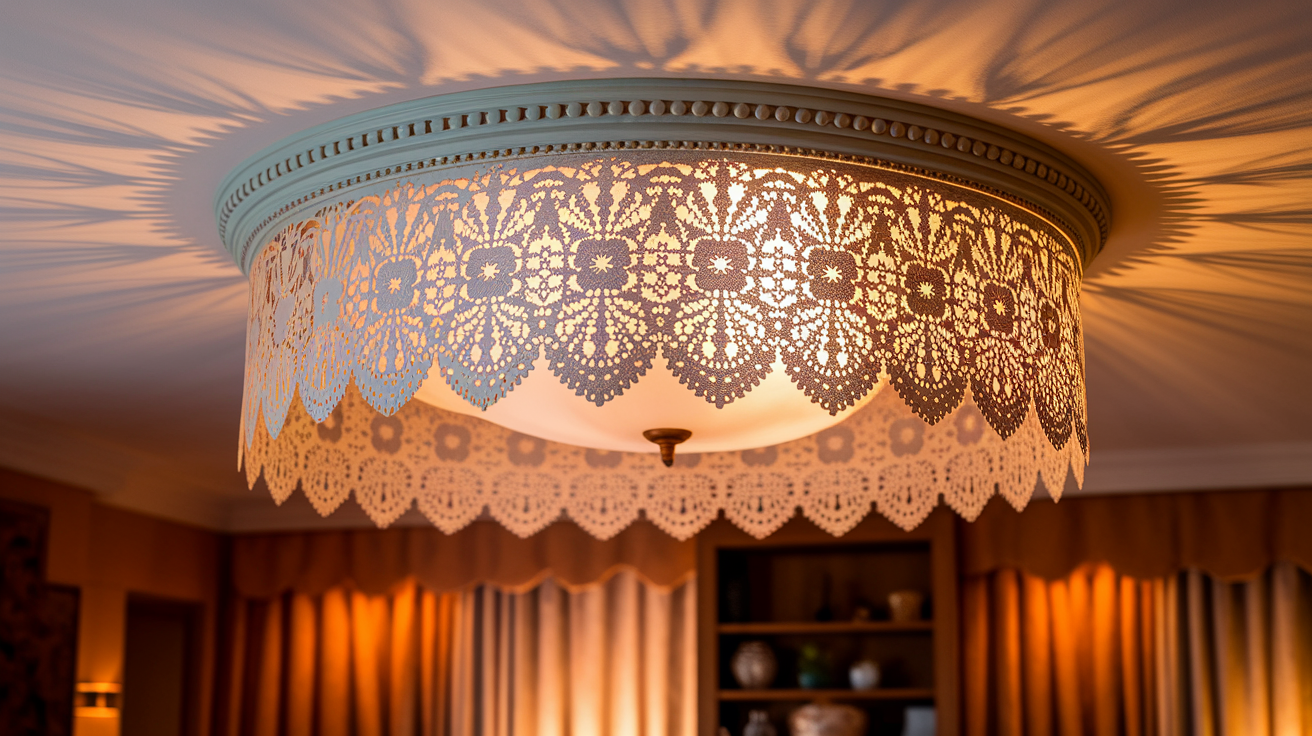
Bring charm to your room with the beauty of lace ceiling medallions made using affordable materials. They provide a refined touch to any room, making your décor look distinctive and appealing.
- Material: Use stiff lace fabric prepared with fabric stiffener or liquid starch.
- Paint: Apply two light coats of spray paint in your chosen color.
- Installation: Attach the medallion using adhesive around the light fixture.
This simple and creative project is perfect for adding style and personality to your ceilings. Let your imagination shine and effortlessly create a refined look.
2. Starburst Ceiling Medallion
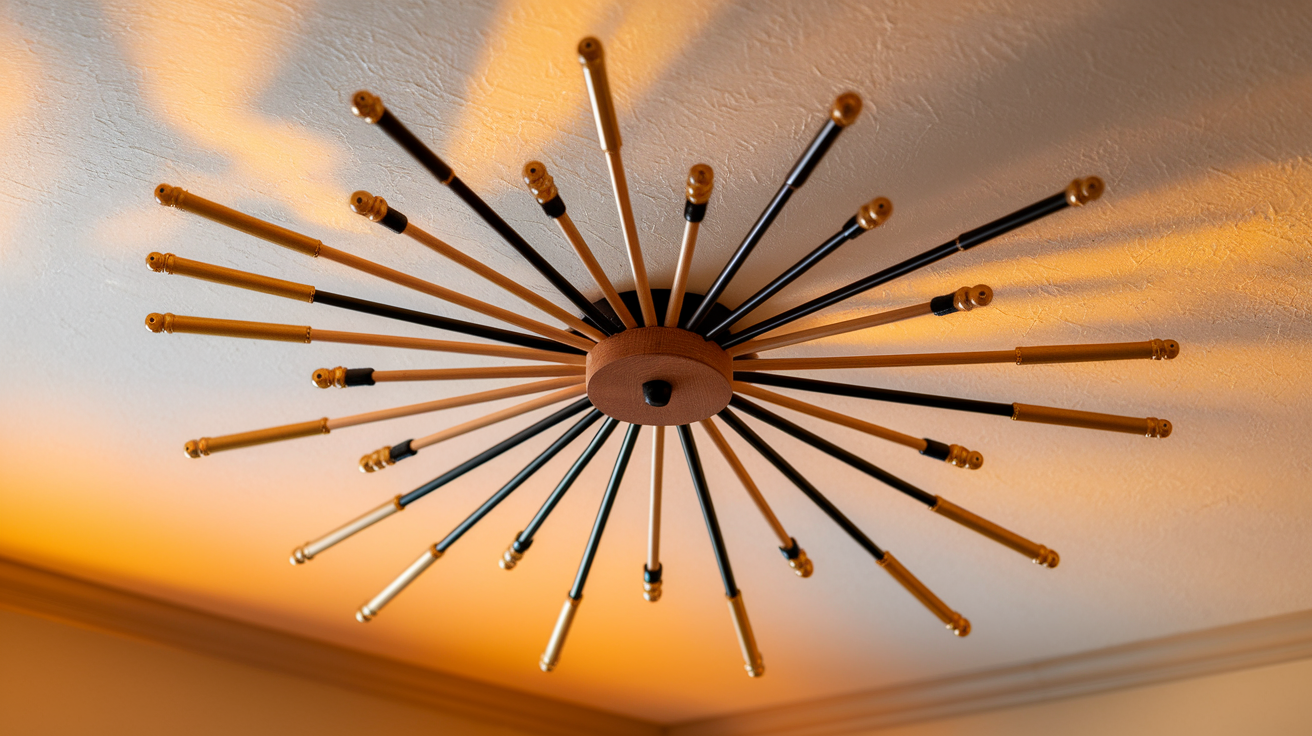
To upgrade your space, create a striking starburst ceiling medallion in a mid-century style. This simple project is perfect for adding a bold, decorative flair.
- Material: Circular plywood base, wooden dowels of varying lengths, wood glue, screws.
- Paint: Metallic gold, silver, or black; apply primer and two coats of paint for an even finish.
- Installation: Use adhesive and screws to attach the medallion to the ceiling securely.
This bold statement piece will change your ceiling into an eye-catching focal point with ease.
3. Rustic Ceiling Medallion
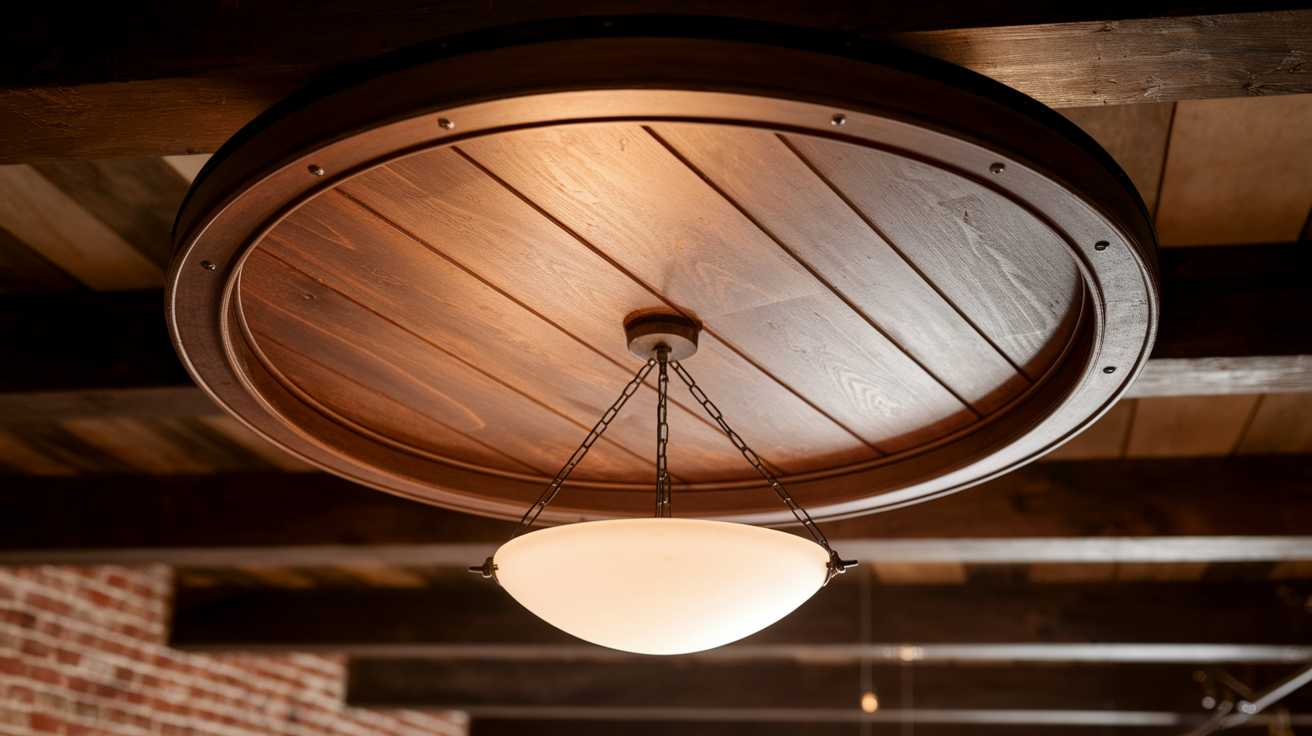
Create a unique rustic ceiling medallion using the top or bottom of a wooden barrel. This idea adds warmth and character to your space and is perfect for farmhouse or industrial designs.
- Material: Wooden barrel top or bottom, sandpaper, wood stain, screws, drill.
- Paint: Sand and stain the wood for a polished look; choose natural or dark stains for depth.
- Installation: Drill holes for wiring if used with a light fixture. Attach the medallion securely to the ceiling using screws or adhesive.
This rustic medallion is a lovely addition to farmhouse or industrial-style spaces. It brings a warm and unique charm to your ceiling decor.
Cost Breakdown of Different Medallions
| Type | Price Range | Best For |
|---|---|---|
| Foam Medallion | $10–$40 | Budget-friendly, lightweight, and easy to install for beginners. |
| Polyurethane Medallion | $15–$100 | Durable, versatile designs for mid-range budgets. |
| Wood Medallion | $40–$150 | Natural, timeless appeal for rustic or classic interiors. |
| Decorative Lace DIY | Under $30 total | Creative, customizable medallions using lace and fabric stiffener. |
| Total Project Cost | $30–$200 | Includes materials like adhesive, paint, and tools (varies by design). |
Certain Ceiling Medallion Issues & Maintenance Tips to Look After
Here are some common issues you might face with ceiling medallions and simple maintenance tips to keep them looking great and lasting longer.
- If the medallion doesn’t sit flat, use extra adhesive in the gaps or sand down high spots to improve the fit.
- Inadequate adhesive strength can cause slipping—switch to stronger glue or add screws for extra support.
- Fill any gaps in two-piece medallions with caulk, then paint over to blend and create a seamless look.
- If pressed unevenly, air bubbles can form. Pop them with a pin and smooth them out before the adhesive dries.
- If the medallion looks misaligned, reposition it promptly before the adhesive fully sets.
- Wipe regularly with a microfiber cloth, especially in kitchens, where grease attracts dust.
- Inspect your medallion yearly and seal small cracks with caulk to prevent further damage.
- In bathrooms, ensure proper ventilation to avoid moisture buildup that can damage the medallion.
Conclusion
Adding a ceiling medallion brings character to any room without spending too much.
The steps outlined here make the process manageable, even for people new to home projects. Ceiling medallions create a focal point that catches the eye and adds value to the space.
Taking time to select the right size, material, and design pays off with beautiful results that last for years. With proper installation and occasional cleaning, a ceiling medallion remains an attractive feature in any room.
Remember to match the medallion to the room’s style for the best effect. This small addition can truly change a room’s feel and look.
Why not give it a try? The results might be surprisingly good and worth every minute spent.


