How to Create a Simple DIY TV Frame
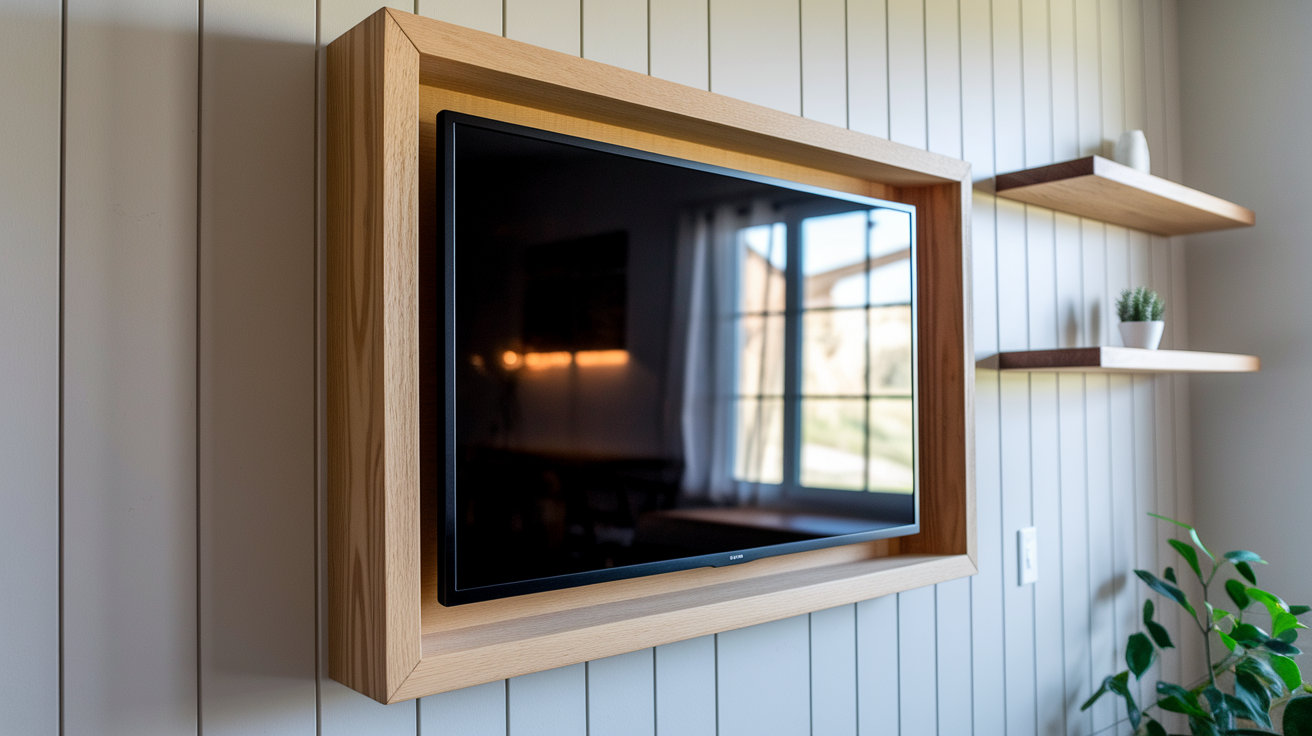
Want to make your TV look better on the wall? A DIY TV frame can turn that plain black screen into something that fits your home style.
When your TV is off, it often looks like a dark hole in your wall. But with a simple frame, you can make it blend in with your room decor.
Making your own TV frame isn’t hard or expensive. You’ll need some basic tools and materials you can find at any hardware store. The best part is that you can finish this project in just a few hours.
This blog will show you exactly how to measure, cut, and install a custom frame that makes your television look like wall art instead of just technology.
Choosing the Right Frame Style
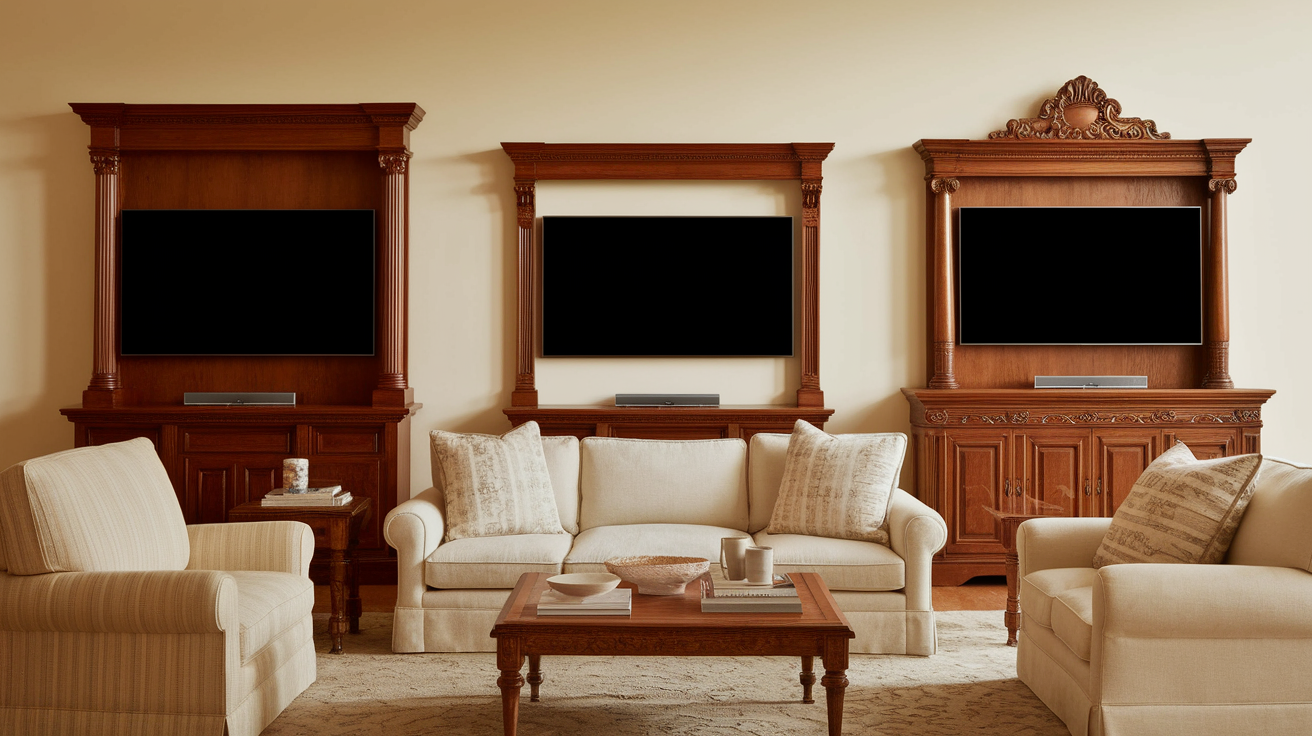
The perfect TV frame matches both the room style and the TV size. Slim frames with clean lines work well for modern rooms, while more detailed woodwork improves traditional spaces.
When picking frame materials, consider the room colors. Dark woods like walnut or mahogany suit rooms with rich colors, while light woods such as pine or maple fit nicely in bright, airy spaces.
Frame thickness matters, too. Larger TVs need slightly thicker frames for visual balance, while smaller screens look best with thinner frames. A good rule is that frame thickness should look right from a viewing distance.
Materials and Tools Needed for TV Frame
Below is the list of tools nd materials we need to build the TV frame:
Materials:
- Wood trim or molding (pine is budget-friendly)
- Wood glue
- Corner brackets
- Sandpaper (medium and fine grit)
- Paint or wood stain
- Clear finish sealer
- Velcro strips or command strips
- Measuring tape
- Pencil
Tools:
- Miter saw or hand saw with miter box
- Drill with small drill bits
- Screwdriver
- Sanding block
- Paintbrushes
- Wood clamps
- Level
- Safety glasses
- Work gloves
Approximate Cost: Building TV Frame at cost will be $30 to $80. The cost may vary according to the quality of the wood.
Step-by-Step Guide to Build TV Frame
Follow this detailed guide to build a custom DIY TV frame with ease, ensuring a perfect fit and professional results.
Step 1: Measure Your TV Length
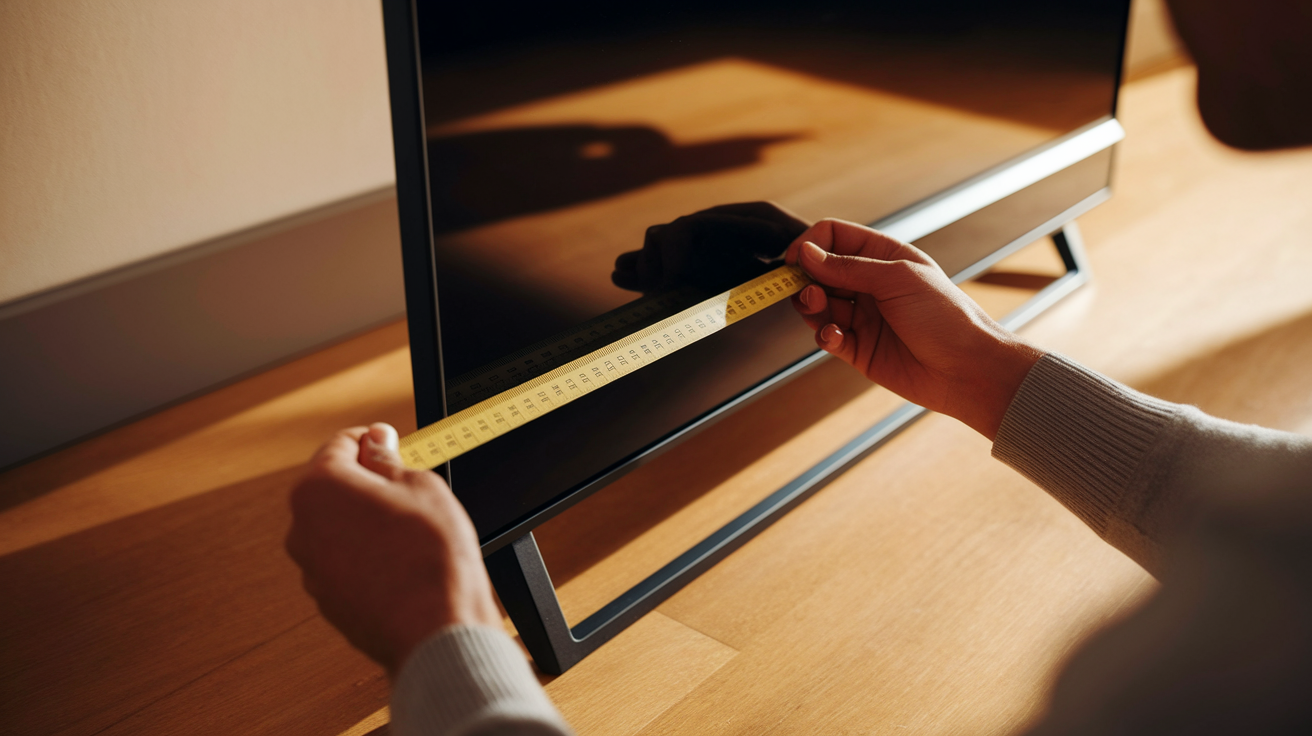
To ensure a perfect TV frame fit, measure the visible screen’s width and height, along with the total bezel dimensions, adding 1/4 inch on all sides for clearance.
Measure twice for accuracy, noting any variations, and use the largest measurement. Record dimensions clearly with a labeled diagram for easy reference, and double-check your notes before starting the frame construction.
Step 2: Select and Cut the Frame Material
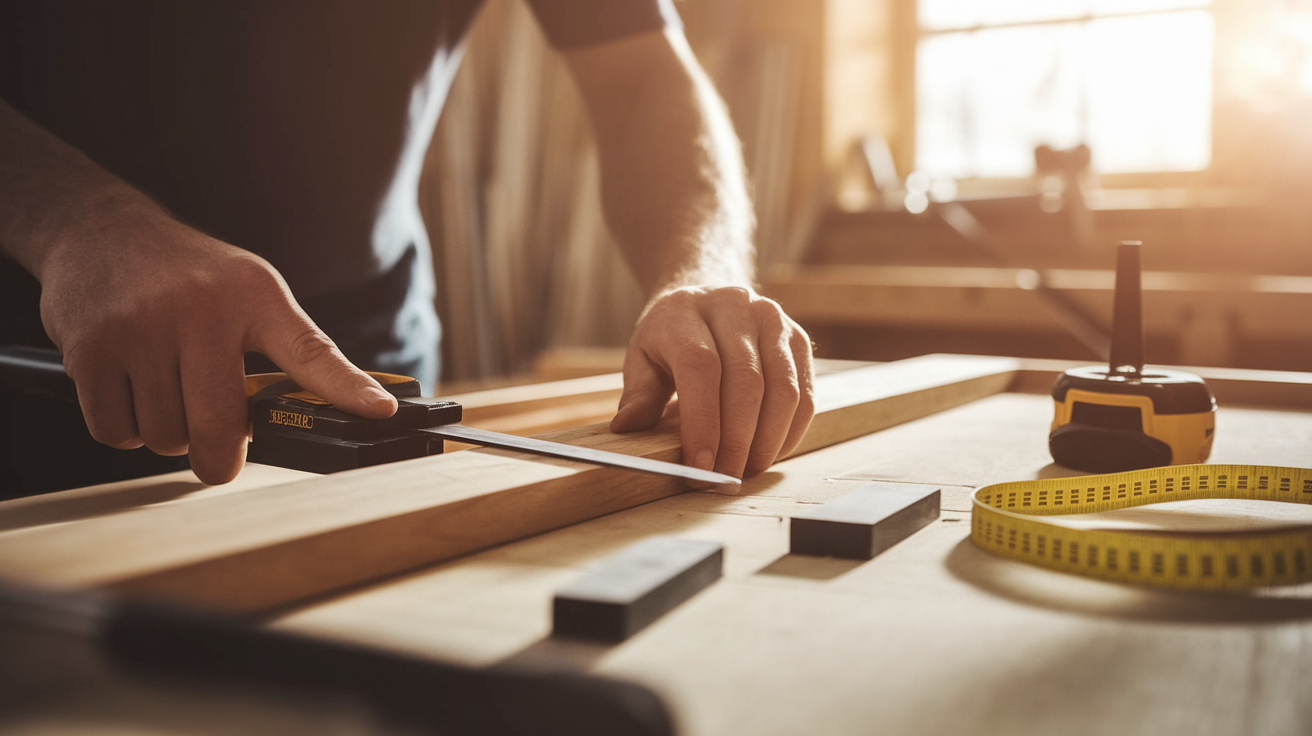
Choose straight, warp-free wood trim in your desired style. Add the trim width to the TV measurements for accurate sizing.
Cut corners at 45-degree angles for a clean fit, marking and labeling pieces beforehand. Cut slowly and clamp the wood securely for precision. Ensure power saw blades stop completely before lifting.
Even small cutting errors can cause misaligned corners, so careful work is essential. Neatly cut and fitted wood ensures a polished, professional frame for your TV.
Step 3: Sand and Paint or Stain
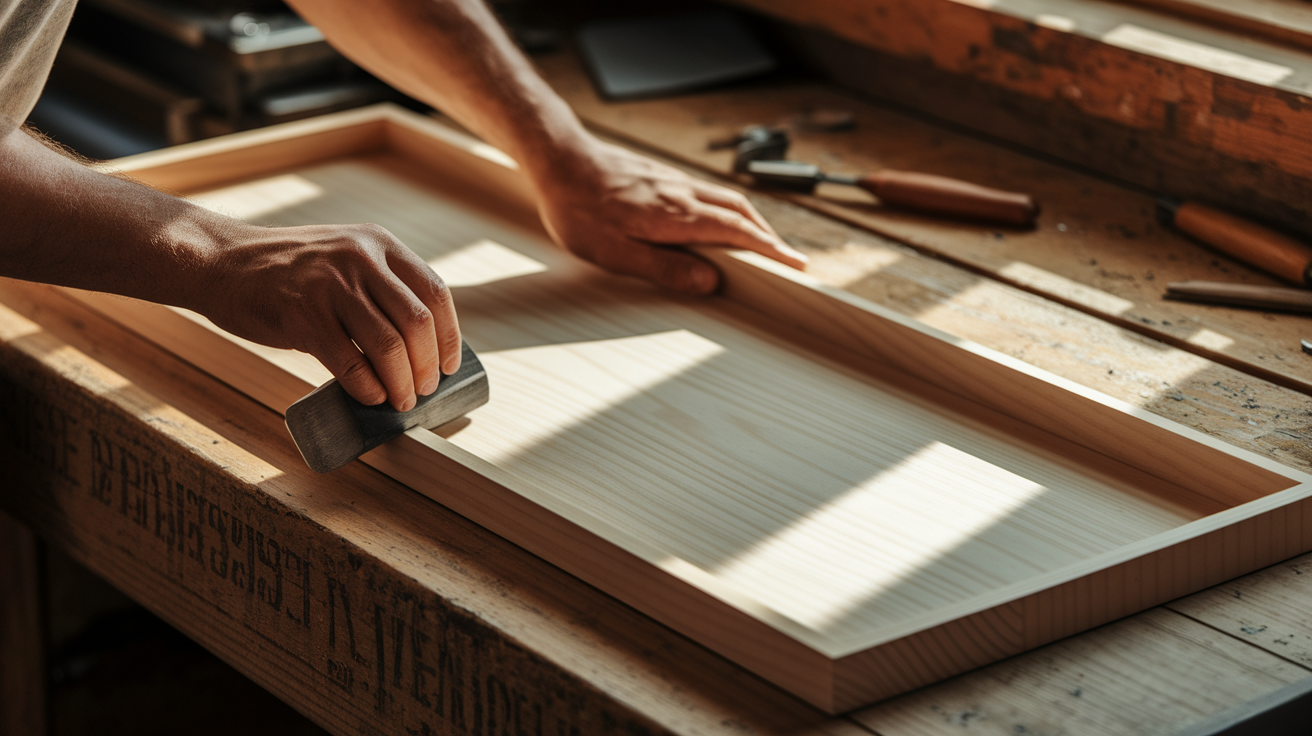
Sanding smooths wood for painting or stain. Start with 120-grit sandpaper for rough spots and finish with 220-grit for a silky surface, sanding along the grain. Wipe with a damp cloth to remove dust and dry completely.
Apply primer before painting, followed by two coats, letting each dry. For staining, brush or cloth on stain with the grain, wiping excess for lighter or leaving longer for darker tones.
Finish with a sealer and sand lightly between coats for a polished look.
Step 4: Assemble the Frame
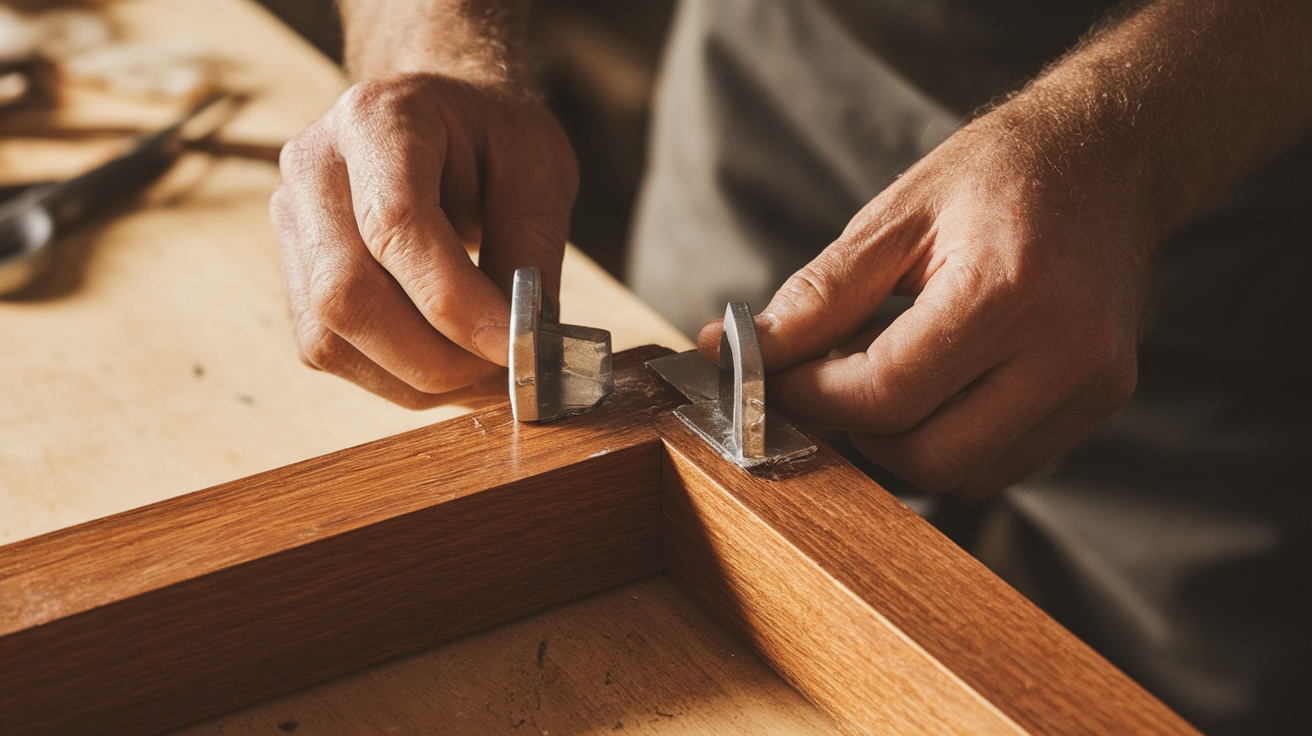
Assemble the frame with a helper, laying out the four pieces on a flat surface to align the angled corners. Apply wood glue at the joints, press corners firmly, and ensure right angles.
Wipe excess glue and secure joints with corner brackets using pre-drilled holes and screws to avoid splitting. For added strength, glue wooden corner blocks inside.
Let the glue dry for 24 hours as directed to make sure durable joints. Rushing may weaken the frame’s stability.
Step 5: Attaching the Frame to the TV
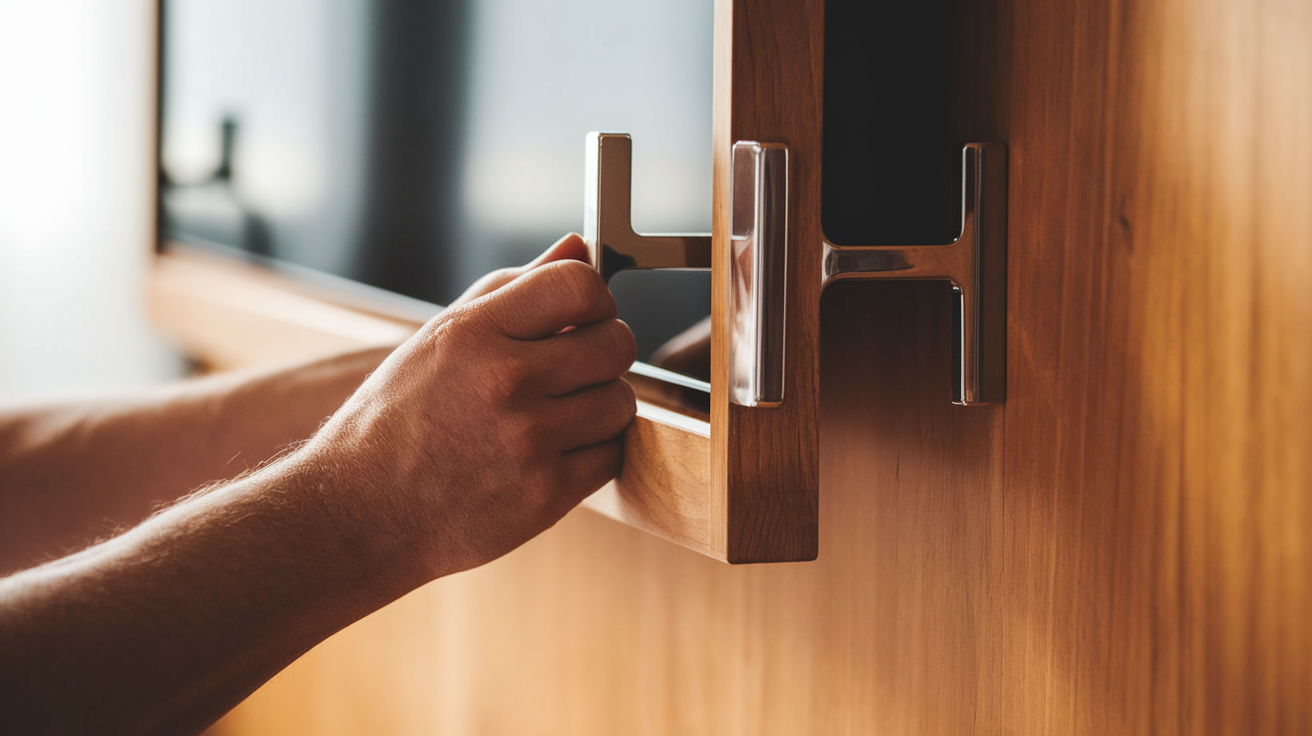
Attach the frame securely using Velcro or command strips for easy removal or L-brackets for wall-mounted TVs.
Temporarily place the frame to check the fit and adjust as needed. Make sure the frame sits evenly over the screen without blocking any part of it.
A slightly loose fit is safer than a tight one. Avoid attaching heavy frames directly to the screen or obstructing ventilation openings.
How to Personalize Your TV Frame
Try these creative ways to personalize your TV frame, adding unique touches that complement your style and home decor.
- Use Paint Techniques Like Color Washing: Apply paint and wipe it off while wet to create subtle texture and depth.
- Add Patterns with Stencils: Stencils make it easy to apply decorative patterns without needing artistic skill.
- Attach Small Decorative Items: Flat wooden shapes from craft stores can be glued to frame corners or edges for extra detail.
- Switch Frames Seasonally: Create multiple frames to swap out for different seasons or holidays, keeping your decor fresh.
- Incorporate Family Photos: Arrange small, scaled-down family photos along the top of the frame and clear coat them for protection.
- Wrap the Frame in Twine or Rope: For a coastal vibe, glue twine or rope around the frame, wrapping it tightly and evenly.
- Keep Additions Lightweight: Ensure all decorative elements are light to avoid stressing the frame and its attachments.
List of Alternative DIY TV Frame Ideas
Here are some alternative ideas for DIY TV frames that combine creativity, style, and functionality for your home decor.
1. Reclaimed Barn Wood Frames
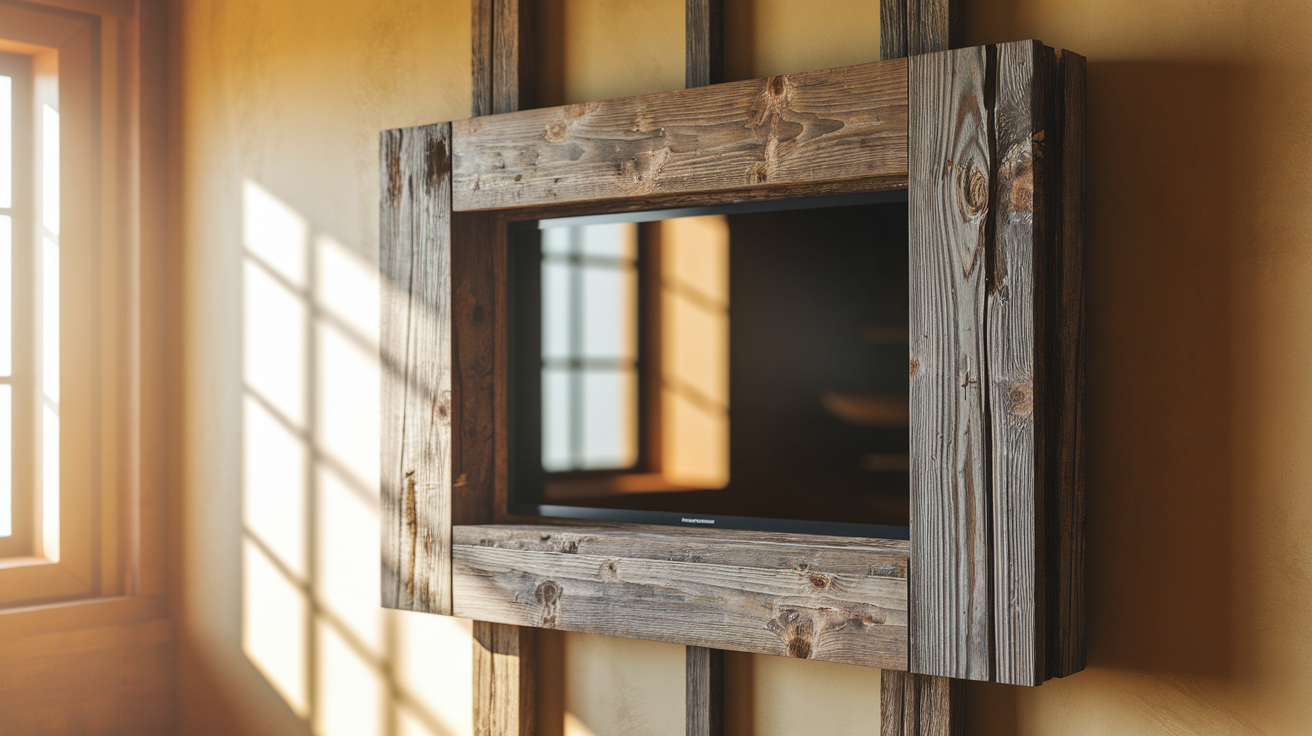
Reclaimed barn wood adds rustic charm to your DIY TV frame with its natural, weathered texture that requires minimal finishing.
This eco-friendly material, ideal for a farmhouse or vintage look, is available at salvage yards or specialty lumber stores.
Measure, cut, and securely attach it around your TV. Each frame’s unique imperfections add to its character, creating a one-of-a-kind, sustainable centerpiece for your living space.
2. Picture Frame Molding
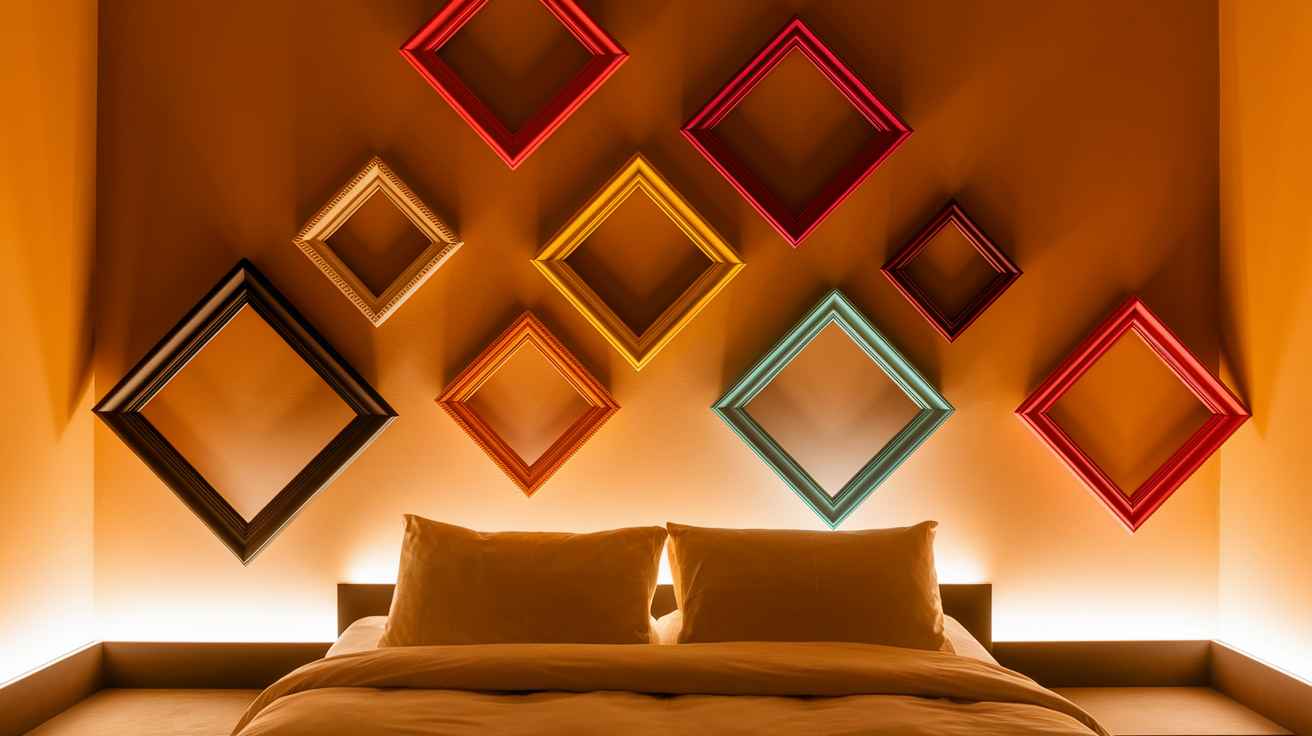
Picture frame molding offers a decorative, refined option for TV frames with carved details for a polished appearance. Available in styles ranging from classic to ornate, it effortlessly complements your room’s decor.
Paint or stain the molding to match your color scheme. Cut and miter the molding, then glue or nail pieces together for easy assembly.
The result is a tasteful frame that improves your entertainment space.
3. Lighted Frames
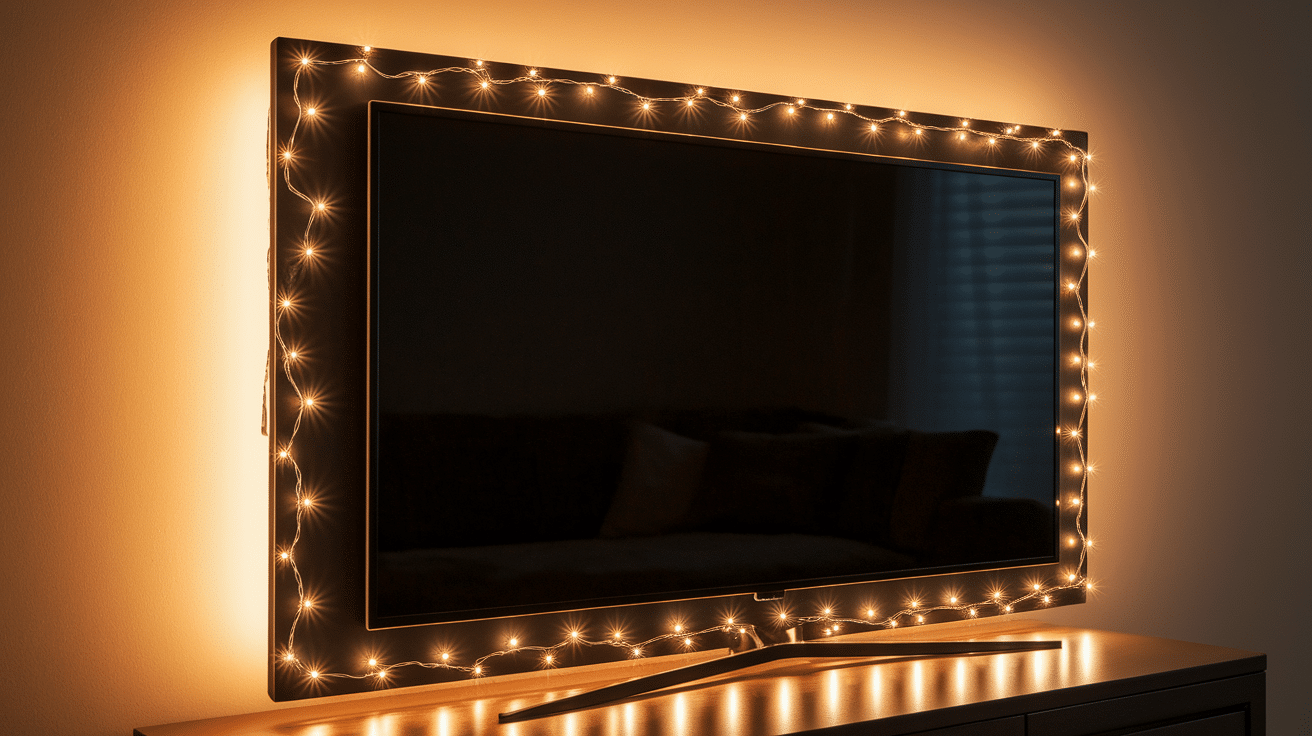
Lighted frames bring style and practicality, creating a glowing halo effect that improves the atmosphere and reduces eye strain.
Attach LED strips or fairy lights to the frame’s back edges for indirect lighting. Choose adjustable brightness or color-changing options to match your mood or decor.
Perfect for modern spaces or home theaters, lighted frames provide a high-tech yet simple DIY touch that smoothly upgrades your TV area.
4. Plastic Trim Frames
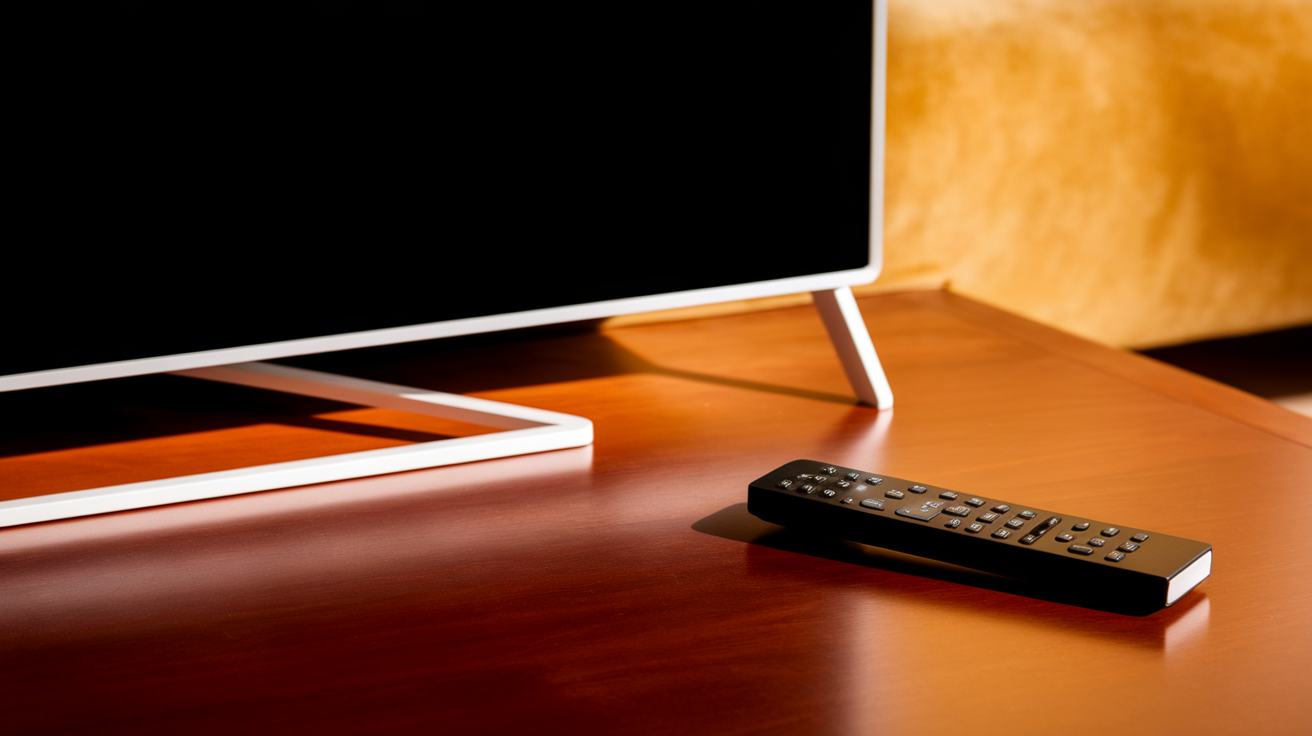
Plastic trim offers a cost-effective, lightweight option for DIY TV frames. It is available in various profiles and is easily cut to size. Paint it to match your decor, or use bold colors for contrast.
Plastic trim mimics wood or metal and improves design flexibility. You can assemble it by gluing or nailing pieces together and mounting them around your TV.
This affordable, beginner-friendly project delivers impressive results, adding style and visual impact without exceeding your budget.
Pre-Made vs. Custom DIY Frames
| Feature | DIY TV Frame | Pre-Made TV Frame |
|---|---|---|
| Approximate Cost | $30 – $80 | $100 – $600 |
| Time & Effort | 3-6 hours (cutting, measuring, assembly) | |
| Customization | Complete control over look & materials | Limited choices in style & finish |
| Fit & Compatibility | Best for unusual TV sizes/wall setups | Fits standard TV dimensions only |
| Skill Level | Requires some woodworking skills | Beginner-friendly |
| Pros | Low cost, fully customizable, solves unique mounting needs | Saves time, easy to install, and all parts included |
Certain Tips for a Professional Finish
Achieving a professional finish requires attention to detail, from preparation to final touches, ensuring your DIY frame looks perfect.
Here are some you should follow.
- Fill Gaps with Wood Filler: Before you paint, use wood filler to close up any small gaps at the frame corners. This step smooths out imperfections and helps the joints look tight and professional.
- Sand Smooth After Filler Dries: Once the wood filler is completely dry, sand it down flush with the surrounding wood.
- Apply Multiple Thin Coats of Paint: Rather than one heavy coat of paint, apply several thin layers. This prevents drips, avoids brush marks, and builds up a smooth, even finish for a store-bought look.
- Sand Between Coats: Lightly sanding between each coat of paint helps remove tiny bumps or uneven textures. This extra step leaves you with an ultra-smooth surface.
- Add Decorative Corners: Attach decorative wood accents to the corners of the frame for a custom, polished look. These small details can make your DIY frame look like a high-end design.
- Use a Black Felt Pen on Inner Edges: If your frame is dark, coloring the inner edges with a black felt pen helps it visually blend with the TV screen, making the frame feel more integrated.
- Hide All Hardware: Ensure that no screws, brackets, or fasteners are visible from the front. Hidden hardware makes the frame appear professionally made and clean from every angle.
- Check Frame from All Angles: Before final installation, view the frame from different positions around the room. This helps catch any flaws or visible gaps that might otherwise go unnoticed.
Must-Follow Maintenance & Care Tips
Here are some quick tips to maintain its appearance and keep it secure:
- Dust the frame regularly with a soft, dry cloth to prevent buildup.
- Avoid water-based cleaners on wooden frames to protect the finish.
- Check the frame attachment every few months to ensure it stays secure.
- Replace Velcro strips if they loosen over time.
- Make sure the frame remains straight and hasn’t shifted out of place.
- Keep extra paint on hand for touch-ups on painted frames.
- Use a furniture touch-up marker for small scratches on stained wood frames.
- Spray cleaner onto the cloth, not directly onto the frame, to avoid damage.
- Protect wooden frames from fading by using UV-resistant finishes or keeping them out of direct sunlight.
Conclusion
A DIY TV frame adds style to your home without spending too much money. This simple project changes that plain black screen into something that looks like it belongs in your space.
The frame you build can match your exact style needs, whether that’s rustic wood painted to match your walls or something creative like fabric or lights. The tools and materials needed are basic, and the steps are straightforward enough for most people to handle.
When guests visit, they’ll notice how put-together your space feels, and you’ll enjoy seeing a thoughtful design element instead of just a big black rectangle on your wall.
With just a few hours of work, you’ll have a custom piece that makes your room look more finished.

