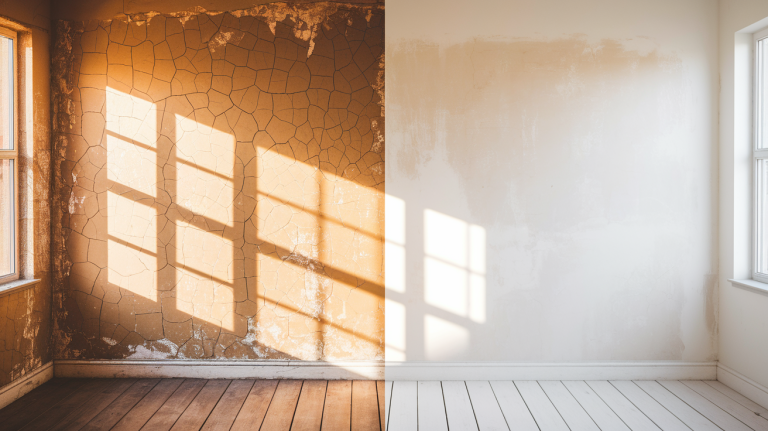
How to Fix Cracks Where the Wall Meets the Ceiling?
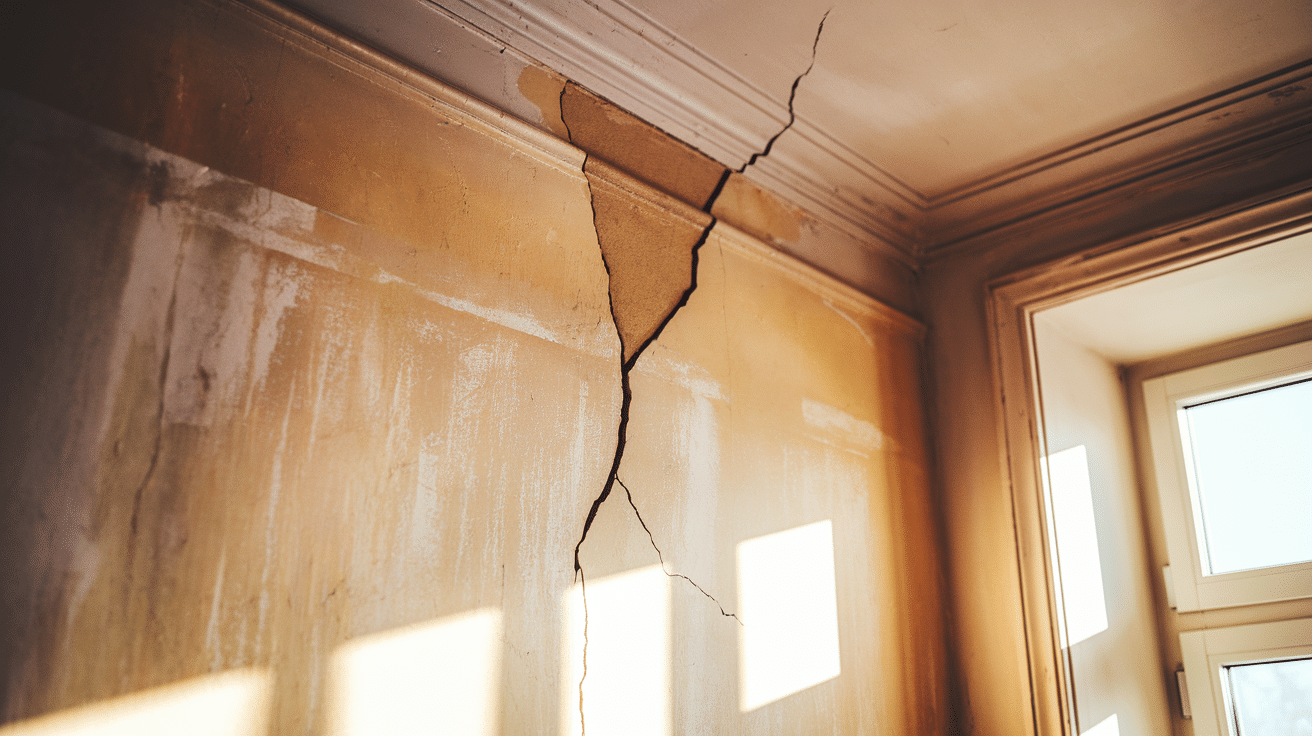
Have you noticed cracks where your wall meets the ceiling? It’s a pretty common issue in many homes, and it can happen for a number of reasons.
Some cracks are small and easy to fix, while others can be a sign of bigger problems. So, what should you do when you spot these cracks?
Should you worry, or is it something you can easily repair yourself? Taking care of these cracks early is key to avoiding larger, more costly repairs later on.
Let’s take a look at why these cracks happen and how you can fix them.
Common Causes of Cracks
Cracks where your wall meets the ceiling are more common than you might think, and they can be caused by a variety of factors.
Understanding these reasons helps you decide whether it’s a quick DIY fix or a sign of something bigger.
- Natural settling: As your home ages, the structure shifts slightly, leading to small stress cracks.
- Temperature & humidity changes: Fluctuations cause drywall and paint to expand and contract, weakening joints.
- Poor construction practices: Improper taping or low-quality materials often leave weak spots that crack.
- Foundation movement: Uneven settling can create larger, more noticeable cracks.
- Every day wear and tear: Vibrations from slamming doors or heavy foot traffic add strain to walls and ceilings.
By knowing the root causes, you’ll be better prepared to choose the right repair method and prevent future damage.
Different Types of Cracks in the Wall-Ceiling Junction
While some cracks are harmless and cosmetic, others may point to more serious issues that need attention.
Let’s look at the different types of cracks that can appear where the wall meets the ceiling.
| Type of Crack | Description |
|---|---|
| Hairline Cracks | Small, surface-level cracks that are mostly cosmetic and easy to repair. |
| Wider Cracks | Larger openings may point to deeper issues, such as settling or structural stress. |
| Progressive Cracks | Cracks that continue to expand over time often signal ongoing foundation movement or structural shifts. |
Step-by-Step DIY Fix for Small Cracks
To get started with fixing small cracks, you’ll need a few basic tools and materials. Here’s what you’ll need to gather before beginning the repair process:
Tools and Materials Needed
| Item | Estimated cost |
|---|---|
| Joint compound (1-5 kg) | $3 – $15 |
| Caulk (alternative) | $3 – $7 |
| Putty knife | $1 – $12 |
| Sandpaper (fine grit) | $5 – $7 |
| Paint (1 quart–1 gallon) | $15 – $30 |
| Paintbrush or roller | $2 – $10 |
| Painter’s tape | $1 – $3 |
How to Fill Hairline Cracks?
Filling hairline cracks is a simple yet effective way to restore your walls and ceilings. Follow these easy steps for a smooth and seamless repair:
Step 1: Clean the Crack

Start by thoroughly cleaning the crack with a brush or vacuum.
Any dust, loose paint, or debris left behind can weaken the bond between the surface and your repair material.
Taking the time to prepare the area ensures the joint compound or caulk sticks properly, creating a stronger, more durable finish that won’t easily chip or peel later.
Step 2: Apply Caulk or Joint Compound

Using a putty knife, apply a thin layer of joint compound or caulk directly into the crack.
Press the material firmly to ensure it penetrates the gap completely, rather than just covering the surface.
This step is crucial for filling the void and creating a stable repair.
Work slowly and evenly, avoiding air pockets that could lead to future cracking.
Step 3: Smooth the Surface and Let it Dry
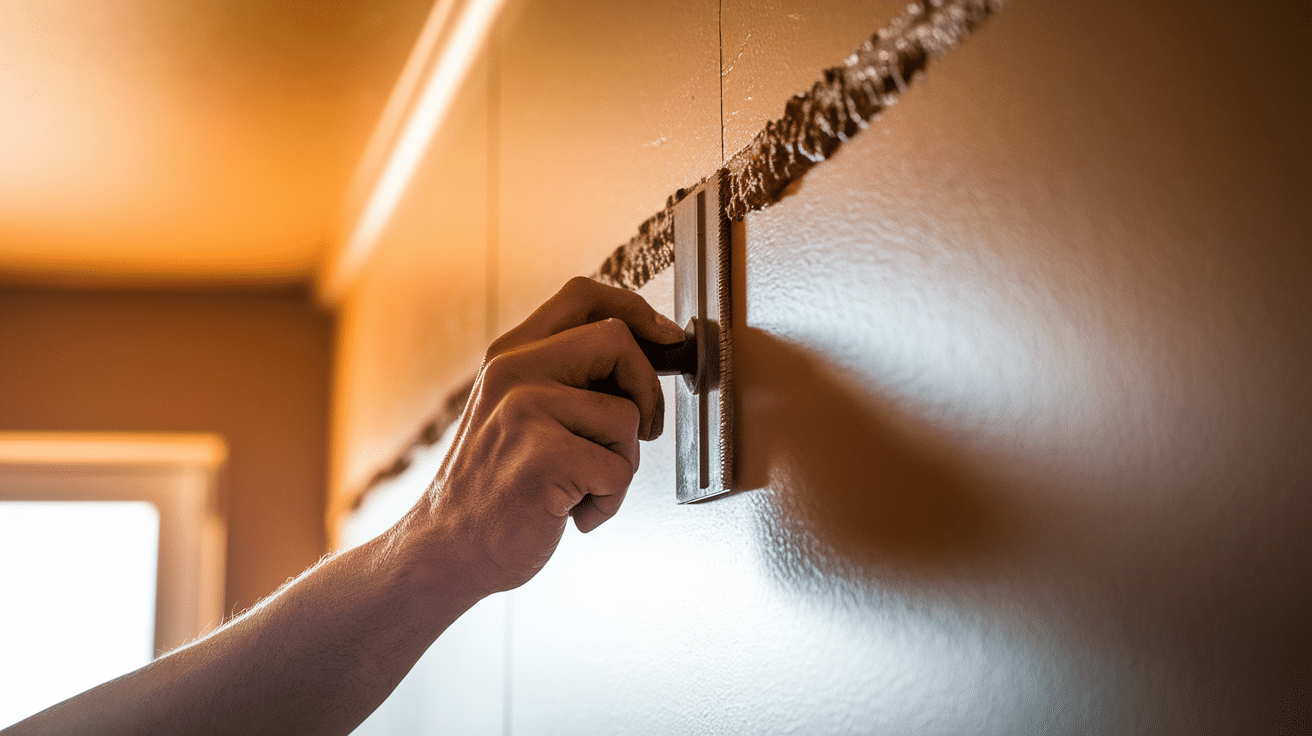
Once the crack is filled, gently scrape away the excess compound with the putty knife.
Aim to make the repair level with the surrounding wall and ceiling, so it blends seamlessly once painted.
Allow the compound to dry fully, which may take several hours depending on the product and room conditions.
Rushing this step can weaken the repair and cause it to fail prematurely.
Step 4: Prime and Paint
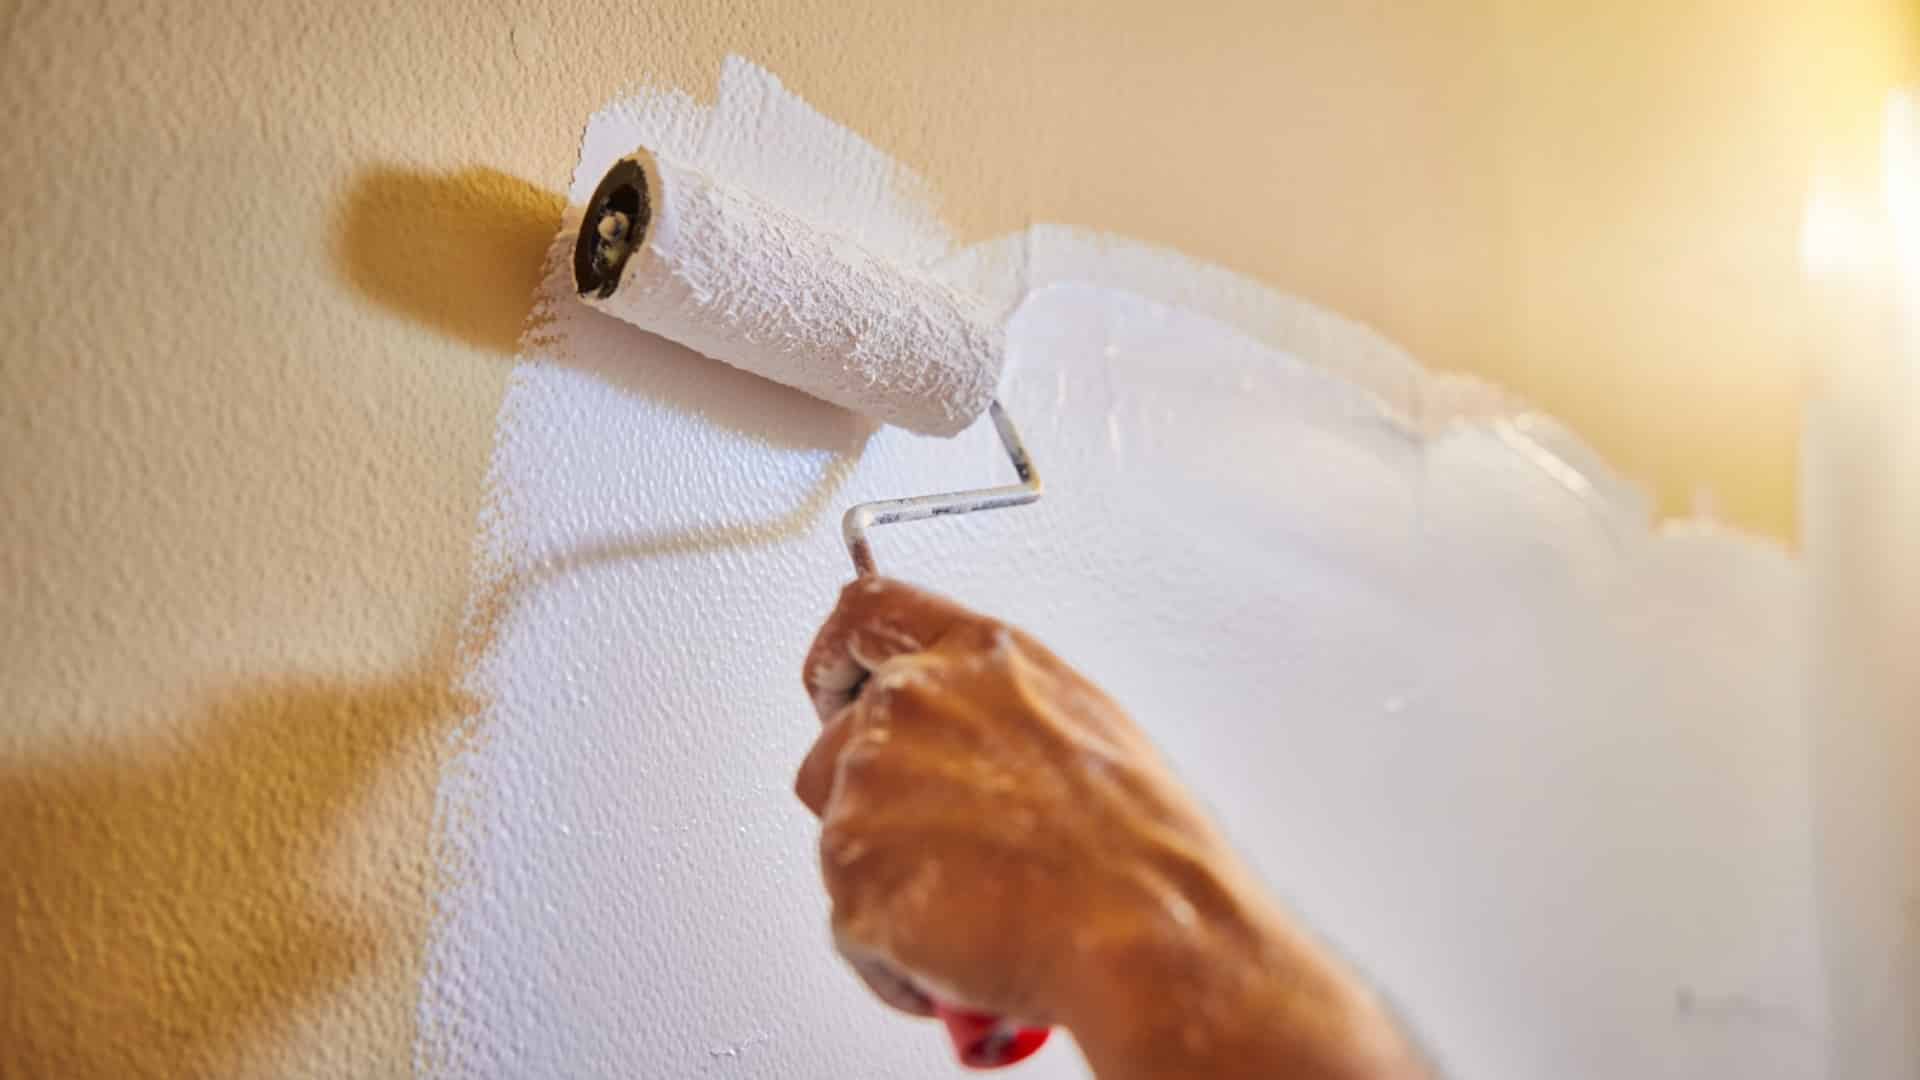
After the compound has dried, lightly sand the area with fine-grit sandpaper until smooth and even.
Wipe away any dust before applying a coat of primer, which helps the paint adhere better and prevents color differences.
Once the primer dries, finish with matching paint to blend the repair seamlessly with the rest of the surface.
Done properly, the crack will be virtually invisible.
Tips for Sanding and Smoothing the Area After Filling
While doing the sanding near the crack area, make sure to follow the below steps for ease:
- Allow the compound or caulk to dry completely (this may take a few hours). Once dry, use fine-grit sandpaper to gently sand the area until it’s smooth and even.
- If needed, apply a second layer of compound, let it dry, and sand again for a flawless finish.
- Once you’re happy with the smoothness, clean the area and then paint over the repair to match the rest of the ceiling and wall.
Dealing with Larger Cracks
If the crack is wider or seems to be growing, it may indicate a deeper issue.
To determine if it’s just a cosmetic problem or a structural one, examine the crack’s size and direction.
Larger cracks that appear vertical or diagonal may be signs of foundation settling or structural movement. In these cases, you’ll need a more advanced solution.
This could involve replacing damaged drywall sections or installing a corner bead to reinforce the area.
These repairs help to ensure the crack doesn’t reappear and provide long-term stability to the wall and ceiling.
When to Call a Professional?
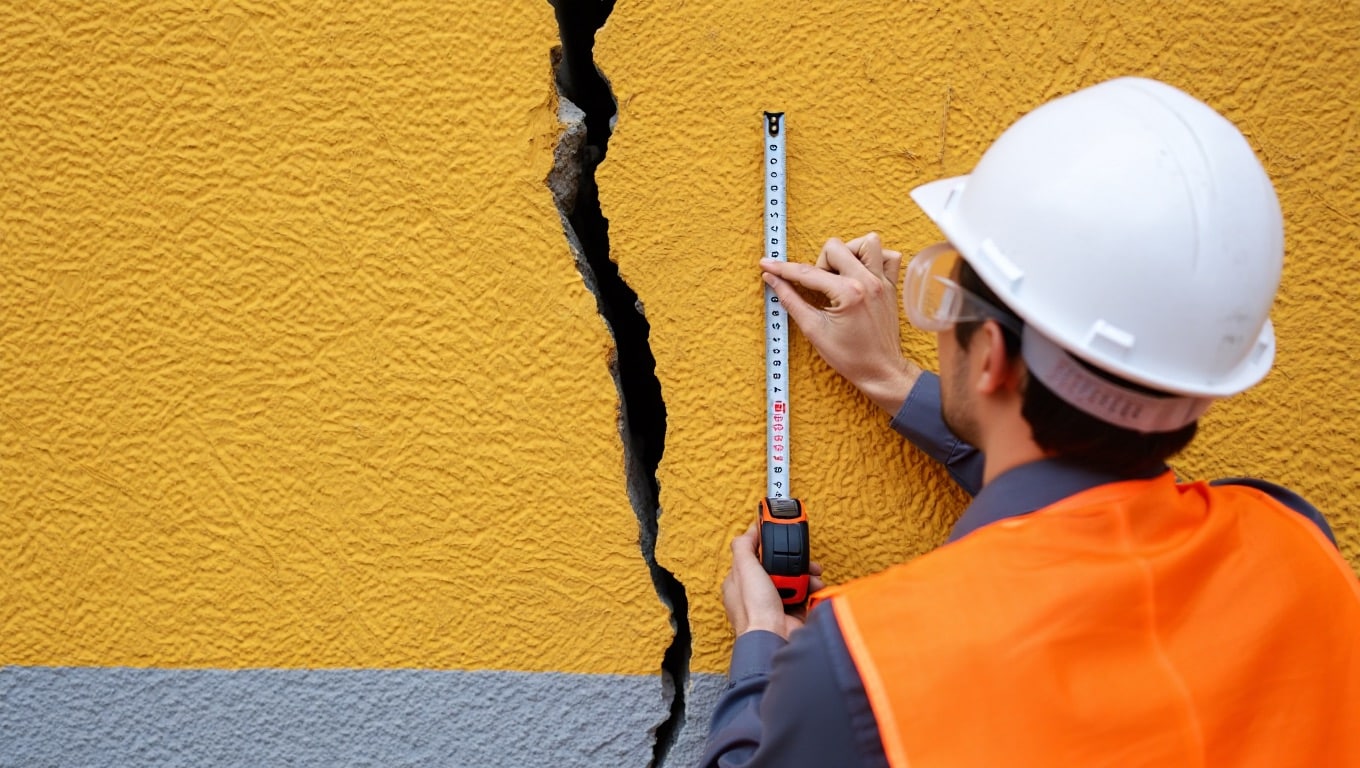
If the cracks are large or continue to grow despite your best efforts, DIY repairs may not be sufficient.
Cracks that are part of larger structural issues, such as foundation problems, should always be assessed by a professional.
These types of issues require more than just surface repairs and could worsen over time.
If the crack is extensive, deep, or shows signs of recurring movement, it’s best to contact a contractor or structural engineer.
For complex repairs that go beyond simple patching, expert help ensures the job is done correctly and safely.
Prevention Tips to Avoid Cracks in the Future
To prevent cracks from forming in the future, there are a few simple steps you can take.
- Maintain Consistent Temperature and Humidity: Use a dehumidifier or humidifier to keep the air stable and reduce material expansion or contraction.
- Quality Construction Materials: Invest in high-quality drywall and joint materials to minimize cracking and ensure long-lasting results.
- Home Inspections: Regularly check for early signs of wear, settlement, or damage to catch and fix issues before they worsen.
The Bottom Line
Cracks where the wall meets the ceiling may seem small at first, but they can become serious if you ignore them and wait too long.
Taking care of them early with the right repair keeps your home strong, safe, and looking good without spending extra money later.
Whether you patch small cracks yourself or call a professional for bigger ones, the most important step is acting quickly instead of letting them grow worse over time.
Have you ever repaired a wall or ceiling crack in your home before? Tell us, share with us in the comments below.

