How to Install a Basement Wall Vapor Barrier?

Moisture is one of the biggest problems homeowners face in their basements because it can cause mold, mildew, and long-term damage to their house.
A basement wall vapor barrier helps stop water vapor from passing through concrete or walls, keeping the space dry and safe.
This protective layer also improves air quality and helps make your home more energy efficient year-round.
We will be telling you about basement wall vapor barriers, why they are important, how to install them, and the tools and materials you will need.
Why do You Need a Vapor Barrier in the Basement?
A vapor barrier is essential in a basement because it prevents moisture buildup, which can lead to mold, mildew, and musty odors.
Moisture can also damage your insulation, wood framing, and even the foundation. By installing a vapor barrier, you help maintain a dry environment that keeps your basement healthier and more comfortable.
Additionally, it can improve energy efficiency by preventing the loss of warm air in winter or cool air in summer.
Overall, a vapor barrier helps protect your home from the hidden dangers of moisture that can slowly degrade your living space.
Tools Required to Install a Basement Wall Vapor Barrier
When installing a vapor barrier, having the right tools can make the job much easier.
Here’s a list of essential tools you’ll need to complete the project efficiently.
| Tool | Approximate Cost |
|---|---|
| Utility Knife | $10 – $20 |
| Measuring Tape | $5 – $15 |
| Stapler (Heavy Duty) | $15 – $30 |
| Staples | $5 – $10 |
| Scissors | $5 – $10 |
| Caulk Gun | $8 – $15 |
| Ladder | $30 – $80 |
| Paint Roller (for adhesion) | $5 – $15 |
Materials Required for DIY Vapor Barrier Installation
Choosing the right materials is crucial to ensure the vapor barrier works effectively.
These are the key materials you’ll need for installation, along with their approximate costs.
| Material | Approximate Cost |
|---|---|
| Vapor Barrier Plastic (6mil) | $20 – $50 (for 100 sq ft) |
| Construction Adhesive | $5 – $15 |
| Vapor Barrier Tape | $20 – $30 |
| Plastic Sheeting (for sealing seams) | $10 – $30 |
| Sealant (if required) | $10 – $25 |
Note: Prices of tools and materials may vary according to the regions
Step-by-Step Process for Installing a Basement Wall Vapor Barrier
In the following steps, we’ll guide you through the process of properly installing a vapor barrier to ensure your basement stays dry, comfortable, and protected.
Step 1: Clean and Dry the Wall
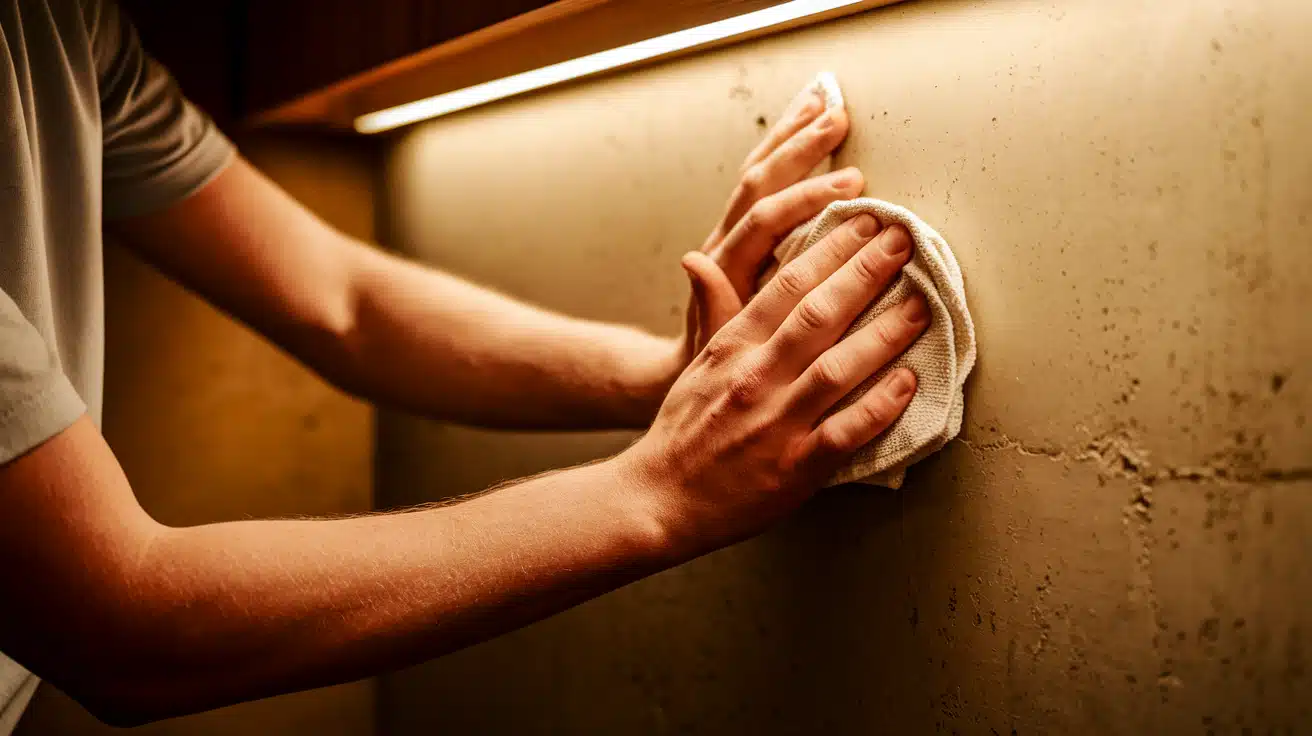
Before installing a vapor barrier, it’s crucial to start with a clean, dry surface. Begin by removing any dirt, dust, or debris from the basement walls.
You can use a vacuum or a cloth to wipe down the walls.
If there’s any moisture on the surface, allow it to dry completely before proceeding.
This ensures that the vapor barrier adheres properly to the wall and creates an effective seal against moisture.
Step 2: Seal Cracks and Leaks
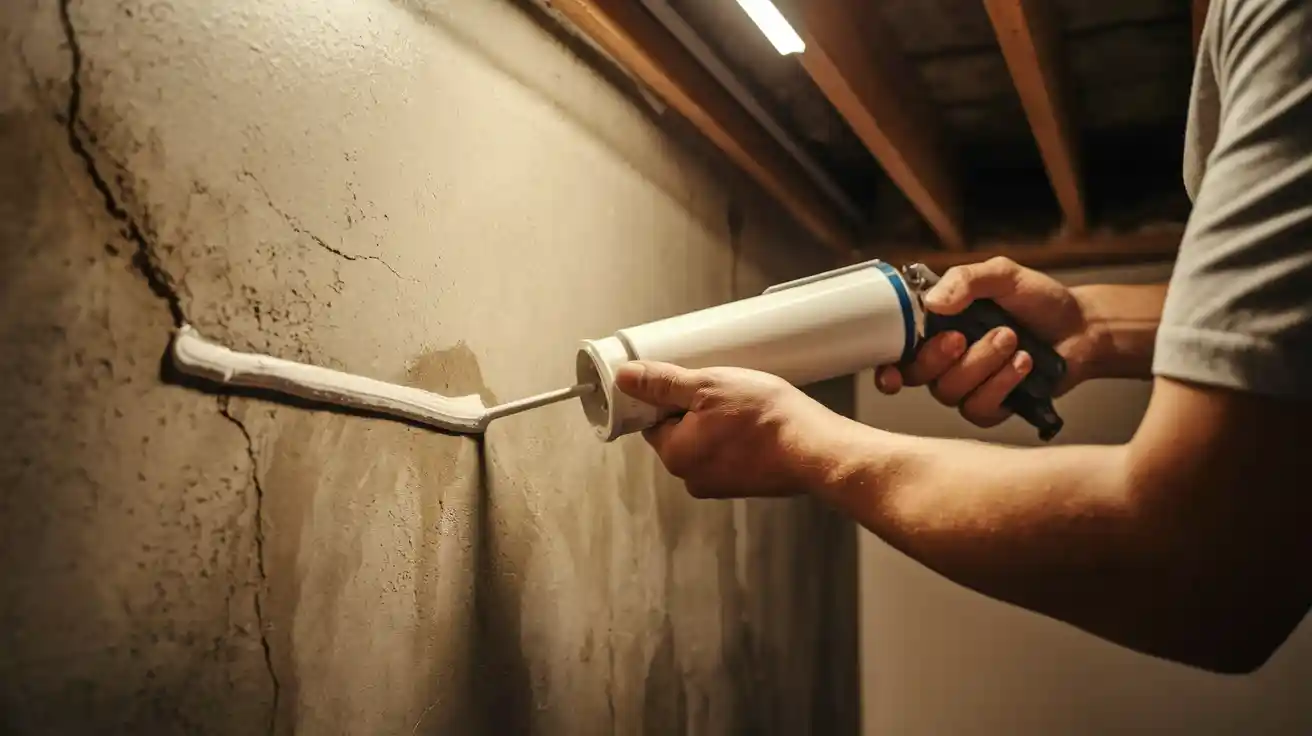
Next, inspect the basement walls for any cracks, holes, or leaks. These can be sources of moisture that could compromise the effectiveness of the vapor barrier.
Use a waterproof sealant or caulk to fill in any gaps or cracks. Make sure to apply the sealant generously to prevent future water penetration.
Sealing the cracks beforehand will prevent moisture from sneaking through and ruining your barrier.
Step 3: Cut the Vapor Barrier to Fit
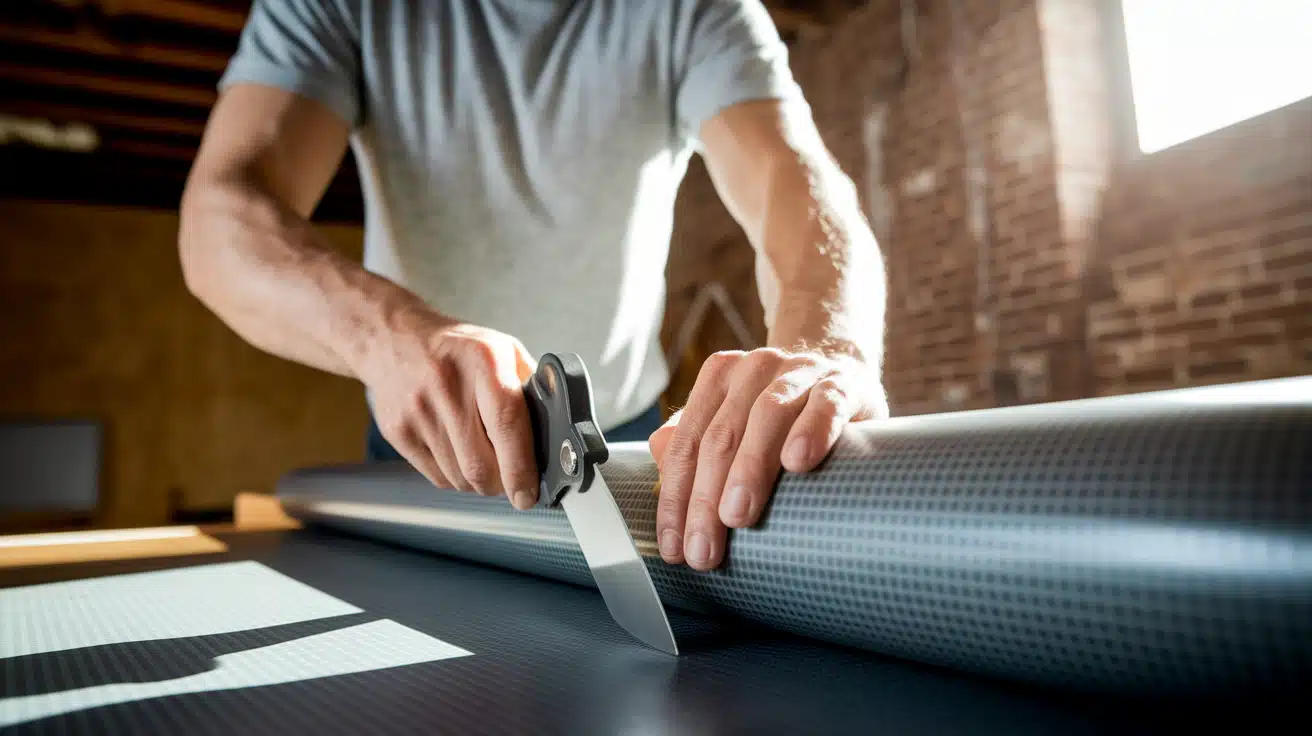
Now, you’ll need to measure the size of your basement walls and cut the vapor barrier material accordingly.
Use a measuring tape to determine the height and width of the wall, then mark the measurements on the vapor barrier.
It’s better to leave a little extra material around the edges to ensure full coverage.
A utility knife or heavy-duty scissors works well to cut the material to the right size.
Step 4: Attach the Barrier
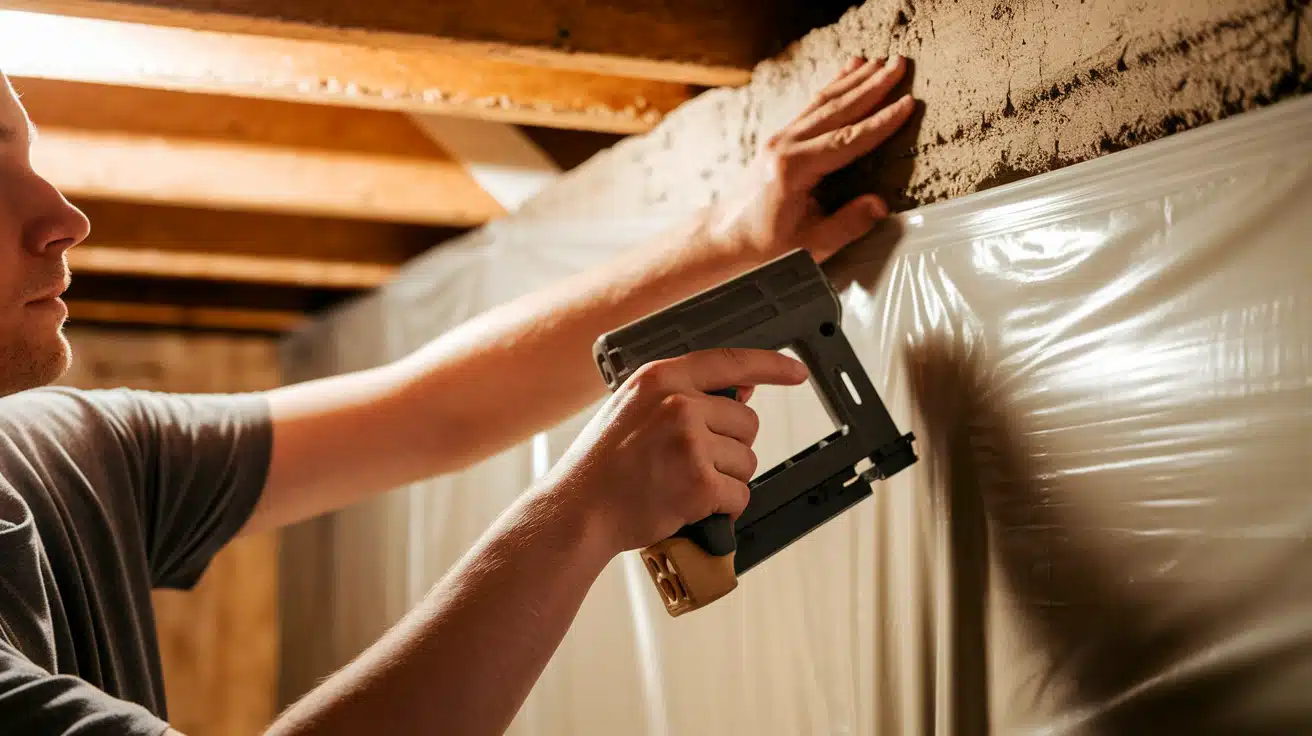
With the vapor barrier cut to size, it’s time to attach it to the wall.
Start at the top of the wall and work your way down, ensuring that the material is pulled tight to avoid wrinkles or air pockets.
Use a staple gun or adhesive to secure the barrier to the wall. For best results, make sure the barrier is smooth to create a solid seal.
For larger areas, you can also use a power stapler to speed up the process.
Step 5: Seal the Seams
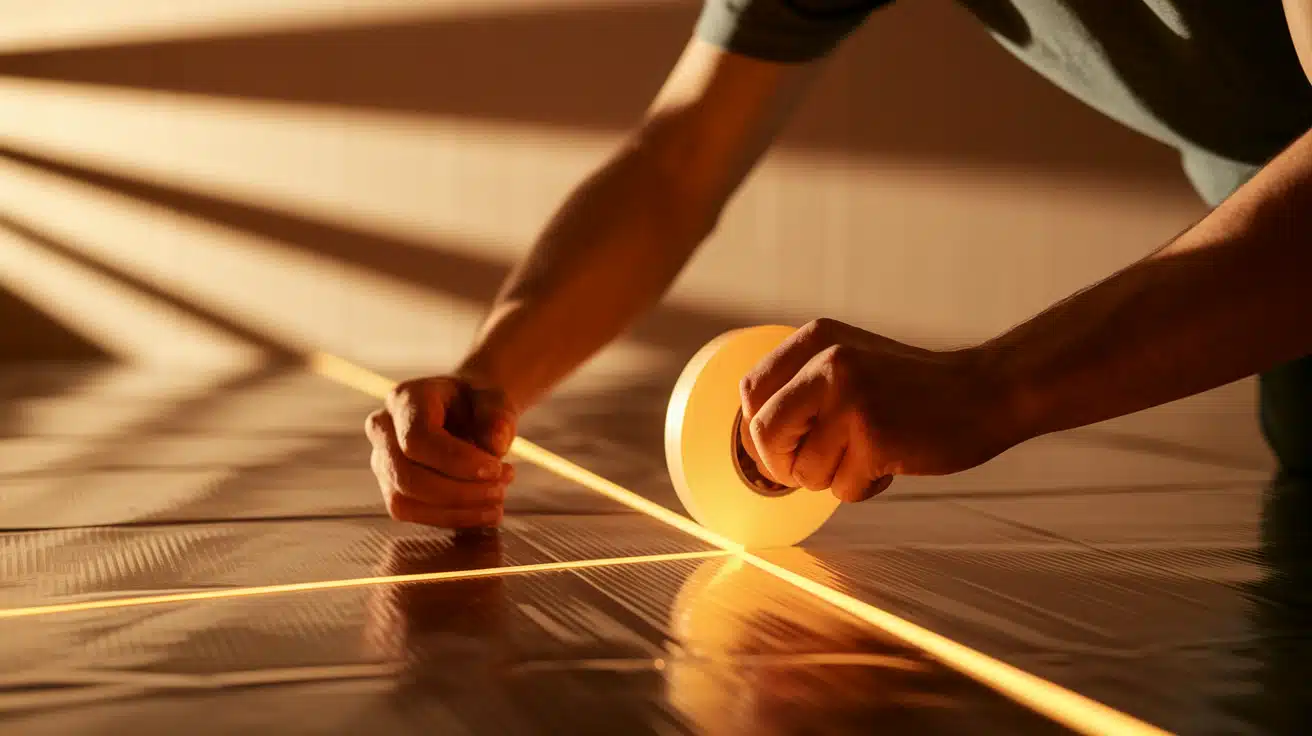
Once the vapor barrier is attached to the wall, it’s important to seal all seams and edges to prevent any moisture from sneaking through.
Use vapor barrier tape, which is designed to stick to the material and create a waterproof seal.
Apply the tape along the seams and any overlapping edges of the barrier, making sure it’s securely bonded.
This step is critical to ensure the barrier remains effective over time.
Step 6: Insulate and Finish (Optional)
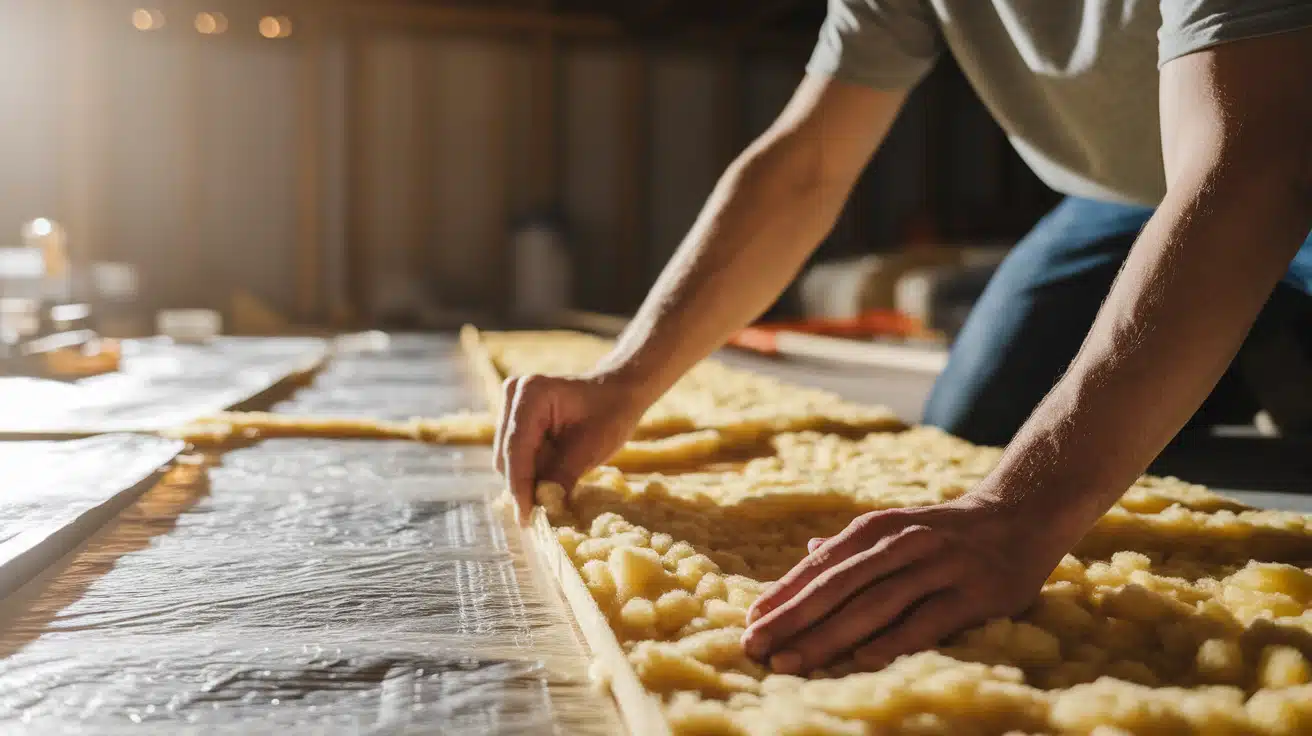
If you’re adding insulation to the basement walls, this is the next step. Place your insulation material over the vapor barrier, ensuring it’s evenly distributed across the wall.
Insulation helps improve the energy efficiency of your basement by preventing heat loss in winter and keeping the space cooler in summer.
After the insulation is in place, you can proceed with finishing the basement walls by installing drywall or another wall covering.
The insulation adds an extra layer of protection against temperature fluctuations, while the vapor barrier keeps moisture at bay.
DIY Vs Hiring a Professional: Which is the Best Option?
When deciding whether to install a basement wall vapor barrier yourself or hire a professional, it’s important to weigh factors like cost, time, expertise, and long-term reliability to make the best choice.
| Factor | DIY Installation | Hiring a Professional |
|---|---|---|
| Cost | Lower upfront cost (save on labor) | Higher cost due to labor fees |
| Skill Level | Requires some basic home improvement skills | Expertise and experience in installation |
| Time | Takes longer, depending on skill level | Faster completion |
| Risk of Errors | Higher risk of improper installation leading to future issues | Lower risk, ensures proper installation |
| Satisfaction | Sense of accomplishment from doing it yourself | Professional results and peace of mind |
| Long-term Reliability | Risk of issues like moisture or mold if done improperly | Higher reliability with proper installation |
Mistakes to Avoid When Installing Vapor Barriers
Installing a vapor barrier might seem straightforward, but there are a few common mistakes that can affect its effectiveness. Here are some things to watch out for:
- Overlapping too little: Ensure edges overlap sufficiently to create a full seal, as moisture can otherwise slip through.
- Wrong side of foil-backed panels: Keep the foil facing the warm side, or it may trap moisture.
- Moisture between insulation and barrier: Seal both properly to prevent mold and mildew.
- Unsealed seams: Even small gaps let in moisture, so seal all seams, edges, and corners with vapor barrier tape.
By avoiding these common mistakes, you’ll ensure that your vapor barrier works effectively to keep your basement dry and protected from moisture-related damage
Pros & Cons of Using a Vapor Barrier
A vapor barrier wall is a common solution for moisture control in basements. While effective, there are pros and cons to consider before deciding if it’s the right choice for your space
| Pros | Cons |
|---|---|
| Prevents moisture and mold damage | Can be tricky to install without help |
| Improves air quality | Higher upfront cost with pros |
| Boosts energy efficiency | May lose effectiveness over time |
| Durable if installed correctly | Poor installation can trap moisture |
The Bottom Line
Installing a basement wall vapor barrier is a crucial step in keeping your basement dry, preventing moisture damage, and improving the overall health of your home.
By following the right steps, choosing the right materials, and avoiding common mistakes, you can ensure that your basement remains free from mold, mildew, and other moisture-related issues.
Even if you are looking to finish your basement or just protect the space, a vapor barrier is an affordable and effective solution.
Take the time to install it properly, and your home will be better protected for years to come.
Ready to protect your basement from moisture?
Start your vapor barrier project today and enjoy a healthier, safer, and more energy-efficient home for years to come.
Frequently Asked Questions (FAQs)
Can I Use a Vapor Barrier on Concrete Walls?
Yes, concrete is porous, and a vapor barrier prevents moisture from seeping in and causing mold or mildew.
What Thickness of Vapor Barrier Is Best?
A 6 mil polyethylene sheet is suitable for most basements, while a 10 mil sheet is recommended for high humidity or extra durability.
Will a Vapor Barrier Trap Moisture and Cause Mold?
No, if installed correctly with sealed seams and edges, it will not trap moisture or cause mold.


