How to Install Corrugated Plastic Roofing
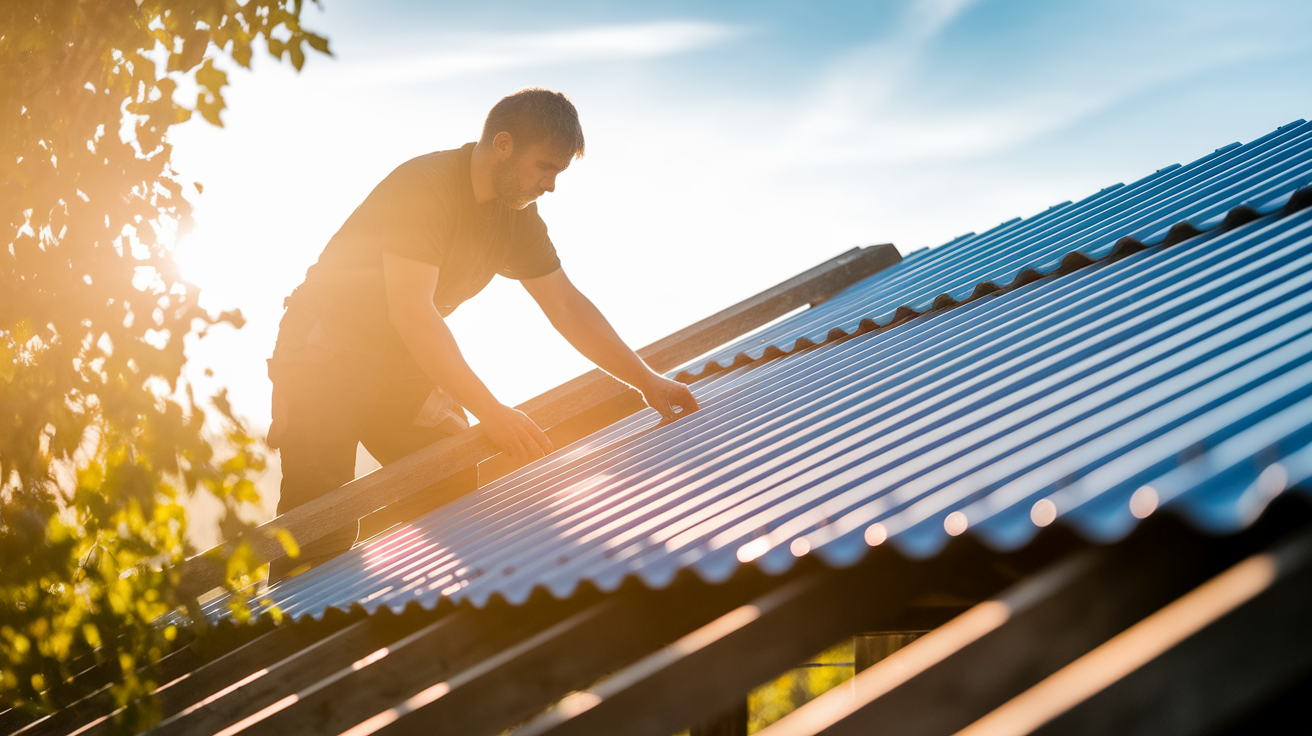
Looking to make your pergola, carport, or garden shed more usable year-round? Corrugated plastic roofing might be just what you need.
This affordable, DIY-friendly solution keeps the rain off while still letting beautiful natural light shine through.
It completely changes your backyard from a sometimes-usable space into our favorite spot for morning coffee, even during light rain.
This guide includes tips on exactly how to measure, cut, and secure your panels for a watertight finish that looks professional and lasts for years.
Even if you’re not particularly handy, you can absolutely tackle this project in a weekend.
Why Installing a Plastic Roofing is Necessary
Adding corrugated plastic roofing to your pergola, patio, or shed converts these spaces from fair-weather spots into true extensions of your home.
Plastic roofing creates a protective shield that keeps furniture dry, prevents wood structures from weathering prematurely, and allows you to enjoy your outdoor space regardless of light rain or intense sunshine.
Unlike solid roofing options, corrugated plastic panels let natural light filter through while blocking harmful UV rays, creating a bright, welcoming atmosphere that doesn’t feel enclosed or dark.
This affordable upgrade not only extends the usability of your outdoor spaces year-round but also adds value to your property by creating functional areas.
Tools & Materials Required for Install Corrugated Plastic Roofing
- Corrugated PVC roofing sheets
- Roofing screws with cutting edges and neoprene washers
- Apron flashing
- Timber for head flashing
- Galvanized clouts
- Standard roofing screws for steel flashing
- Measuring tape and marker
- Tin snips or a fine-tooth saw
- Handy bar/pry bar
- Sabre saw or reciprocating saw
- Drill/driver
- Safety equipment
Step-by-Step Process for Installation
Installing corrugated plastic roofing involves cutting panels to fit, fastening them to a supporting structure.
Here’s a step-by-step procedure on how to install Corrugated Plastic Roofing on your own:
Step 1: Check Building Regulations
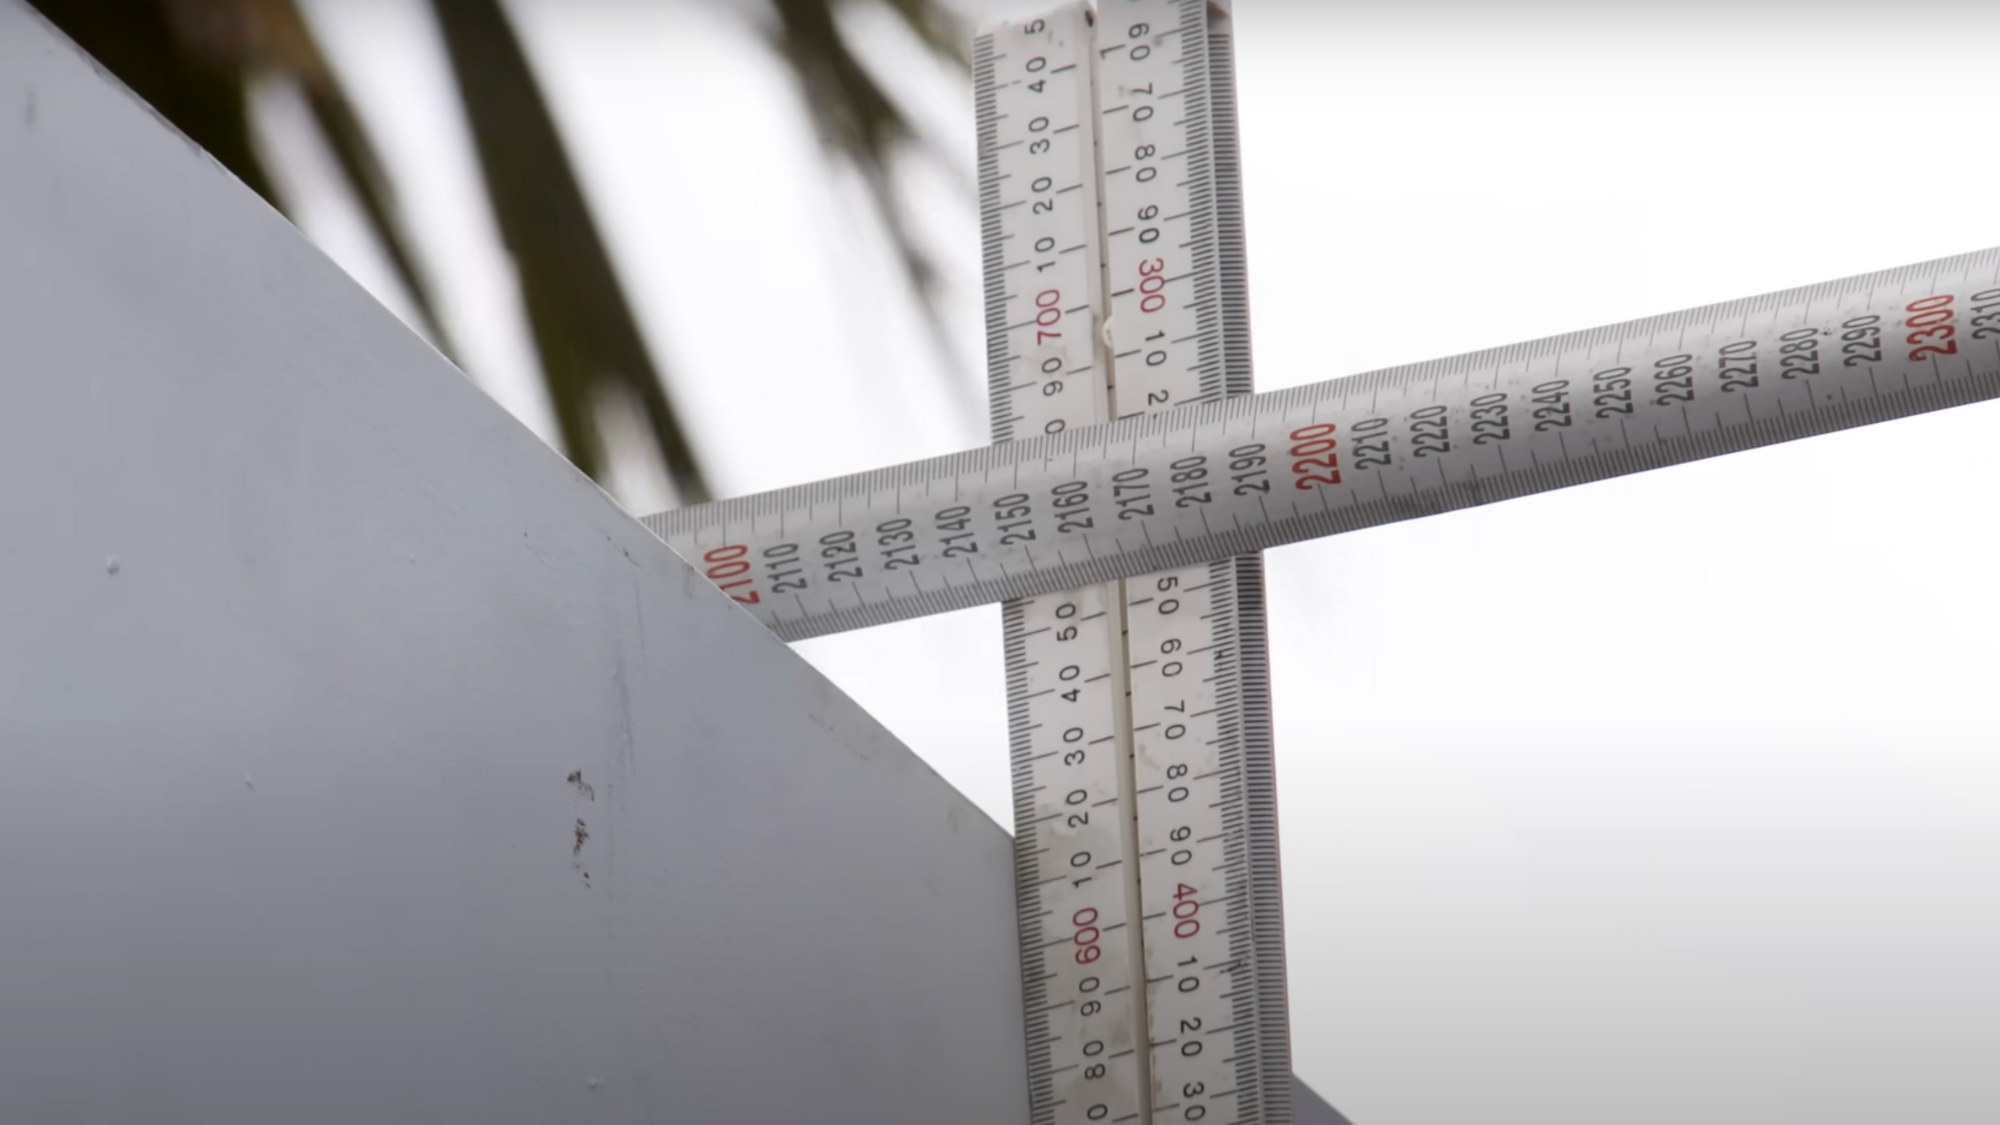
Before beginning your project, confirm that your roof area is under 20 square meters and that it has a minimum fall of 5 degrees to ensure proper drainage.
It’s also important to check with your local council for any specific regulations or requirements that may apply.
Step 2: Measure and Cut Your Sheets
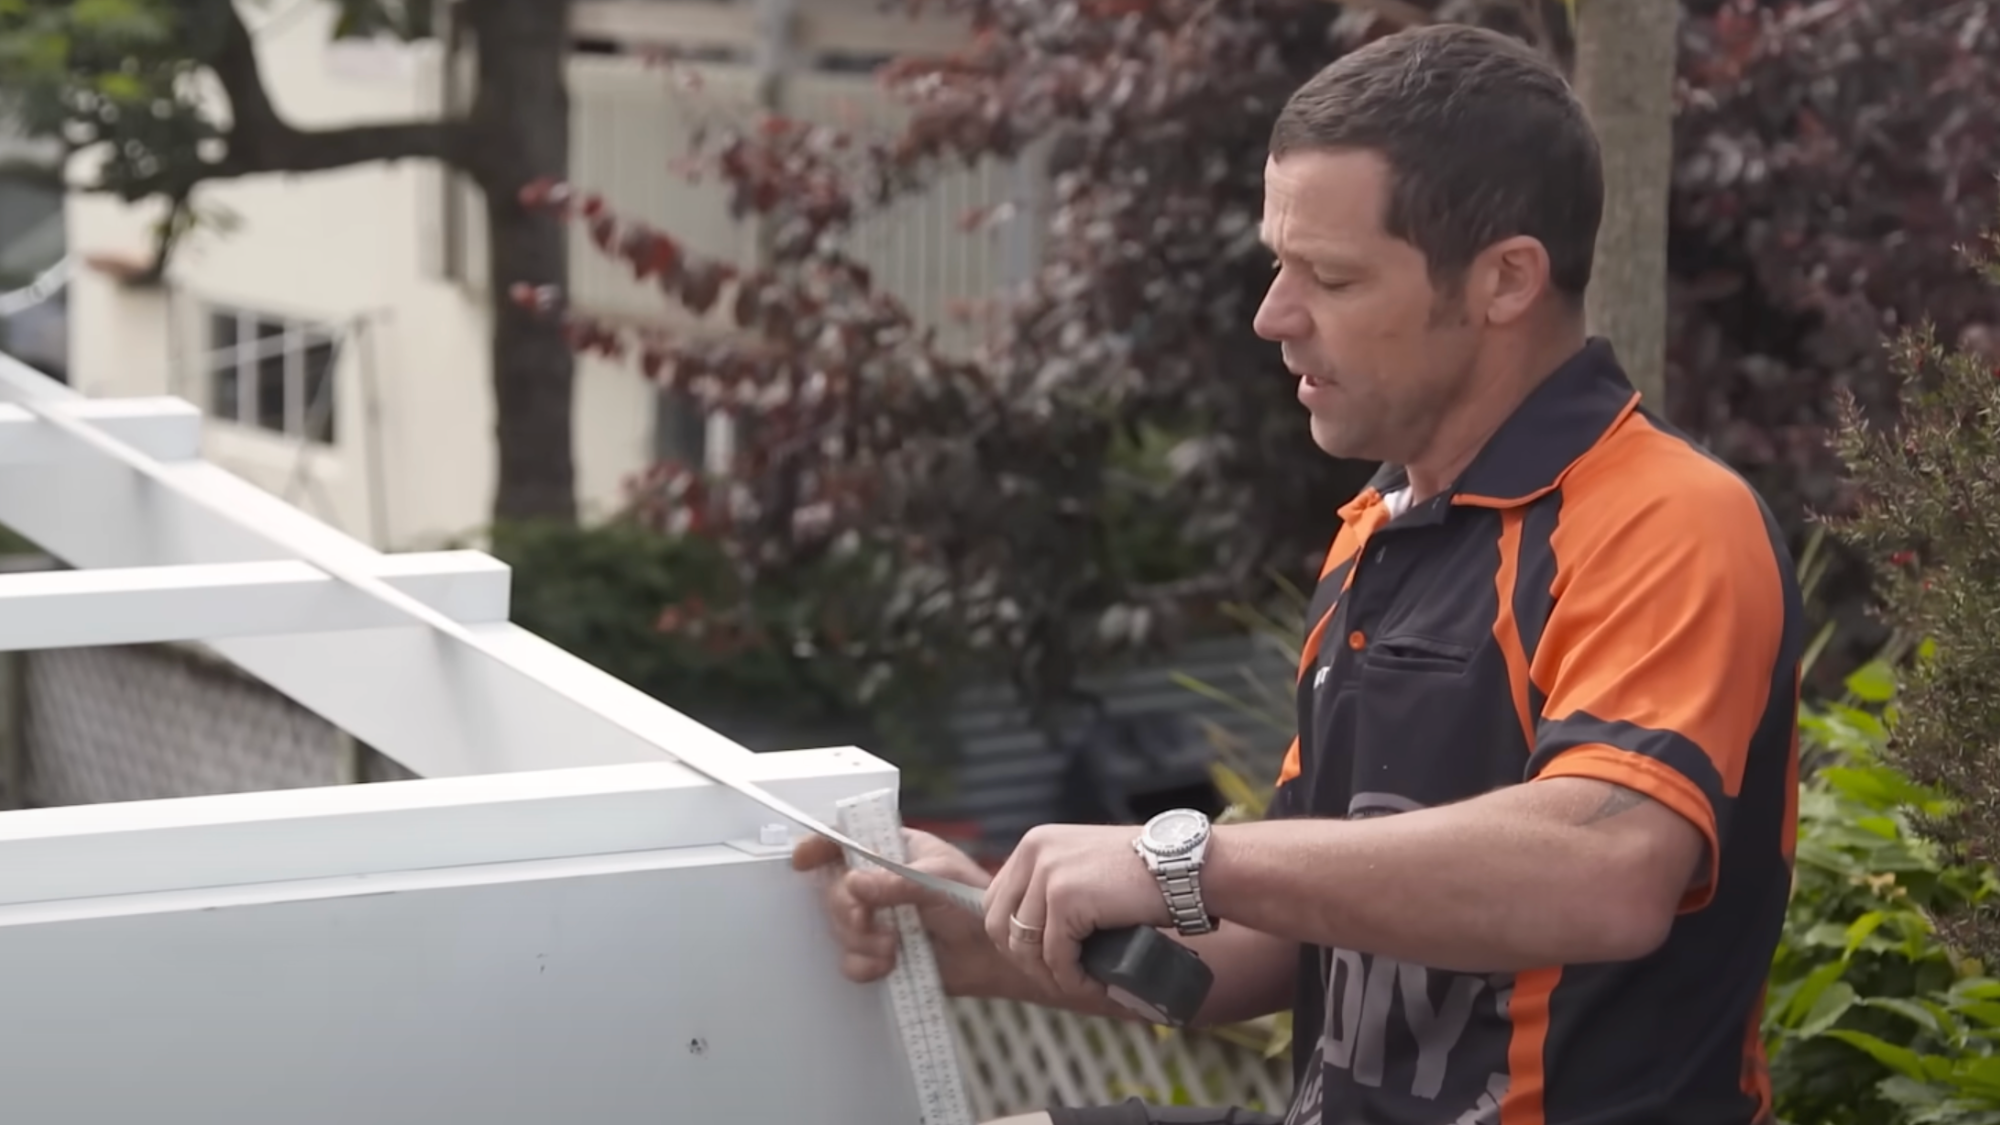
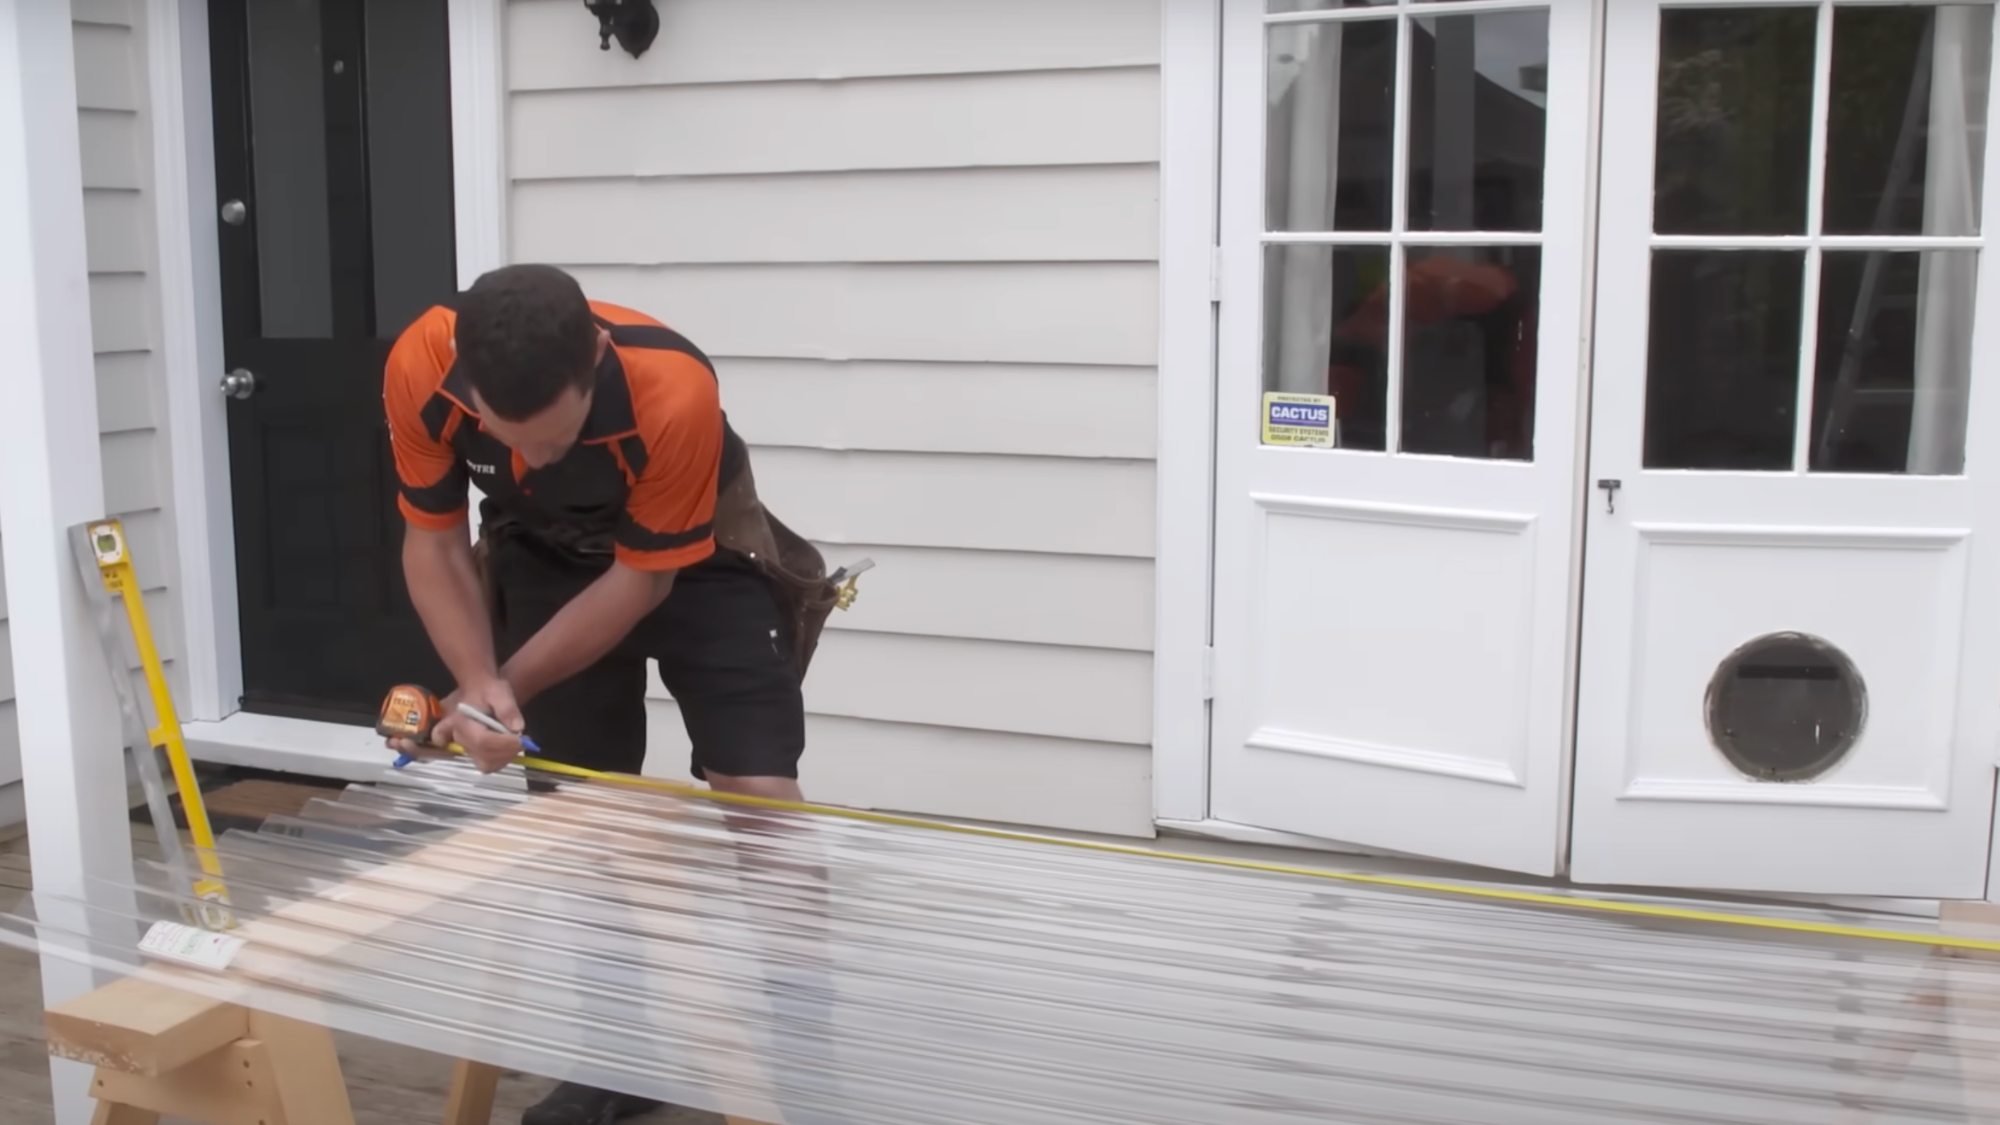
Start by measuring the required length and be sure to add an extra 60mm to allow for overhang.
Once you have your measurements, use a marker to mark them on the sheets clearly.
Draw a straight line connecting your marks, then cut along the line. To ensure a clean cut, use a fine-tooth saw at a low angle or a pair of tin snips.
Repeat these steps for all the sheets you’ll need.
Step 3: Install Apron Flashing
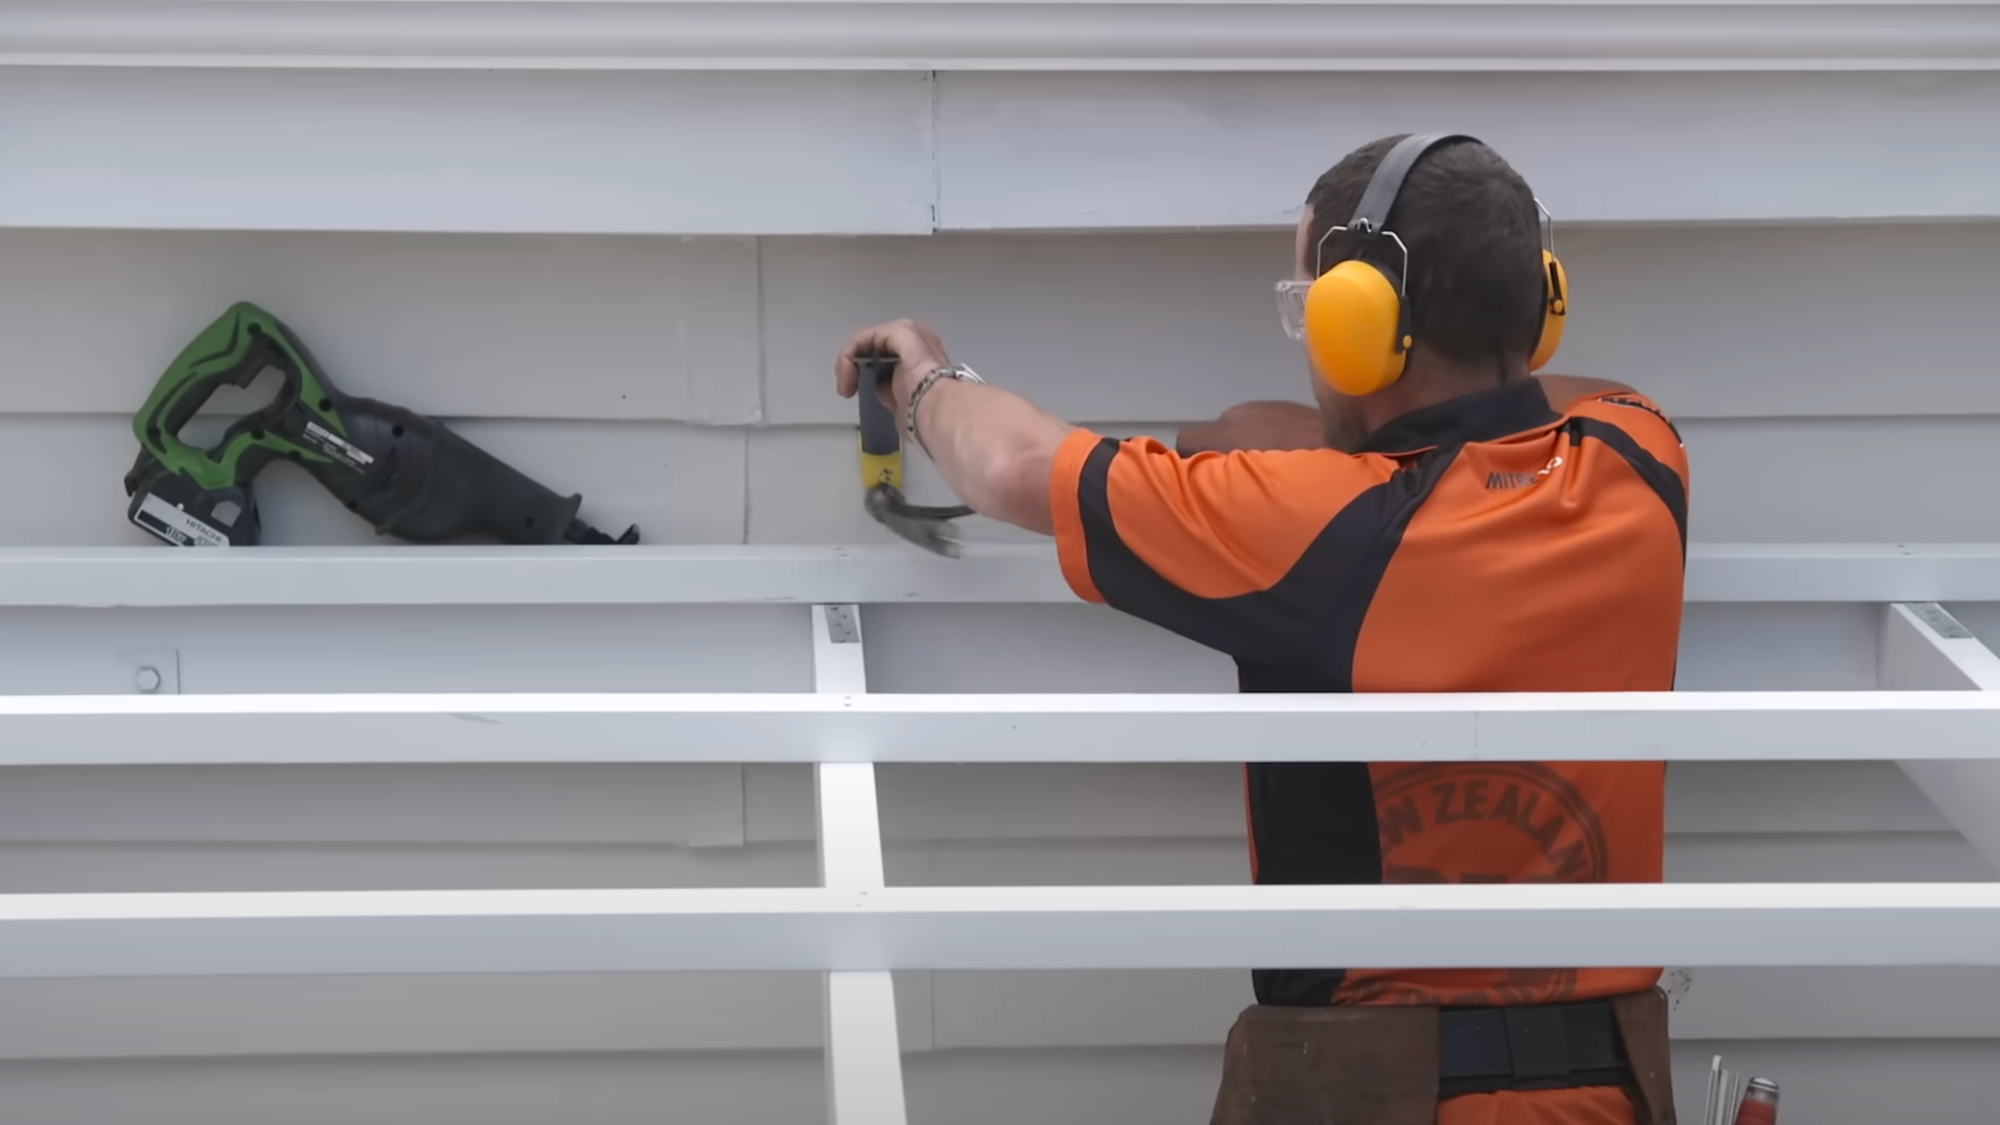
Obtain custom-made apron flashing that fits your specific requirements. Use a handy bar to gently pry open the weatherboard joint, being careful not to damage it.
If needed, carefully cut through any nails with a sabre saw.
Once the joint is open, slide the flashing behind the weatherboard, ensuring it extends at least 40mm above the joint to provide proper coverage.
Step 4: Prepare to Install First Sheet

Position the sheet so that the cut edge is placed beneath the flashing, ensuring that the edge extends with a 60mm overhang.
Make sure the roofing is aligned and runs parallel to the rafters for a clean, uniform look.
Once positioned, mark every second ridgeline as a guide for screw placement.
Step 5: Secure the First Sheet
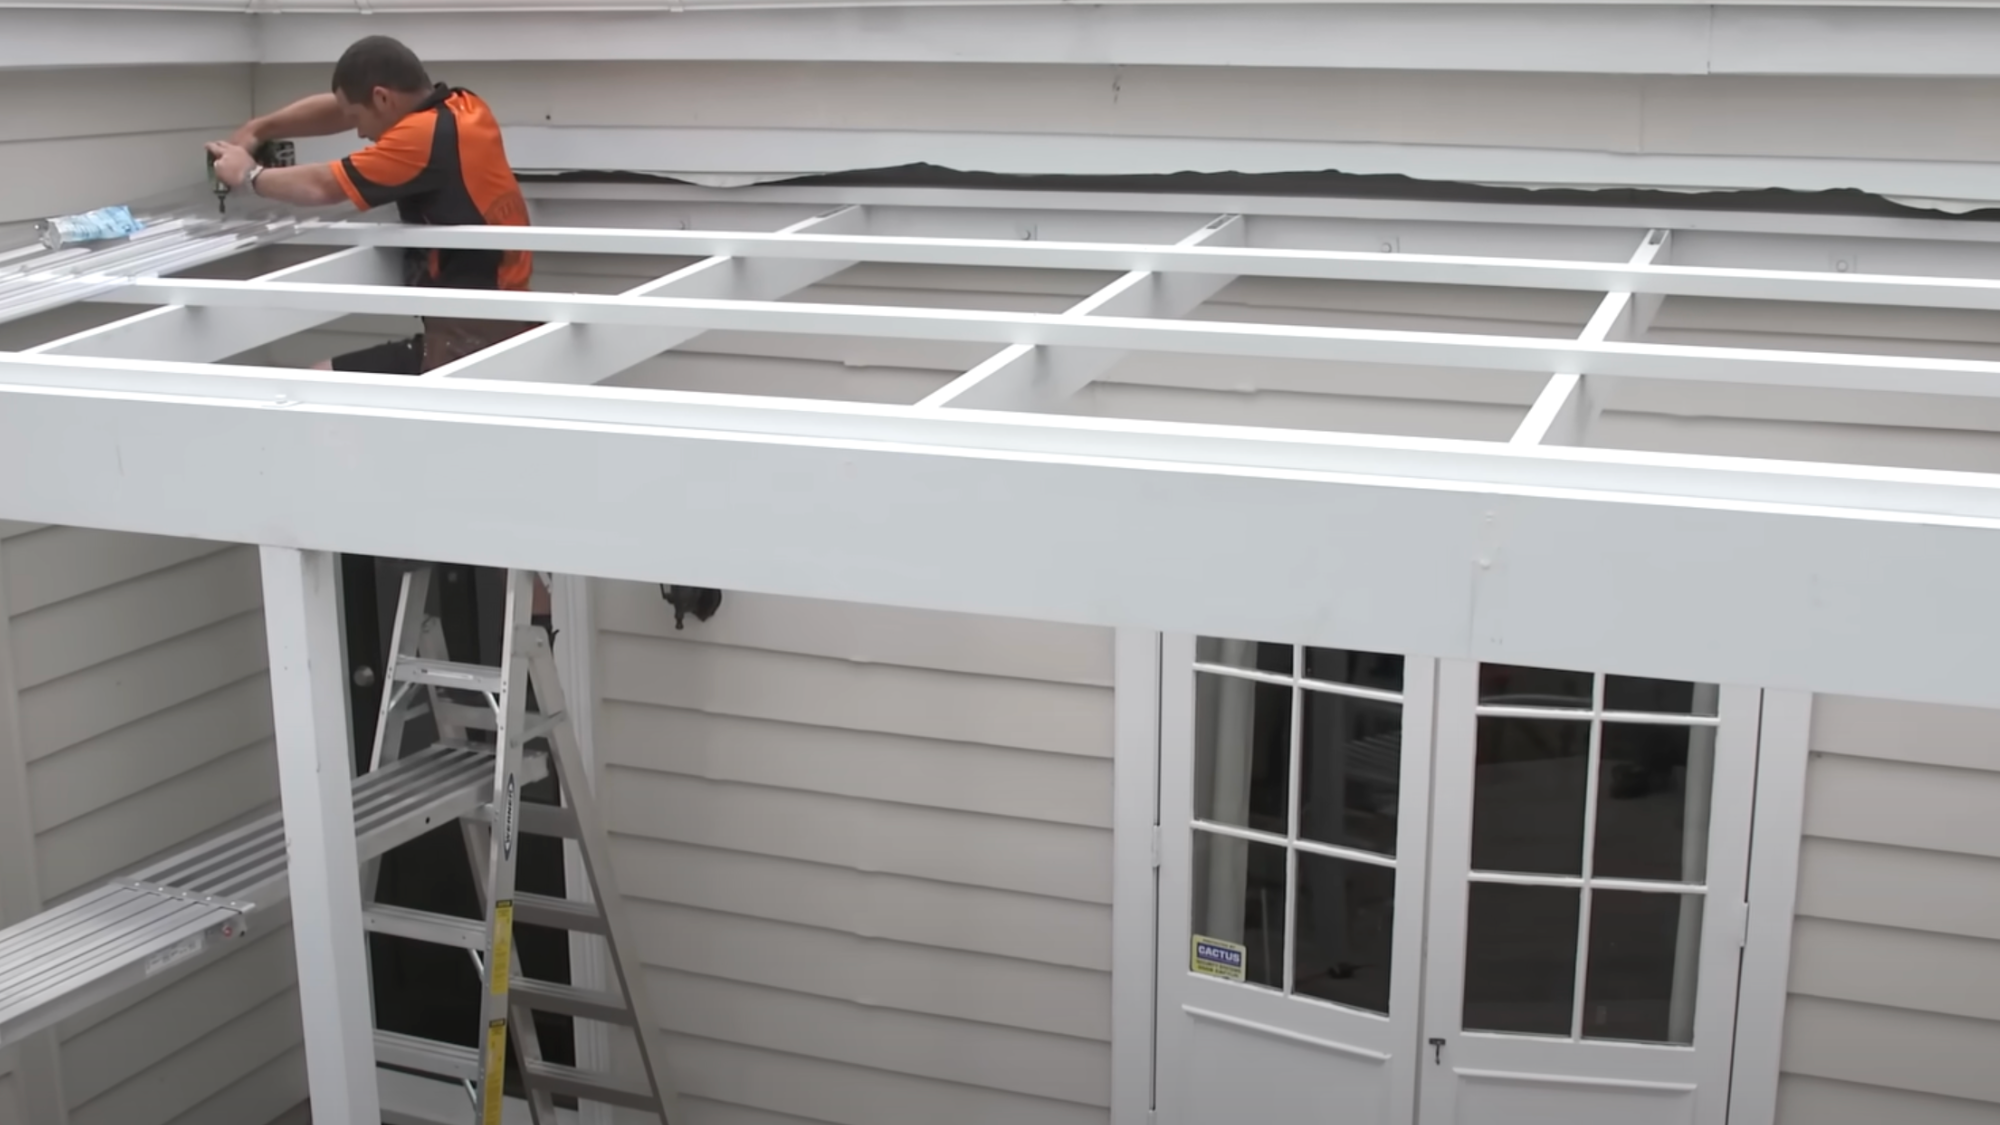
Begin screwing the sheet into place, starting from the second ridge. Use roofing screws that have cutting edges designed specifically for this purpose.
Make sure not to overtighten the screws; secure them just enough to hold the sheet in place without pressing it down too much.
Position the screws along the purlins, spacing them every third ridge for even and effective fastening.
Step 6: Install Additional Sheets
As you install each new sheet, overlap it by just one ridge to ensure proper coverage. Maintain a consistent 60mm overhang at the front and carefully align each sheet with the previous one.
Follow the same fixing pattern as you did for the first sheet to ensure uniformity.
As you proceed, remember to nail through both the weatherboards and the flashing, ensuring everything is securely attached.
While working, gently push the soft edge into the corrugate profile for a snug and accurate fit.
Step 7: Install Guttering

Install guttering as required by building regulations, making sure that it is positioned with the proper fall to allow for effective drainage.
For a detailed tutorial, you can watch the YouTube video given below:
Certain Maintenance Tips for PVC Roofs
Here are some additional tips listed below to help you better your corrugated plastic roofing more professionally;
- Clean your PVC roof at least twice a year using mild soap and water
- Remove leaves, twigs, and debris regularly to prevent clogged drainage
- Check all screws and fasteners annually, tightening any that have worked loose
- Inspecting for cracks or damage after severe storms or high winds
- Trim overhanging branches that could fall and damage the roofing
- Avoid walking on the PVC panels as they can crack under concentrated weight
- Clean gutters regularly to prevent water backup under the roofing
- Apply a UV protectant spray every 2-3 years to prevent yellowing and brittleness
- Replace any damaged panels promptly to prevent leaks and further issues
- Use soft brushes only when cleaning to avoid scratching the surface
- Never use abrasive cleaners or pressure washers, which can damage the material
- Check seals and flashings yearly for signs of wear or separation
Conclusion
That’s it! You now know how to put up a plastic roof on your shed or patio.
Hopefully, this guide has prepared you to tackle this home project with ease. Remember to measure twice and cut once to save time and money.
Safety comes first, so wear proper gear when you’re on the ladder. If you run into any issues, take a step back and check your work—most problems come from small mistakes that are easy to fix.
Have you tried this type of roofing before? If you have any tips to add, feel free to leave comments!
Your next step is to gather your tools and get started – your new roof is waiting.
Frequently Asked Questions
What Screws Should I Use for Corrugated Plastic Roofing?
Use zinc-plated or galvanized screws with neoprene washers to prevent water leaks and ensure durability.
Can I Install Corrugated Plastic Roofing Alone?
While it’s possible to install it alone, it’s safer and more efficient to have assistance.
Do I Need to Pre-Drill Holes in the Roofing Sheets?
Yes, pre-drilling holes is recommended to prevent cracking during installation.

