How to Limewash Your Brick House
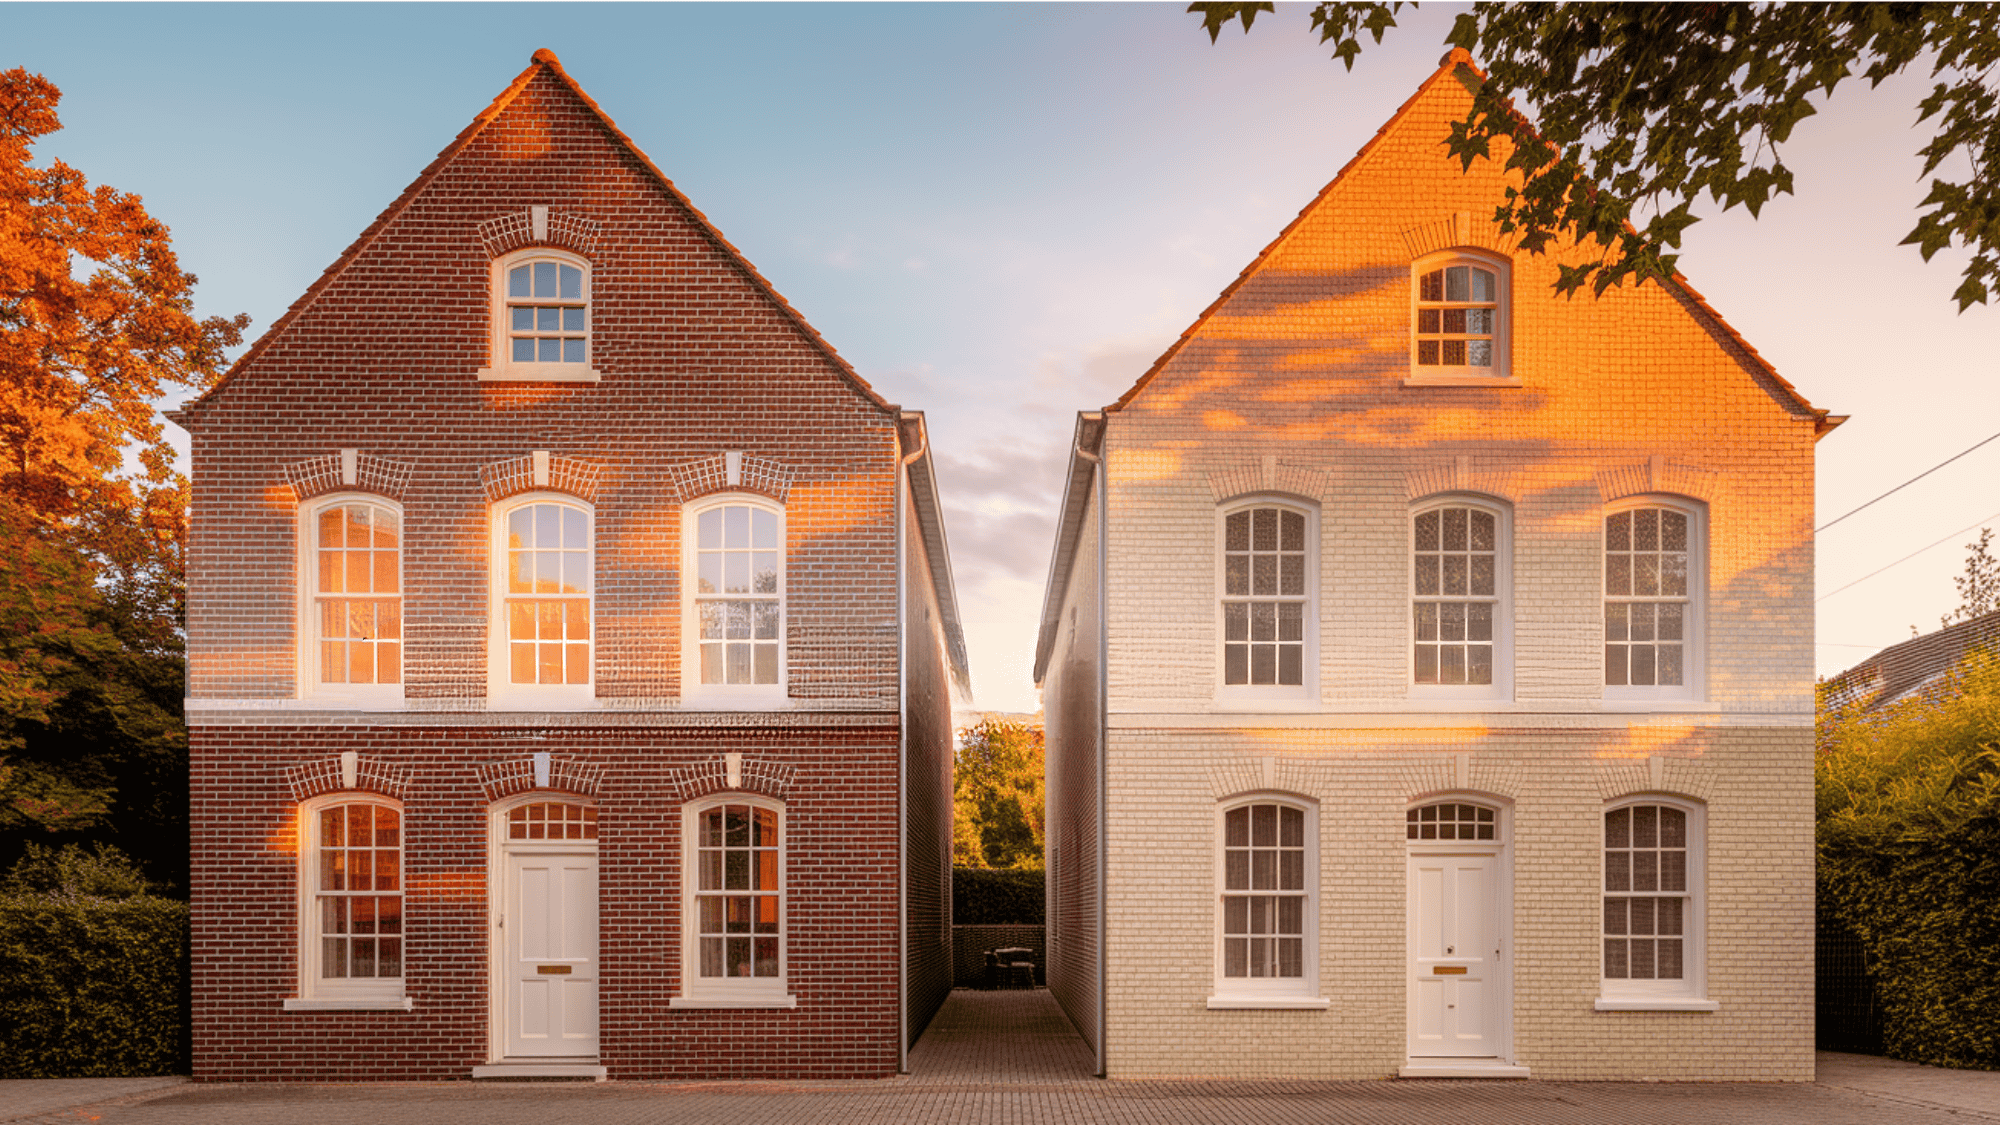
Ever wondered how to give your brick house a fresh look without spending too much money?
Limewash might be the answer. This old-world finish has been used for centuries on buildings across Europe and early America.
It’s made from crushed limestone that has been burned and mixed with water to create a breathable coating.
People choose limewash for brick houses because it’s cost-effective and offers a soft, matte finish that ages well.
Unlike paint, limewash bonds with brick and allows it to breathe, which helps prevent moisture issues. Plus, it has natural anti-bacterial properties and is very eco-friendly.
In this blog, we will show you how to apply this time-tested technique to your own home.
What is Limewash
Limewash is a simple mix of slaked lime and water. When applied to brick, the lime sinks in and forms a bond with the surface.
Unlike modern paints, limewash doesn’t seal the surface. The mix comes in white by default, but you can add natural pigments to get different colors.
Most folks go for soft, earthy tones that look worn-in and cozy.
Materials and Tools Needed for Limewash Brick House
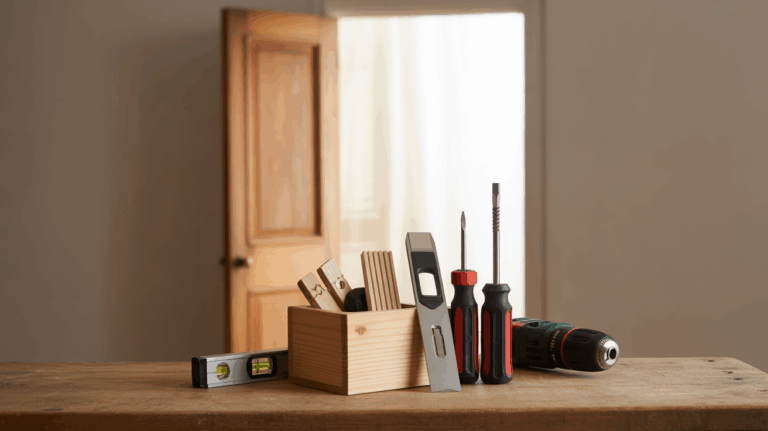
Getting ready to lime wash your brick house starts with gathering all the right supplies. Here’s what you’ll need before you start:
- Limewash – Buy pre-mixed or make your own from lime putty
- Clean water – For mixing and dampening surfaces
- Painter’s tape – To protect edges and trim
- Drop cloths or plastic sheet – To cover plants, walkways, and areas not being limewashed.
- Mild detergent – For cleaning the brick before application
- Brick filler or mortar – For repairing any damaged areas before starting
- Masonry brushes – Wide brushes (4-6 inches) work best for applying limewash
- Bucket – Large enough to mix your limewash solution
- Drill with mixing attachment – Makes mixing much easier than doing it by hand
- Garden hose or spray bottle – For dampening the brick before application
- Ladder or scaffolding – For reaching higher areas safely
- Gloves – Limewash is very alkaline and can irritate skin
- Safety goggles – To protect your eyes during application
- Dust mask – When mixing dry lime products
Approximate Cost to Limewash Your Brick House:
|
Option |
Cost Range | Details |
|---|---|---|
|
DIY Costs |
$50 to $200 | Materials cost depends on the area size and ingredients used. |
|
Professional Application |
Higher (Varies) | Costs include labor and expertise, ensuring a uniform and high-quality finish. |
Step-by-Step Guide to Limewashing a Brick House
Limewashing your brick house can give it a beautiful, textured look that improves with age. This guide breaks down each step to help you get great results, even if you’ve never done it before.
Step 1: Clean the Brick Surface
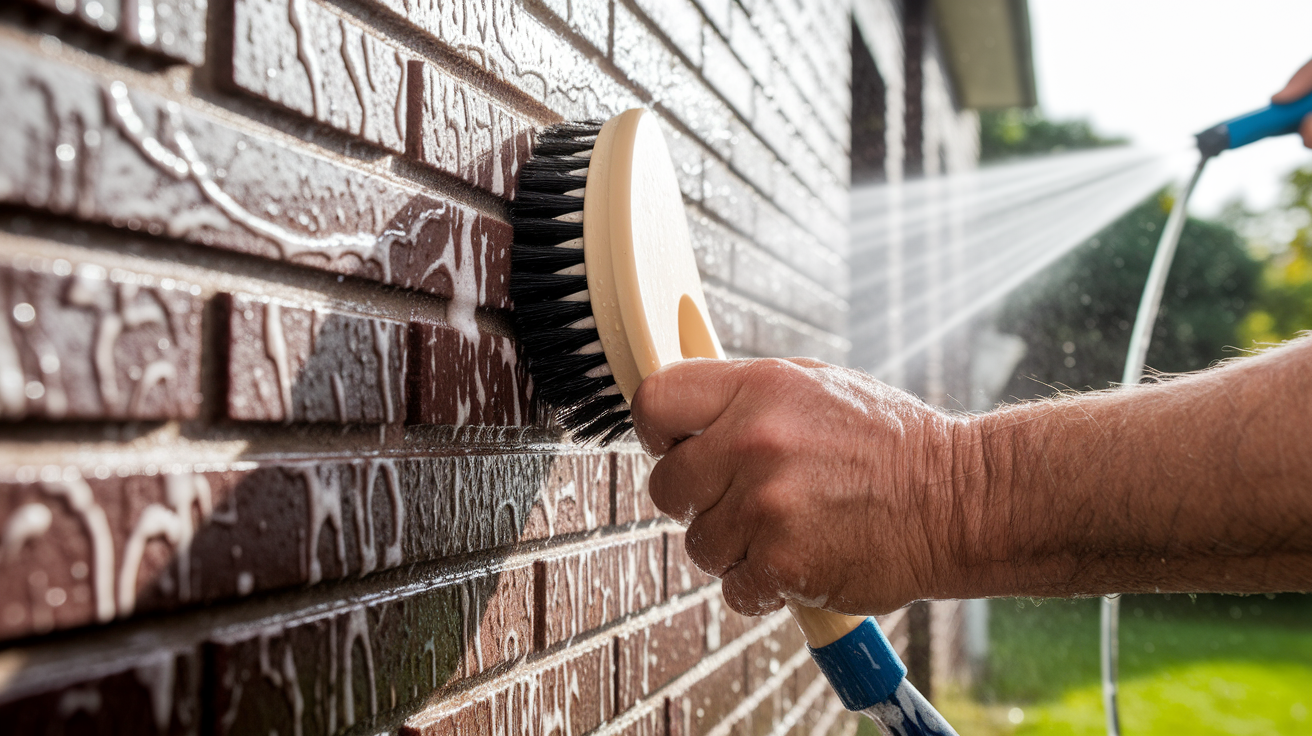
Start by washing all brick surfaces with mild soap and water. Use a garden hose or pressure washer on a low setting to remove dirt, moss, and loose bits.
Avoid harsh chemicals that might damage the brick or affect how well the limewash sticks. Let the bricks dry completely for 24-48 hours before moving forward.
Pro Tip: If your brick has stubborn stains, try a mixture of water and white vinegar (3:1 ratio) instead of commercial cleaners.
Step 2: Repair Any Damage
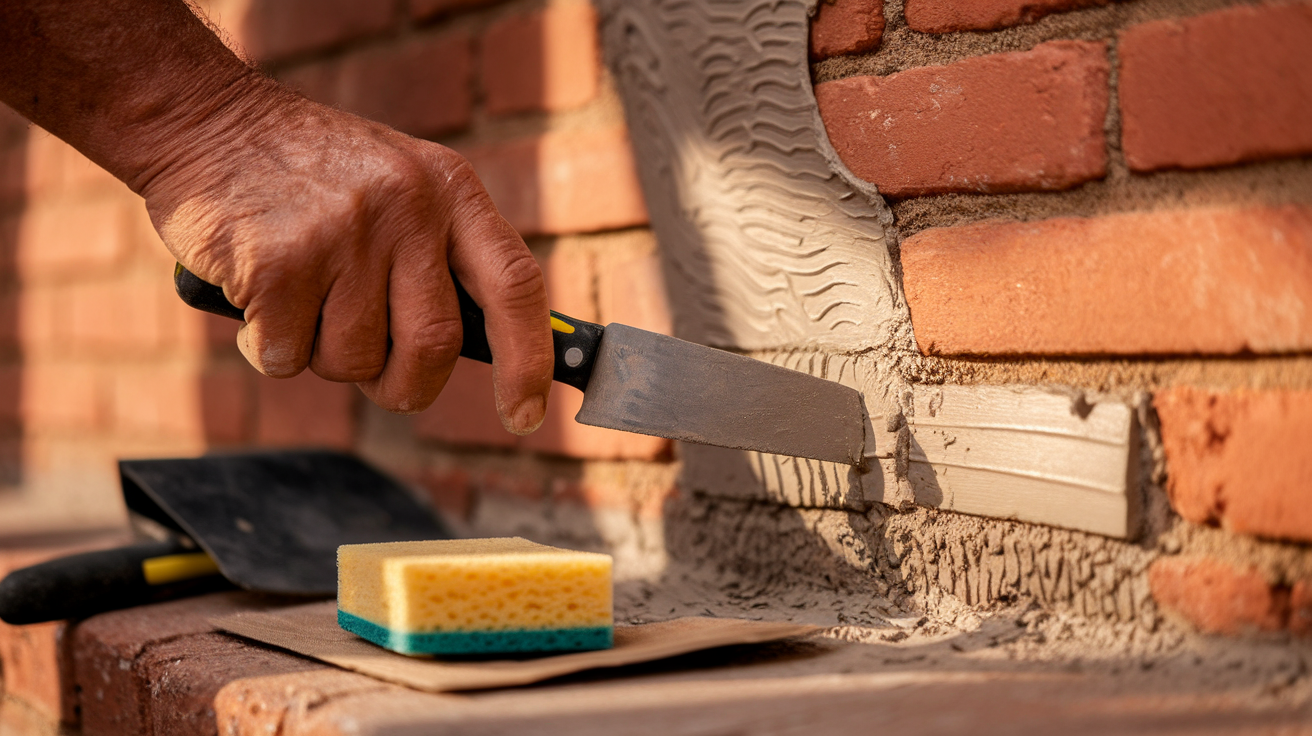
Check your entire brick surface for cracks, chips, or crumbling mortar. Fill small cracks with a suitable brick filler and repair larger issues with a mortar patch.
Make sure all repairs are dry before applying limewash.
Pro Tip: Take photos of problem areas before and after repairs. This helps you track which spots might need extra attention during application.
Step 3: Protect Surrounding Areas
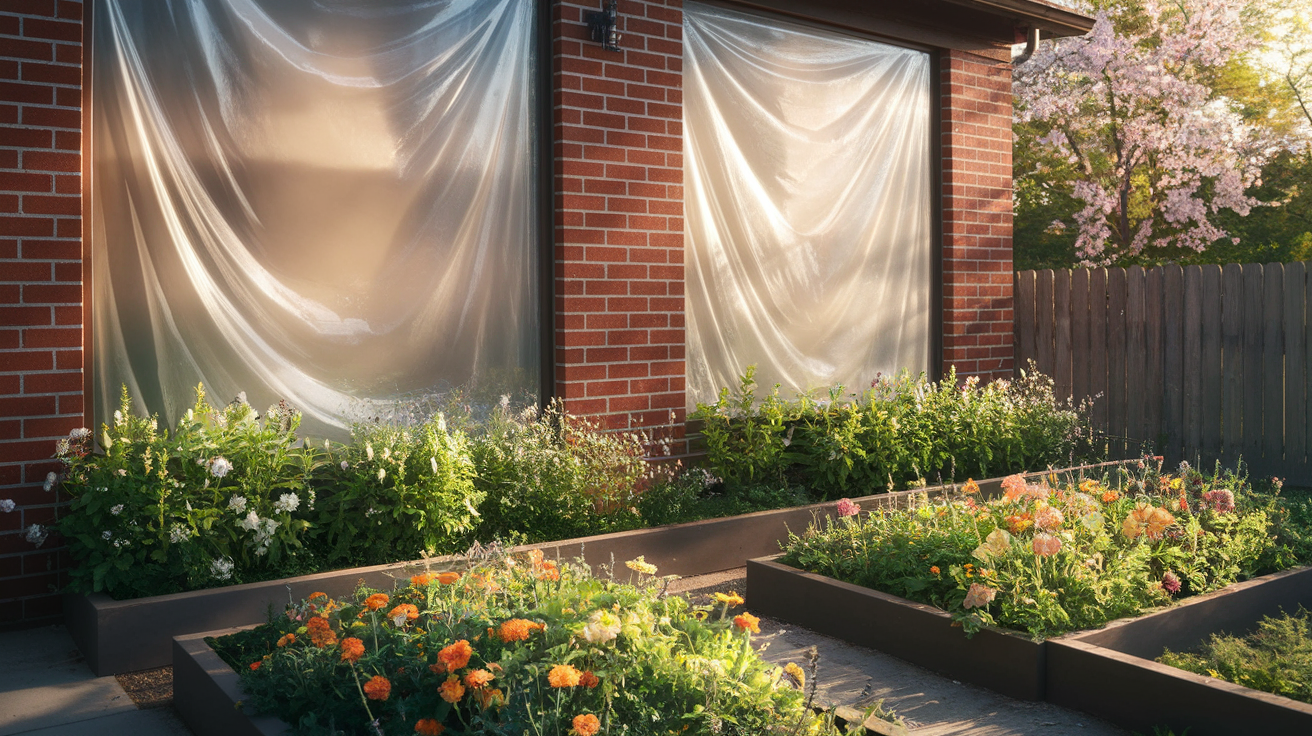
Cover nearby plants, windows, doors, and fixtures with plastic sheets or drop cloths. Secure these coverings with painter’s tape where needed.
Limewash can be difficult to remove once it dries on surfaces where you don’t want it.
Pro Tip: Use canvas drop cloths where possible. They stay in place better than plastic when there’s a breeze.
Step 4: Prepare the Mixture
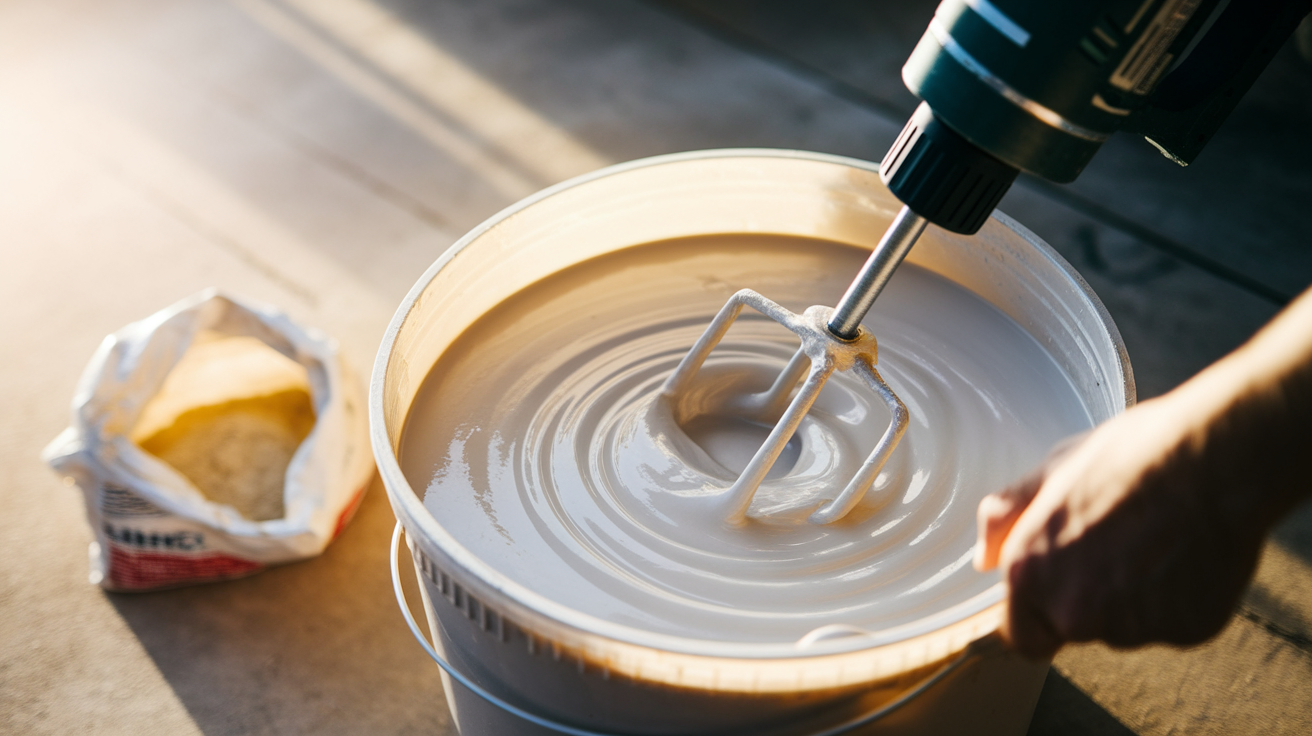
Mix your lime wash according to the manufacturer’s instructions. Typically, you’ll add water to create the right consistency. Stir slowly and thoroughly to avoid making too many bubbles.
The mixture should have a consistency similar to whole milk, be thin enough to apply easily, and thick enough to coat well.
Pro Tip: Mix in a large bucket with enough space to stir without spilling. A paint mixer attachment for a drill makes this job much faster.
Step 5: Test the Mixture
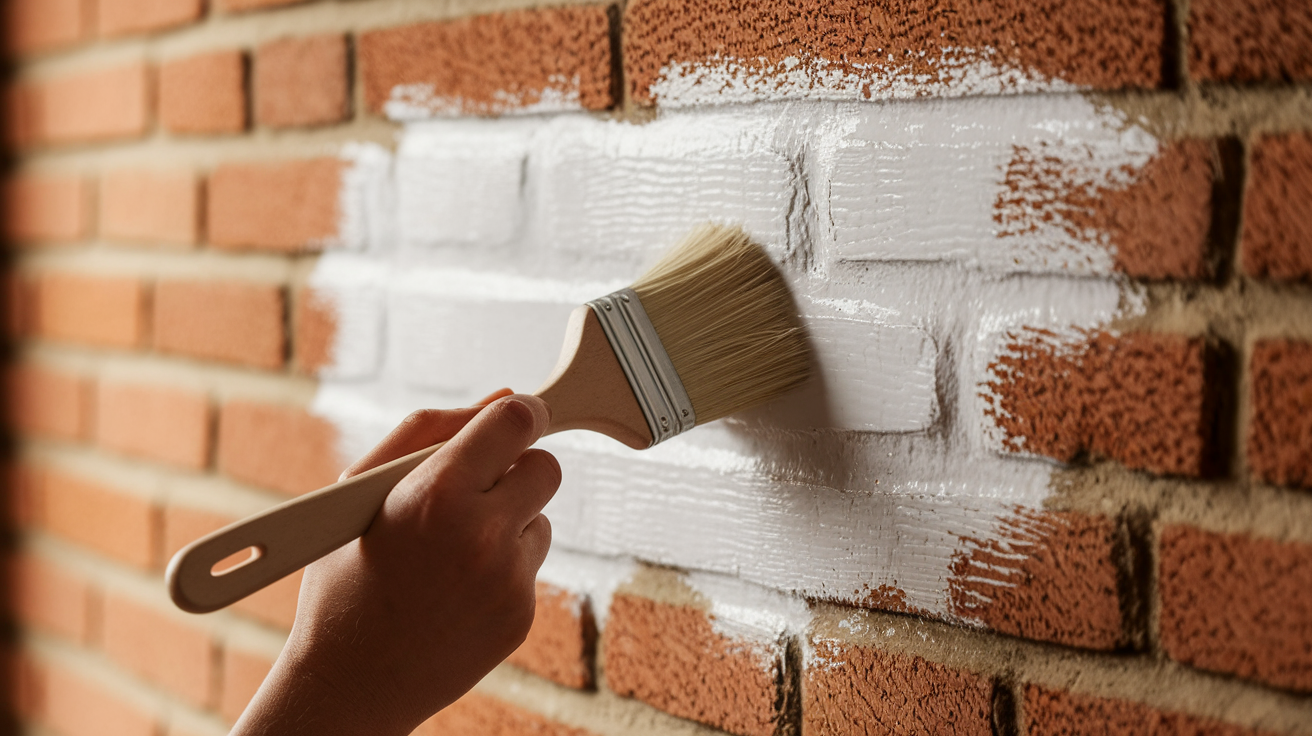
Apply your limewash to a small, hidden area of your brick wall. Let it dry completely to see the true color and finish.
This test patch helps you decide if you need to adjust the thickness or color before doing the whole house.
Pro Tip: Make several test patches with different numbers of coats (1, 2, and 3) to see which coverage level you prefer.
Step 6: Dampen the Brick
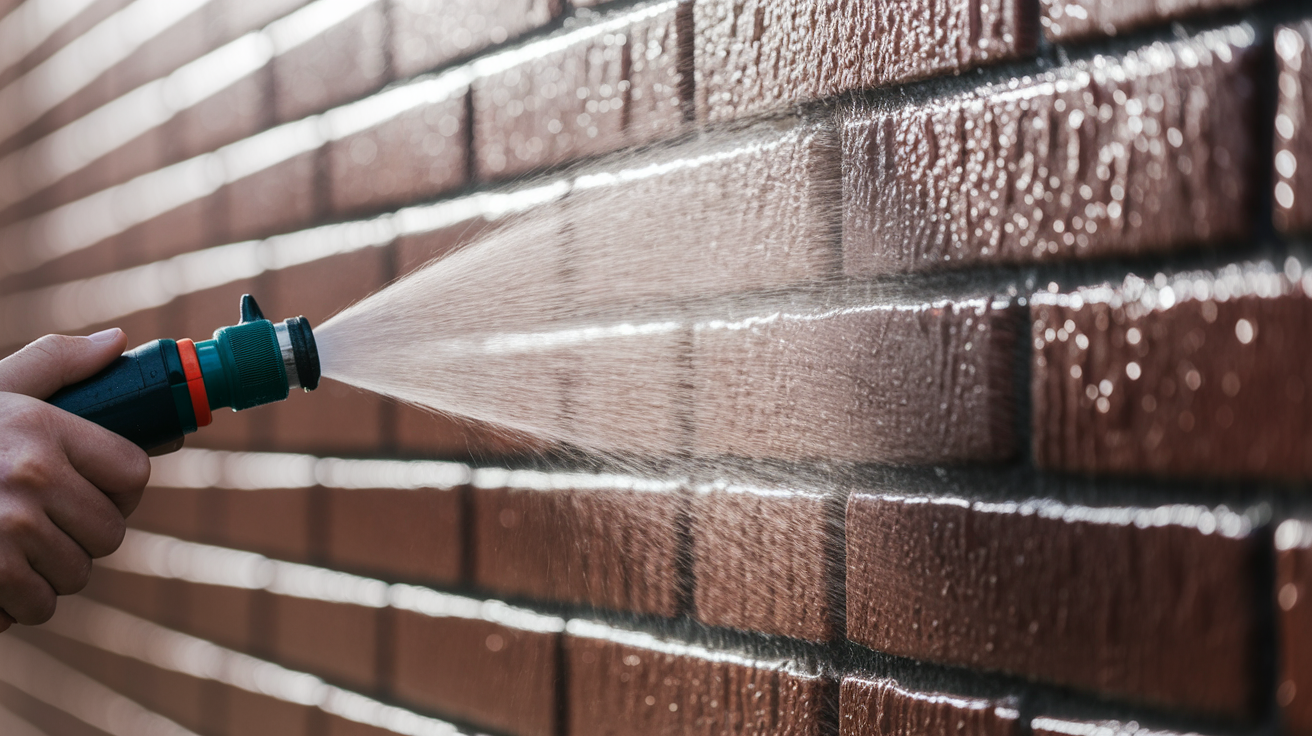
Use a garden hose with a mist setting or a spray bottle to lightly wet the brick surface just before applying limewash. Damp brick accepts the lime wash better than a completely dry brick.
Pro Tip: Work in sections about 3-4 feet square so the dampness doesn’t dry before you apply the limewash.
Step 7: Apply Limewash
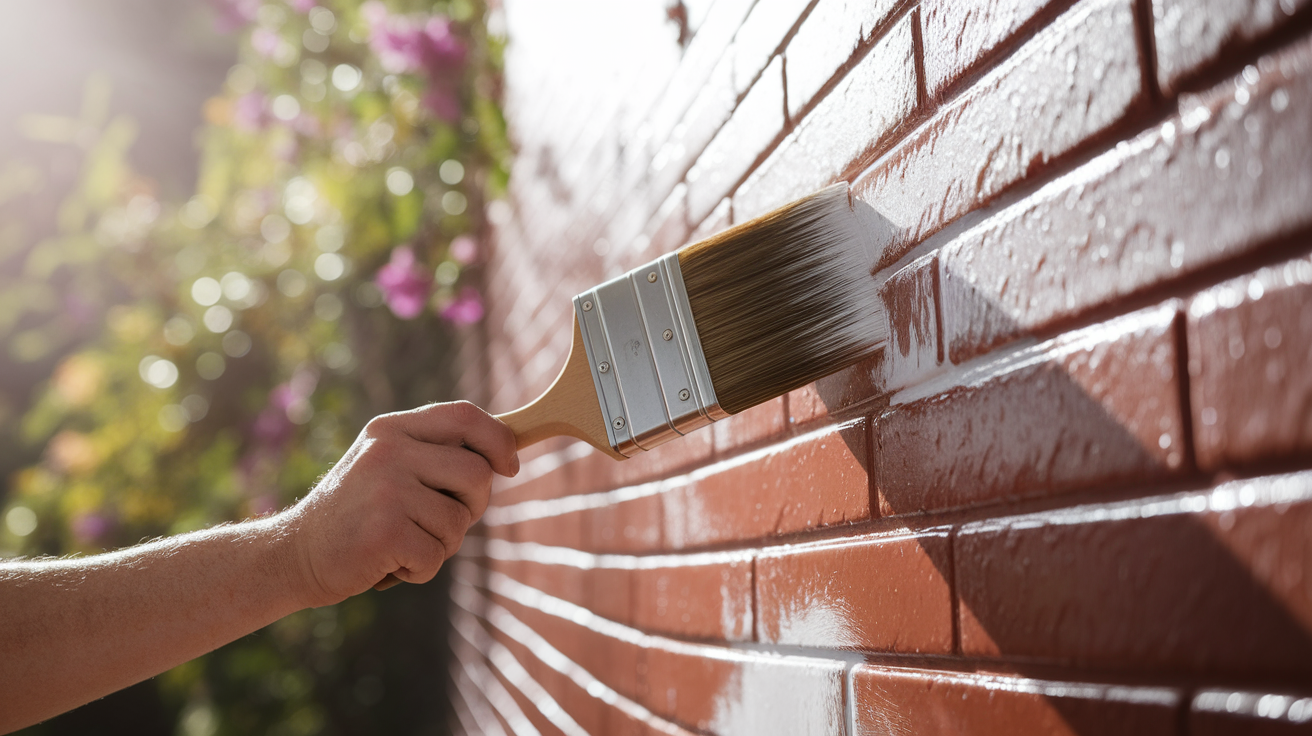
Use a wide masonry brush (4-6 inches) to apply the limewash in an “X” pattern, followed by filling in the gaps. Work from top to bottom and maintain a wet edge to avoid lap marks.
Apply quickly, but don’t rush. For large areas, some people prefer a paint roller with a thick nap, followed by back-brushing with a masonry brush to work the material into the brick texture.
Pro Tip: Keep a wet edge by completing entire sections without breaks. This helps avoid visible lines between application areas.
Step 8: Layer as Needed
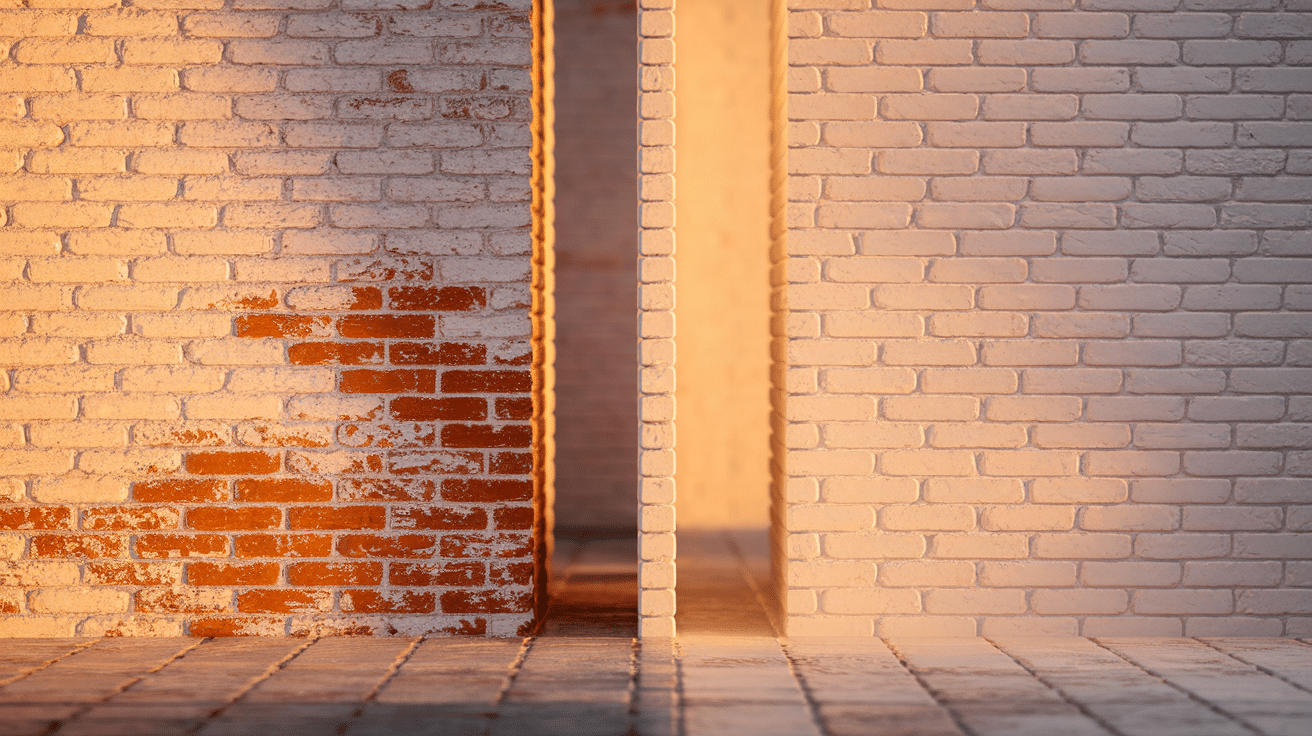
Allow the first coat to dry for at least 24 hours, then apply a second coat if desired. Each additional coat makes the finish more opaque and less brick shows through.
Most projects need 2-3 coats for ideal coverage.
Pro Tip: Take photos after each coat dries to help decide if you need another layer. What looks too thin in person might look perfect in photos.
Step 9: Create a Weathered Look (Optional)
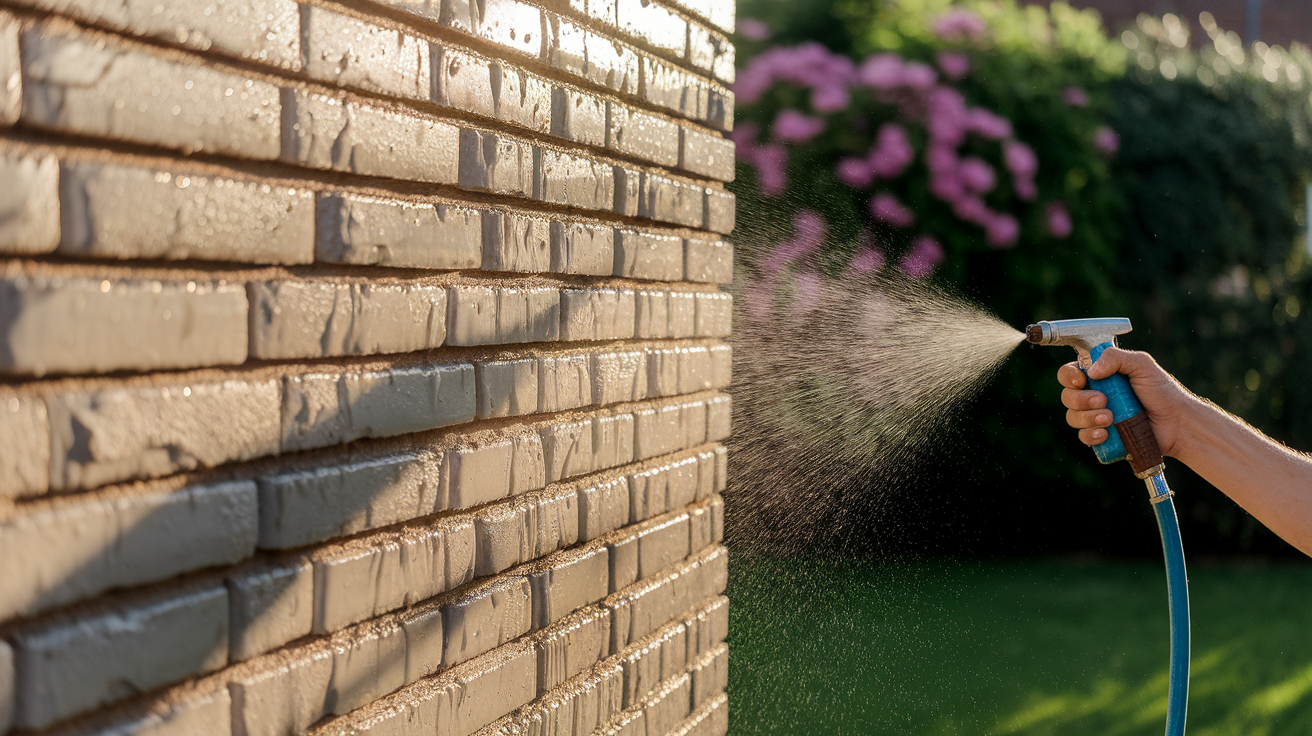
For a more worn, rustic look, you can distress the limewash after it’s partially dry (about 30-60 minutes after application).
Use a garden hose with light pressure or a damp cloth to remove limewash selectively from sections of brick.
Pro Tip: Practice your distressing technique on a small area first. It’s easier to remove more limewash than to add it back in specific spots.
Step 10: Refine the Distressing
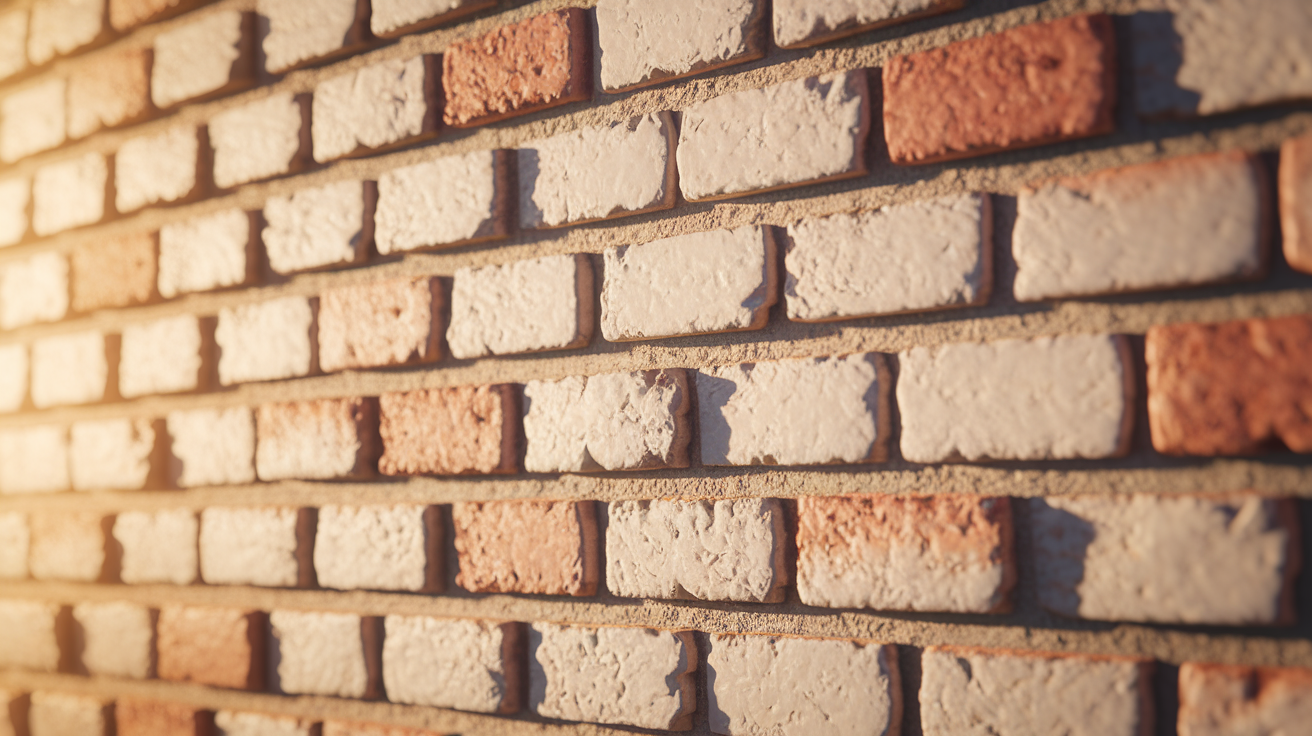
Step back frequently to check your work. Aim for a natural-looking pattern rather than obvious marks. If needed, you can soften harsh lines with a dry brush.
Pro Tip: The amount of distressing often looks different after the wall fully dries. Start with less than you think you want, and you can always add more.
Step 11: Allow Complete Drying
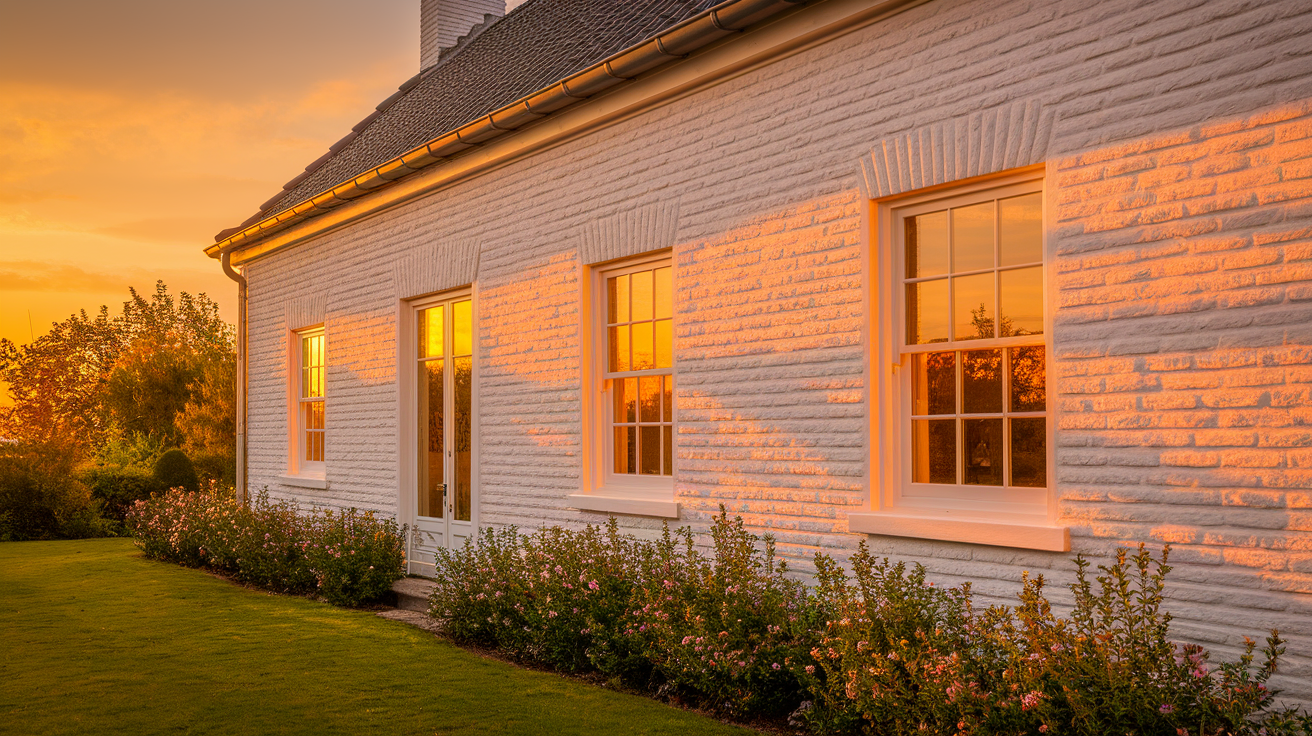
Let the limewash dry for at least 24-48 hours before exposing it to rain or harsh weather. The lime needs time to bond fully with the brick surface.
Full curing takes about 2-4 weeks, during which time the limewash becomes more durable.
Pro Tip: If rain is expected within 24 hours of application, consider covering outdoor work with plastic sheeting.
You Can Also Check Out the Video below on How to Limewash Your Brick House.
Design Considerations Tips for Your Home
When planning your limewash project, think about design choices that will make your home look its best. These tips will help you make smart decisions:
Color Selection
- Limewash comes in many shades beyond just white. Look for soft whites, creamy ivories, pale grays, and gentle earth tones.
- Most brands offer pre-mixed colors, but you can also add mineral pigments to create custom shades.
- Test colors on a small section of your wall first. Limewash often dries lighter than it looks when wet.
Matching Your Home’s Style
- For Colonial or Federal homes, classic white or cream limewash gives an authentic period look that complements formal landscaping.
- For Farmhouse or Rustic styles, try warmer, uneven finishes with some distressing to create an aged, lived-in feel.
- For Modern homes, choose cool whites or grays with minimal distressing for a clean, smooth finish that feels fresh.
- For Mediterranean or Spanish styles, warm whites, terracottas, and ochres help bring out this home style’s sunny, casual charm.
Coverage Levels
- For full coverage, applying several coats creates an opaque finish that hides most of the brick pattern while still showing texture.
- For partial coverage, Fewer coats or more distressing lets the original brick show through in places, creating depth and character.
- For the wash effect, a very thin application with lots of brick showing through creates subtle color shifts without hiding the brick.
Contrast Considerations
- Think about your trim colors. Dark shutters and doors pop against light limewash.
- Consider your roof color when picking limewash shades. They should work together.
- Look at your landscaping, too. Some plants look better against certain lime wash colors.
Weather Effects
- Limewash gently wears over time, especially in rainy areas. This natural aging can add character.
- The sunny side of your house might keep its limewash longer than areas exposed to harsh weather.
- Some people plan for this aging by applying heavier coats on weather-exposed sides.
Common Mistakes to Avoid While Limewashing
|
Mistake |
Tip |
|---|---|
| Over-Applying Limewash | Apply thin, even layers to prevent cracking and peeling. |
| Ignoring Proper Surface Preparation | Clean, repair, and pre-wet the surface for better adhesion and coverage. |
| Not Allowing Adequate Drying Time | Wait 24 hours between coats; full curing takes weeks. Avoid cleaning or touching up too soon. |
| Applying in Wrong Weather Conditions | Avoid direct sunlight, high heat, or rain within 24-48 hours. |
| Inconsistent Mixing | Mix each batch consistently and stir regularly to avoid patchy areas. |
| Poor Protection of Surrounding Areas | Cover plants, windows, and trim to prevent limewash from staining other surfaces. |
| Using the Wrong Tools | Use masonry brushes for better limewash application and a clean finish. |
| Expecting Perfect Uniformity | Embrace natural variation in color and texture—don’t aim for uniformity like regular paint. |
Conclusion
Limewashing your brick house takes a bit of work, but the results are worth it. This old method gives homes a soft, aged look that modern paints can’t match. Plus, it lets your walls breathe.
The key steps are simple: Clean well, mix properly, apply thinly, and let each coat dry fully.
Avoid rushing, and you’ll get better results. One of the most charming things about limewash is how it naturally improves with age.
Are you ready to start? Gather your tools, pick a color, and test a small area first.
Soon, your brick house will have that timeless charm that makes limewashed homes so special.

