How to Make a DIY Mantel With Storage
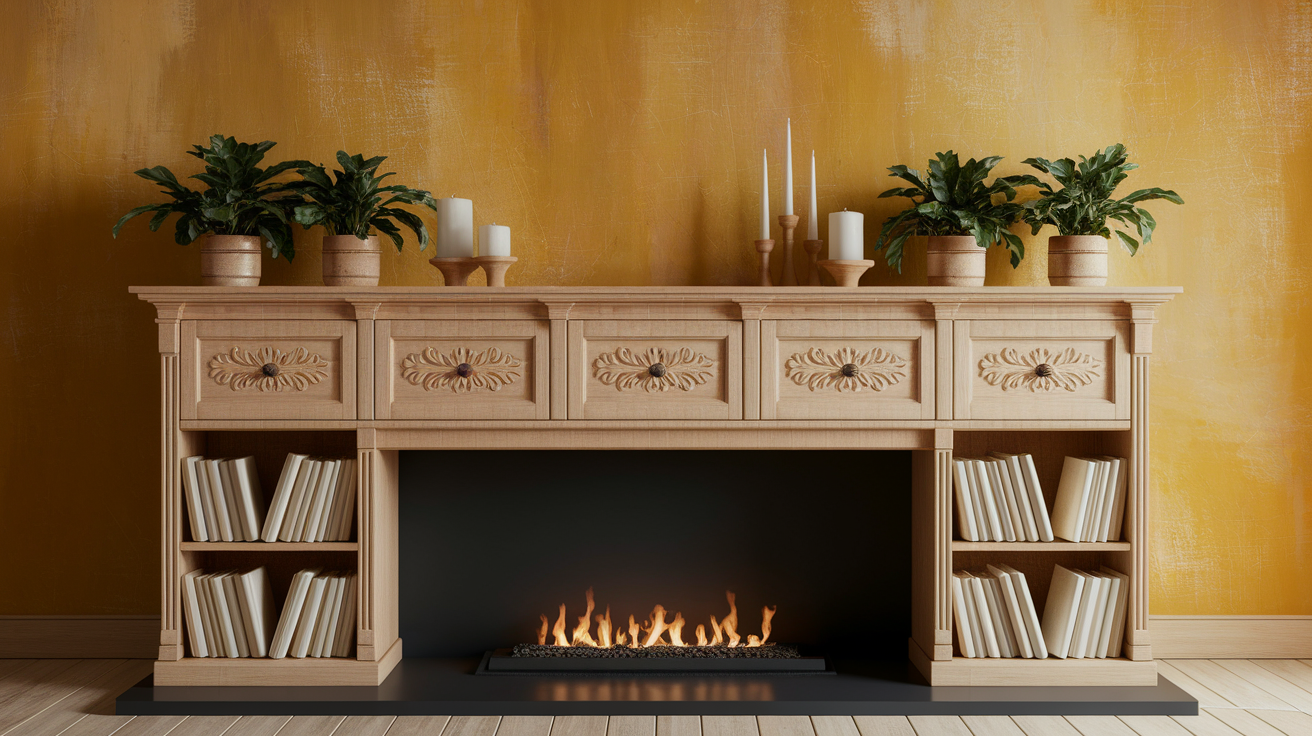
A storage mantel offers a smart way to add both style and function to any room. This practical home addition gives extra space to keep books, photos, or seasonal items while making rooms look more complete.
Many people think making a mantel means hiring professionals or spending too much money. That’s simply not true. With basic tools, some wood, and a free weekend, anyone can build a beautiful storage mantel at home. The steps are simple enough for beginners, and the results look professional.
This guide will show exactly how to measure, cut, assemble, and finish a custom storage mantel that fits perfectly in any space. Get ready to create something useful and attractive that guests will notice right away.
Materials and Tools Needed
Here are the essential materials and tools you’ll need to ensure your project is well-planned and executed with precision.
- Measuring tape
- Pencil and paper for sketching
- Safety glasses and work gloves
- Circular saw or miter saw
- Drill with various bits
- Screwdriver (both Phillips and flathead)
- Level
- Stud finder
- Sandpaper (various grits)
- Wood glue
- Wood screws
- Wall anchors
- 1×10 or 1×12 lumber for shelf top
- 1×4 lumber for sides and braces
- 1×2 lumber for trim
- Wood stain or paint
- Clear polyurethane sealer
- Paintbrushes and foam rollers
- Wood putty or filler
Step-by-Step Instructions
Follow these detailed steps to design and construct a beautiful mantel that complements your space while ensuring functionality and safety.
Step 1- Planning & Measuring

Plan your mantel by deciding its size and location. For fireplace mantels, add at least 6 inches to the fireplace width, with a depth of 7-10 inches and a height of 12 inches above for safety.
For freestanding mantels, measure wall space, mark stud locations, and sketch your design with measurements. Account for outlets or switches, take reference photos, and always double-check measurements before cutting materials.
Step 2 – Building the Mantel Structure

Cut lumber to match your measurements and sand for smoothness. Assemble pieces with wood glue and screws, ensuring square corners by checking diagonal measurements. Add braces for support and build frames for drawers if needed.
For floating mantels, use a cleat system attached to wall studs for hidden support. Check for levelness during assembly and allow the glue to fully dry before proceeding.
Step 3 – Adding Storage Features
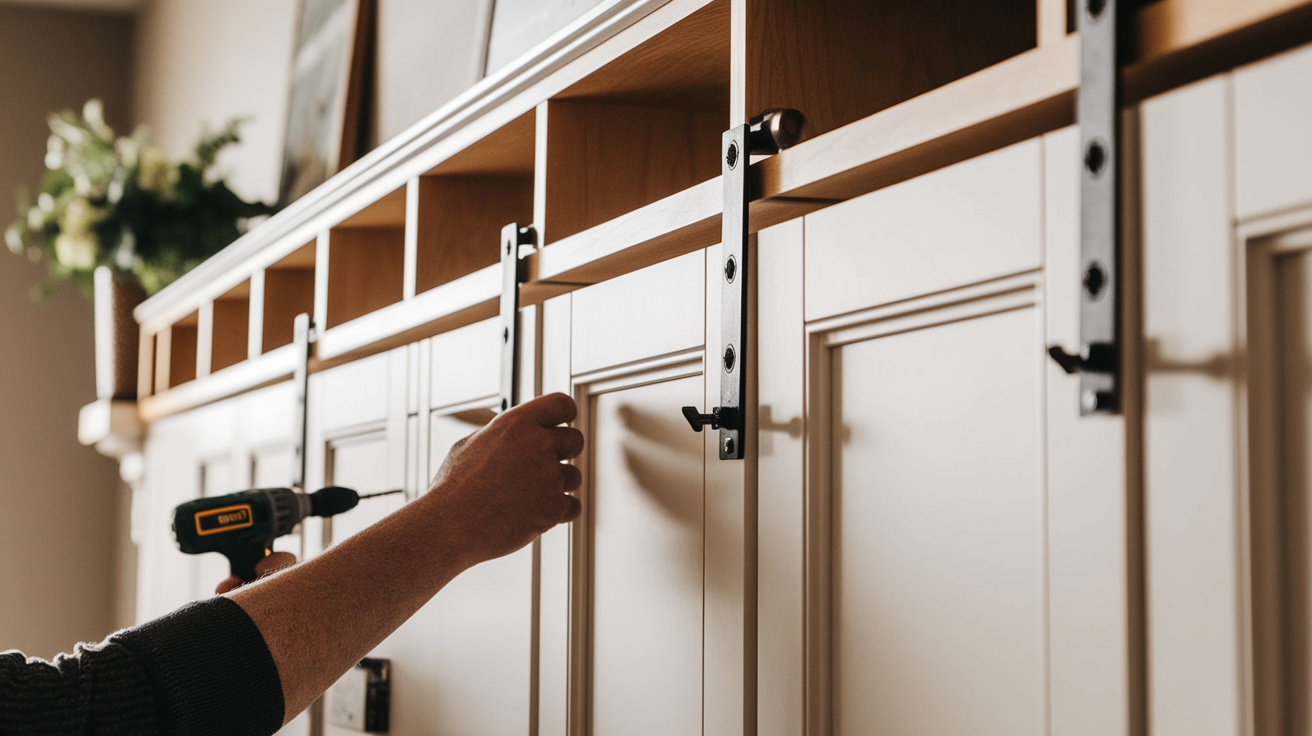
Transform your mantel into a storage solution by adding shelves, doors, or drawers. Use cleats for shelf installation and hinges for smooth door operation.
Ensure drawers fit and slide properly, and consider cubbies for extra storage. Drill holes for cord management if needed, and test all components for functionality before moving to the finishing stage. Adjust for perfect results.
Step 4 – Finishing Touches
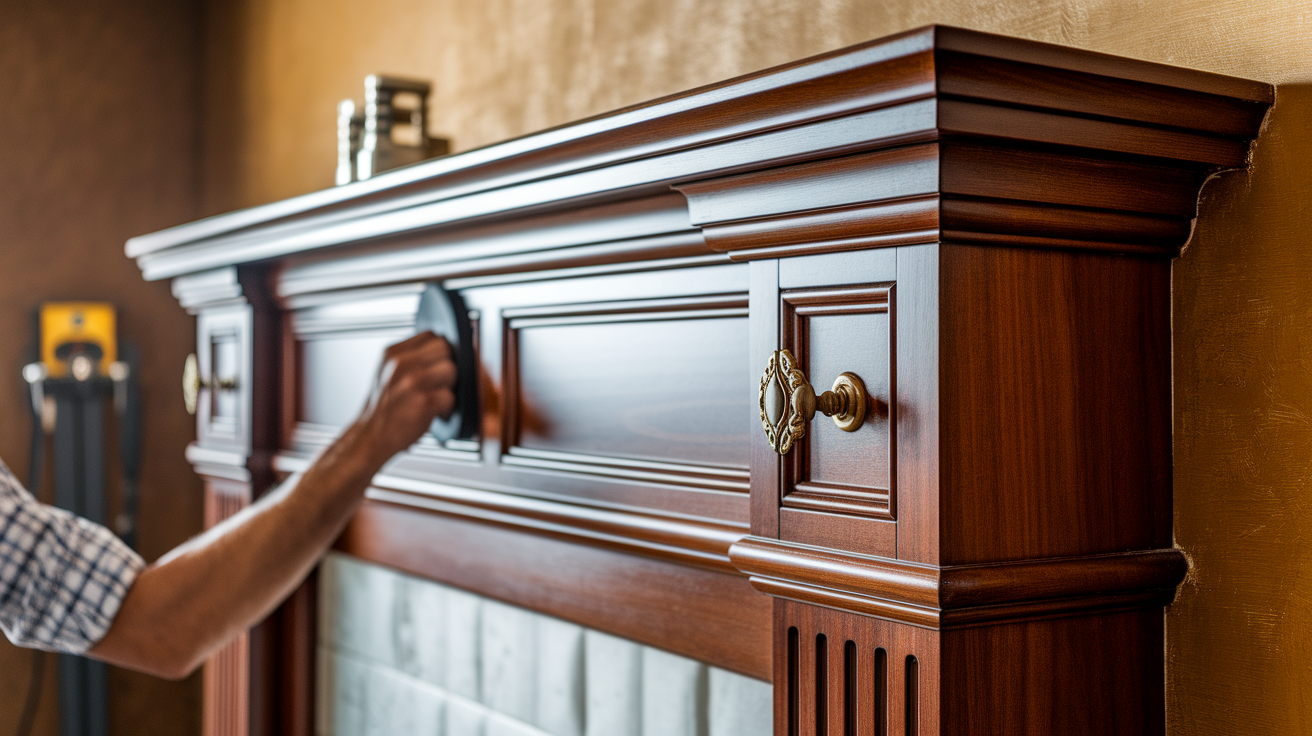
Complete your mantel by filling screw holes with wood putty and sanding for a smooth finish. Apply stain or primer and paint, followed by a clear protective finish.
Attach hardware like drawer pulls. Secure the mantel to wall studs with help, ensuring it is level. Allow the finishes to cure for 24 hours before use, and enjoy your beautifully polished creation!
Different Types of Storage Mantels
|
Feature |
Open Shelf Mantel | Closed Cabinetry Mantel | Multi-Tier Mantel |
|---|---|---|---|
| Description | Exposed storage for visible items keeps things within reach. | Storage areas hidden by doors conceal clutter for a neat look. | Multiple levels of shelving provide maximum storage. |
| Pros |
|
|
|
| Cons |
|
|
|
| Best Use |
|
|
|
| Skill Level | Beginner-friendly. | Intermediate to Advanced. | Intermediate to Advanced. |
| Design Style | Versatile, from simple to detailed. | More substantial, finished appearance. | Best in homes with high ceilings. |
| Construction | Simpler. | More complex due to the doors. | Requires careful planning. |
| Maintenance | Easy to clean and maintain. | May require more effort to keep doors clean and aligned. | May require more effort to maintain clean and organized shelves. |
| Visual Impact | It can create an open and airy feel. | Creates a more structured and formal look. | It can create a dramatic vertical statement. |
| Storage Type | Open shelving. | Closed cabinets. | Tiered shelving. |
Style Compatibility Guide
Here are these three unique mantel designs, each offering unique features and distinct features to uplift your living space with style and functionality.
Modern Style
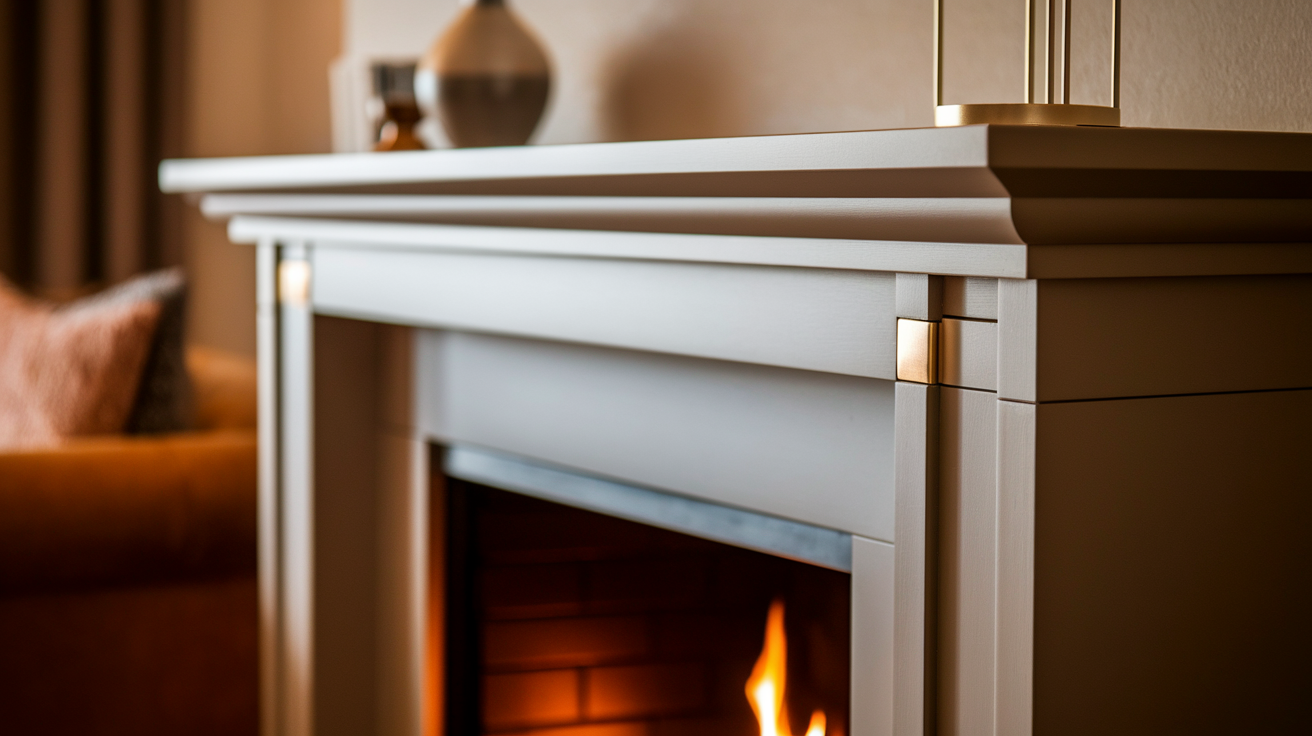
Modern style mantels feature clean lines, minimal details, and smooth finishes. Choose light-colored woods like maple or birch, or opt for painted finishes in white, black, or gray.
Floating mantels with hidden brackets work perfectly in modern rooms, creating a sense of lightness.
For open shelves, keep displays sparse with just a few carefully selected items. Closed cabinetry should have flat-panel doors with simple hardware or push-to-open mechanisms. Multi-tier designs work best with offset or asymmetrical arrangements.
Rustic Style
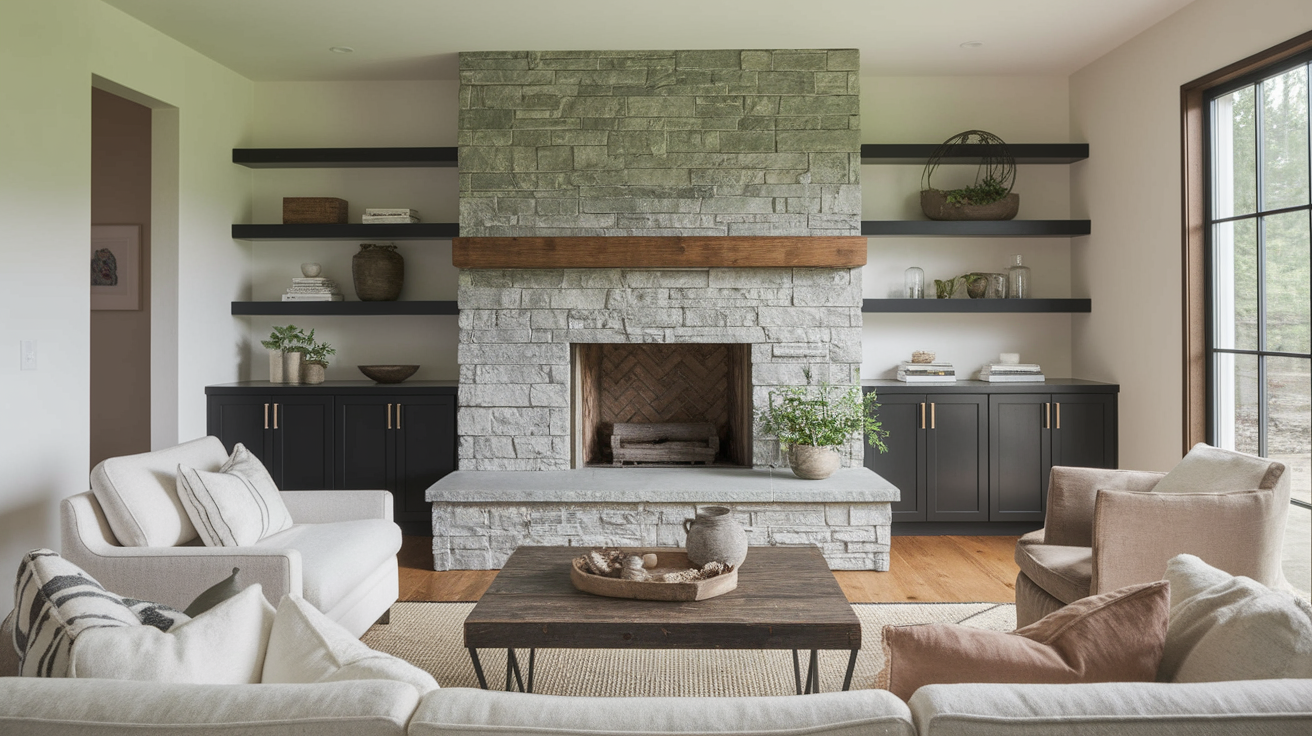
Rustic style mantels celebrate natural wood character and handcrafted details. Choose woods with visible knots and grain patterns like pine, oak, or reclaimed barn wood. Finish with clear or lightly tinted stains that highlight wood features rather than hiding them.
Metal accents in iron or copper add authentic charm. Open shelves display pottery, baskets, and items with history and texture. Closed cabinetry works with frame-and-panel construction and substantial hardware.
Traditional Style
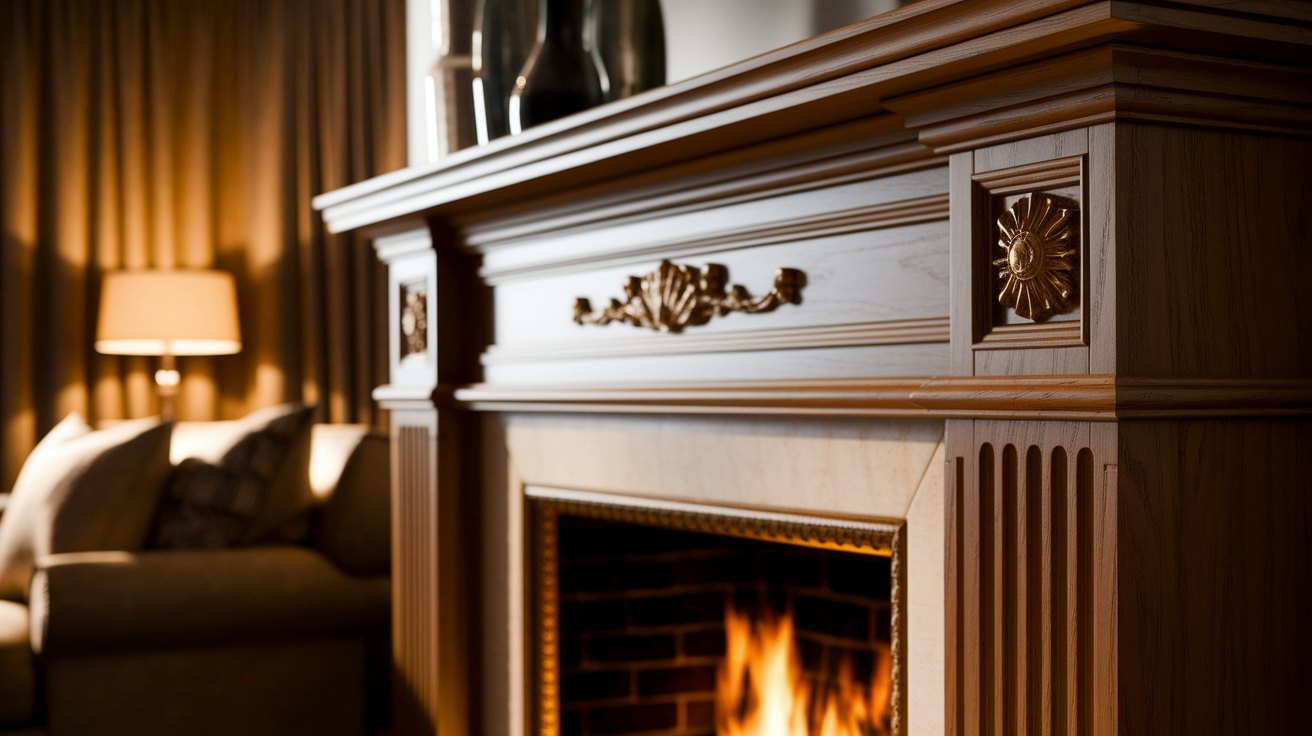
Traditional style mantels feature classic proportions and refined details. Select hardwoods like cherry, walnut, or mahogany with consistent grain patterns. Add crown molding, dental details, or fluted trim for authentic character.
Symmetry guides both the mantel design and displayed items. Open shelves work well with balanced arrangements of books, porcelain, or silver pieces.
Closed cabinetry should include raised panel doors and classic hardware like polished brass or glass knobs. Multi-tier designs benefit from formal proportions with equal spacing.
Maintenance & Safety Tips
- Dust Regularly: Wipe the mantel weekly with a soft cloth and use a wood-safe cleaner for deeper cleaning, avoid harsh chemicals.
- Prevent Spills and Stains: Clean up spills immediately to avoid water marks or damage to the finish.
- Maintain the Finish: Apply polish or wax every few months to restore shine if the finish starts to dull.
- Check Hardware and Stability: Inspect and tighten all hardware regularly to keep the mantel secure and stable.
- Respect Weight Limits: Don’t overload, distribute weight evenly, and avoid placing heavy items on DIY mantels.
- Follow Fireplace Safety Guidelines: Maintain at least 12 inches of clearance above the firebox and never place flammable items on or near the mantel.
- Secure Items for Safety: Use museum putty for tall or unstable decor, and avoid breakables on lower shelves if children are around.
Conclusion
A DIY storage mantel adds both beauty and usefulness to any home. With the right planning and basic tools, this weekend project turns ordinary walls into eye-catching focal points with practical storage.
From rustic wood designs to sleek floating shelves, these mantels work in many different home styles. The skills needed are basic, making this project perfect for both new and experienced builders.
Regular cleaning and proper maintenance keep the mantel looking fresh for years. Plus, with so many ways to add personal touches, from hidden compartments to built-in lighting, each mantel becomes truly one of a kind.
Building a storage mantel saves money while creating a custom piece that fits perfectly in the space and serves daily needs exactly as planned.


