How to Make an Easy DIY Mirror Frame
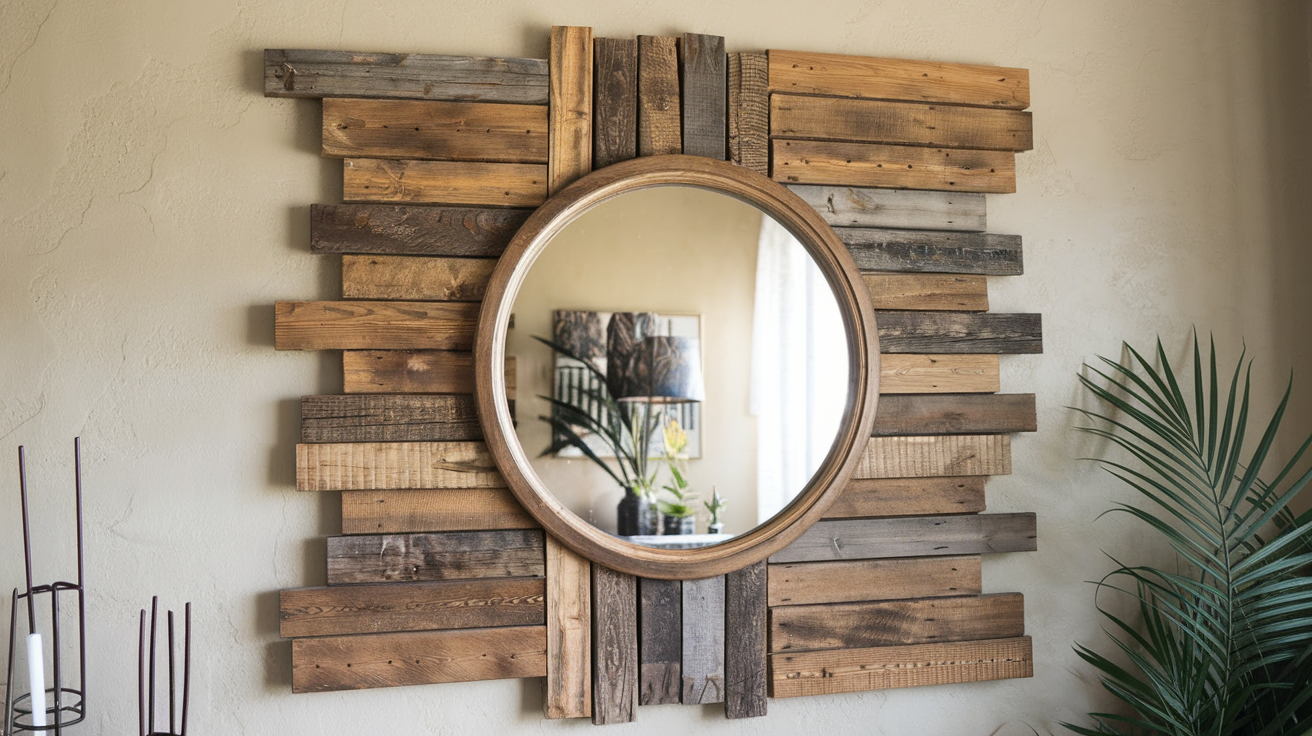
Want to turn an ordinary mirror into something special? Making your own mirror frame is easier than you think!
When you create a custom frame, you get exactly what you want at a fraction of the store cost. Plus, it’s fun to make something with your own hands.
A well-made mirror frame can completely change a room. That plain bathroom mirror becomes a focal point. That boring hallway mirror adds charm to your space. The bare wall gets a new life.
In this blog, we have discussed simple steps for making your own mirror frame. You don’t need fancy tools or special skills—just some basic materials and a bit of time.
From rustic wood designs to modern looks, you will find options that will match your style and budget.
Materials Needed to Make Mirror Frame
Creating a DIY mirror frame requires a few essential materials, most of which are easily available at hardware stores.
These materials help build a sturdy, stylish frame that enhances the look of a plain mirror.
- Wooden trim (with a protruding edge to cover mirror clips)
- Handsaw and miter box (or an electric miter saw)
- Measuring tape
- Wood glue
- Corner clamps (optional but helpful)
- Sandpaper or nail file
- Black wood stain or wood paint
- Paintbrush or rag for staining
- Polyacrylic (matte finish for sealing)
- Command strips or interlocking clips (for hanging)
- Paper towels or cloth (for cleaning)
Total Approximate Cost
- If basic tools are already available – $50 – $100
- If tools need to be purchased – $80 – $150+
- If using an electric miter saw – $180 – $300+
Step-by-Step Process for Making a DIY Mirror Frame
Framing a mirror is a great way to add to its look and make it blend effortlessly with the rest of the decor. A simple wooden frame can add character and style to an otherwise plain mirror.
Here is the step-by-step process, ensuring an easy-to-follow method to achieve a professional-looking result.
Step 1: Measure and Cut the Trim
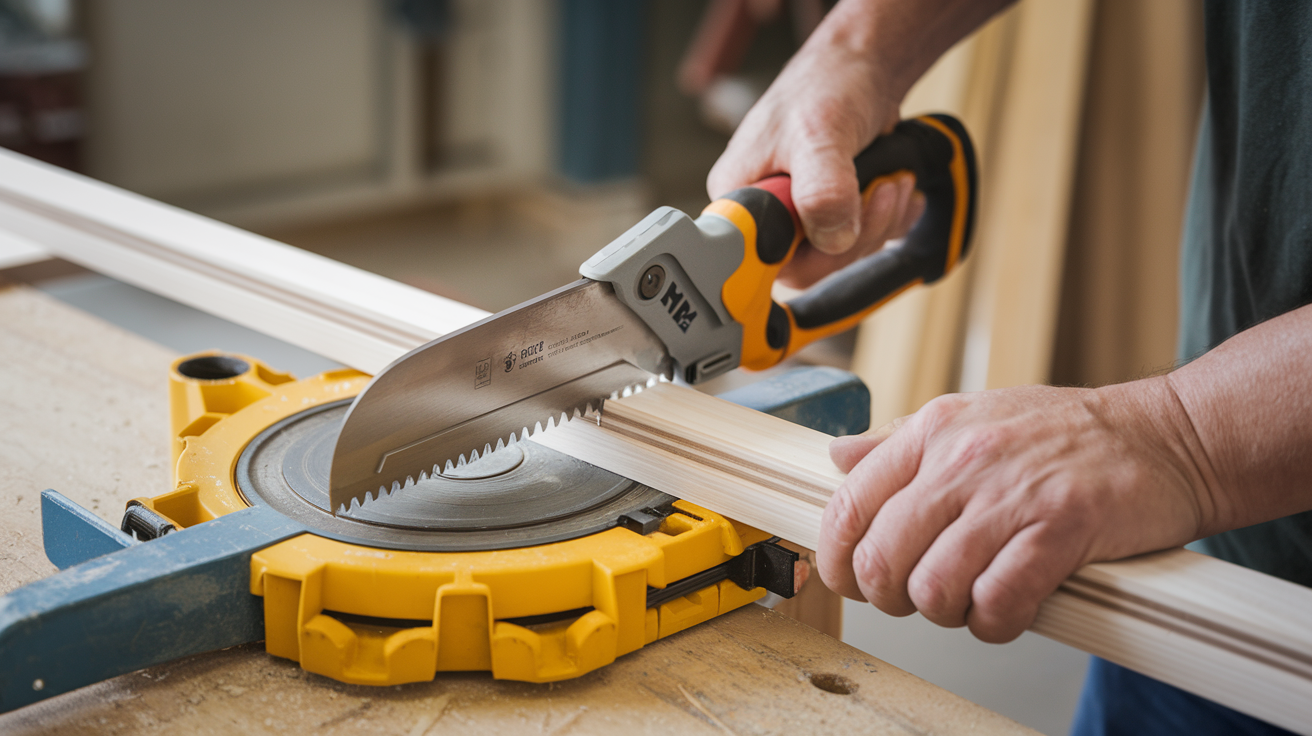
Start by measuring the mirror’s dimensions to determine the exact length of each frame piece. Since the frame will have mitered edges, extra attention is needed to ensure accuracy.
Align the trim pieces and mark the cutting lines at a 45° angle on each end. Using a handsaw with a miter box (or an electric miter saw), carefully cut along the marked lines.
Once all four pieces are cut, check that they fit together properly around the mirror before proceeding to the next step.
Step 2: Assemble the Frame
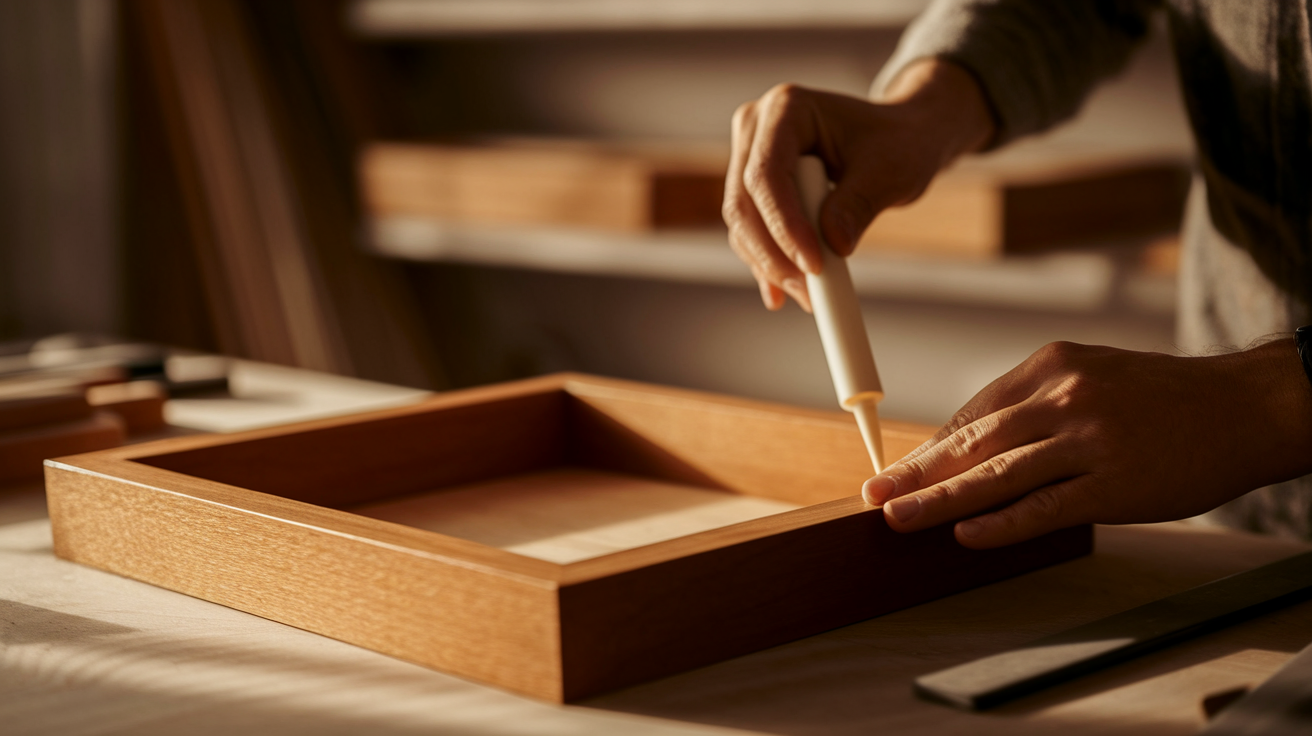
Lay the cut frame pieces on a flat surface to prepare for assembly. Apply a generous amount of wood glue along the edges where the pieces will be joined.
Use corner clamps to securely hold the frame in place while the glue dries, if available.
If clamps aren’t available, glue one corner at a time and allow each section to dry completely before proceeding. This step is crucial for creating a sturdy frame, so patience is key.
Step 3: Sand and Fix Imperfections
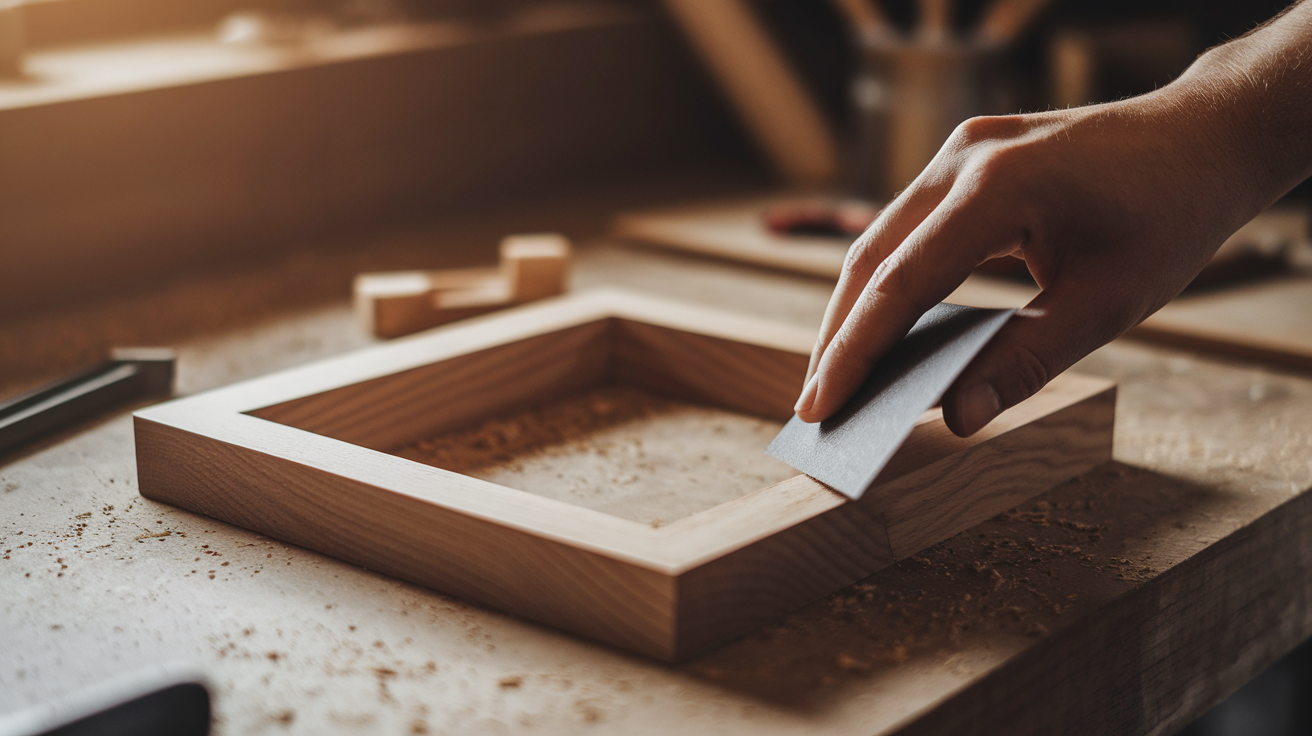
Once the glue has dried, inspect the frame for any gaps or rough edges. Use sandpaper or a nail file to smooth out uneven surfaces.
If there are any small gaps between the corners, apply extra wood glue and press the pieces together tightly.
Allow the glue to dry again before moving forward. Taking the time to refine the frame at this stage ensures a more polished final result.
Step 4: Stain or Paint the Frame
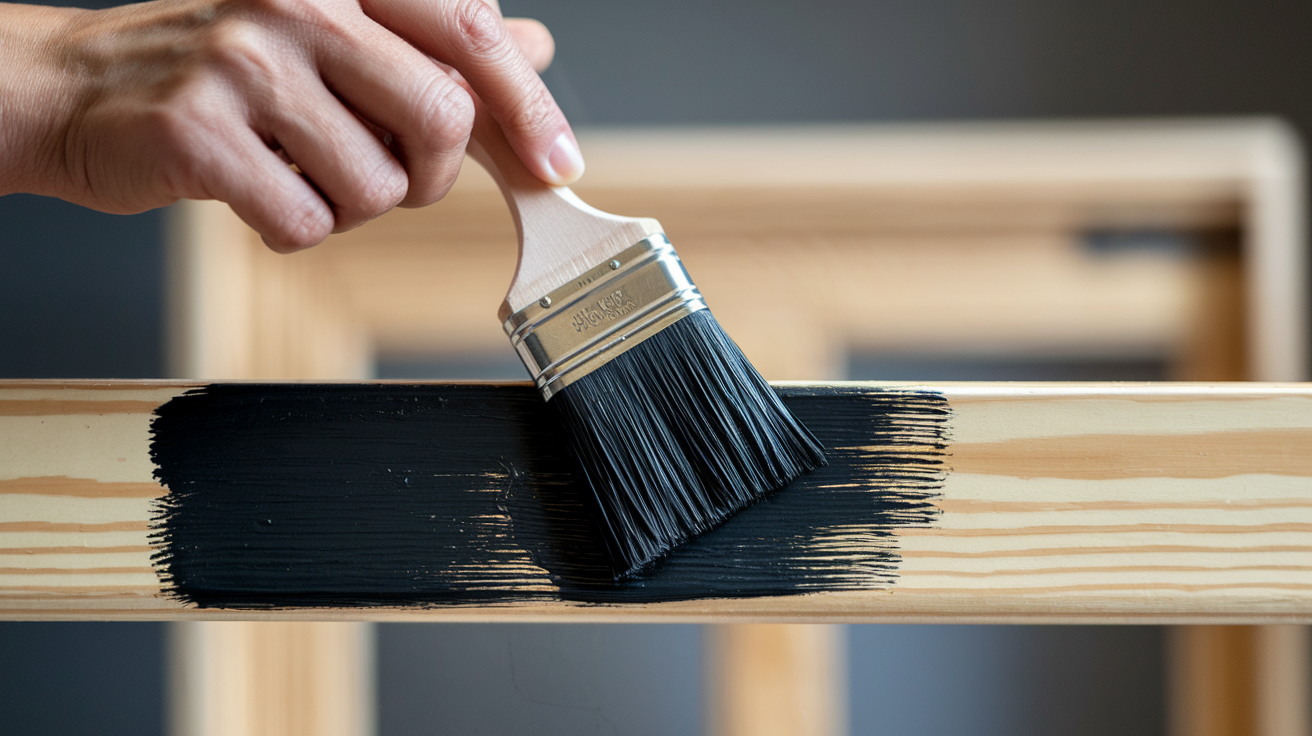
To raise the frame’s appearance, apply a wood stain or paint of your choice.
A black wood stain works well for adding depth while maintaining the natural wood grain, whereas black paint provides a solid, more modern look. Using a brush or a rag, apply the stain or paint evenly across the surface.
If staining, multiple coats may be needed for a darker finish. Let the stain dry completely between coats to avoid streaks or blotches.
Step 5: Apply a Protective Coat
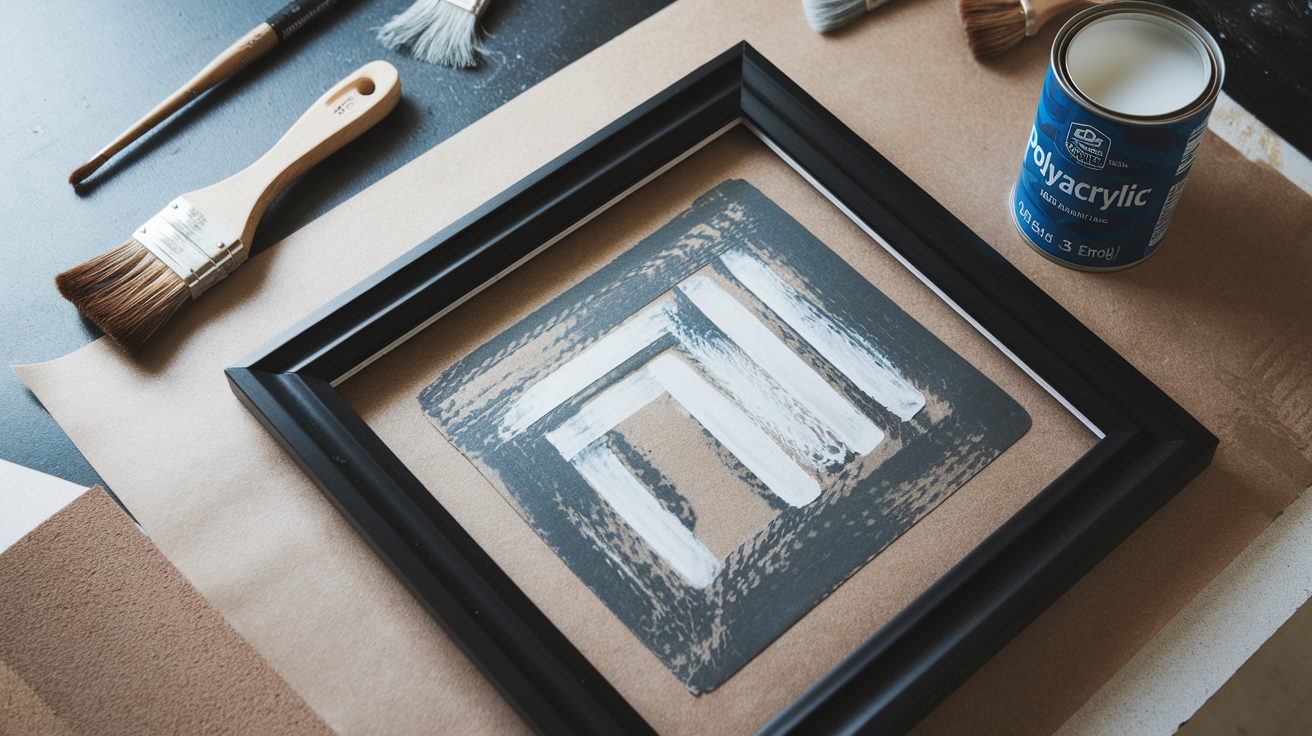
To make the frame more durable and resistant to dust or moisture, seal it with a polyacrylic topcoat. A matte finish works well for a subtle, refined look.
Lightly sand the frame before applying the sealant to ensure a smooth surface. Then, using a clean brush, spread a thin layer of polyacrylic across the frame.
Once dry, sand lightly again before applying a second coat. This step helps protect the frame and keeps it looking great for longer.
Step 6: Attach the Frame to the Mirror
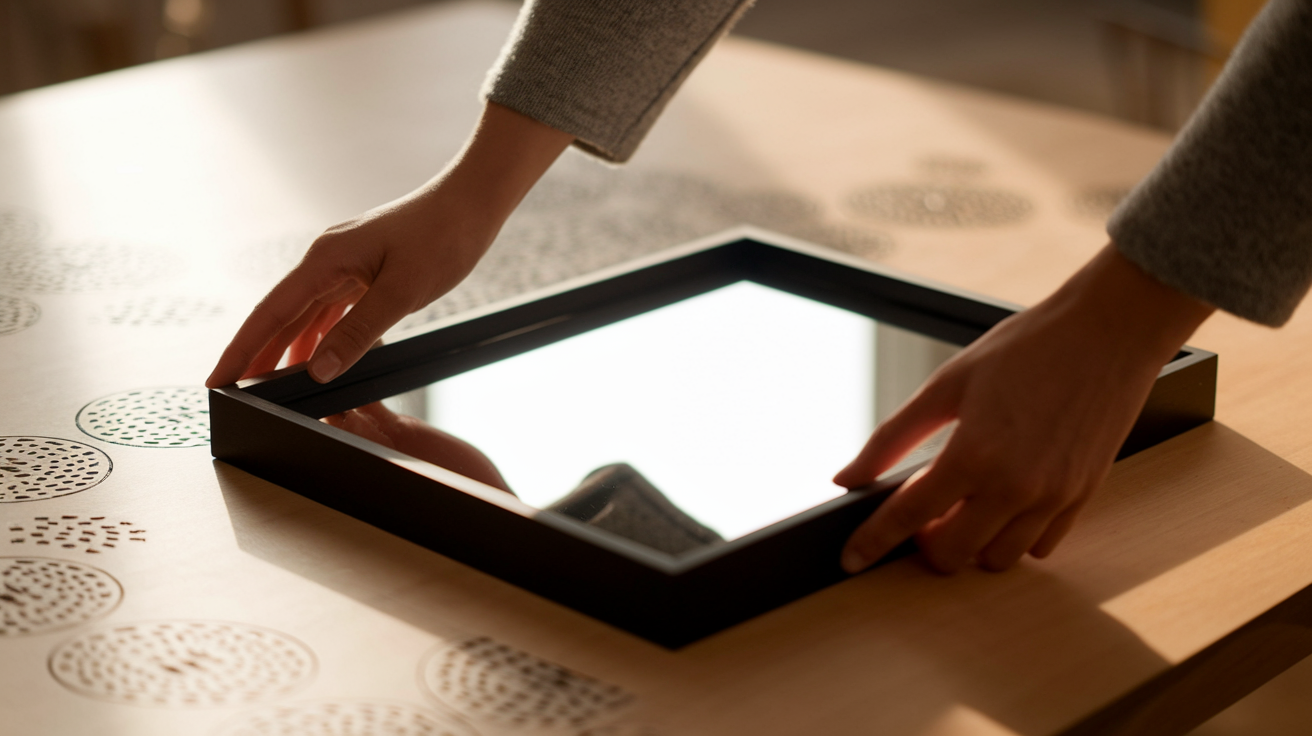
Decide on the best method for mounting the frame. Command strips provide an easy, removable option that won’t damage the mirror or wall.
Alternatively, interlocking clips can be used for a more secure, permanent attachment. If using command strips, place them along the back edges of the frame, ensuring even distribution for a balanced hold.
Carefully align the frame with the mirror and press it firmly in place. This is a one-shot process, so precision is important to get the perfect placement.
Creative DIY Mirror Frame Ideas
Let’s look at some fun ways to make your mirror stand out! These ideas won’t cost much but will add character to your space. Each option lets you put a personal touch on your home decor.
1. Reclaimed Wood Frame
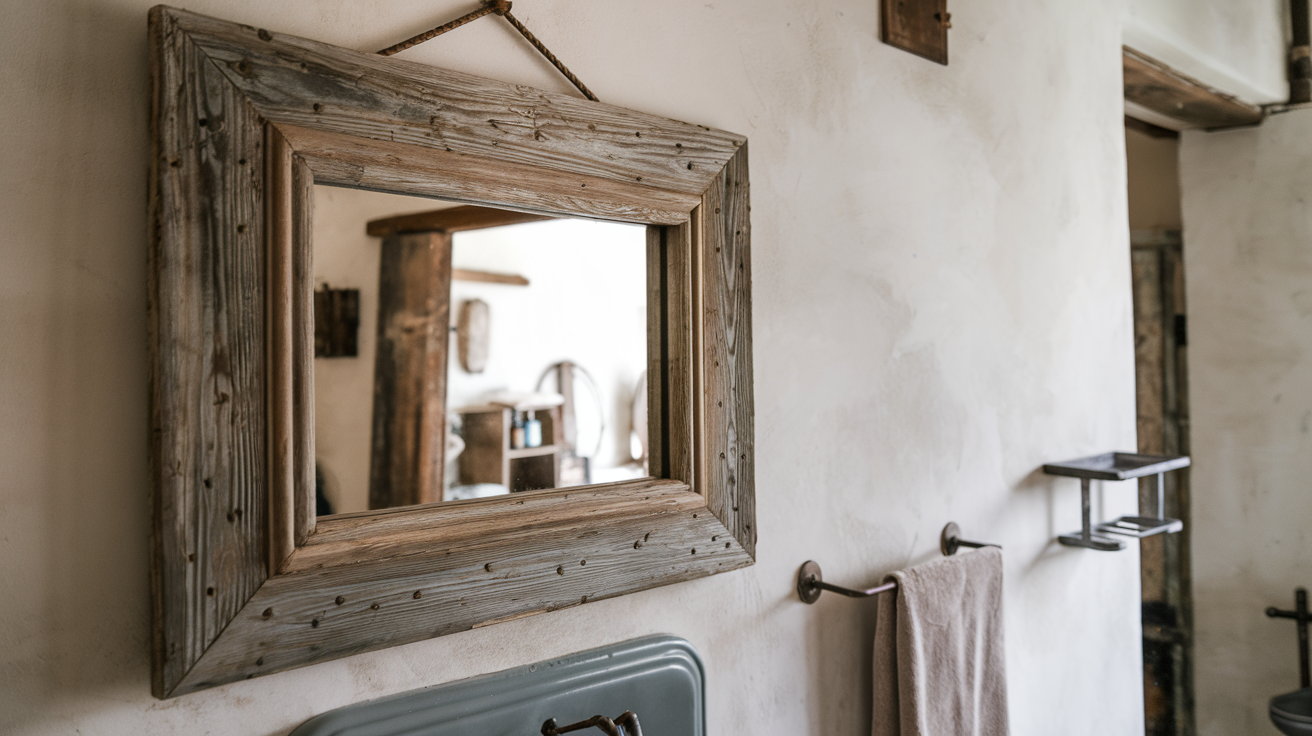
Old barn wood or fence pieces make wonderful mirror frames. The worn texture and faded colors add warmth to any room.
You can keep the natural weathered look or sand it lightly for a smoother finish. Cut the wood to size, join the corners with wood glue and small nails, then attach it to your mirror.
This rustic look works great in bathrooms, entryways, or above a fireplace. The best part is that each reclaimed wood has its own story and unique marks.
2. Rope-Wrapped Frame
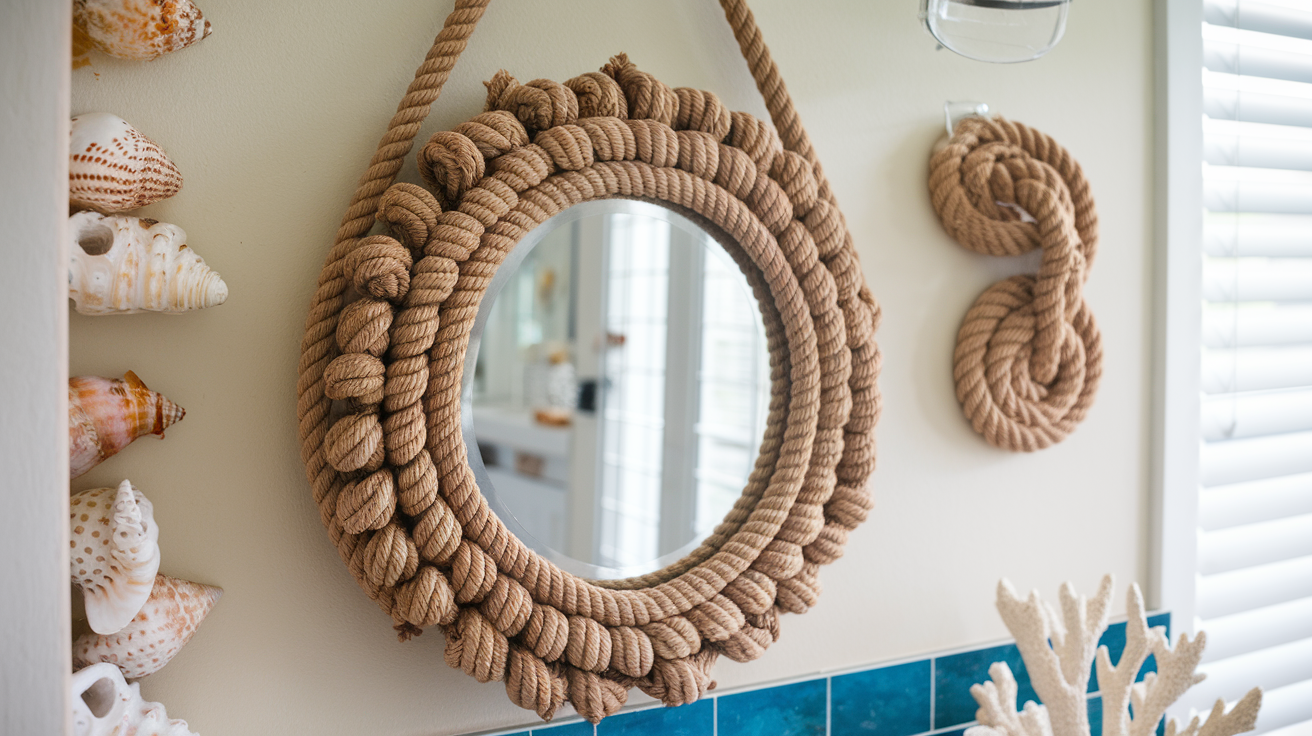
The nautical style comes alive with rope-wrapped frames. Start with a basic wooden frame, then wrap natural or colored rope around it, securing it with hot glue as you go.
The thickness of the rope can vary based on your preference. This style fits perfectly in beach houses, bathrooms, or any space with a coastal theme.
The texture adds interest, and you can mix in shells or starfish at the corners for extra beach charm. It’s simple yet eye-catching.
3. Mosaic Tile Frame
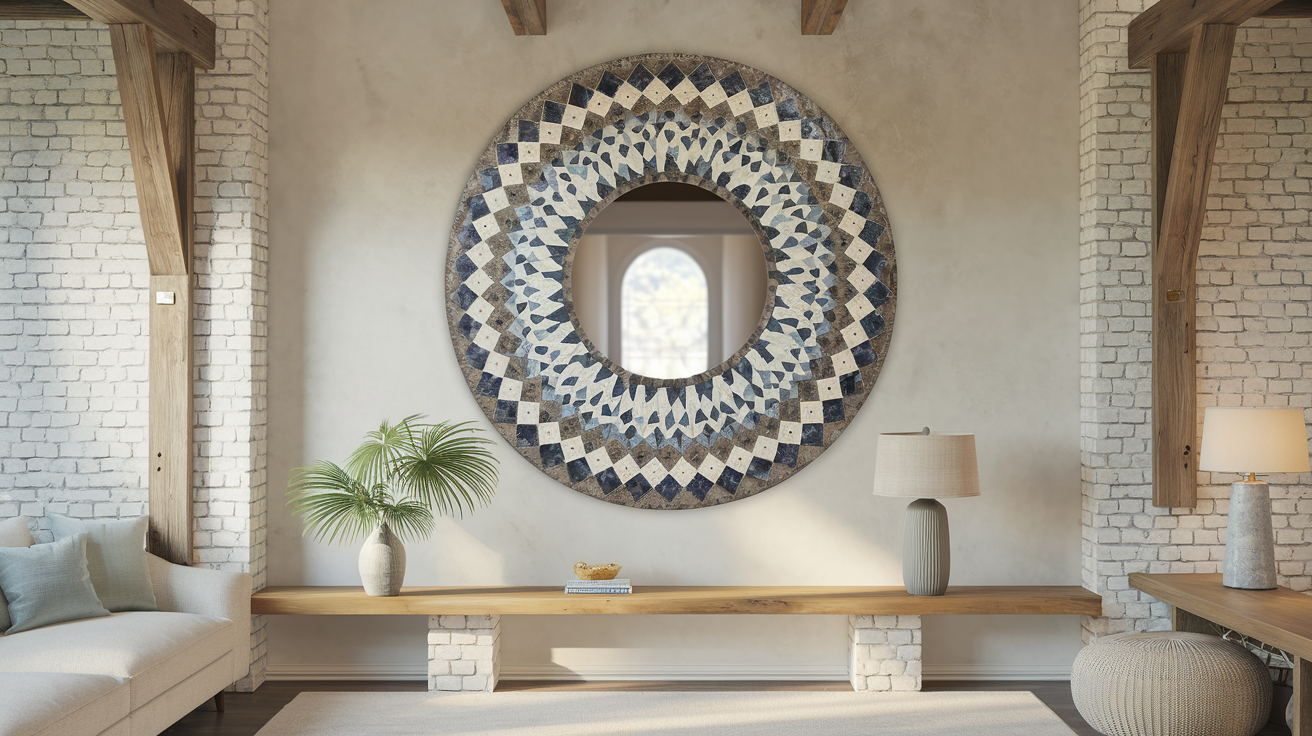
Broken dishes or leftover tiles create impressive mosaic frames. Gather colorful pieces, arrange them on a wooden base frame, and secure them with tile adhesive.
Fill gaps with grout for a finished look. The colors can match your room or stand out as a bold contrast.
This method takes patience but rewards you with a one-of-a-kind art piece. Kids can help select colors or patterns, making it a family project everyone will enjoy for years.
4. Picture Frame Collage
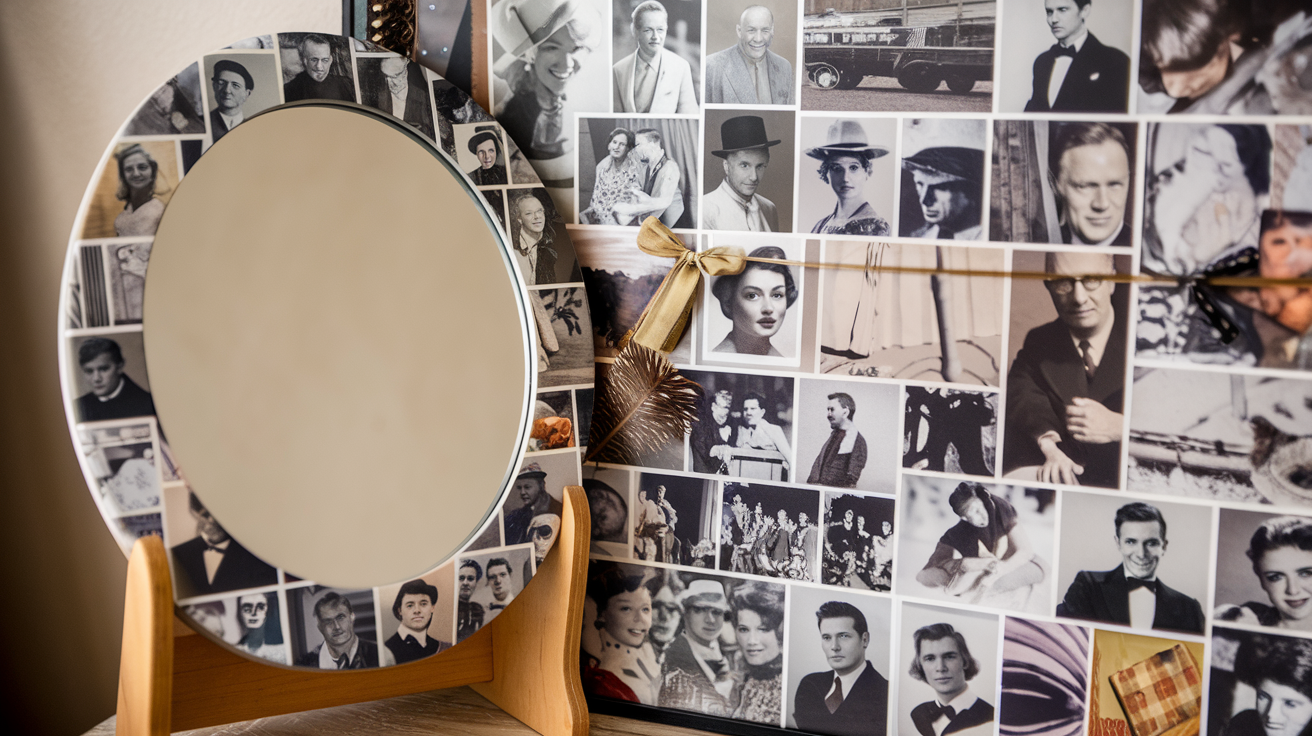
Several small picture frames joined together to make an impressive mirror surround. Find frames at thrift stores, paint them all one color, or keep them varied for an eclectic look.
Remove the glass and backing, then attach them around a central mirror. This works well for large wall mirrors or smaller vanity mirrors.
The frames can overlap or align neatly, depending on your style. This approach combines art and function in a truly unique way.
5. Cork Frame
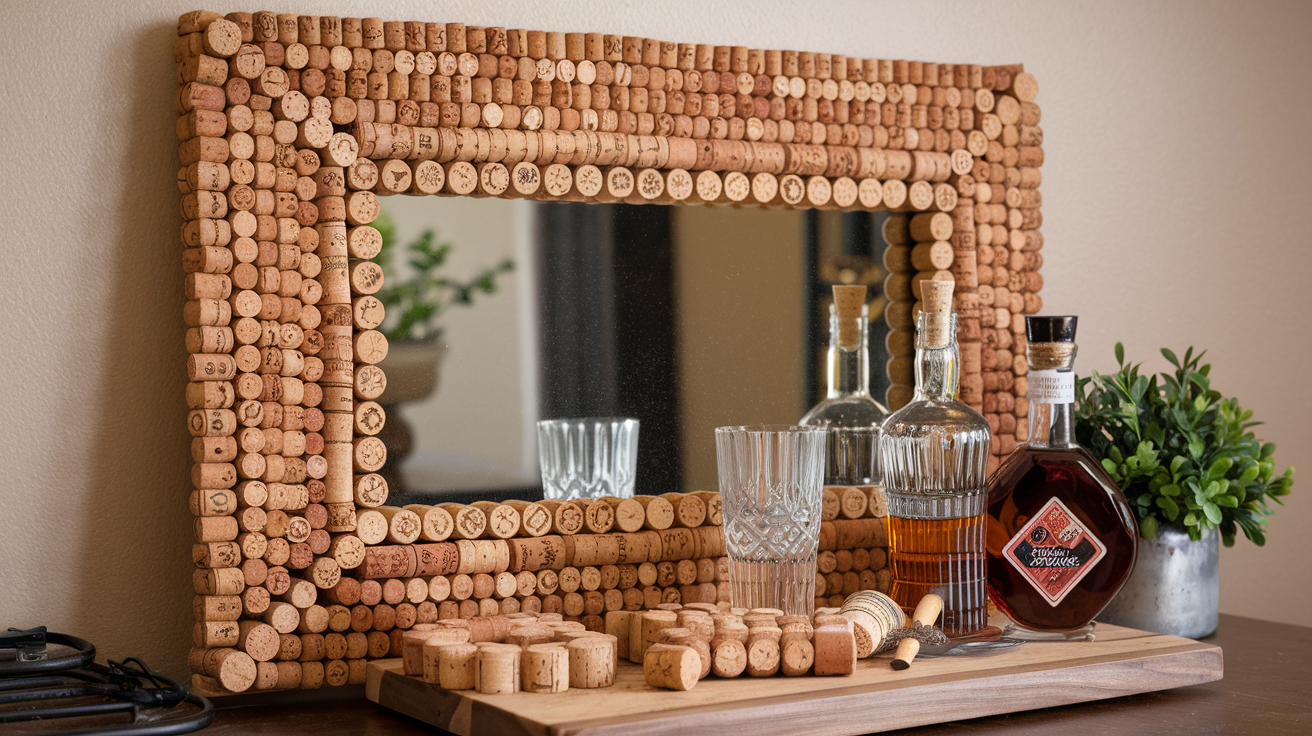
Wine lovers can save corks to create a textured frame with personality. Cut a wooden base frame, then glue corks side by side all around it.
You might cut some corks in half lengthwise to create a flatter surface. The natural variation in cork colors creates subtle interest.
This works well in dining rooms, kitchens, or home bars. Friends will love spotting corks from your shared bottles, adding a layer of memories to your decor.
6. Painted Geometric Pattern
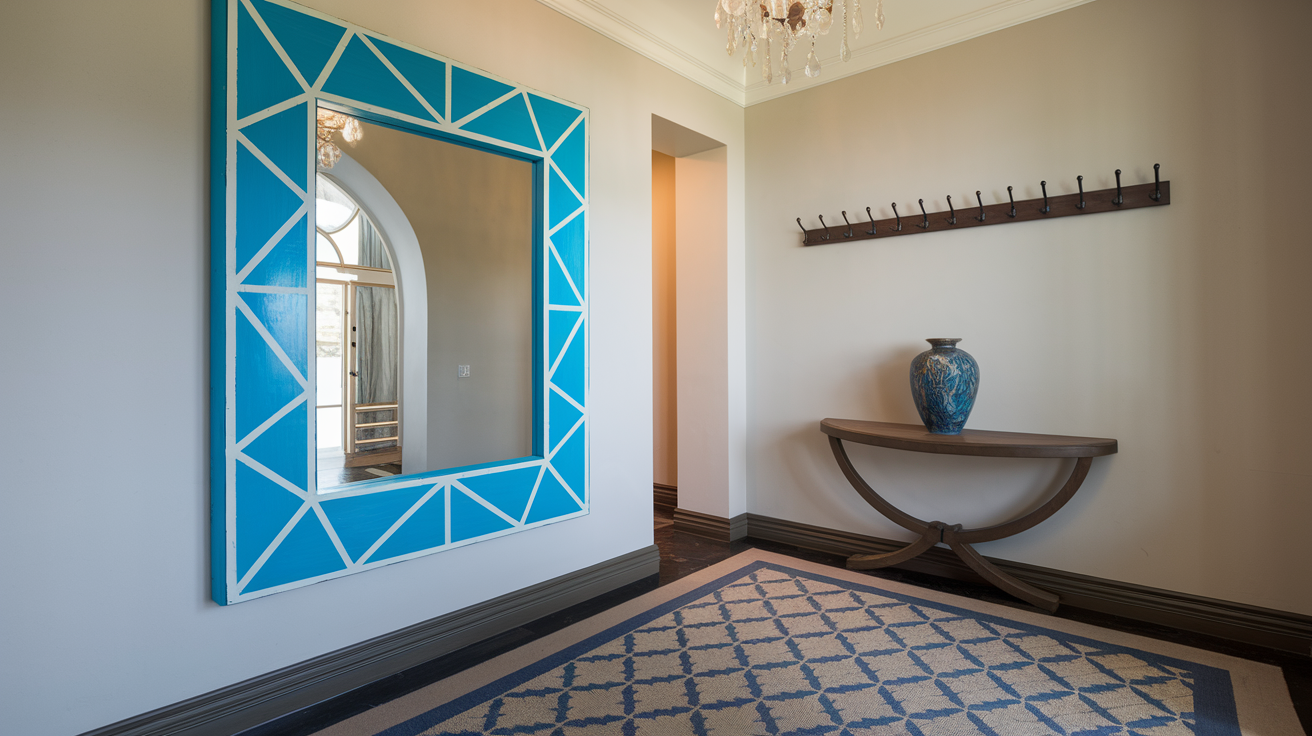
Basic wooden frames become modern art with painted geometric patterns. Start with a plain frame, tape off triangles, stripes, or other shapes, and then paint each section in complementary colors.
Remove the tape for crisp lines. This method costs very little but looks high-end. The colors can match your room or provide pops of contrast.
This style works in modern homes, kids’ rooms, or anywhere that needs a splash of color and pattern.
7. Wrapped Fabric Frame
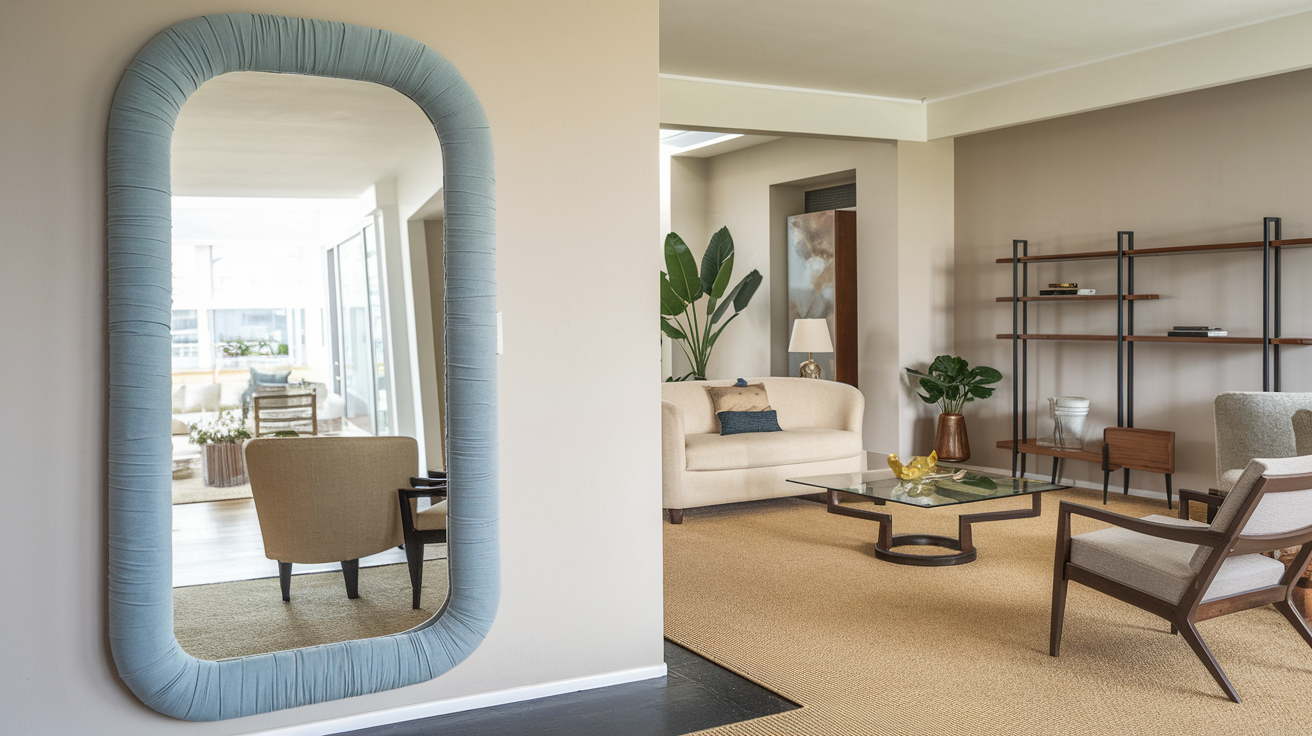
Your favorite fabric can transform a simple frame into something special. Stretch fabric over a wooden frame base, fold corners neatly, and secure with a staple gun on the back.
Choose patterns that match your room or bold designs that make a statement. This method allows you to easily update the look when you redecorate. The soft texture adds warmth to spaces that might otherwise feel cold or hard, like bathrooms with lots of tiles.
8. Painted Distressed Frame
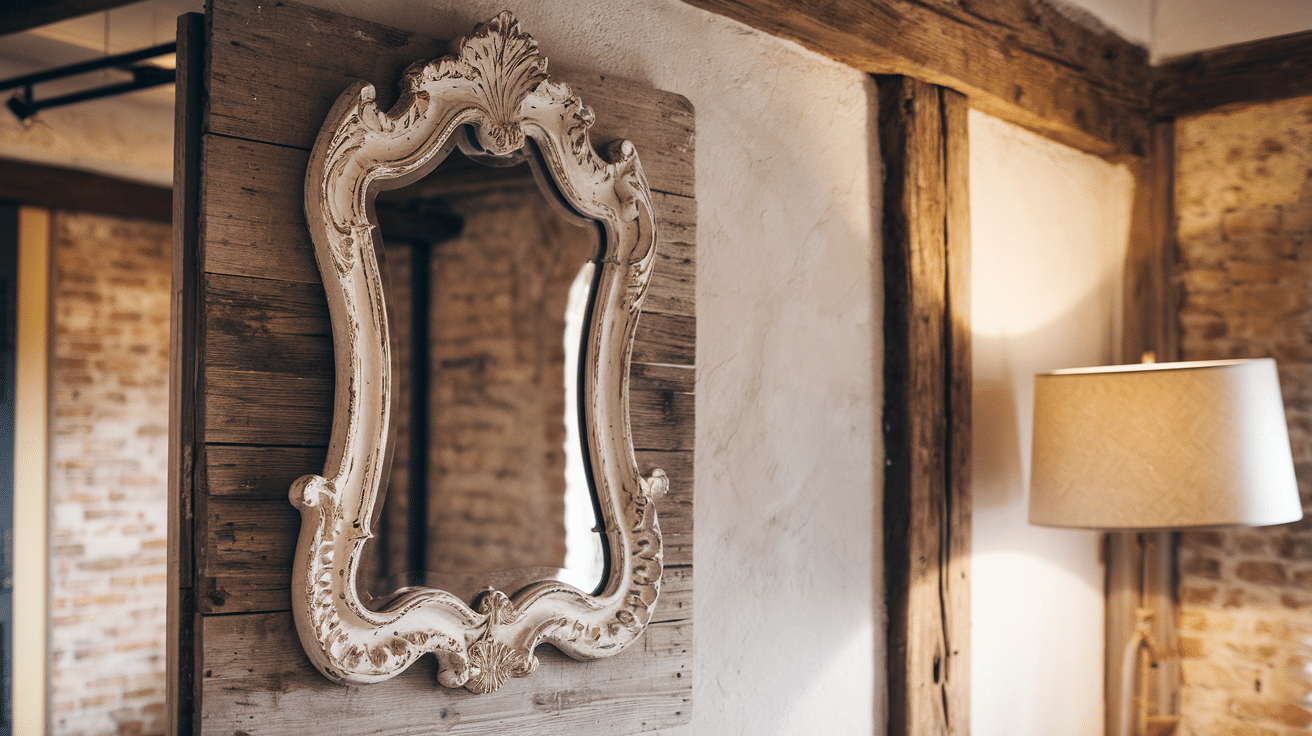
New wood can look aged and full of character with simple painting techniques. Paint a wooden frame, then sand edges and random spots to let the wood or base coat show through.
Finish with clear wax for protection. This technique works with any color scheme and fits farmhouse, country, or shabby chic styles.
The worn look adds charm without feeling too perfect or manufactured, giving your space authentic character.
9. Button Frame
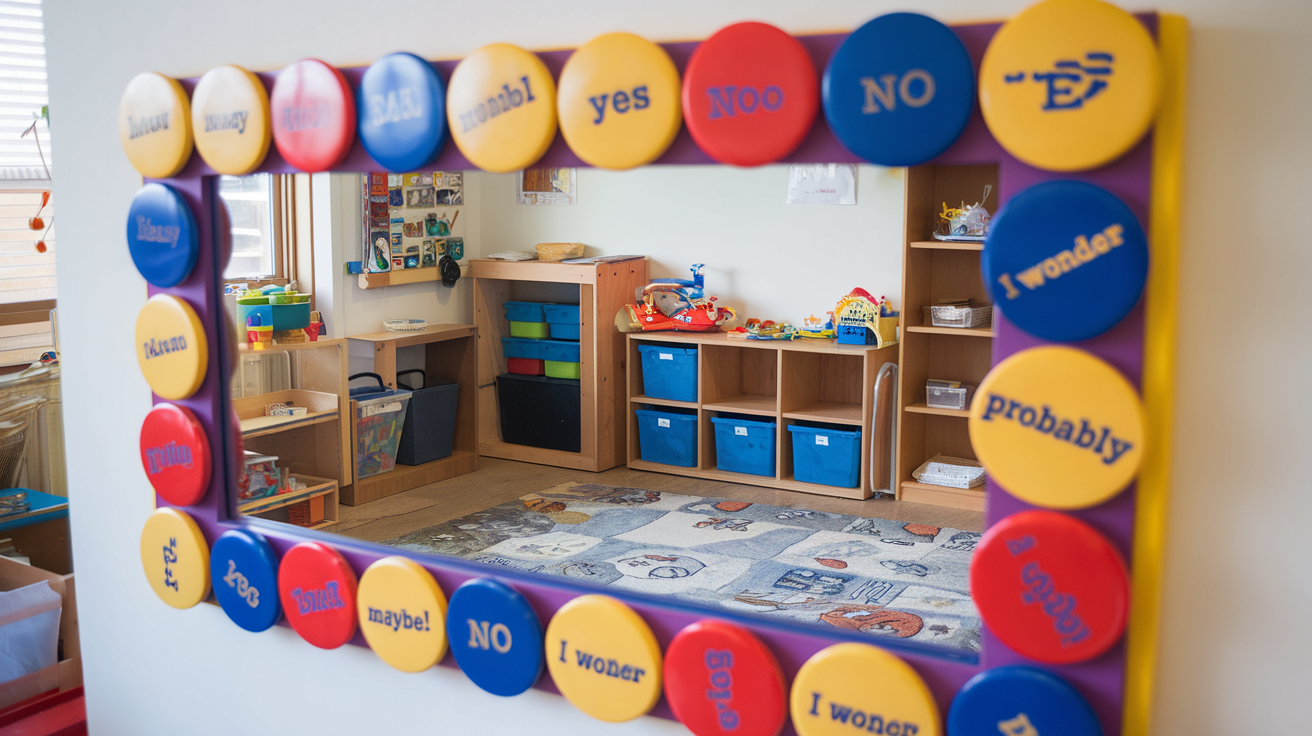
Collected buttons in various sizes and colors create whimsical frames that delight the eye. Paint a wooden base frame, then arrange buttons all around, securing with strong glue.
Mix colors for a rainbow effect or stick to a single color family for a more subtle look.
This style fits perfectly in craft rooms, children’s spaces, or anywhere that could use a touch of playful charm. The varied textures catch the light differently, creating subtle visual interest.
10. Woven Thread Frame
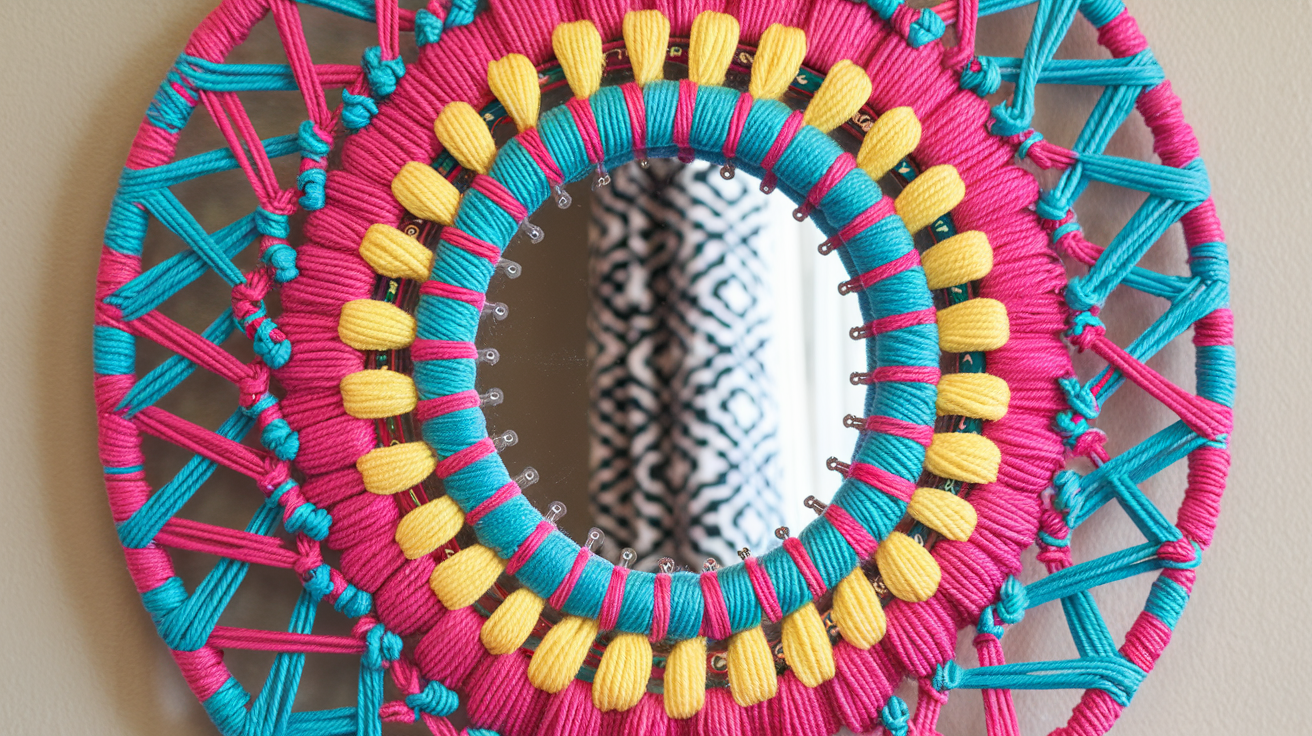
Colorful threads wrapped in patterns create impressive geometric designs. Hammer small nails around a wooden frame at regular intervals, then weave embroidery floss or yarn between the nails in patterns.
The result looks complex, but requires only basic weaving. This technique works well in bohemian spaces, teen rooms, or creative zones.
The thread adds softness to hard surfaces, and the patterns can be as simple or complex as your skill allows.
Conclusion
Making your own mirror frame isn’t just about saving money—it’s about putting your personal touch on your home. With the ideas we’ve shared, you can turn a plain mirror into something truly special.
Remember, there’s no need for fancy tools or expert skills. Start with simple materials and let your creativity guide you. The frame you create will be unique to your space and style.
Ready to get started? Gather your materials and see what you can create. Don’t worry about making it perfect—the small flaws often add character!
Share photos of your finished mirror frame, or leave a comment below. If you enjoyed this guide, check out our other DIY home decor blogs for more inspiration.

