How to Make Beautiful Terracotta Pots at Home?
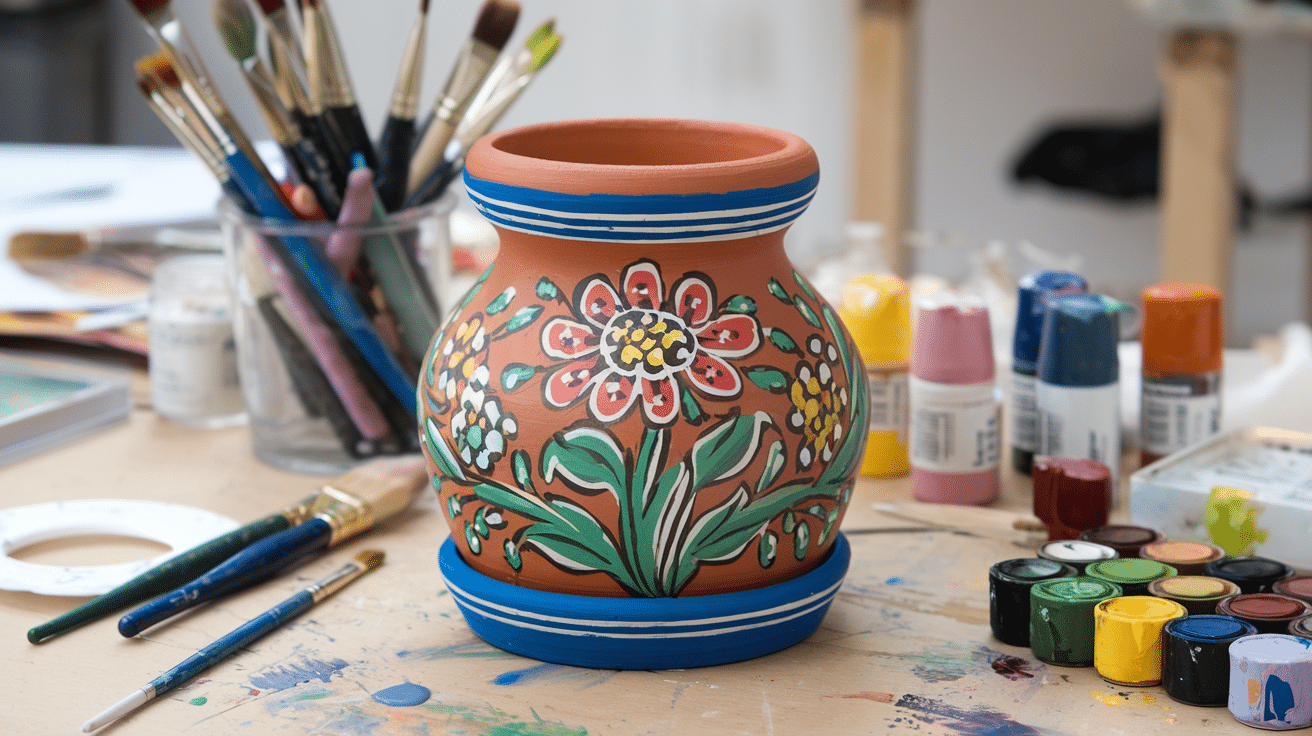
Want to make your own terracotta pots but think it’s too complicated? Think again!
You can actually create beautiful plant containers right in your kitchen using stuff you probably already have.
No pottery wheel, no kiln, no problem!
If you are a plant parent on a budget or just love the idea of your green babies living in pots you made with your own hands, this is the perfect weekend project.
Ready to learn just how ridiculously easy it is to become a pot-making genius?
Let’s jump in!
What is Terracotta?
Terracotta is a natural clay-based material with a distinctive reddish-brown color. It comes from baked earth; the word literally means “baked earth” in Italian.
Used for thousands of years across cultures, this porous material helps plants thrive by allowing air and water to pass through the pot walls.
Unlike plastic containers, terracotta regulates soil temperature and prevents overwatering by absorbing excess moisture.
The natural color and texture add a rustic, timeless look to any space.
Though slightly more fragile than other materials, properly made terracotta pots can last for decades when handled with care, developing a beautiful patina over time.
Materials and Tools Needed for Making Terracotta Pots
Getting started with homemade terracotta pots doesn’t require fancy equipment.
Here’s what you’ll need.
Essential Materials:
- Terracotta clay (self-hardening clay for beginners)
- Water
- Fine sand (for texture and strength)
- Wooden rolling pin
- Cotton cloth (prevents sticking)
- Plastic wrap (for slow, even drying)
- Old newspapers to protect your workspace
Basic Tools:
- Wooden modeling tools or kitchen utensils
- Ruler or measuring tape
- Small sponge and bowl of water
- Clay wire or strong fishing line (for cutting)
- Sandpaper (various grits)
- Small knife or clay trimming tool
Optional Items:
- Clay stamps or household objects for making patterns
- Acrylic sealer (for added durability)
- Plant-safe paints if you want to add color
- Plastic bags to keep the clay moist between work sessions
Step-by-Step DIY Guide to Make Terracotta Pots
This step-by-step guide will walk you through the process of making beautiful, handcrafted pots from terracotta clay.
Step 1: Prepare Your Workspace
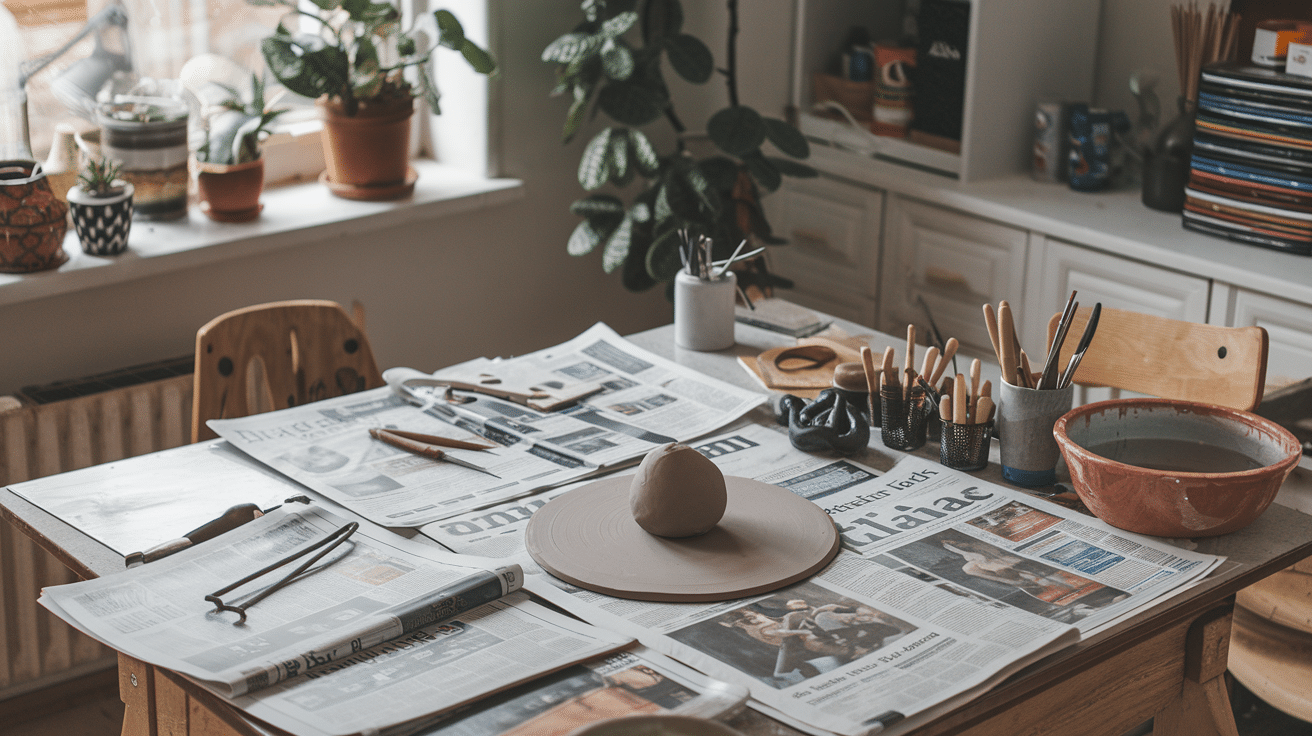
Cover your table with newspapers or a cloth that can get dirty. Then, keep a small bowl of water nearby for smoothing clay surfaces.
Make sure you have enough space to move around the pot as you work.
Step 2: Condition the Clay
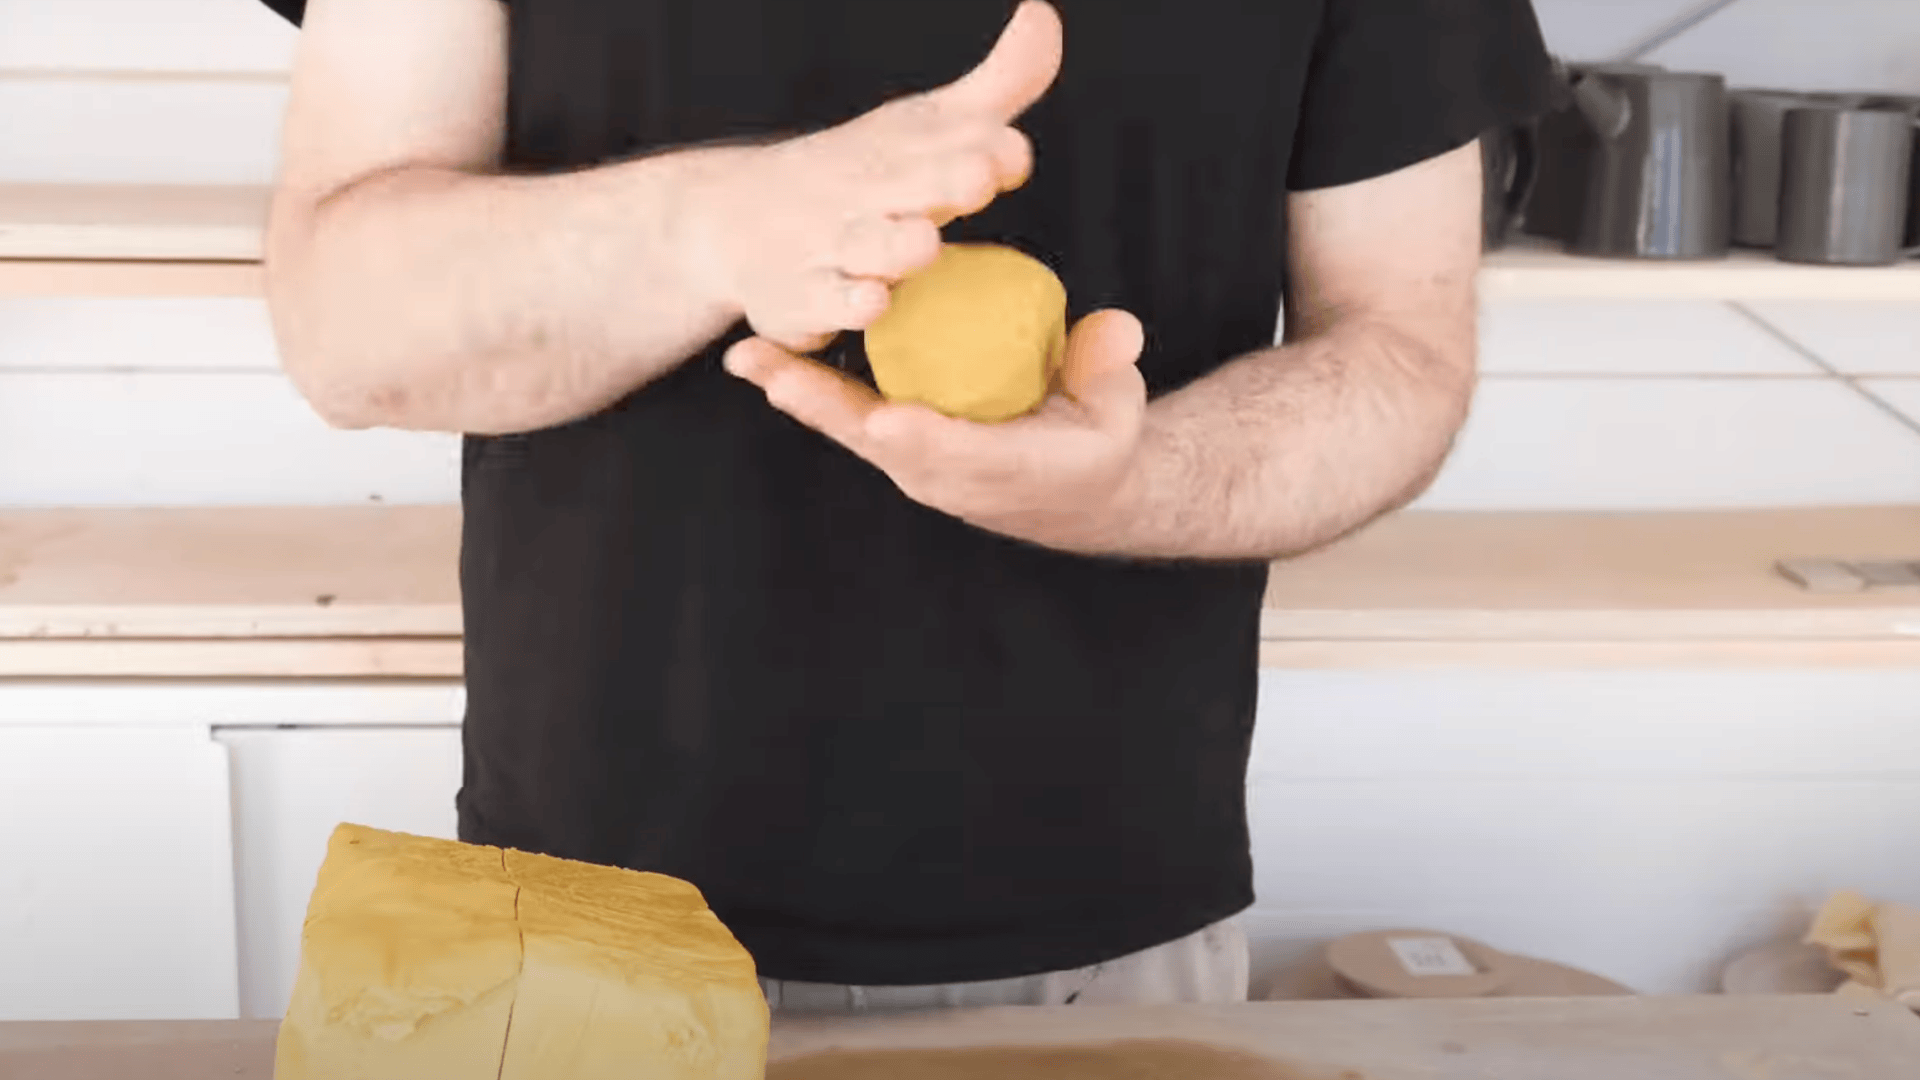
After work preparation, take your terracotta clay and knead it for 5-10 minutes until it feels smooth and supple.
This removes air bubbles, making the clay easier to shape. If the clay feels too dry, wet your hands slightly while kneading.
Step 3: Form the Base
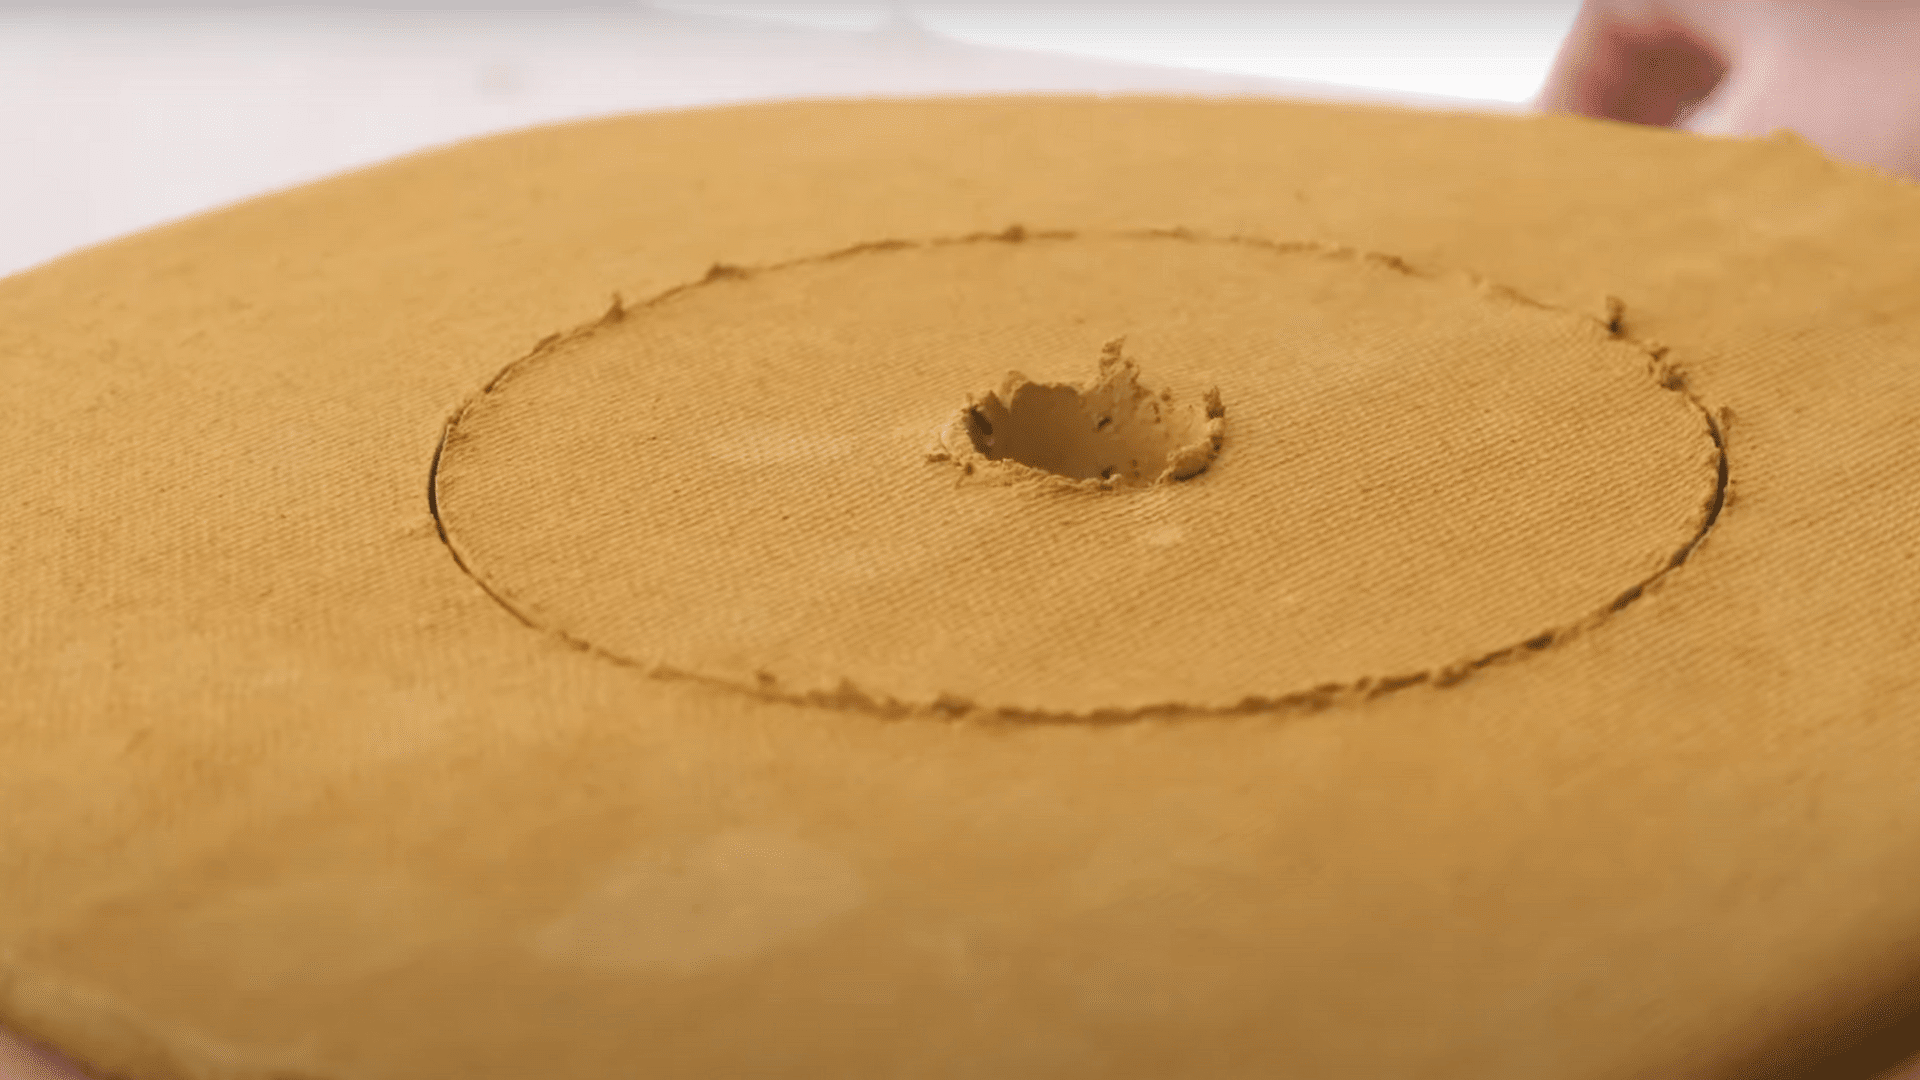
Once clay conditioning is done, roll out the clay on a cotton cloth to about ¼ quarter-inch thickness.
Then, cut a circle for the base of your pot using a bowl or plate as a guide.
The size depends on how large you want your finished pot to be.
Step 4: Create the Walls
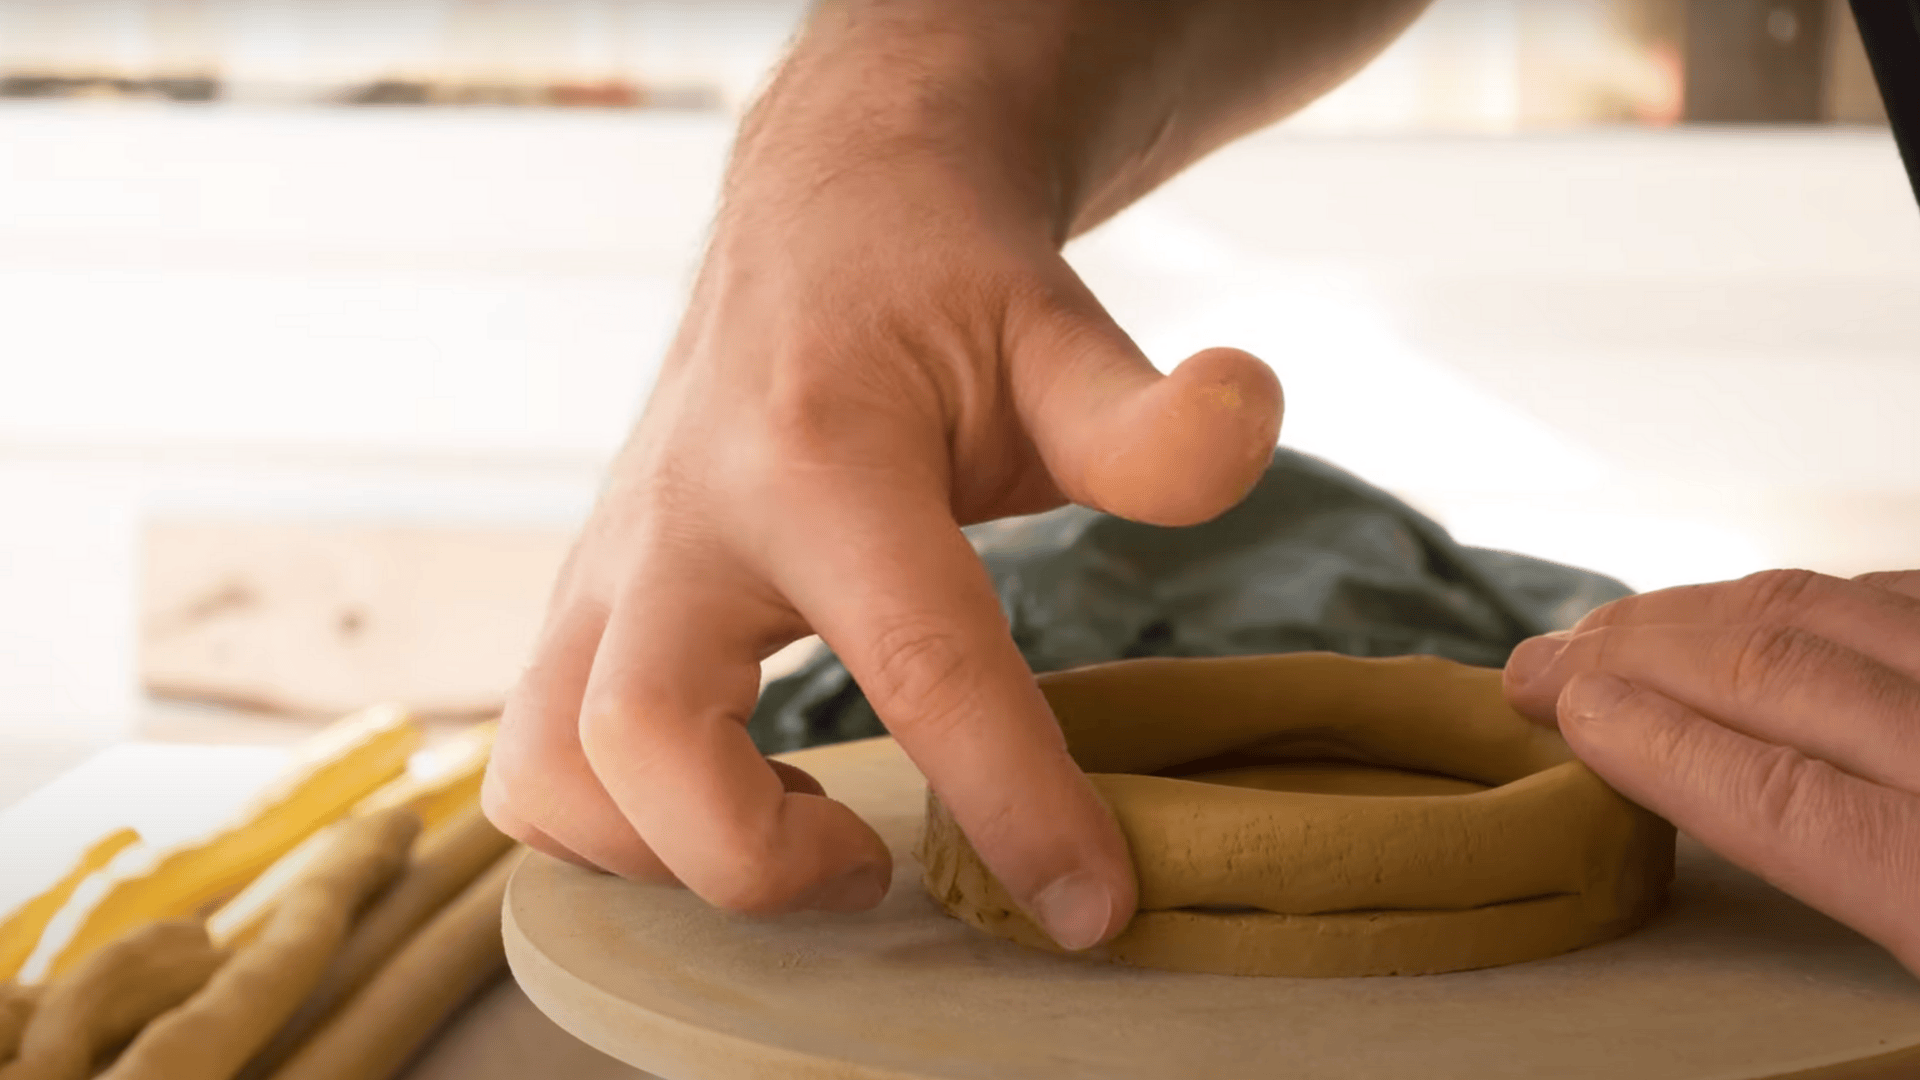
Roll additional clay into coils about ½ inch thick.
After that, start placing these coils around the edge of your base, pressing gently to secure them in place.
Continue adding coils, building upward to form the walls of your pot.
Step 5: Smooth and Shape
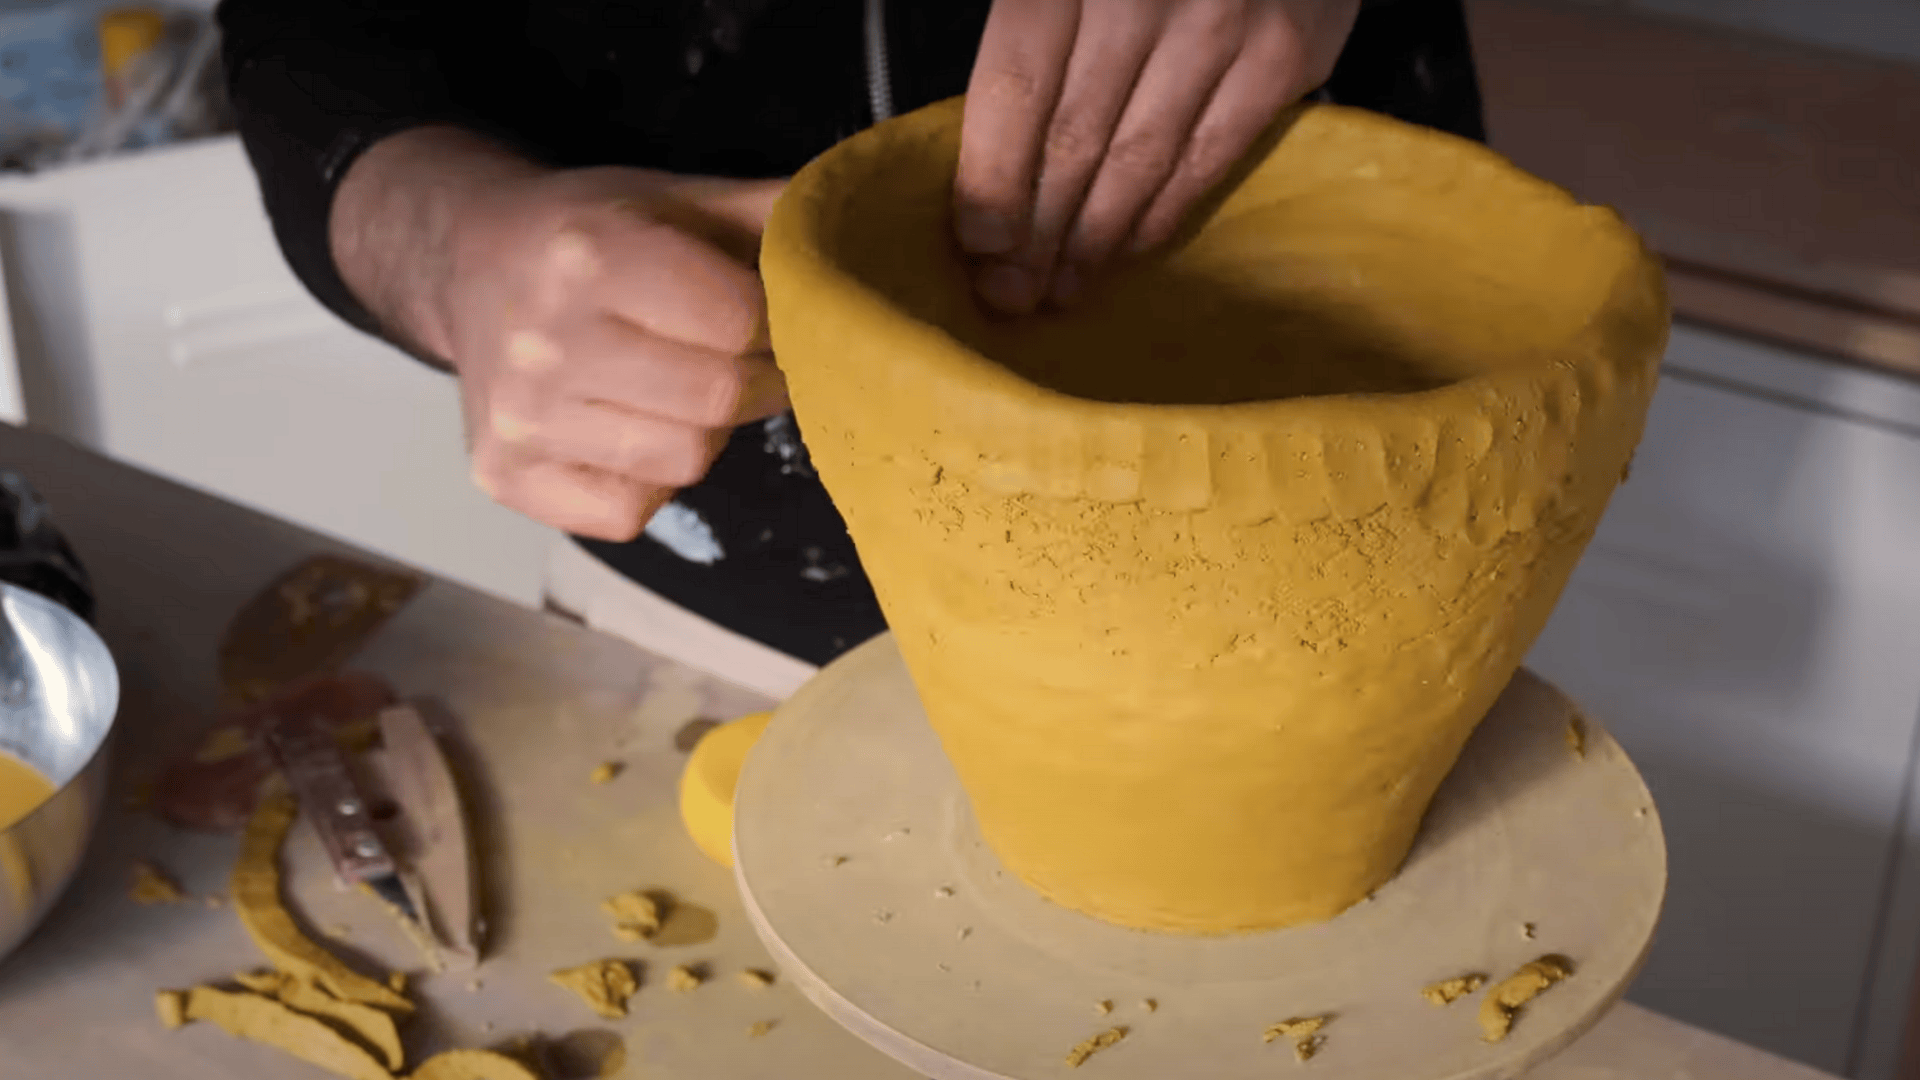
Use your fingers and a damp sponge to smooth the inside and outside of the pot.
Join the coils together thoroughly to prevent cracks. Shape the pot as desired, with straight sides, curved, or tapered.
Step 6: Dry Properly
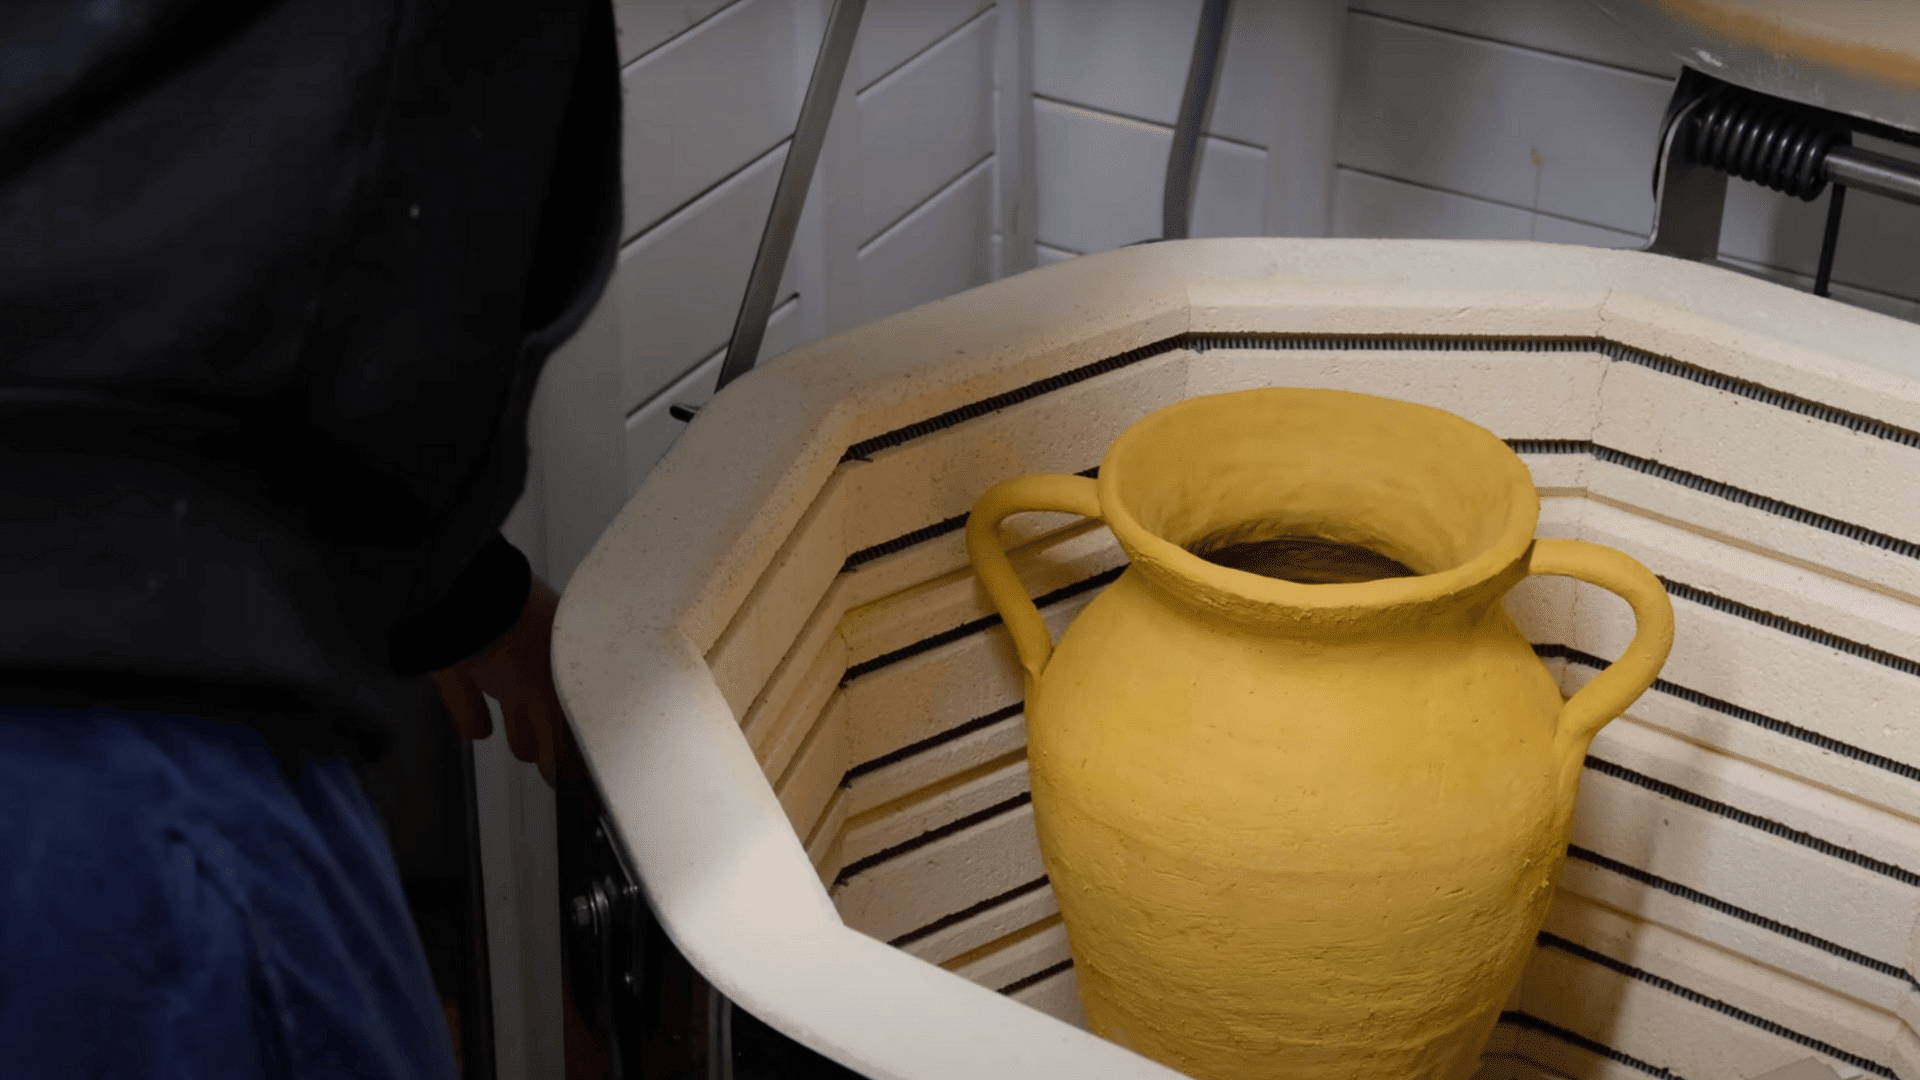
Last but not least, cover the pot loosely with plastic wrap and let it dry slowly over 3-5 days, turning occasionally.
This prevents cracking from uneven drying.
Then, remove the plastic periodically to check progress.
Different Kinds of Terracotta Clay
When shopping for terracotta clay, you’ll find several types to choose from, each with unique qualities.
| TYPE OF TERRACOTTA | TEMPERATURE RANGE | KEY CHARACTERISTICS | BEST FOR |
|---|---|---|---|
| Low-fire Terracotta | 1828°F – 2088°F | Classic reddish-orange color, easy to work with | For beginners, no specialized kiln is needed |
| High-fire Terracotta | 2300°F+ | Stronger, more durable, resists cracking, better for outdoor use | Experienced crafters, outdoor pots |
| Self-hardening Terracotta | No firing required | Harden in air, no kiln needed | Home crafters without firing equipment |
| Terracotta with Grog | Varies, depending on firing | Contains small pre-fired clay particles, reduces shrinkage, and prevents cracking | Large pots, reducing cracking |
| Smooth Terracotta | Varies, depending on firing | A finer finish requires more skill to prevent warping | Experienced crafters, fine finishes |
Must-Know Tip: Start with self-hardening terracotta clay if you are a complete beginner!
It’s super forgiving, dries naturally without any fancy equipment, and gives you that classic terracotta look. Plus, if you mess up, just add water and start over, no expensive mistakes here!
Some Creative Ideas for Decorating Terracotta Pots
Ready to transform your plain terracotta pots into stunning showpieces?
The best part about decorating homemade pots is that you can let your creativity run wild without worrying about “ruining” expensive store-bought ones.
From simple paint techniques to nature-inspired touches, there’s a style for every skill level and taste.
| TECHNIQUE | DESCRIPTION |
|---|---|
| Chalk Paint | Matte, vintage farmhouse finish |
| Color Blocking | Geometric sections using painter’s tape |
| Weathered Effect | Sanded white paint for an aged, beachy look |
| Bohemian Style | Bright colors with mandala patterns |
| Minimalist Design | Clean lines and subtle symbols |
| Stencils | Pre-made patterns for precision |
| Washi Tape | No-mess geometric designs |
| Jute Twine | Natural texture wrapping |
| Leaf Imprints | Pressed into wet clay before drying |
Remember, even the “imperfect” pots often end up being the most charming ones that guests always ask about!
Tips for Maintaining Terracotta Pots
Keep your handmade terracotta pots looking amazing and lasting for years with these simple maintenance tricks that take just minutes but make a huge difference.
- Soak New Pots for 24 Hours Before First Use: Prevents them from stealing moisture from your plant’s soil.
- Clean with Vinegar Solution Between Plants: Mix 1 part vinegar to 3 parts water to remove buildup and prevent disease.
- Bring Indoors During Winter: Freezing temperatures cause water in clay to expand and crack your beautiful pots.
- Always Lift from The Bottom: The rim is the weakest point and most likely to snap under pressure.
- Apply Felt Pads Underneath: Protects surfaces from scratches and allows proper airflow under drainage holes.
- Seal Minor Cracks Immediately: Use clear silicone before hairline cracks turn into major breaks.
Wrapping It Up
Making terracotta pots at home brings a joy that goes beyond just crafting. These simple clay containers connect you to an ancient tradition while adding natural beauty to your space.
The process might take practice, but the satisfaction of growing plants in something made by your own hands makes every effort worthwhile.
Now, it’s your turn to create!
Start with a small pot this weekend and see how it transforms your relationship with your plants.
Share photos of your creations in a comment below.
Frequently Asked Questions
Can You Make Terracotta Pots without a Kiln?
Yes! Use self-hardening terracotta clay that dries in the air. While not as durable as kiln-fired pots, they work well for indoor plants and decorative purposes.
What is the Difference Between Clay Pots and Terracotta Pots?
Terracotta is a specific type of clay fired at lower temperatures. It has the classic reddish-orange color, while “clay pots” can be made from various clay types with different colors and properties.
How to Make Terracotta Waterproof?
Apply 2-3 coats of clear acrylic sealer to the outside of your pot. Let each coat dry fully before adding the next. Leave the inside unsealed for plant health.


