How to Make Easy DIY Wood Slice Ornaments
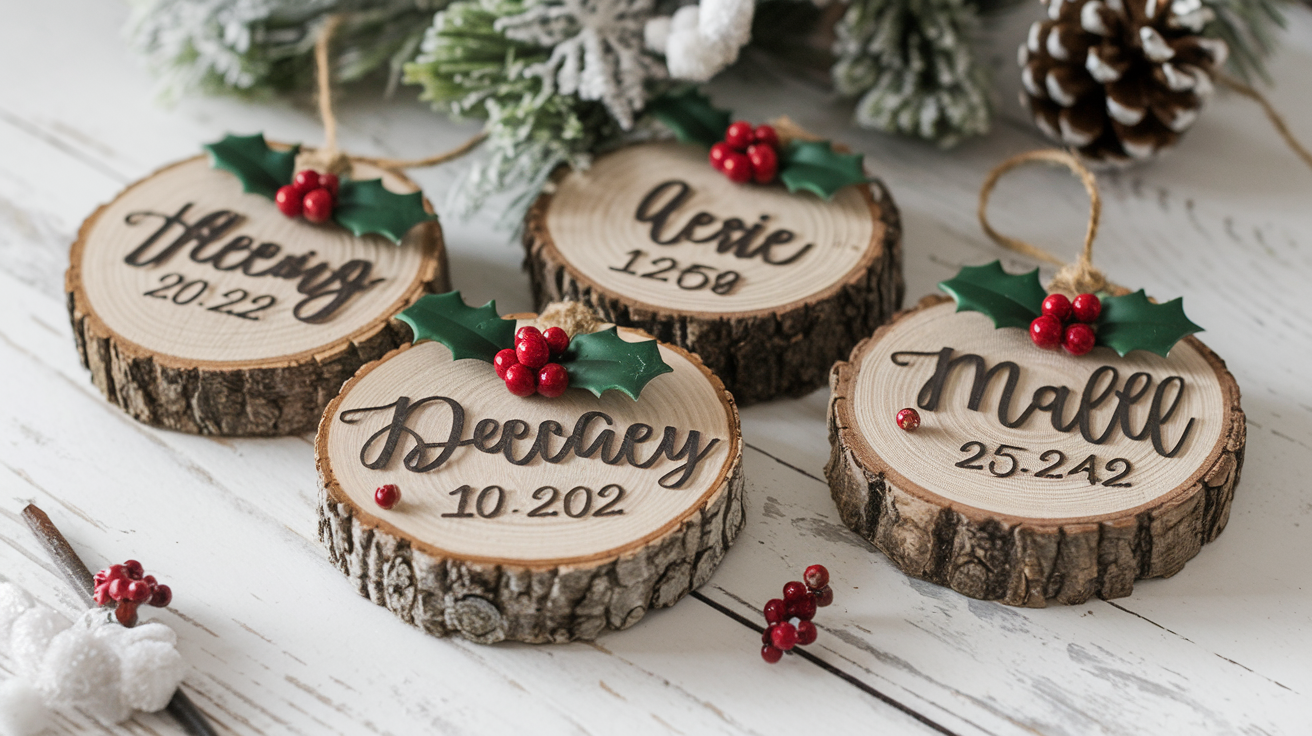
There’s something magical about handmade items that store-bought ones just can’t match.
Wood slice ornaments bring a warm, rustic charm to any space and are perfect for holidays, gifts, or everyday décor. Best of all, they’re budget-friendly and easy to make—no fancy tools are required.
With just a few basic supplies and a bit of creativity, you can turn simple slices of wood into personalized treasures that reflect your style.
The process is fun and beginner-friendly, making it great for all skill levels. Ready to start crafting your own wooden ornaments? Let’s get into what you’ll need and how to begin!
Tools & Materials Needed to Make Wood Slice Ornaments
Below is the list of items you’ll need to create pretty wood slice ornaments.
Tools Required
- Sandpaper (medium or fine grit)
- Hand drill or Power drill
- Stencils, stamps, or freehand painting
Materials Required
- Wood slices (pre-cut or cut from branches)
- Ribbon or string (e.g., natural jute, colorful ribbons)
- Acrylic paints or paint pens/markers
- Sealant (clear spray sealer or brush-on polyurethane)
- Extra decorations (glitter, small beads, etc.)
Step-by-Step Guide to Make Wood Slice Ornaments
Making wood slice ornaments is a fun and easy craft project that adds a personal touch to your décor. Follow this simple step-by-step guide to create your own unique ornaments.
Step 1: Preparing the Wood Slices
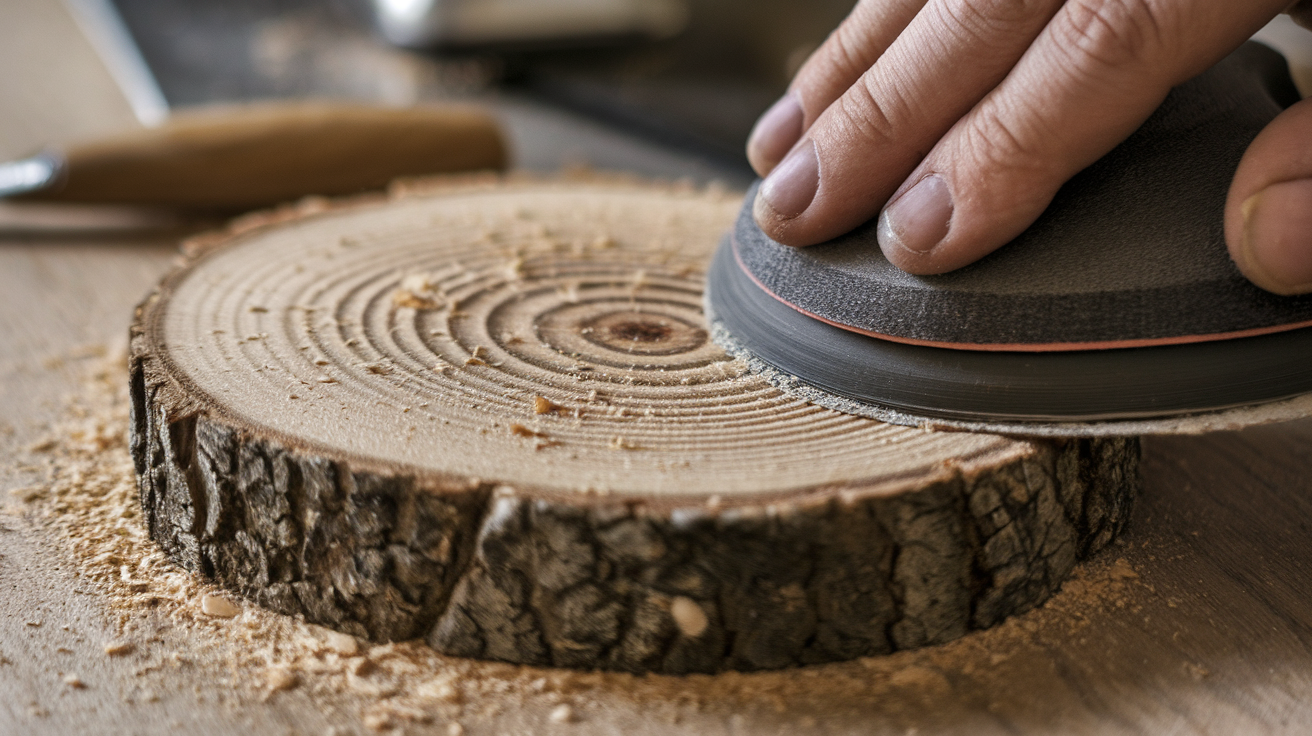
If you’re starting with branches, use a saw to cut slices about 1/4 to 1/2 inch thick. Try to cut straight across for even slices. For those using pre-cut slices, you can skip ahead!
Next comes sanding. Start with coarser sandpaper to remove rough spots, then finish with finer grit for a smooth surface. Pay extra attention to the edges—they tend to be the roughest part.
Quick tip: Sand in the direction of the wood grain when possible. This gives a smoother finish and prevents tiny splinters from lifting later.
Step 2: Designing Your Ornaments
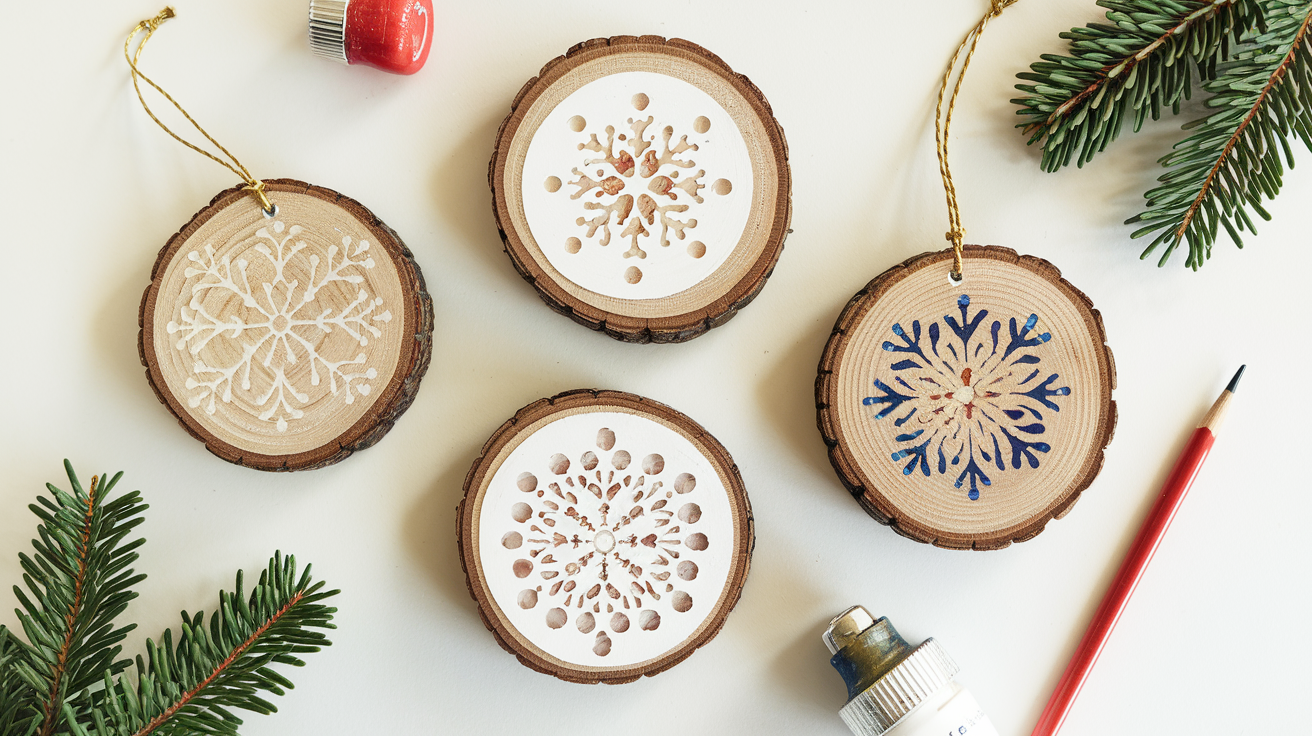
Before painting wood, I like to sketch my design lightly with a pencil. Simple shapes, such as snowflakes, stars, trees, or hearts, work best.
Use stencils for clean lines. Tape them down gently and dab the paint with a sponge brush. Removing the stencil right away (while the paint is still wet) helps prevent bleed-under.
You can design free-hand. Short, controlled strokes work better than long ones, and don’t worry about perfection—the natural wood grain adds character to any little wobbles in your design.
Quick Tip: Paint pens give you more control than brushes when it comes to text or names. Just be sure to let the base layer dry completely before adding detailed writing on top.
Step 3: Adding Embellishments
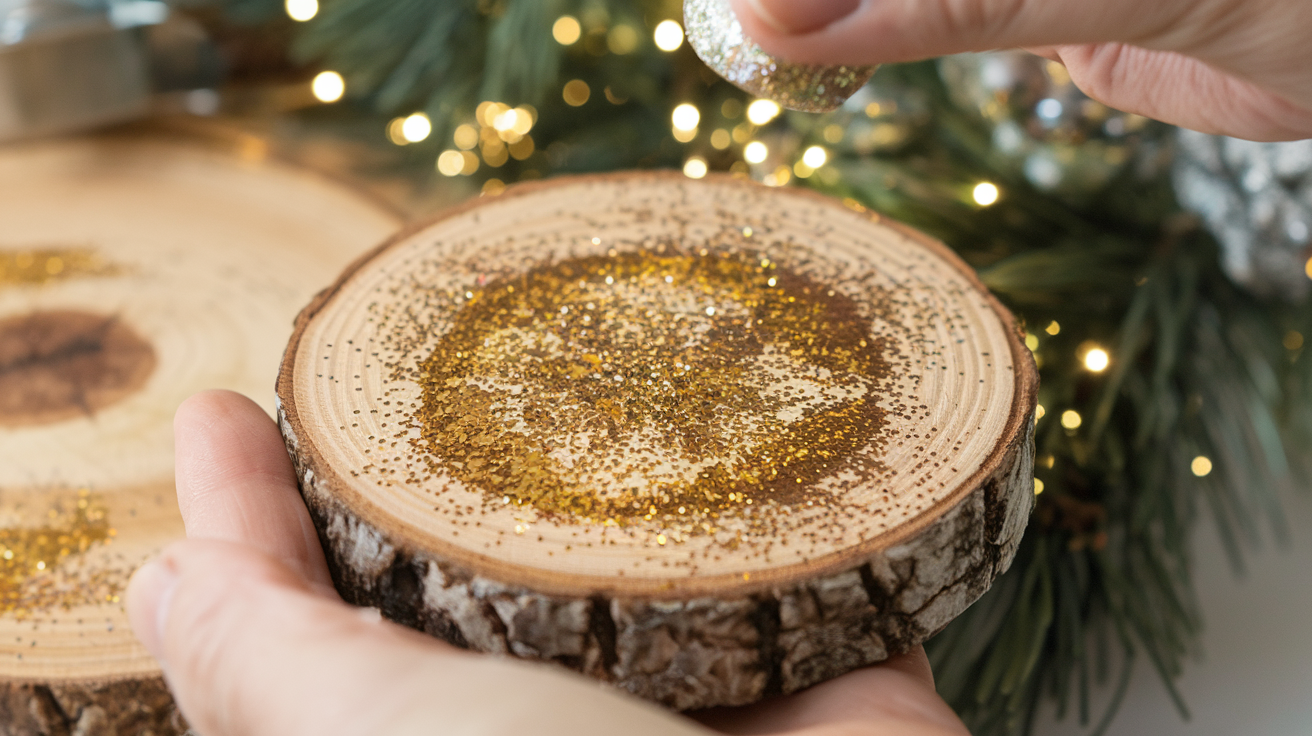
Apply a thin layer of craft glue wherever you want glitter, then sprinkle it on. After it dries, gently tap off the excess and save it for next time.
For beads or buttons, use a stronger adhesive, like hot glue. Hold each piece in place for about 30 seconds to ensure it sticks properly.
Quick Tip: Before adding other elements, put a thin layer of glue (like Mod Podge) over the painted design to give it a slight shine and extra protection.
Step 4: Drilling Holes and Adding Hangers
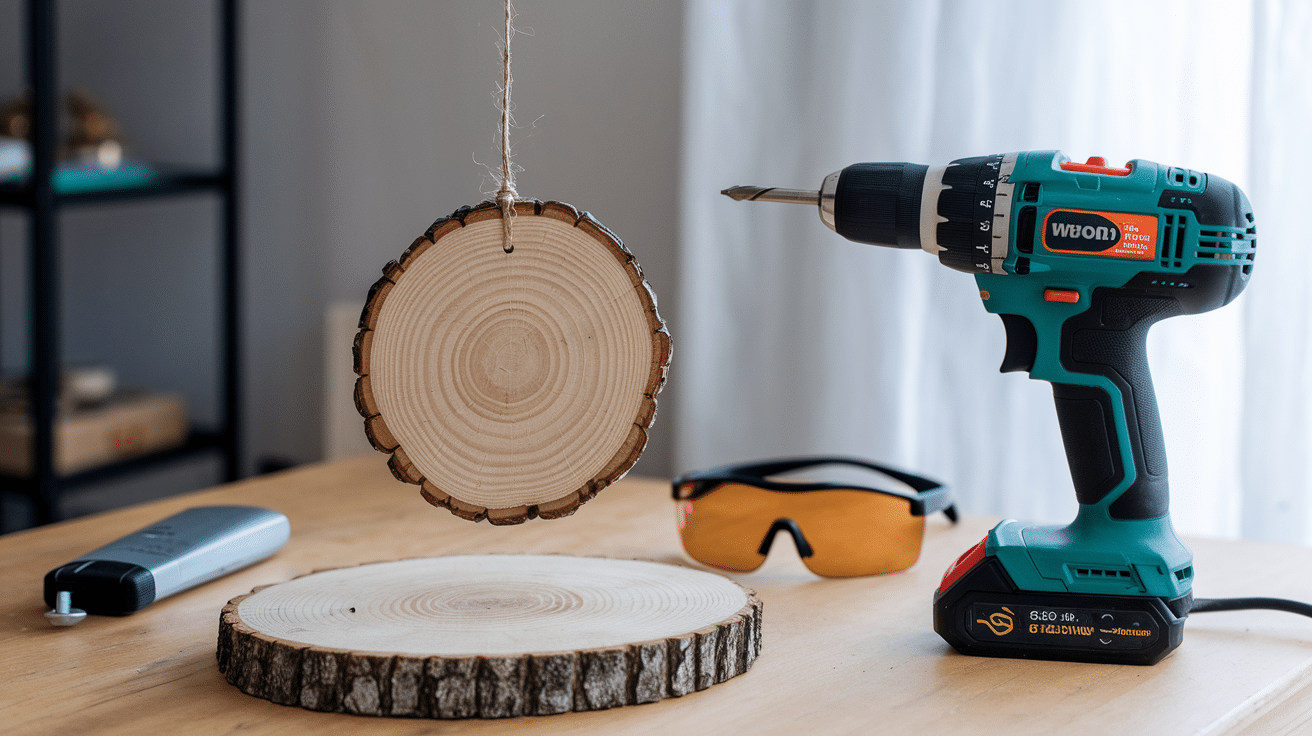
If your wood slices don’t already have holes, now is the time to add them. Place the drill about 1/4 inch from the edge of the slice. Use gentle pressure – pushing too hard might split the wood.
For the hanger, cut about 6-8 inches of twine, ribbon, or string. Fold it in half to form a loop, thread the folded end through the hole, and pull the loose ends through the loop. Tug gently to tighten.
Safety note: Always keep your fingers away from the drill bit and secure your wood slice before drilling.
Step 5: Sealing and Protecting
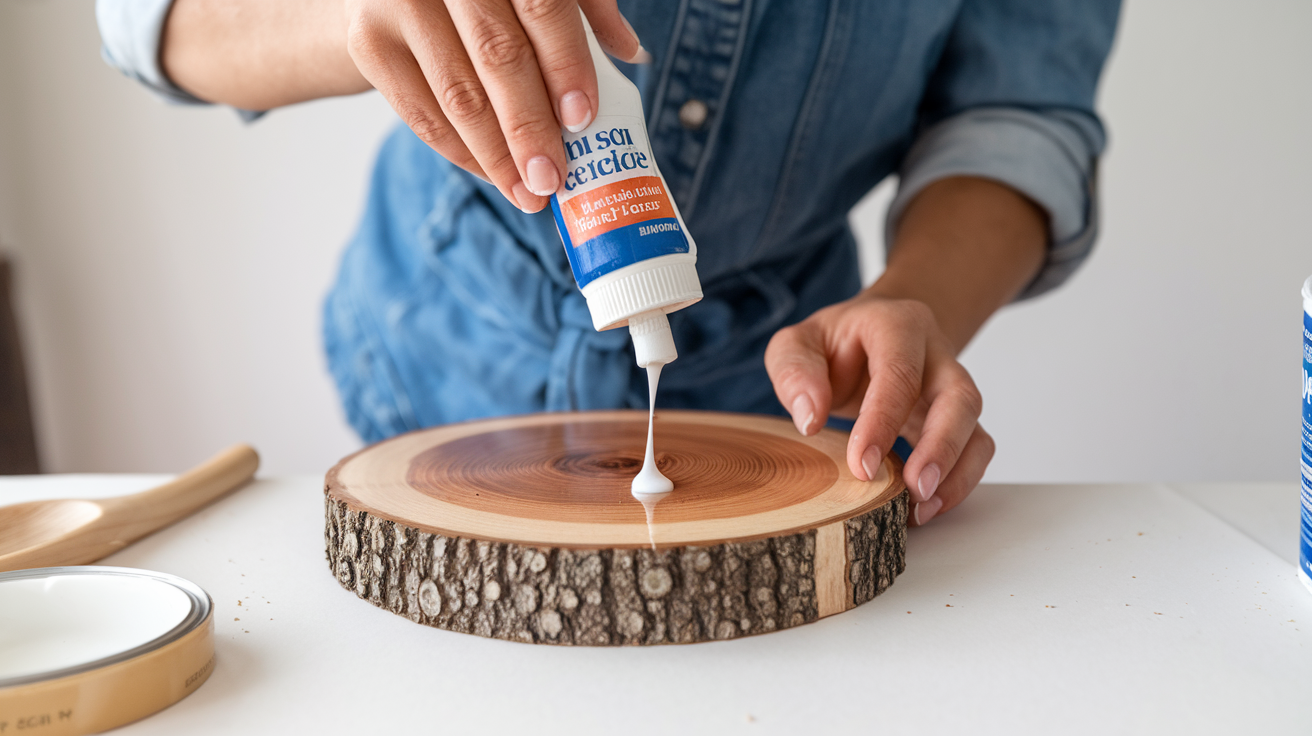
This final step makes your ornaments last for years. A clear spray sealer works fastest – just make sure to spray outdoors or in a well-ventilated area.
If you prefer brush-on sealers, water-based polyurethane gives good protection without yellowing. Apply a thin coat, let it dry completely, and then add a second coat for extra durability.
Let everything dry thoroughly overnight before handling or wrapping it as a gift.
Tip: Each ornament takes about 30-45 minutes of active time, plus drying time.
Approximate Cost for Making Wooden Slice Ornaments
| Item | Estimated Cost | Details |
|---|---|---|
| Wood Slices | $0.50 – $2.00 per slice | Can be bought in bulk or gathered from fallen branches (free if found). |
| Paint (Acrylic or Craft) | $0.50 – $2.00 per color | Small bottles, multiple colors needed, usually used in small amounts. |
| Brushes | $3.00 – $10.00 | The basic set of brushes for fine detail and broader coverage. |
| Hair Dryer (Optional) | $15.00 – $30.00 | Speeds up drying time; not essential if you’re doing a small batch. |
| Drill (For Holes) | $20.00 – $50.00 | One-time investment can be used for future projects. |
| Stencils (Optional) | $5.00 – $15.00 per set | If you’re using patterns for uniform designs, buy reusable stencils. |
| Sealer | $5.00 – $10.00 | Clear finish or spray for protection, especially for outdoor ornaments. |
| Templates (Optional) | $1.00 – $5.00 | Cardstock or paper for templates, if you need precise shapes. |
| Storage Materials (Tissue Paper) | $3.00 – $5.00 | To store ornaments safely after crafting. |
Total Estimated Cost for Making 10 Ornaments:
- Low-end: $10 – $25
- Mid-range: $25 – $50
- High-end (with tools like a drill): $50 – $100
Prices vary by location and quality of materials.
Creative DIY Wood Slice Ornament Ideas
Now that you know the basics, let’s look at some fun design ideas to try! I’ve made dozens of these over the years, and it’s always exciting to come up with new looks.
Here are some of my favorite themes and approaches that might spark your imagination.
1. Seasonal Designs
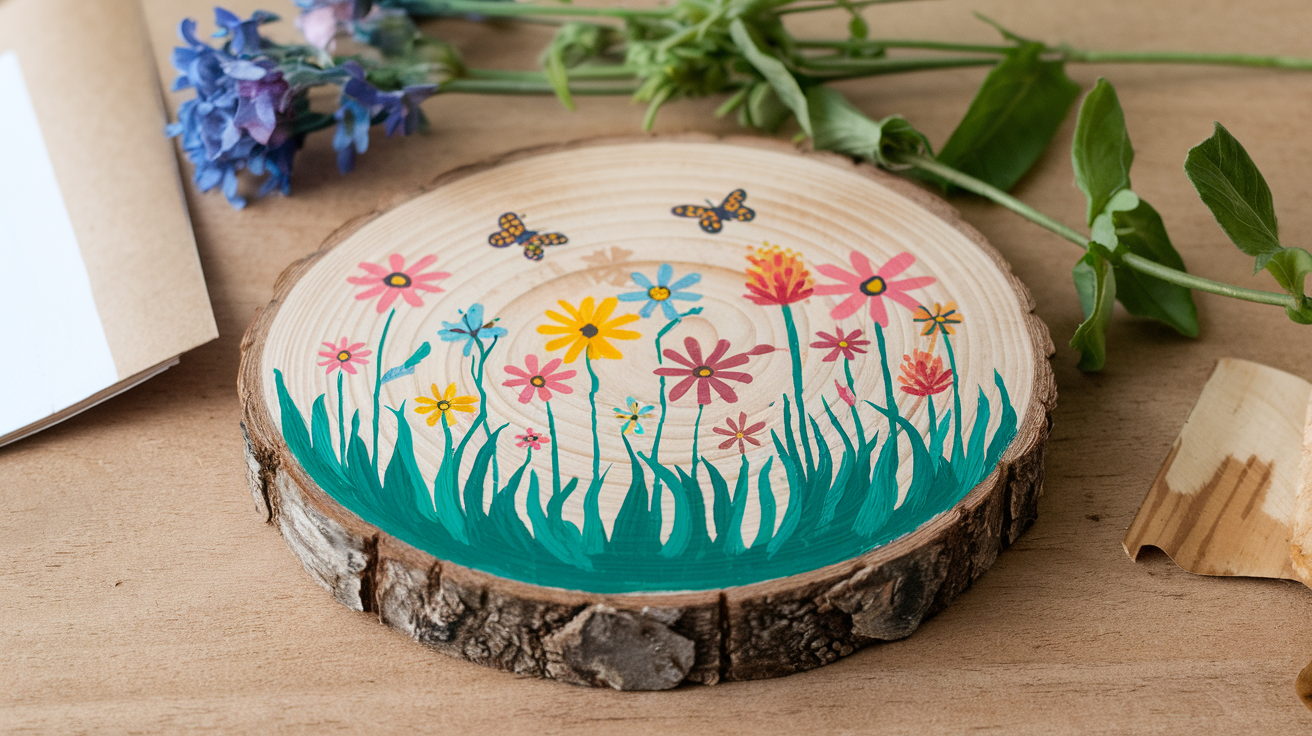
How to Create this Idea:
Why limit yourself to just one holiday? Wood slice ornaments work year-round!
- For winter, simple snowflakes are classics that never go out of style. I like to use white paint on dark wood for that snowy contrast. Cute little snowmen only need three dots for coal eyes and a tiny orange nose.
- Fall ornaments can show colorful leaves in reds and yellows. Small pumpkins are surprisingly easy to paint – just an orange circle with a little brown stem on top. Acorns look great with some texture added to their caps.
- Spring calls for bright flowers and butterflies. Try painting just the outline of a butterfly and letting the natural wood grain show through the wings.
- Summer themes like suns or seashells bring warmth to your decor. I once made a whole set of beach-themed slices with tiny painted waves and sands that made me smile all year.
2. Personalized Ornaments

How to Create this Idea:
Nothing makes an ornament more special than adding a personal touch.
- Family names or initials work beautifully on wood slices. A simple monogram in the center with a painted border around the edge looks clean and classy.
- Important dates make meaningful keepsakes. I made one for my friend’s wedding with their names and dates, and they hang it up every year.
- For the baby’s first Christmas, press their tiny handprint or footprint in paint onto the wood. It’s such a sweet memory to preserve.
3. Rustic and Natural
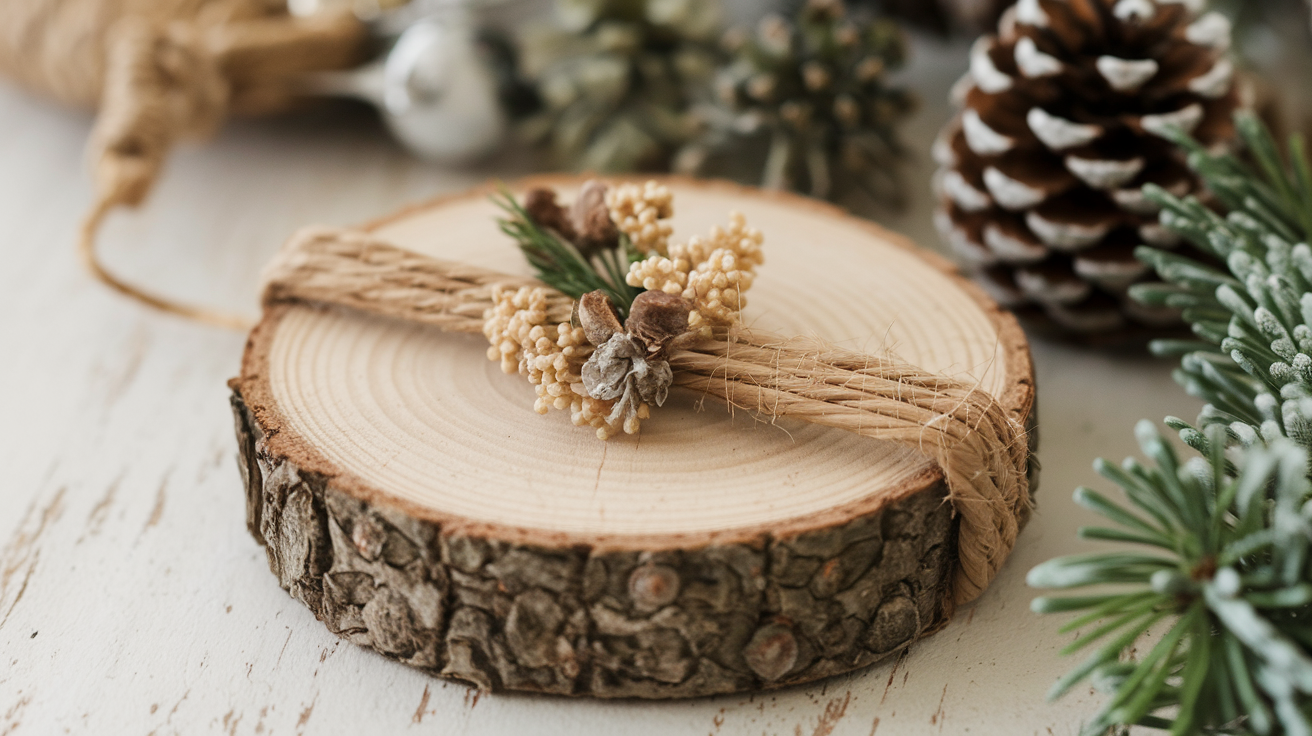
How to Create this Idea:
Sometimes, less is truly more when it comes to these ornaments.
- I love leaving most of the wood natural and adding small touches – maybe a tiny red cardinal on a branch or a single star. The wood grain itself is beautiful, so why cover it completely?
- Try wrapping thin twine around the edges of your slice for added texture. Or attach tiny sprigs of dried herbs or greenery with a dot of glue for an extra natural feel.
4. Holiday-Themed Ornaments
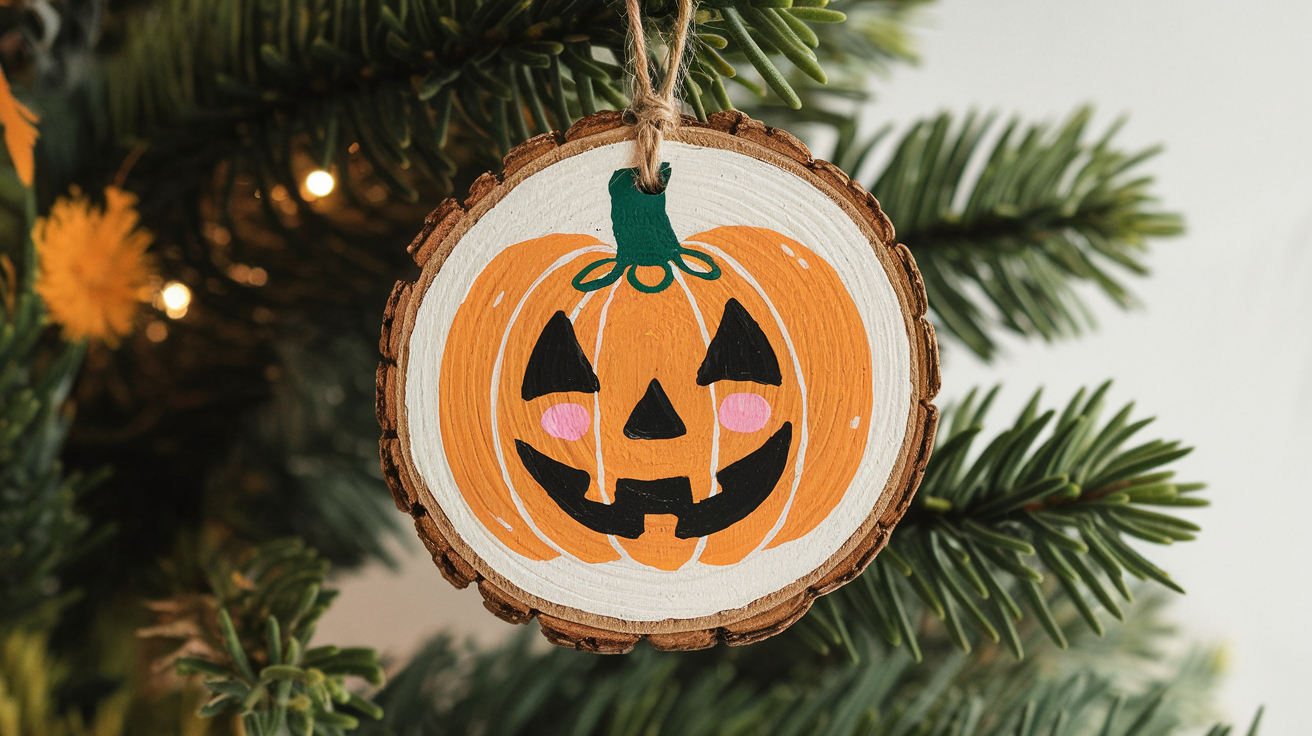
How to Create this Idea:
While Christmas is the obvious choice, other holidays deserve wood-slice love, too!
- For Christmas, simple tree outlines in green never fail. Little paint-dot strings of lights add color.
- Halloween ornaments with ghost outlines or orange pumpkin faces make fun of October decorations. I hang these from a small black tree in my entryway.
- Valentine’s Day calls for heart designs or sweet sayings. “Love” written in script with a tiny heart dot over the “i” is both simple and lovely.
5. Interactive Ornaments

How to Create this Idea:
Want something a bit different? Make ornaments that change or serve double duty!
- Try painting a section with chalkboard paint. These mini message boards let you write new sayings or count down the days to special events.
- Photo ornaments are treasured keepsakes. Either paint a frame outline and glue a small photo inside or use Mod Podge to attach the image directly to the wood.
6. Glitter and Glam
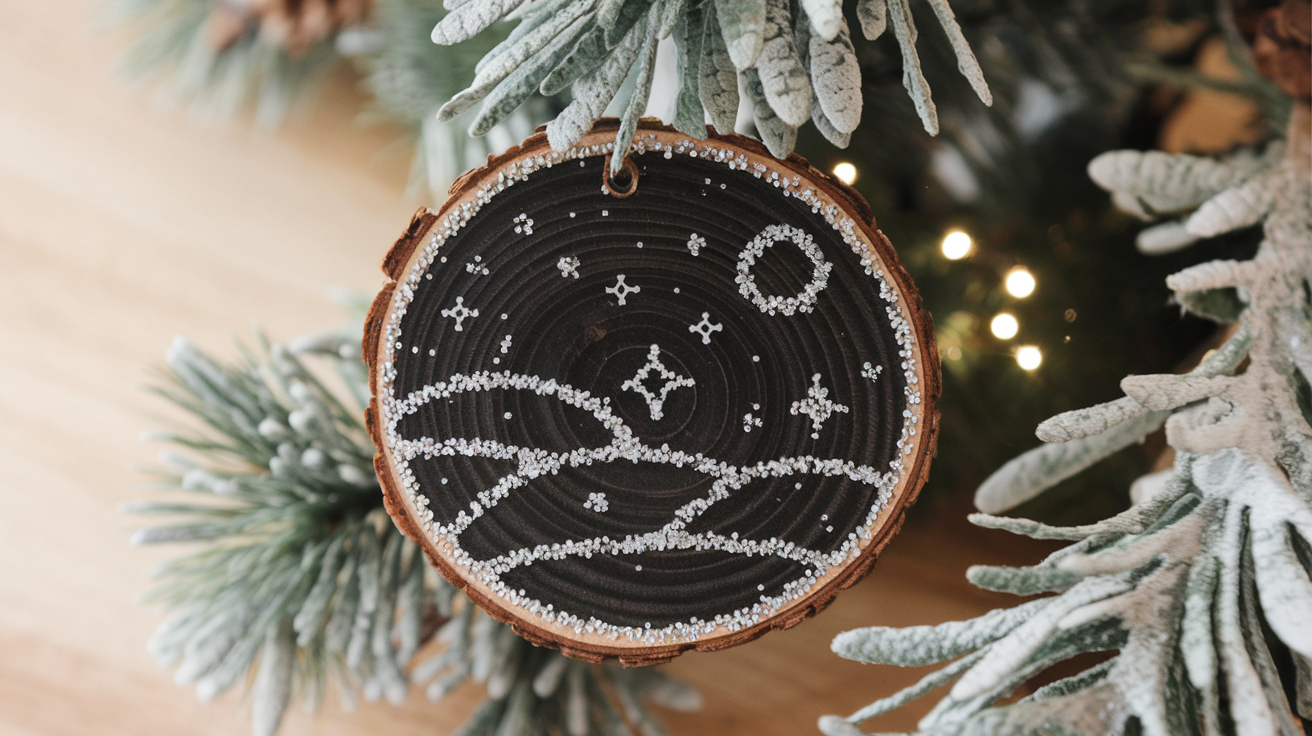
How to Create this Idea:
When you want something that catches the light, add some sparkle!
- Outline your designs in glue, then sprinkle glitter for a shimmery effect. Silver glitter on dark wood has a magical, starry night quality.
- Metallic paints can change ordinary designs into something special. Try copper or gold paint for a warm glow or silver for cool winter themes.
The best part about these ideas is that you can mix and match them however you like! There’s no wrong way to decorate these versatile little wood rounds, so let your creativity flow.
Tips and Tricks for DIY Wood Slice Ornaments
Let me share some insider tips to make your crafting experience much smoother.
- Choosing the Right Wood: For wood slices, select 2–4 inch diameters and 1/4 to 1/2 inch thickness for a lightweight, durable base. Birch is smooth for painting, pine is easy to use, cedar and cherry add rich color, and oak looks great but may affect detailed designs due to its grain.
- Bulk Crafting Shortcuts: For bulk crafting, use shortcuts like an assembly-line approach—prep, sand, drill, base coat, and decorate all at once. Create templates from cardstock to easily trace designs on each slice. Speed up drying between layers with a hair dryer, and save time by painting similar colors in batches.
- Working With Found Wood: When working with found wood, allow fresh-cut branches to dry completely—this can take several weeks for green wood. Freezing the wood beforehand helps achieve cleaner cuts with less splintering.
- Painting: For best painting results, apply thin layers to ensure smooth coverage and quicker drying. Use a plastic-wrapped sponge to create even backgrounds and secure stencils with painter’s tape or light adhesive spray to keep designs crisp.
- Finishing: To ensure a strong finish, store your ornaments with tissue paper or in an egg carton to avoid scratches. If they’re meant for outdoor display, apply an extra coat of outdoor sealer for moisture protection. Always let them dry for at least 24 hours before packaging them as gifts.
Conclusion
Wood slice ornaments bring a touch of nature and personal flair to your home without complicated steps or fancy tools.
The beauty lies in their simplicity – just a piece of wood changed by your creativity. Your unique ideas will make the most meaningful ornaments!
By incorporating the above steps or ideas, you will make heartfelt gifts for holidays, housewarmings, or “just because” moments.
We’d love to see your creations! Drop a photo or share your design ideas in the comments—your project could be the spark that inspires someone else’s next favorite craft.
Frequently Asked Questions
What is the Best Paint for Wood Slice Ornaments?
Acrylic craft paint works best for wood slices. It dries quickly, comes in many colors, sticks well to wood, and doesn’t need special brushes or tools.
What do You Put on Wood Slices to Preserve Them?
Clear polyurethane, spray sealant, or Mod Podge all work well to protect wood slices. They prevent fading, resist moisture, and keep your designs looking fresh for years.
What is the Best Finish for Wood Slices?
Clear matte or satin polyurethane gives good protection without too much shine. Water-based versions don’t yellow over time and dry faster.

