The Ultimate Kitchen Renovation Checklist for 2025!

Thinking about changing your kitchen but not sure how to begin? You’re not the only one!
A lot of people feel confused when it’s time to fix or improve their kitchen.
That’s why we put together this easy-to-follow checklist. It will help you plan step by step, from picking new cabinets or floors to choosing the right lights and colors.
With this guide, you will know what to do, when to do it, and how to avoid problems along the way.
Whether you are fixing a small part or doing a full makeover, this checklist can help you build the kitchen you want.
How to Plan Your Kitchen Renovation?

Starting a kitchen update takes smart planning.
- The first step is knowing what you want and what you can afford.
- Begin by looking at your current kitchen. What works? What doesn’t? If your budget allows, make a list of must-have changes and items you’d like.
- Next, set a clear budget. Kitchen updates can quickly become costly if not watched closely. Include a buffer of 10-15% for surprise costs that often pop up during home projects.
- Timing matters too; a full kitchen redo can take weeks or months. Plan for how you’ll manage meals during this time. You could set up a mini cooking area in another room.
- Then think about who will do the work. Will you hire pros for all tasks? Or mix DIY with expert help? Each choice affects your timeline.
What You Want from Your Kitchen Update?
Before selecting new cabinets or tiles, it’s wise to know exactly what you want from your kitchen update. Clear goals help guide all your choices.
Ask Yourself Why You’re Changing Your Kitchen:
- Is it to make cooking easier?
- To create more storage?
- To freshen up the look?
- Or maybe to boost your home’s value?
Think About how You Use Your Kitchen Daily:
- Do you cook big family meals?
- Work from the kitchen table?
- Host dinner parties?
- Your real-life habits should shape your new design
Make a Simple List:
- Needs (fixing broken items, adding key functions)
- Wants (nice-to-haves if money allows)
Talk with everyone who uses the kitchen. Their input might bring up points you hadn’t thought of yet.
However, setting clear goals now will help you make better choices throughout the whole update process.
Design and Layout for Your Kitchen
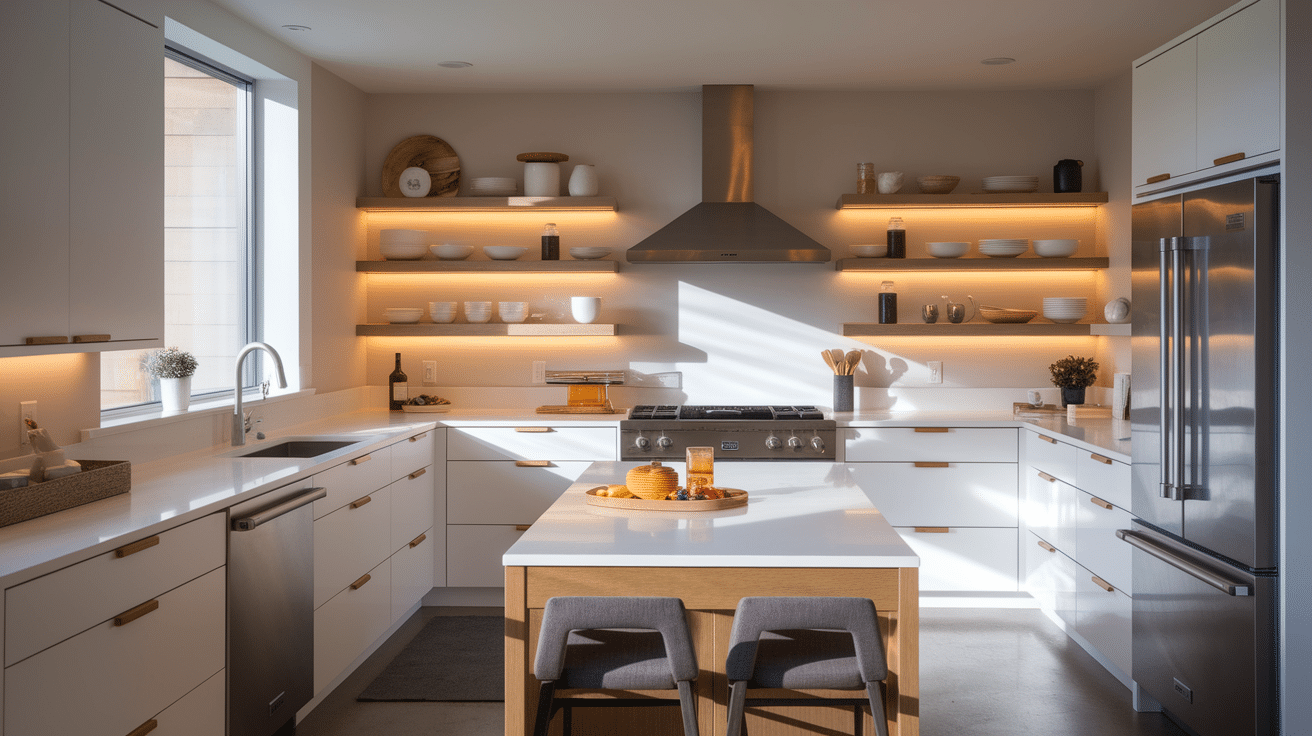
| Renovation Tip | Description |
|---|---|
| Work Triangle Setup | Place the sink, stove, and fridge in a triangle shape to improve cooking flow and efficiency. Since these are the most visited spots, arranging them this way makes cooking faster. |
| Island Addition | If space allows, add a kitchen island for extra prep space and storage. It can also double as a casual eating area or a homework station. |
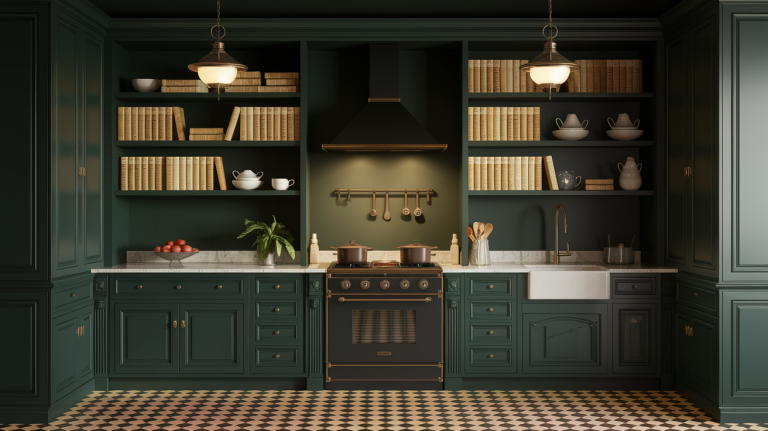
| Open Shelving | Consider removing some upper cabinets and installing open shelves. This will make a small kitchen feel bigger and let you display pretty dishes or cooking items. |
| Lighting Layers | Use a combination of overhead lighting, task lighting under cabinets, and mood lighting to enhance safety and create a welcoming atmosphere. |
| Smart Storage | To maximize storage in limited space, go beyond basic cabinets and incorporate pull-out pantries, corner solutions, and drawer dividers. |
Hire Professionals or DIY: Which is a Better Option?
One of the biggest choices you will face during your kitchen update is deciding who will do the work.
Should you call in the pros or roll up your sleeves?
- When to Hire Professionals: Experts are best for complex tasks like plumbing, gas lines, or electrical work. These systems can be dangerous and often require permits requiring licensed workers.
When DIY Makes Sense: Simpler jobs like painting, installing hardware, or basic tiling can be good projects to tackle yourself. If you have the skills, tools, and time, you might save money on these tasks.
Many kitchen updates use a mix of both approaches. You might hire pros for technical work and handle the finishing touches yourself.
Remember that DIY isn’t always cheaper when you count tools, wasted materials, and potential mistakes.
Smart Material and Appliance Choices for Your Kitchen
Picking the right materials and appliances can make or break your kitchen update. Here’s how to make smart choices that last:
Countertops:
- Consider your daily habits. Do you cook often?
- Quartz resists stains and doesn’t need sealing
- The butcher block looks warm but needs more care
- Laminate costs less but might not last as long
Flooring:
- Must stand up to spills, drops, and foot traffic
- Porcelain tile handles water well
- Vinyl gives comfort underfoot at a lower price
- Hardwood looks lovely, but may show wear faster in busy kitchens
Cabinets:
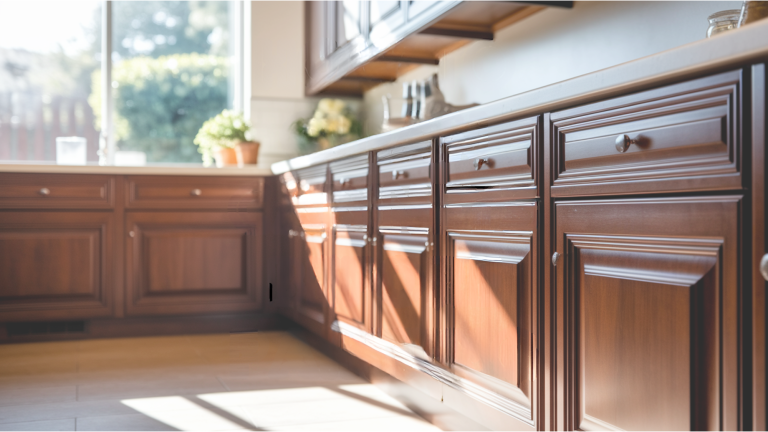
- Solid wood costs more but lasts longer
- MDF with a good veneer can look nice for less money
- Check drawer construction, dovetail joint,s and soft-close features indicate quality
- Look at the door hinges and how they align
Appliances:
- Focus on function first, then look
- Choose a fridge that fits your food storage needs
- Ranges should match how you cook gas for quick heat changes, induction for safety
- Check energy ratings to save on bills long-term
Small details:
- Cabinet handles, faucets, and light fixtures are like jewelry for your kitchen
- They can update the whole look without huge costs
- Choose finishes that work together (all brushed nickel or all brass)
Different Kinds of Lighting for a Well-Lit Kitchen
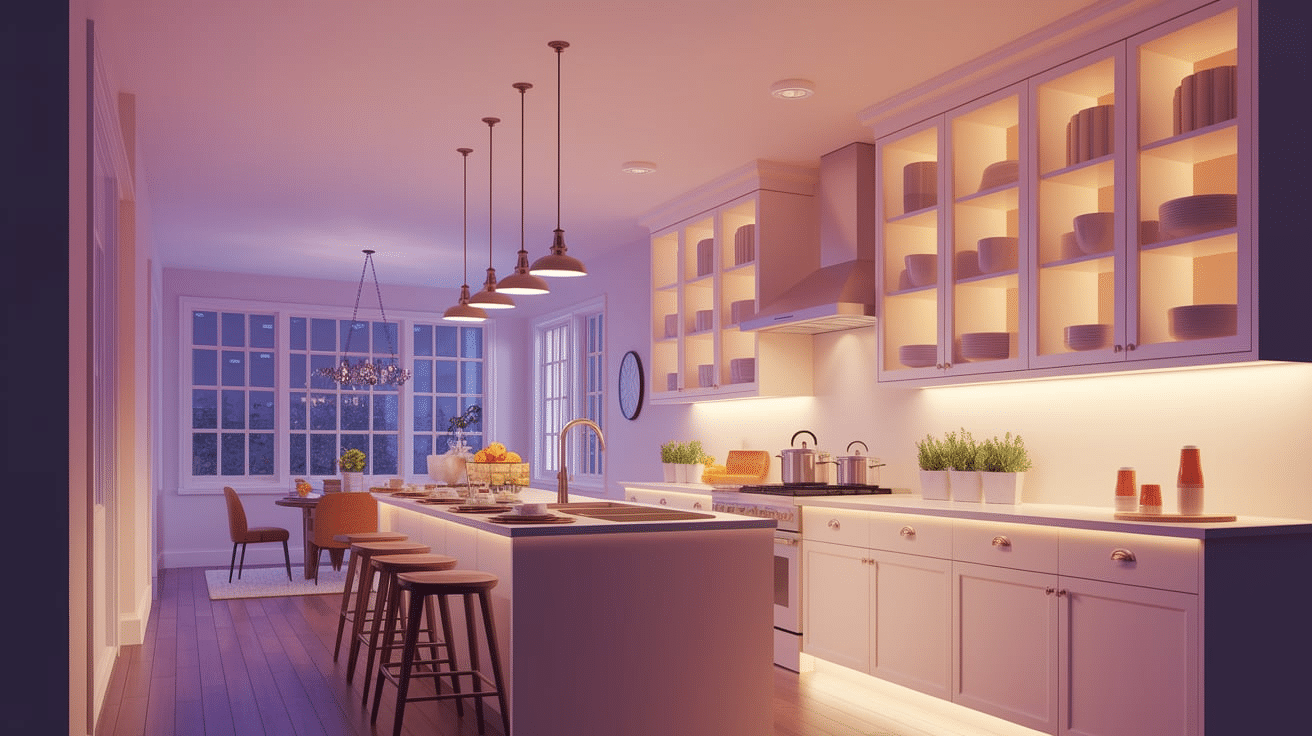
| Lighting Type | Purpose | Smart Placement Tips |
|---|---|---|
| Ceiling Lights | Provide overall brightness for the entire space | Ensure even coverage across the room |
| Under-Cabinet Lights | Remove shadows on countertops for easy prep work | Position directly above counter areas for optimal lighting |
| Pendant Lights | Add style while focusing light on islands or eating areas | Use the above kitchen islands or dining tables for a focal point |
| Recessed Lights | Offers clean lines and can be placed where needed most | Places where extra light is required, such as above workstations |
| Task Lighting | Provides focused light for activities like chopping and mixing | Place directly above main work areas, like countertops or stovetops |
| Dimmer Controls | Allows you to adjust brightness for mood and function | Install in all key lighting areas for flexibility |
| LED Lights | Energy-efficient and produces less heat | Opt for LED bulbs in all lighting types for cost savings |
| Glass-Front Cabinet Lighting | Highlights nice dishes and adds elegance | Install inside cabinets to showcase glassware or dishware |
| Toe Kick Strip Lighting | Provides soft, ambient glow at night | Place under kitchen cabinets near the floor for a gentle glow |
| Natural Light Consideration | Utilizes sunlight throughout the day | Position work areas near windows or skylights for maximum benefit |
Start the Renovation and the Final Touches
Once plans are set and materials are chosen, it’s time to begin the real work. This stage is exciting and challenging as the kitchen takes shape.
Clear everything out completely and protect nearby rooms from dust with plastic sheeting. Then, follow the planned sequence: demolition, rough-in work, drywall, cabinets, countertops, and finally, appliances.
During the process, check progress daily if possible and keep communication open with all workers.
The final touches make all the difference. Clean thoroughly before moving items back in, install hardware and fixtures, and set up a logical organization system.
However, the path from start to finish may have bumps, but seeing the upgraded kitchen makes the effort worthwhile.
Conclusion
Kitchen renovation involves many steps, from planning and design to material selection and final touches.
This checklist guides you through each phase to help you create a kitchen that meets your needs and budget.
Be patient with the process, as a well-planned kitchen update takes time, but it creates a space where you will enjoy cooking and gathering for years to come.

