8 Types of Sanders and Their Uses

Looking for the right sander? These powerful tools can make your woodworking and home projects much easier and more effective.
The correct sander helps you finish work faster and create smoother results without too much effort.
Each type offers something different; some quickly remove large amounts of material, while others give you fine control for detailed work.
As you read this blog, you’ll learn about the main types of sanders, their strengths and limits, and how to pick the best one for your needs.
Types of Sanders to Check Out
Sanders are essential tools for smoothing surfaces. Each offers unique advantages for different tasks. Learn about their advantages and disadvantages.
1. Belt Sanders
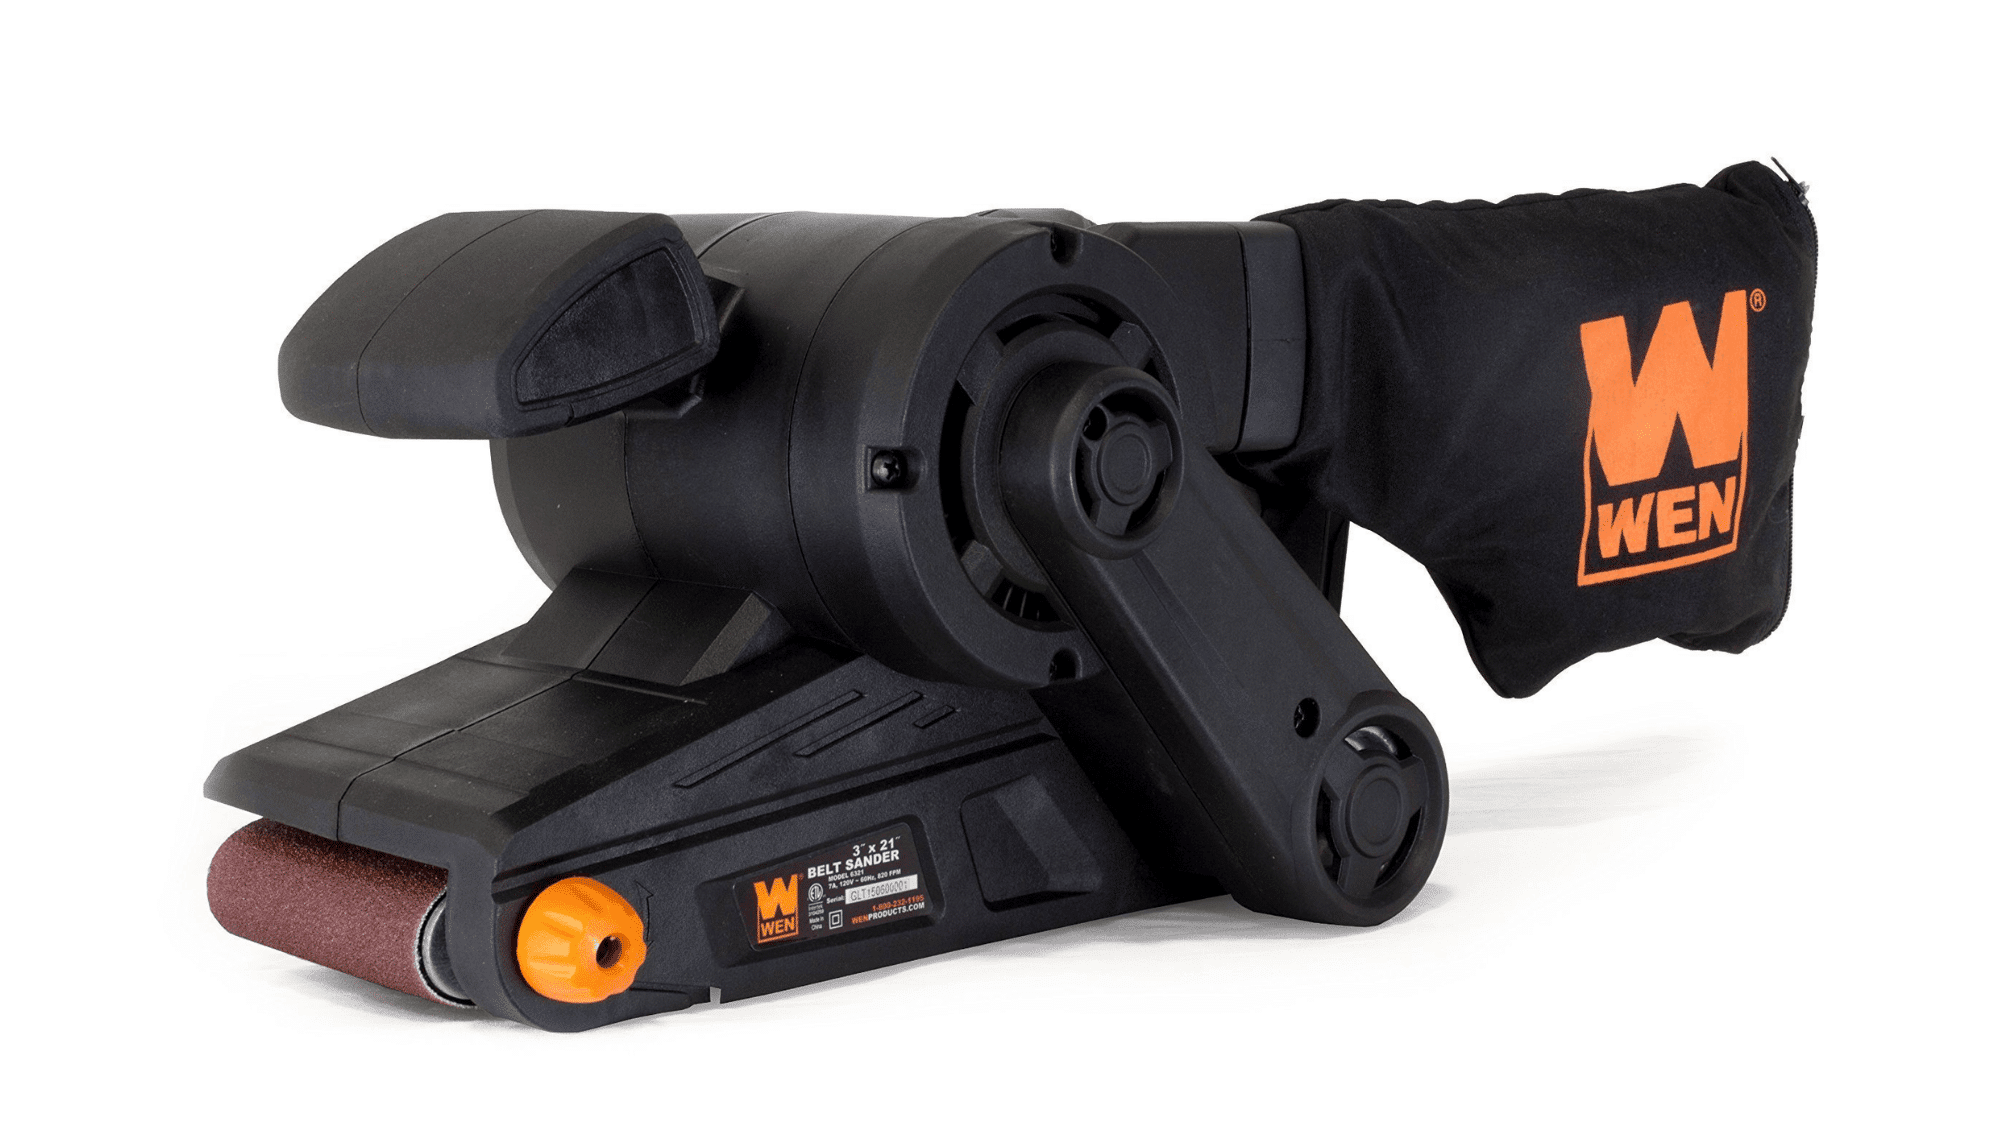
Belt sanders use a continuous loop of sandpaper rotating around two drums. They remove material quickly and work well on large, flat surfaces.
This tool is ideal for initial rough sanding work. They require careful handling to avoid damaging your workpiece with excessive material removal.
| Advantages |
|
| Limitations |
|
Key Features: Powerful motors and variable speed control are essential in belt sanders. Large capacity dust bags help maintain clean workspaces while reducing airborne particles during operation.
Approximate Cost: $35- $50
2. Orbital Sanders
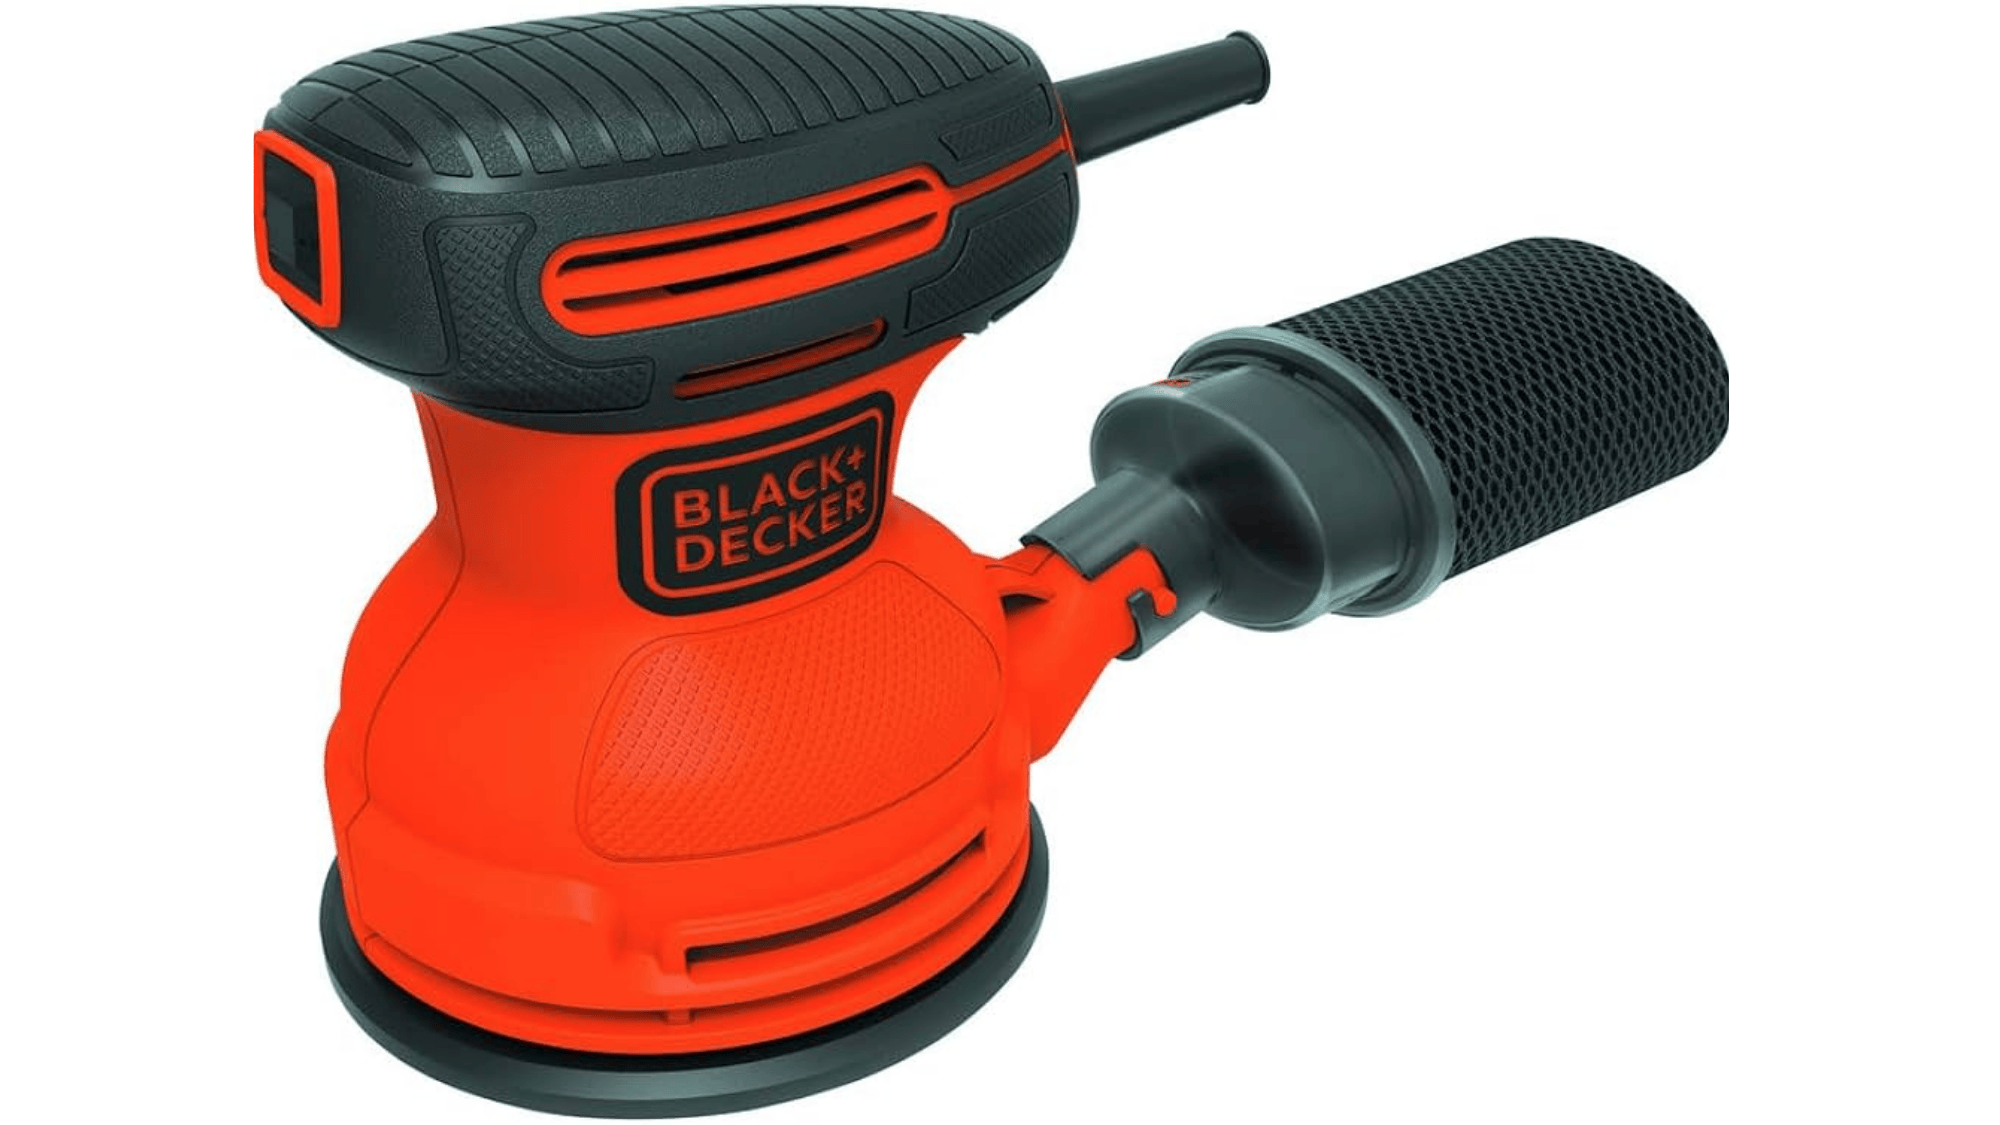
Orbital sanders move in small, consistent, circular patterns. They offer more control than belt sanders while still effectively smoothing surfaces.
It is excellent for medium to fine sanding tasks. It balances the material removal rate with control, making it accessible for most woodworking projects.
| Advantages |
|
| Limitations |
|
Key Feature: Orbital sanders should have effective dust extraction systems and sealed switches. Good vibration dampening makes these tools comfortable for extended finishing tasks.
Approximate Cost: $30-$40
3. Random Orbital Sanders
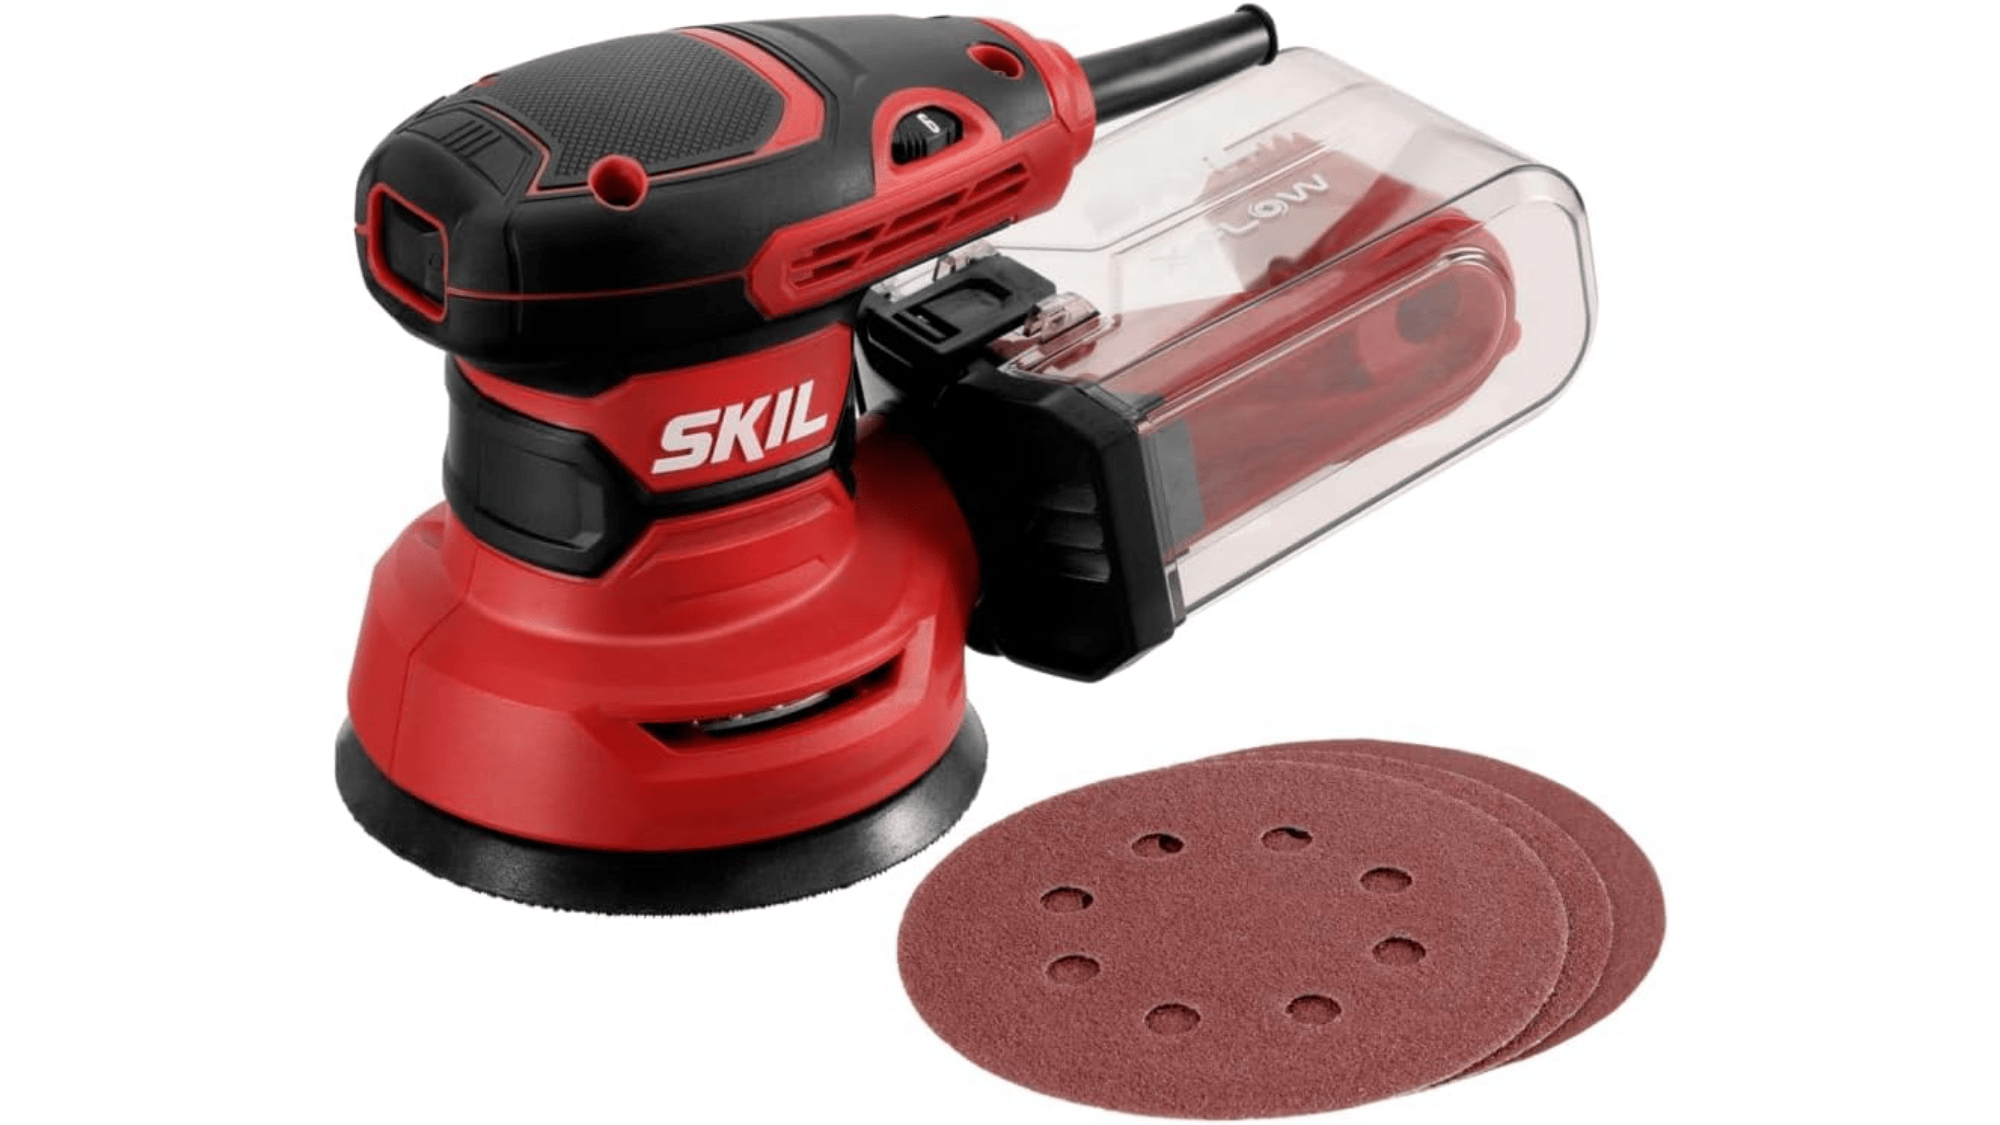
Random orbital sanders combine circular motion with variable patterns. This design prevents swirl marks while still providing efficient material removal.
These versatile tools are good for rough sanding and finish work. They can handle different wood-grain directions without causing cross-grain scratches.
| Advantages |
|
| Limitations |
|
Key Feature: Random orbital sanders need variable speed settings and strong dust collection ports. The absence of swirl marks makes these ideal for final sanding before finishing wood projects.
Approximate Cost: $30-$40
4. Detail Sanders
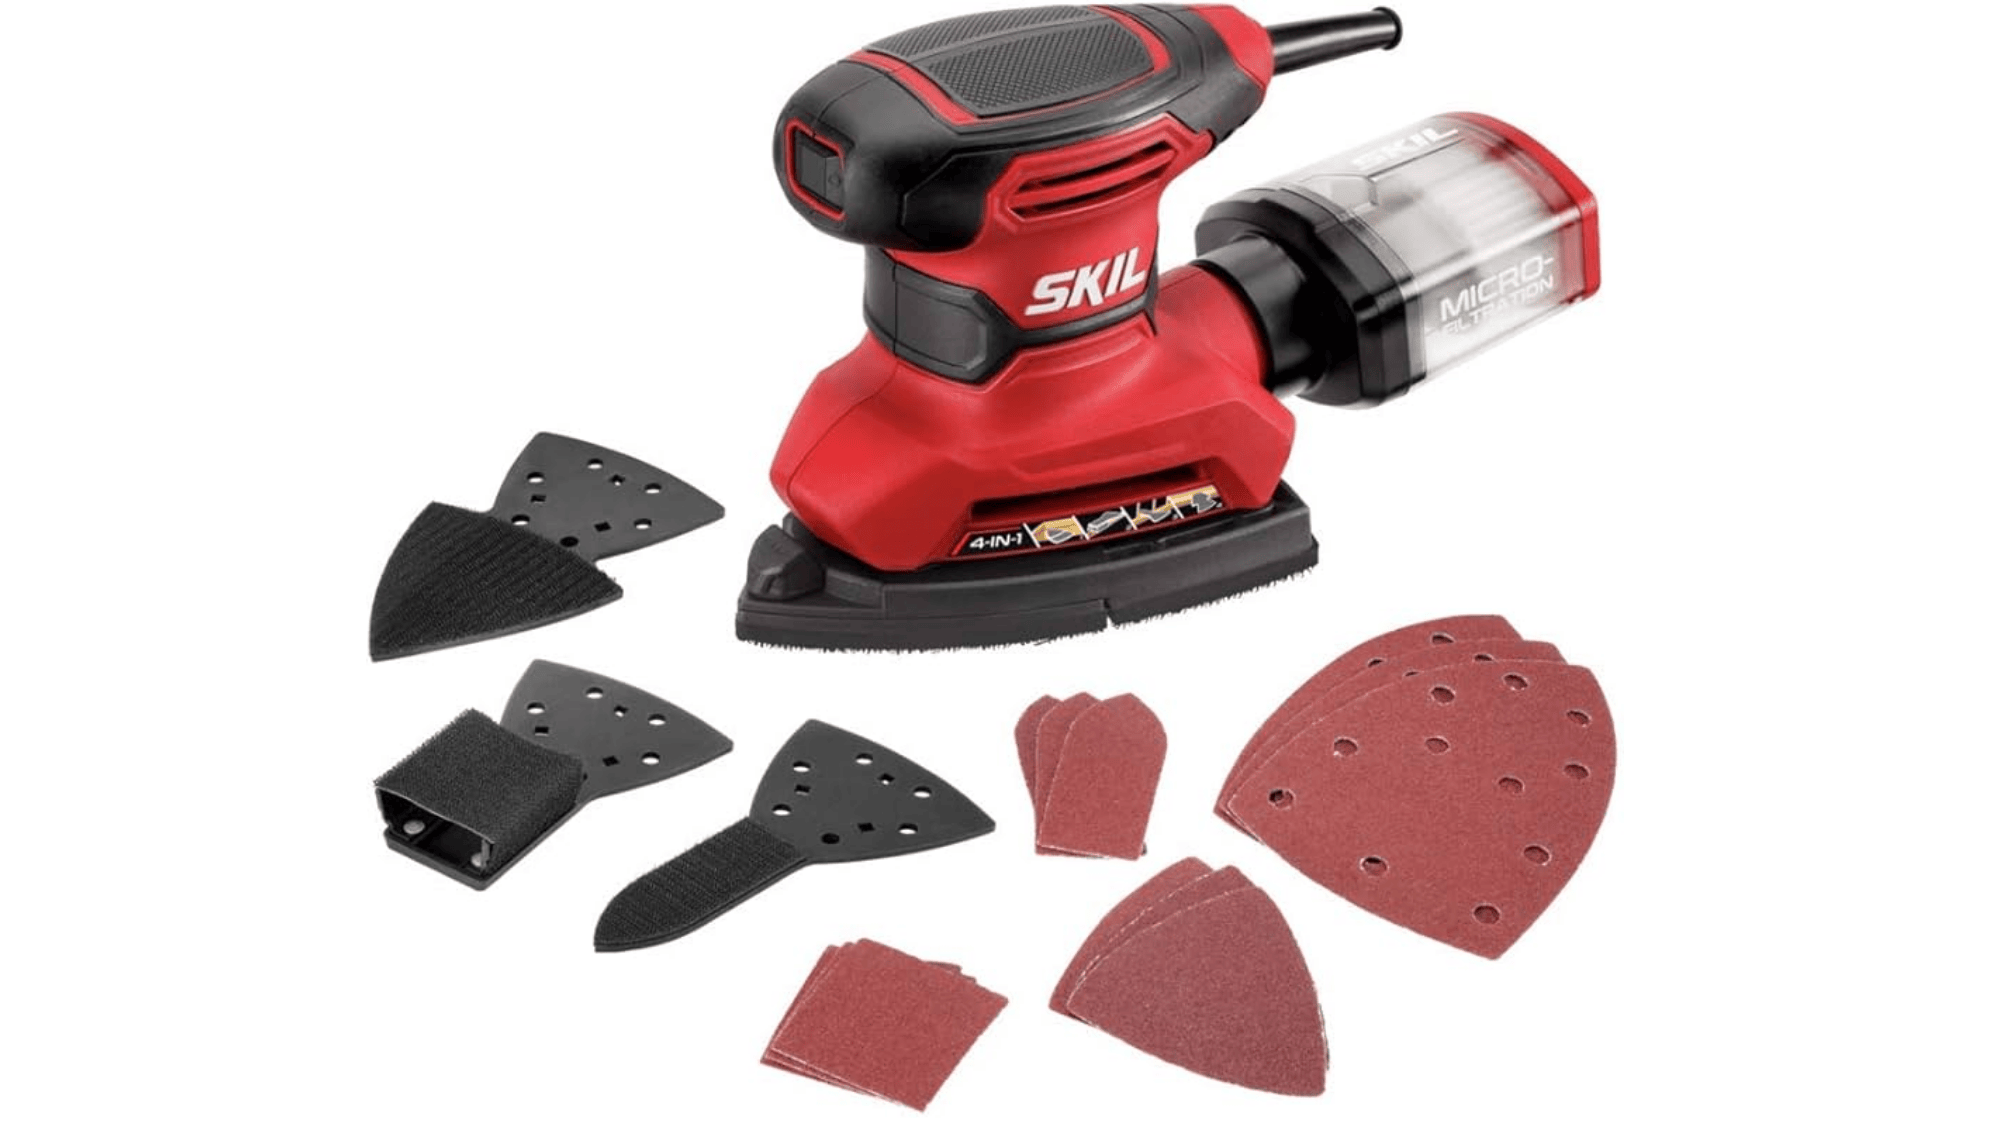
Detail sanders feature triangular or specialized pads for precision work. They reach tight corners and spaces that larger sanders cannot access.
These compact tools excel at small-scale finishing tasks. Their unique shapes make them essential for furniture work with complicated designs and hard-to-reach areas.
| Advantages |
|
| Limitations |
|
Key Feature: Detail sanders require pointed tips and various attachment shapes. These allow access to tight corners and small spaces that larger sanders cannot reach.
Approximate Cost: $40-$50
5. Drum Sanders
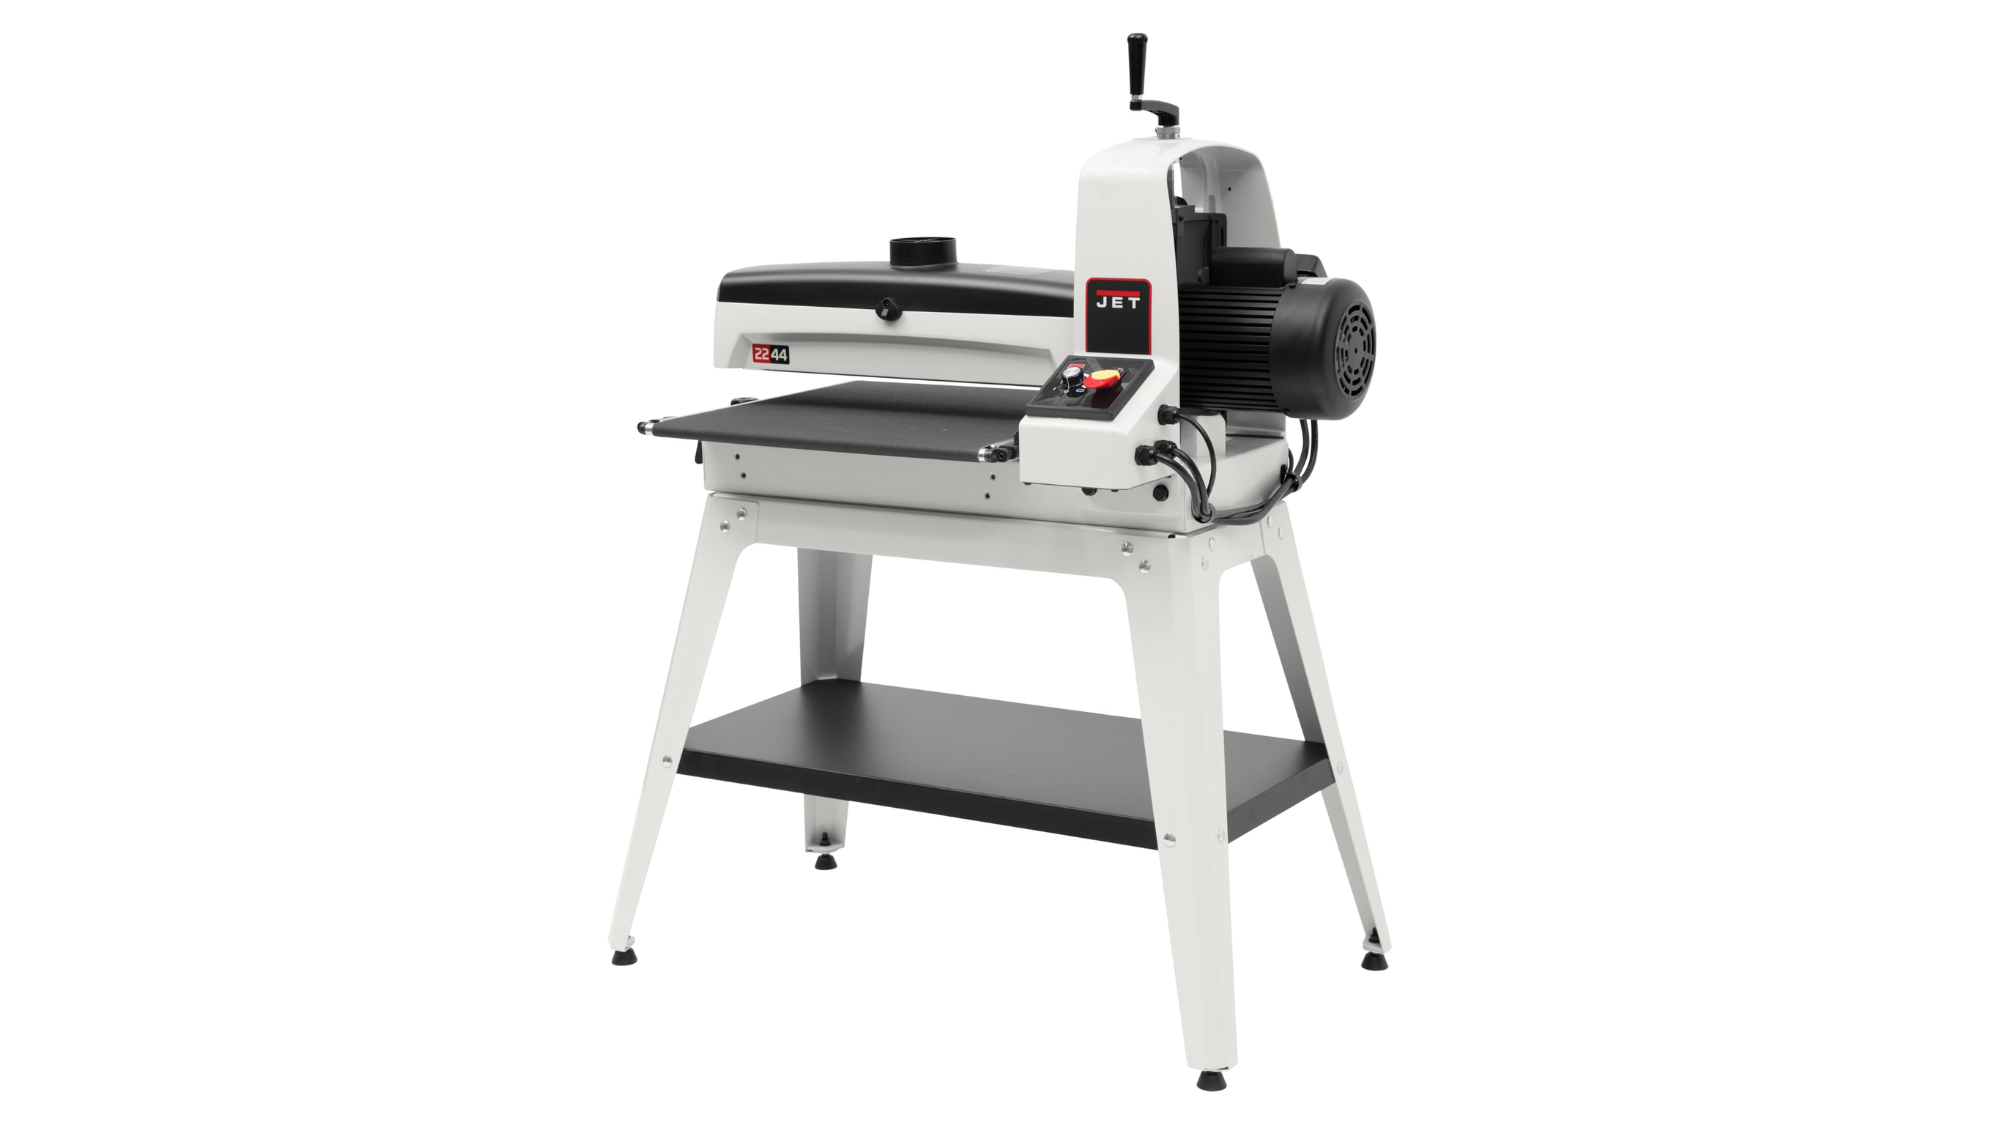
Drum sanders consist of a cylinder wrapped with abrasive material. They remove material rapidly, making them suitable for major resurfacing projects.
These high-power tools can quickly level large areas. They require experience to use effectively without creating cuts or uneven surfaces.
| Advantages |
|
| Limitations |
|
Key Feature: Drum sanders should have robust motors and stable frames. Easy roller adjustment mechanisms help achieve consistent thickness across wide boards.
Approximate Cost: $1800-$1900
6. Disc Sanders
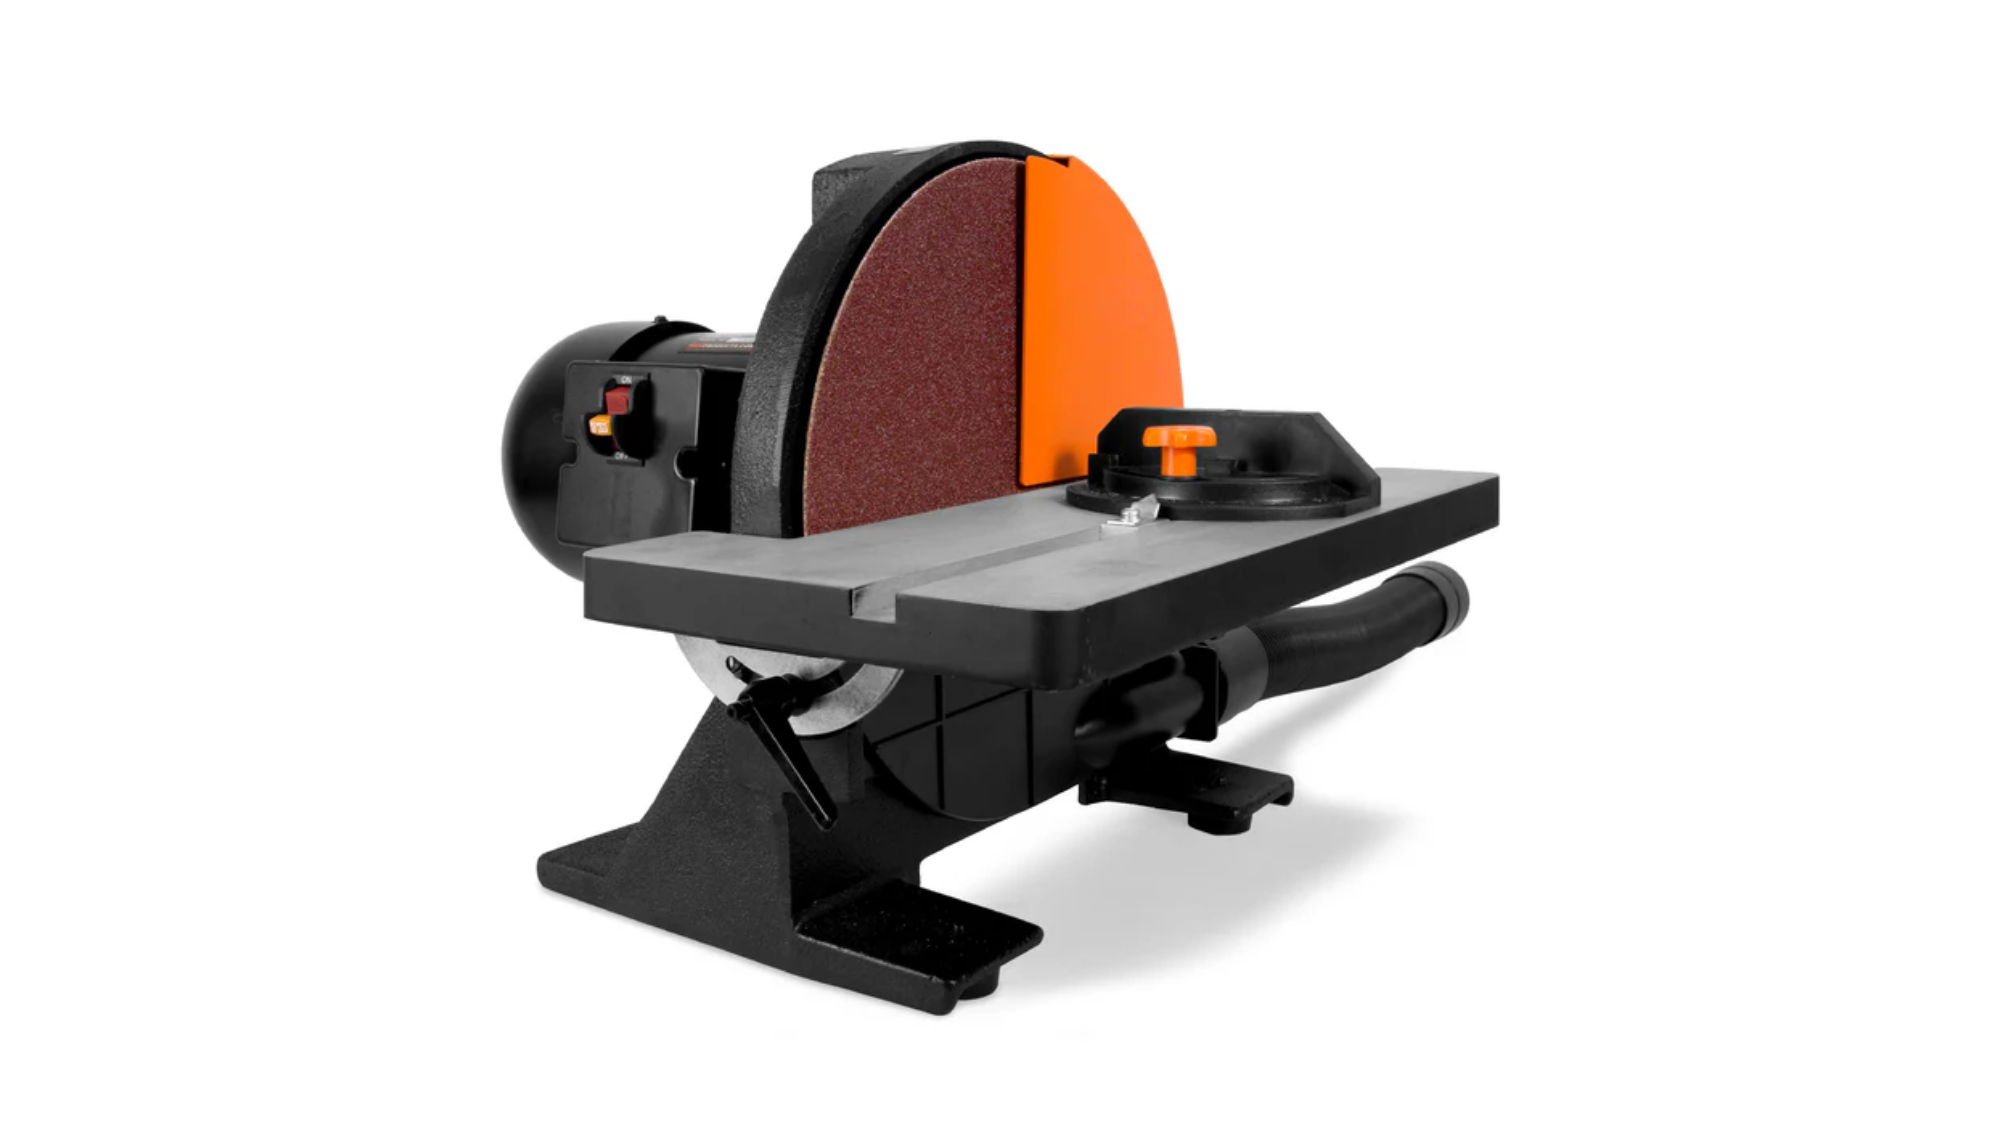
Disc sanders use a flat, circular plate that rotates at high speed. They excel at creating straight edges and precise angles on smaller workpieces.
These tools are particularly useful for end grain and edge work. When used with appropriate guides and jigs, they allow for exact shaping.
| Advantages |
|
| Limitations |
|
Key Feature: Disc sanders need cast iron or steel tables with tilt capabilities. Miter gauges help maintain precise angles when sanding small workpieces.
Approximate Cost: $160-$200
7. Sheet Sanders
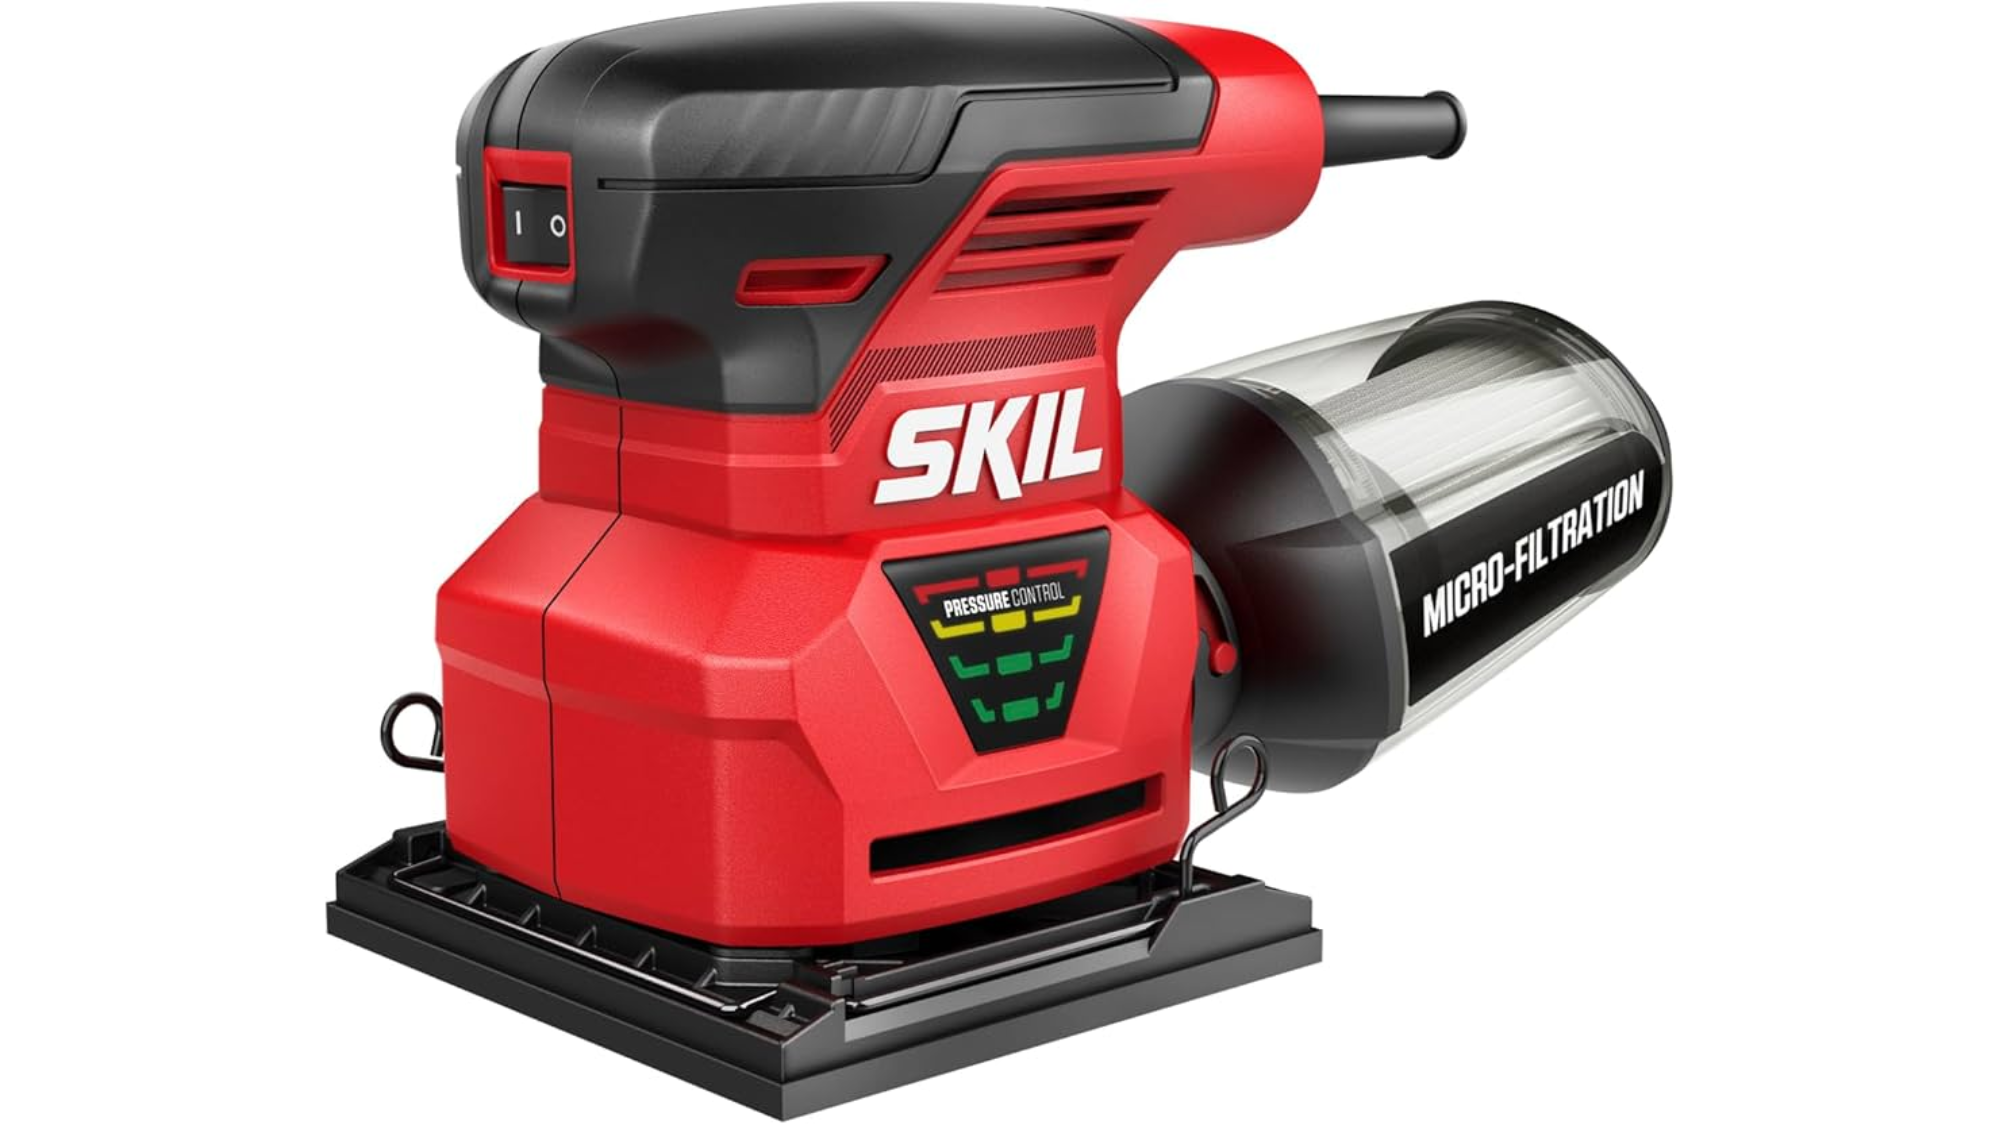
Sheet sanders use common rectangular sandpaper cut to fit the tool base. They provide consistent pressure across flat surfaces for smooth, even results.
These straightforward tools are cost-effective and user-friendly. They work well for final finishing and can be used with readily available sandpaper from any hardware store.
| Advantages |
|
| Limitations |
|
Key Feature: Sheet sanders should feature tool-free paper clamps and good corner access. Compact designs fit comfortably in one hand for ceiling and wall applications.
Approximate Cost: $30-$40
8. Spindle Sanders
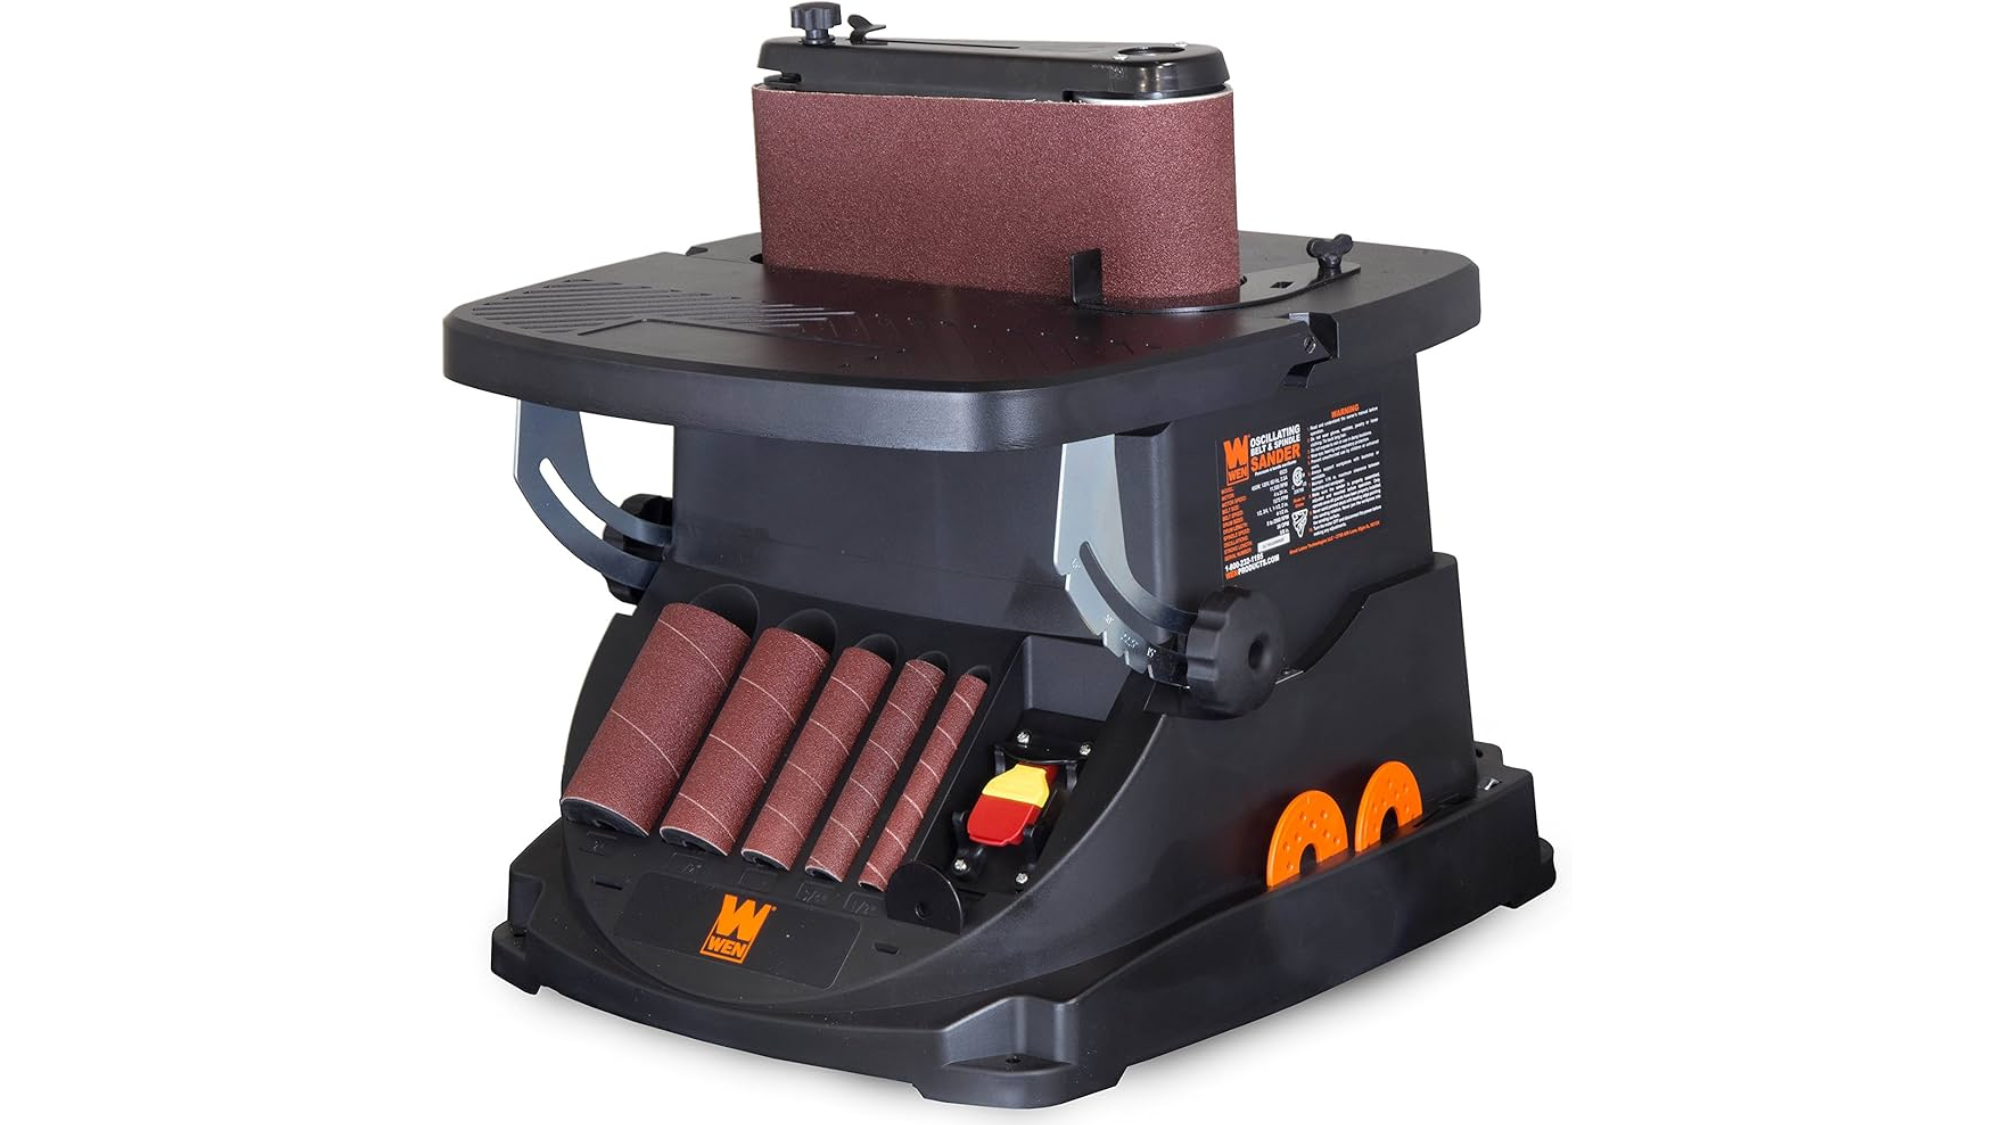
Spindle sanders feature a vertical drum that spins and moves up and down. They shine when working with curved edges and interior cutouts.
These specialized tools come with various drum sizes for different curves. They minimize friction heat, reducing the risk of scorching your wooden workpieces.
| Advantages |
|
| Limitations |
|
Key Feature: Spindle sanders require multiple sleeve diameters and table inserts. Quick spindle changes facilitate an efficient workflow when sanding curves of various sizes.
Approximate Cost: $190-$200
How to Choose the Best Sander for Your Project
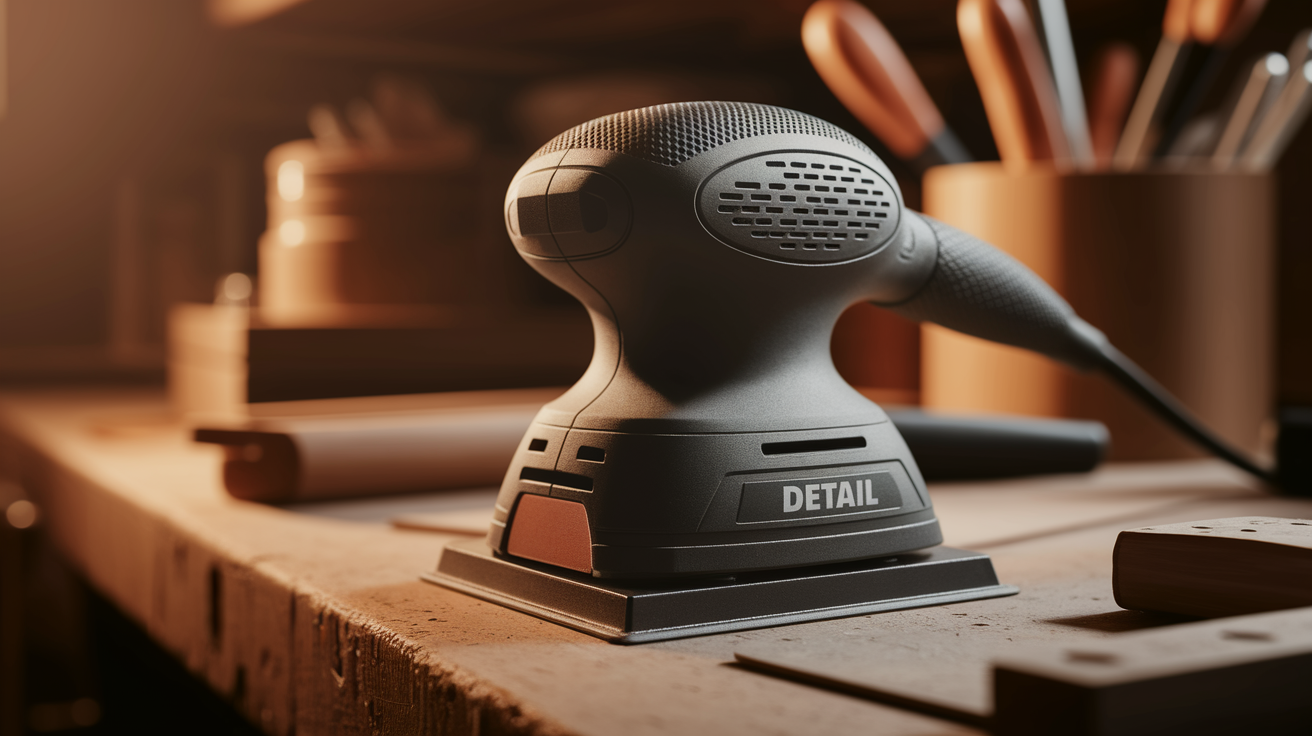
When selecting a sander, matching the tool to your specific project requirements is important for achieving quality results. Different materials and tasks call for specialized equipment.
1. Project Type Considerations
Matching your sander to the material and scope of work ensures optimal results and efficiency while preventing damage to your project surfaces.
- Woodworking: Orbital sanders work well for furniture and cabinets. Belt sanders handle larger wooden surfaces efficiently.
- Metalworking: Look for sanders with variable speed control and specific abrasives designed for metal surfaces.
- Floor Restoration: Floor sanders are larger, more powerful machines built specifically for this task.
2. Essential Selection Factors
These key attributes will impact your sanding experience significantly, affecting both the quality of your finished work and your comfort during the process.
- Power Rating: Higher amp ratings (3-5 amps for handheld models) provide faster material removal but require more control.
- Size and Weight: Smaller sanders offer better precision for detail work, while larger ones cover more area quickly.
- Grip Comfort: Try different models to find one that fits your hand well and reduces fatigue during extended use.
- Price Range: Quality entry-level models start around $50-80 (depending upon the sander type), while professional-grade options can exceed $200.
3. Recommendations for Beginners
Starting with user-friendly equipment helps build confidence while still achieving professional-looking results on your initial woodworking and home improvement projects.
- Versatile Option: Random orbital sanders provide versatility for most home projects
- Easy Handling: Palm sanders are lightweight and easy to control
- Reliable Power: Consider corded models for consistent power when starting out
- Clean Operation: Look for dust collection features to maintain a clean workspace
Common Mistakes to Avoid When Using Sanders
| Mistake | Description |
|---|---|
| Incorrect sander selection | Use belt sanders for fine work or orbital sanders for heavy stock removal. |
| Improper sandpaper grit | Selecting a too coarse grit for finishing or a too fine grit for initial sanding. |
| Wrong pressure and speed | Pushing down too hard on sanders or moving the tool too quickly across work surfaces. |
| Skipping grit stages | Jumping from very coarse to very fine grits without using medium grits in between. |
| Poor dust collection | Failing to connect dust extraction systems or not emptying collection bags regularly. |
Conclusion
Choosing a sander starts with your project. Consider what you need to finish, then match it to the right tool type for the best results.
Your budget and comfort matter, too. Find a sander that feels good in your hands and won’t strain your wallet.
Quality sanders serve you well for a long time. Regular cleaning and proper storage keep them working like new for many projects.
Try your sander on scrap wood first. This will build confidence and skill before you work on important pieces and help you avoid mistakes.


