DIY Bench Legs Attachment: A Step-by-Step C-Channel Guide

Building a strong bench requires proper leg attachment. This guide shows how to create connections that won’t fail during daily use.
You’ll learn to work with C-channels, threaded inserts, and mounting plates. These components form the backbone of sturdy bench construction.
No special skills are needed to follow these steps. With common tools, you can create furniture that remains stable for years.
The techniques shared here apply to various bench styles. Master these methods to build pieces that combine good looks with lasting function.
Step-by-Step Guide to Attaching Bench Legs
For any DIY project, you will need some basic tools to get started. These materials will allow you to complete all steps in the bench leg attachment process, from creating jigs to the final installation and stability check.
- C-channels (1.5 to 2 inch with 1/8-inch thickness)
- Threaded inserts (1/4″ or 5/16″)
- Mounting plates for legs
- Bench legs
- Bolts matching threaded insert size
- Wood glue
- Scrap wood for making jigs
- Pencil or marker
- Measuring tape or ruler
- Drill with appropriate bits
- Router with straight bit
- Wrench or socket set
- Level
- Clamps
- Installation tool for threaded inserts (or bolt with nuts and washers)
- Scrap blocks for guides
Building a strong, stable bench starts with properly attaching the legs. This guide covers each step of the process, using simple materials and basic tools.
1. Choosing the right C-channel size
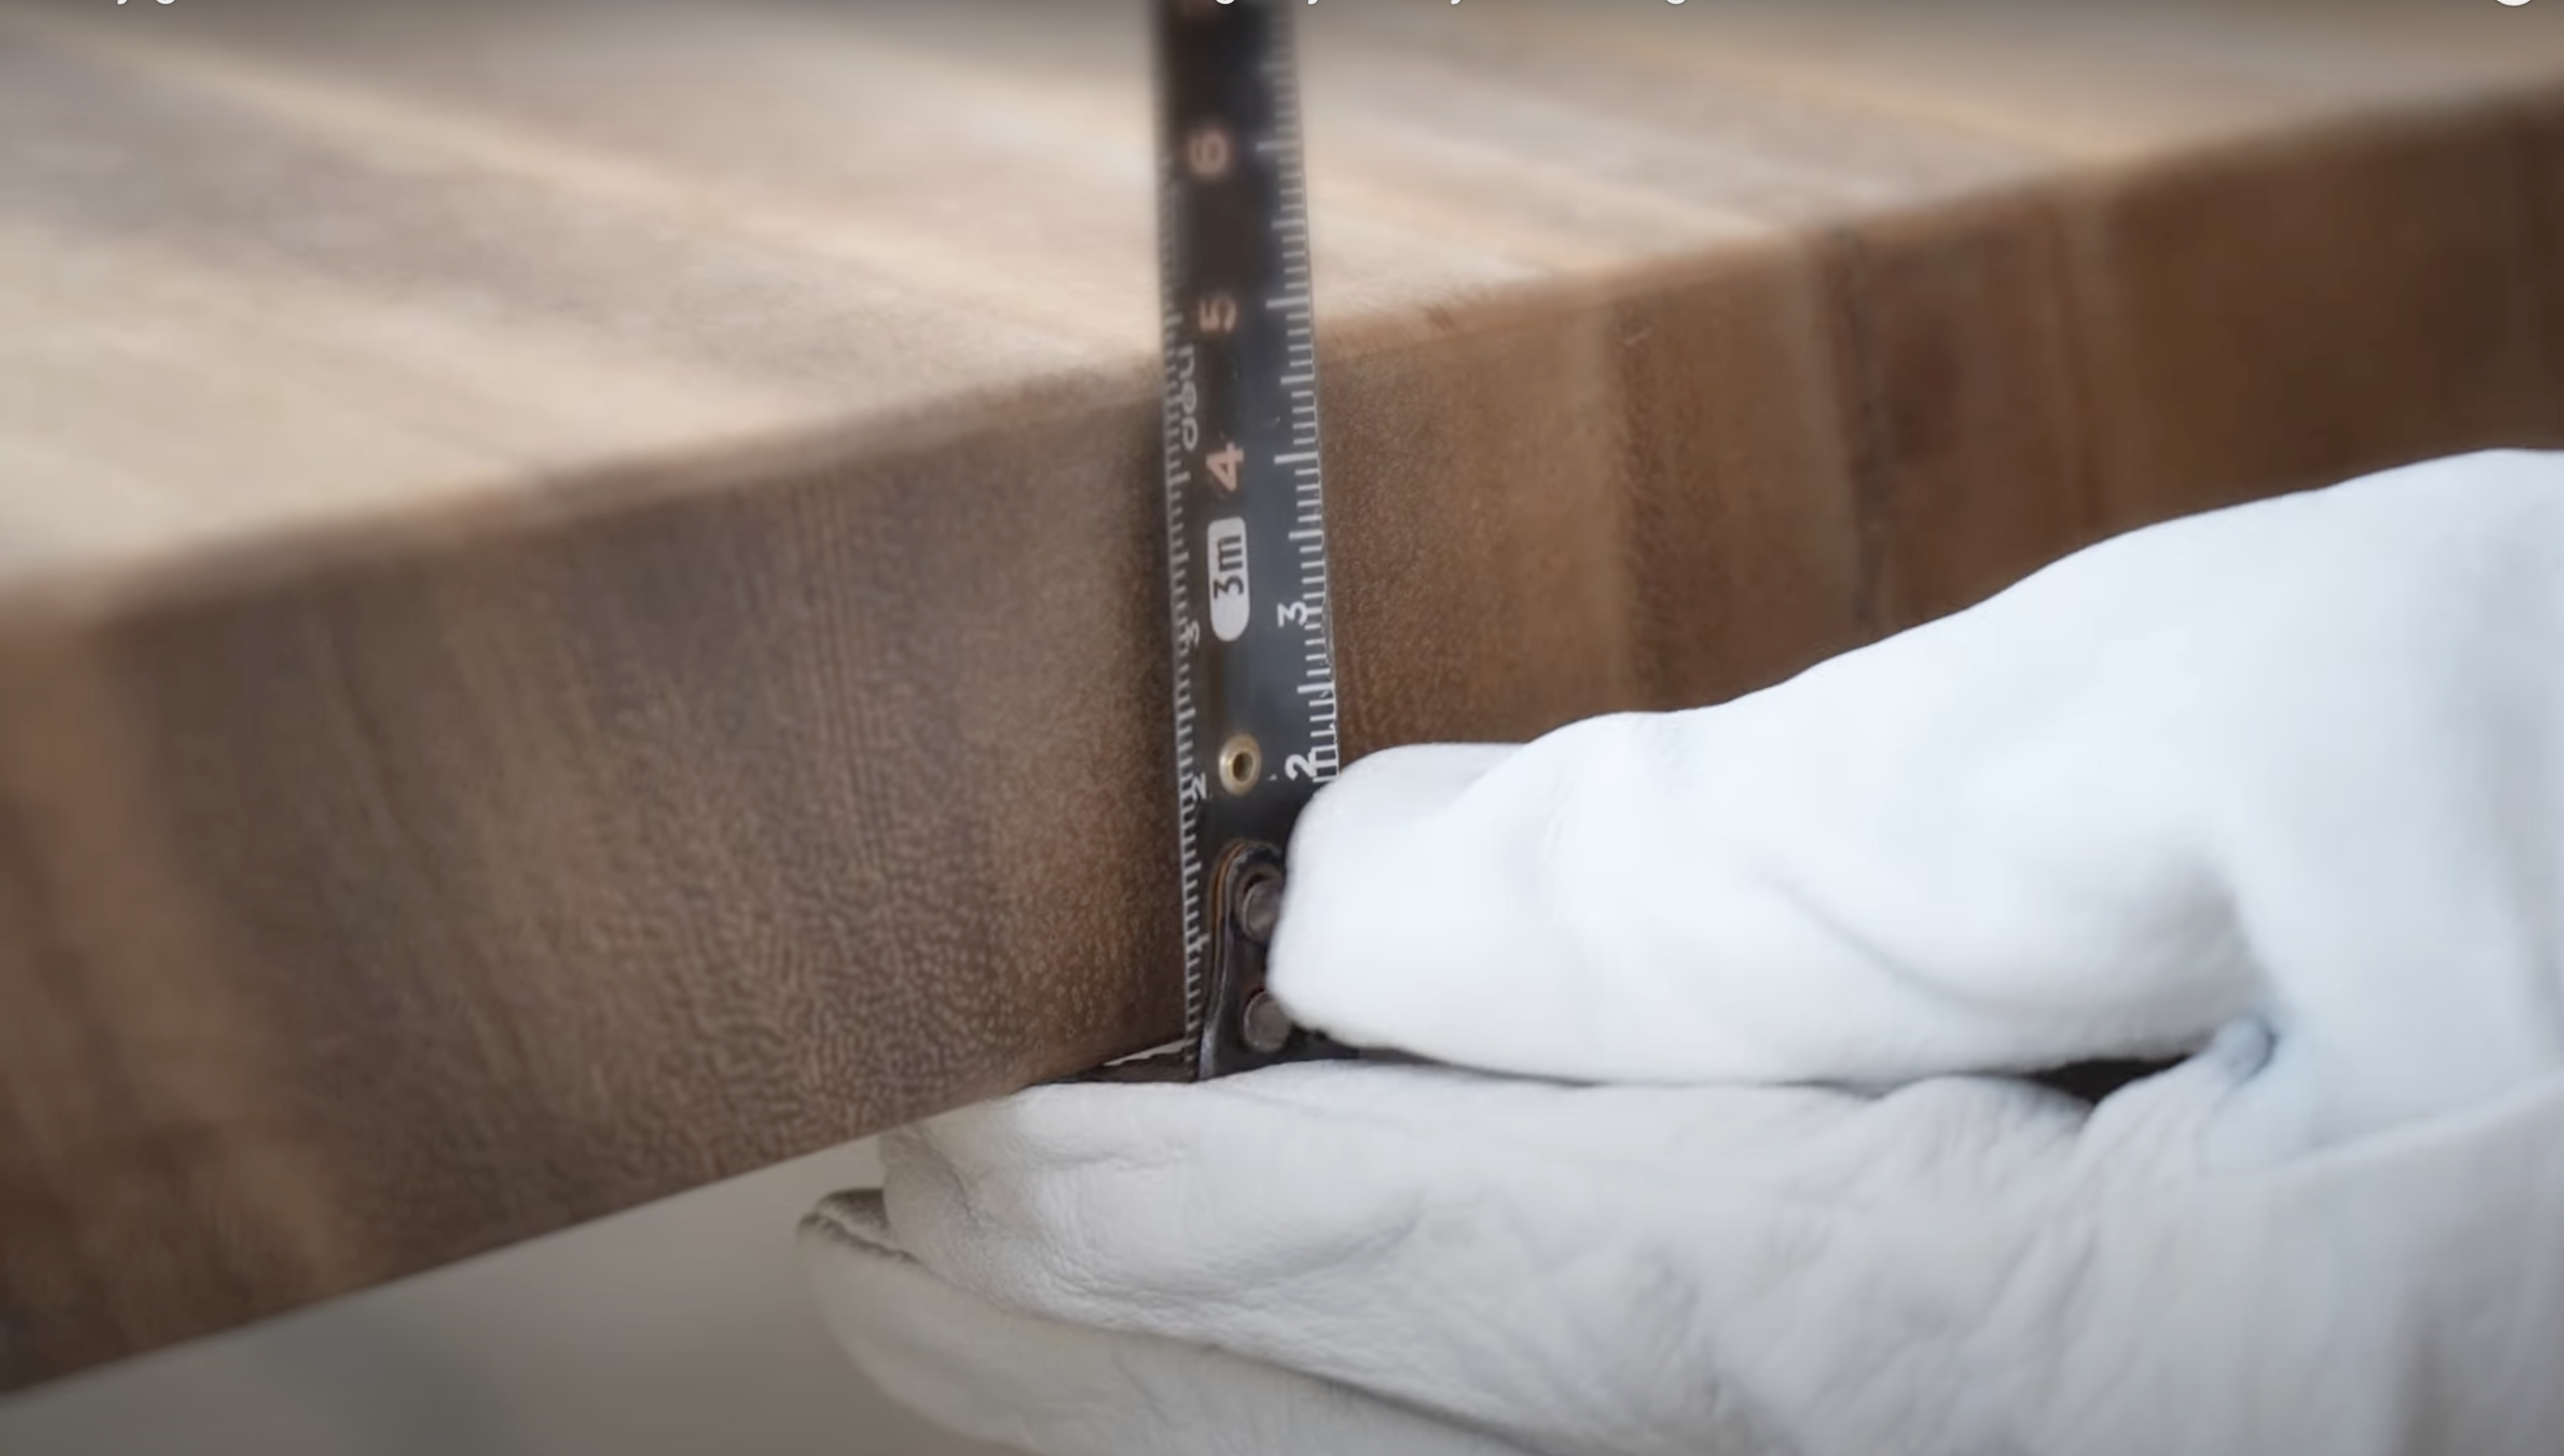
Select C-channels based on your benchtop thickness and expected weight load. Most home projects work well with 1.5 to 2-inch channels that have 1/8-inch thickness for adequate support.
Measure the width of your bench precisely to get channels that span correctly. Too short and they won’t provide enough support; too long and they may stick out visibly from the bench bottom.
2. Making a jig for C-channel
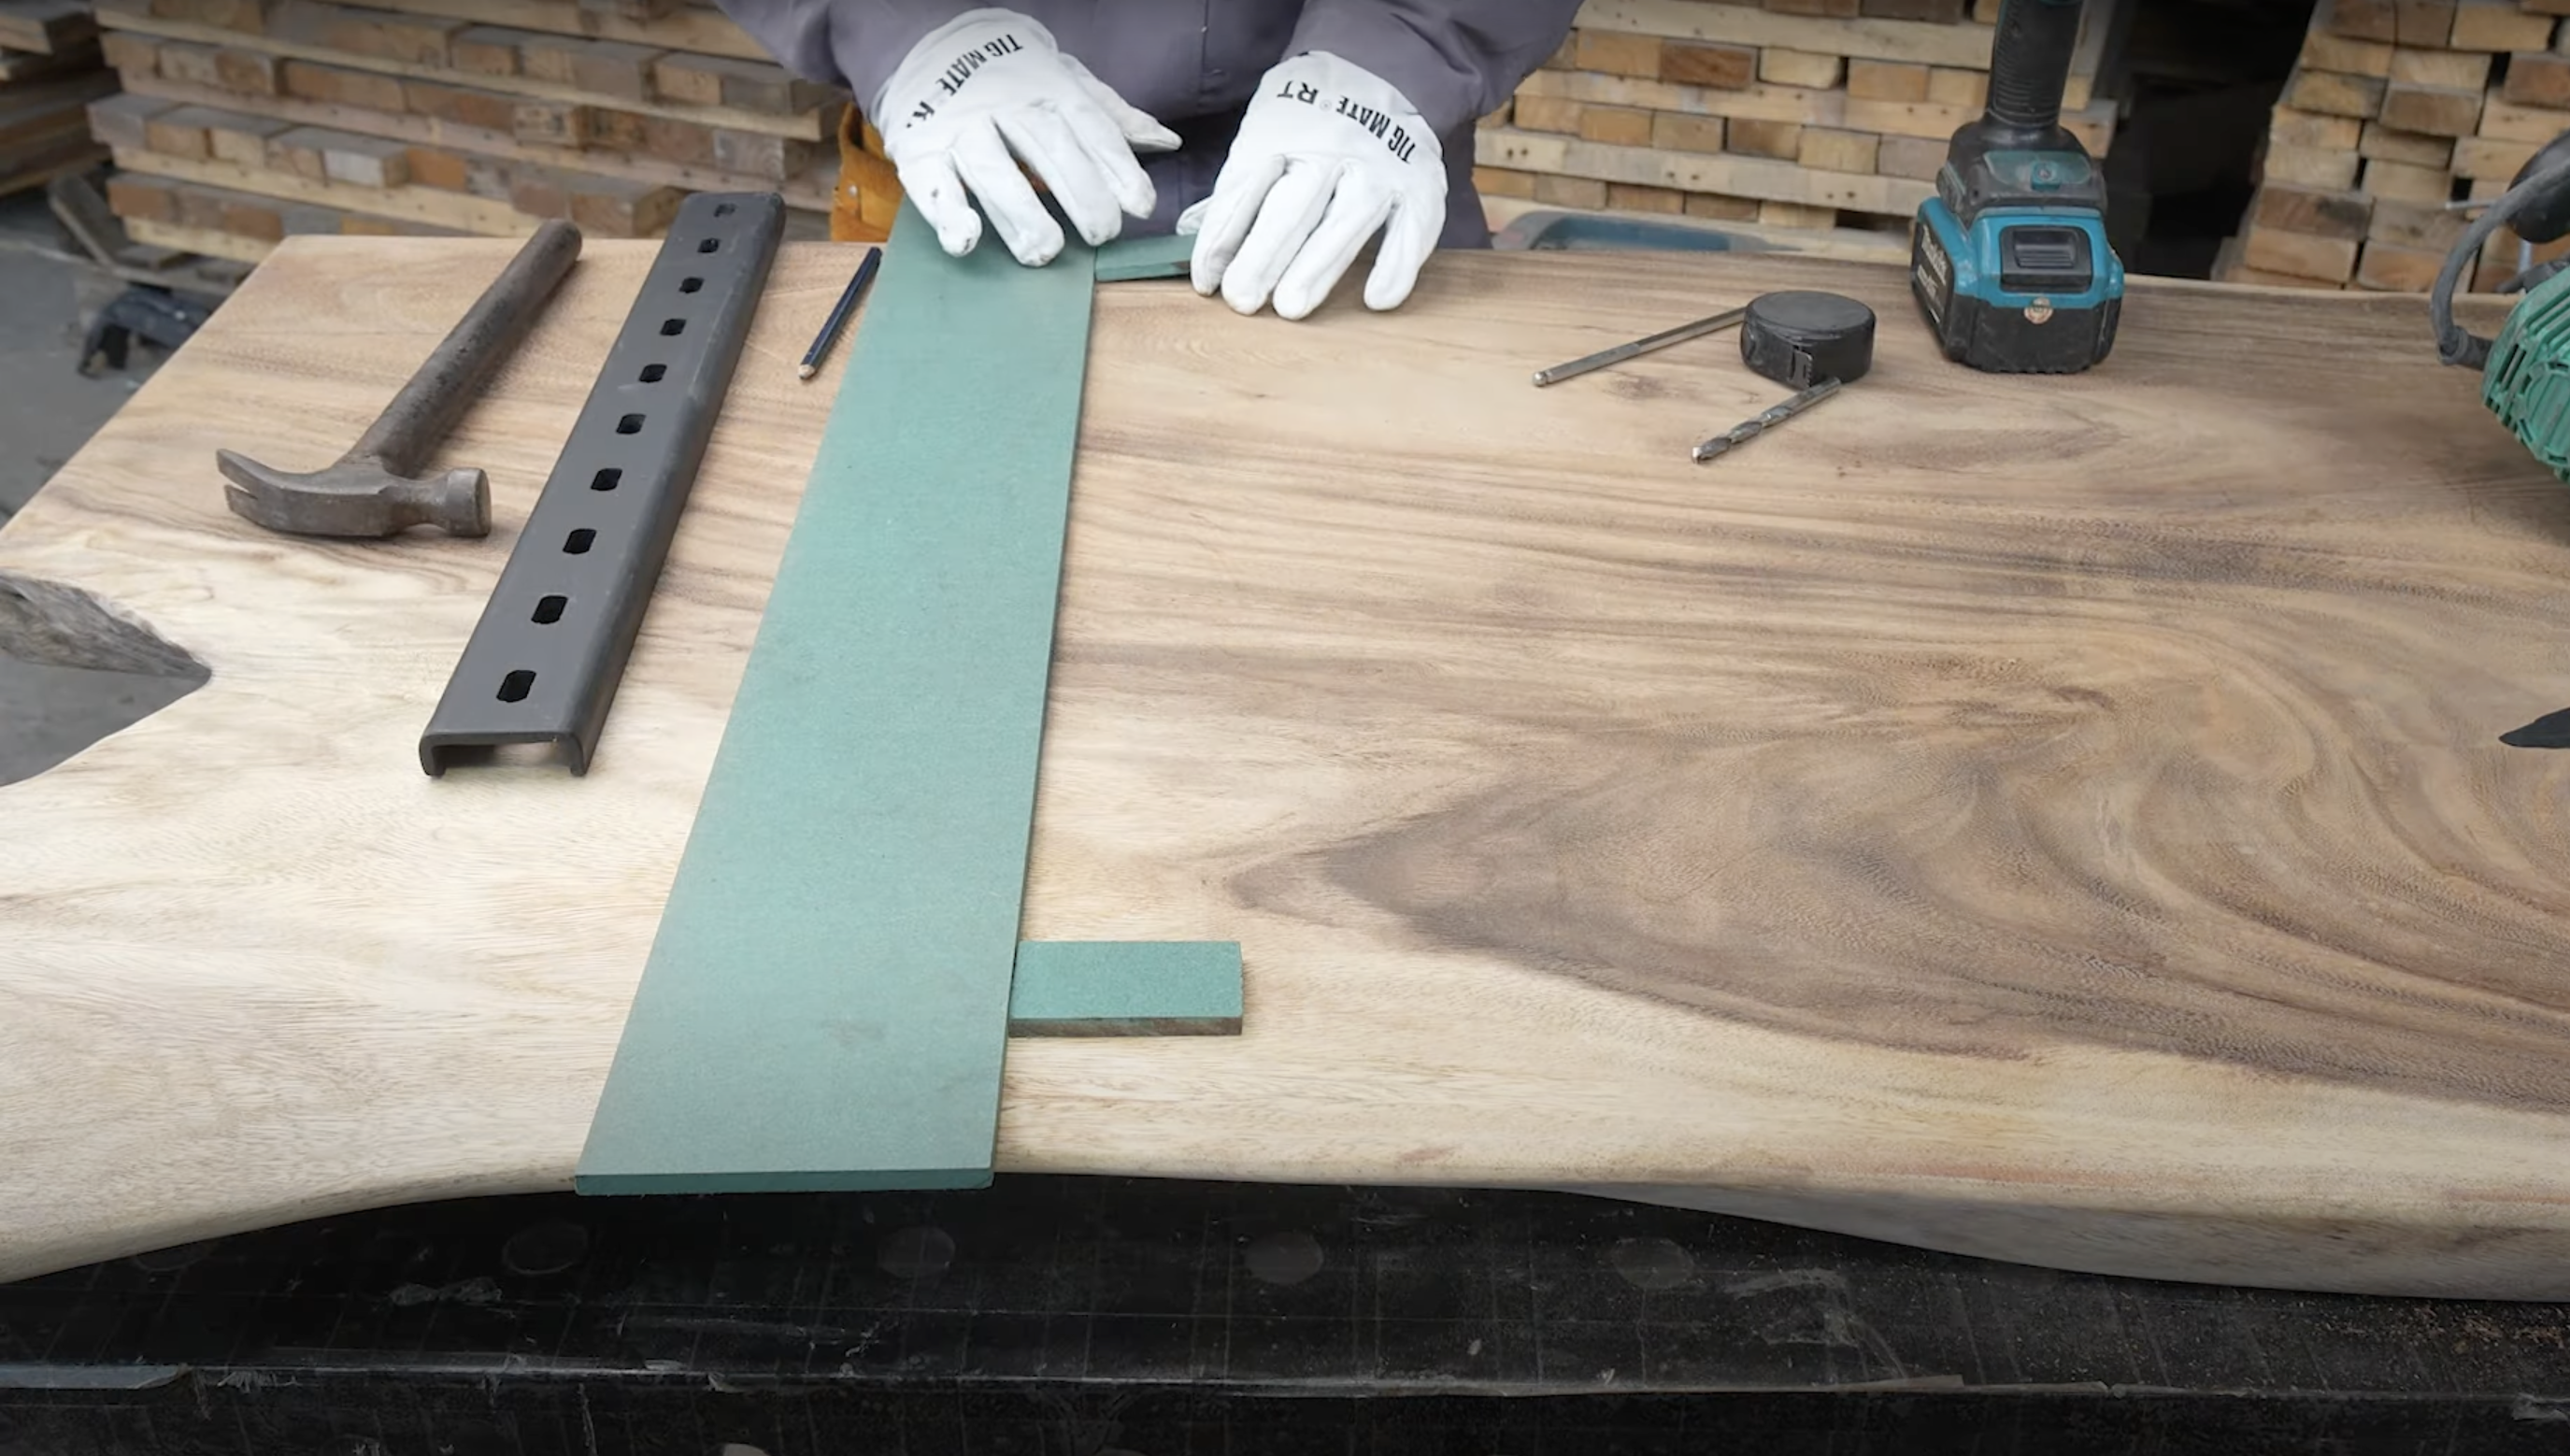
Cut a scrap wood piece matching your bench width and mark where C-channels will sit. Add small guide blocks to hold the channel steady while working and clamp this jig securely.
Position your C-channel in the prepared jig and verify alignment before moving forward. A good jig saves time by ensuring consistent placement and preventing shifts during the marking process.
3. Marking holes for threaded inserts
Place the C-channel upside down in your jig and mark hole positions with a pencil. Space these marks evenly at 6-8 inch intervals along the length of the channel.
Check that all markings are centered on the C-channel and properly aligned. Taking time with this step prevents issues later when you need to align the drilled holes with threaded inserts.
4. Installing threaded inserts in wood
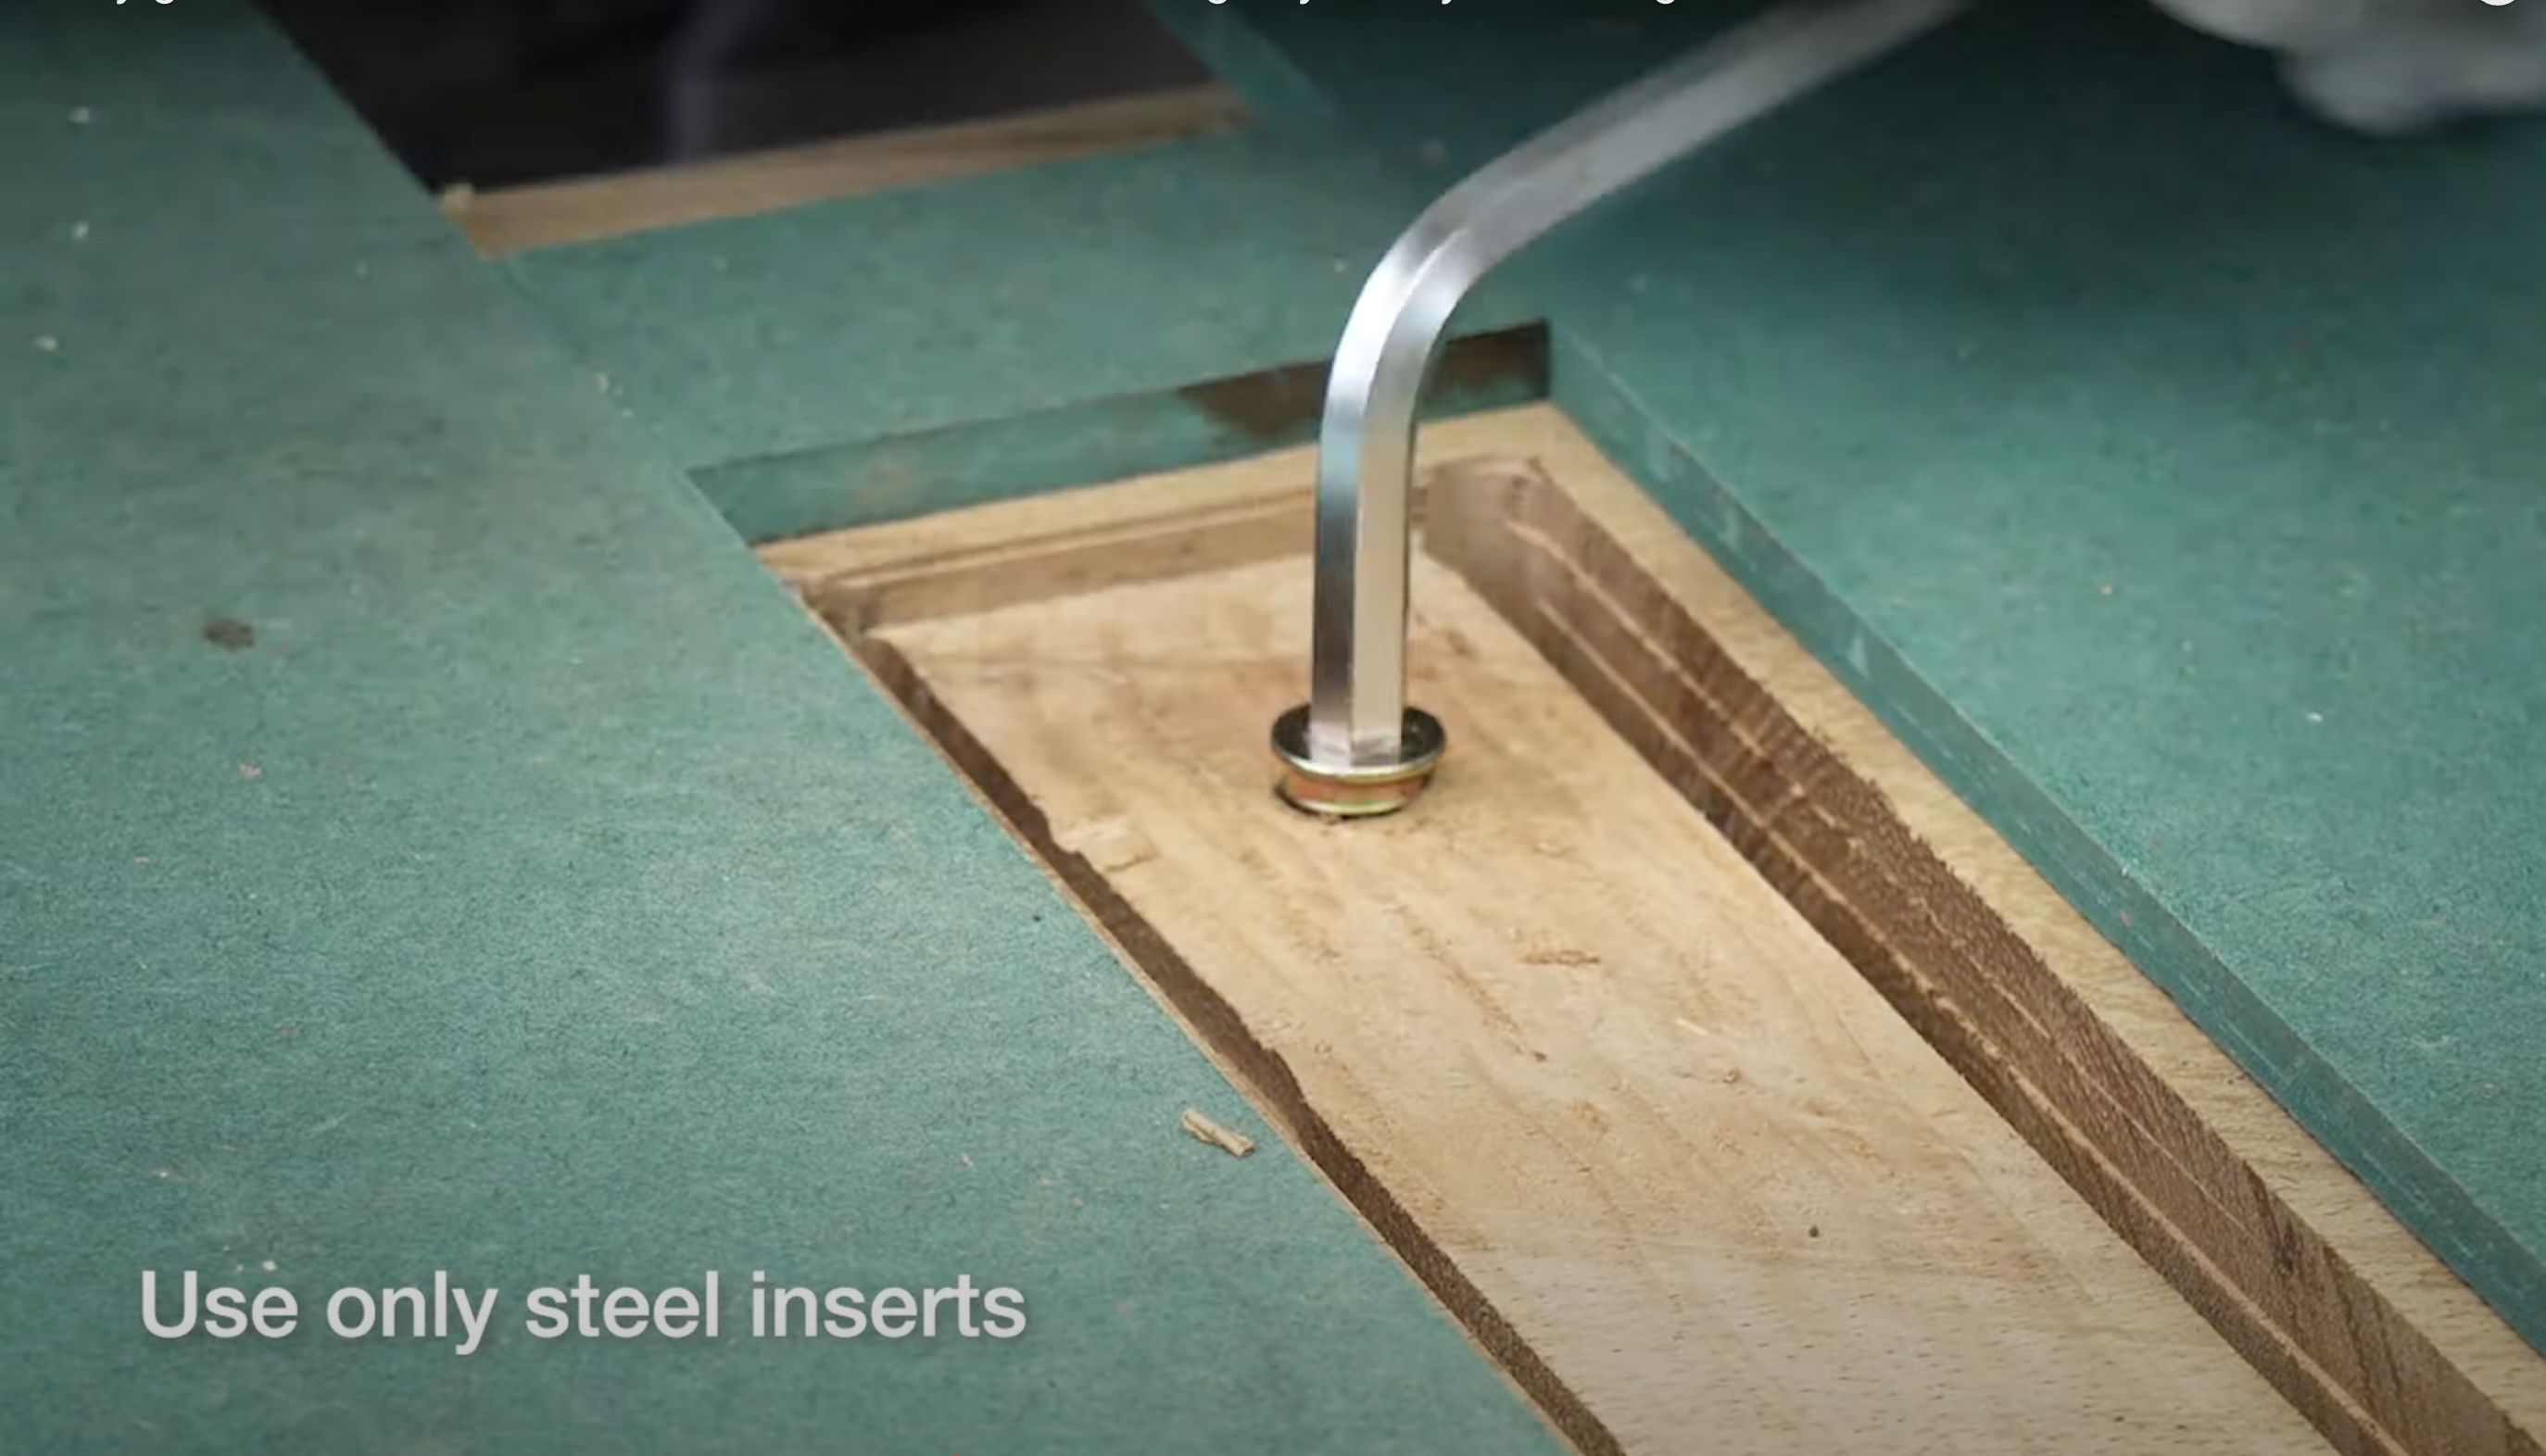
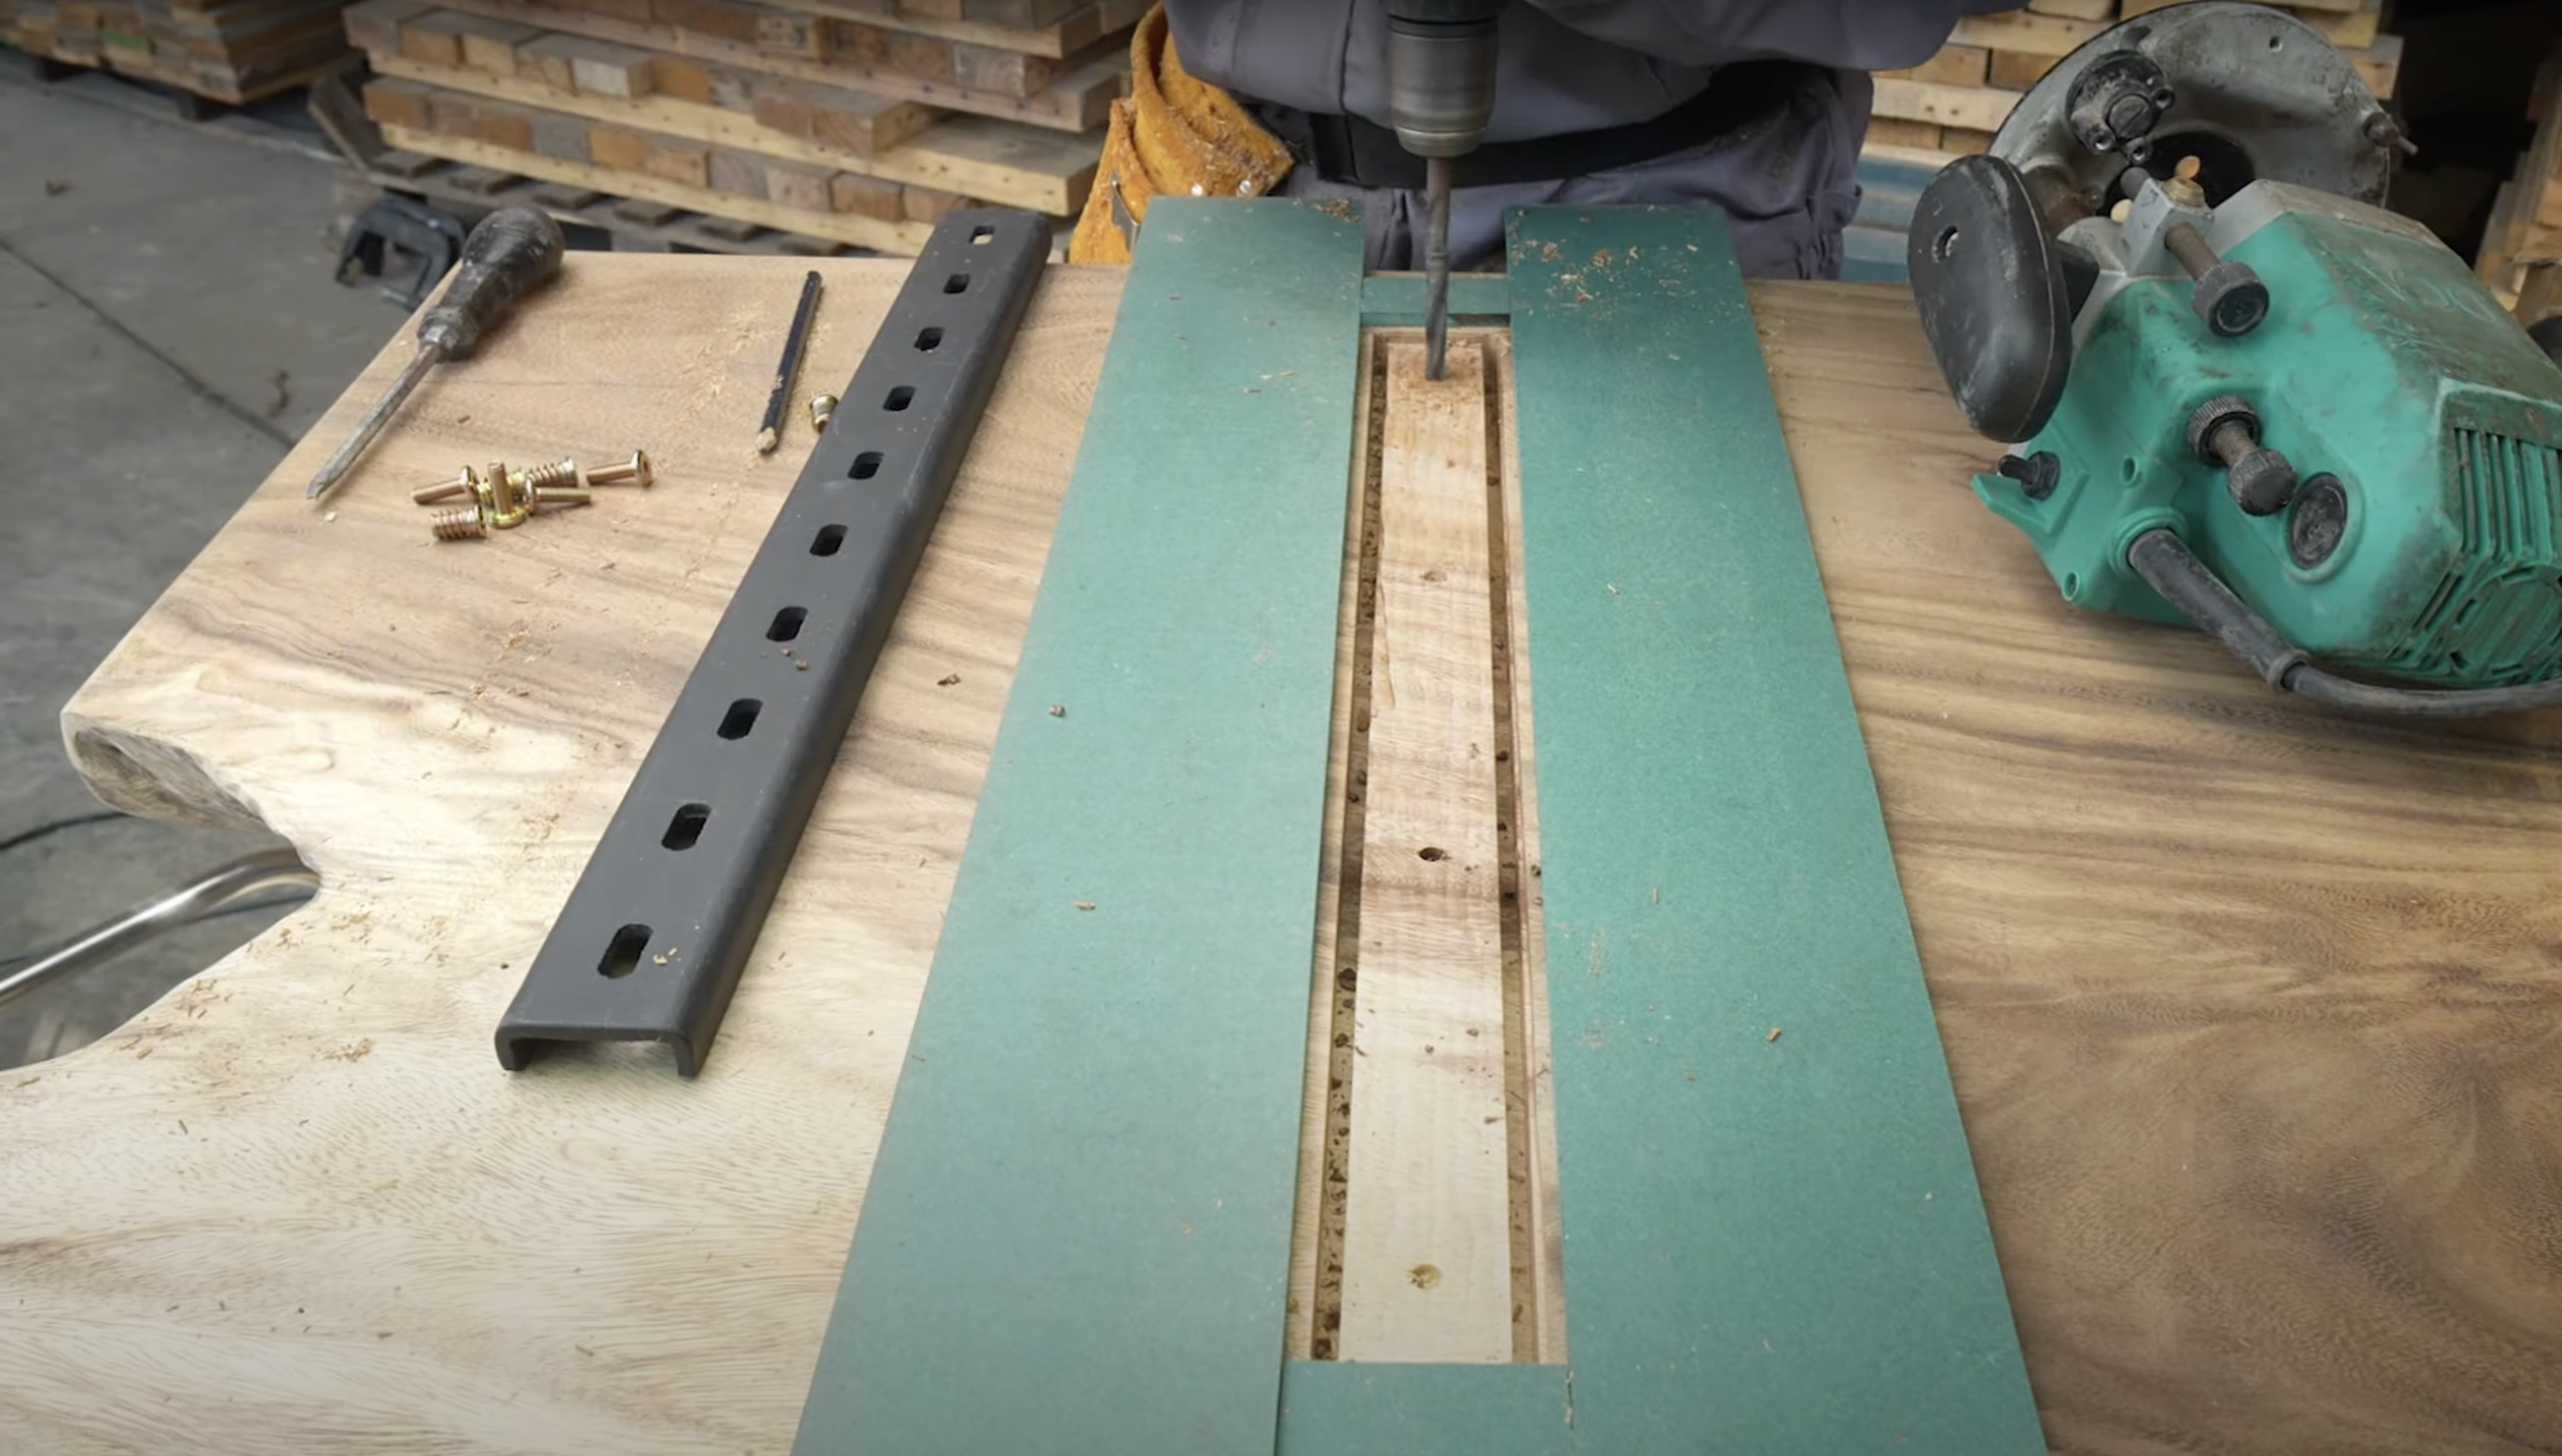
Drill holes in the bench bottom at your marked spots, slightly smaller than the insert diameter. Apply minimal wood glue around each hole before inserting the threaded components.
Use an installation tool to drive inserts until they sit flush with the wood surface. Allow sufficient drying time so the glue sets completely before moving to the next phase of construction.
5. Attaching C-channels with bolts

Position C-channels over the installed threaded inserts and insert bolts through the channel holes. Start by hand-tightening to check everything lines up correctly.
Use a wrench to fully secure all bolts, working from the center outward. Test the attachment by trying to move the C-channel, it should feel solid with no give or shifting.
6. Creating another jig for the legs
Form a corner jig from scrap wood with perfect 90-degree sides to position the legs correctly. Mark the center point for attachments and create a template matching your leg mounting plates.
Secure this positioning jig to the bench bottom with strong clamps. This setup maintains correct angles while you work, ensuring legs attach perfectly perpendicular to the bench surface.
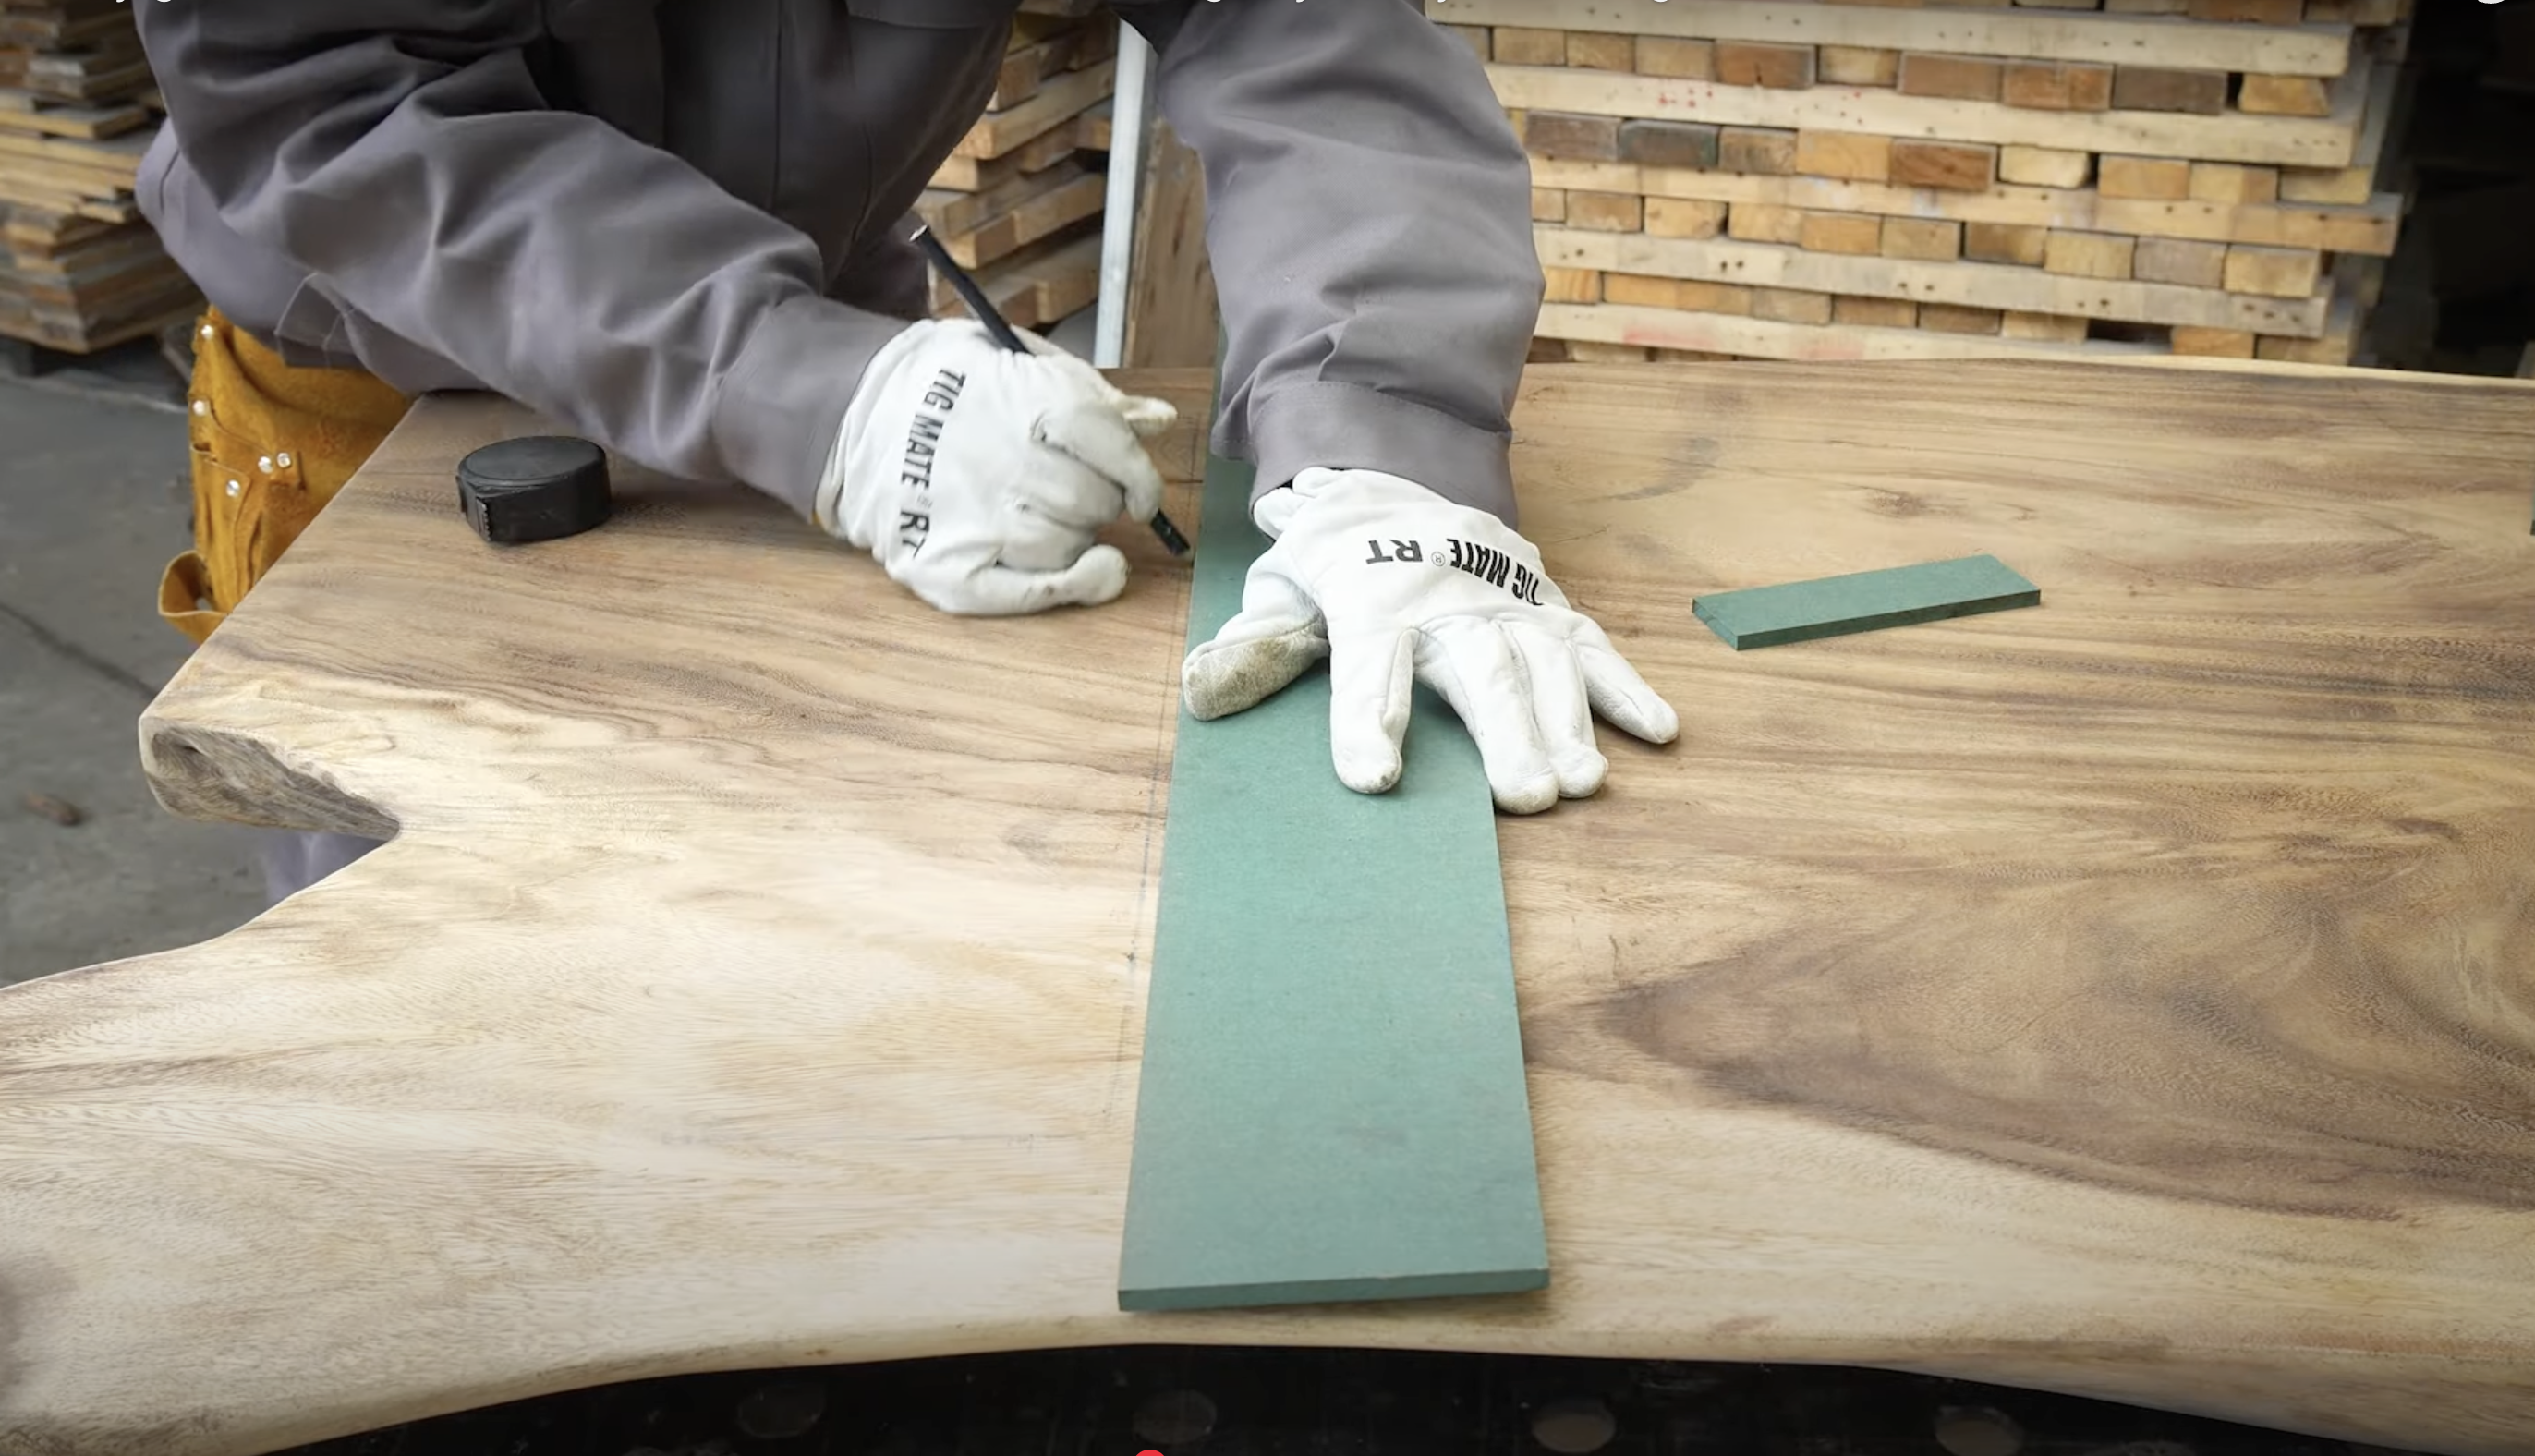
7. Drilling a recess for the mounting plate
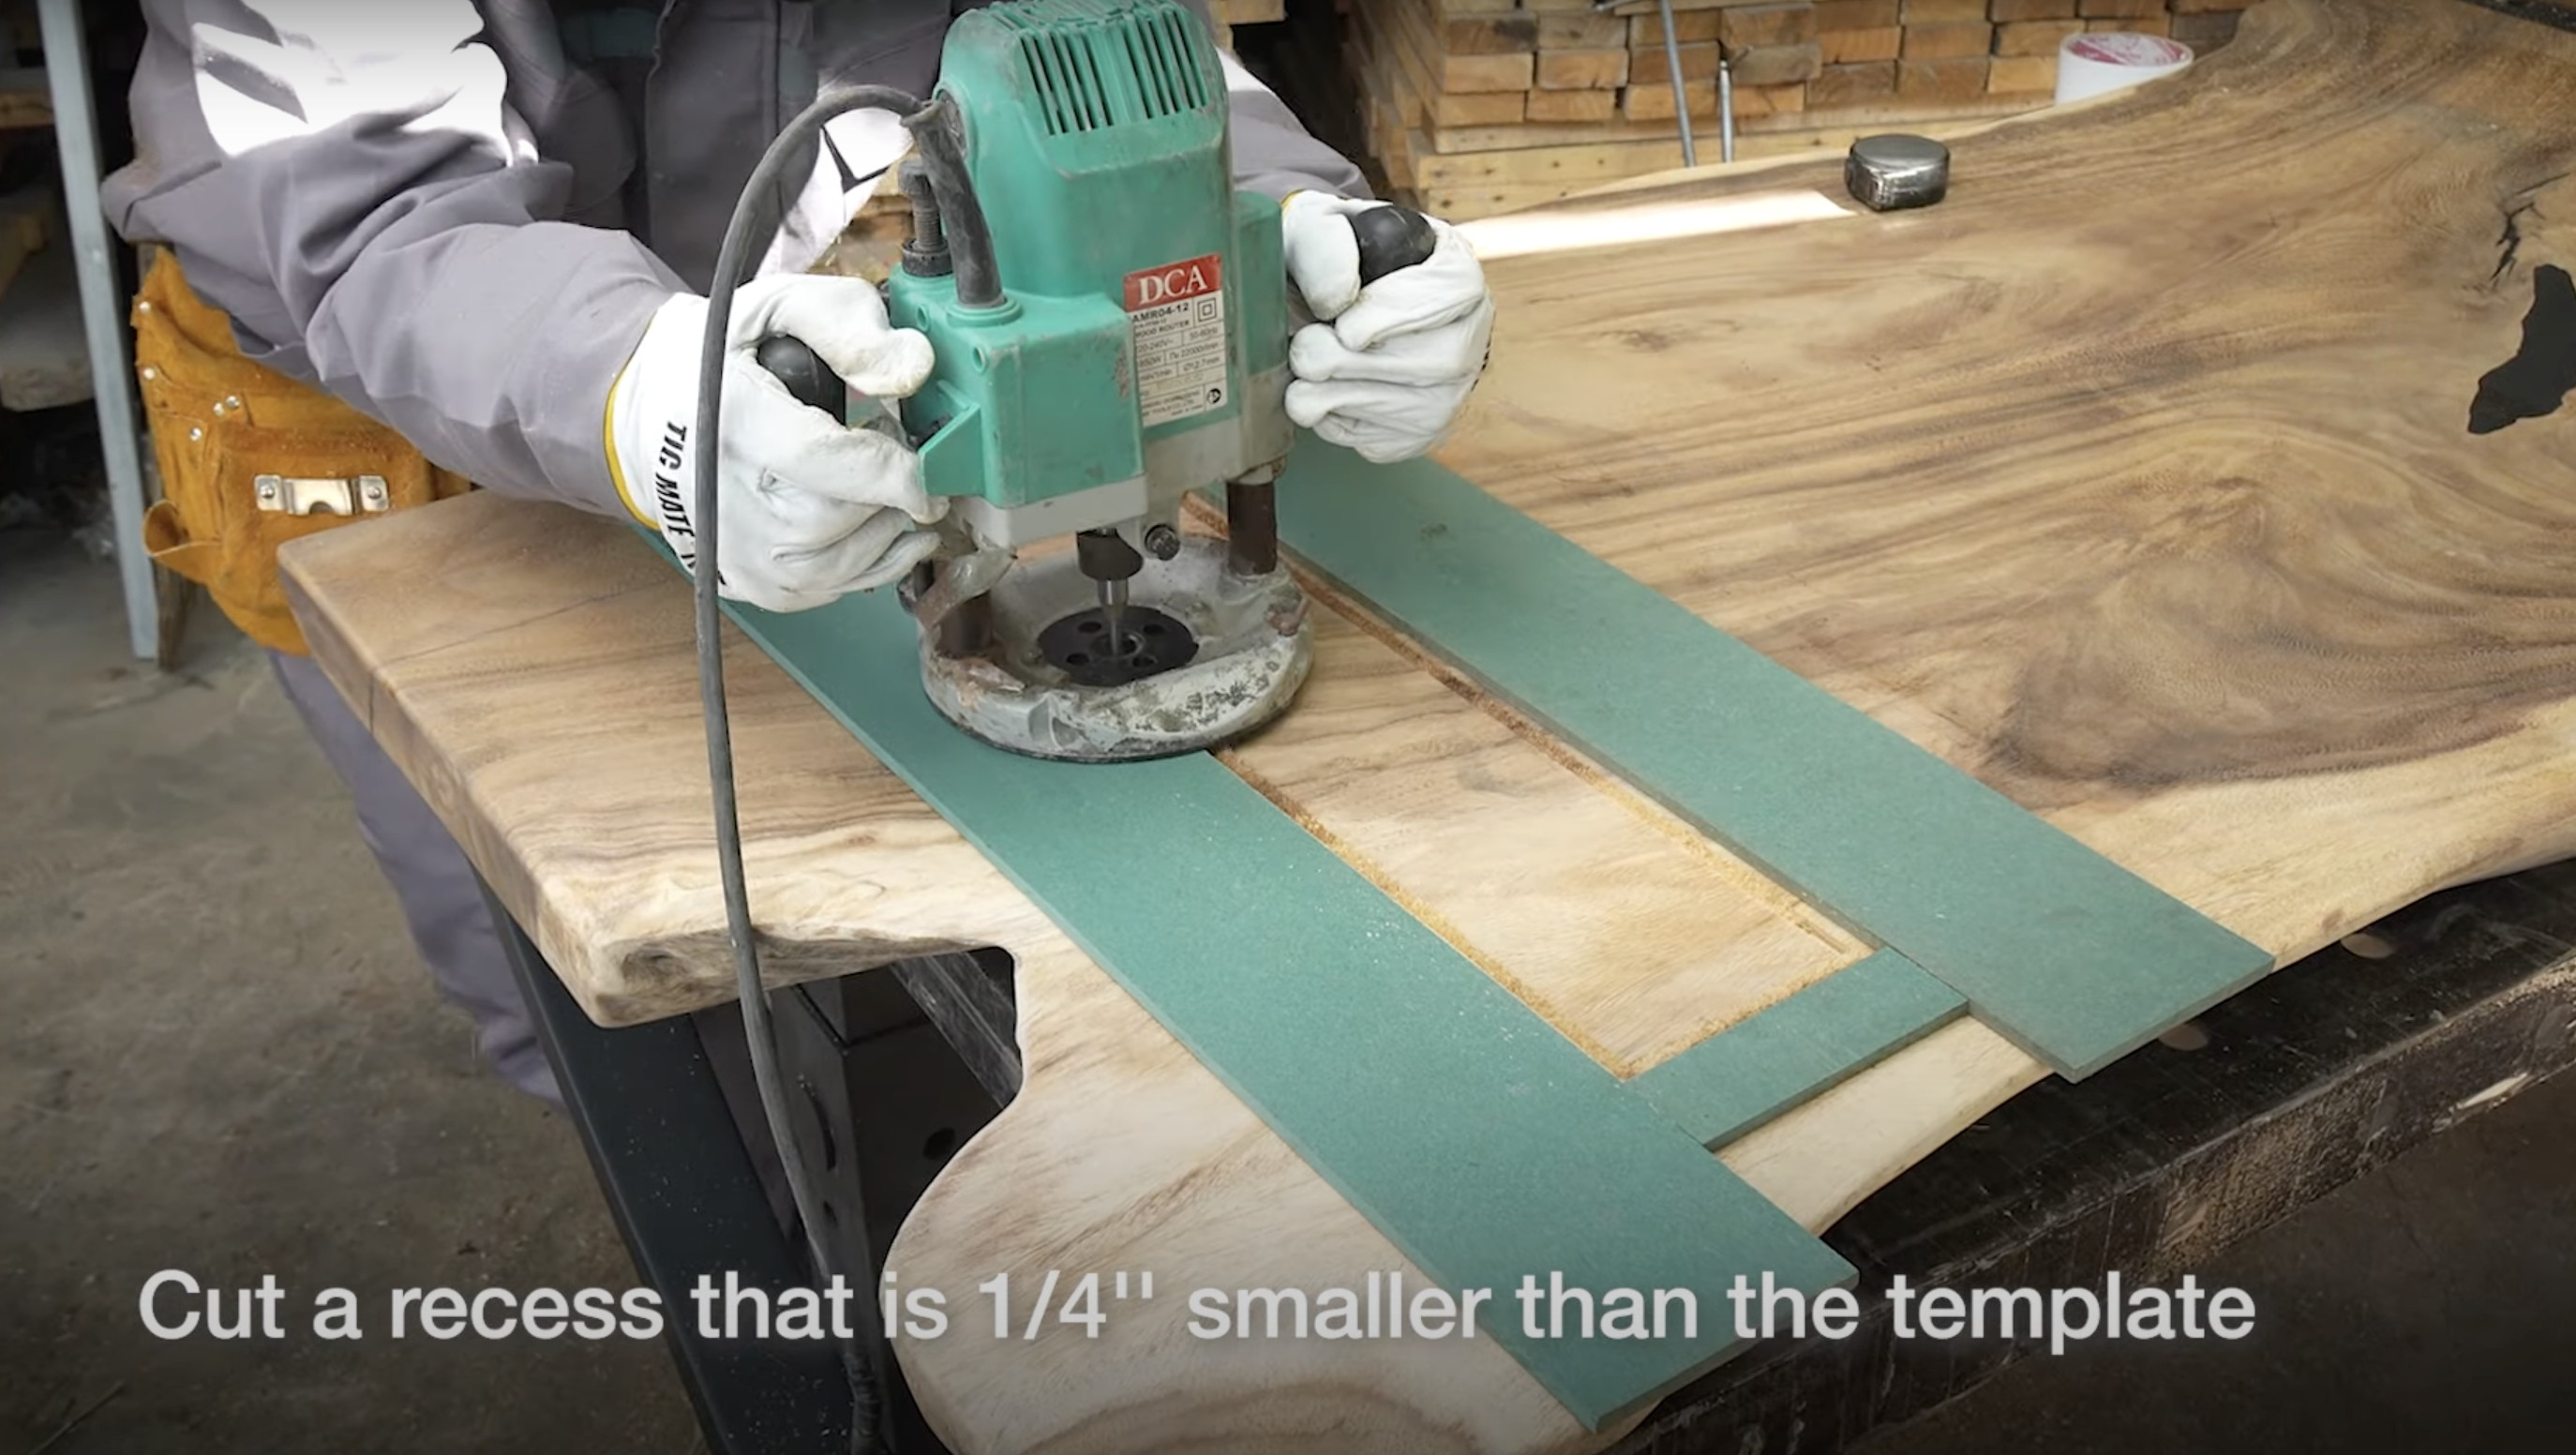
Place the mounting plate in position using your jig and trace its outline clearly. Set your router depth to match the exact thickness of the mounting plate for a flush fit.
Route carefully within the traced lines to create a flat recess. Test the mounting plate in this space, it should sit completely level with no rocking or gaps around the edges.
8. Installing threaded inserts in wood

Position the mounting plate in its routed recess and mark all screw hole locations precisely. Remove the plate and drill appropriate-sized holes for the threaded inserts at each mark.
Install threaded inserts into these holes using the same technique as before. Check that all inserts sit properly and are firmly seated before proceeding to attach the legs.
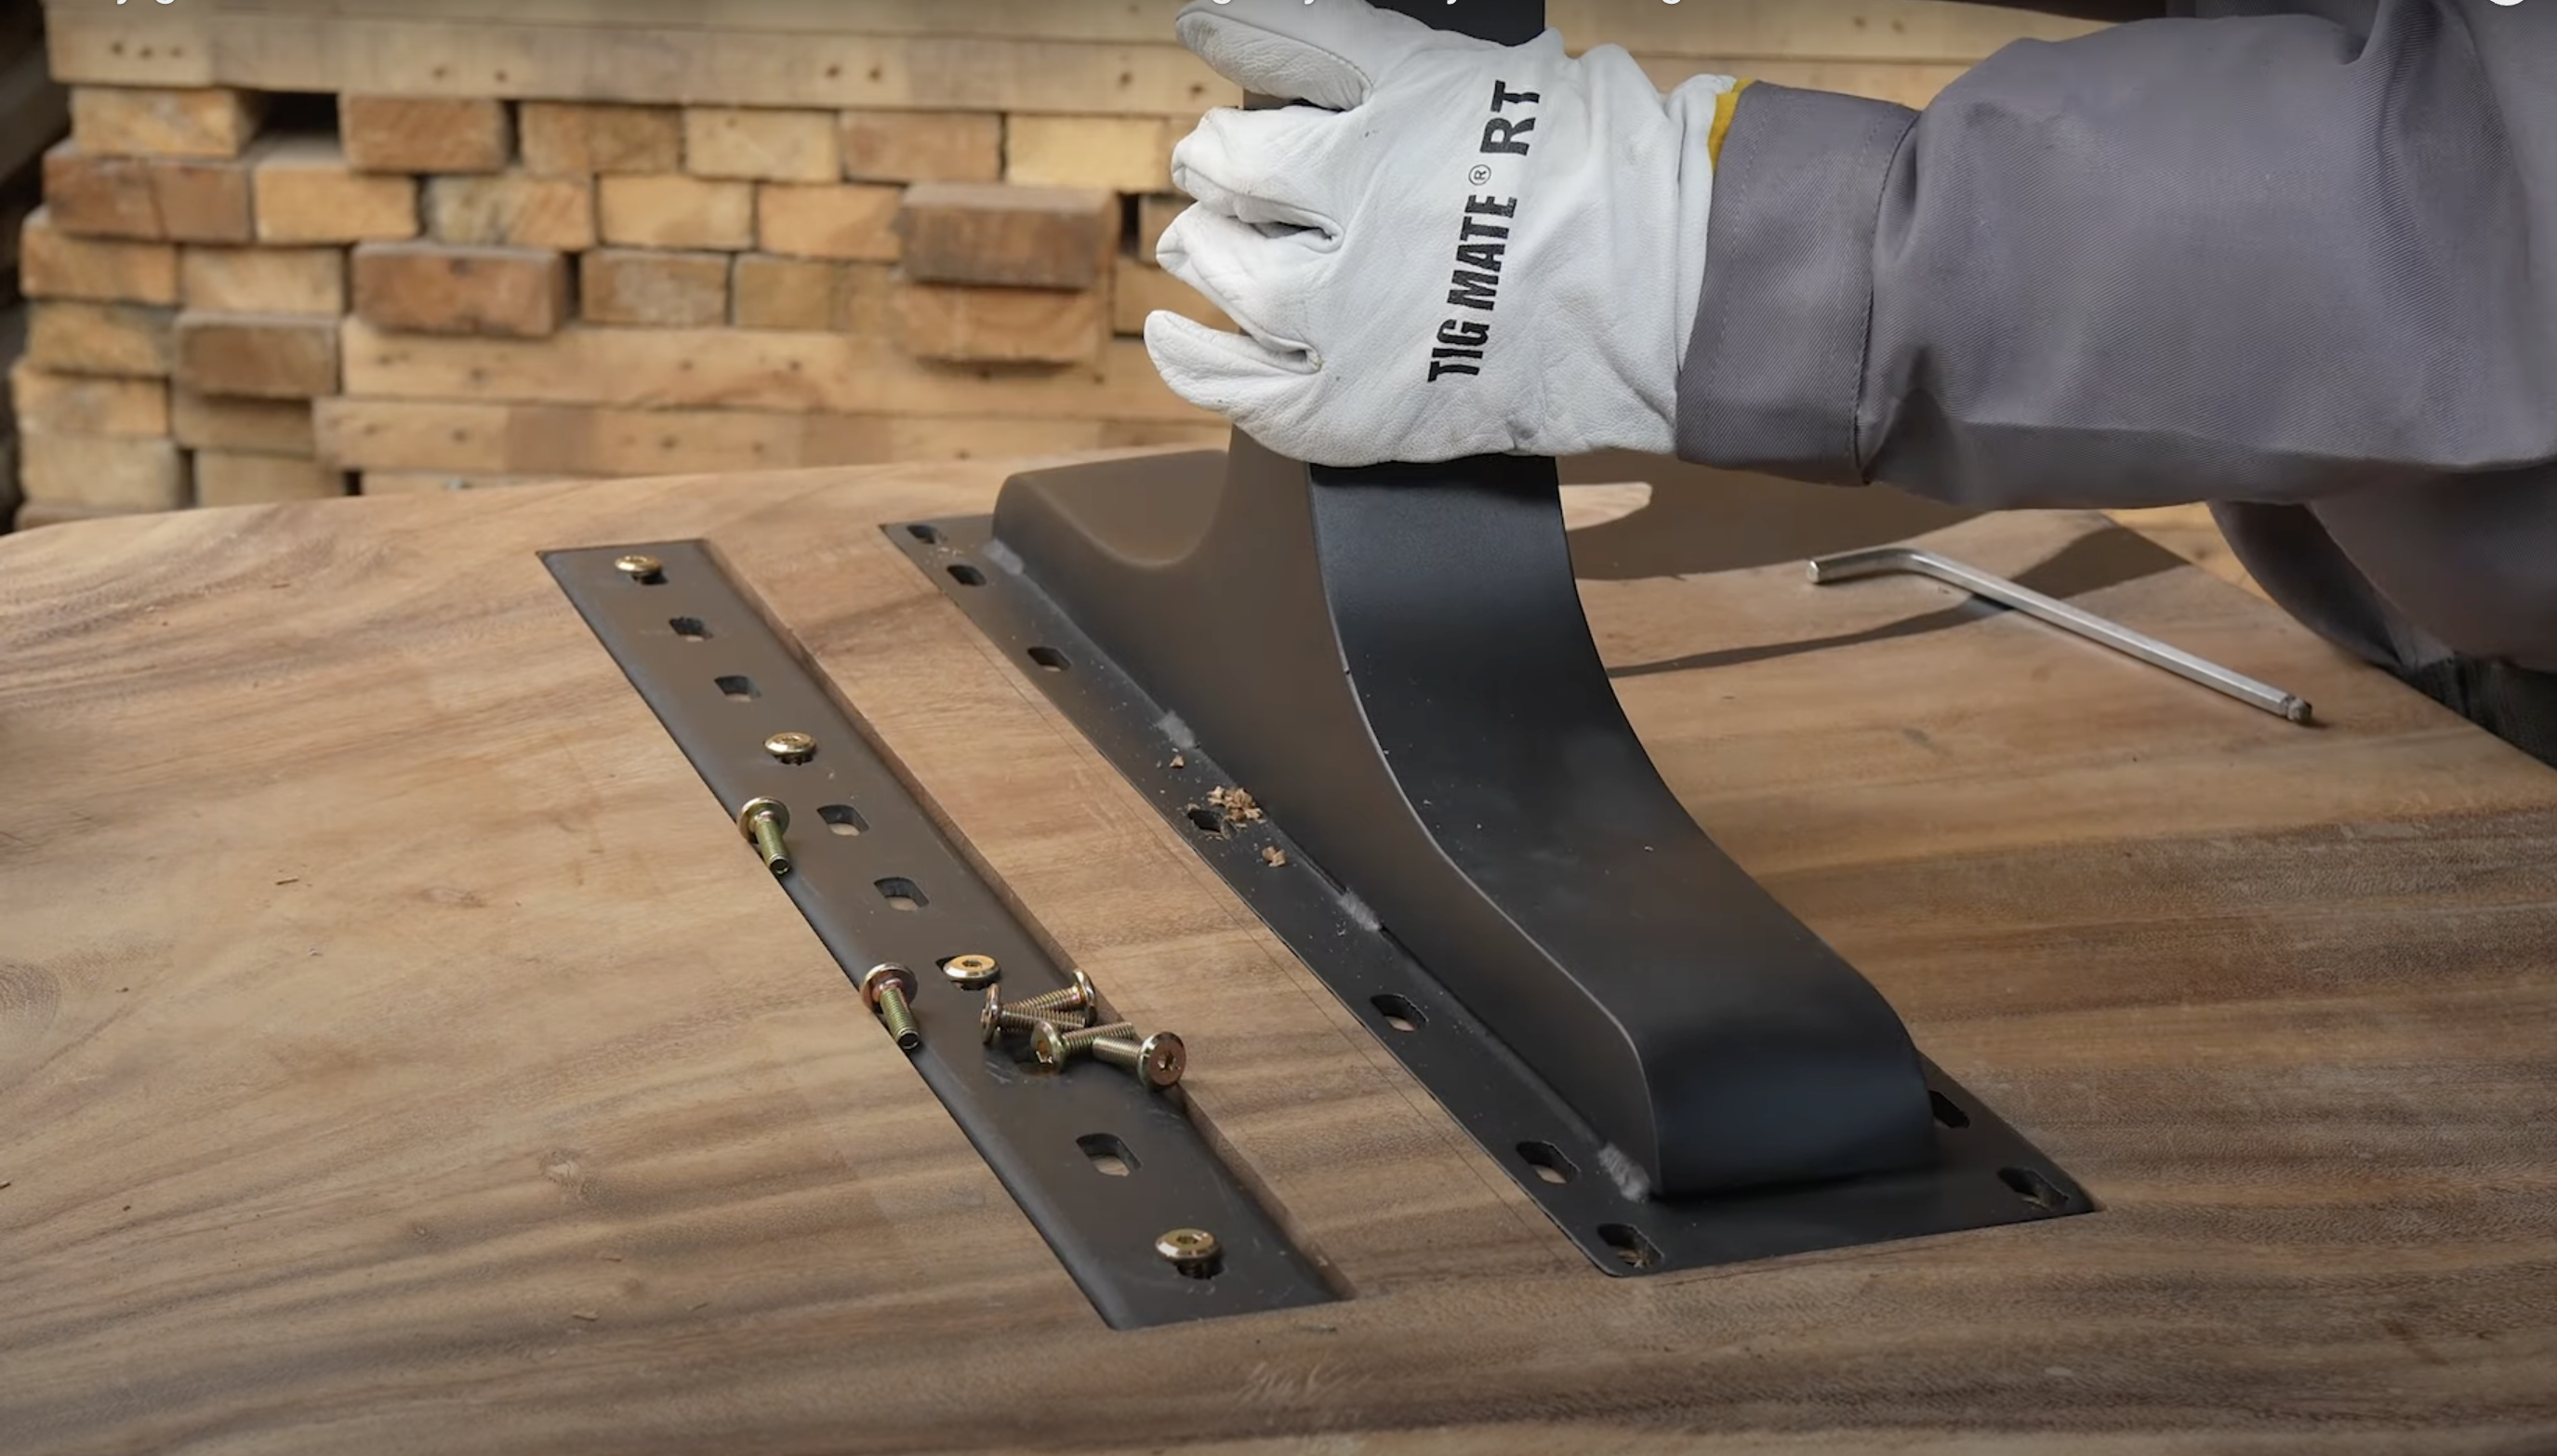
9. Attaching table legs with bolts

Set the leg mounting plate into its routed recess and align all holes with the threaded inserts. Insert bolts and tighten them just enough to hold the plate in place.
Verify the leg stands perfectly vertical with a level before final tightening. Apply even pressure when securing all bolts to prevent warping the mounting plate or creating stress points.
10. Attaching the Other table leg
Repeat the identical process for each remaining leg, working systematically across the bench. Check measurements and alignment consistently with each new leg to maintain even height.
Test stability after attaching each leg by applying gentle pressure in various directions. Make any needed minor adjustments before final tightening to ensure all legs contact the floor evenly.
11. Final look
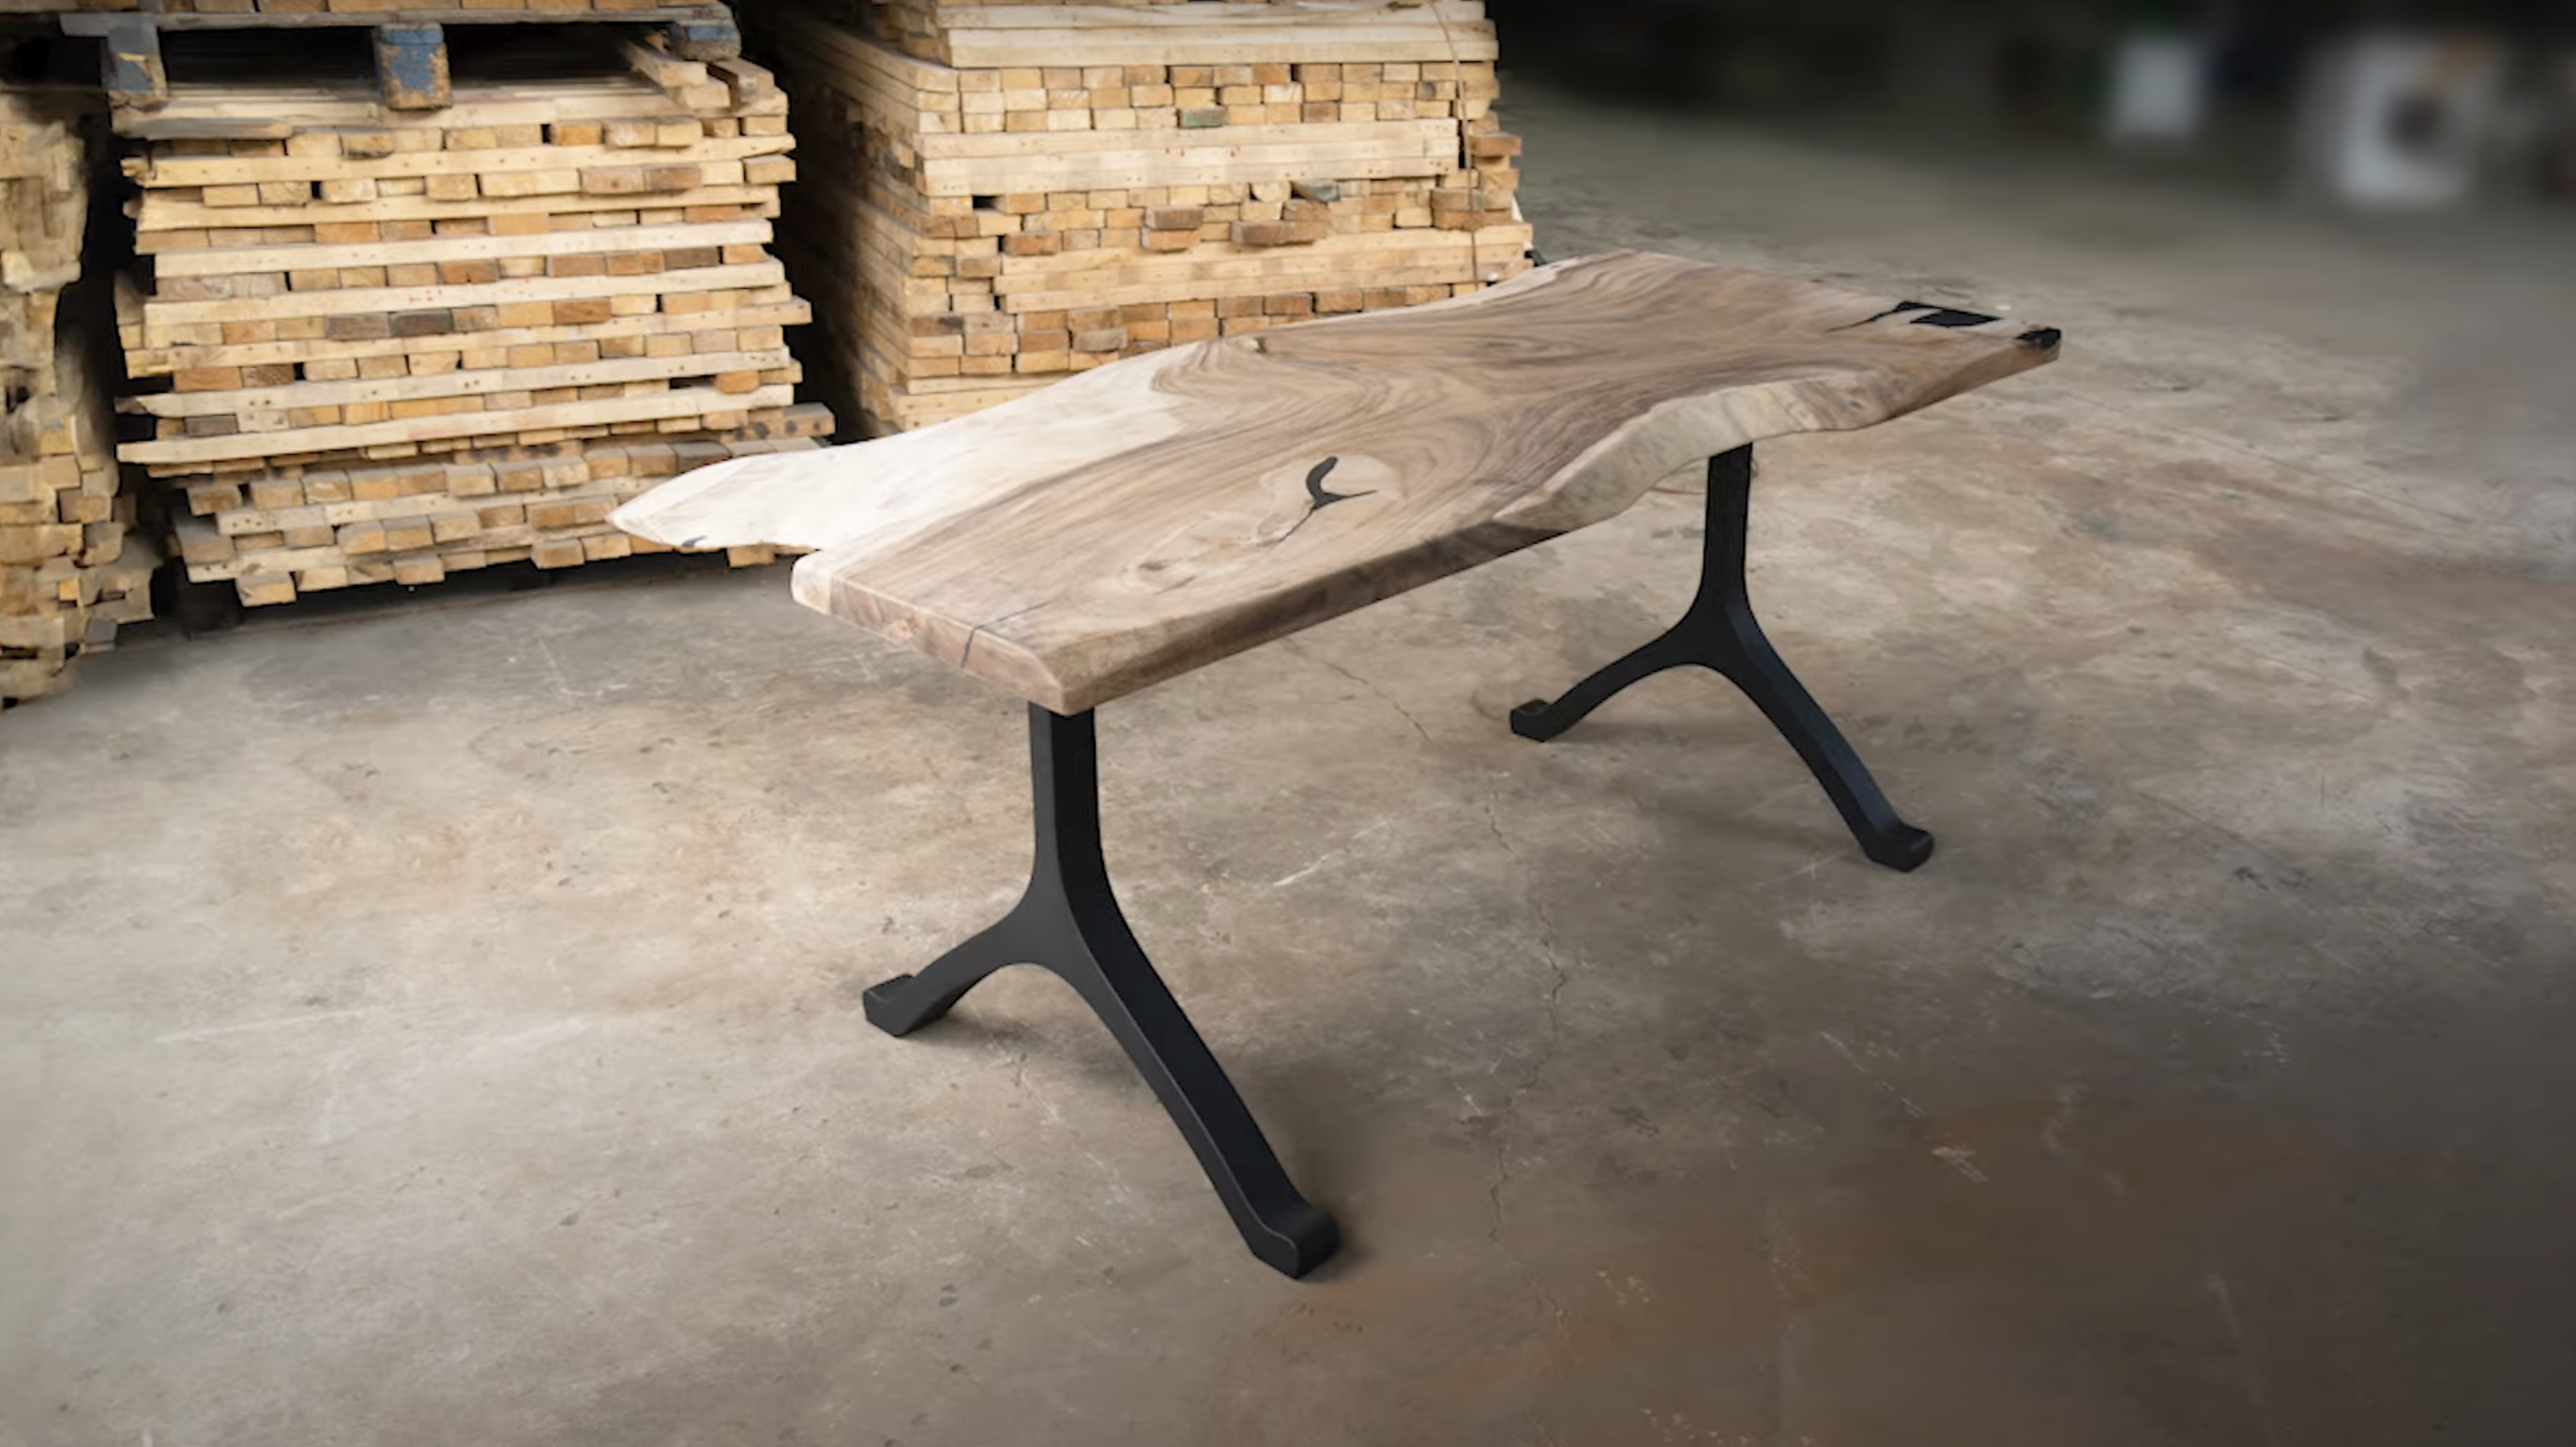
Stand the completed bench upright on a flat surface and check for any wobbling or height issues. Make final small adjustments if needed until the bench sits perfectly stable.
Clean any construction marks from the bench and apply a matching finish if desired. Your bench now combines solid construction with proper leg attachment for years of stable, dependable use.
For a more detailed explanation, refer to this YouTube video:
Conclusion
This guide shows you how to attach bench legs correctly for maximum stability. Following these steps creates strong connections between the legs and the bench top that resist loosening with use.
The combination of C-channels, threaded inserts, and careful alignment results in a professional-quality bench. Your attention to detail during this process pays off with furniture that remains solid and functional.
These techniques apply to various bench styles and sizes. With practice, you’ll find this method becomes simple to implement on future woodworking projects.
By taking time to create proper jigs and secure attachments, you’ve built more than just a bench; you’ve created a lasting piece that stands firm through years of daily use.


