DIY Sideboard Plans Anyone Can Follow

Ever thought about how a DIY sideboard can completely change your living space?
A sideboard isn’t just for storage; it’s a stylish addition to any room, offering both function and flair. Building your own sideboard might seem challenging, but with the help of right tools and steps, it’s easier than you think.
In this blog, you will learn how to build a custom sideboard piece that will last you a long time.
By the end, you’ll have everything you need to create a beautiful and functional sideboard that’ll be perfect for your home.
Understanding the Purpose of Sideboards
A sideboard does more than just offer extra storage—it adds style and function to any room. With its wide surface, it’s perfect for displaying décor, photos, or serving trays, while also providing space to hide away items like dishes or linens.
Sideboards are incredibly versatile and can fit into many areas of your home. They work well in living rooms, dining areas, or even hallways, where they can serve as a statement piece while keeping things organized.
Not only are sideboards practical, but they can also complement a variety of design styles. Whether you have a modern, rustic, or traditional theme, a DIY sideboard can be customized to match your personal taste and space.
Supplies and Materials Needed to Build a Sideboard
Building your own sideboard can be done with some basic tools and materials. The cost of the project will depend on the materials you choose, but it is a manageable and rewarding project!
Materials Needed
- Plywood or MDF board (for the body and shelves)
- Wood strips or trim (for the frame and accents)
- Wood glue
- Screws
- Sandpaper (if not using an electric sander)
- Paint or wood stain (for color)
- Clear finish or varnish (for protection)
- Cabinet handles or knobs
- Wood filler
Tools Needed
- Measuring tape
- Circular saw or hand saw
- Drill with drill bits
- Screwdriver
- Clamps
- Sanding block or electric sander
- Paintbrush
- Level
- Ruler
Step-by-Step Guide to Build a DIY Sideboard
Building your sideboard is an easy and rewarding project! Follow these simple steps to create a functional and stylish piece of furniture for your home.
Step 1: Measure and Plan

Start by measuring the space where you want to place the sideboard.
- Width: Measure the available width to ensure the sideboard fits.
- Height: Decide on the height based on your room’s design.
- Depth: Make sure the depth is enough for storage but not too bulky for the space. Use these measurements to plan how many shelves or compartments you need.
Step 2: Cut the Wood
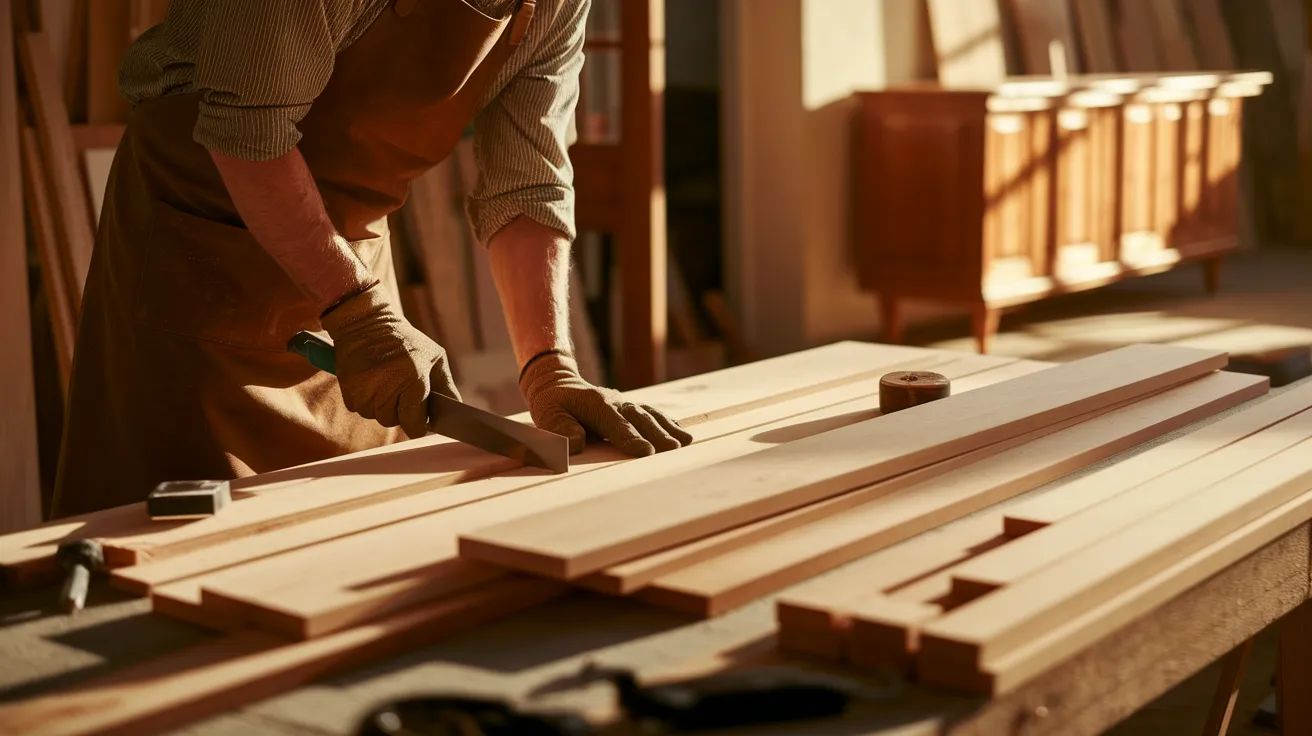
Now that you have your measurements, cut the wood to size for the body and shelves.
- Use a circular saw to cut plywood or MDF for the sides, back, and shelves.
- Sand down any rough edges using sandpaper to ensure smooth finishes.
- Be sure to cut accurately to avoid gaps when assembling.
Step 3: Build the Frame
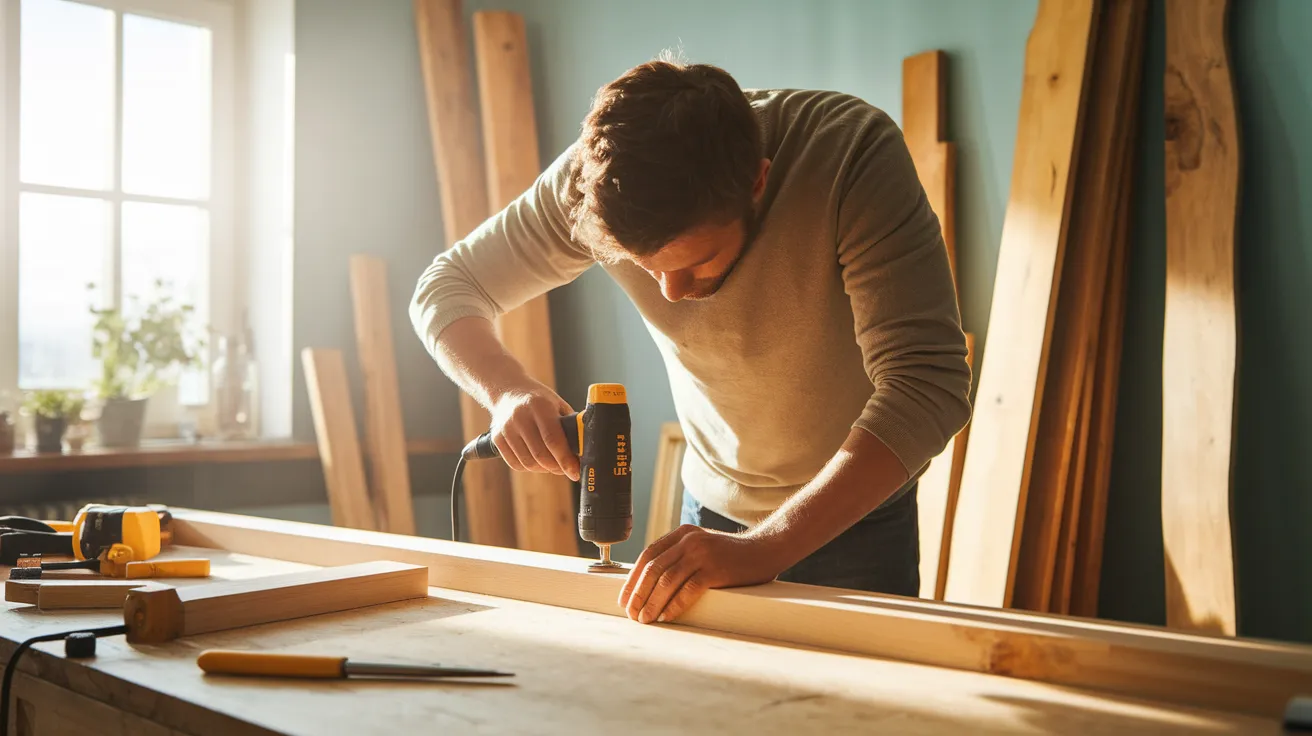
Create the frame of the sideboard by attaching the pieces together.
- Use wood glue to secure the edges of the plywood.
- Drill holes and screw the sides into the top and bottom panels for extra strength.
- Use clamps to hold the pieces in place while the glue dries.
Step 4: Add Shelves and Dividers

Decide where you want shelves inside the sideboard and mark the positions.
- Cut additional pieces of wood for shelves.
- Use screws or brackets to install the shelves at the marked spots.
- For added organization, you can add dividers for separate sections.
Step 5: Sand and Smooth
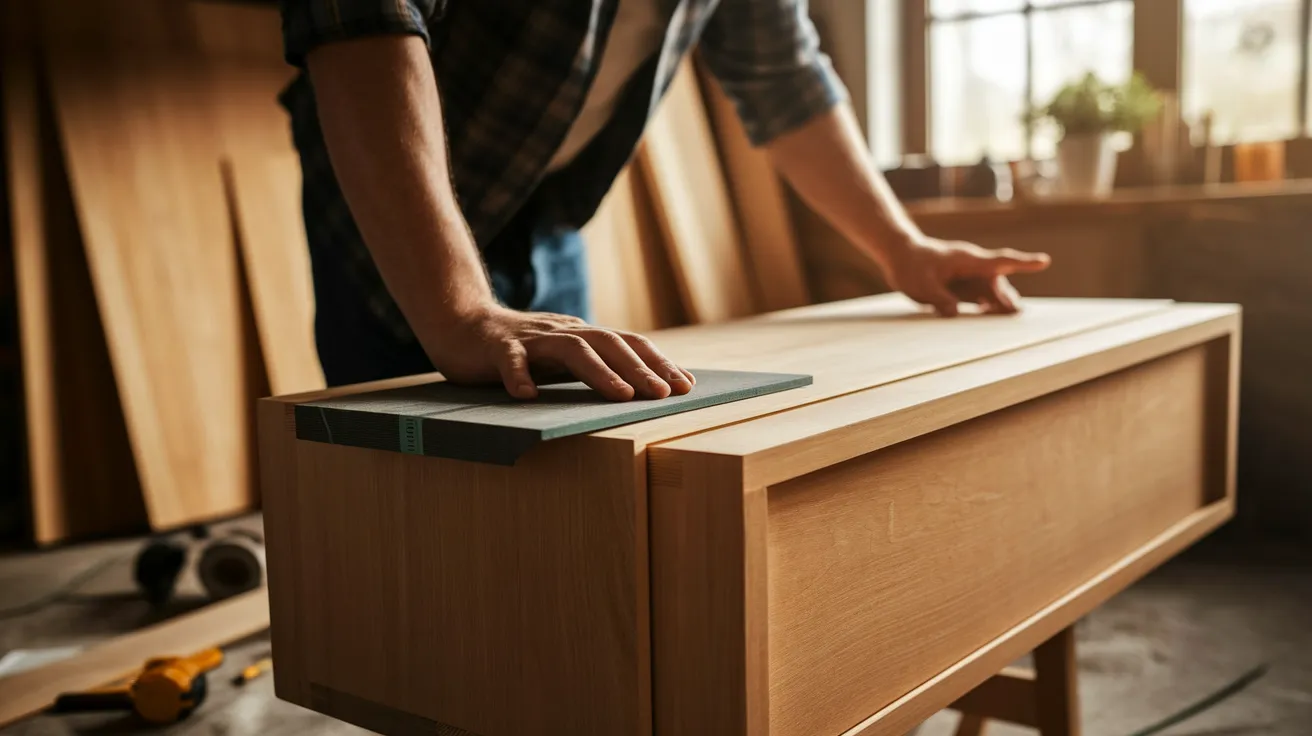
Before finishing your sideboard, sand it to get a smooth, even surface.
- Use 240 grit sandpaper to smooth the entire piece, focusing on edges and corners.
- If needed, fill any gaps or holes with wood filler and sand after it dries.
Step 6: Paint or Stain
Choose a finish that matches your decor.
- Paint or stain your sideboard in your desired color.
- Apply multiple layers of paint or stain, sanding between layers to avoid brush marks.
- Finish with a protective coat of clear varnish or polyurethane for a shiny, durable finish.
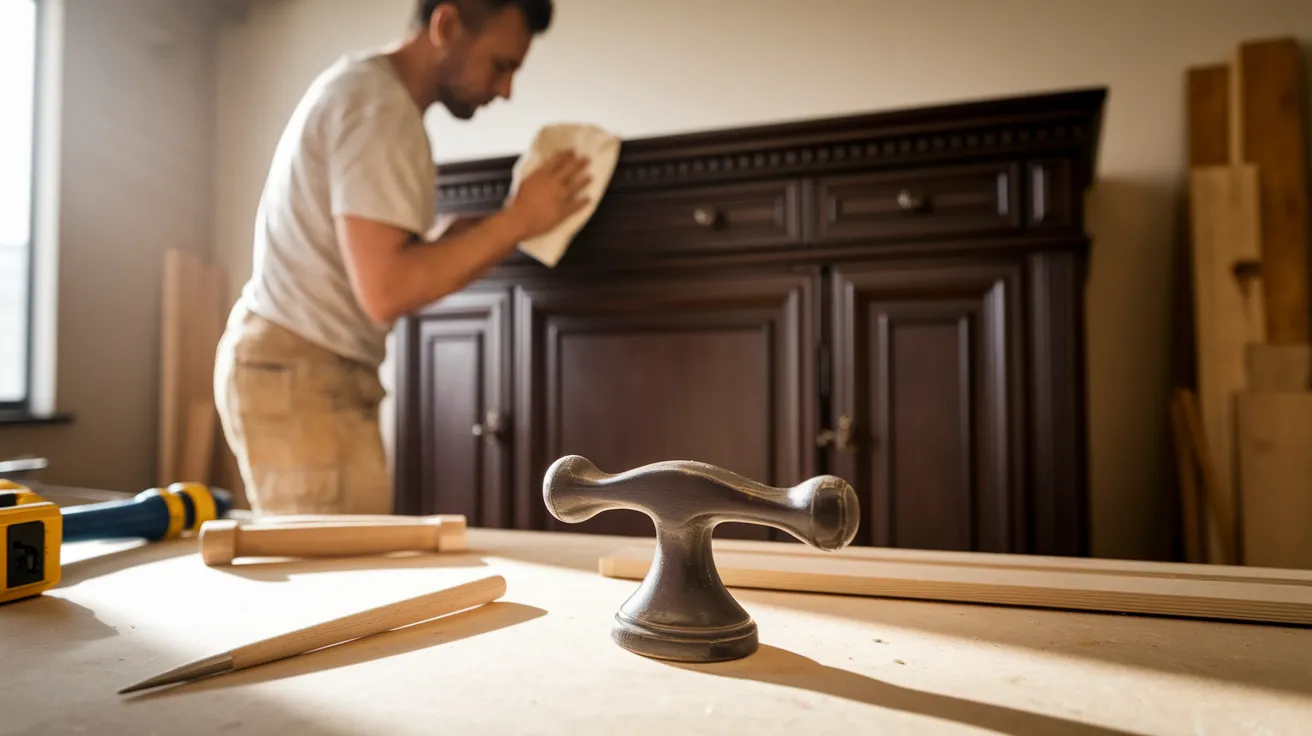
Step 7: Install Handles or Knobs
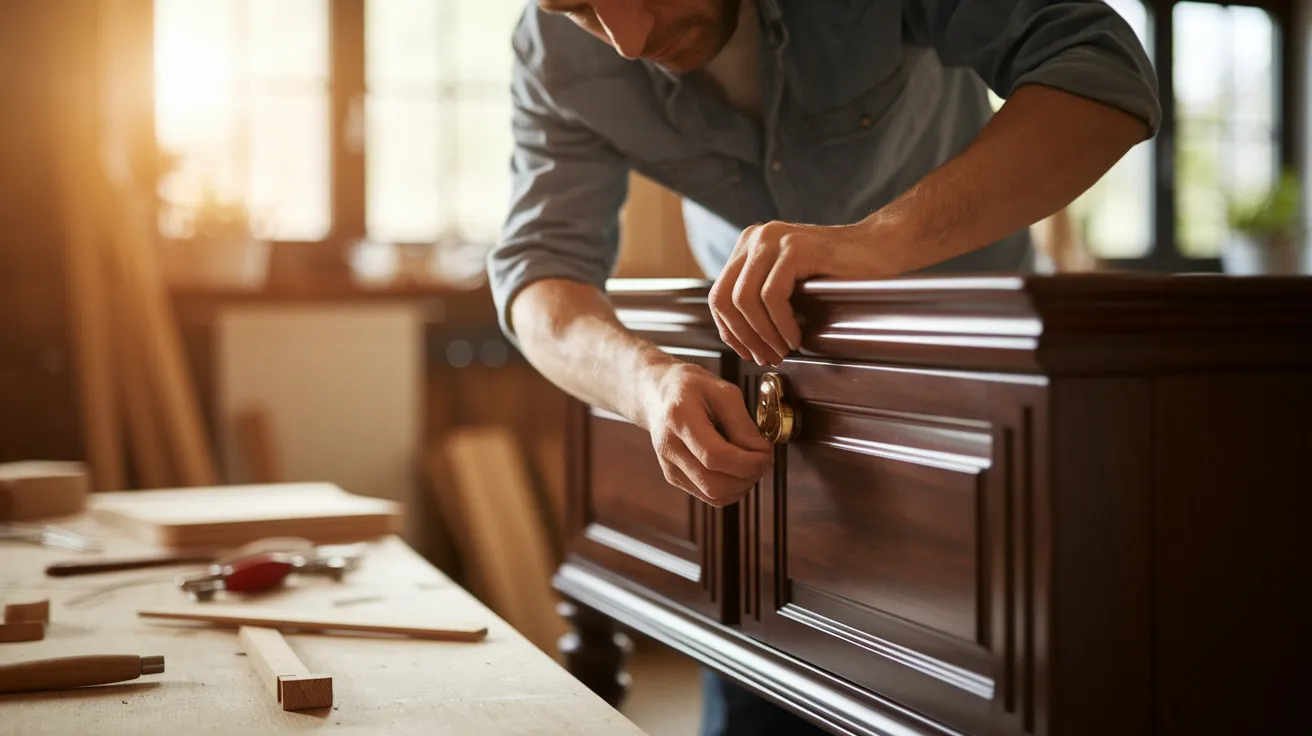
Handles or knobs for easy access to your sideboard.
- Use a laser level to mark equal handle height on the doors or drawers.
- Drill small pilot holes and install the handles using a screwdriver.
Step 8: Assemble and Place in Your Space
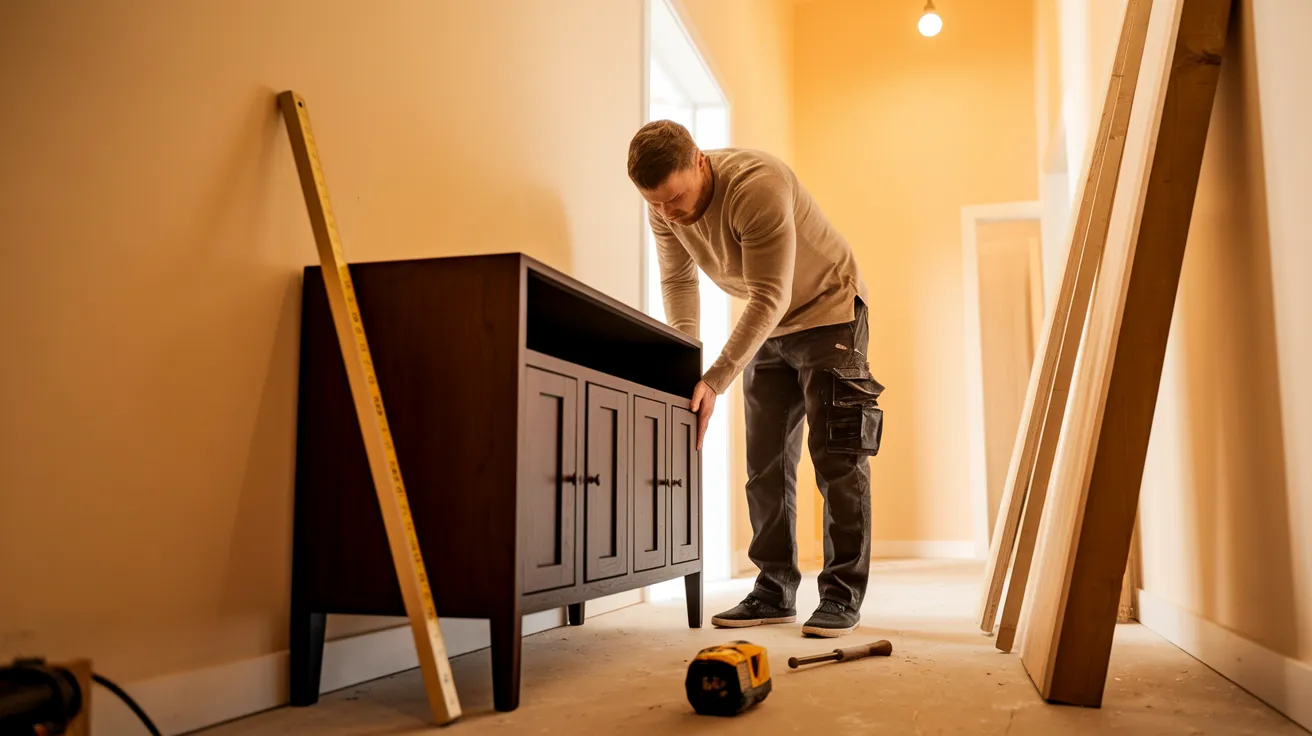
Once the paint and varnish are dry, assemble the sideboard by attaching the top and bottom panels if they aren’t already secured.
- Place the sideboard in the desired location in your room.
- Adjust the position as needed, and you’re done!
Creative Customization Ideas for DIY Sideboards
Personalizing your DIY sideboard can give it a unique touch and make it perfectly match your style. Whether you prefer rustic, modern, industrial, or eclectic decor, there are plenty of ways to get creative. Here are some inspirations for you:
Reclaimed Wood Look

For a rustic feel, use reclaimed wood for the sideboard’s surface. This gives it a vintage, weathered look that adds character. You can mix different wood types to create a patchwork effect or keep it uniform for a cleaner design.
Add iron handles or metal accents to enhance the reclaimed aesthetic. These small touches create a charming contrast and make the piece feel authentically farmhouse-inspired.
Geometric Pattern on the Doors

Add a modern twist to your sideboard by incorporating geometric patterns on the doors or drawers. Use painter’s tape to create triangles, squares, or diamonds, then paint sections with contrasting colors for a bold and unique design.
You can also layer metallic paints for extra depth and texture, creating a visually dynamic piece that becomes a conversation starter in any room.
Add Glass Inserts

For a more elegant look, install glass panels in the sideboard’s doors. You can choose clear glass for a simple style or frosted glass for more privacy. This works great in a living room or dining area where you want to showcase decorative items.
Add interior lighting behind the glass for a subtle glow that highlights the items inside and enhances the space’s overall ambiance.
Colorful Accents

If you love color, paint the sides or drawers of the sideboard in vibrant shades. To add personality and brightness, choose a single bold color or a combination of colors. This approach is perfect for kitchens or home offices.
Consider using stencils or hand-painted designs on drawer fronts for a playful, artistic flair that reflects your style and creativity.
The best part is that many of these ideas are simple to incorporate while building your sideboard, so you can make it truly your own!
Maintenance Tips to Keep Your DIY Sideboard Long-Lasting
| Maintenance Task | Description | Frequency |
|---|---|---|
|
Check the Hardware |
Tighten loose screws, bolts, or handles to maintain stability and function. | Periodically |
| Lubricate the Drawers | Apply silicone-based lubricant to drawer tracks for smooth operation. | Every six months |
| Touch Up Scratches | Use a wood marker or matching paint to conceal scratches and protect wood from moisture. | As needed |
|
Monitor for Warping |
Watch for signs of warping due to humidity and adjust hardware if needed. | Ongoing |
| Reapply Sealant | Apply a fresh coat of clear sealant to protect from moisture and maintain appearance. | Every couple of years |
Conclusion
Now you know how to build your sideboard! While it may take a weekend to complete, the results are definitely worth the effort.
A custom sideboard can add both functionality and style to any room, giving you a perfect storage solution while enhancing your home’s decor.
Take your time with each step, especially when cutting and assembling the pieces. A small mistake early on can cause problems later, so be patient and double-check your work.
Why not gather your supplies this weekend and start building your very own sideboard? Happy crafting!


