How to Gold Leaf a Ceiling Like a Pro
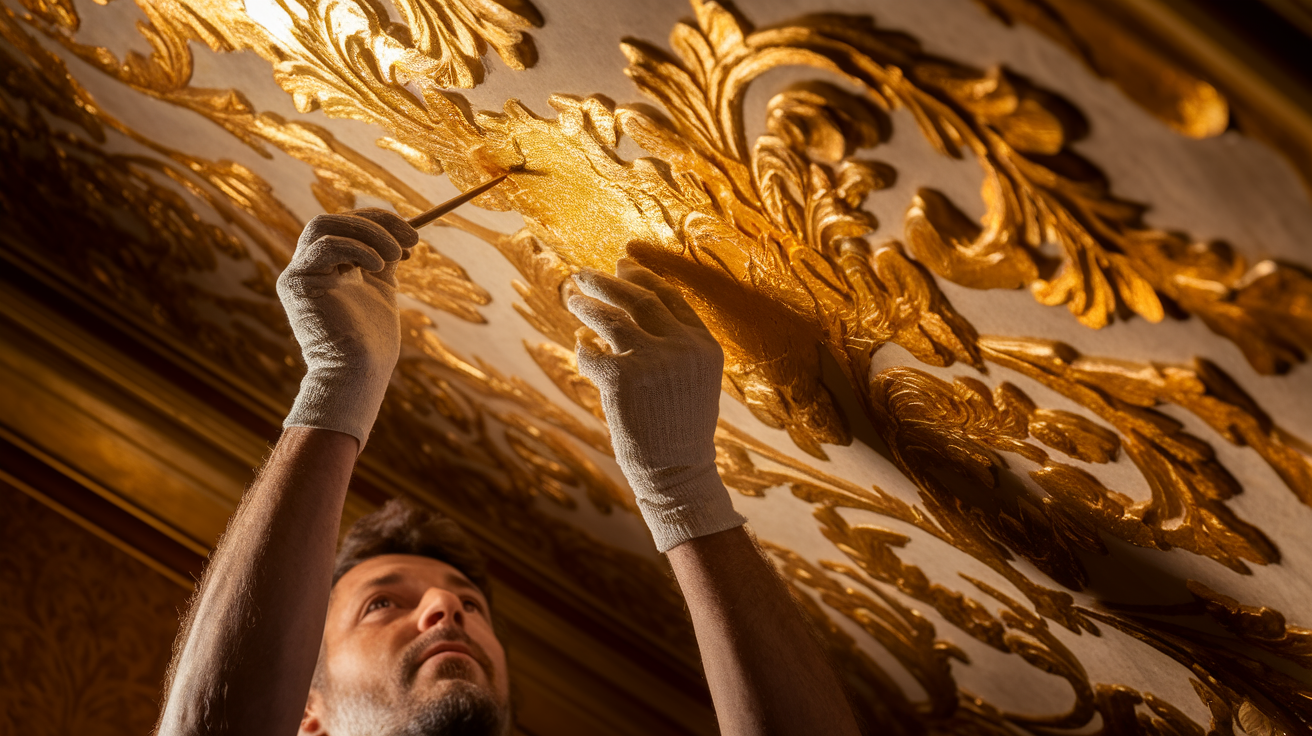
Have you ever walked into a room with a gold leaf ceiling and been instantly taken by its luminous beauty?
This ancient decorative technique remains one of the most dramatic ways to change an ordinary space into something special.
While gold leafing may seem intimidating, it’s actually an achievable DIY project with the right tools and techniques. The metallic finish catches and reflects light in a way that paint simply cannot.
This blog covers the process of gold leafing a ceiling like a professional. From preparation to final sealing, you’ll learn insider techniques to achieve flawless results.
Materials and Tools Required for Gold Leaf Ceilings
| Item | Purpose |
|---|---|
| Modello stencil (custom two-layer design) | Creates decorative patterns on the ceiling |
| Benjamin Moore Aura Matte paint (OC-6, 2141-50) | Base colors for the ceiling background |
| Black base paint (2132-10) | Uplifts silver leaf contrast and depth |
| Modern Masters Dead Flat Varnish | Seals and protects the leafed surface |
| Proed Full Body Glazing Medium | Mixed with stains for antique effects |
| Van Dyke Brown and Black Aqua Colors | Adds depth and aged character to the finish |
| Mona Lisa Metal Leaf Adhesive Size | Bonds gold or silver leaf to the surface |
| Silver Leaf sheets | Used for silver-toned design elements |
| Gold Leaf sheets | Adds rich, luminous gold accents |
| Test strips for adhesive testing | Checks tackiness of adhesive before applying leaf |
| Burnishing paddle | Presses and smooths leaf into stencil or surface details |
| Vinyl cutting tool or X-Acto knife | Cuts stencil material precisely |
| Painter’s tape | Secures stencils and masks off areas |
| Pencil | Marks layout or placement of stencil |
| Chip brush | Applies leaf gently and removes loose pieces |
| Shop vac | Cleans up leftover leaf fragments and keeps the area tidy |
Steps to Gold Leaf a Ceiling
Achieving a professional gold leaf ceiling requires patience and systematic technique. Follow these steps for a flawless metallic finish that will change your space.
Step 1: Planning & Layout
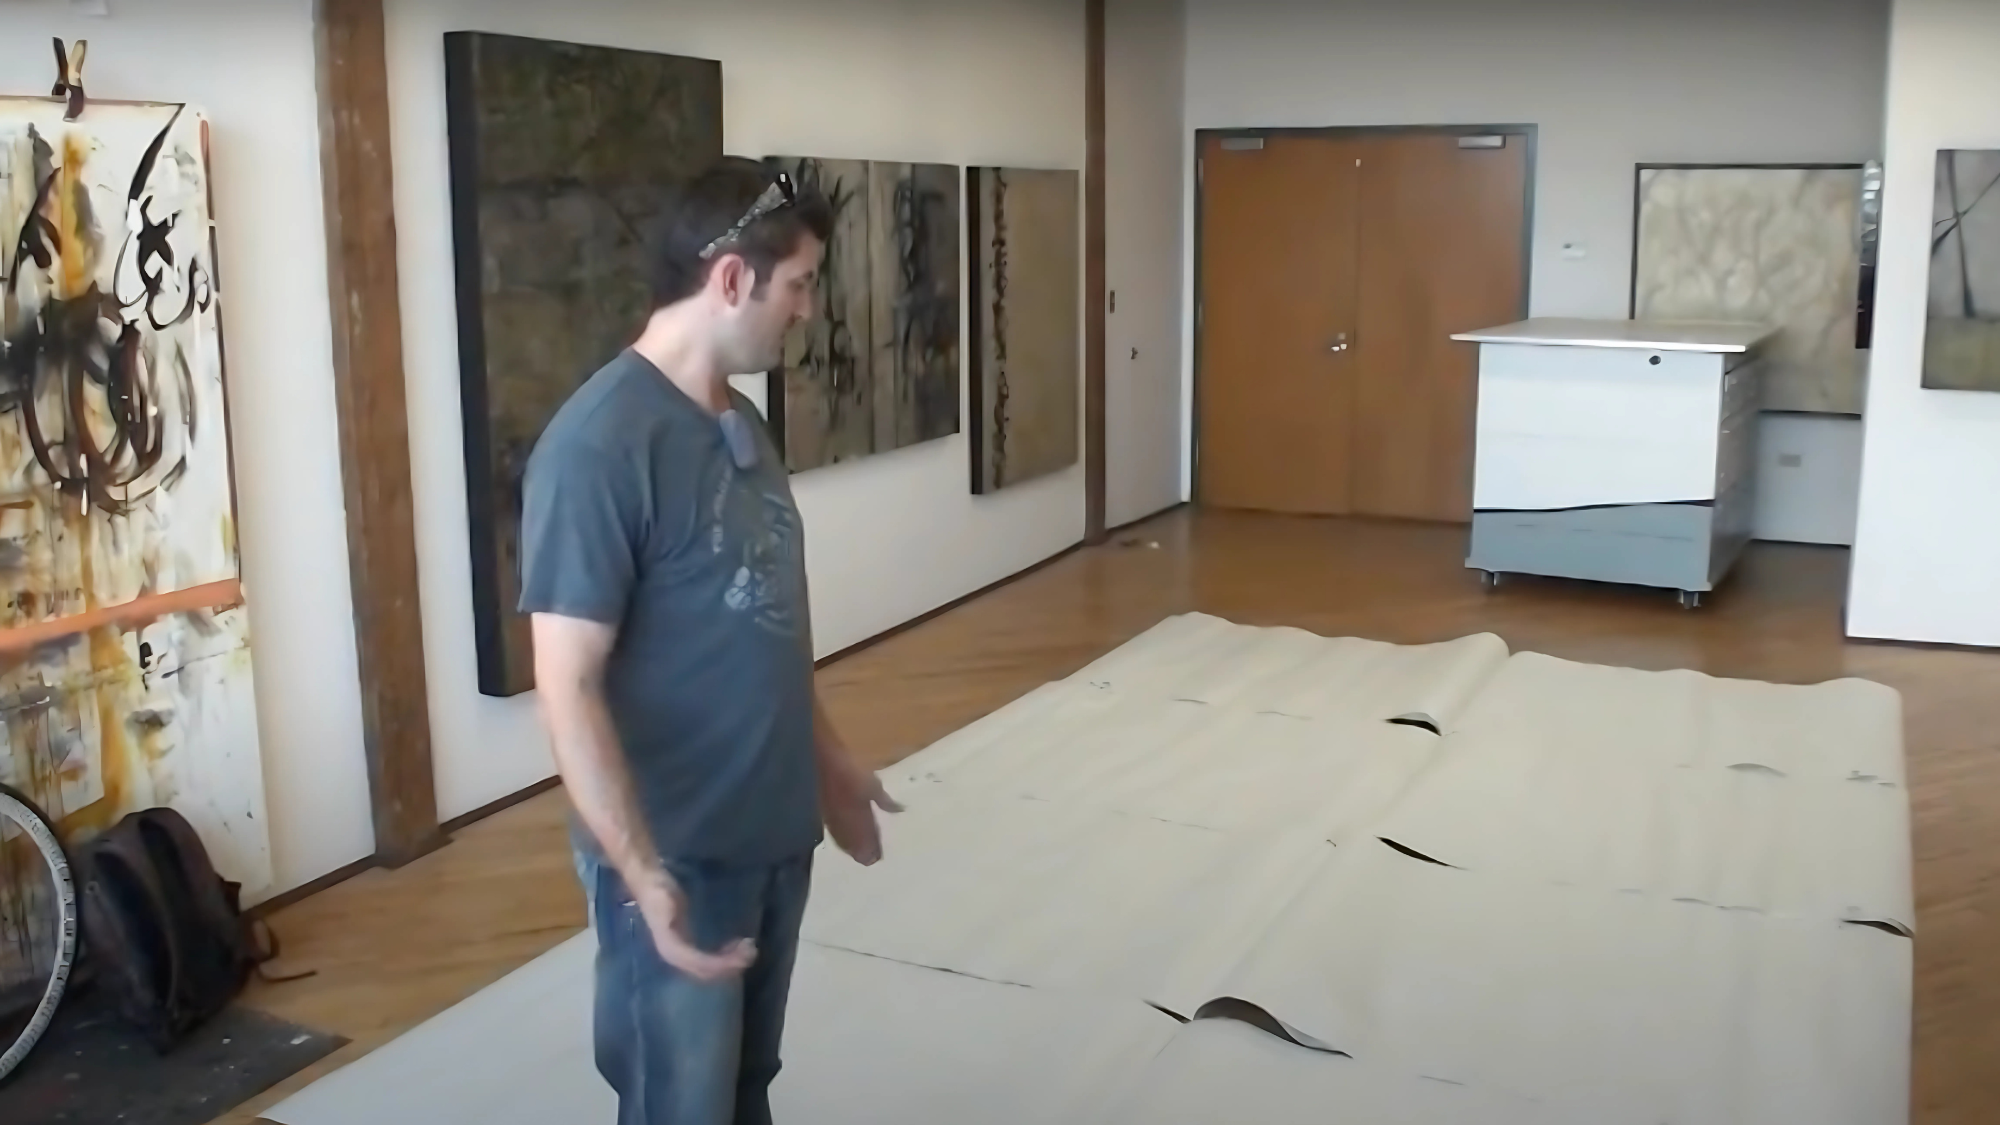
Start by unpacking all your Modello stencil pieces and checking that every part is included and labeled correctly. Review the layout map, then arrange the stencils on the floor to make sure nothing is missing.
Measure the ceiling and calculate even spacing for borders. Use painter’s tape and a pencil to mark layout lines directly on the ceiling for accurate placement.
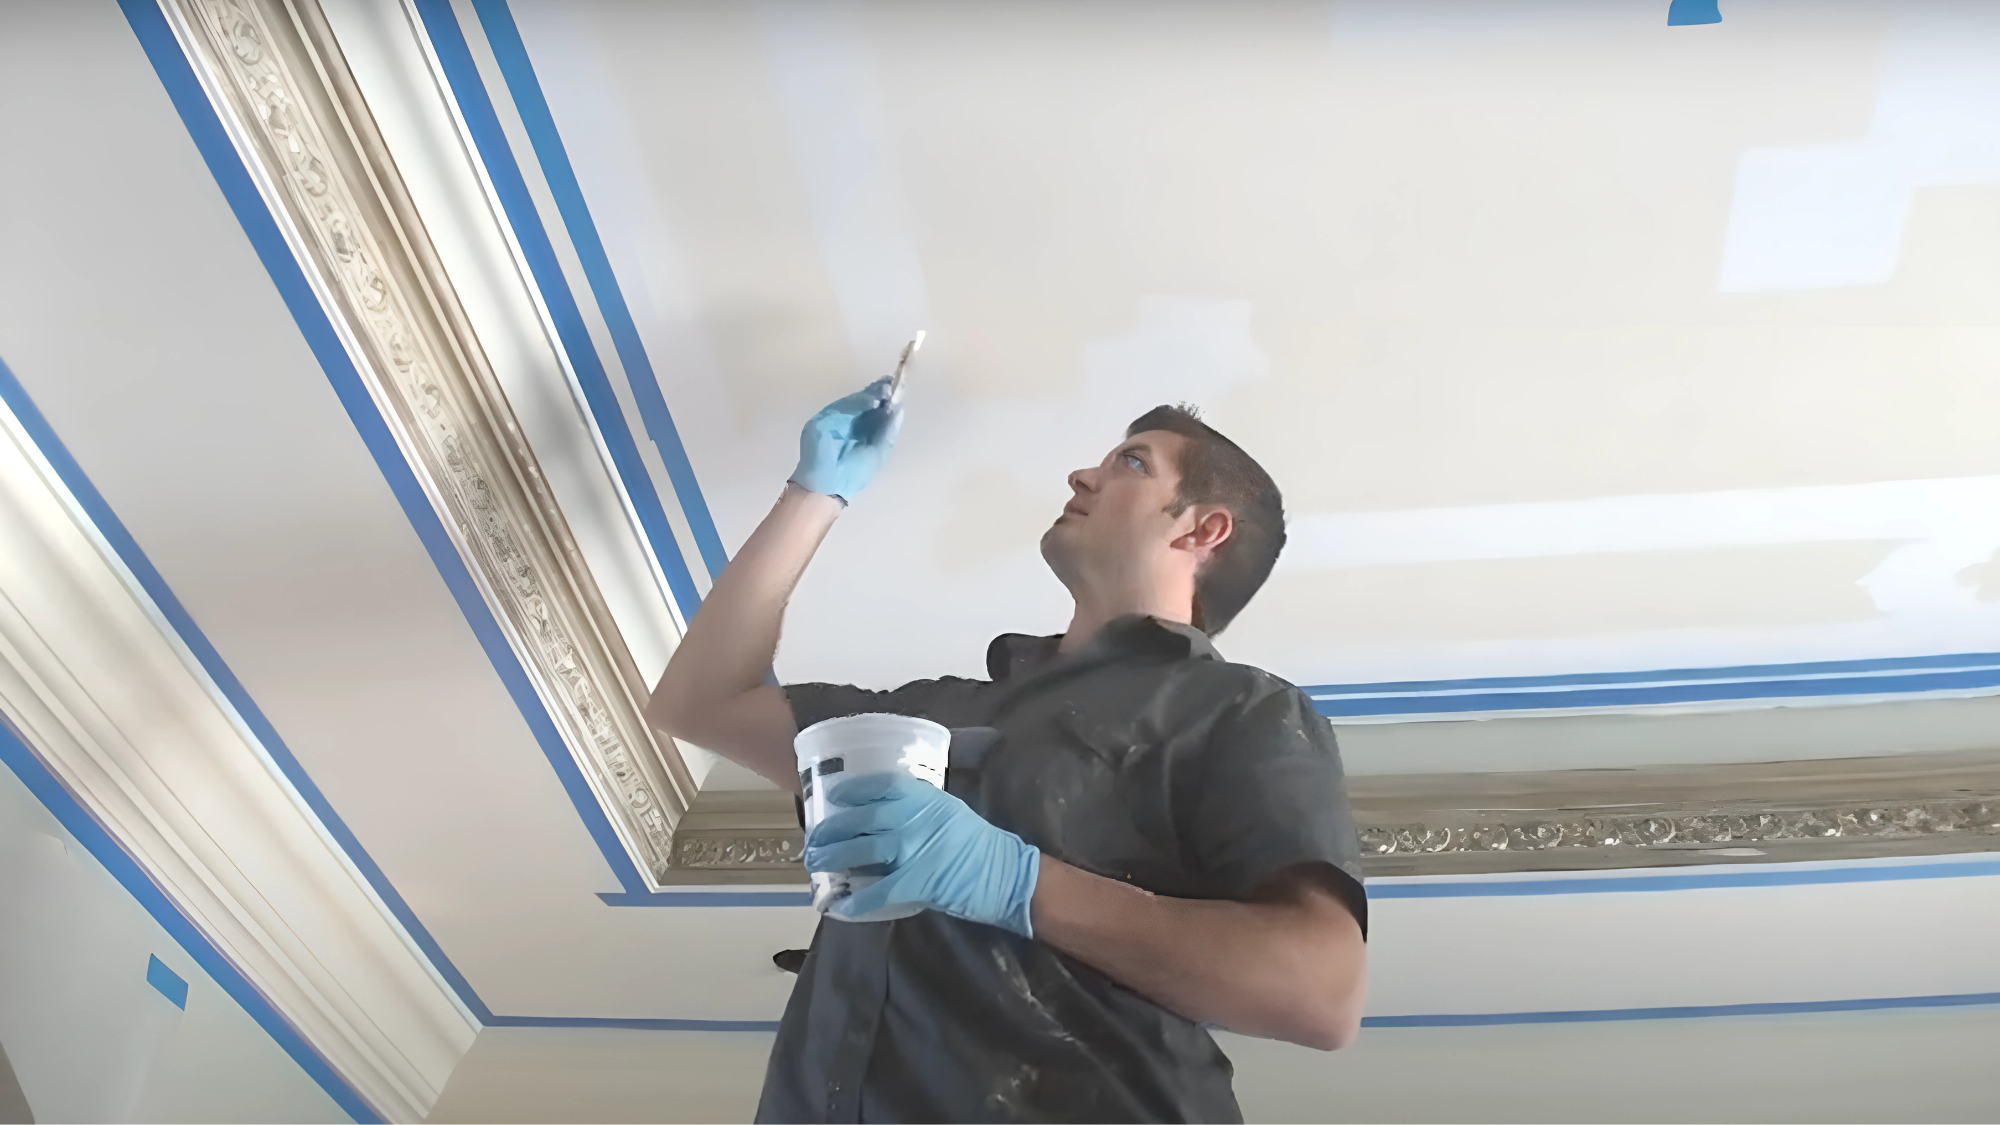
Step 2: Stencil Application – Layer 1
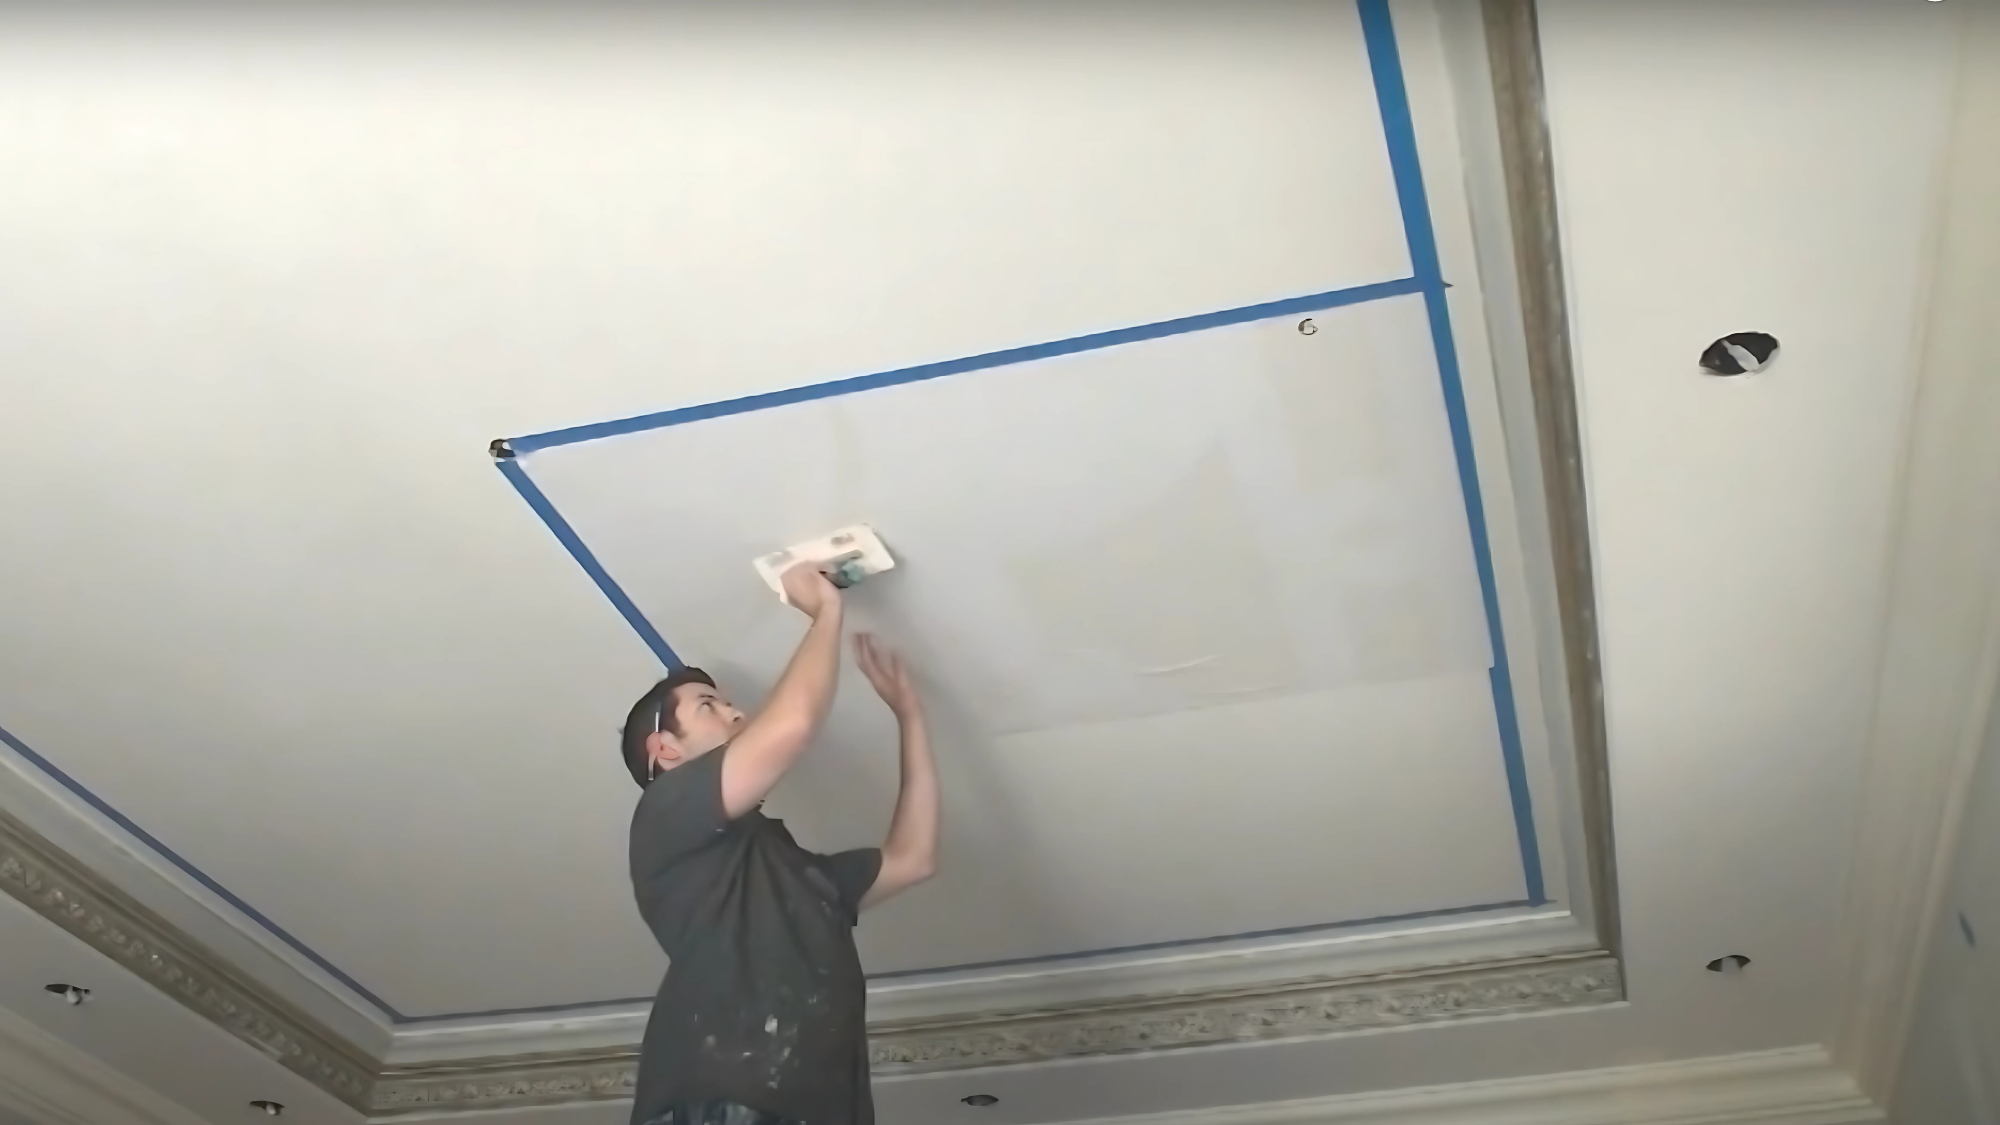
Begin installation with the center panel to ensure proper alignment, especially around any ceiling fixtures. Apply each stencil panel and smooth it out with a spatula to remove air bubbles.
Seal the edges with the same base coat color (2141-50) to prevent bleeding. Once sealed, roll on two coats of the base color, then remove all stencil panels—except one for use as a guide for the second layer.
Step 3: Stencil Application – Layer 2
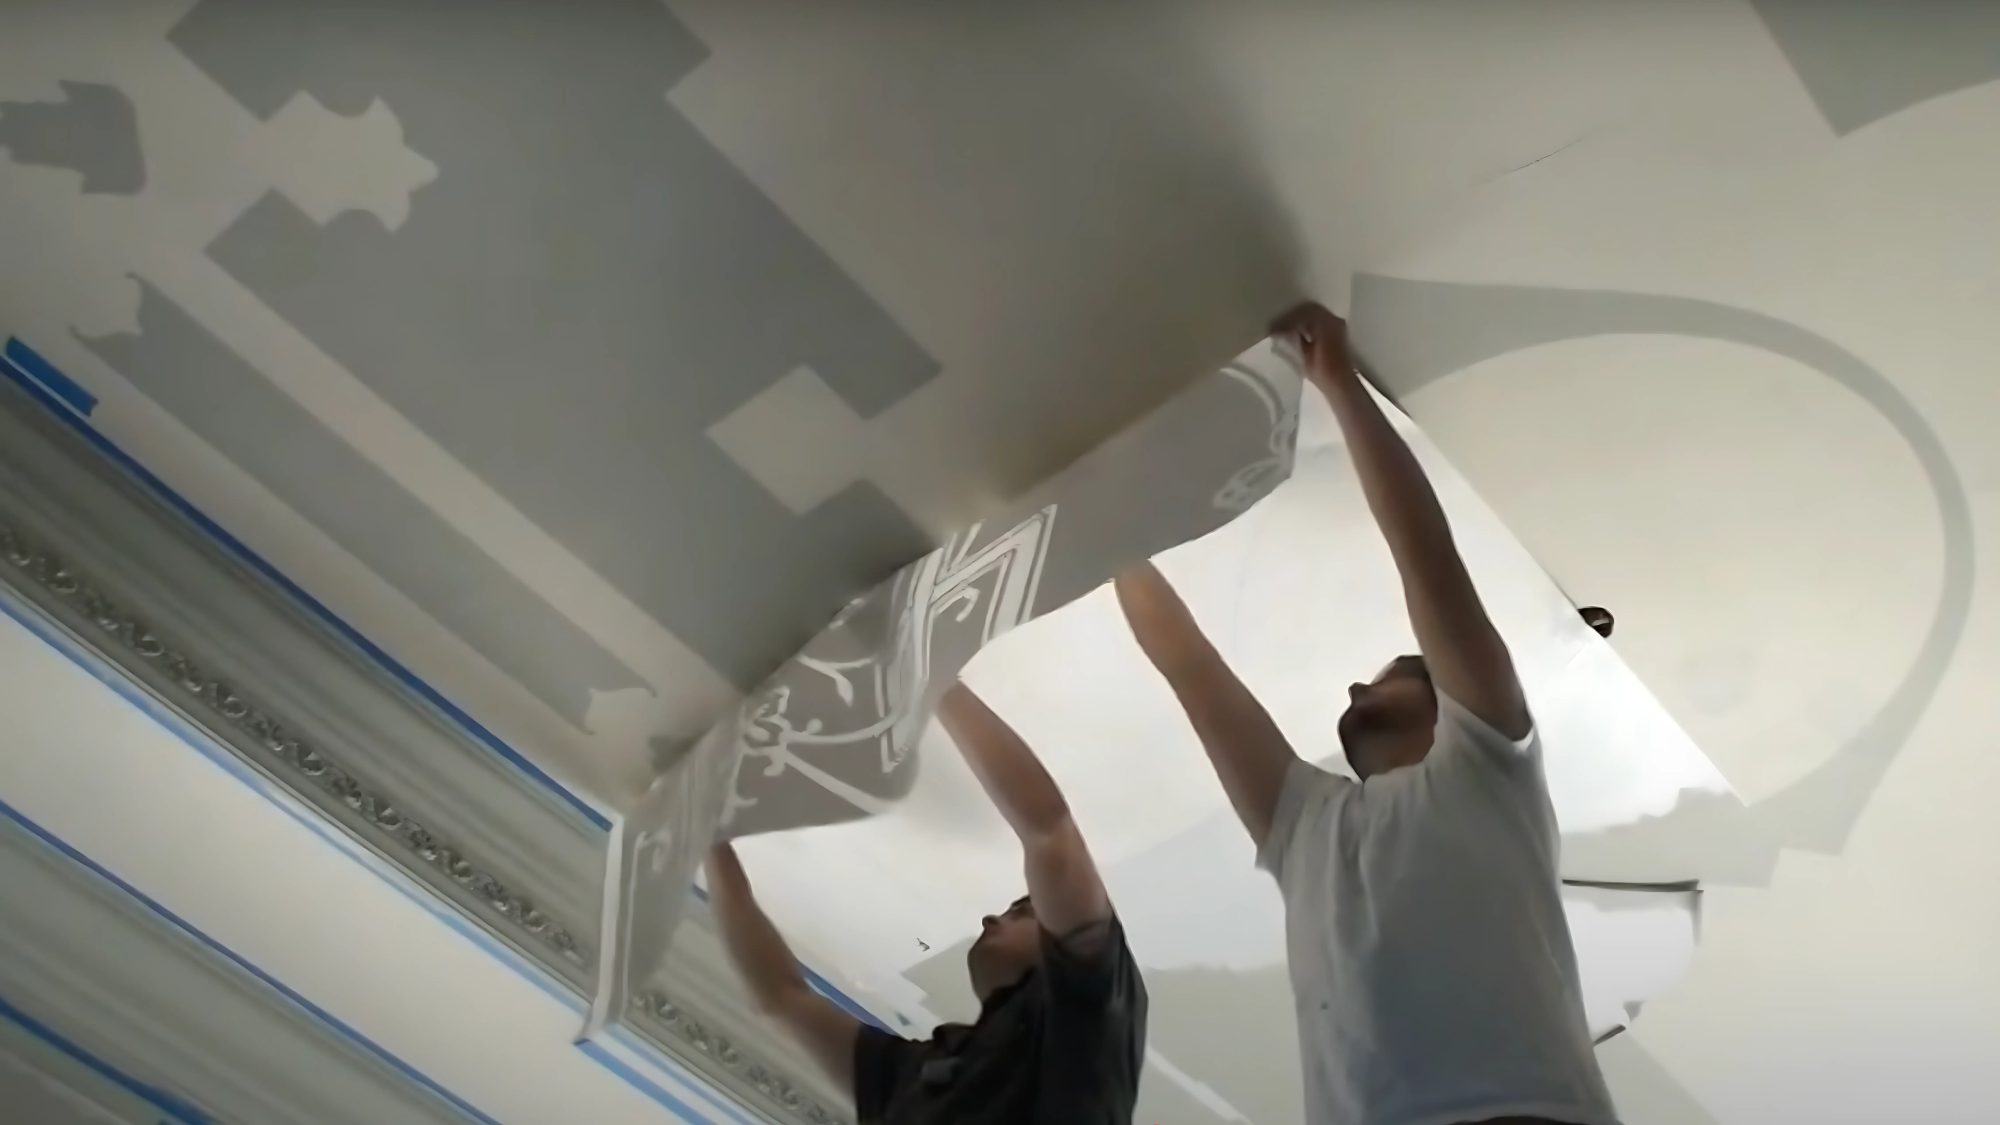
Use the remaining stencil panel from Layer 1 to line up the second layer precisely. If the center design is detailed, cut it out separately for easier handling and more accurate placement.
Tape over any small stencil gaps to stop paint from seeping through. Once positioned, seal the entire stencil again using Dead Flat Varnish to lock everything in place.
Step 4: Underpainting for Leafing
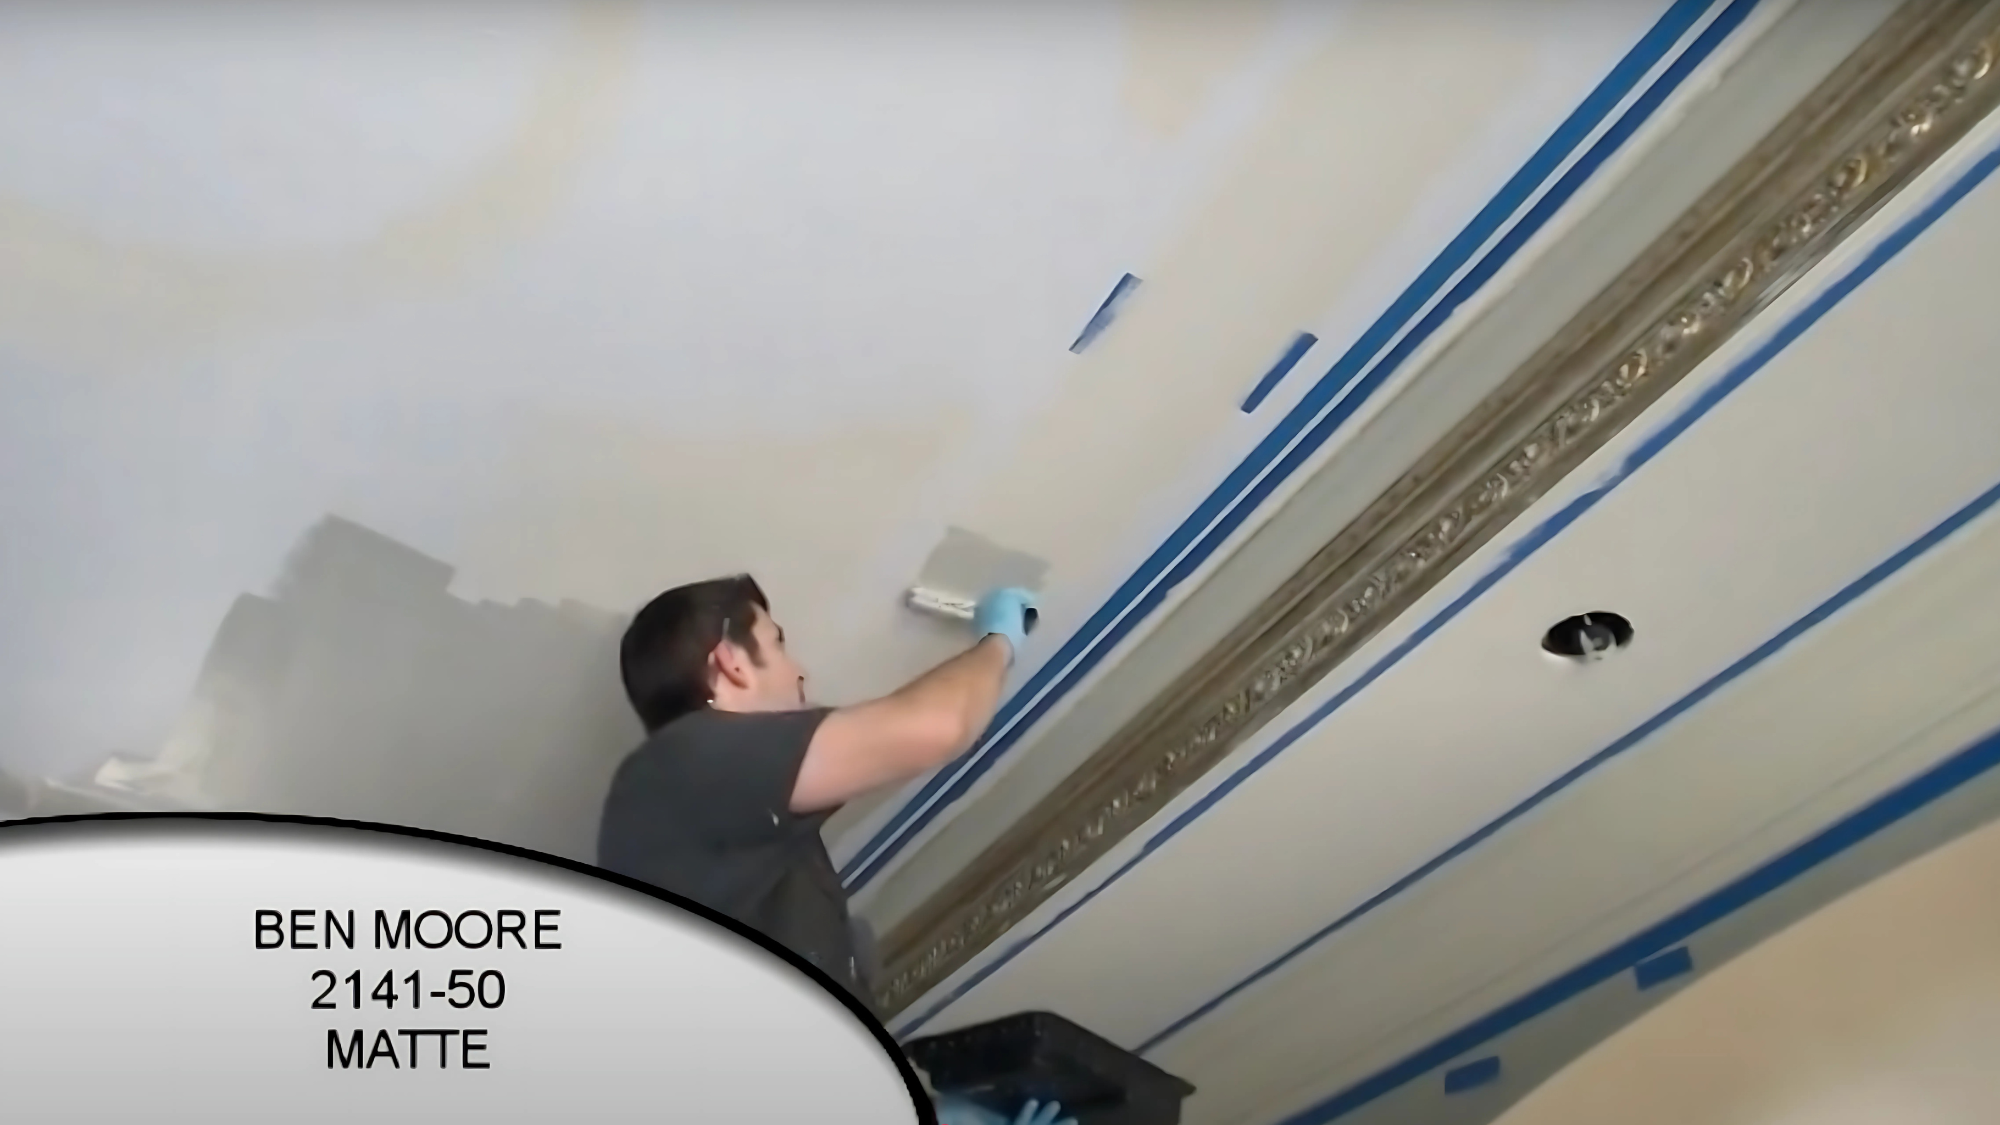
Now prep your base colors for leafing. Use black paint (2132-10) under any areas that will have silver leaf, and apply the green-toned base color (2141-50) beneath the sections that will receive gold leaf.
This underpainting will enrich the depth and richness of the metallic finish.
Step 5: Leafing the Ceiling
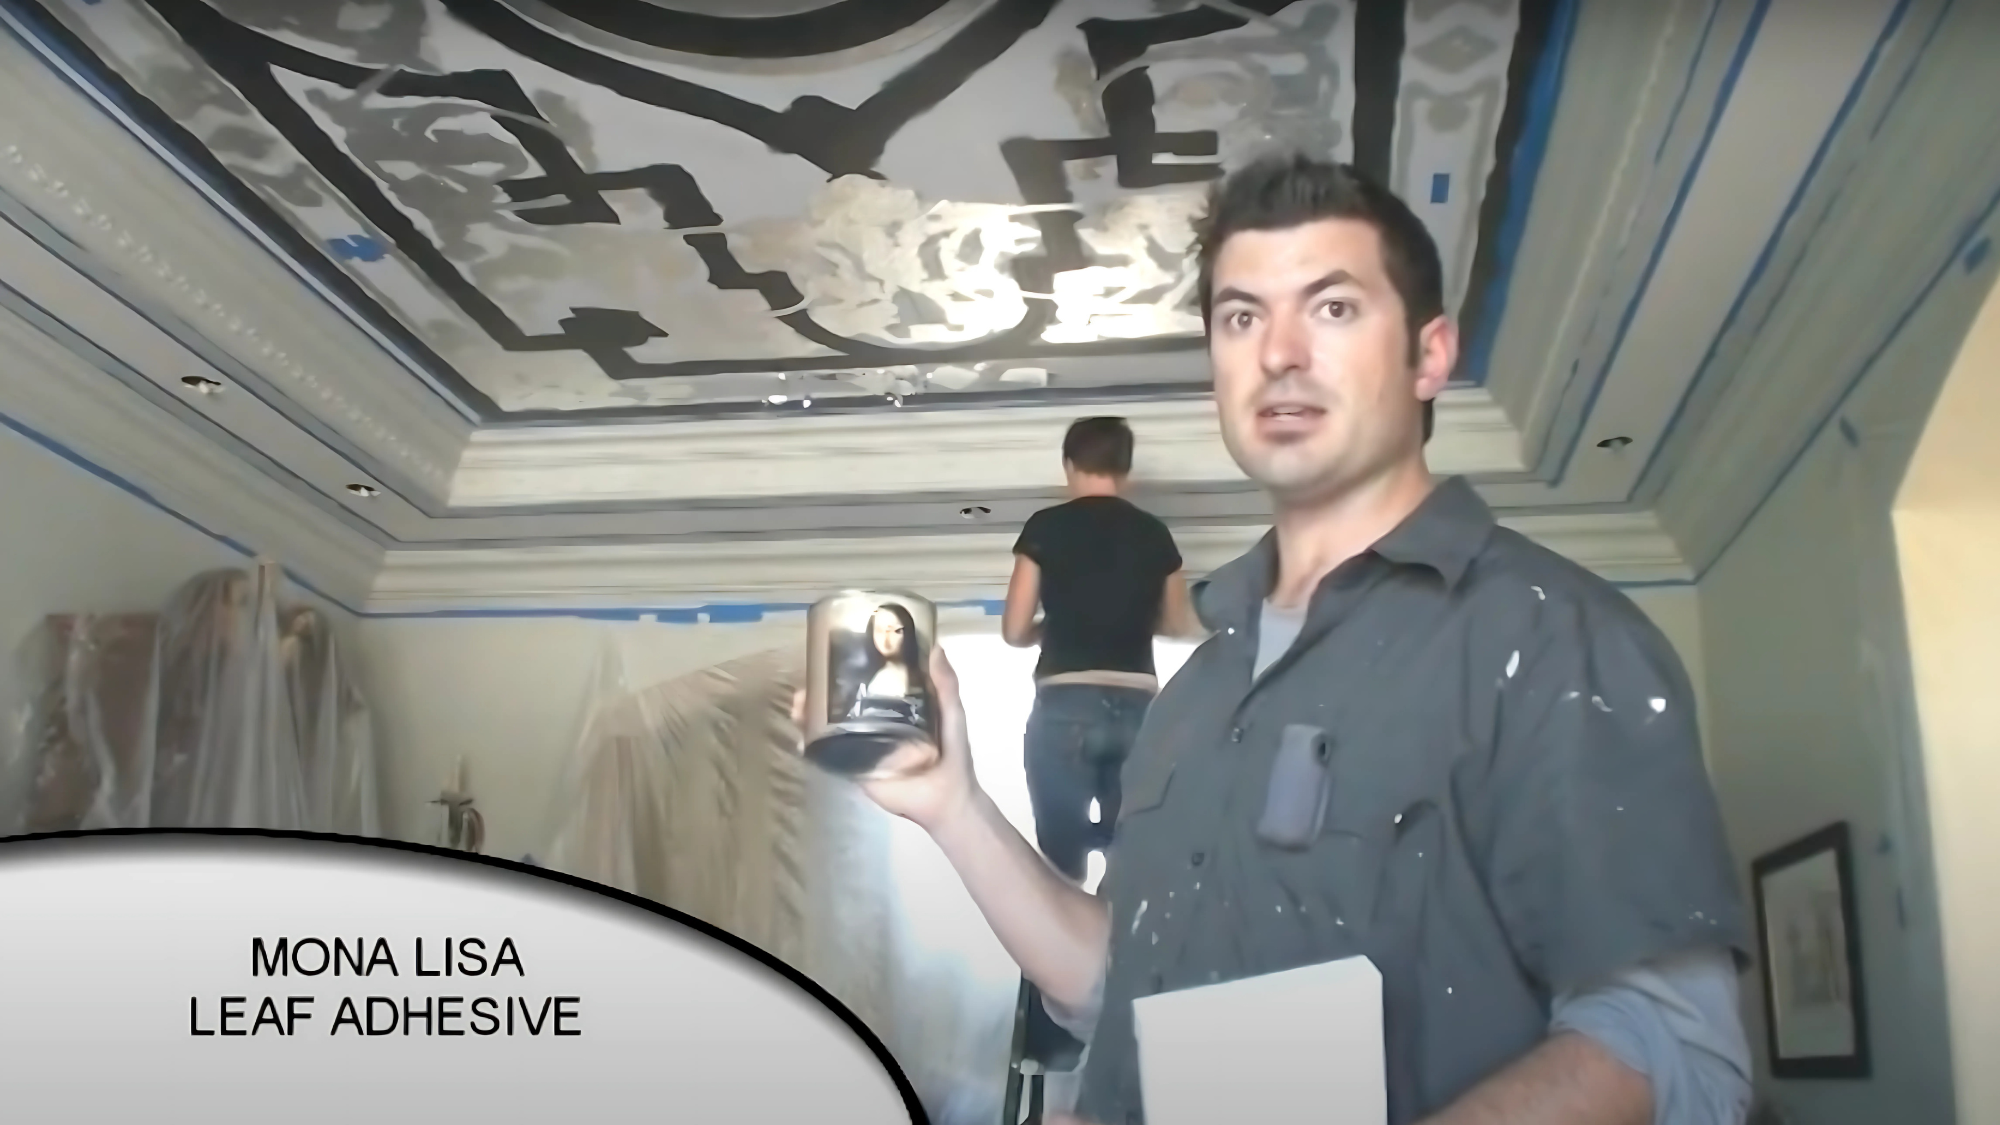
Apply adhesive size over all the areas designated for leafing and let it sit until it becomes tacky (about an hour). Carefully press sheets of gold or silver leaf onto the surface using a chip brush.
To manage the mess and collect loose bits, gently sweep while holding a shop vac nearby to catch the excess.
Step 6: Glazing of the Ceiling
Mix a custom glaze using 12 oz of glazing medium, 6 teaspoons of Van Dyke Brown, and 8 teaspoons of black.
Apply the glaze over the entire leafed area, then use a soft towel to wipe and manipulate the finish, creating depth, highlights, and texture for a rich, layered effect.
Step 7: Final Reveal
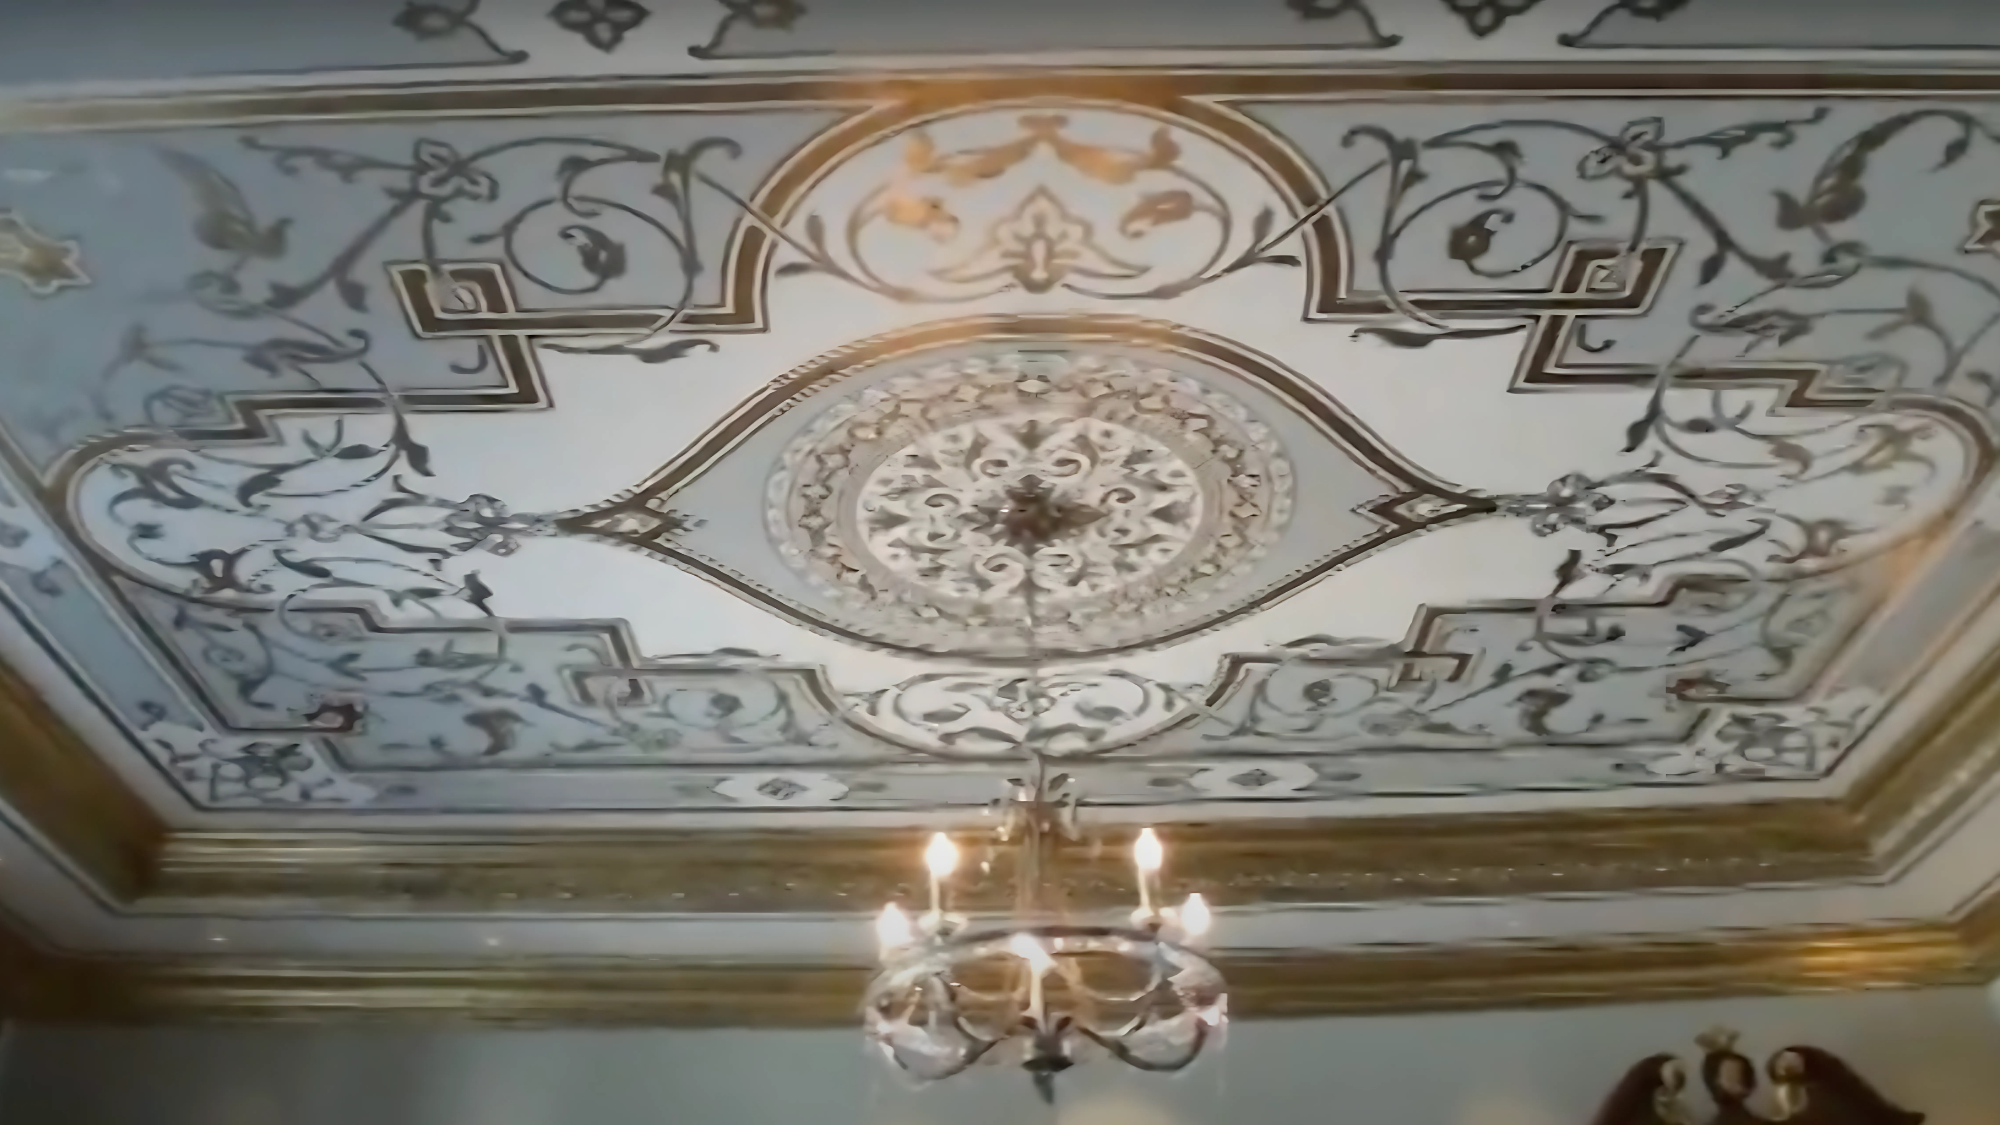
Once the glaze has dried, gently remove all stencil panels to reveal your finished design. The result is a professional-looking, gold and silver leaf ceiling that adds artistry to the space.
Check the surface for any touch-ups. Use a fine brush to fix small flaws, then step back and admire your ceiling.
For a more detailed tutorial on how to gold-leaf a ceiling, check out the video below:
Cost Analysis for Gold Leafing a Ceiling (100 sq. ft.)
| Material | Quantity Needed | Average Cost per Unit | Total Cost |
|---|---|---|---|
| Primer | 1 gallon | $20-40 | $20-40 |
| Latex Eggshell Paint | 1 gallon | $30-50 | $30-50 |
| Adhesive Size | 1 quart | $15-25 | $15-25 |
| Gold Leaf Sheets | ~200 sheets (5″x5″) | $0.50-1 per sheet | $100-200 |
| Natural Hair Brush | 1 brush | $15-30 | $15-30 |
| Clear Varnish/Sealant | 1 quart | $20-40 | $20-40 |
| Miscellaneous Tools | Various (rollers, tape) | $20-50 | $20-50 |
Maintenance Tips for a Flawless Gold Leaf Ceiling
Maintain the beauty and longevity of your gold and silver leaf ceiling with these simple care tips. Follow each step to keep your ceiling looking brilliant for years to come.
Tip 1 – Regular Gentle Cleaning
Preserve your ceiling’s luster by implementing these dust-control practices:
- Use soft microfiber cloths or natural-bristled feather dusters
- Never apply wet cloths or harsh chemicals
- Schedule light dusting every 2-3 months
Tip 2 – Moisture and Environmental Control
Protect your investment by managing the room’s environmental conditions:
- Maintain humidity levels between 30-50%
- Avoid direct sunlight exposure
- Ensure proper ventilation to prevent condensation
Tip 3 – Preventative Inspection
Catch potential issues before they become serious problems:
- Examine your ceiling biannually for damage
- Check areas near vents, lights, or windows frequently
- Document changes with photos to track wear
Tip 4 – Strategic Touch-Up Protocol
Maintain a flawless appearance with these targeted repair strategies:
- Keep matching supplies on hand for minor repairs
- Address damaged areas promptly
- Work in small sections using proper techniques
Tip 5 – Professional Maintenance Schedule
Ensure long-term beauty with professional involvement:
- Schedule a professional assessment every 5-7 years
- Consider professional resealing when the finish diminishes
- Consult specialist gilders for significant restoration
Final Thoughts
Gold leafing a ceiling may seem like a high-end technique reserved for palaces or grand hotels, but with the right approach, it’s an upgrade that even you can achieve at home.
This process changes ordinary ceilings into shining focal points that lift the entire room’s atmosphere.
Maintenance is key to preserving the beauty of your work for years to come. With regular care and attention, your gold and silver leaf ceiling will remain a standout feature.
Ready to create your show-stopping ceiling? Grab your supplies this weekend and get started!
Frequently Asked Questions
How Long Does Gold Leaf on a Ceiling Last?
Properly sealed genuine gold leaf can last decades or even centuries. Imitation leaf typically lasts 7-10 years before showing signs of tarnishing.
Is Gold Leafing a Ceiling a DIY-Friendly Project?
Yes, with patience and the proper tools, beginners can achieve good results. Start with a small area to build confidence before tackling an entire ceiling.
How Much Does it Cost to Gold Leaf a Ceiling?
For a 10×10 ceiling, expect to spend $300-$700 for materials using imitation leaf, or $1,000-$3,000+ for genuine gold leaf.


