Smart and Safe Deck Demolition Tips
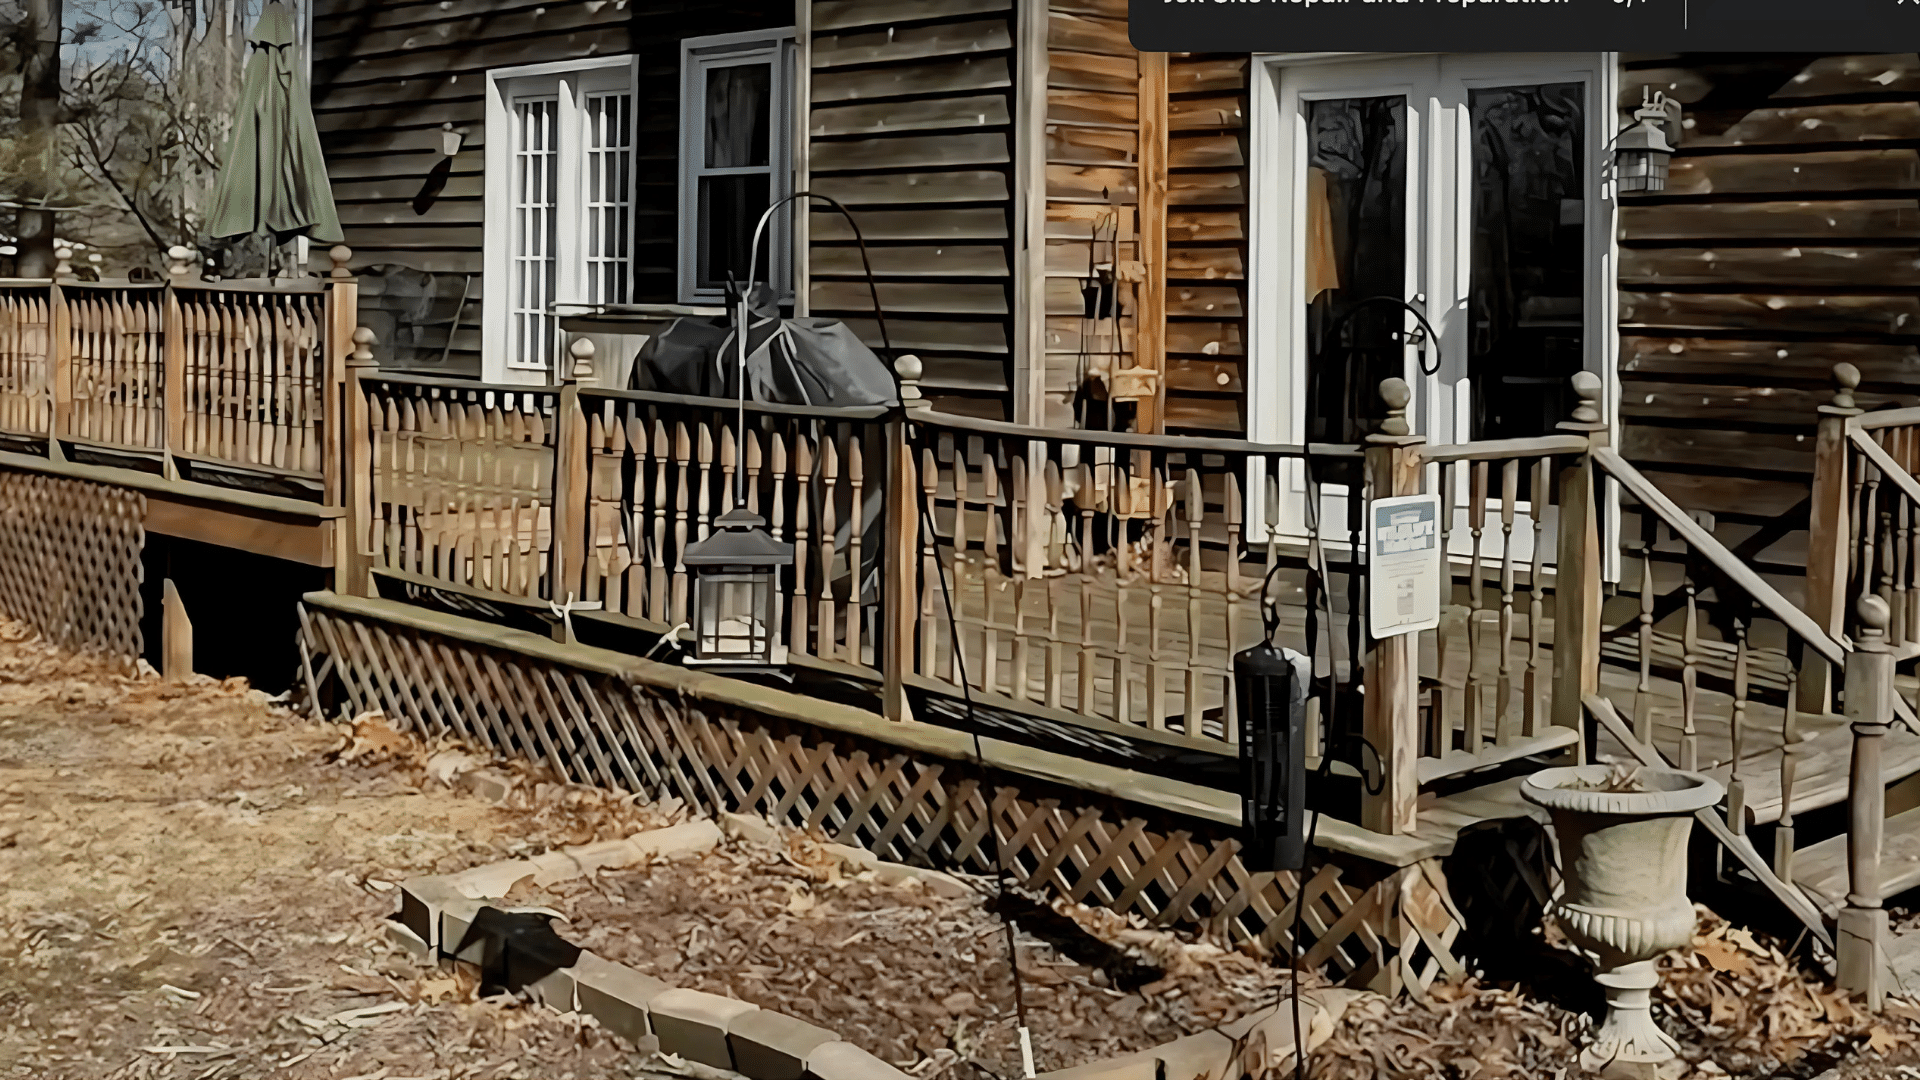
Is your old deck looking pretty rough, maybe it’s wobbly, rotting, or just plain ugly?
Taking it down might feel like a huge job, but honestly, it’s not as bad as you think.
The whole process is basically taking things apart in reverse order; start with the railings and deck boards, then work your way down to the main frame.
Think of it like taking apart a giant puzzle, except this puzzle has been sitting outside getting beaten up by the weather for years.
We will walk through how to do it safely, what tools make the job easier, and how to deal with all the leftover wood and screws when you’re done.
Signs It’s Time to Tear Down Your Deck
Nobody wants to say goodbye to their deck, but sometimes it’s better to tear it down before it decides to fall down on its own.
Here are the red flags that mean it’s time to start planning a replacement:
- The “trampoline Test” Fails: If your deck bounces when you walk on it, that’s not normal flex.
- Loose Fasteners Everywhere: When screws and nails are backing out or missing completely.
- Visible Rot and Decay: Soft, spongy wood that you can poke your finger through.
- Structural Instability: Wobbly railings, sagging support beams, or posts that move when pushed.
- Serious Safety Hazards: Splintering boards, gaps you could fall through, or any signs that the deck might collapse.
Tools and Materials Required in Deck Demolition
These are the primary tools and safety gear used to take apart the deck in the video.
Each item played an essential role in making the job faster, safer, and more efficient.
- Pry bar: Used extensively to remove decking boards, lattice, and railing.
- Reciprocating saw (Sawzall): Crucial for cutting joists, rail posts, and other framing.
- Drill/driver: Used throughout to unscrew deck boards, railing parts, and the ledger board.
- Hammer: Used for prying out nails and breaking loose components.
- Wheelbarrow or tarp: Used to collect and transport removed boards and debris efficiently.
Personal Protective Equipment (PPE):
- Safety gloves: For hand protection while handling wood and tools.
- Safety glasses: To protect the eyes from flying debris and dust.
- Hard hat: Worn to prevent head injuries from falling material.
- Work boots: Provide foot protection from nails, debris, and heavy tools.
Step-By-Step Guide for Demolishing a Deck
Here’s a simple step-by-step guide to help you take down an old deck safely and correctly.
Follow each step to ensure a smooth and hassle-free process.
Step 1: Prioritize Safety Before Starting Work
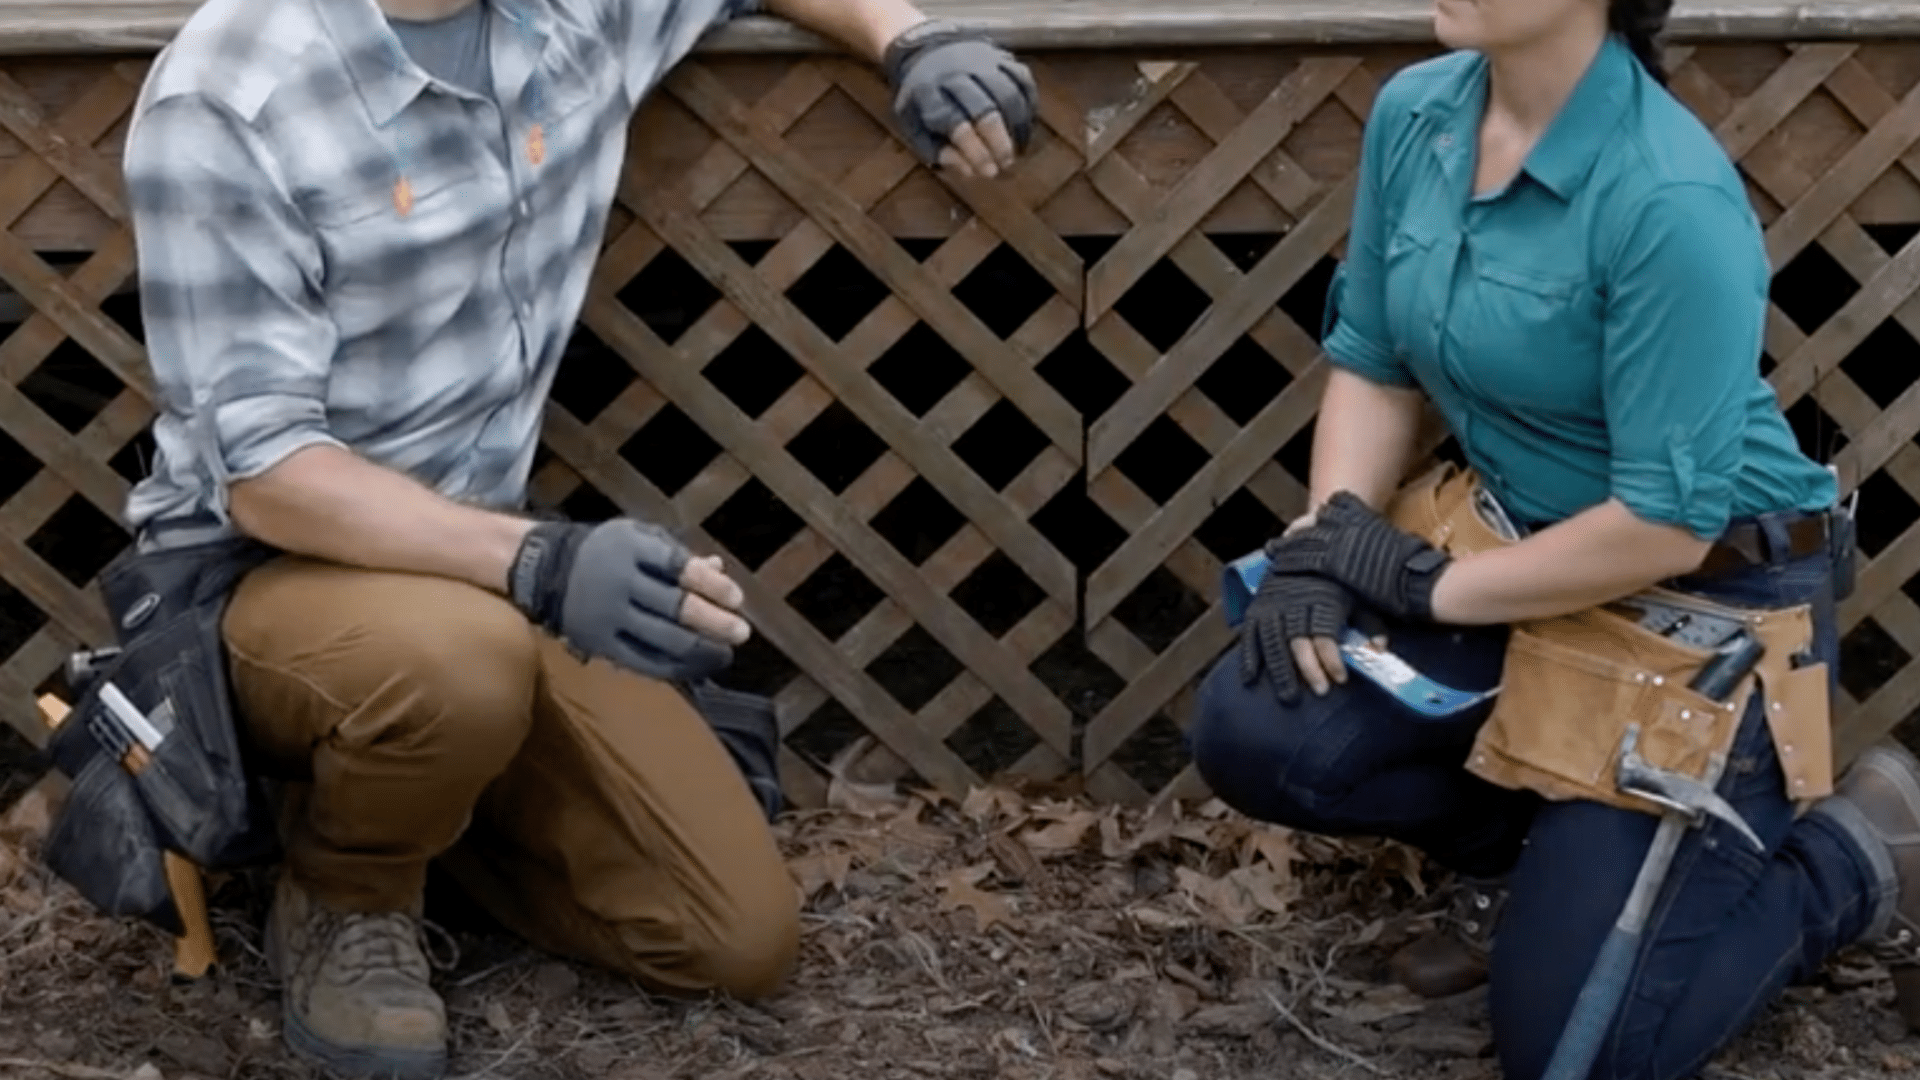
Before using any tools, ensure you are equipped with the necessary safety essentials, including gloves, goggles, a hard hat, and work boots.
Ensure electrical, gas, or water lines around the deck are shut off or marked. Keep the area cordoned off with caution tape or signs to prevent accidents.
Have a first-aid kit and a fire extinguisher nearby. A safe start ensures the entire demolition proceeds without incident.
Step 2: Detach and Remove the Lattice Panels
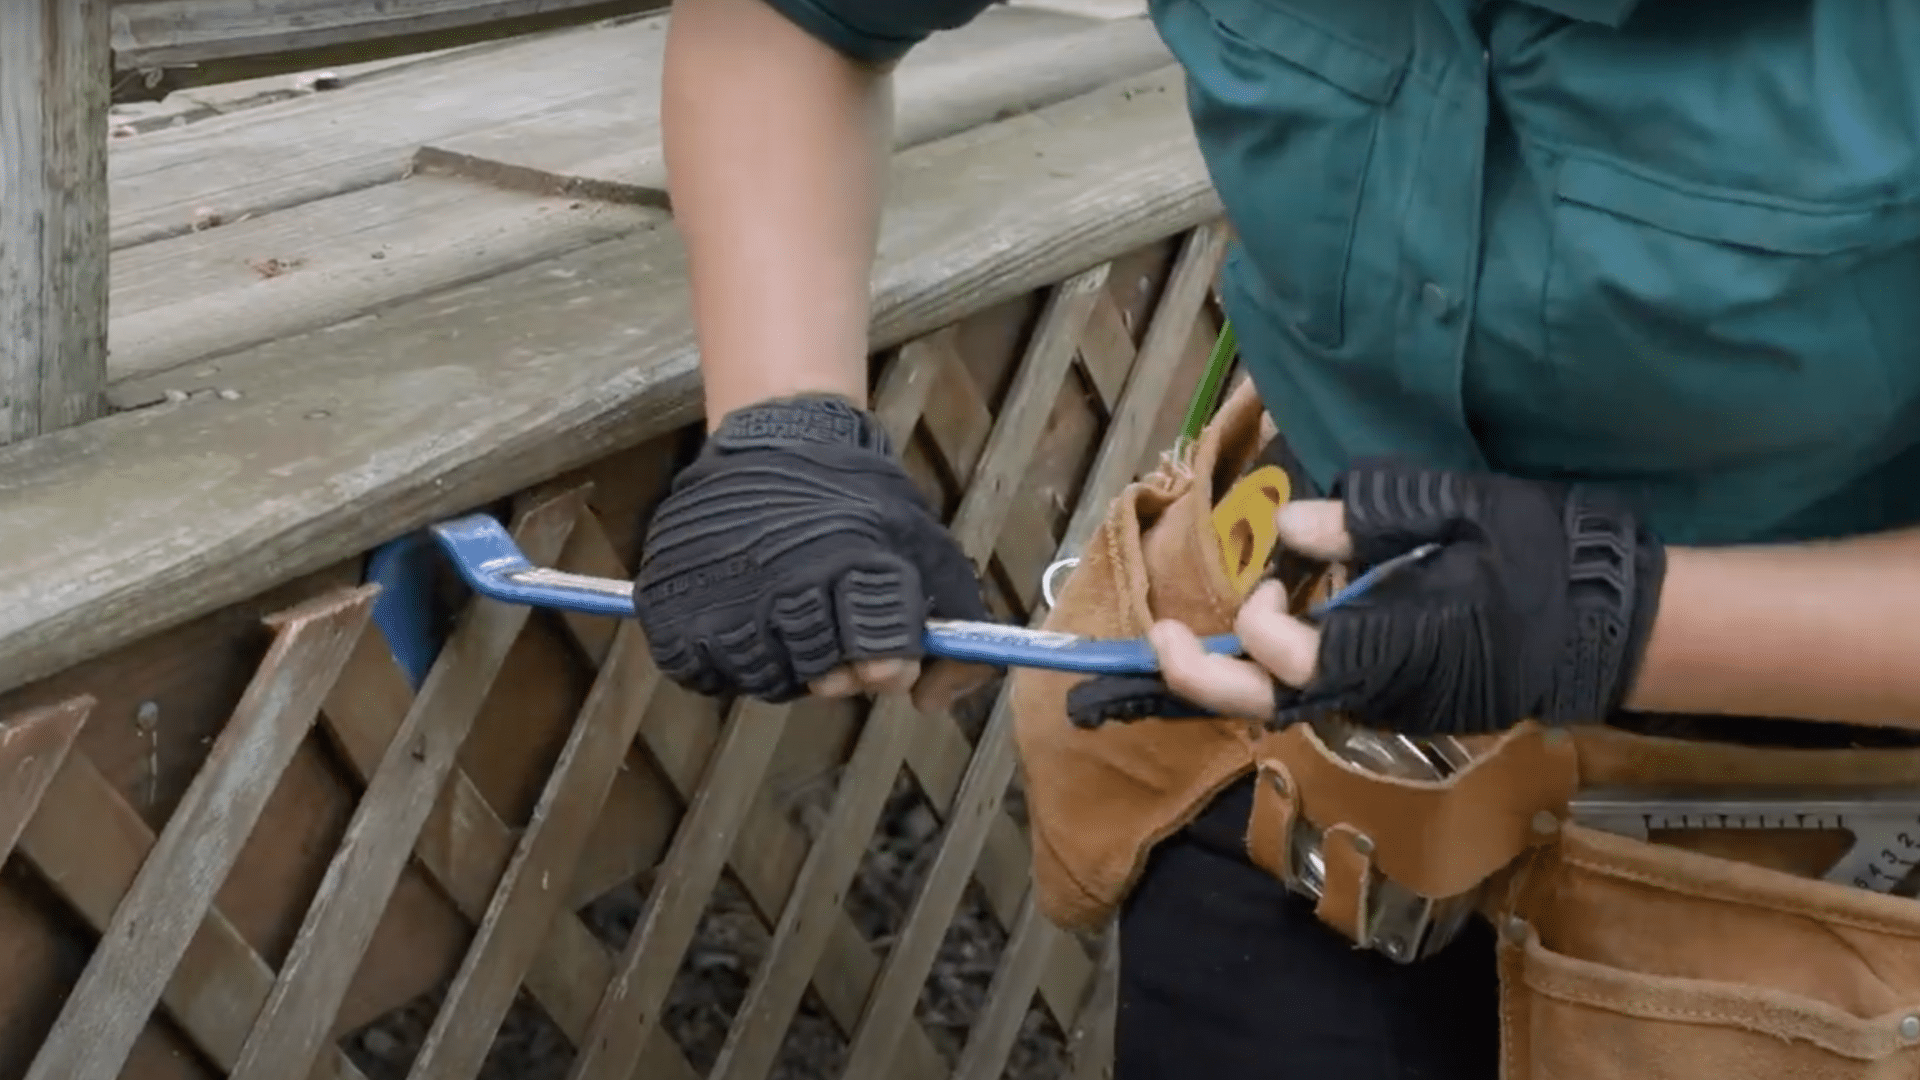
Begin by removing any lattice attached to the base of the deck. Use a pry bar or drill to loosen fasteners without damaging the surrounding material.
Watch for old nails or staples that could cause injury.
Removing lattice panels improves airflow and access to the deck’s structural supports, making later steps more manageable.
Discard broken panels or store reusable ones in a neat and organized manner for future use.
Step 3: Take Down Railings and Guard Posts
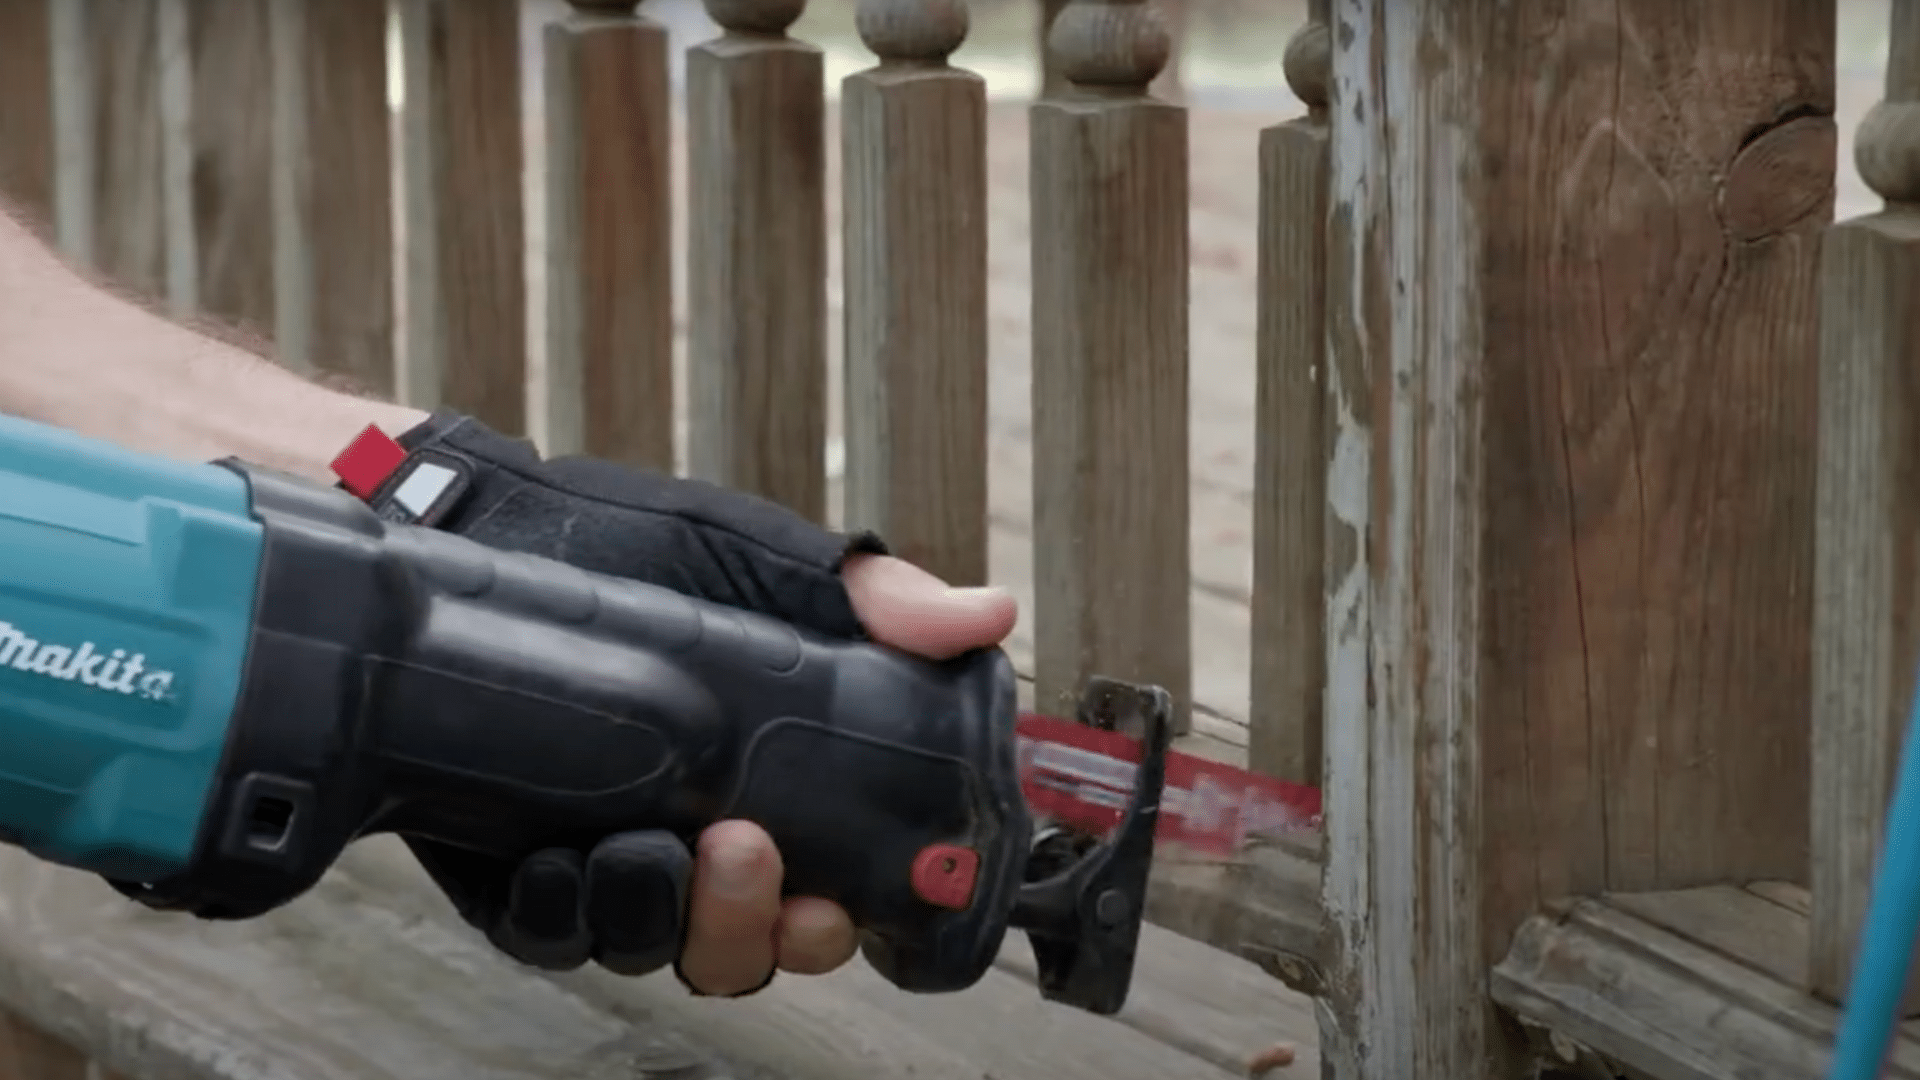
Start at a corner and work across, unscrewing or prying off railings and balusters. Use a reciprocating saw for stubborn or rusted bolts.
Carefully remove vertical posts after disconnecting horizontal components. Set aside intact parts for possible reuse.
Removing railings early creates a clear and open space, preventing accidental snags or damage when you remove the decking boards in the next step.
Step 4: Pull Up Decking Boards and Surface Framing
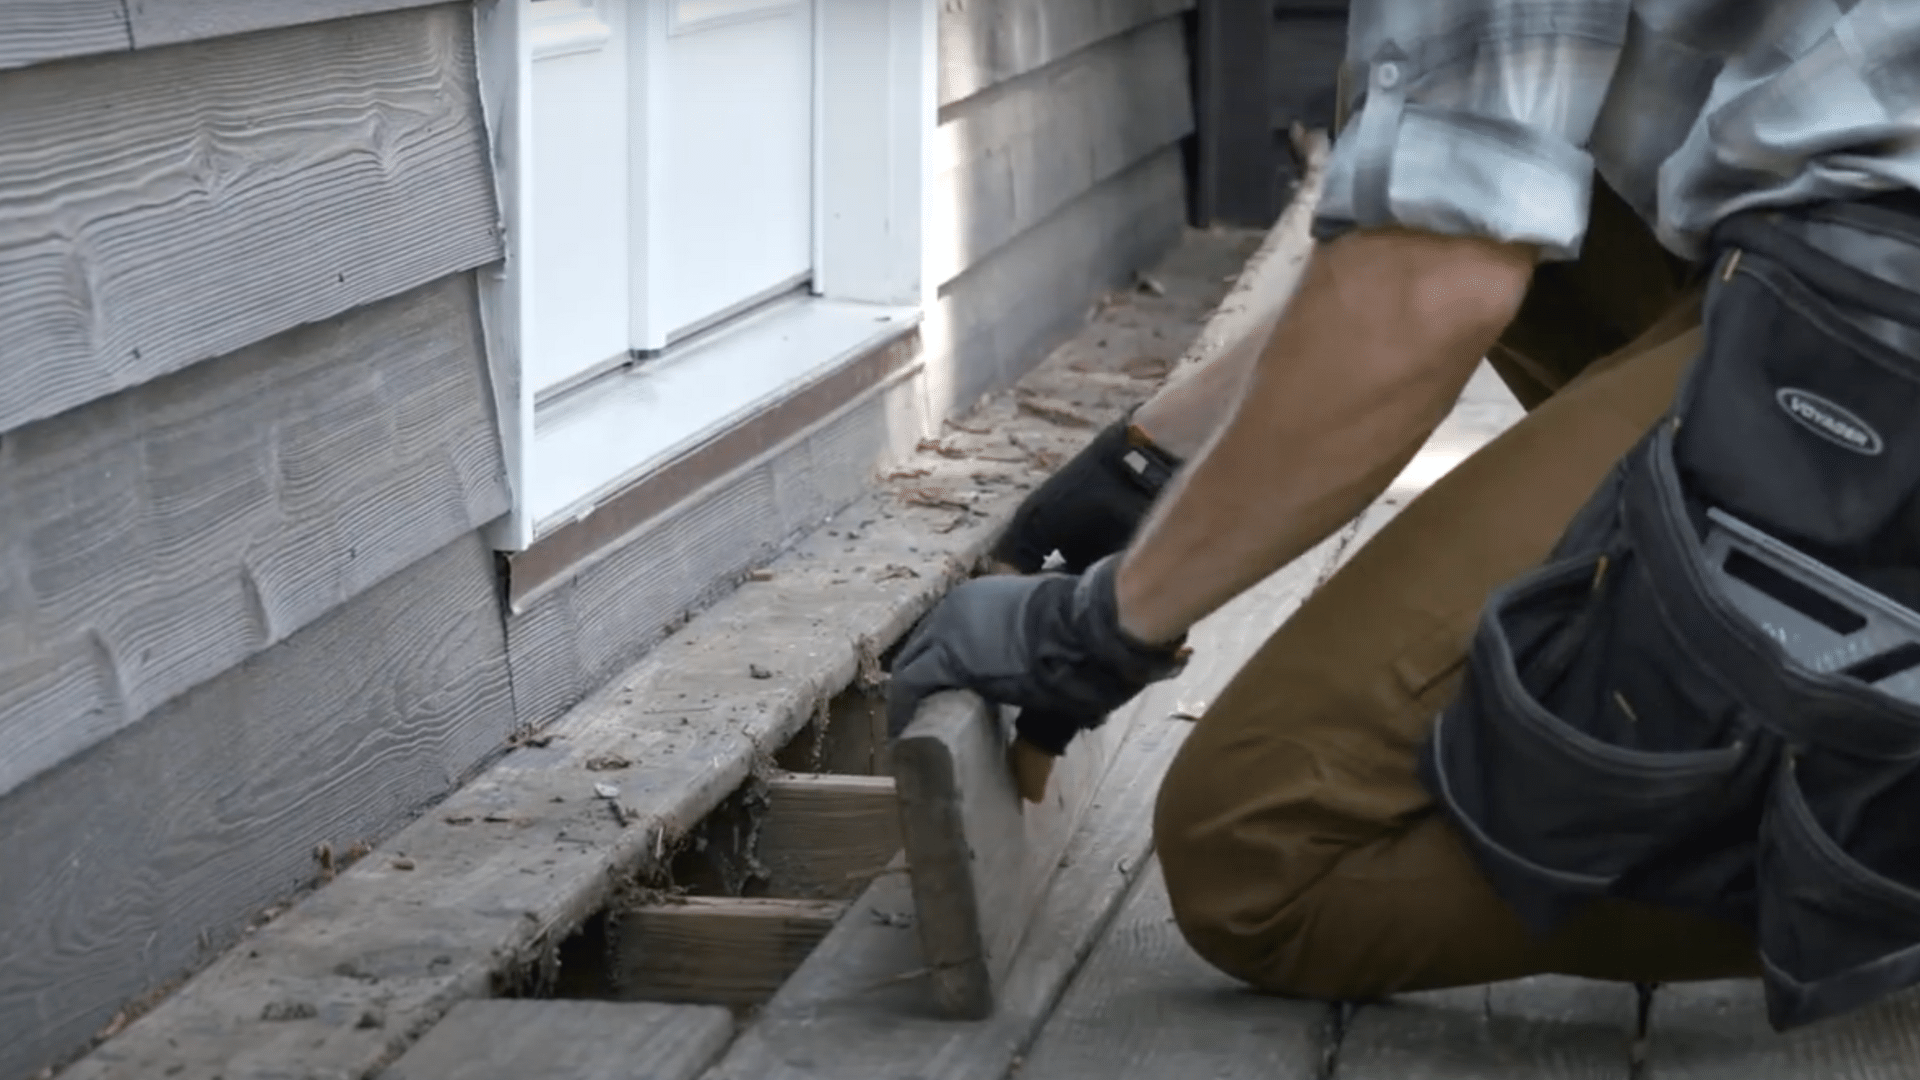
Use a deck wrecker or pry bar to pull up boards methodically. Start at one end and move across to avoid stepping through weak areas.
Remove all nails or screws left behind to prevent injury.
After the surface boards are lifted, remove the outer rim joists.
Stack reusable materials and bag scraps. This clears the top layer, revealing joists and inner framing underneath.
Step 5: Cut and Remove Joists and Ledger Board
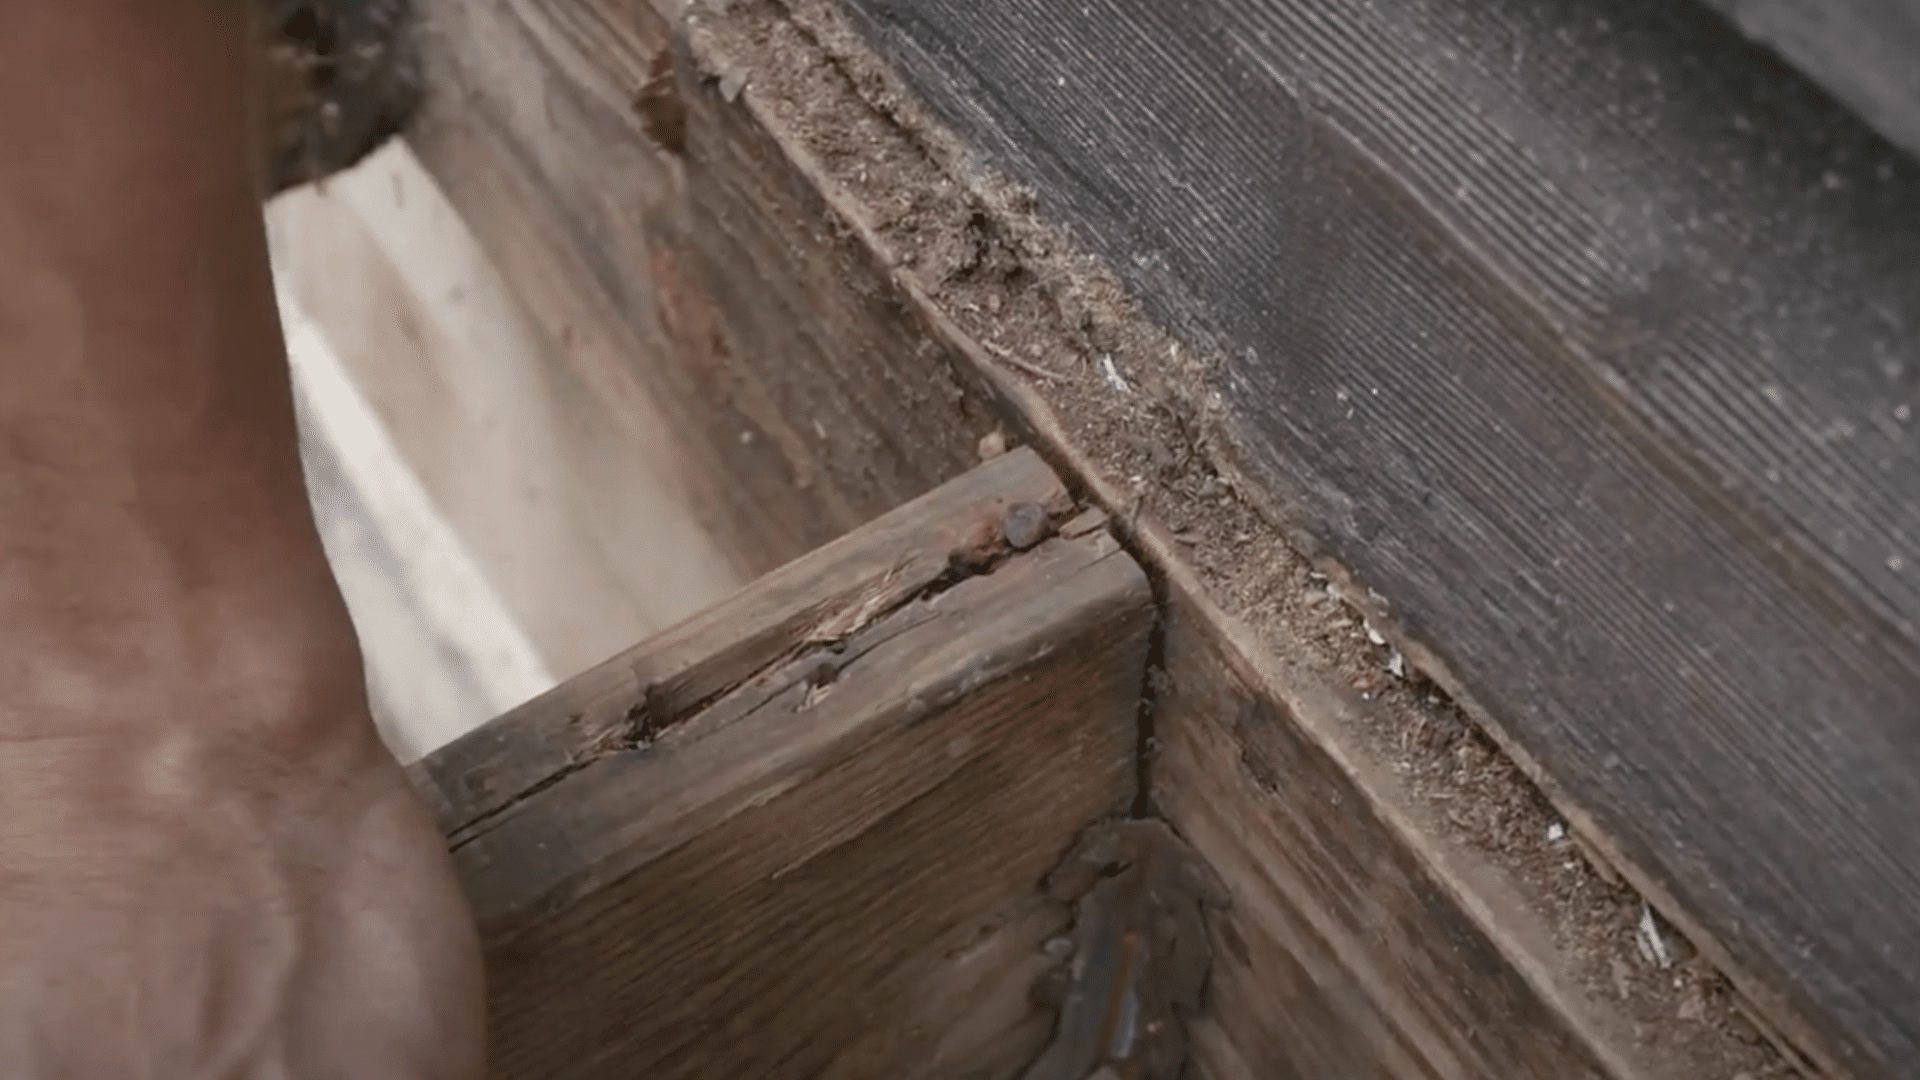
Check joists for decay or pest damage before cutting.
Use a circular or reciprocating saw to segment joists for easy removal.
Pry or unscrew hangers and nails, securing them to the ledger board. Then, remove the ledger board from the house by unscrewing or sawing it free.
Proceed slowly to avoid damaging the siding or foundation. Clear all brackets and leftover hardware as you go.
Step 6: Clean Up the Site and Prepare the Ground
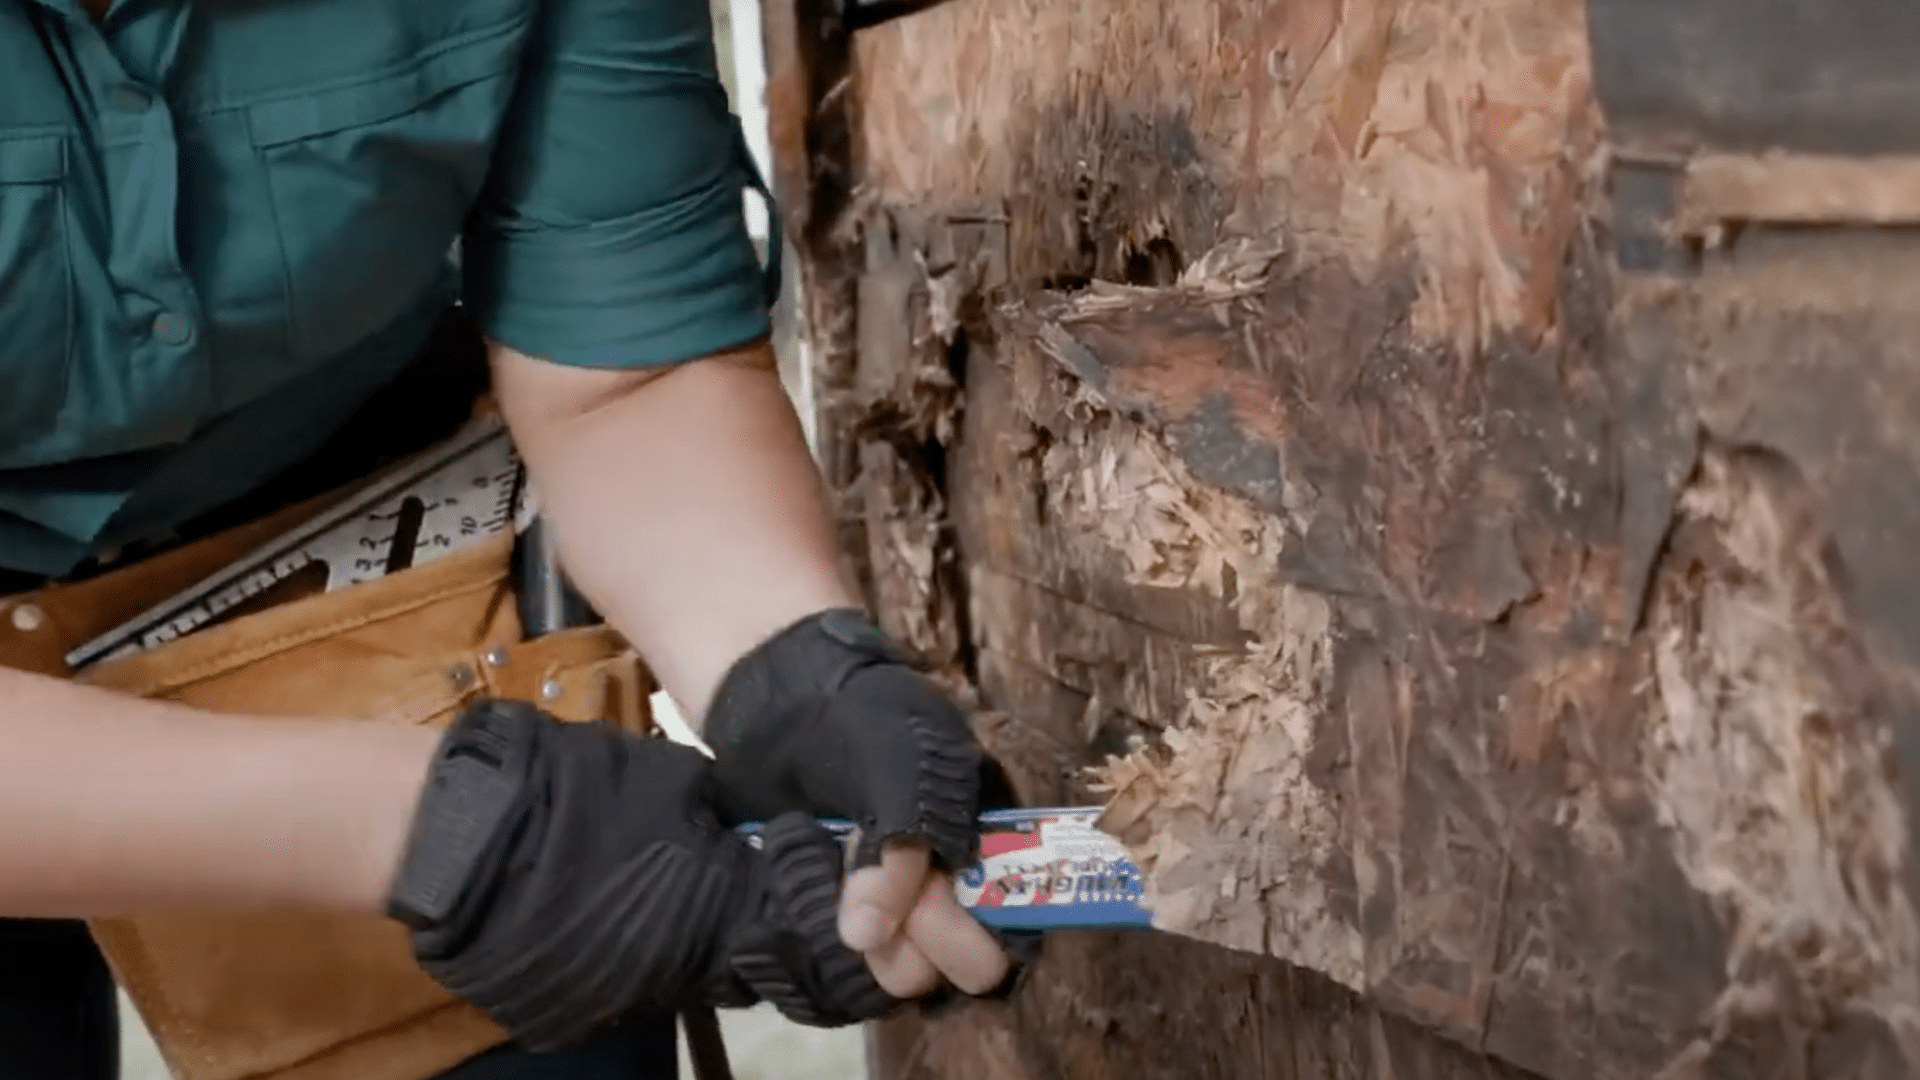
Once the structure is removed, clear all fasteners, broken wood, and debris. Dig out or break apart any concrete footings left behind.
Rake the ground flat and inspect for drainage issues or moisture buildup. Add fresh soil, gravel, or a weed barrier, depending on future use.
Even if rebuilding or repurposing the space, proper site prep ensures stability and longevity for what comes next.
Watch the full step-by-step deck demolition process in the video below for clear visuals under the expert guidance of Trex Academy:
What to Consider Before Removing a Deck?
Before you begin demolition, take a moment to inspect your deck and the surrounding area carefully.
Look for any utility lines, such as gas, electric, or water, that may run under or near the deck. These must be appropriately identified and shut off to prevent accidents.
Also, assess the deck’s condition. Is it rotting, leaning, unstable, or unsafe? If so, extra caution is needed during removal.
Estimated Cost Comparison:
| OPTION | ESTIMATED COST |
|---|---|
| DIY Demolition | $50–$200 (for tools and disposal) |
| Hiring a Professional | $500–$1,000+ depending on size |
Contact your local building department to see if a demolition permit is needed; some cities require one, especially if the deck is attached to your home.
Tips to Make the Demolition Easier
Below are the simple planning and the right tools that can save hours of hard work:
- Work with a partner for better safety and speed
- Sort materials as you remove them: reusable vs. scrap
- Label hardware if reusing in future builds
- Use a magnetic nail sweeper during cleanup
- Take breaks and stay hydrated; deck work is tough
- Start early in the day to finish before dark
- Check the weather before beginning; avoid rain or strong winds
What to Do with Old Deck Boards?
| WHAT YOU CAN DO | DETAILS |
|---|---|
| Reuse for DIY Projects | Planter boxes, benches, shelves, and birdhouses |
| Build Rustic Furniture | Sand and finish old boards for a worn-wood look |
| Donate Usable Wood | Give to local schools, maker spaces, or charities |
| Sell or Give Away | Post on Craigslist, Facebook Marketplace, etc. |
| Recycle Damaged Boards | Take it to the local construction waste or wood recycling center |
| Avoid Burning Treated ones | Releases harmful chemicals; never burn pressure-treated wood |
Note: Always check if your deck boards are pressure-treated before deciding how to dispose of them, this affects your safety options.
The Bottom Line
Is your backyard ready for a fresh start?
Taking down an old deck isn’t just about removing wood; it’s about making space for something better.
With the right tools, a clear plan, and safety as the top priority, deck demolition is entirely doable and even satisfying.
So, are you ready to grab your gloves and take that first step?
Start today, and turn that tired old space into something you’re proud to show off.

