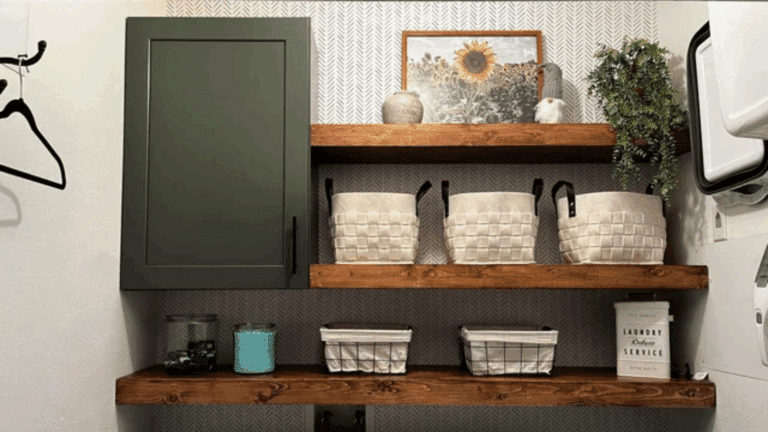
How to Easily Paint and Repaint Your Furniture at Home?
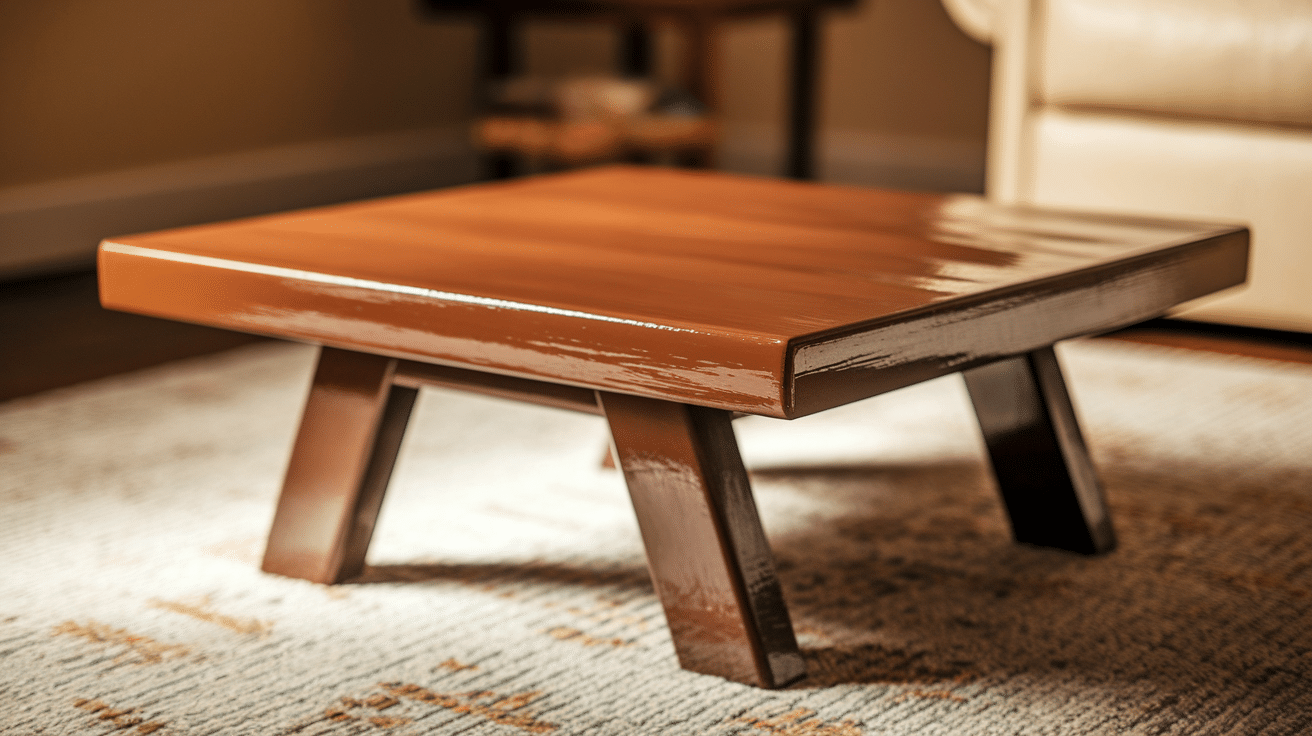
Got an old chair collecting dust? That tired-looking furniture could become your next favorite piece with just some paint and creativity.
Painting furniture might sound scary, but it’s actually super easy and fun.
Think of it like giving your furniture a makeover; just like how a new haircut can make someone look completely different!
With the right steps, you can do exactly that.
Ready to learn how simple it really is? Let’s jump in and turn your furniture dreams into reality.
Why Repaint Furniture?
Repainting furniture breathes new life into tired, scratched, or faded pieces without the expense of buying new ones.
It’s an affordable way to refresh your home’s look while expressing your personal style through custom colors and finishes.
You can turn a vintage find or simply update existing pieces to match your current decor theme.
Beyond aesthetics, repainting extends furniture’s lifespan, making it both environmentally friendly and budget-conscious.
The process is surprisingly straightforward and offers immediate, satisfying results.
From reviving a worn dining table to giving old chairs a modern makeover, repainting lets you create furniture that perfectly fits your space and taste.
It’s a simple DIY project that delivers maximum impact for minimal investment, converting ordinary pieces into personalized statement furniture.
Tools and Materials Required to Paint the Furniture
Here’s a simple list of the basic tools and materials you’ll need to get started with repainting your furniture:
| TOOL/MATERIAL | DESCRIPTION |
|---|---|
| Paintbrushes | Used to apply paint. Choose different sizes for detailed areas. |
| Sandpaper | Helps smooth the surface before painting. |
| Primer | A base coat that helps paint stick better and last longer. |
| Paint | The colour you want to use for your furniture. (Choose the right type for wood.) |
| Drop Cloth | Protects the floor from paint spills. |
| Painter’s Tape | Helps keep edges neat and clean while painting. |
| Clear Coat/Sealer | Adds a protective layer to keep your paint safe and shiny. |
| Paint Tray | Holds the paint for easy access while using a roller or brush. |
| Roller (Optional) | A tool for painting large, flat areas quickly and smoothly. |
Getting Your Furniture Ready
Good preparation makes all the difference!
Start by giving your furniture a thorough cleaning with a damp cloth to remove dust and grime.
Next, lightly sand the entire surface; this creates a slightly rough texture that helps paint stick better.
If you spot any chips, cracks, or holes, fill them with wood filler and sand smooth once dry.
Finally, apply a coat of primer to create the perfect base for your new paint color.
While this prep work might seem boring, it’s what separates an okay paint job from one that looks professionally done and lasts for years.
Step-by-Step Guide to Painting Your Furniture
Here is an easy guide to help you repaint your furniture from start to finish:
Step 1: Prepare the Furniture
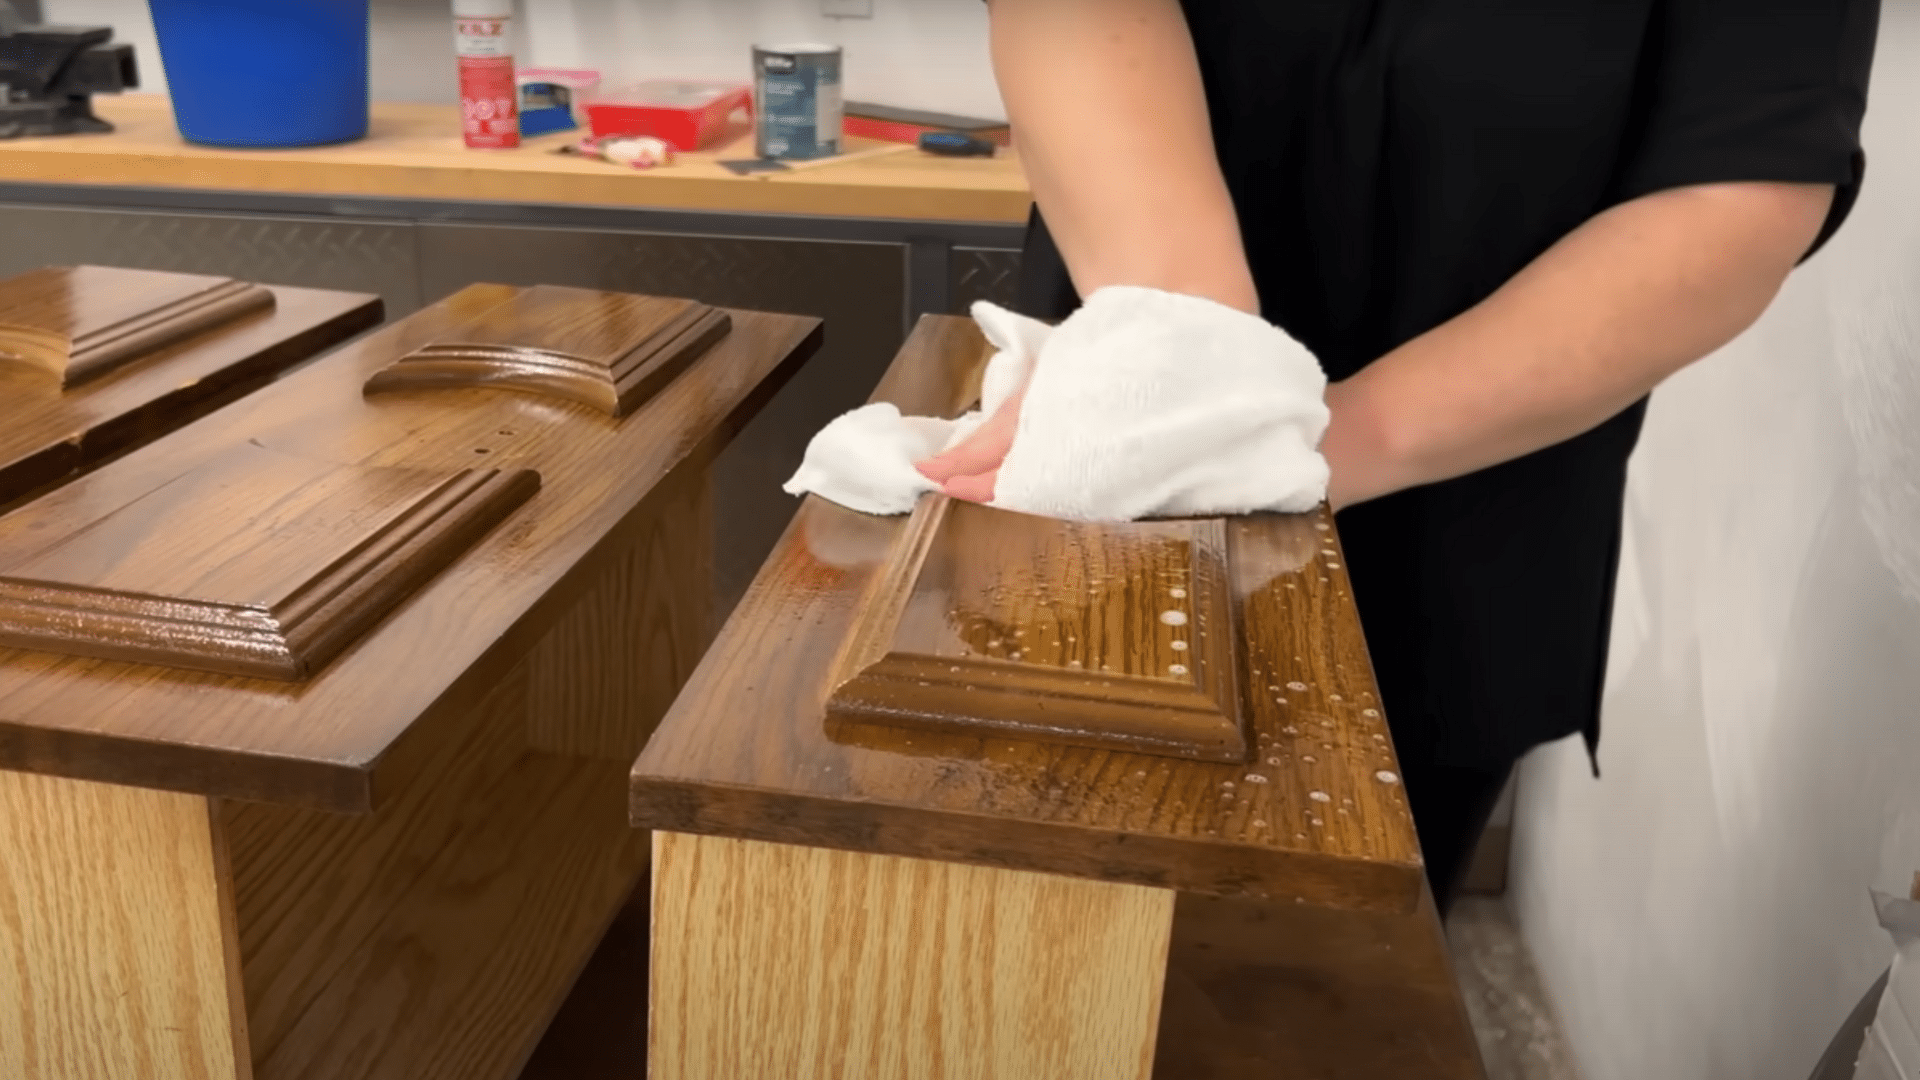
Start by cleaning the furniture thoroughly with a mild cleaner like Murphy’s Oil Soap to remove dust, grime, or cobwebs.
Fill any holes or nicks with wood filler and let it dry. Then, remove any hardware to avoid paint smudges.
A well-prepared surface ensures a smooth, long-lasting finish.
Step 2: Sand the Surface
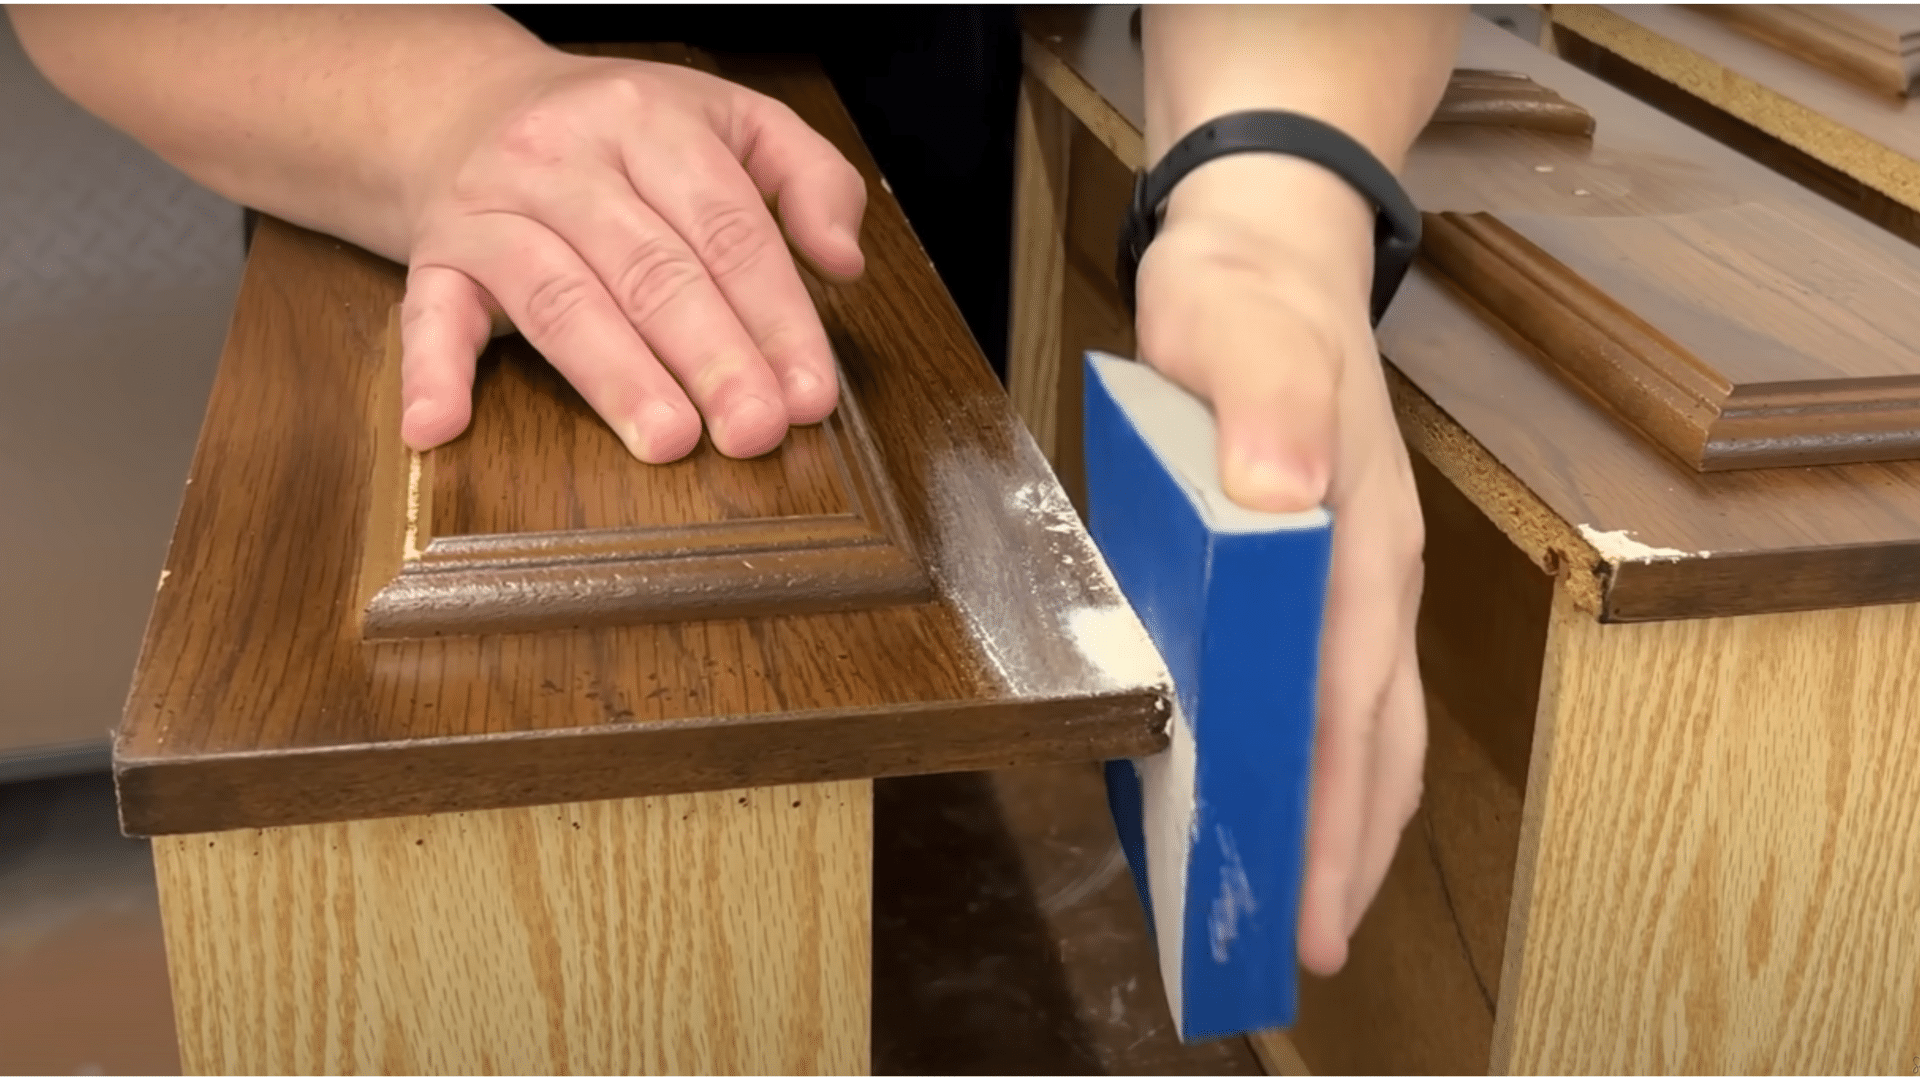
Lightly sand the entire furniture piece using a sanding sponge or sandpaper to roughen the surface.
This step helps the paint adhere better without removing all the old finish.
Wipe away sanding dust with a damp cloth or tack cloth to ensure a clean surface before priming.
Step 3: Apply Primer
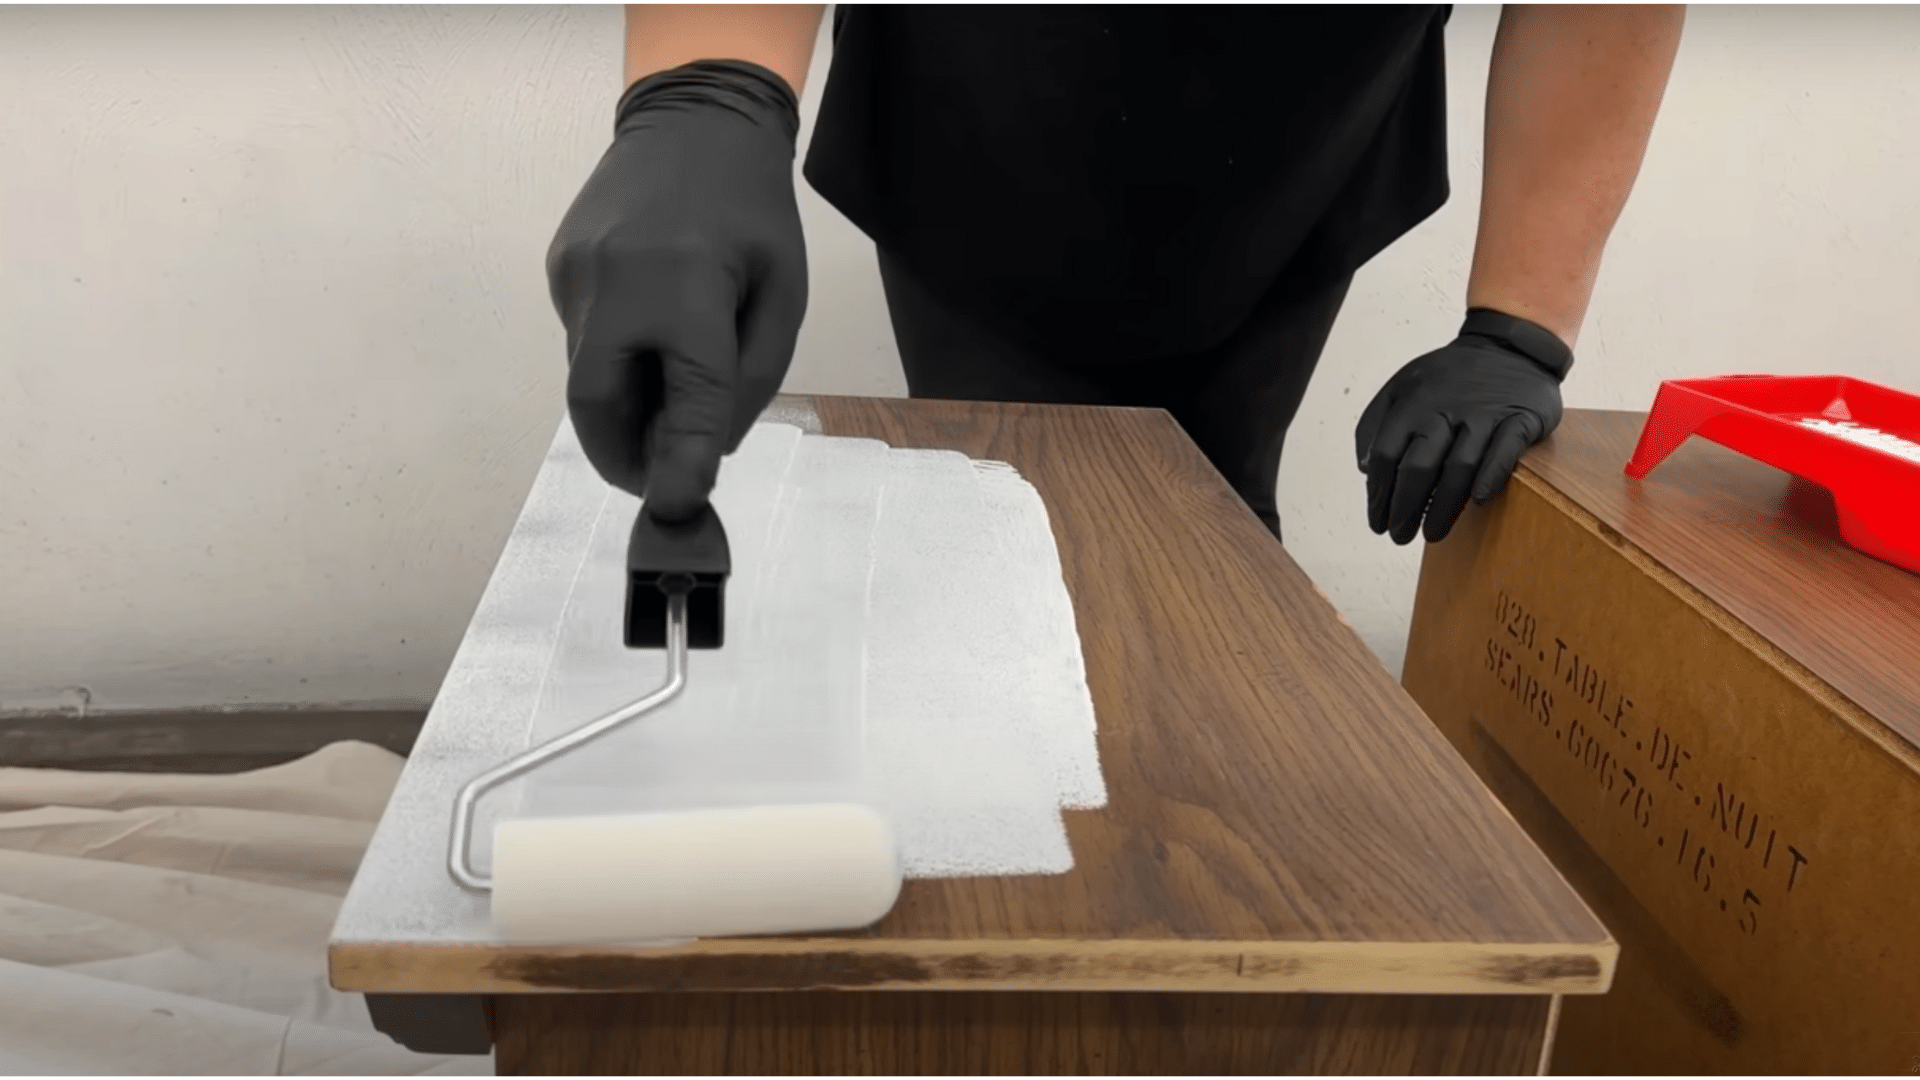
Use a stain-blocking primer with a foam roller for flat areas and an angled brush for crevices.
Apply one thin, even coat and allow it to dry completely.
Lightly sand the primed surface to remove any brush or roller marks, then wipe it clean again.
Step 4: Paint in Thin Coats
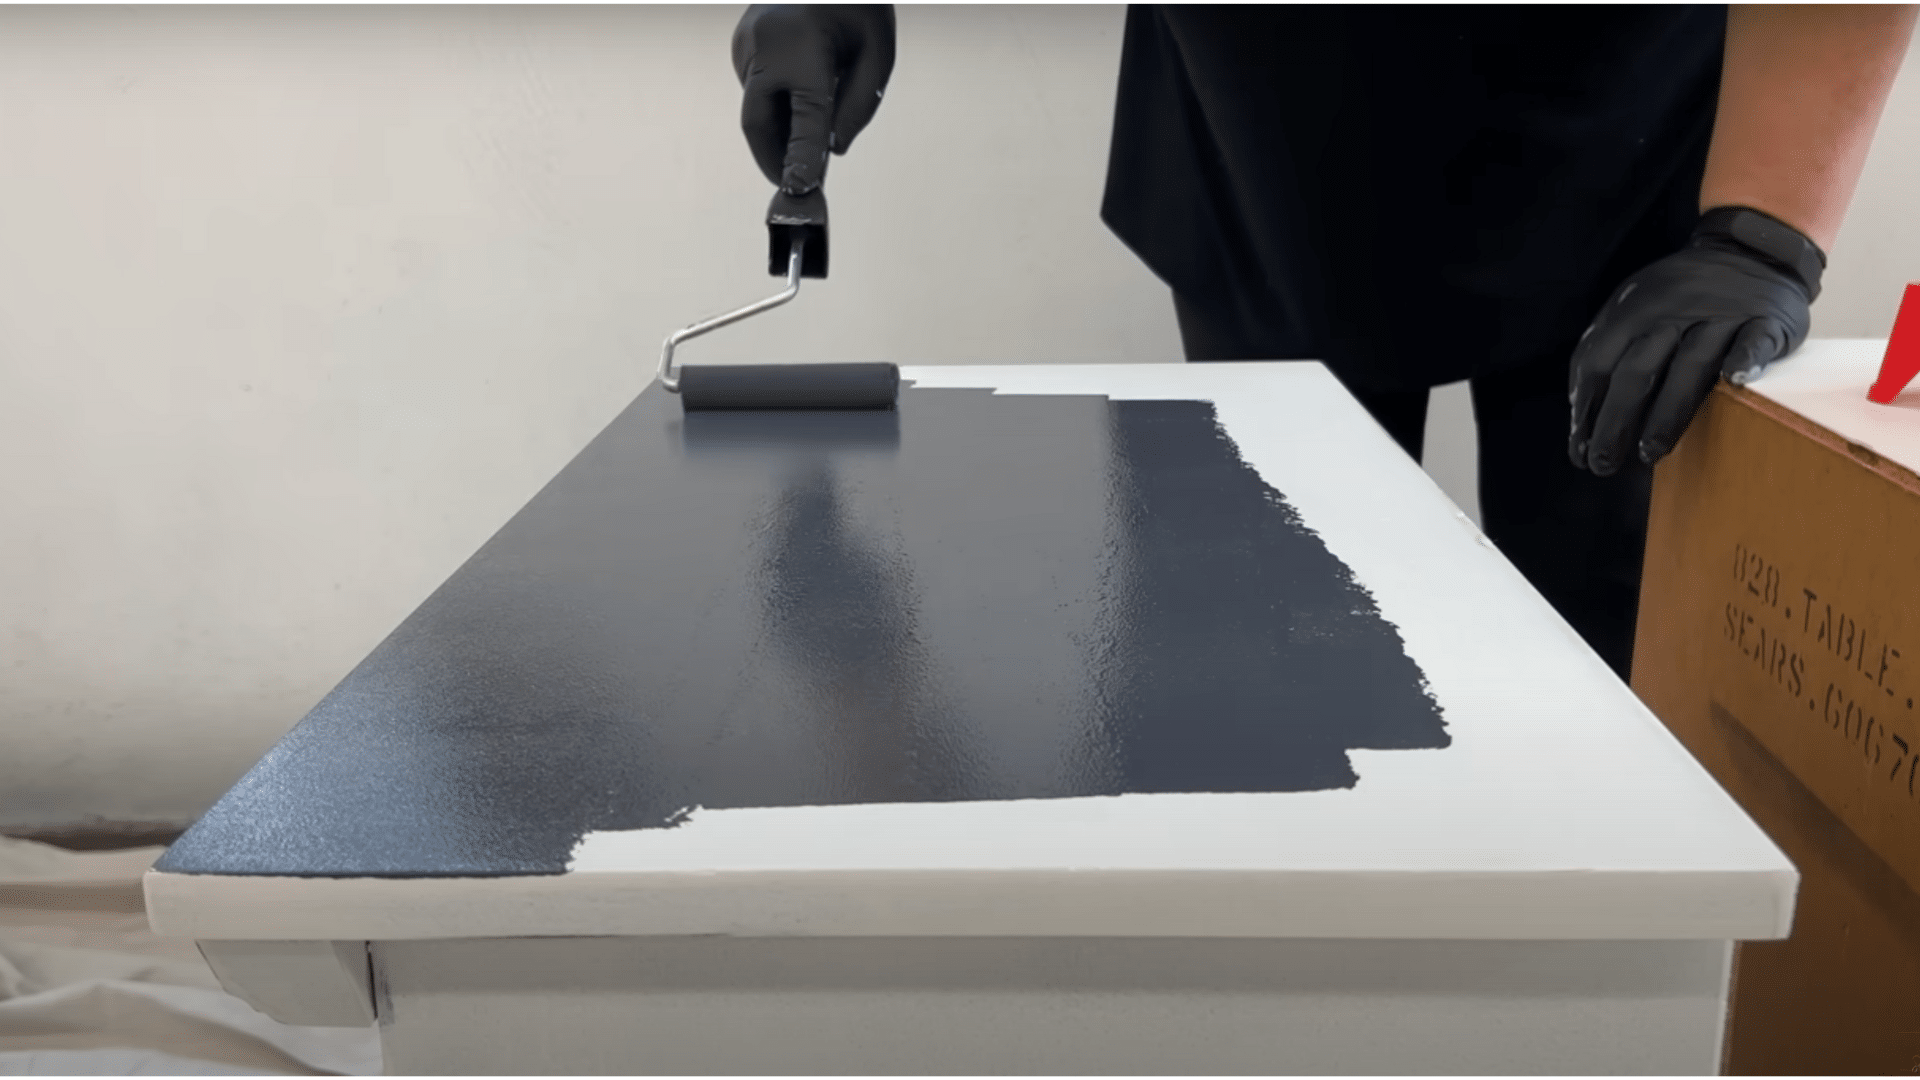
Apply the paint using the same roller-and-brush method, starting with thin layers.
Let the first coat dry, sand lightly, and wipe away dust before applying the next coat.
Usually, two to three thin coats work best for an even, professional finish.
Step 5: Add a Protective Top Coat
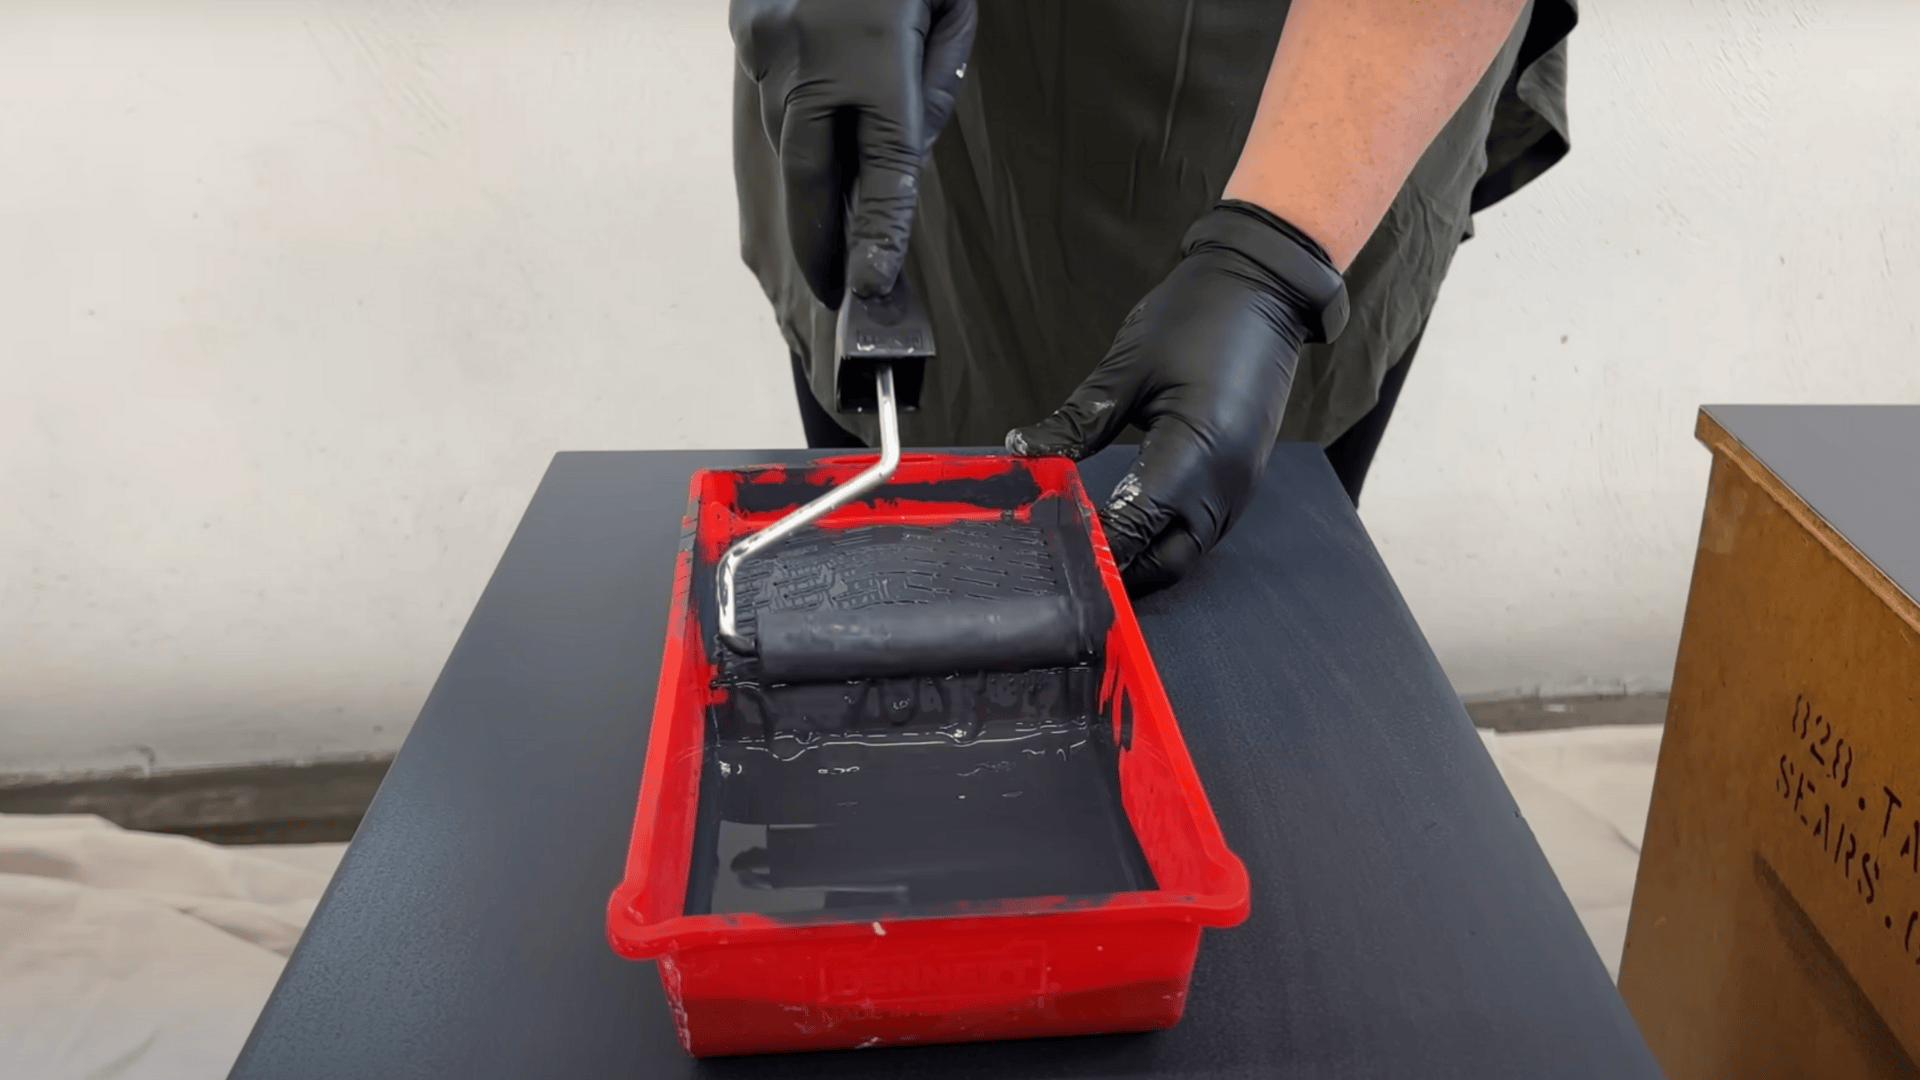
After the final paint coat dries, protect the surface with a topcoat like Minwax Polycrylic or paste wax.
For paste wax, rub it on with cheesecloth, let it sit for 10–15 minutes, then buff with a clean cotton cloth.
This adds durability and shine. Allow the furniture to cure completely before using it.
Video Walkthrough: See How Experts Do It!
For more information, check out this video tutorial by Katie Scott SALVAGED by k. scott.
How to Get that Professional Finish?
Want your furniture to look like it came from an expensive store?
These simple tricks will make all the difference between a DIY disaster and a stunning transformation.
- Apply Thin, Even Coats: Multiple light layers prevent drips and streaks
- Use Quality Brushes: Good tools eliminate bristle marks and rough patches
- Clean Between Coats: Wipe away dust with a tack cloth for smooth layers
- Sand Edges Lightly: Create trendy distressed looks on chalk paint finishes
- Always Seal Your Work: Protect with topcoat or wax for lasting results
Choosing the Right Paint Type
Now it is time to choose the right paint to give it a fresh new look.
For most wood furniture, you can use either latex (water-based) or oil-based paint.
- Latex paint is a great choice for beginners because it dries quickly, has less smell, and is easy to clean up.
- Oil-based paint takes longer to dry but is stronger and better for items that get used a lot, like tables or chairs.
Paint also comes in different finishes. Matte has no shine and looks soft. Satin has a little shine and is easy to wipe clean.
Glossy paint is shiny and strong, but can show marks.
You can also try chalk paint, which gives a rustic look and does not need sanding or priming.
Creative Techniques & Personalization
| TECHNIQUE | WHAT TO DO | RESULT |
|---|---|---|
| Distressed/Chippy Look | Paint two colors, then lightly sand the edges and corners. | A vintage, worn-out style with charm. |
| Faux Marble Finish | Use sponge or feather tools with paint to create marble-like patterns. | A fancy marble look on tabletops or dressers. |
| Swap Hardware | Change old knobs or handles with new ones from a store or online. | Instantly freshens up the furniture look. |
| Wallpaper Liners | Stick wallpaper or drawer liners inside shelves or drawers. | Adds fun patterns or color inside pieces. |
Pro Tip: Start with just one or two techniques on your first project.
You can always add more creative touches to future pieces once you get comfortable with the basics!
Wrapping It Up
Repainting your furniture is a simple and rewarding project that can completely change the look of your home.
By following these easy steps, preparing your furniture, choosing the right paint, and applying it carefully, you can give your old pieces a fresh, new life.
Do not forget to let the paint dry and cure properly for the best results. Adding a clear coat will protect your work and make it shine.
Regular cleaning and quick touch-ups will help your furniture last even longer.
With a little patience and some creativity, you can enjoy beautifully repainted furniture that looks brand new!
Frequently Asked Questions
Can I Paint Over Varnished or Stained Furniture?
Yes, but you will need to sand the surface first and apply a primer to help the paint stick.
What Should I Do if The Paint Looks Streaky?
If the paint looks streaky, try sanding lightly and adding another thin coat for an even finish.
How Do I Protect My Painted Furniture from Spills or Scratches?
Use coasters, placemats, and furniture pads to protect your painted surface from damage.

