A Complete Guide on DIY Platform Bed

Are you in search of an affordable and rewarding home improvement project? Building your platform bed frame can be both satisfying and practical.
The Easy DIY Platform Bed Frame Build allows you to craft a strong and stylish bed frame without the need for advanced carpentry skills.
By following the few steps, we’ll walk you through the process, offering expert tips and insights to ensure your project is a success.
You need some tools and a good quality wooden slab to make your platform strong. Get step-by-step instructions, helpful tips, and answers about the Easy DIY Platform Bed Frame Build.
So, if you’re dedicated to upgrading your sleeping setup without breaking the bank, try your hand at this DIY platform bed project. It’s the best way to learn new skills, save money, and enjoy the joy of creating something useful.
Get started today and change your bedroom with a new and solid platform bed that you built yourself.
Easy DIY Platform Bed Frame Build
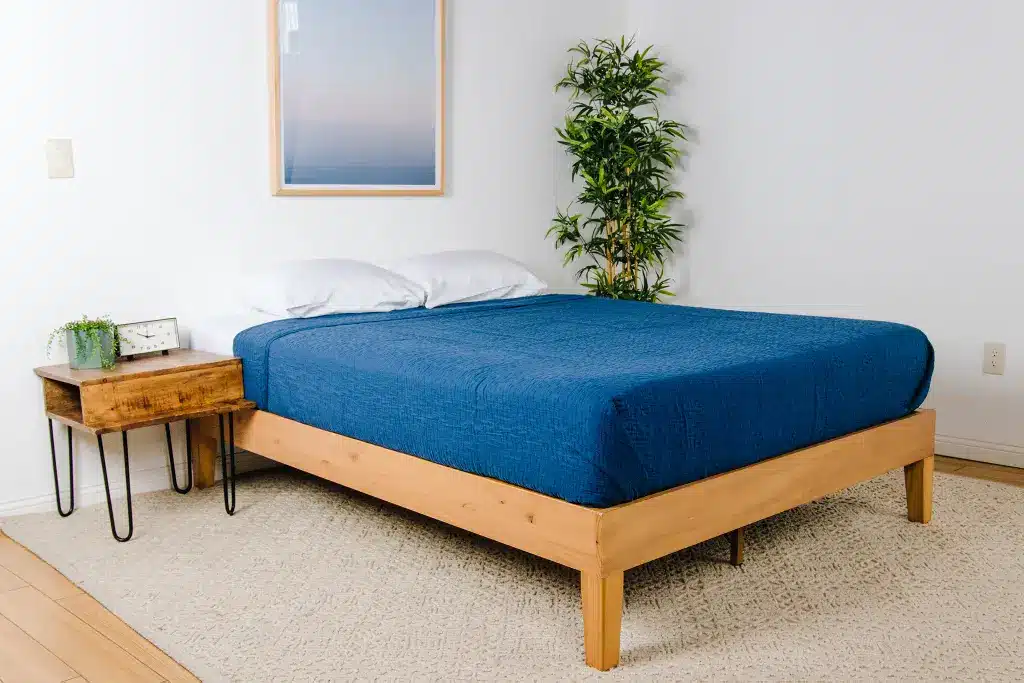
Creating your very own platform bed frame is a happy experience that enhances your bedroom’s view and its uses. With a minimum design that decreases the need for a box spring, a platform bed frame offers a smooth and modern look.
Here’s a step-by-step breakdown of how to build one.
1. Tools Required for DIY Platform Bed

If you’re looking to create a stylish and affordable sleeping solution, a platform bed frame is a great DIY platform bed. Here’s a breakdown of the tools and materials you’ll need to get started.
Carefully measure and mark the dimensions of your bed frame. Use a saw to cut the wood planks according to your measurements. Sand down the edges for a smooth finish.
- Saw: A circular saw or miter saw will help you cut the lumber to the right lengths accurately. Ensure to measure twice before cutting and use a straight edge for clean lines. Safety goggles are a must to protect your eyes from flying wood chips.
- Drill: A cordless drill with screwdriver bits will be necessary for assembling the frame. A cordless drill with adjustable torque settings will prevent over-tightening and splitting of the wood.
- Measuring Tape: Accurate measurements ensure a strong and well-fitted bed frame. Measure the mattress size and add extra space for the frame’s length.
- Clamps: Clamps will hold pieces together as you attach them, keeping your hands free. They keep the wood straight and aligned, ensuring your frame remains square and a strong DIY platform bed. Use C-clamps or bar clamps to prevent pieces from shifting during drilling and screwing.
- Square: When building your platform bed frame, start with the right measurements. Use a square tool to ensure the corners are perfect at 90-degree angles. A carpenter’s square helps ensure all corners are at the right angles for stability.
- Sander: Smooth out the edges and surfaces of your wood pieces using a sander. A power sander smooths out rough edges and surfaces for a polished look.
2. Materials Required for DIY Platform Bed
Choose strong and hardwood like pine or plywood. You’ll need pieces for the frame sides, supports, and slats.
- Screws: Get a variety of screws, some for attaching the frame, others for securing slats. Choose screws that are long enough to provide a strong hold but not too long to avoid sticking out.
- Wood Glue: A strong wood glue increases the bed’s durability. This extra layer of glue strengthens the connections and prevents damage.
- Sandpaper: Different small loose particles of stone for sanding rough edges and surfaces for a smooth finish.
- Stain/Paint: If desired, you can add a finish to match your room’s look. Painting provides wide color options to match your room decor. It covers the wood’s texture, giving a smooth and consistent appearance.
- Mattress Support Slats: These evenly distribute weight and support the mattress. Measure and cut the slats to fit the inner dimensions of your bed frame. Space them evenly, around 2-3 inches apart, to provide the best support.
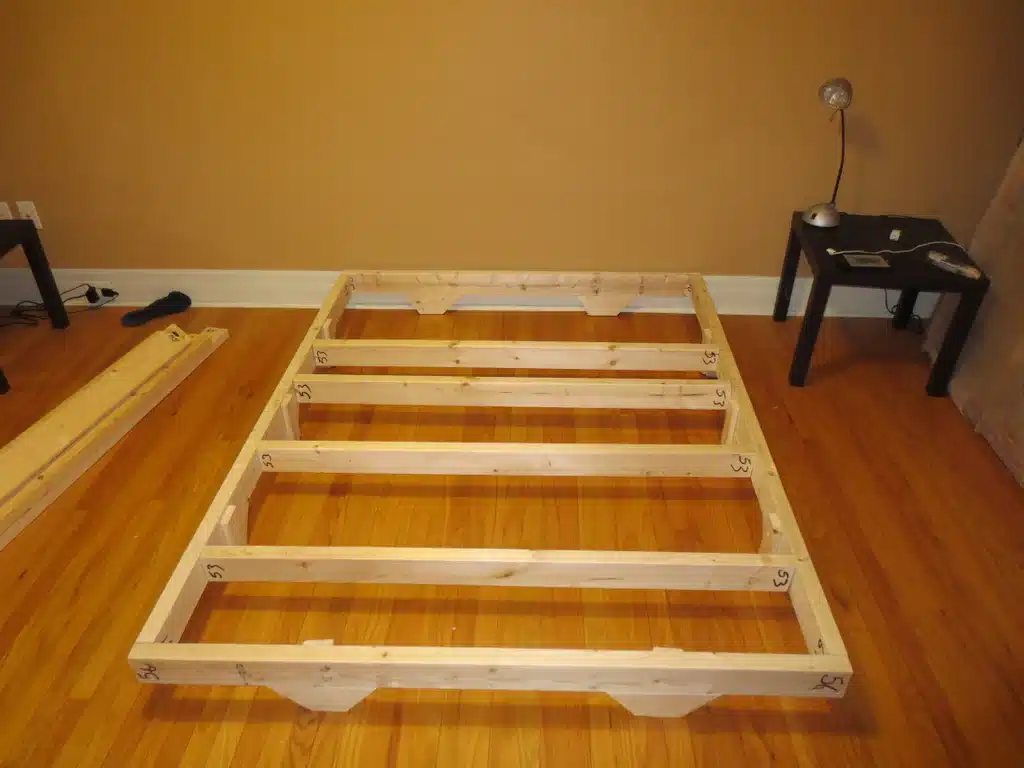
3. Assemble the Frame
While working on your DIY platform bed frame project, start by collecting all the necessary materials, including lumber, screws, and tools like a saw and a drill. Begin by cutting the lumber according to your required bed dimensions.
Then, assemble the main frame by connecting the headboard and footboard pieces to the side rails. Use screws to secure the joints firmly, ensuring stability and longevity. Double-check measurements and alignment before tightening all screws. This step forms the foundation of your platform bed.
4. Create the Slats

The slats provide the necessary support for your mattress and decrease the need for a box spring. Measure and cut the slats from the same type of lumber used for the frame. Ensure uniform slat spacing to distribute weight evenly.
Lay the slats across the frame, leaving a small gap between each to allow for ventilation. Attach them securely to the side rails using screws. This step promotes mattress durability and prevents it from becoming weak.
5. Finishing Touches
Now comes the creative part, adding finishing touches to increase the bed’s look. Sand down any rough edges or surfaces to make a smooth finish. You can choose to stain, paint, or seal the wood to match your bedroom decor while protecting it from wear and tear.
Applying a clear finish brings out the natural beauty of the wood. Once the finish dries, carefully place your mattress on the slats, and your DIY platform bed frame is ready to provide you with a comfortable and stylish sleep space.
Cut List and Measurements for Different Bed Sizes

To start crafting your platform bed frame, collect the necessary materials and tools. Determine the bed size you need, whether it’s Twin, Full, Queen, or King. Using the provided cut list, measure and mark the appropriate dimensions for the frame components.
Step 1: Cut Legs
Begin by preparing the leg pieces according to your chosen bed size. Measure and mark the length for each leg, considering the desired height of your bed frame. Utilize a saw to cut the leg pieces to the specified measurements accurately. Double-check your cuts to ensure perfection.
Step 2: Build Headboard/Footboard
Assemble the headboard and footboard sections using pocket holes for a clean and straight connection. Place the boards side by side and mark the locations for pocket holes. Utilize a pocket hole jig to create these holes, ensuring they are well-aligned. Attach the headboard and footboard pieces using appropriate screws that fit the pocket holes.
Step 3: Build Side Rails
Now, let’s create the side rails for your DIY platform bed frame. These rails will provide solid support and keep your mattress in place. To get started, you’ll need the rail support pieces that typically come with your bed frame kit. These pieces are usually made of strong wood or metal.
Attach the rail support pieces to the headboard and footboard of the bed frame. Make sure they’re arranged properly and securely fastened. These side rails will help distribute the weight evenly, preventing any shrinking or shaking. This step is important for the stability of your bed frame.
Step 4: Build Center Rail
To add extra stability and support, it’s a good idea to include a center rail in your DIY platform bed frame. This rail runs perpendicular to the side rails and provides additional stability, mainly for larger mattresses.
Measure the distance between the side rails and cut the center rail accordingly. It’s commonly made from the same strong material as the side rails. Position the center rail evenly along the length of the bed frame, ensuring it’s well-aligned and balanced.
Securing the center rail to the side rails is important to prevent any potential sagging in the middle. Use appropriate screws or connectors for a solid connection. This center rail not only boosts the bed’s strength but also extends the lifespan of your mattress by preventing too much stress on it.
Step 5: Sand & Finish
Once you’ve put together all the parts of your DIY platform bed frame, it’s time to give it a polished look. Sanding and finishing ensure a smooth and plain surface.
Begin by lightly sanding all the edges and surfaces with fine-grit sandpaper to remove any rough spots or splinters. This step helps create a comfortable and safe bed frame. After sanding, wipe off any dust with a clean cloth.
Next, choose a finish that matches your desired look. You can go for stain, paint, or a clear sealant. Apply the chosen finish evenly using a brush or cloth, following the product’s instructions. Allow the finish to dry completely before assembling the bed.
This not only improves the overall look but also protects the wood from wear and tear. With sanding and finishing, your DIY platform bed frame will not only be straight but also look pleasing, making it a perfect addition to your bedroom.
Step 6: Attach Bed Rail Brackets
Attaching bed rail brackets is the main step to ensure the stability and durability of your platform bed frame. Bed rail brackets connect the headboard, footboard, and side rails securely. Begin by identifying the designated locations for the brackets on each piece. Typically, these locations are marked in the assembly instructions.
Using a measuring tape and a pencil, mark the precise spots where the brackets will be attached. Place the brackets and screw them in place using the provided screws and a screwdriver. Ensure that the brackets are arranged properly and tightly secured. This step guarantees that your bed frame stays solid and doesn’t wobble during use.
Step 7 – Assemble Bed Frame
Now that you have prepared the individual parts of your DIY platform bed frame, it’s time to bring them together. The assembly process is made simple with the use of brackets. These are strong metal connectors that secure the frame’s components strongly in place. Attach the brackets to the designated spots on the frame sides and footboard, aligning them accurately to ensure stability.
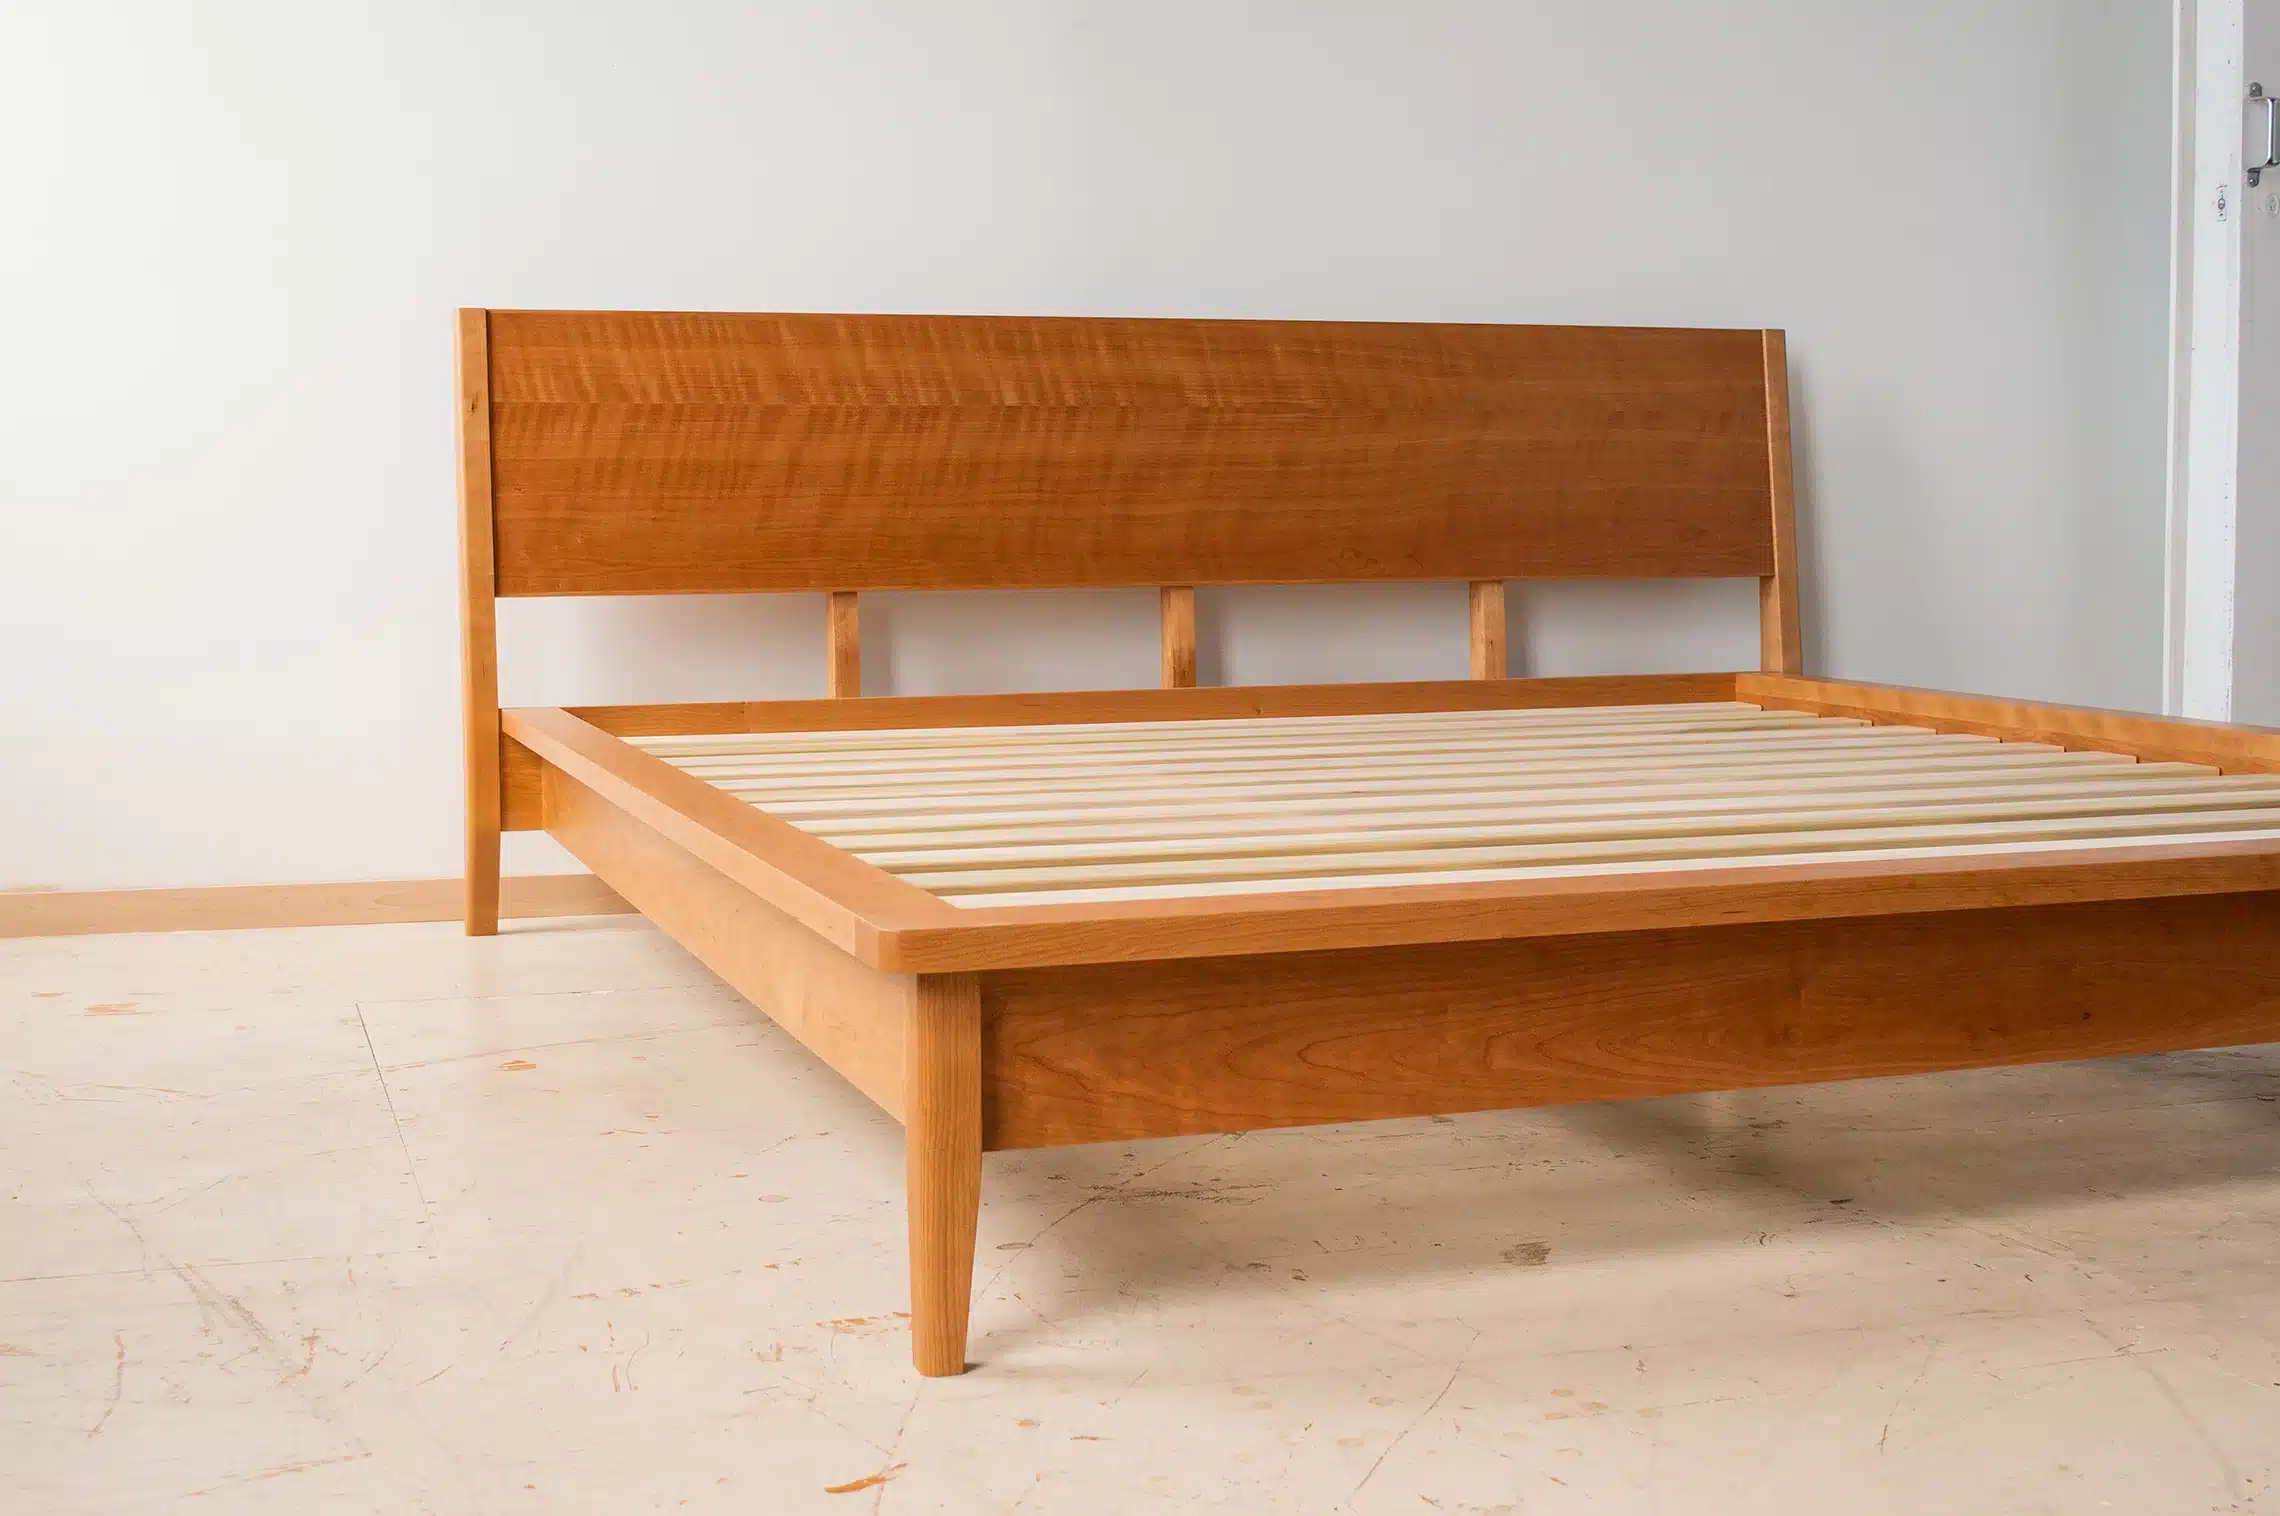
Step 8 – Install Slats or Plywood
After assembling the frame, the next step involves providing support for your mattress. You have two options: slats or plywood. Slats are narrow, evenly-spaced wooden pieces that span the width of the frame.
They offer good airflow and mattress support. Plywood is a solid flat board that covers the entire frame. It provides a solid surface for the mattress and ensures even weight distribution.
To install slats, simply place them horizontally across the frame, evenly spacing them to prevent sagging. For plywood, lay it on top of the frame and secure it using screws or nails along the edges.
Whichever option you choose, make sure it’s centered and secured properly. With this step completed, your DIY platform bed frame will be ready to provide you with a comfortable and supportive night’s sleep.
Conclusion
As we have learned every step of building the bed platform, you can start building your own Easy DIY Platform Bed Frame.
This Build is an excellent way to improve your bedroom’s look and use. By following the step-by-step guide and adding your creativity, you can craft a unique bed frame that suits your style.
Remember to gather quality materials, pay attention to precision, and enjoy the process.
The result? A stunning and useful bed frame that you can be proud of for years to come. Carefully measure and mark the dimensions of your bed frame.
Use a saw to cut the wood planks according to your measurements. Sand down the edges for a smooth finish, and use the best quality wood and other tools to increase the durability of your bed frame.
Why wait, then? Let’s start building it.
Frequently Asked Questions
Can I Use Pallet Wood for The Bed Frame?
While pallet wood can be used, it’s important to ensure the wood is clean, safe, and well-sanded to prevent splinters.
Do I Need a Box Spring with a Platform Bed Frame?
No, a platform bed frame provides sufficient support, eliminating the need for a box spring.
How Long Does It Take to Build the Bed Frame?
The timeframe varies depending on your skill level, but it’s possible to complete it in a weekend.
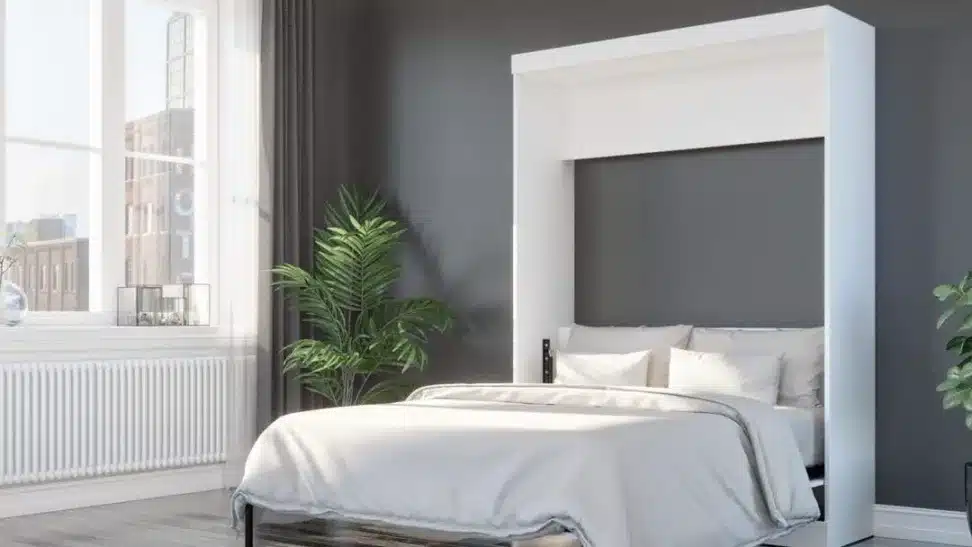
Can I Add Under-Bed Storage to The Frame?
Absolutely! Utilize the space under the bed for convenient storage solutions.
Do I Need Advanced Carpentry Skills?
Not at all! This project is designed for DIY experts of all skill levels.
Can I Paint the Bed Frame to Match My Decor?
Yes, painting the frame allows you to personalize it to your taste and the room’s aesthetics.


