Garage Roof Replacement: Costs, Materials & DIY Tips
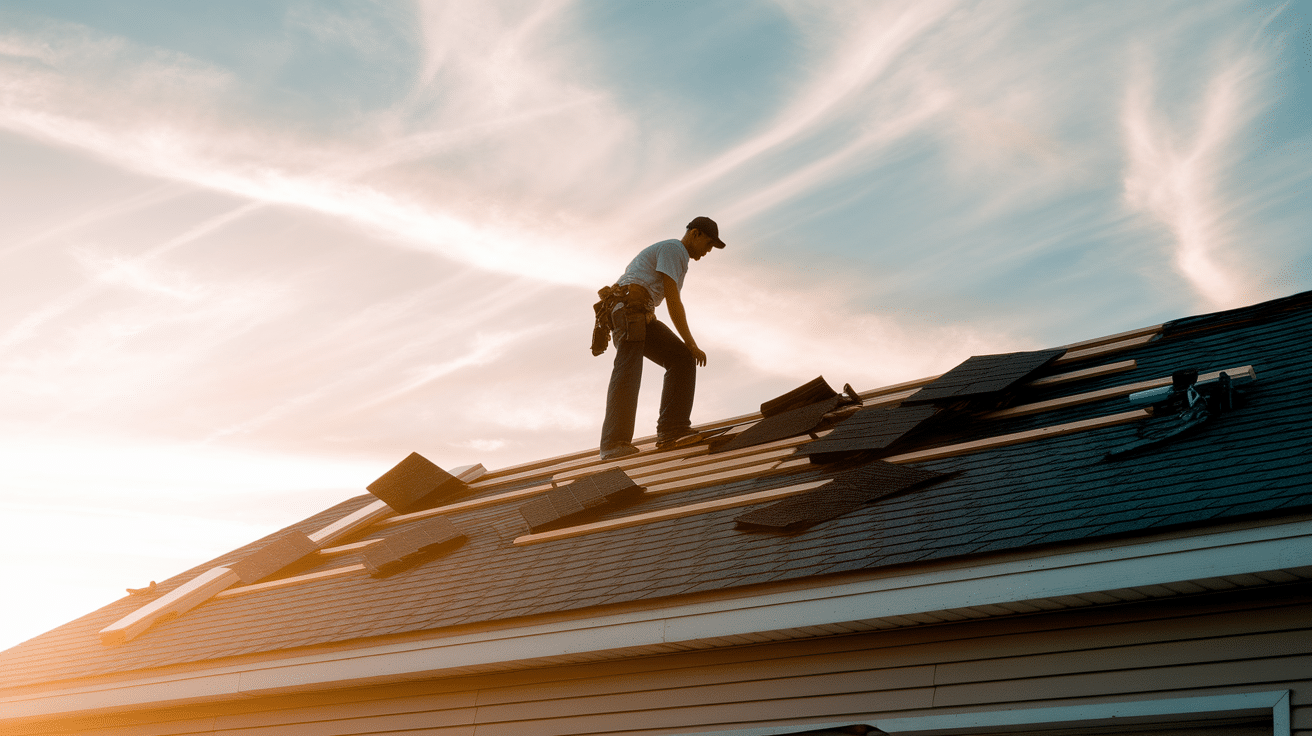
Your garage roof does more than cover the space outside your house; it shields your car, tools, and stored items from weather and water damage every single day.
Over time, storms, leaks, and old shingles can turn a strong garage roof into a weak spot that costs you money if ignored.
Knowing the signs of garage roof replacement and the associated costs can help save stress.
We will be telling you about repair tips, material options, and what makes replacement worth it.
Spotting Trouble: Signs Your Garage Roof Needs Work
It’s not always easy to tell when your garage roof is in trouble, but here are some clear warning signs:
- Leaks or water stains inside the garage, especially after rain.
- Missing, cracked, or curling shingles on the roof.
- Sagging or uneven spots that look like the roof is drooping.
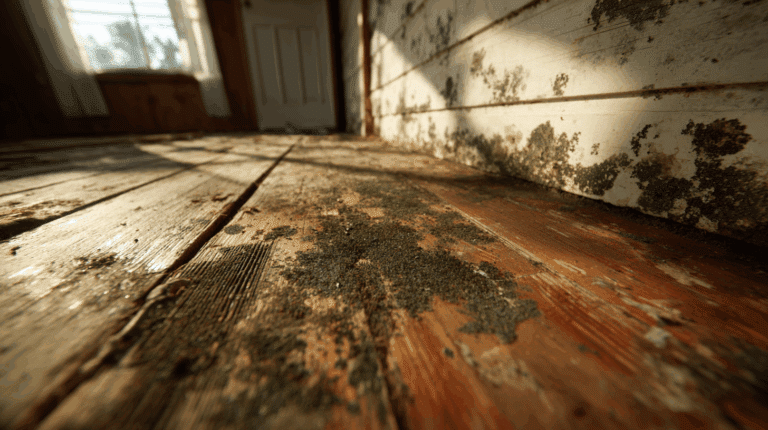
- Moss, mold, or algae growth on the roof surface.
- Rust or holes are common issues with metal roofs.
- Daylight shining through from inside the garage.
- Granules from shingles are collecting in gutters or on the ground.
If you notice any of these, it’s time to take a closer look and plan for repairs or a full replacement.
Why You Shouldn’t Ignore a Worn-Out Garage Roof?
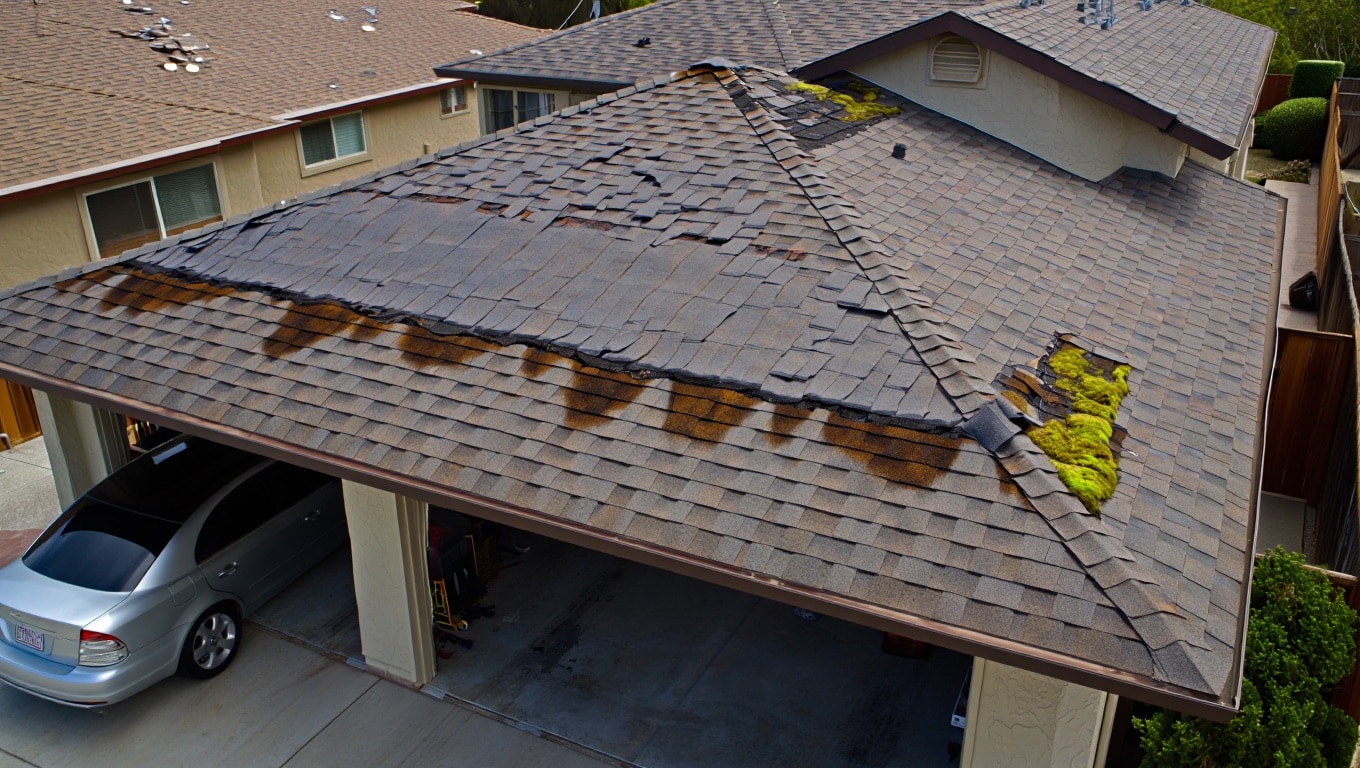
Ignoring a worn-out garage roof can lead to bigger problems than just leaks.
Water damage can harm everything inside, cars, tools, or storage boxes, and even create safety hazards if the damage worsens.
Moisture from a damaged roof can also cause mold or attract pests like insects and rodents.
Replacing your garage roof not only protects your belongings but also boosts your home’s curb appeal and resale value. Buyers notice every detail, including the condition of secondary roofs.
Keeping your garage roof in good shape ensures both function and appearance, making it a smart move for any homeowner, now or later.
What Impacts the Cost of a New Garage Roof?
Garage roof replacement costs can vary a lot. Here’s what makes the biggest difference:
- Size of the garage: Bigger roofs need more materials and labor.
- Roof pitch (slope): Steeper roofs are harder to work on and cost more.
- Type of roofing material: Asphalt shingles, metal, tile, and slate all have different price tags.
- Condition of the roof deck: If the wood under your roof is damaged, it will need repairs.
- Location: Costs can be higher in some areas due to labor rates and material prices.
- Disposal fees: Getting rid of old roofing materials can add to your bill.
- Permits and inspections: Some places require permits for roof work, which can cost extra.
On average, replacing a garage roof can cost anywhere from $1,000 to $4,000 for a standard single-car garage, but this can go much higher depending on your choices and needs.
Comparing Roofing Materials: What’s Best for Your Budget?
Not all roofs are created equal. Here’s a quick look at common garage roofing materials and their typical costs (for a 1,000 sq ft garage):
| Material | Cost Range | Pros | Cons |
|---|---|---|---|
| Asphalt Shingles | $4,000 – $8,000 | Affordable, easy to install | Shorter lifespan |
| Metal Roofing | $10,000 – $20,000 | Long-lasting, low-maintenance | Higher upfront cost |
| Tile Roofing | $15,000 – $30,000 | Durable, stylish | Heavy, expensive |
| Slate Roofing | $20,000 – $40,000 | Extremely durable, classic look | Very expensive, very heavy |
Asphalt shingles are popular for garages due to affordability. Metal roofs offer durability with higher upfront costs. Tile and slate look great and last long but require a strong garage structure.
Tools and Materials Required
Before starting your garage roof replacement, make sure you have all the necessary tools & materials required:
| Item | Estimated Cost (USD) |
|---|---|
| Pry bar | $13 – $30 |
| Hammer | $8 – $15 |
| Utility knife | $5 – $15 |
| Tape measure | $5 – $20 |
| Chalk line | $5 – $15 |
| Ladder | $80 – $200 |
| Work gloves | $5 – $20 |
| Safety goggles | $5 – $20 |
| Caulking gun | $5 – $30 |
| Asphalt shingles | $100 – $300 per square (100 sq ft) |
| Roofing felt | $15 – $40 per roll |
| Roofing nails | $10 – $30 per box |
| Roofing sealant | $5 – $15 per tube |
| Flashing | $10 – $30 per 10-foot strip |
| Replacement plywood | $5 – $40 per sheet |
How to Replace Your Garage Roof Yourself: Step-by-Step
If you’re confident with tools and safety, here’s a simple step-by-step guide to handle your own garage roof replacement from start to finish.
Step 1: Remove the Old Roofing
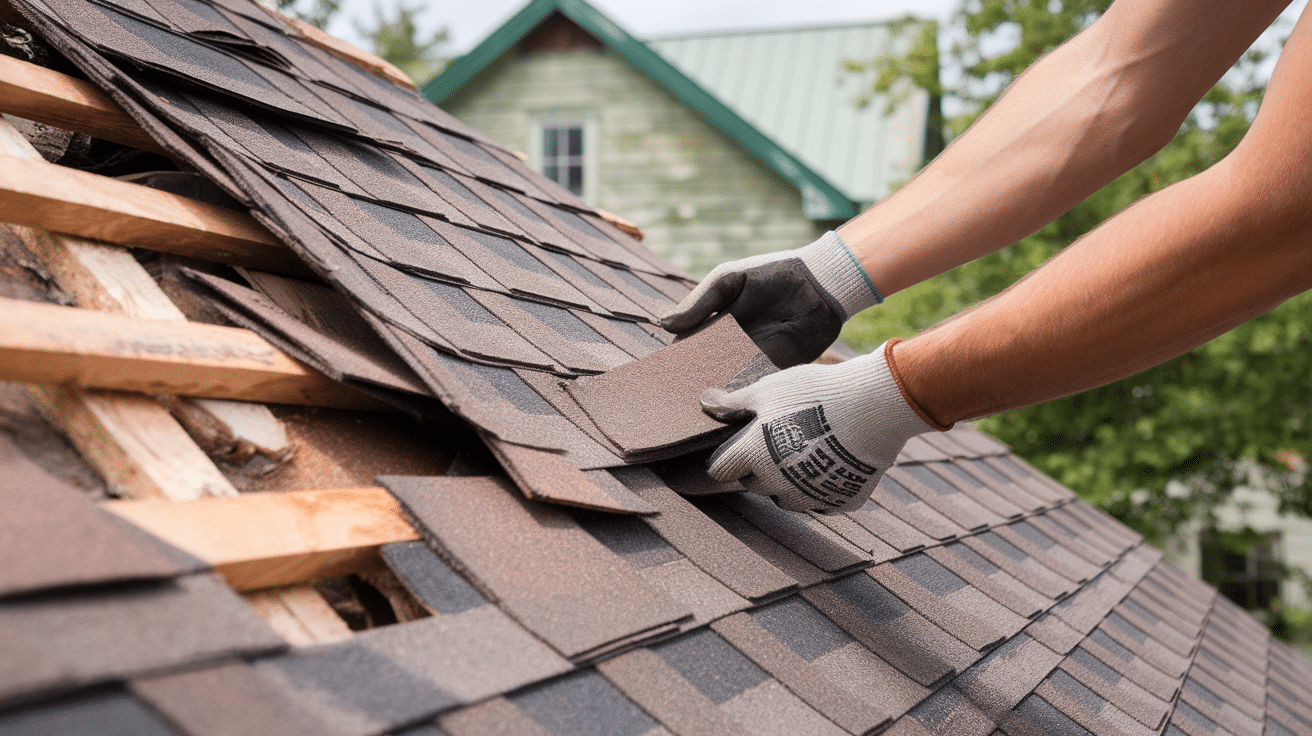
Use a pry bar or roofing shovel to take off old shingles or panels, starting at the top. Remove all nails and clear the surface completely.
Work carefully to avoid damaging the underlying roof deck.
Clean up as you go to maintain a safe workspace and avoid tripping hazards.
Step 2: Check and Fix the Roof Deck
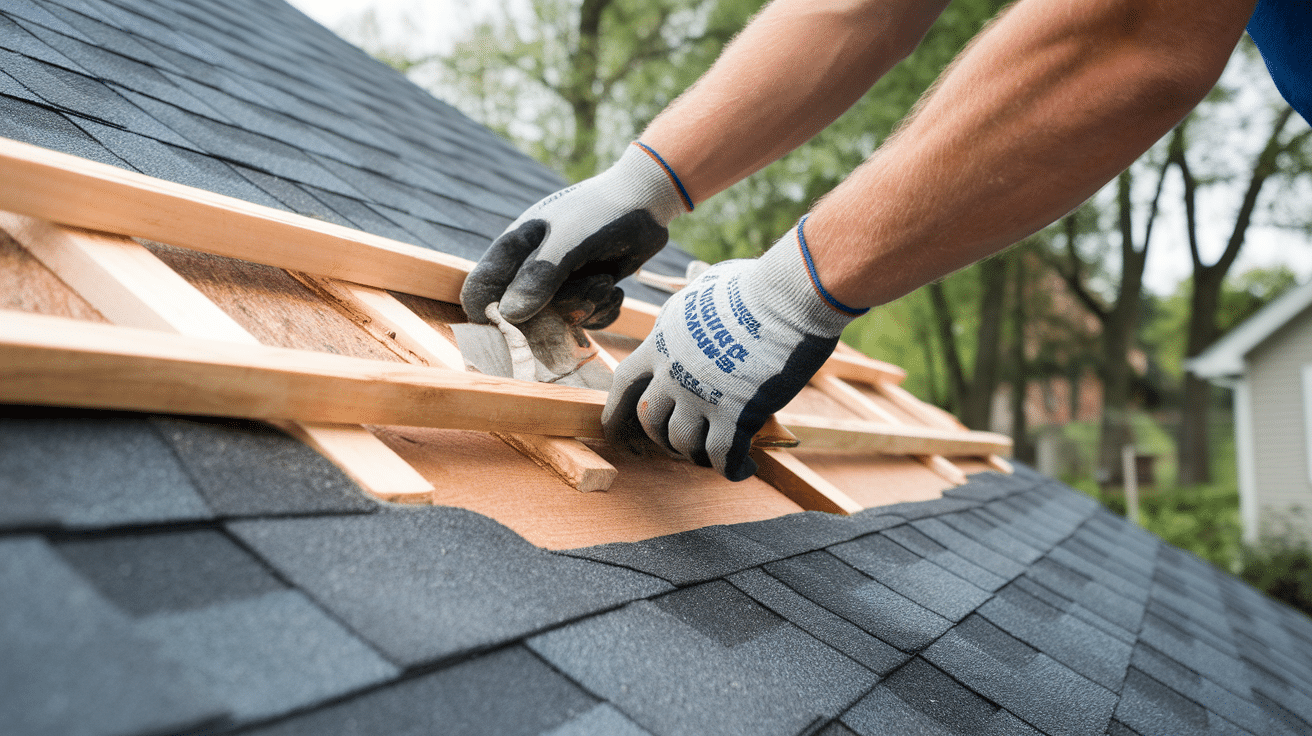
Inspect the wooden roof deck for any signs of rot, water damage, or weakness.
Push gently on suspect areas to check stability. Replace damaged or soft sections with new plywood.
A strong, clean deck is crucial for supporting your new roof and preventing future problems like leaks or sagging.
Step 3: Put Down Underlayment
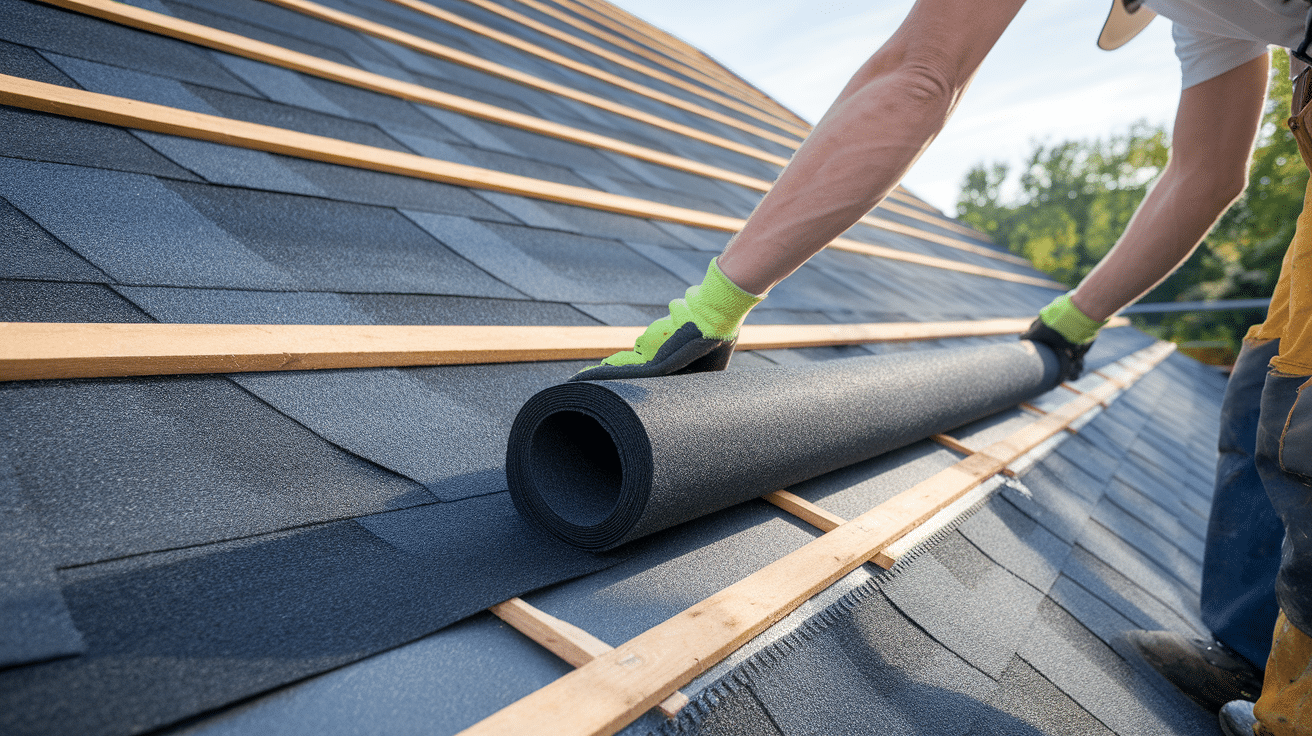
Roll out roofing felt or synthetic underlayment from the bottom edge upward.
Overlap each row by at least four inches to prevent water seepage. Secure it with nails or staples.
This layer provides an essential moisture barrier between your roof deck and the new shingles or metal panels you’ll install.
Step 4: Install the New Roofing
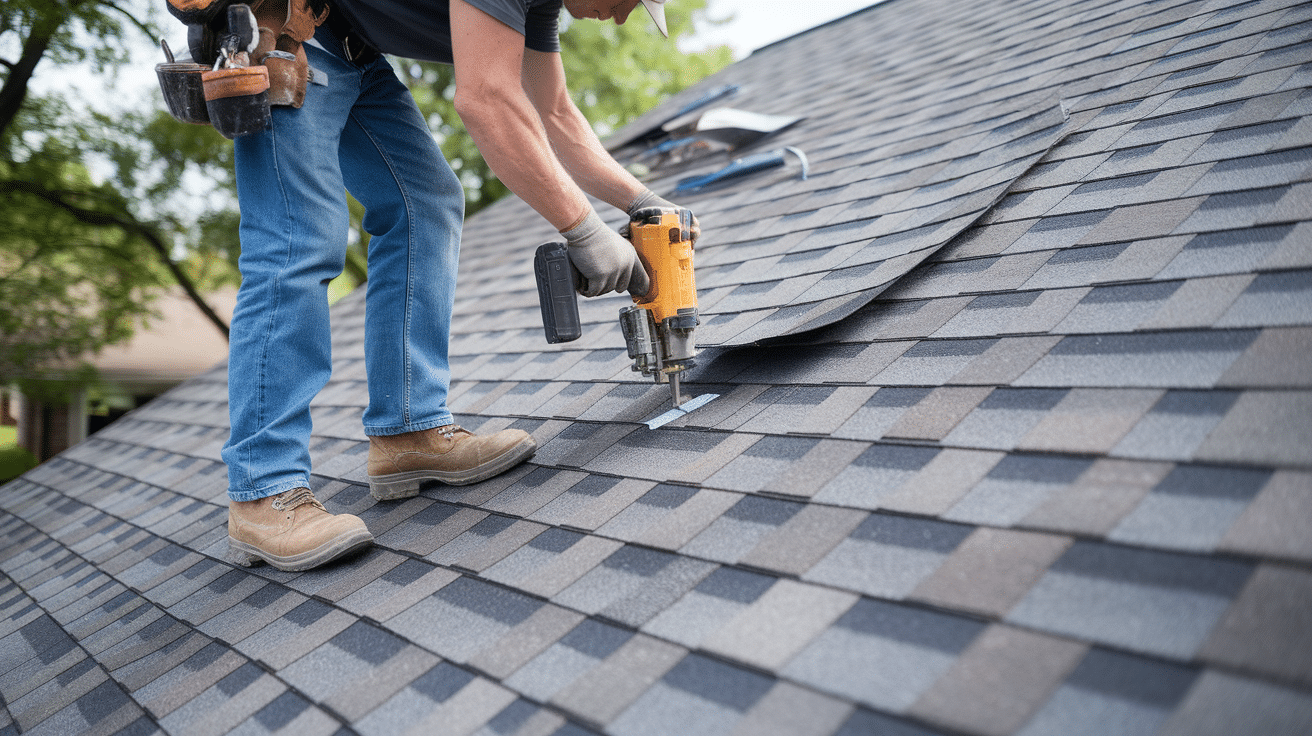
For shingles, start at the bottom and work upward, overlapping each row.
For metal panels, lay them straight and secure on the raised ridges. Use the manufacturer’s guidelines for spacing and fasteners.
Make sure everything aligns properly for good appearance, water drainage, and long-lasting roof protection over time.
Step 5: Add Flashing and Gutters
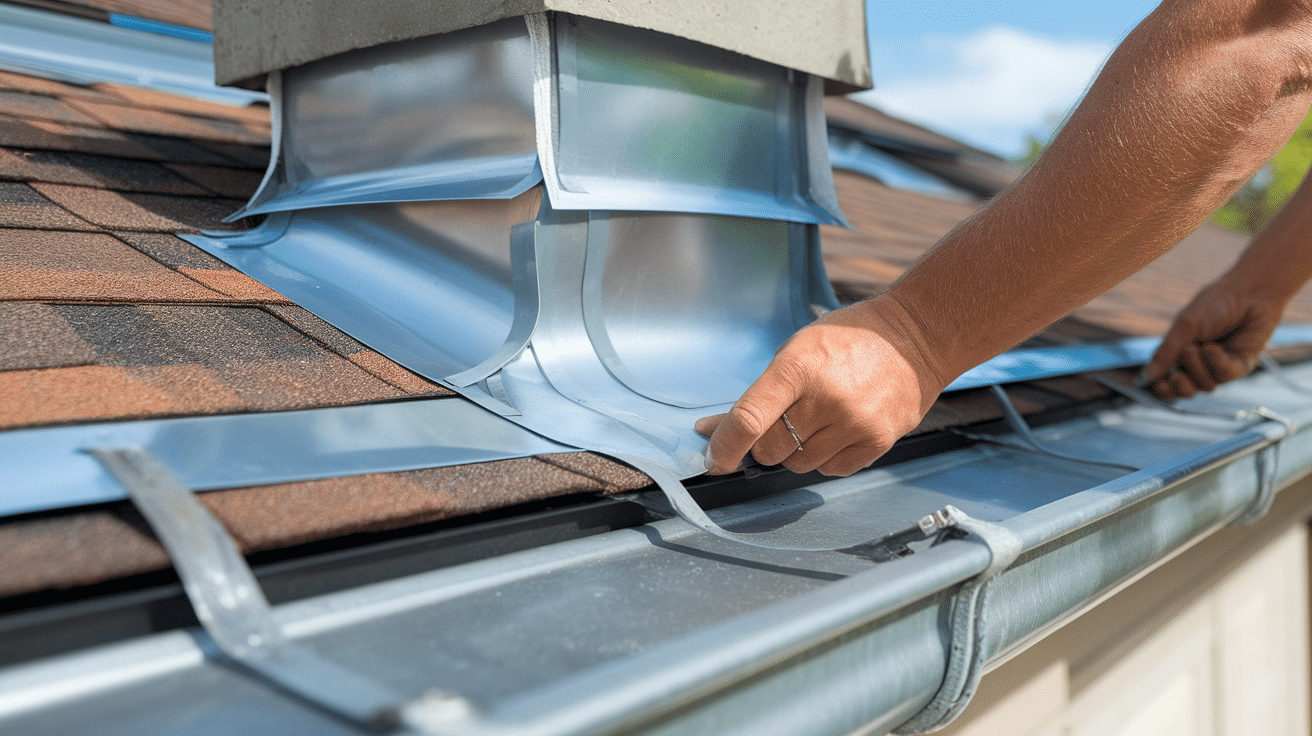
Install flashing around all edges, vents, chimneys, and valleys to keep water out of seams.
Replace damaged gutters or clean existing ones for proper drainage.
Flashing helps prevent leaks, while clean gutters move water away from the roof and foundation, protecting your garage from future structural or moisture damage.
Step 6: Seal Everything
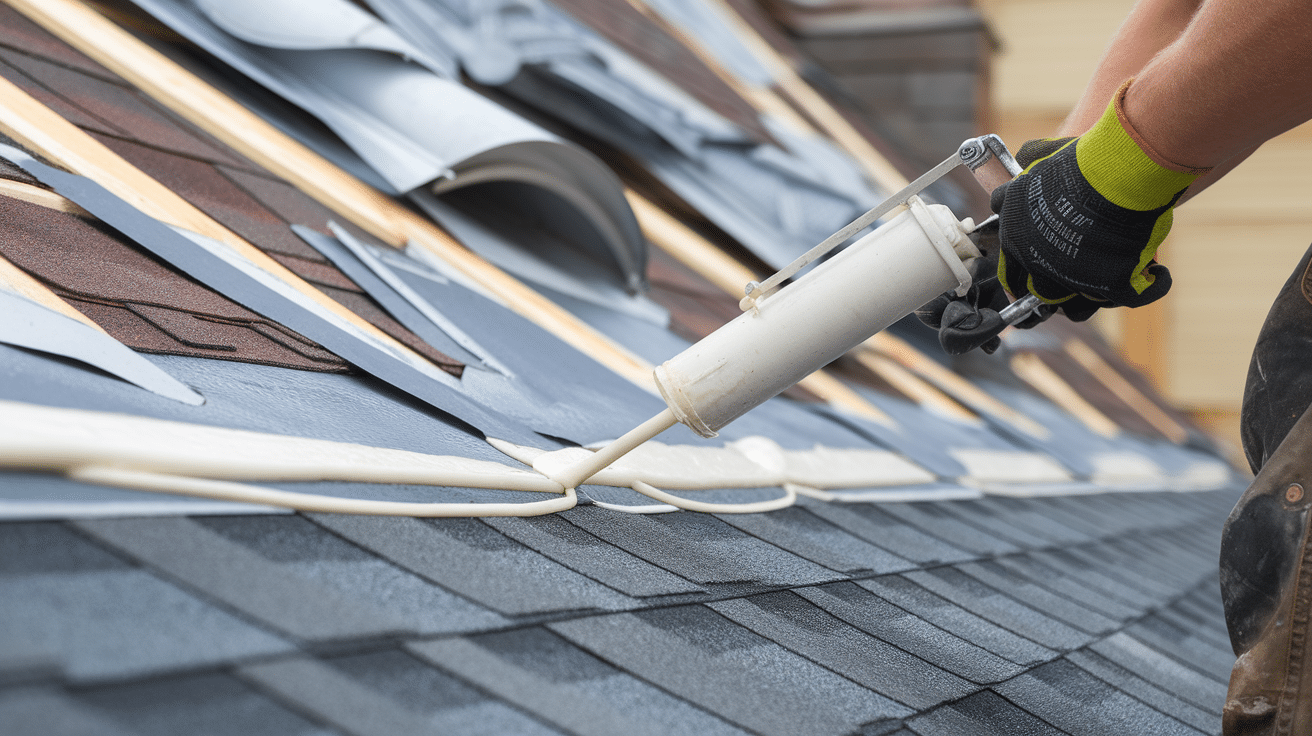
Use roofing sealant on all seams, nail heads, edges, and around vents or chimneys.
Apply with a caulking gun in a smooth, even bead. Sealing these vulnerable points prevents water from leaking through.
Allow the sealant to fully cure according to package instructions before exposing the roof to rain.
Step 7: Clean Up
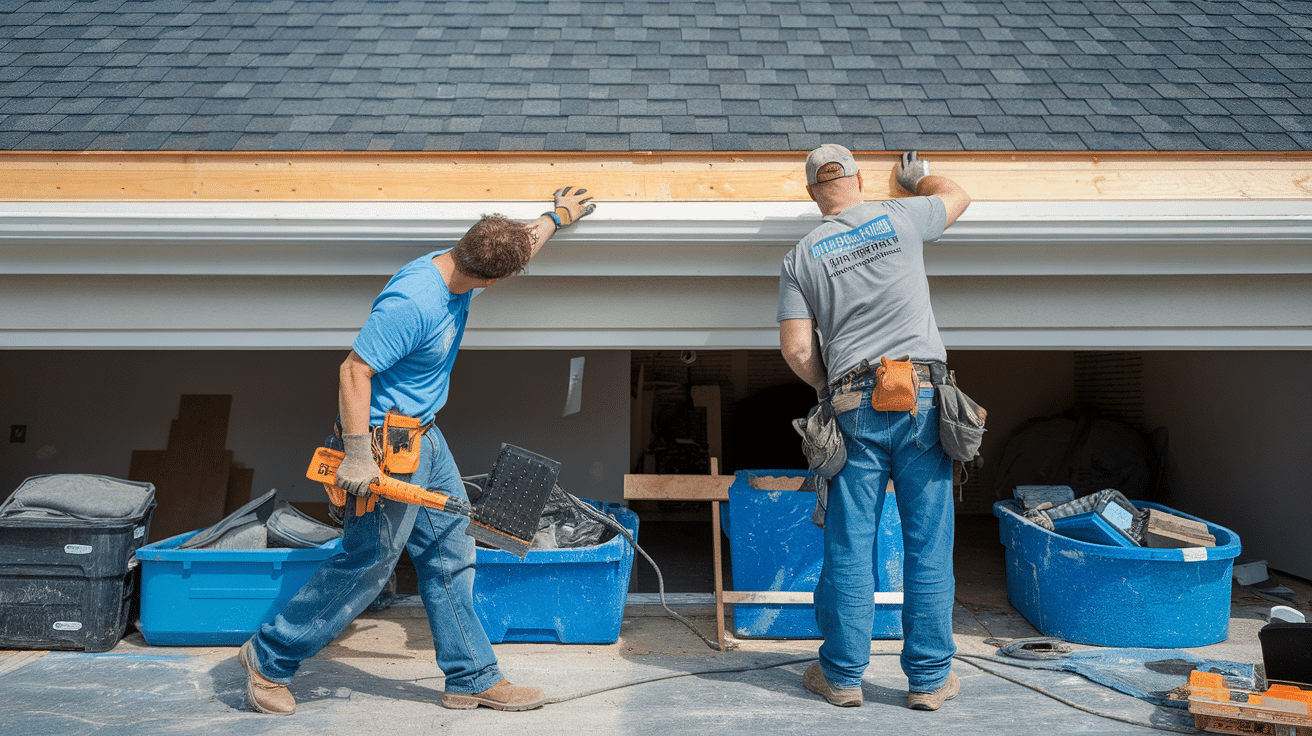
Clear away all old roofing material, nails, and debris from the site.
Use a magnetic roller to pick up stray nails. Inspect the roof closely for loose spots or gaps.
A final walk-through ensures everything is secure and safe. Clean-up keeps your garage tidy and prevents injury or damage.
Hidden or Extra Costs You Might Not Expect
Many people budget for materials and labor, but often overlook the smaller expenses that add up.
Local building permits may be required before you can start the project, and these can range from $100-$300 or more.
Tearing off the old roof and cleaning up afterward may also come with added costs. If your roofer finds damage beneath the top layer, like mold, rot, or pest issues, you’ll need to fix those too.
Ventilation updates, insulation upgrades, and weather delays are all things that could slightly raise the total price.
Should You Do It Yourself or Hire a Pro?
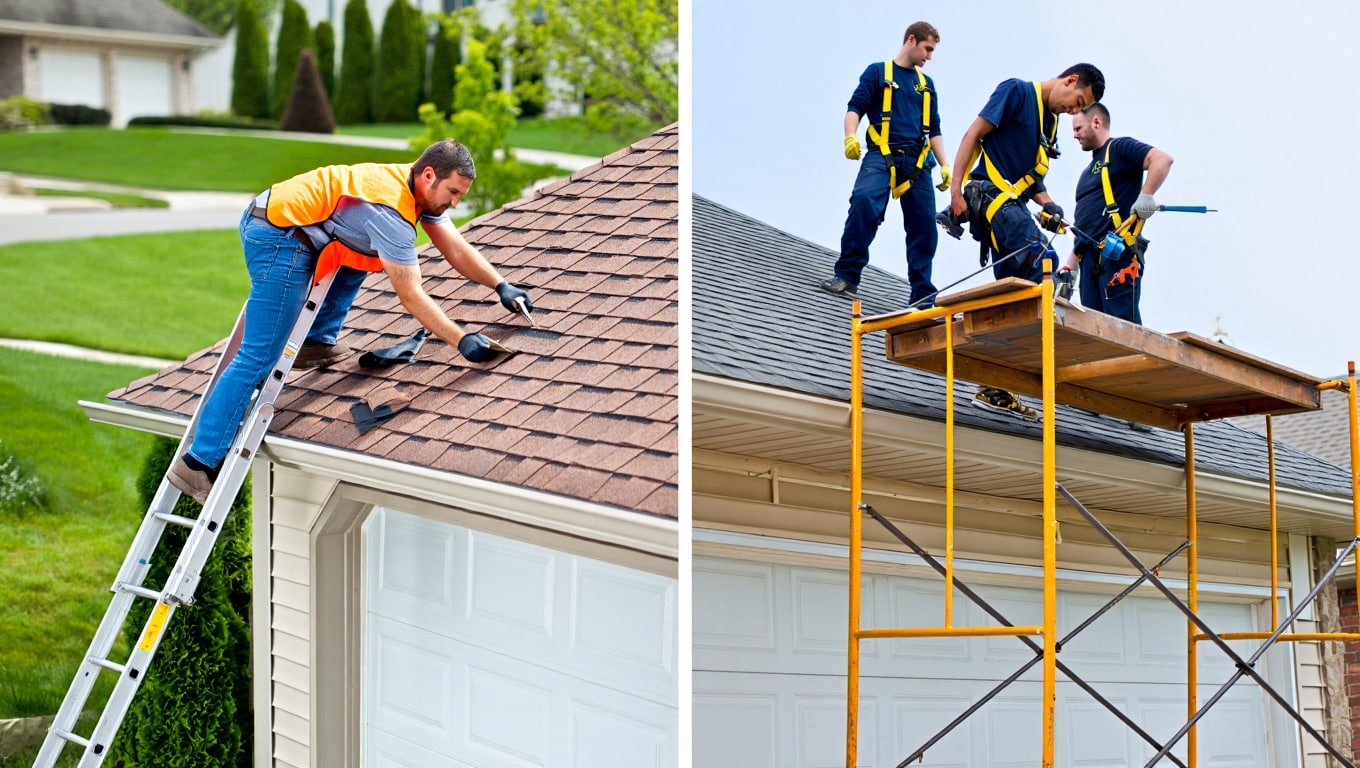
Doing your own garage roof replacement can save you money because you do not have to pay for labor, and it gives you full control of the work.
But this option requires strong roofing skills, the right tools, plenty of time, and the ability to stay safe while working on ladders or steep areas.
You must also handle any problems that arise during the job and ensure everything is done correctly, as there is usually no warranty for your work.
Hiring a professional roofer costs more at first, but it makes the process easier and safer.
Roofers bring training, tools, and insurance, and they finish faster while covering hidden issues.
Many also provide warranties on both labor and materials, which gives you peace of mind and lasting protection.
Final Thoughts
Your garage roof plays a quiet but important role in protecting your home. Whether you’re fixing a leak or planning a full replacement, acting early always pays off.
By understanding the signs of damage, choosing the right material, and planning your budget carefully, you can avoid surprise costs and keep your garage in top shape for years.
If you’re unsure about anything, it’s always best to consult a local roofer.
But even if you go the DIY route, a little time and effort now can save you a lot of money later.
How does your garage look now? Share your garage images below!


