DIY Modern Farmhouse Window Trim
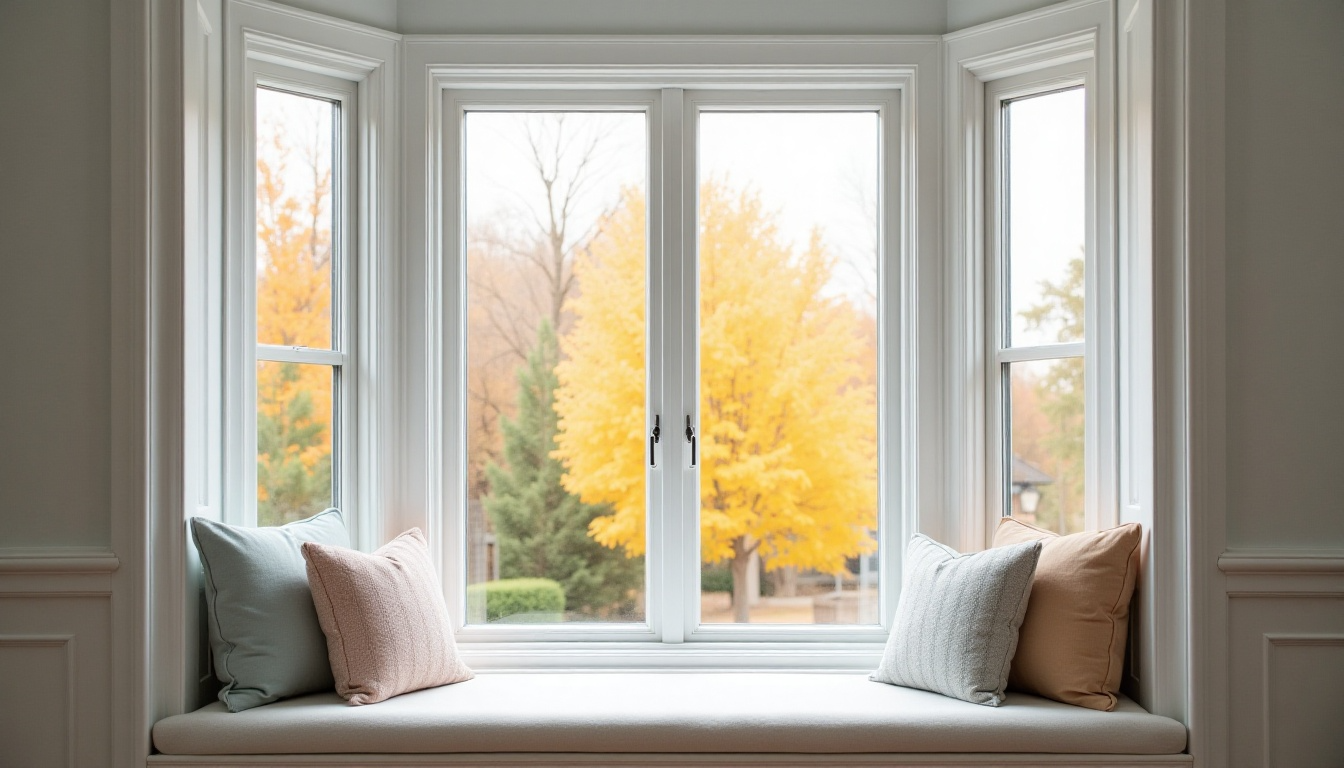
Want to give your home that warm, cozy feel without spending too much?
Window trim might be the answer you’re looking for. Modern farmhouse style brings together clean lines and natural textures for a look that feels both fresh and familiar.
The right window trim can turn plain windows into standout features that tie your whole space together. Doing the work yourself saves money and allows you to make choices that fit your exact needs.
Plus, there’s nothing like the feeling of looking at your finished windows and knowing you made that happen.
In this blog, we will provide step-by-step instructions for framing window trim, style ideas, and care tips.
Materials and Tools Required for Window Trim
| Materials | Tools |
|---|---|
| Common boards (3/4 inch thick) | Measuring tape |
| – 3.5-inch wide boards for large windows | Saw (miter saw or hand saw) |
| – 2.5-inch wide boards for small windows | Brad nails or finishing nails |
| 1-inch flooring strips (for window sill/ledge) | Nail gun (optional) |
| Caulk or Sealant (for finishing seams) | Hammer (if not using nail gun) |
| Paint | Paintbrush or roller |
| Wood filler (optional, for imperfections) | Caulk gun |
| Sandpaper (for light edge smoothing) | Level |
PRO TIP: This method worked on 23 windows and cost about $7 each. That’s under $160 total, way cheaper than hiring someone to do it.
DIY Steps: Modern Farmhouse Window Trim
Follow these easy, step-by-step instructions to create charming modern farmhouse window trim that adds character and warmth to any room without spending a ton or needing pro-level skills.
Step 1: Plan and Measure

Before picking up any tools or wood, it’s smart to slow down and figure out exactly how the trim is going to look. A little planning here saves a lot of backtracking later.
A simple 5-piece window trim style adds charm without overcomplicating things.
- Use a 5-piece layout: 2 vertical side boards and 3 horizontal ones (including the sill).
- Leave a ¾-inch space around the frame for large windows.
- Leave a ½-inch space for standard-sized windows.
- That extra space makes windows feel bigger and bolder.
- Grab a measuring tape and write down each window’s exact size.
Step 2: Choose and Cut the Wood
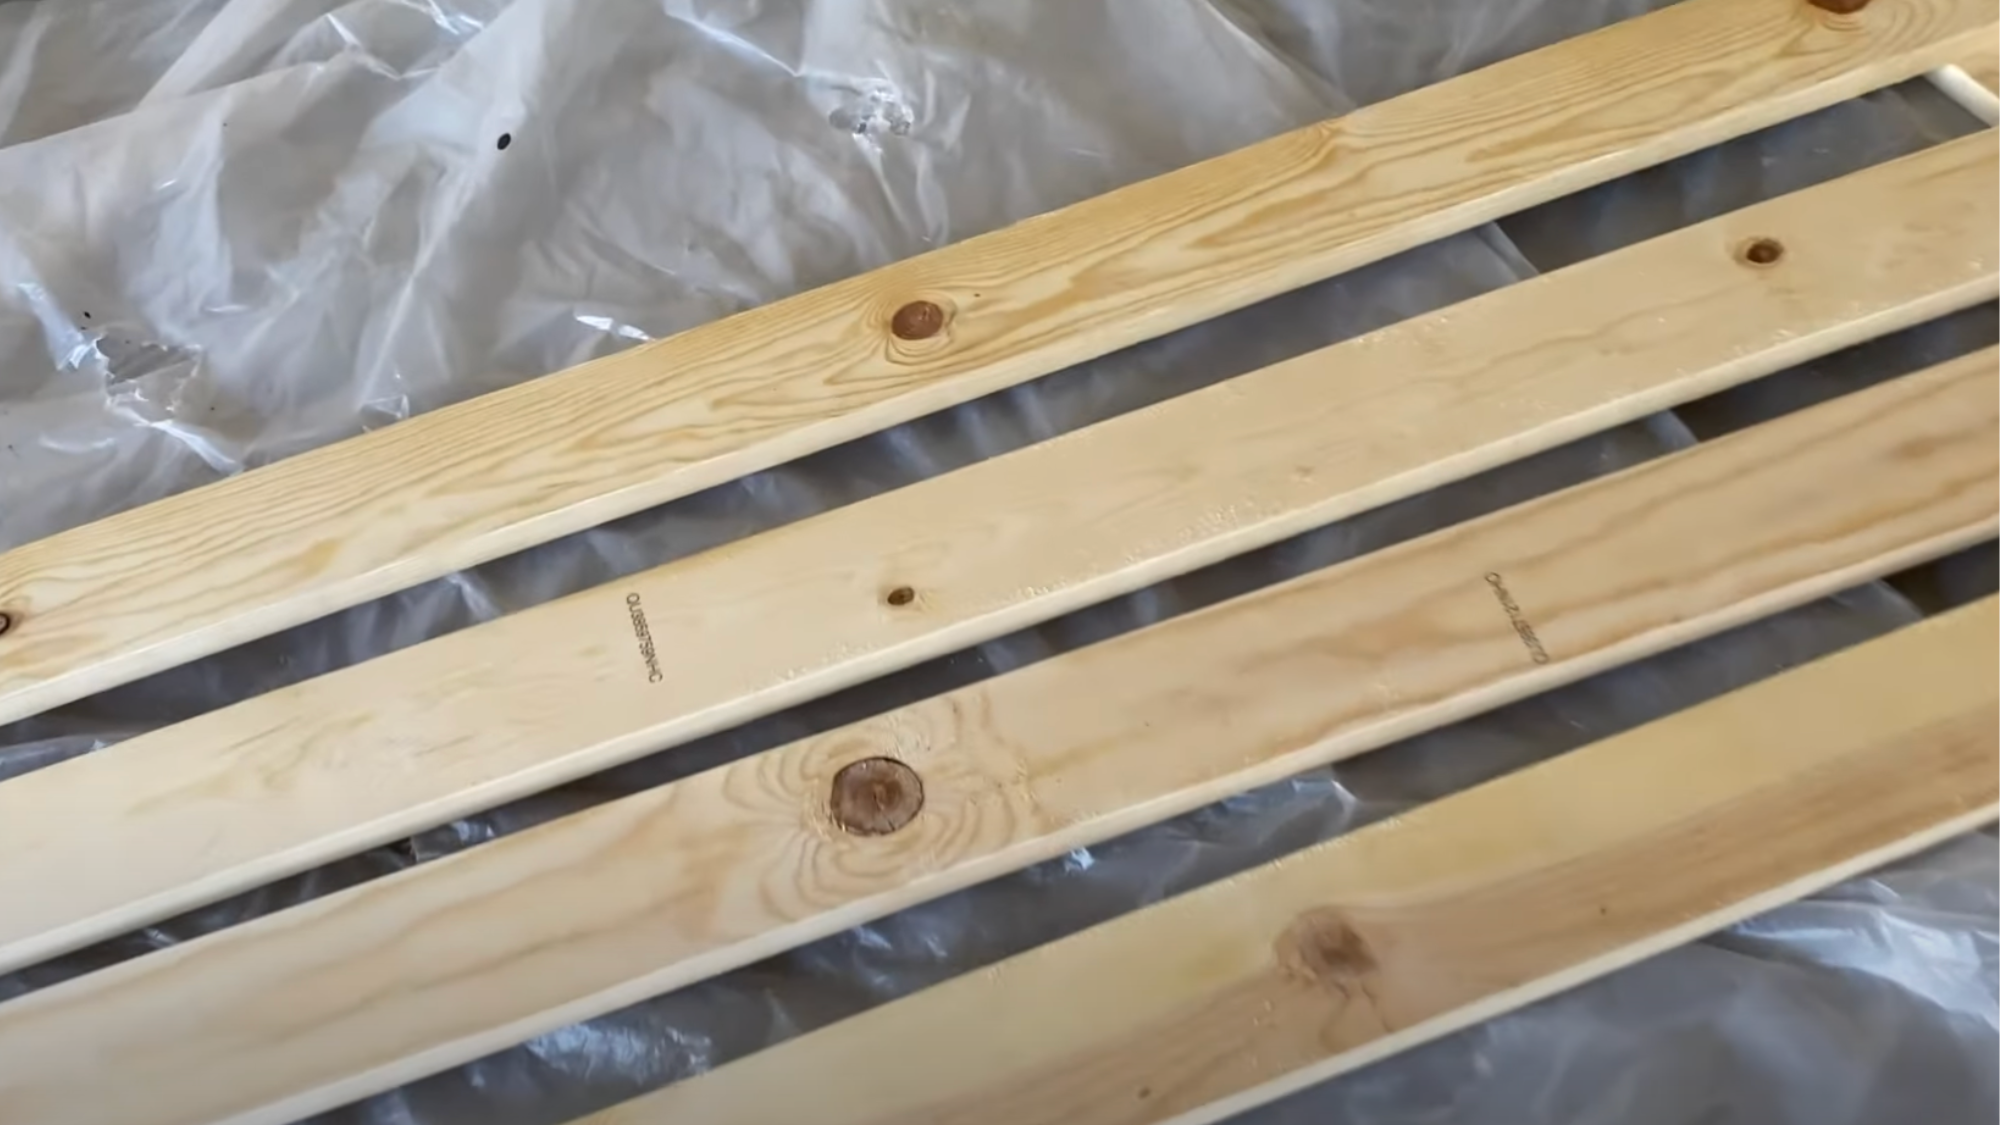
Once the design is set, it’s time to grab the wood and start making cuts. Not all windows are the same, so it’s really helpful to take things one window at a time.
- You can pick up 3/4-inch thick common boards from the hardware store. 3.5-inch wide boards are for big windows, and 2.5-inch wide boards are for smaller ones.
- Use 1-inch thick flooring strips for the bottom sill.
- First, cut the vertical side pieces. They should line up evenly with the bottom of the window.
- Cut the top and bottom pieces after the sides are up to get the best fit.
- Avoid cutting all the wood at once.
Step 3: Pre-Paint the Wood
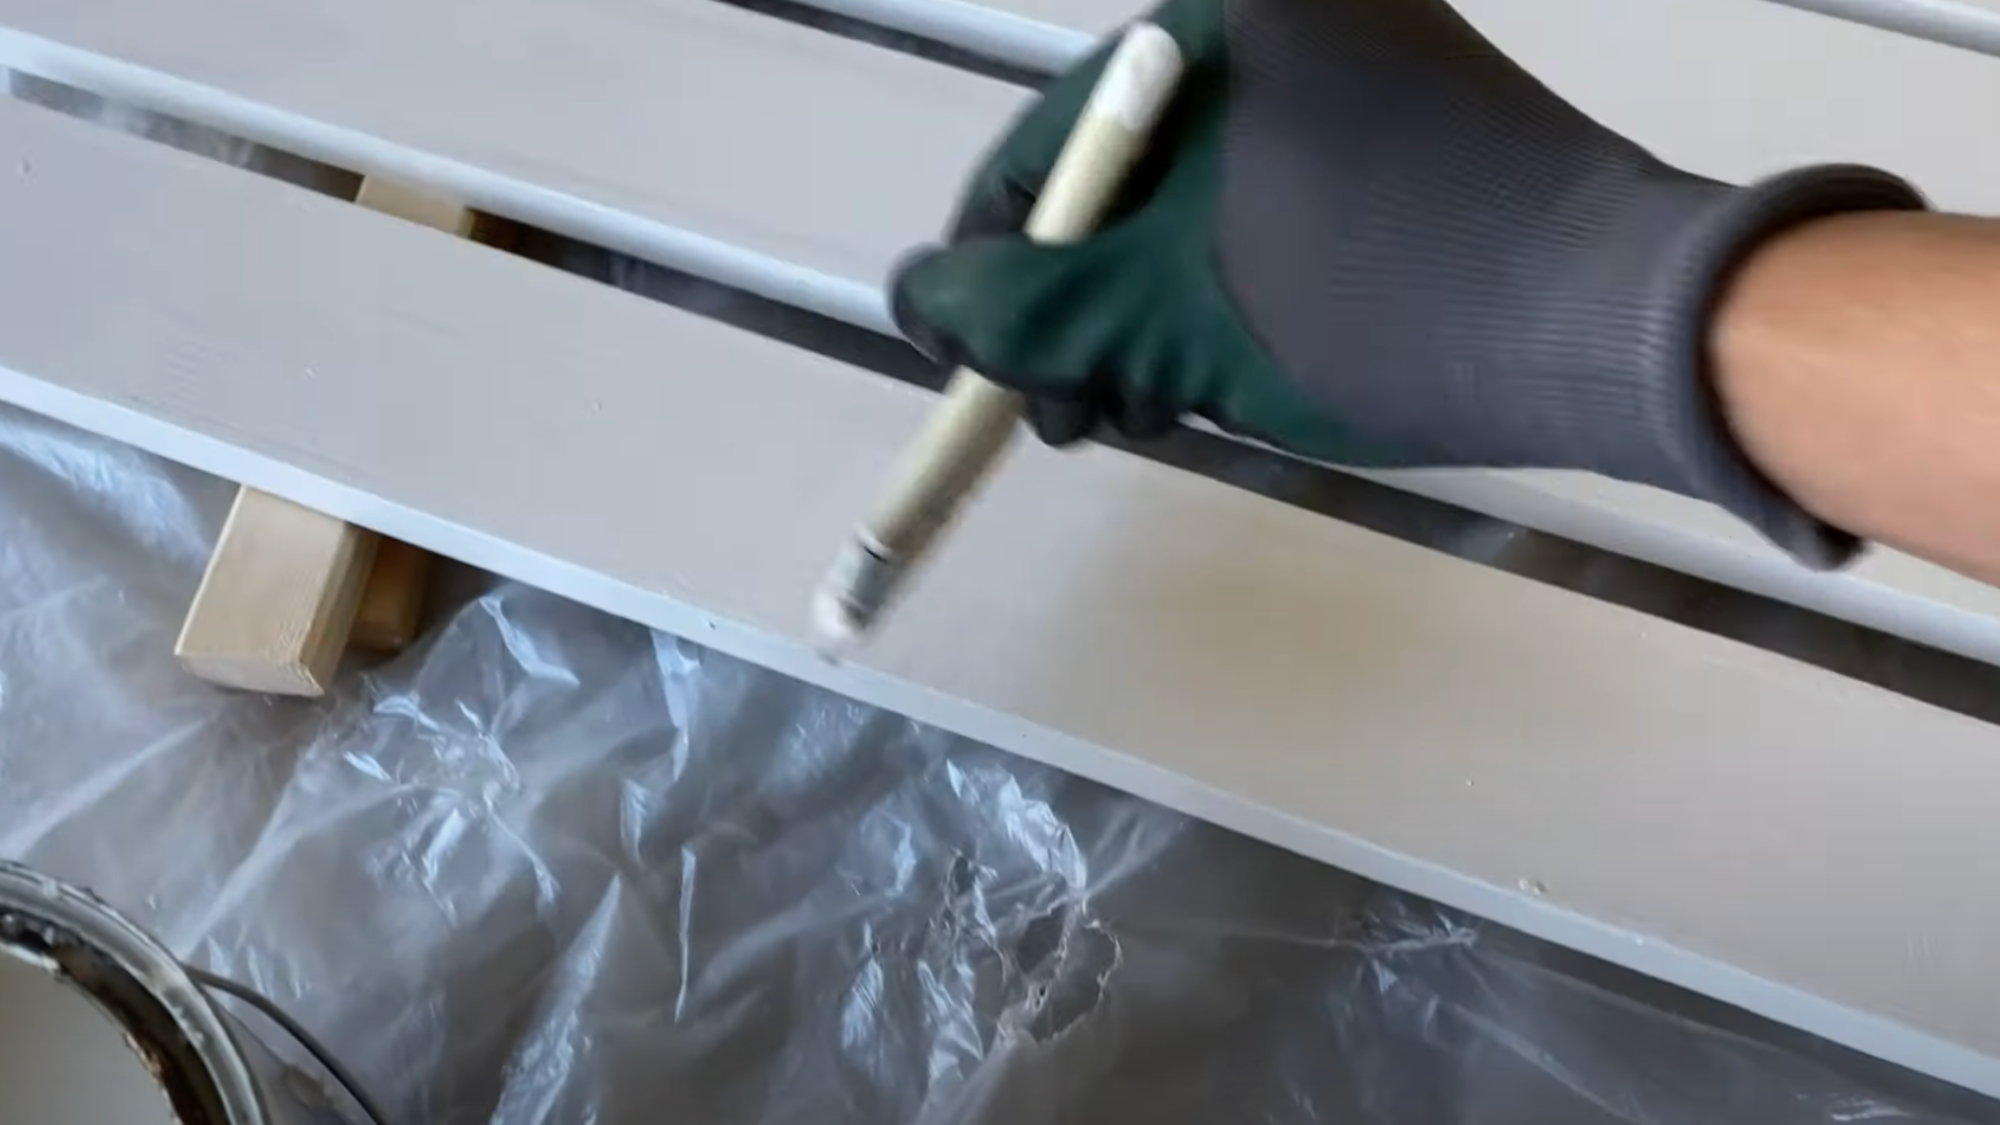
Paint the boards before putting them on the wall. There will be no taping or trying to paint around glass; later, paint, dry, and go.
- Give the boards a good coat of paint before installing.
- Let everything dry completely to prevent smudges or sticky hands.
- Lightly sand the edges beforehand if needed.
Step 4: Install the Trim

Starting with the side pieces makes the rest fall into place more easily. Whether using a nail gun or just a hammer, the idea is the same: build it up like a frame.
- Attach the side pieces first and line them up with the bottom of the window.
- Add the sill (bottom horizontal piece) underneath the side boards to create that nice ledge.
- Measure and cut the top and bottom trim pieces, then attach them above and below.
- Leave about a ½ to ¾-inch overhang on the top trim for a finished look.
- Use a nail gun for speed, or just hammer in brad/finishing nails. Both work fine.
Step 5: Finishing Touches
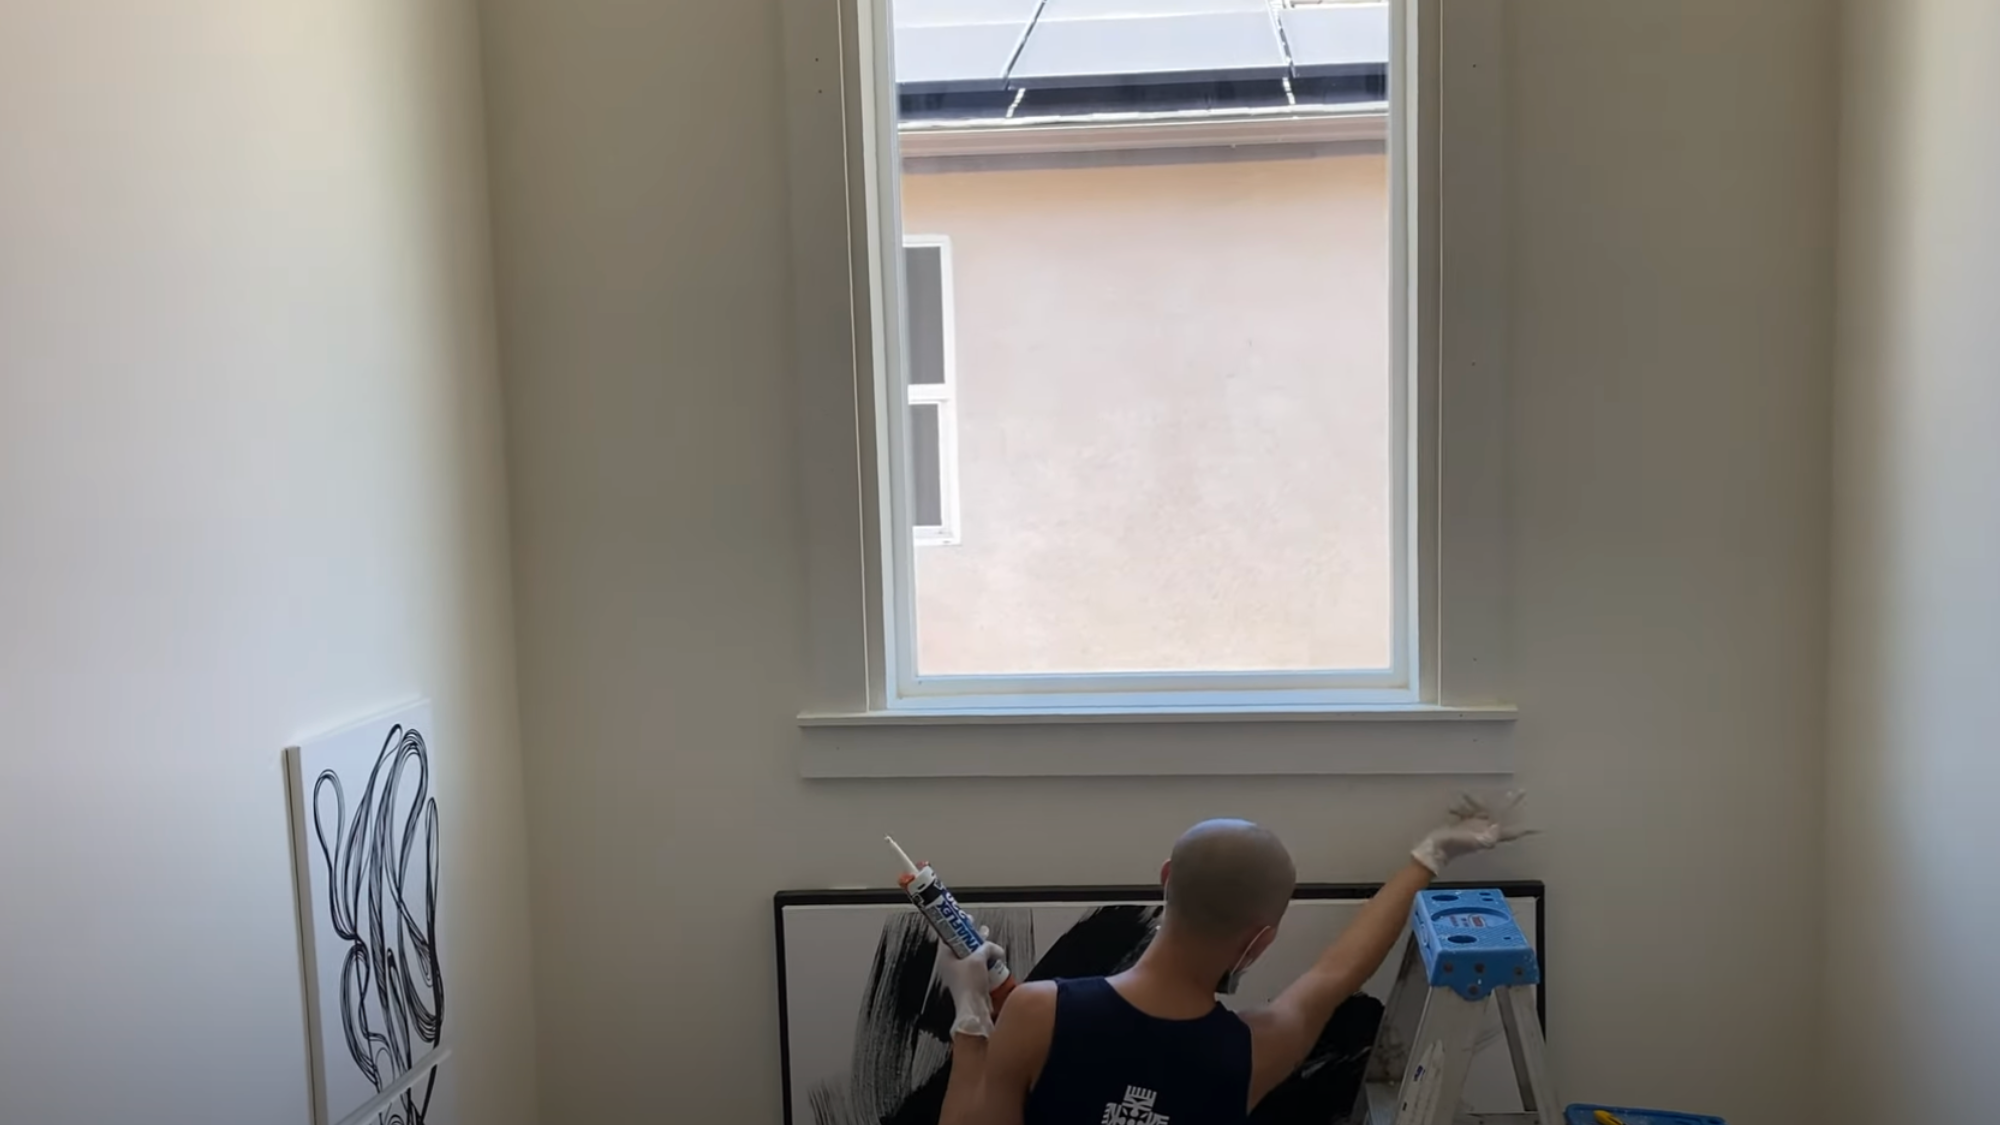
Once the trim is up, take a little time to polish it off. These last steps really bring the whole look together.
- Run caulk along all seams to hide gaps and give a smooth finish.
- Lightly sand the edges again if needed.
- Let the natural wood texture show through the paint.
- Wood filler is optional but great for covering any small dents or nail holes.
For a detailed tutorial on how to frame a farmhouse window trim, check out the video below.
Popular Modern Farmhouse Window Trim Styles
Here are some options that work well in farmhouse-style homes. Each one brings its own charm while staying true to the clean, simple look you want.
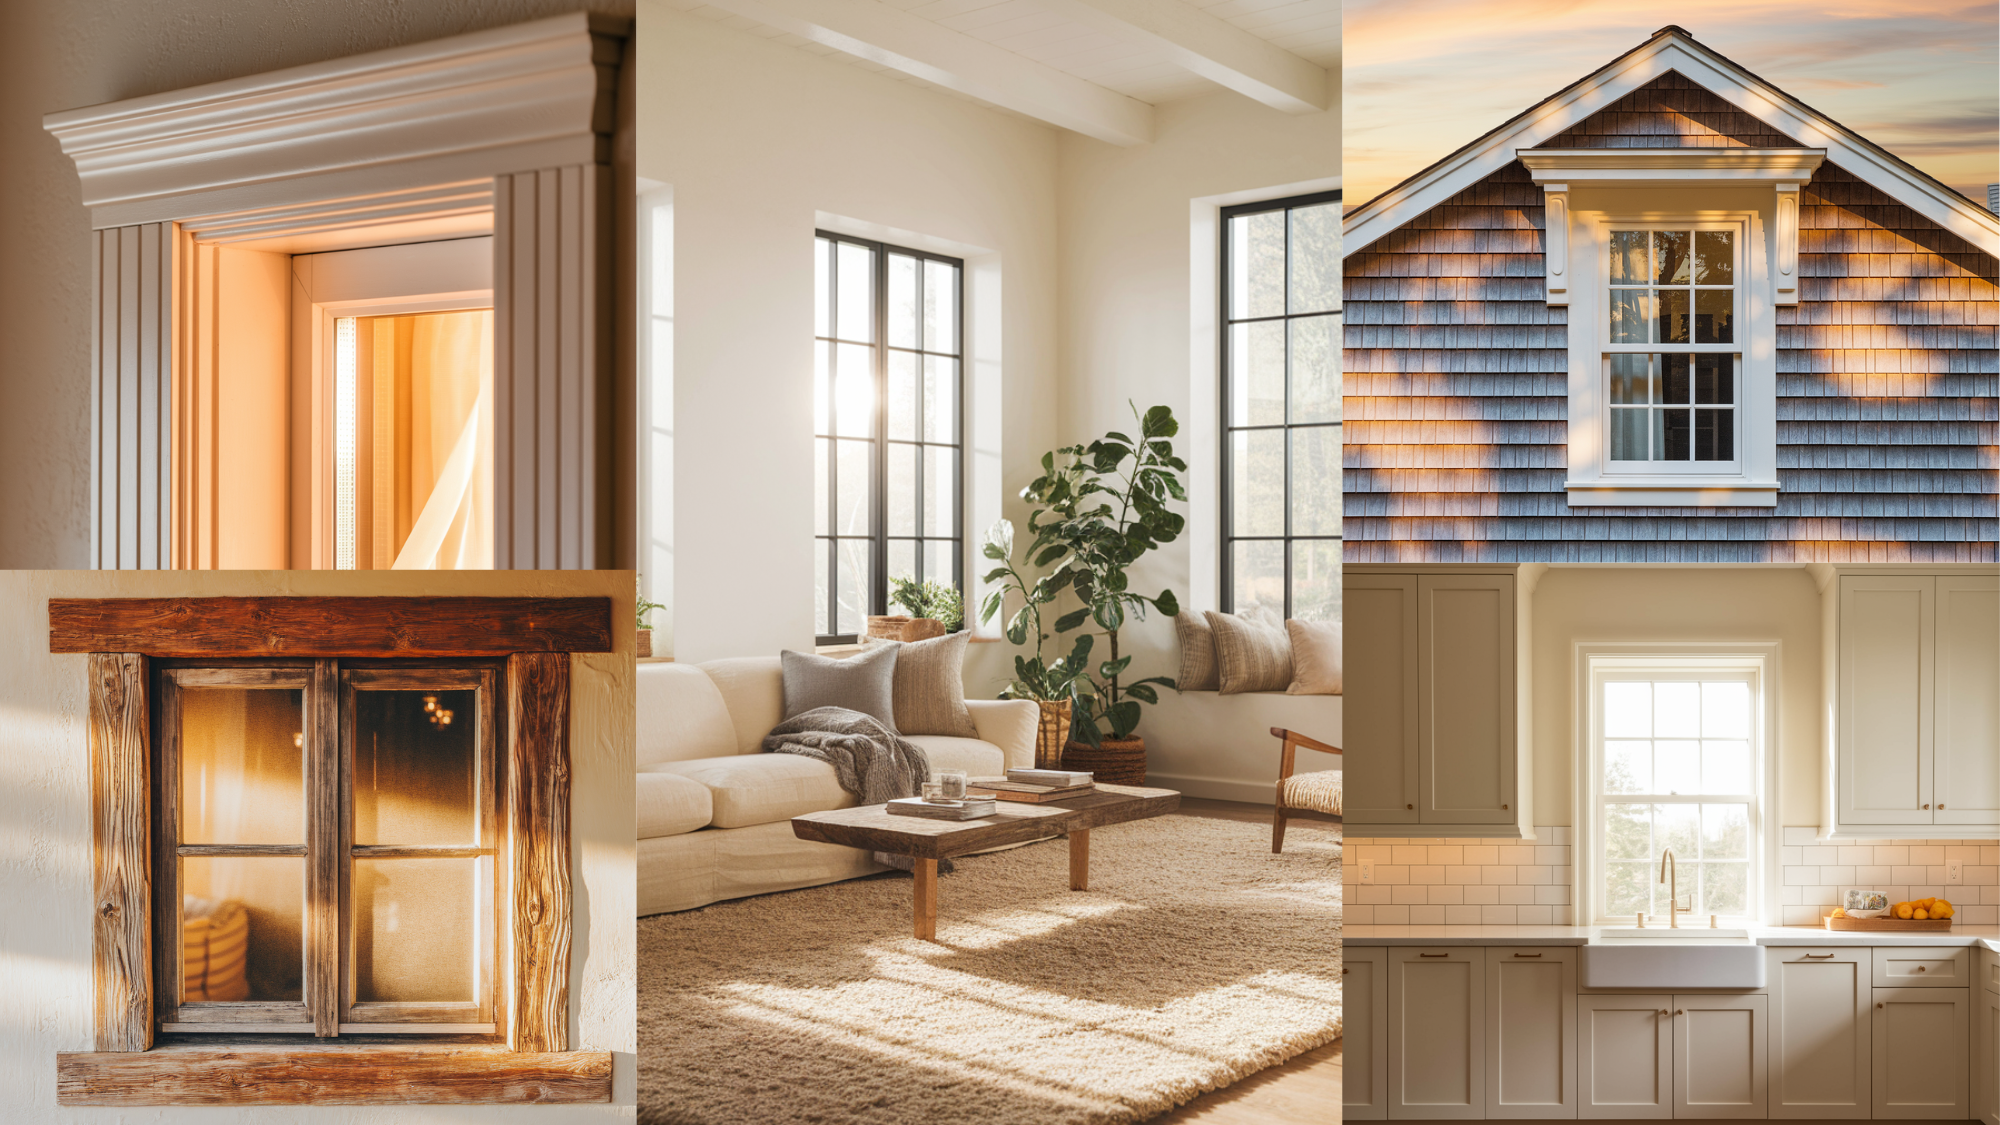
1. Craftsman Style Trim
This style of trim has bold, square edges with straight lines and sharp corners, without fancy curves or details.
The trim pieces are also thicker than usual, which helps the windows stand out more in a room. That extra thickness casts soft shadows, adding depth and character to your walls.
2. Shaker Style Trim
Shaker-style trim is all about keeping things clean and simple. It uses flat boards with straight edges and no extra details, which gives it a neat look.
This style works especially well in small spaces. The trim’s slim profile doesn’t take up much room, helping the area feel more open and bright.
3. Cased Opening with Header Cap
A cased opening with a header cap adds a nice touch to your window trim. The header cap is a small piece that sits on top of the trim, kind of like a little hat, and it helps make the window look taller.
This style is a good middle ground and adds a bit of charm and character without being too fancy or over-the-top.
4. Reclaimed Wood Trim
Reclaimed wood trim adds a sense of history and character to your home. The wood often has natural marks, colors, and textures that you don’t get with new wood.
Each piece feels special and tells its own story. The mix of tones in the old wood also adds warmth and makes every window look a little different and unique.
5. Black Window Trim for Contrast
Black window trim is a great way to make your windows stand out. The dark color creates a strong contrast against light walls, drawing your eyes straight to the window and the view outside.
It also works with almost any wall color, whether bright white, soft pastels, or something bold. Plus, black trim is practical, too, since it hides fingerprints and dust much better than white trim.
Maintenance & Care Tips to Follow Closely
Here are some simple tips to help maintain that fresh, farmhouse finish.
- Regular Dusting and Cleaning: Keep trim looking fresh by wiping it down with a microfiber cloth every couple of weeks. For painted trim, a little warm water with mild dish soap works well. If the trim is natural wood, a wood-safe cleaner is best.
- Check for Moisture Damage: After heavy rain or snow, take a quick look at your window trim. Watch for water stains or soft spots in the wood; those are signs moisture is getting in.
- Touch-Up Paint or Finish Yearly: Over time, small chips or scratches are bound to show up. Touch them up as needed, using leftover paint or stain from the original project. For wood trim, add a fresh coat of sealer every year or two to help prevent moisture damage.
- Watch for Gaps and Cracks: Weather changes can cause wood to expand and contract, which sometimes creates cracks or small gaps. Fill them in with wood filler or putty and re-caulk the edges to keep things sealed tight.
- Handle Seasonal Changes: Dry indoor air in winter can shrink wood, while strong summer sun can fade it. A humidifier helps in cold months, and keeping blinds or curtains closed during peak sunlight can protect the finish. In humid areas, a fan helps keep air moving around the windows.
- Know When to Call a Pro: If you spot deep rot, recurring mold, or warping trim, it might be time for professional help. Some issues need a skilled hand to fix them correctly.
Conclusion
Adding farmhouse window trim changes the feel of your whole home. It’s not just about making windows look nice and it’s about putting your mark on your space.
You’ve seen the best styles, learned what tools you need, and learned how to keep your trim looking good for years. The best part is that you can do this project in steps, one window at a time, so it fits your schedule and budget.
Don’t worry if your first window isn’t perfect. Each one gets easier, and small flaws add character.
That’s what makes farmhouse style so great, and it doesn’t need to be flawless to be beautiful.

