DIY Winter Window Painting Ideas to Try This Holiday Season
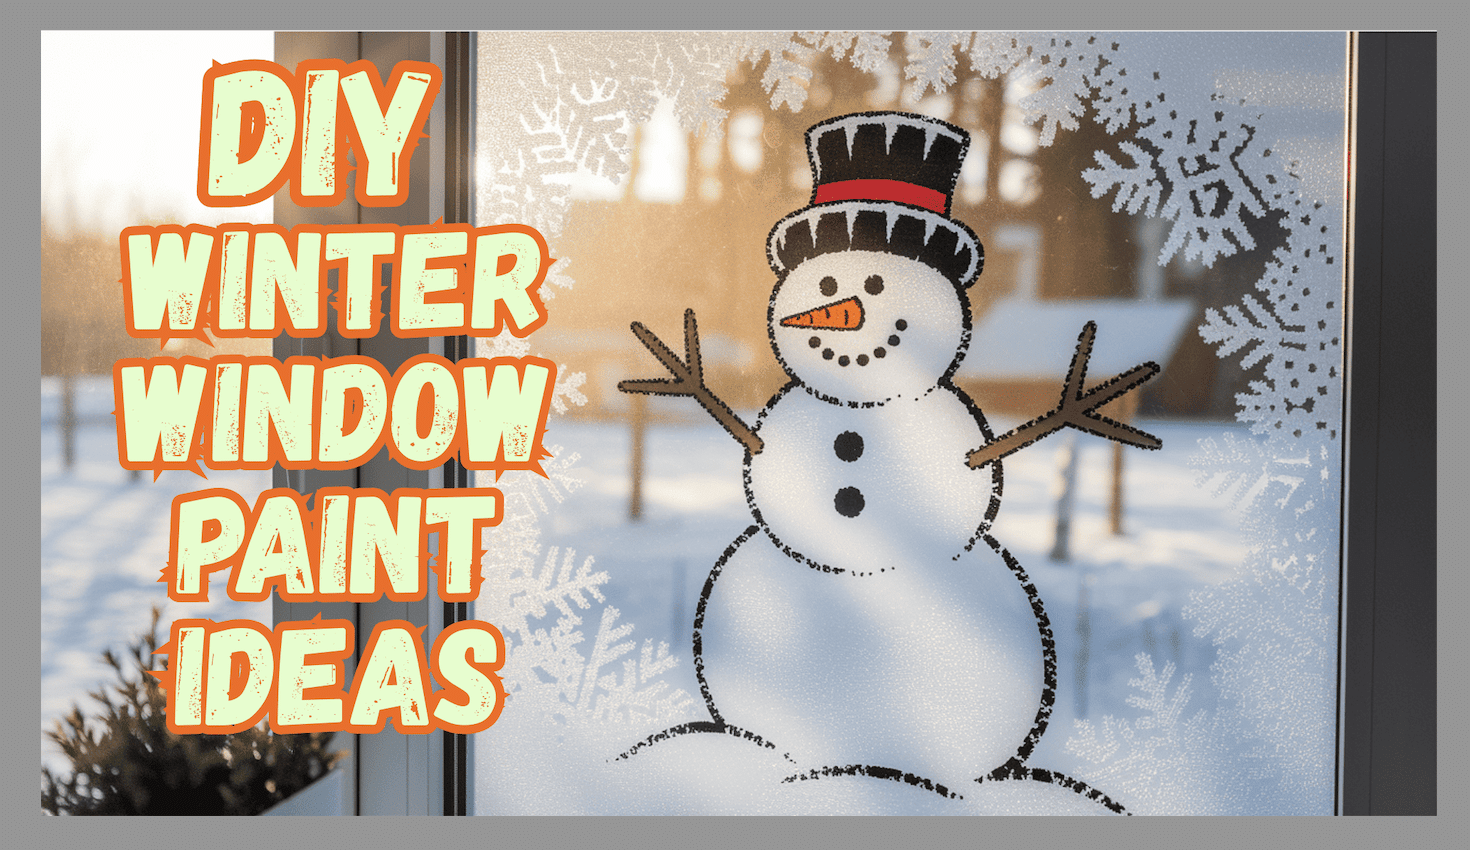
As temperatures drop and snowflakes fall, winter window painting offers a charming way to bring seasonal cheer into your home without a permanent commitment.
This affordable and accessible craft changes ordinary glass surfaces into magical displays of snowmen, snowflakes, holiday scenes, or abstract winter patterns.
Window painting requires minimal supplies, just specialty paints, brushes, and your imagination, making it perfect for families looking for budget-friendly holiday activities everyone can enjoy.
In this comprehensive guide, we’ll walk through simple techniques to create beautiful window art that will impress your neighbors and bring warmth to the coldest months.
Supplies You’ll Need
To achieve a beautiful and long-lasting forest-themed look, here are the essential supplies you’ll need:
| Category | Items |
|---|---|
| Window-Safe Paints | |
| Brushes & Applicators | |
| Cleaning Supplies | |
| Other Helpful Tools |
|
Step-by-Step Guide to Winter Window Painting
Here’s a brief guide on how to create beautiful winter window paintings, ensuring your windows stand out with festive charm and lasting appeal.
1. Select Your Window
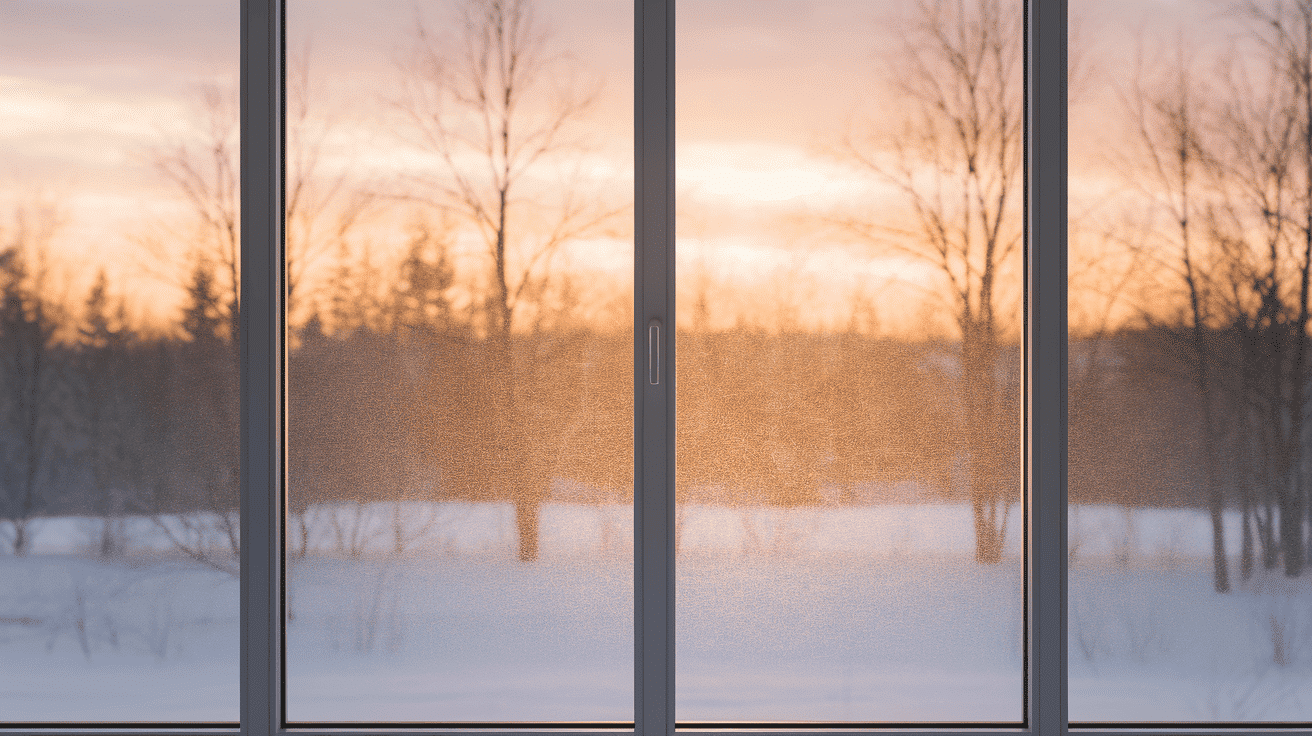
Choose a window that receives good light and visibility. Front-facing windows showcase your art to neighbors, while interior windows bring festive cheer inside.
Consider the size and accessibility of the window—beginners might prefer starting with smaller panes that are easy to reach.
2. Gather Your Supplies

Collect all necessary supplies before beginning. You’ll need window-safe paints (tempera or specialty window paints work best), various brushes, sponges, cleaning materials, paper towels, and a small container of water.
Optional items include stencils, templates, painter’s tape, and a drop cloth to protect surrounding areas.
3. Clean Thoroughly

Wash your windows thoroughly using a window cleaner and a lint-free cloth. Any residue, dust, or oils will prevent paint from adhering properly.
For extra cleaning power, wipe down with a solution of equal parts water and white vinegar, then dry completely with a microfiber cloth.
4. Plan Your Design

Sketch your design on paper first or find templates online. For beginners, simple snowflakes, winter trees, or basic holiday shapes work well.
You can tape your template to the opposite side of the window to use as a tracing guide.
5. Prepare Your Workspace

Lay down drop cloths or old towels to catch drips. Arrange your paints in a convenient location and fill a water container for rinsing brushes.
Keep paper towels handy for blotting excess paint and fixing mistakes.
6. Apply Base Layers

Begin with larger background elements. If creating a snowy scene, paint the sky or background first using broad strokes with a foam brush.
Allow this layer to dry slightly before adding detailed elements to prevent colors from bleeding together.
7. Add Details
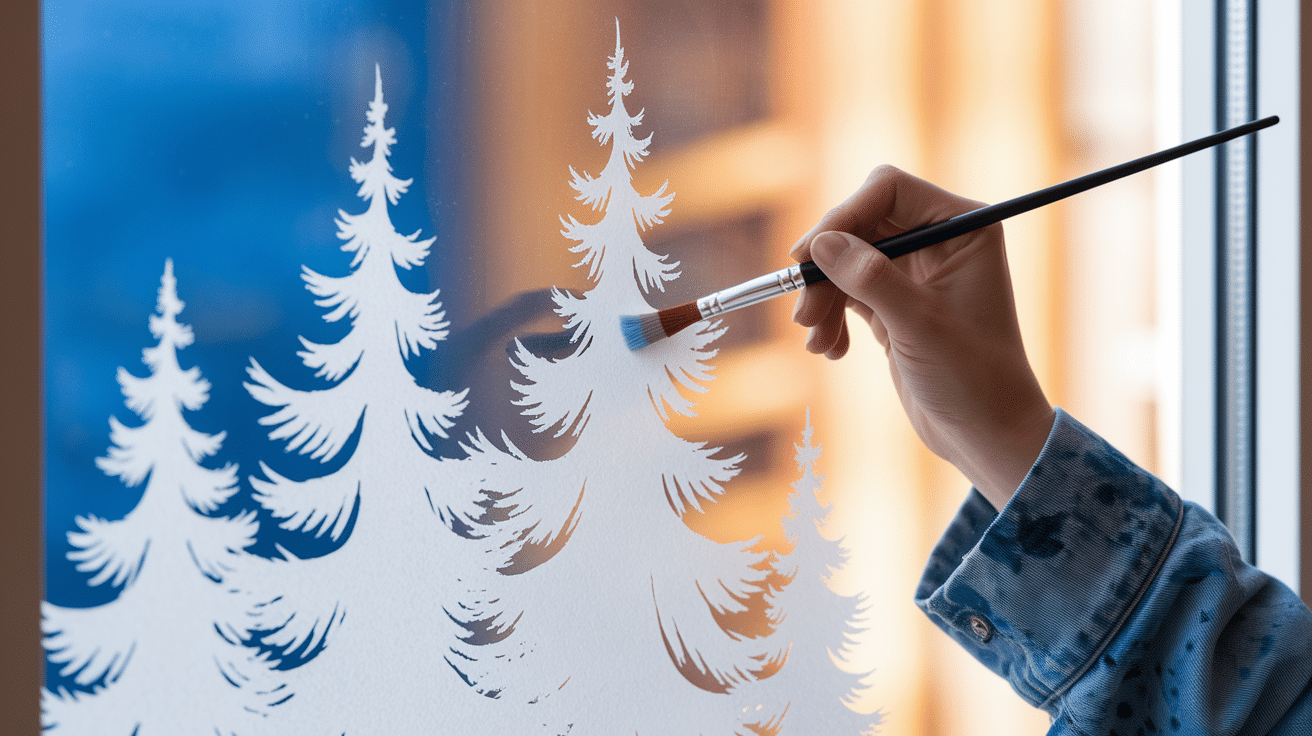
Once base layers are tacky to the touch, add your detailed elements. Work from the background to the foreground, building depth.
Use smaller brushes for fine lines and details. Sponges can create textured effects like snow or foliage.
8. Allow Drying Time

Let your creation dry completely before touching or adding final details. Tempera paint typically dries within 30-60 minutes, while some specialty paints may take longer.
Avoid closing blinds or curtains until the paint is completely dry.
9. Remove When Ready
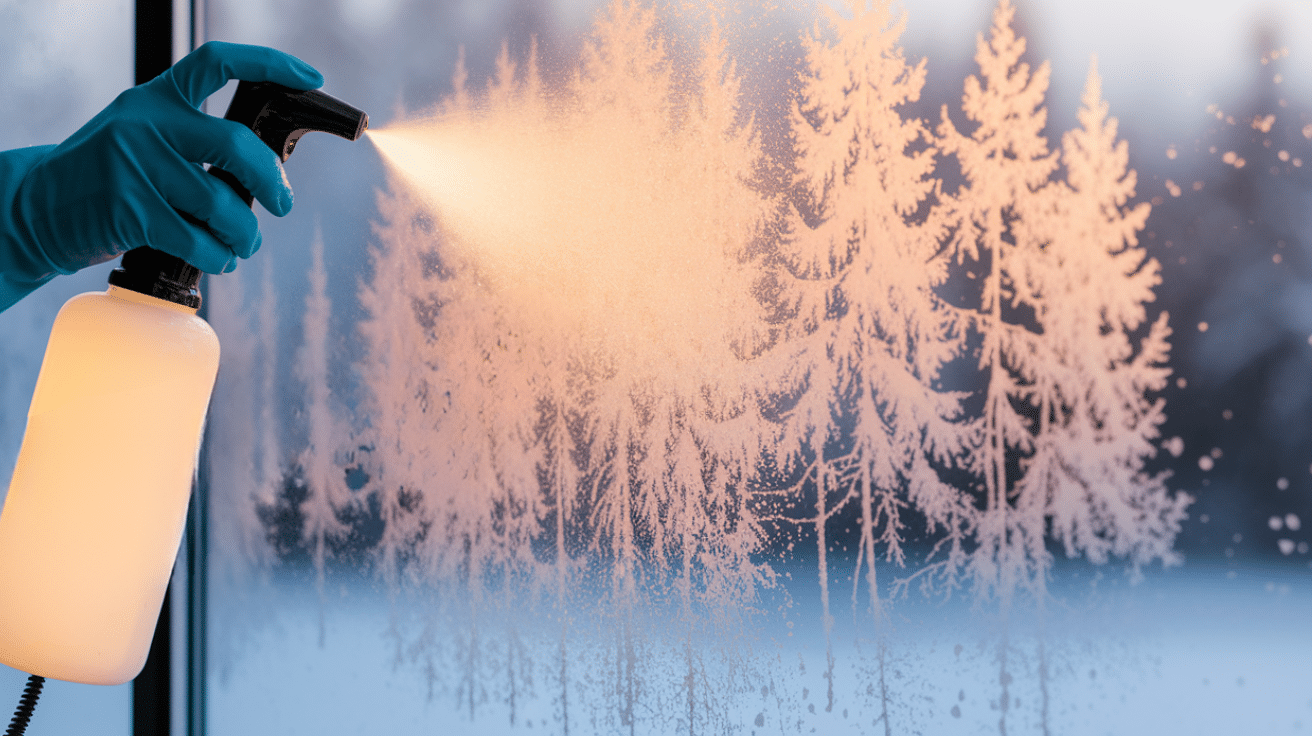
When the season ends, remove your artwork by spraying with warm water and gently scraping with a plastic card.
For stubborn areas, a solution of warm water and dish soap helps loosen the paint. Finish with a regular window cleaning to restore shine.
Winter Window Paint Ideas
Here are a few fun and simple ideas that you can incorporate into your winter window paintings.
1. Basic Snowflakes

Create simple six-pointed stars using straight lines intersecting in the center. Add small dots or short lines along each arm for a classic snowflake pattern.
These beginner-friendly designs require minimal artistic skill yet provide maximum visual impact. Even young children can master this technique with satisfying results.
2. Winter Polka Dots

Apply white paint dots in various sizes randomly across your window using the end of a brush handle. Cluster them densely at the top, gradually spacing them further apart below.
This effortless technique creates the magical illusion of gently falling snow. The random pattern forgives imperfections, making it perfect for first-time window painters.
3. Northern Lights Display
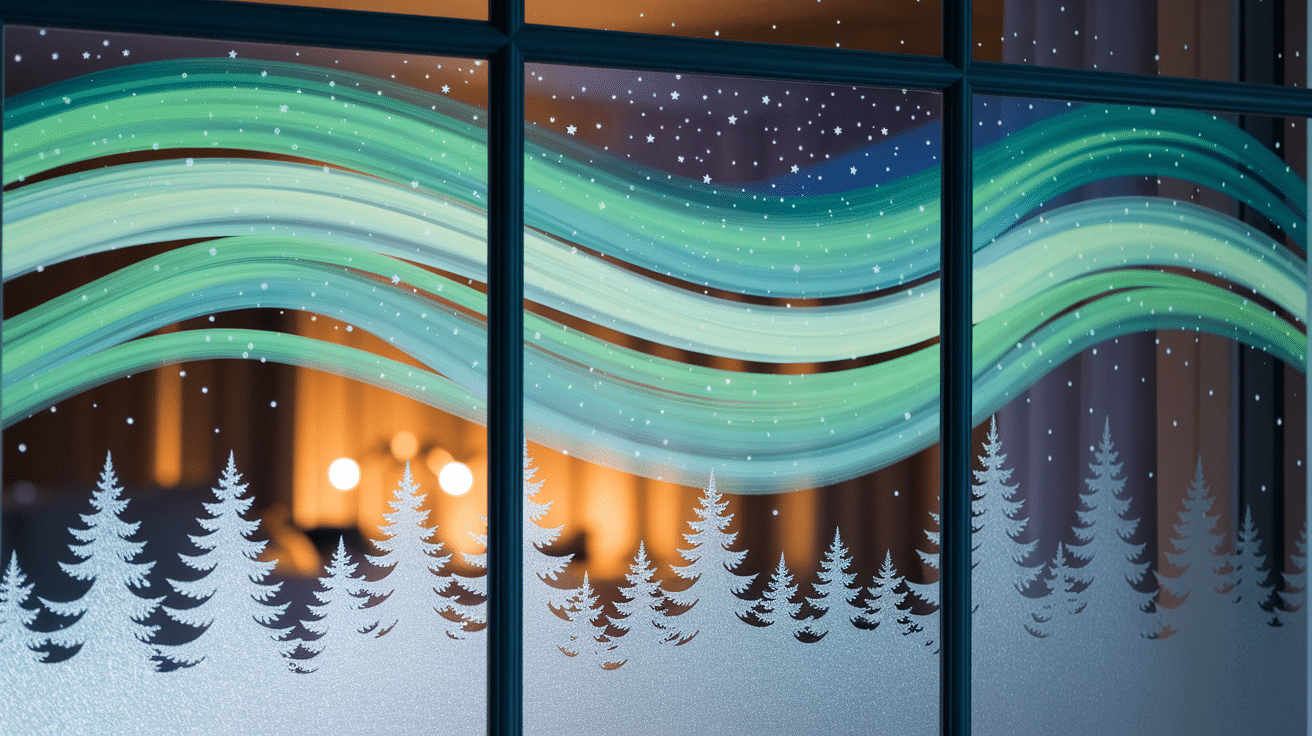
Paint a dark blue or purple base at the bottom of your window, gradually lightening toward the top. Create flowing, wavy horizontal bands of green, teal, and pale yellow that stretch across the window.
Add tiny white dots above for stars, creating a contrast against the colored waves. This simple technique creates a stunning aurora borealis effect that transforms your window into a portal to the Arctic night sky.
4. Starry Night Window
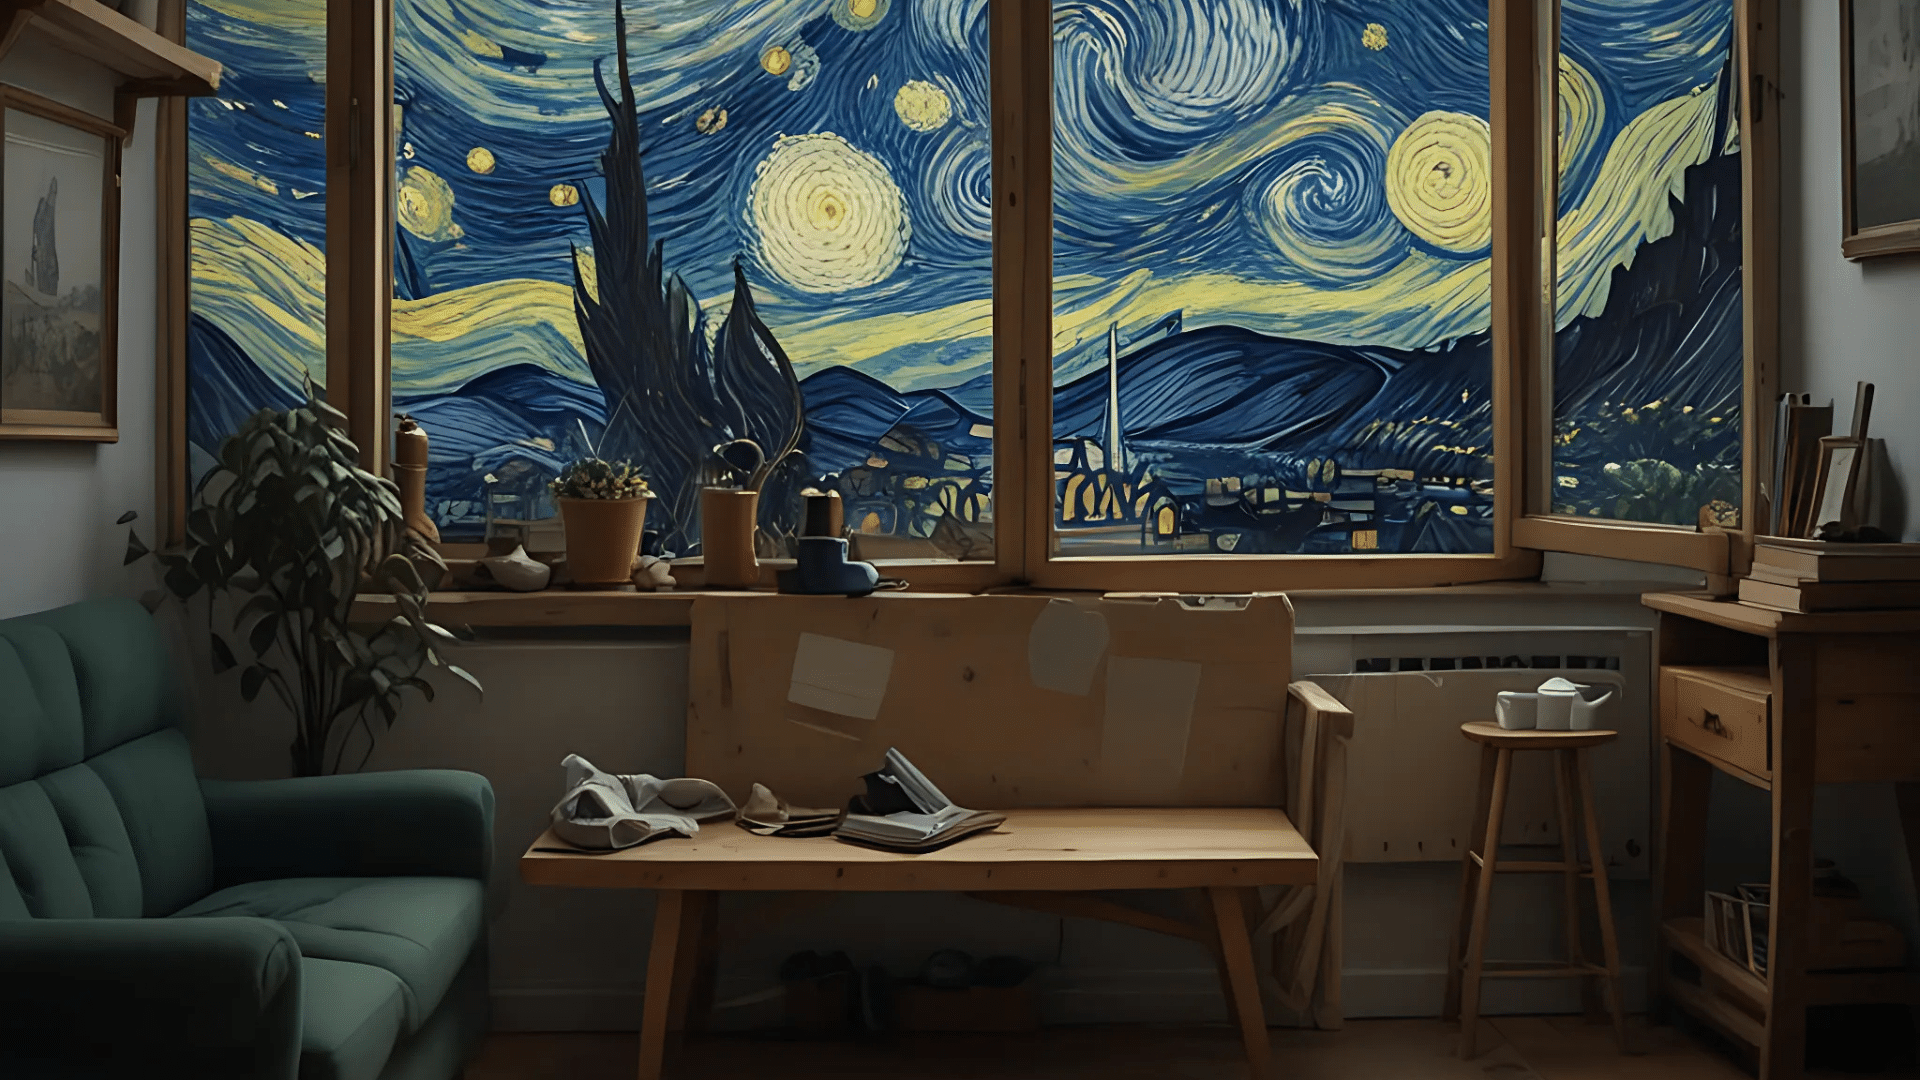
Create a night sky with swirling white patterns that mimic Van Gogh’s famous painting. Use curved, flowing brushstrokes that spiral and dance across the glass surface.
Add scattered stars of varying sizes and a crescent moon for celestial magic. This artistic design changes your window into a winter night masterpiece.
5. Icicle Curtain
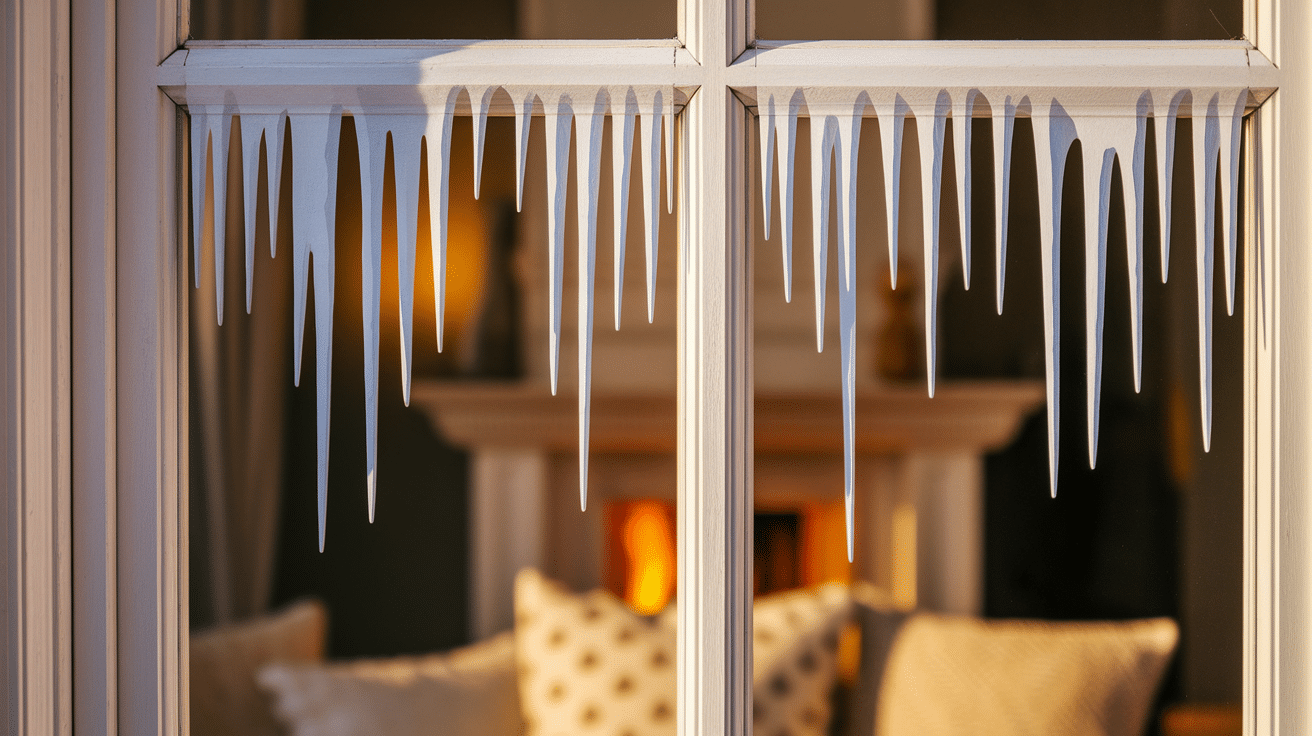
Paint elongated white triangles hanging from your window’s upper edge. Vary their lengths and widths, making some slightly curved for a more natural, crystalline appearance.
This simple design creates a winter atmosphere with minimal effort. The vertical orientation draws the eye upward while framing the view beyond your window.
6. Snowman Family Portrait
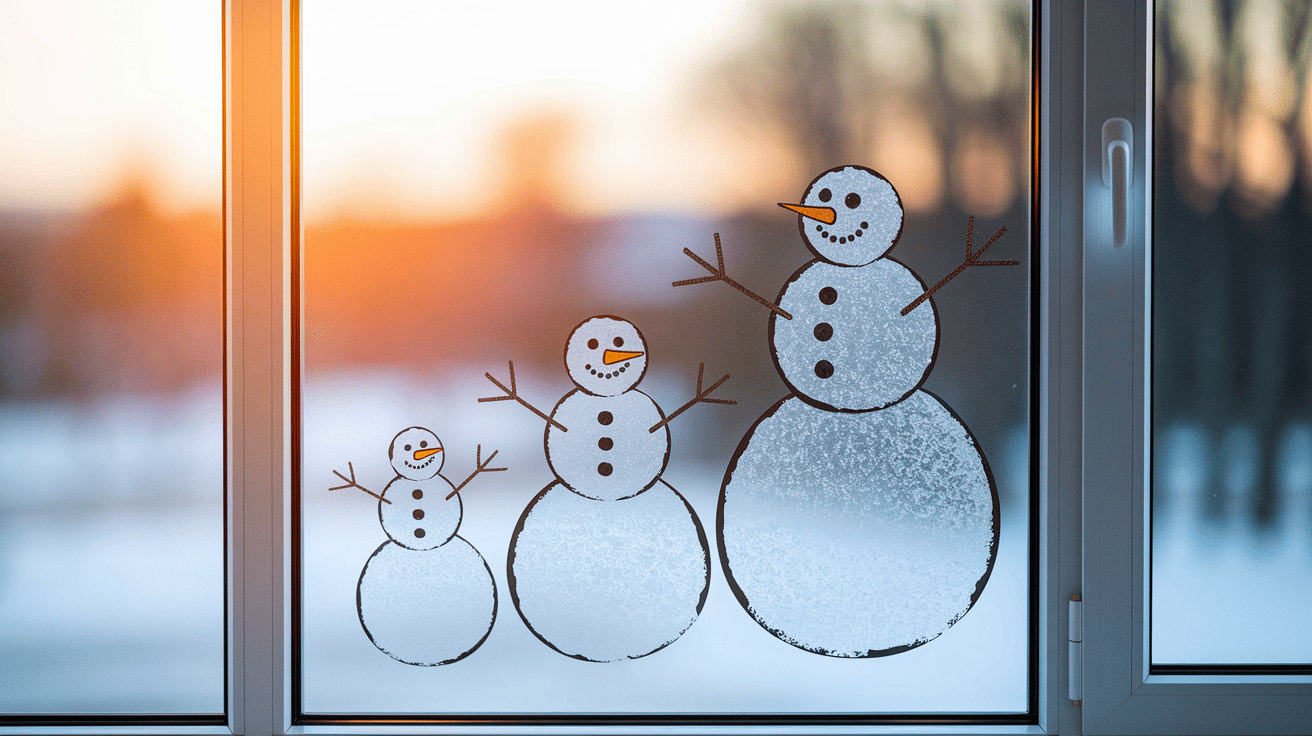
Stack three white circles of decreasing size to form each snowman. Add simple dot eyes, carrot noses, and curved-line smiles using minimal strokes.
Complete each character with basic accessories like hats and scarves. Placing them in a row creates a charming family scene that tells a story without complex technique.
7. Frosty Window Panes
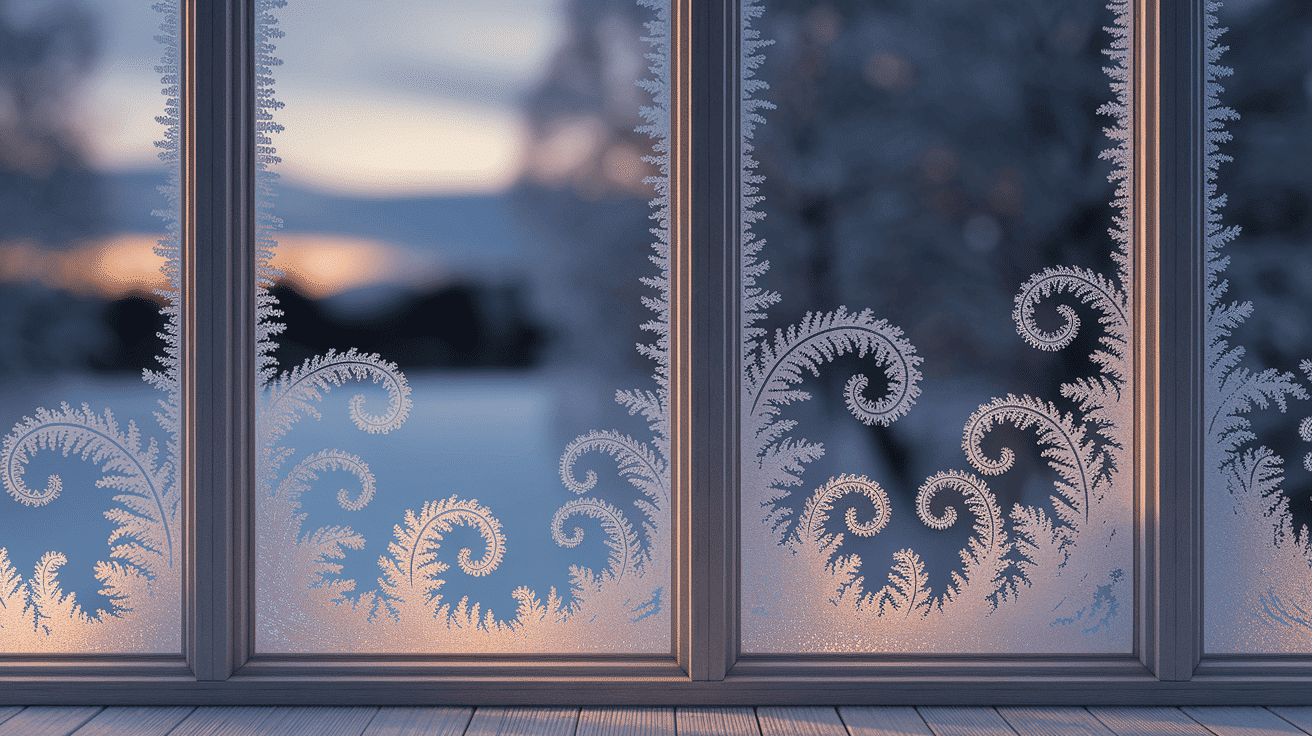
Apply white paint in curved patterns along the inside edges of each window pane. Create swirling designs that extend 2-3 inches inward from the frame.
This technique frames your view while suggesting frost has naturally formed on glass. The repetitive pattern is forgiving of imperfections yet creates an elegant, winter-kissed effect.
8. Winter Tree Silhouette
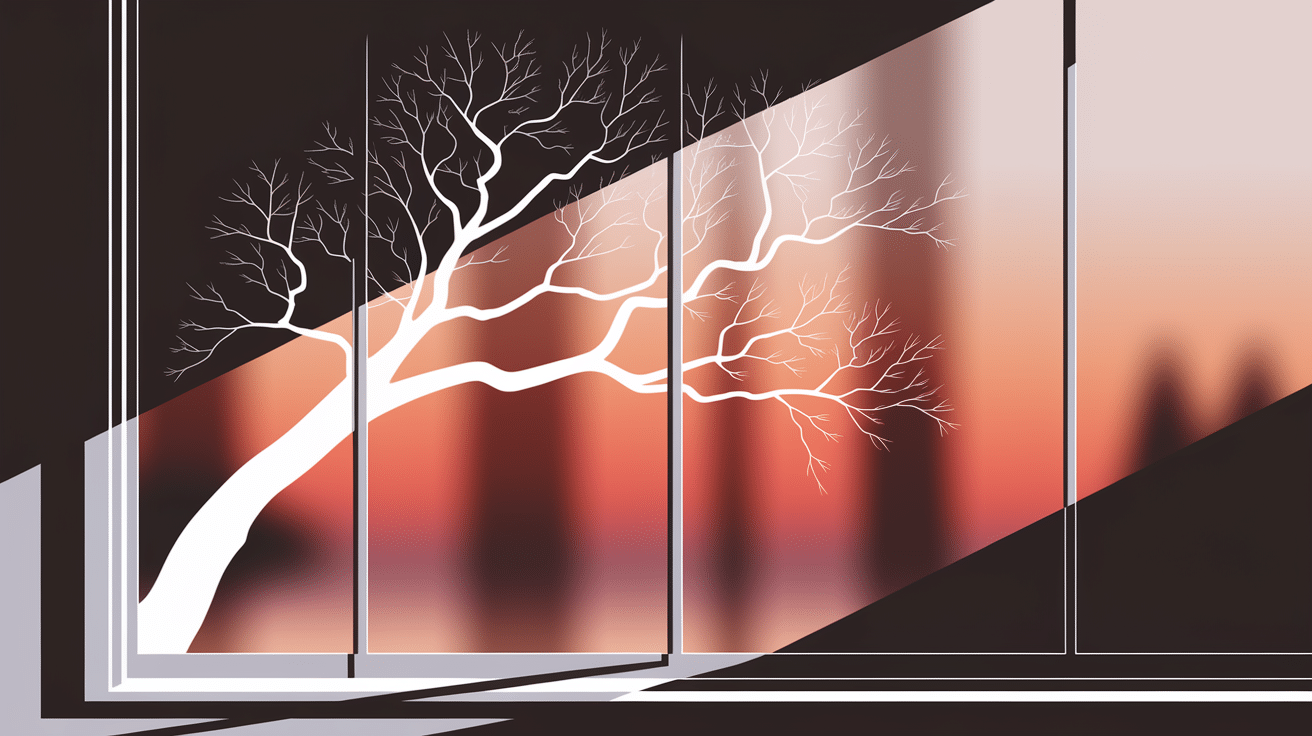
Paint one vertical line for the trunk, then add extending branches using simple outward strokes. Keep the entire silhouette white against the clear glass background.
This minimalist design creates a winter look with very few brushstrokes. The bare branches bring out winter’s quiet beauty while requiring no detailed texturing.
9. Holiday Wreath
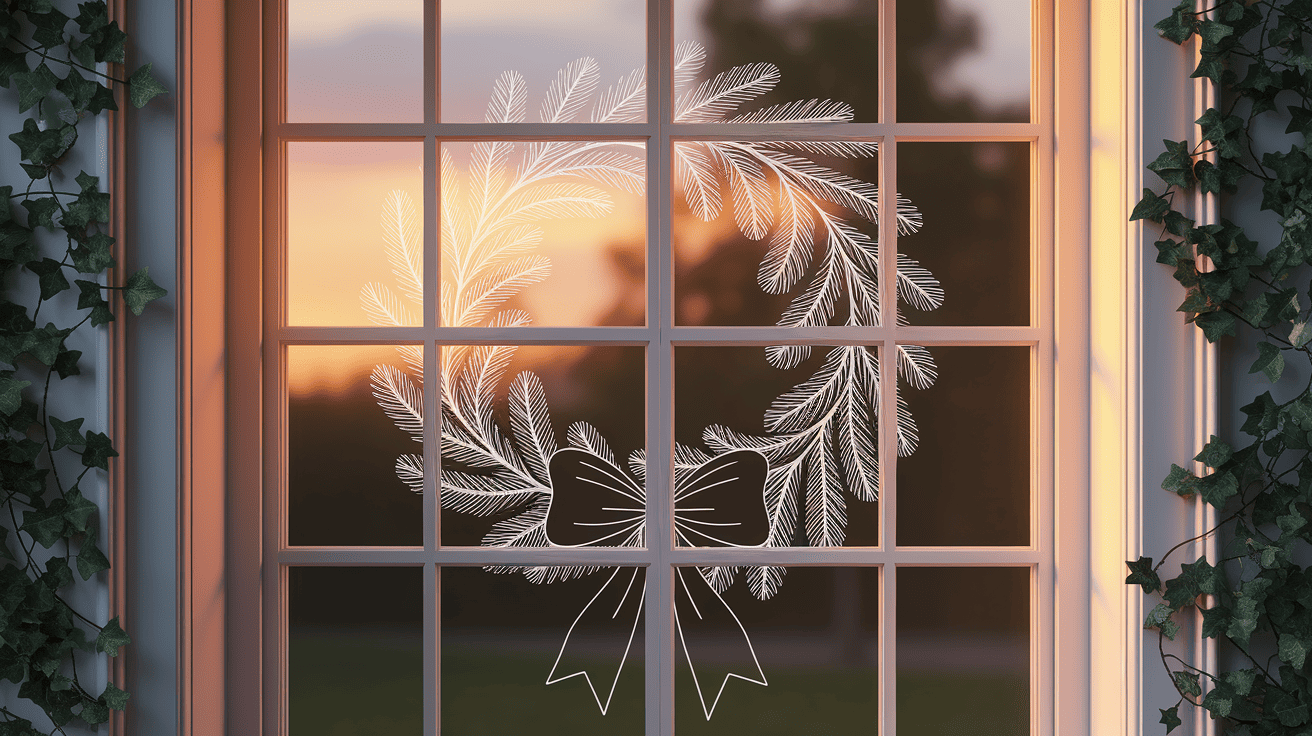
Paint a green circle using short, outward-facing brushstrokes to suggest pine needles. Keep the center open and focus on creating a textured outer edge.
Add small red dots for berries and a simple ribbon at the bottom. This circular design teaches basic brush control while creating a recognizable holiday symbol.
Tips for Long-Lasting Window Art
To ensure your window art stays lovely and intact, you can implement these tips into your painting.
Weather Considerations
- For windows that face harsh elements, consider adding a clear sealer as a protective topcoat.
- Avoid painting on extremely cold days as condensation can form between the paint and glass.
- For exterior windows, check the weather forecast, and avoid painting if rain or snow is expected within 24 hours.
Touch-up Techniques
- Keep small amounts of each paint color in sealed containers for easy touch-ups throughout the season.
- Use cotton swabs for precise touch-ups on small areas without disturbing surrounding details.
- For faded areas, lightly clean the section with a damp cloth before applying fresh paint.
Protecting Your Creation
- Apply a light mist of clear acrylic sealer designed for glass (for exterior windows only).
- Keep curtains, blinds, and decorations from directly touching painted areas.
- For high-traffic areas, consider painting on the exterior side of interior windows to prevent accidental contact.
Conclusion
Winter window painting offers an enjoyable way to celebrate the season without permanent commitment. Even if you choose simple designs or detailed scenes, the process itself becomes a cherished winter activity.
Remember that perfection isn’t necessary; each brushstroke adds to the handcrafted charm that makes your creation special.
So gather your paints, show your imagination, and let your windows become portals to winter wonder.

