Easy Before and After Bookcase Makeover for Your Home
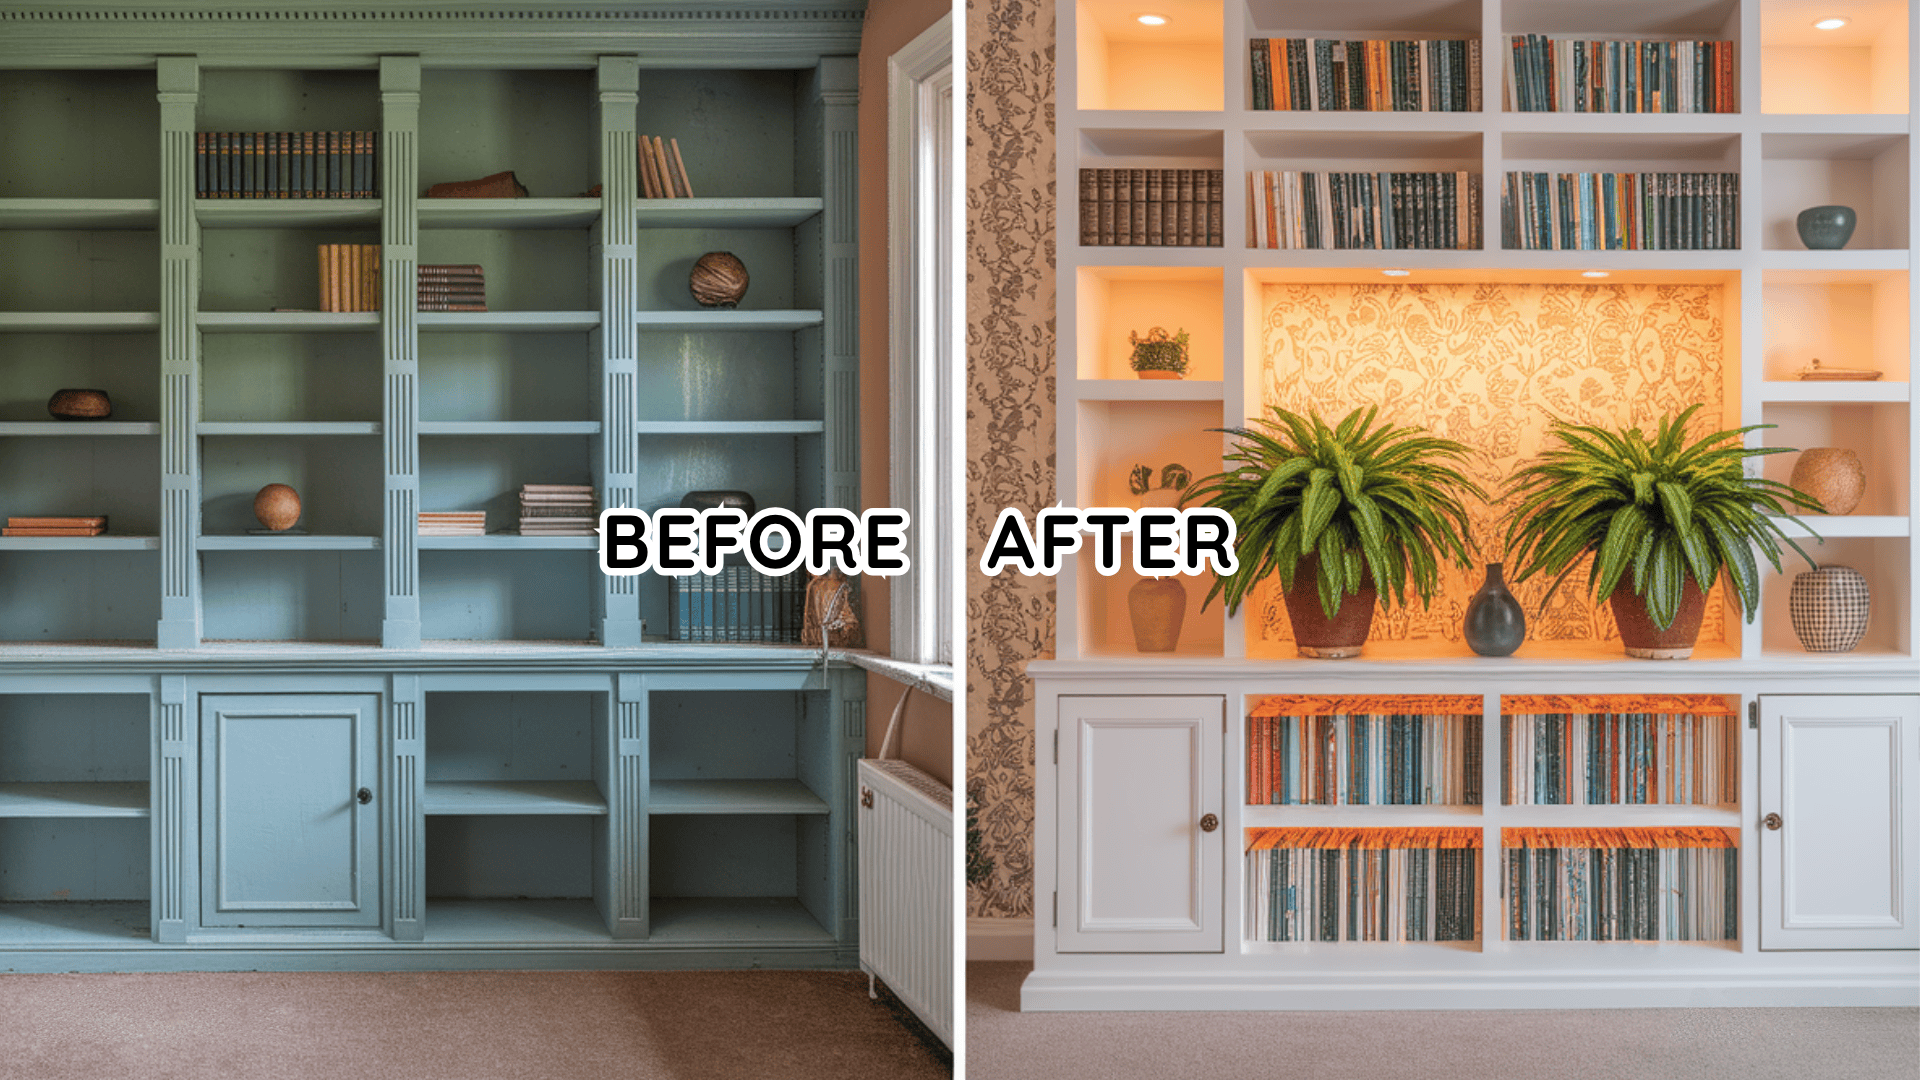
Are you looking to freshen up that old bookcase sitting in your corner? You’re not alone. Many homeowners have plain, boring bookcases that need a little attention.
With some simple changes, you can turn that forgotten furniture piece into something you’ll want to show off.
This post walks you through practical bookcase makeover ideas that won’t break the bank or require expert skills. We’ll share before and after examples that prove how small updates can make big differences.
Ready to see what’s possible with paint, paper, and a bit of creativity? These ideas work for wooden bookcases, metal shelves, built-ins, and freestanding units alike.
Why Give Your Bookcase a Makeover

That old bookcase in your room deserves more attention than it gets. A simple update can completely change how a space feels.
Old bookcases often fade into the background, becoming spots for dust and clutter rather than highlights in your home.
By giving your bookcase a makeover, you breathe new life into your living space without buying new furniture. It’s a budget-friendly home improvement that makes a big difference.
Plus, updating your bookcase lets you match current home styles and express personal taste. The best part is that most makeovers can be done in a weekend with basic tools and materials.
Things to Consider Before Starting
Before you start your bookcase project, consider these key points to set yourself up for success.
|
Consideration |
Tip |
|---|---|
| Bookcase Quality | Choose solid wood for durability; particleboard may not hold up as well. |
| Room & Decor | Ensure the new bookcase complements the existing room colors and style. |
| Budget | Account for costs of paint, hardware, and tools to avoid surprises. |
| Time Estimate | Most projects take a weekend; complex designs may require more time. |
| Measurements | Measure twice, especially when adding hardware or making custom fits. |
| Clearing the Bookcase | Decide if you will empty the bookcase or work around existing items. |
Steps to Make a DIY Bookcase
Follow these simple yet effective steps to redesign your bookcase into a personalized piece that perfectly complements your space.
Step 1: Clean and Prepare the Bookcase

Empty your bookcase completely, removing books, items, and adjustable shelves. Clean all surfaces with a damp cloth and sand lightly using medium-grit sandpaper to help paint or finish stick better.
Fix loose joints with wood glue or screws, and remove hardware if you plan to replace it. Clear off all sanding dust using a tack cloth.
These preparatory steps ensure a smooth and flawless base for the upcoming makeover.
Step 2: Choose Your Design and Materials
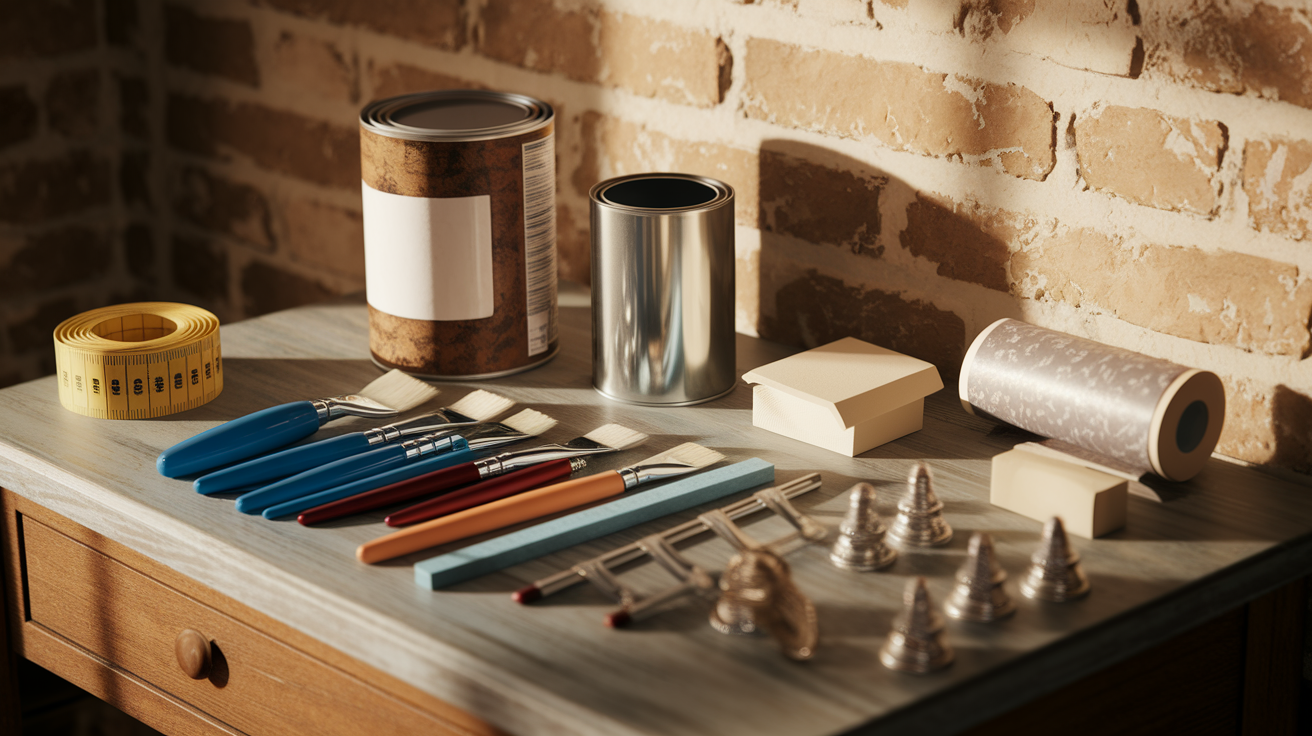
Decide on a design that matches your style and space. Pick suitable materials like chalk paint for rustic charm or semi-gloss for modern vibes. If adding wallpaper or contact paper, measure the dimensions precisely.
Consider decorative extras like knobs, molding, or trim. Make a shopping list of essentials like paint, primer, brushes, rollers, adhesive, and tools to simplify the process.
Preparing materials upfront ensures your project runs seamlessly without unnecessary delays.
Step 3: Paint or Apply Finish
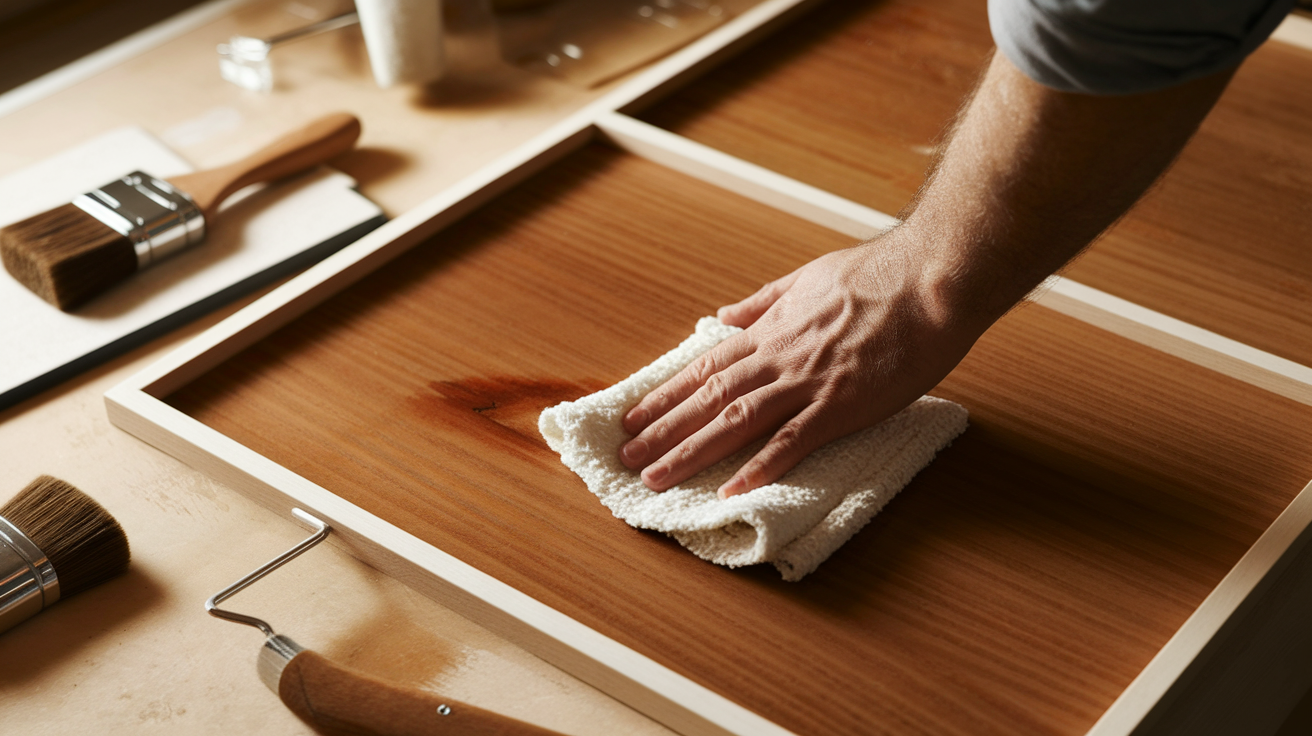
Start by applying primer to ensure better adhesion and a smooth base. Use brushes for edges and corners, while rollers work well on flat areas.
Allow primer to dry before painting thin, even coats of your chosen color. Let each coat dry fully to avoid peeling or drips.
For wood stain, rub along the grain using a cloth and remove excess. Apply clear finishes carefully in a dust-free space for professional-quality results.
Step 4: Add Decorative Touches

Once your base paint or finish is dry, personalize the bookcase with creative elements.
For extra flair, add patterned wallpaper or contact paper to the back panels. For a customized look, install crown molding, edge trims, or intricate wood details.
Replace old hardware with stylish knobs or pulls. If distressing the piece, lightly sand areas for natural wear. These thoughtful touches change your bookcase into an eye-catching centerpiece.
Step 5: Style Your Bookcase
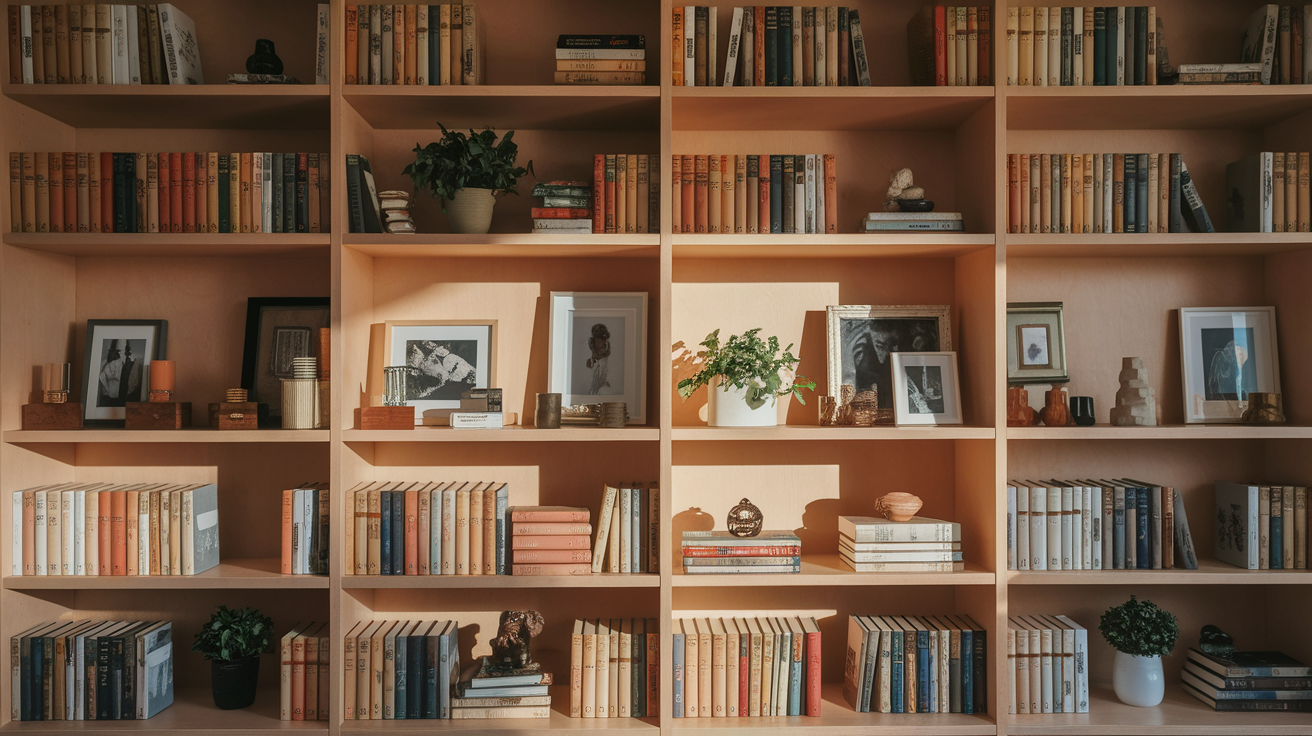
Arrange books creatively, mixing vertical and horizontal stacks for visual interest. Leave spaces between groupings for decorative items like framed photos, plants, or unique objects.
Use the “rule of three” for appealing arrangements and place heavier items on lower shelves for balance.
Avoid overcrowding by leaving some open spaces. Step back often to evaluate the overall look and adjust as needed, creating a well-balanced and inviting display.
Bookcase Makeover Ideas for Your Home
Refresh your bookcase with these inventive makeover ideas, adding charm, character, and practicality to upgrade your space seamlessly.
1. Paint Refresh
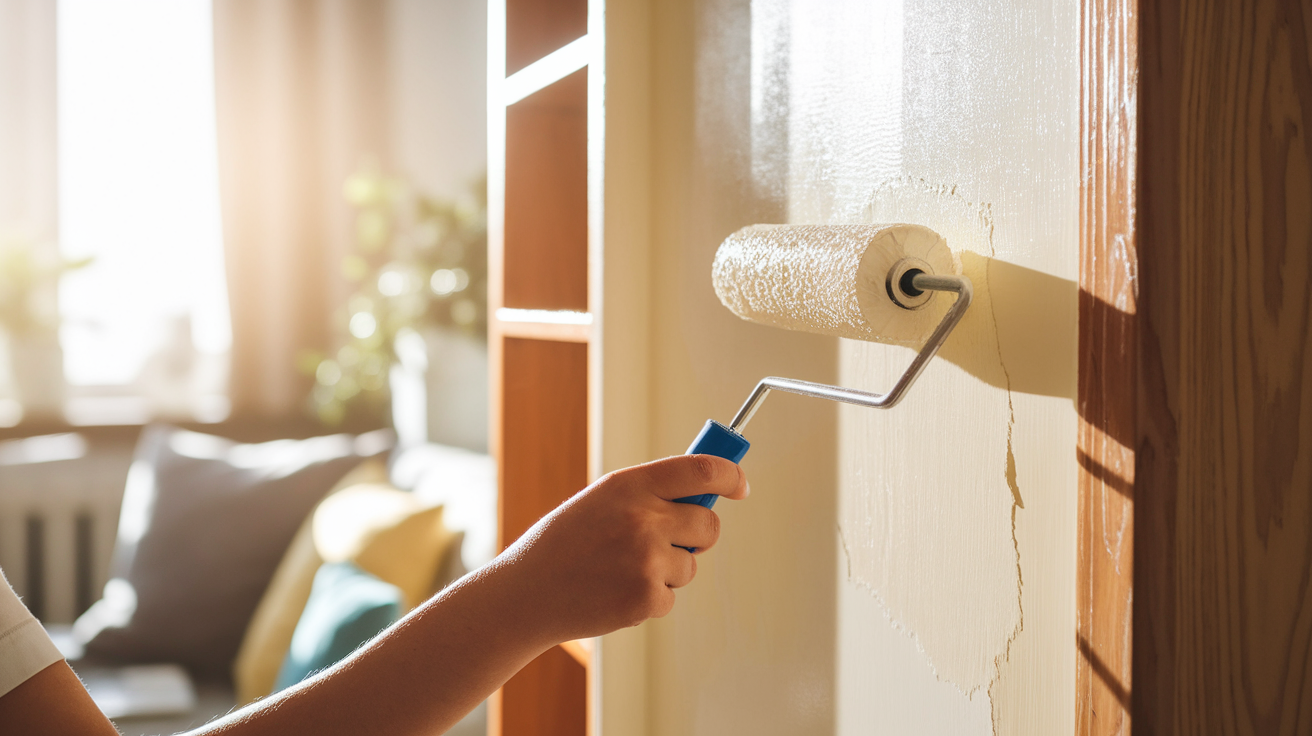
A simple color change can completely change your bookcase’s appearance.
Revive your bookcase by painting it a fresh, bold color like navy, yellow, or cream for a bright look. Sand lightly, apply primer, and finish with thin coats to ensure a smooth finish.
Paint hides imperfections, unifies mismatched pieces, and helps built-ins blend seamlessly with walls.
2. Add Wallpaper or Peel-and-Stick Panels

Decorate the back panel of your bookcase with wallpaper, peel-and-stick panels, or contact paper for a stylish touch.
Measure precisely and apply patterns like geometric shapes for modern appeal or floral prints for classic charm.
Textured designs such as grasscloth add dimension. This technique adds contrast behind items and works well for renters with temporary, removable options.
3. Vintage Touch-Up

This approach keeps the bookcase’s classic character intact while modernizing it for your home.
Improve older bookcases while preserving their charm. Clean them with wood soap, add furniture wax or oil to highlight the grain, and replace damaged hardware with vintage-style pieces.
Fix flaws with wood filler before gentle refinishing. Add brass lamps or lighting for a graceful touch.
4. Open-Back or Glass Inserts
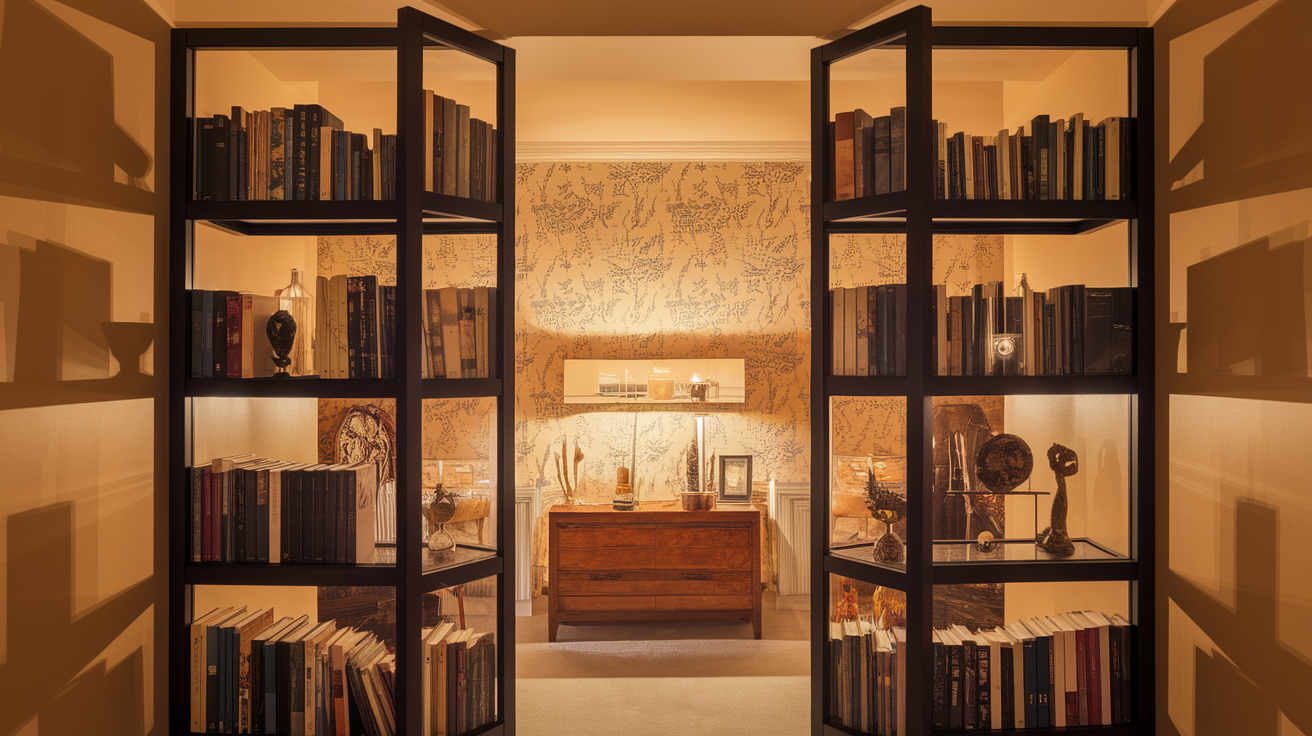
Open-back styles make bookcases look lighter and blend well in small spaces, serving as functional yet attractive room dividers.
Remove the back panel or use glass inserts to create an airy, open feel. This design lets light pass through and highlights the wall colors or wallpaper behind. Glass panels protect items and display collections beautifully.
5. Decorative Styling

Style your bookcase thoughtfully by mixing vertical and horizontal book arrangements and adding decorative items like plants and photos.
Use bookends, baskets, or textured objects for variation. Keep balance by leaving some empty spaces and displaying key items at eye level.
Experiment with groupings and adjust until you achieve a visually appealing and personalized display.
Tips for Capturing the Perfect Before and After Photos
Before you start snapping pictures, keep these photo tips in mind to showcase your hard work beautifully.
- Take “before” shots: Capture photos from multiple angles in natural light to create a clear reference before any changes begin.
- Declutter the space: Remove personal items and clutter to keep the focus on the bookcase and highlight its makeover.
- Maintain consistency: Use the same camera position, lighting, and time of day for before and after shots for accurate comparisons.
- Capture different angles: Take photos straight on and from various angles to showcase the bookcase’s design and structure fully.
- Highlight details: Close-up shots of hardware or patterns emphasize the unique features and craftsmanship of your project.
- Add context: Show part of the surrounding room to give viewers a sense of how the bookcase fits in the space.
- Clean your camera lens: Wipe the lens before shooting to ensure your photos are sharp, clear, and free from smudges.
- Avoid flash: Avoid using flash to prevent harsh lighting and washed-out colors. Stick to natural light for better results.
- Use side-by-side comparison: Create a side-by-side image of before and after photos for a powerful visual impact, especially on social media.
- Take progress photos: Capture photos during different stages of the project to illustrate the entire improvement process.
Conclusion
Fixing up an old bookcase is easy and cheap. Small changes make big differences in how your home looks.
Your bookcase can store your stuff and show off your style at the same time. If you’re not sure where to start, try just painting it or changing how you arrange things on the shelves.
You can try bigger changes later when you feel ready. There’s no wrong way to make your bookcase look better – just do what works in your home.
Take pictures before and after to see how much you’ve changed it. With a little care, your “new” bookcase will look good for a long time. Have fun making it yours.


