Easy DIY Brick Stains to Create a New Look
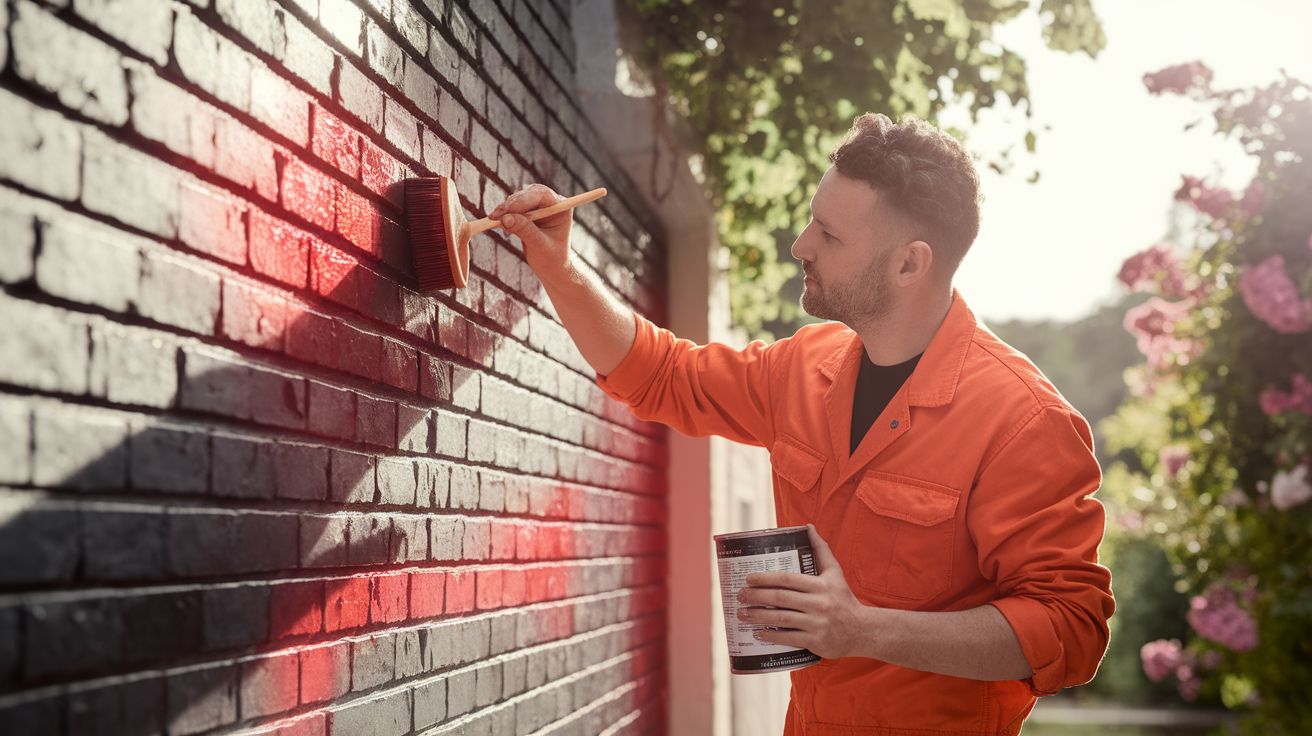
Working with bricks often means wanting to change their color or look. Brick staining offers a way to update the appearance of brick surfaces without changing their natural texture.
This method adds color while letting the brick keep its original feel and style. Many homeowners choose staining over painting because it allows bricks to breathe.
The stain soaks into the brick rather than sitting on top. This helps avoid issues like peeling or chipping that can happen with paint.
Getting ready to stain bricks takes some planning—the right tools, proper surface preparation, and choosing the best stain for your needs all matter.
Each step in the process plays a key role in getting good results. This guide breaks down the brick staining process into clear steps.
What is Brick Staining
Brick stain is a special type of color that goes into the brick surface instead of just coating it. Unlike paint, which forms a layer on top, stain works by soaking into the tiny holes in the brick.
This gives the brick a new color while keeping its natural look and feel. Brick stains come in two main types: water-based and acid-based. Water-based stains are easier to use and safer for most people.
They don’t make strong smells and clean up with just water. Acid-based stains make a chemical change in the brick for a longer-lasting color. They need more care when using them.
The big plus of brick stain is that it keeps the brick’s texture showing. You can still see the small bumps and marks that make the brick actually look like a brick.
It won’t hide the mortar lines or the small details of your wall or floor. Stains also let the brick keep breathing. This means water vapor can still move in and out.
This breathing helps stop many common brick problems like mold or damage from freezing.
Step-by-Step Guide for Staining Bricks
Staining bricks takes time and care to get right. The process isn’t hard, but each step matters for a good end result. Follow these steps in order, and don’t rush.
Take your time with each part of the process. This careful work will pay off with a brick surface that looks great and lasts for years. The weather should be mild when you work, not too hot, cold, or humid.
Here’s how to do it:
Step 1: Clean the Surface
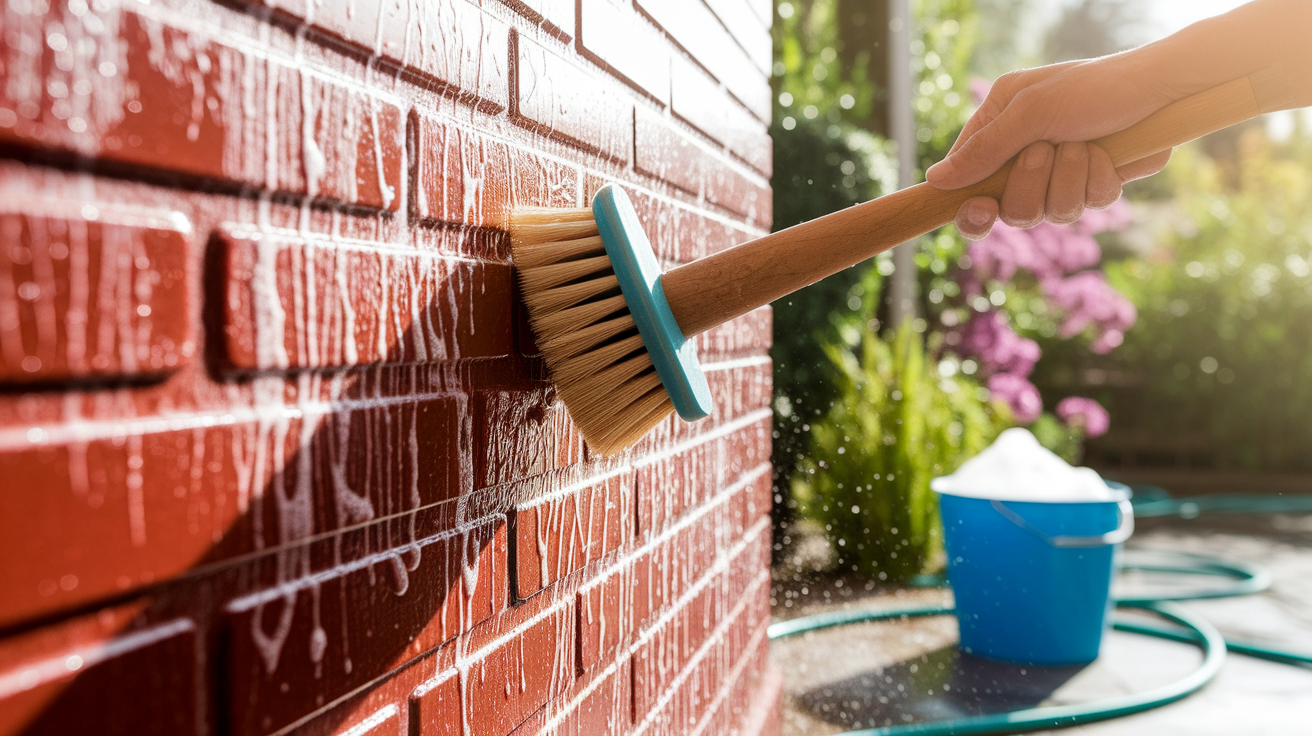
Remove all dirt, dust, and loose bits from the bricks using pressure washing or scrubbing. Mix a cleaning solution with warm water and use a stiff brush to clean every inch.
Pay extra attention to stained areas and mold spots. Rinse well and give the bricks at least 24 hours to dry completely.
Materials Required
- Stiff-bristle brush
- Bucket
- TSP cleaner or brick cleaner
- Garden hose or pressure washer
- Safety goggles
- Gloves
Step 2: Repair Any Damage
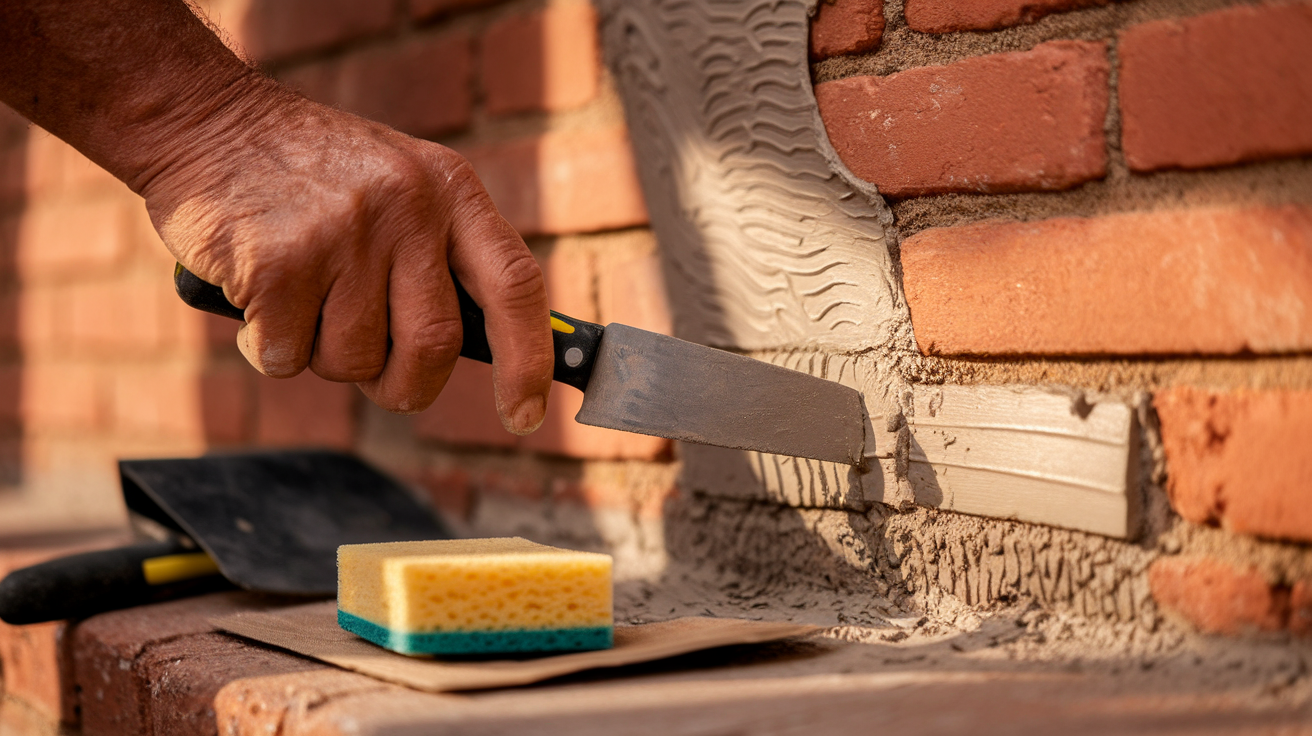
Look for cracks, chips, or crumbling mortar, and fix these issues before staining. Small cracks can be filled with patching compound, while larger repairs might need mortar.
Smooth out all fixes to match the brick texture. Allow all repairs to cure fully according to product instructions – usually 24-48 hours.
Materials Required
- Mortar repair mix
- Putty knife
- Small trowel
- Sponge
- Brick patching compound
- Fine-grit sandpaper
Step 3: Test in a Small Area
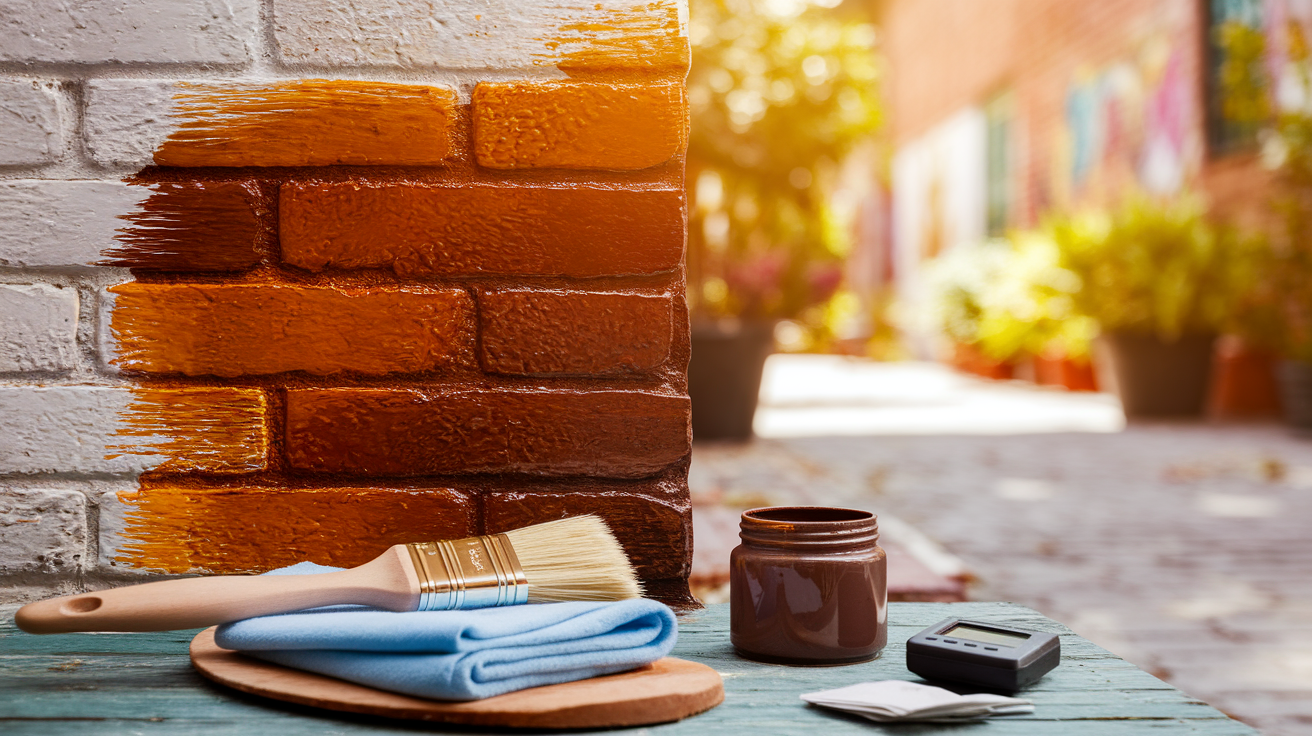
Apply stain to a small, out-of-sight spot to check the color and how it takes to your bricks. Let it dry fully to see the true color. Based on this test, you may need to adjust the stain or number of coats.
This step saves time and prevents mistakes in the main area.
Materials Required
- Brick stain (small amount)
- Brush or sprayer
- Clean rags
- Gloves
- Timer
- Camera for before/after comparison
Step 4: Mask Surrounding Areas
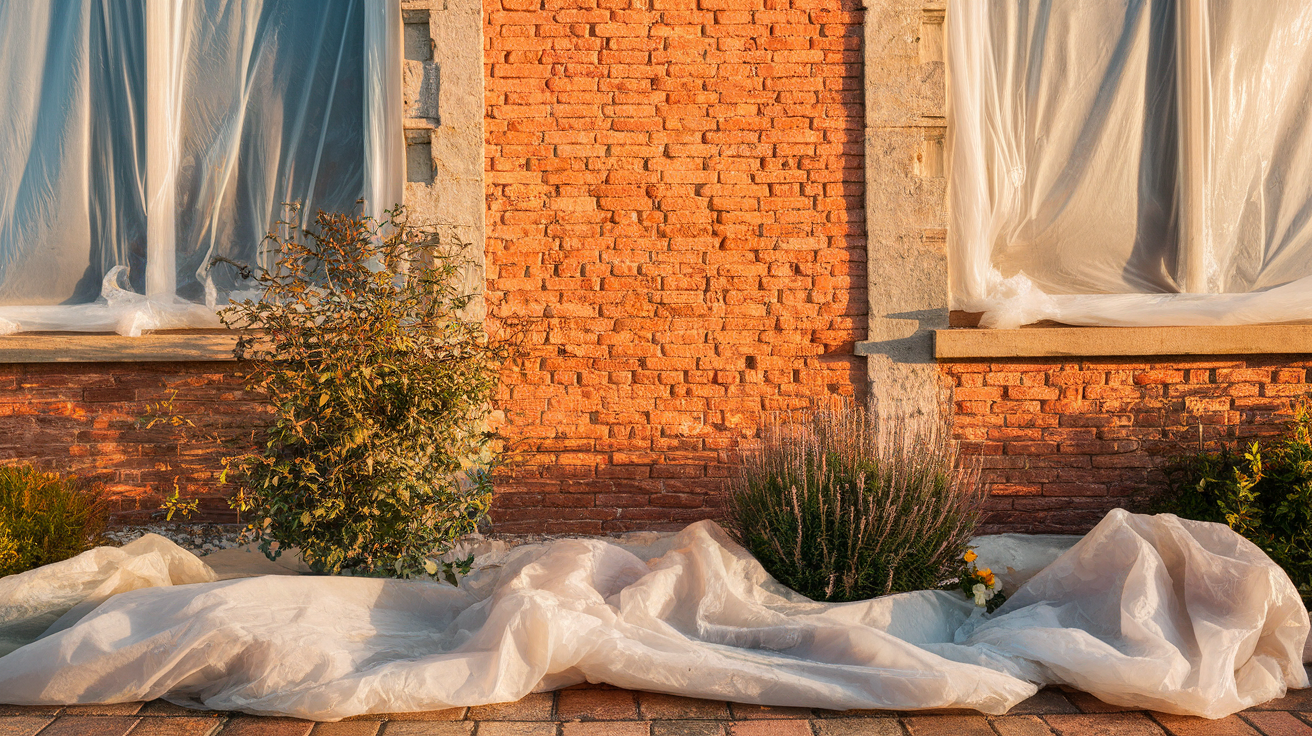
Protect everything you don’t want stained. Cover windows, doors, trim, and plants with plastic sheets. Use painter’s tape for clean lines and drop cloths for floors and the ground.
Take time with this step – cleaning stains from unintended surfaces is very hard.
Materials Required
- Painter’s tape
- Drop cloths
- Plastic sheeting
- Masking paper
- Scissors
- Staple gun or tape for securing covers
Step 5: Apply the First Coat
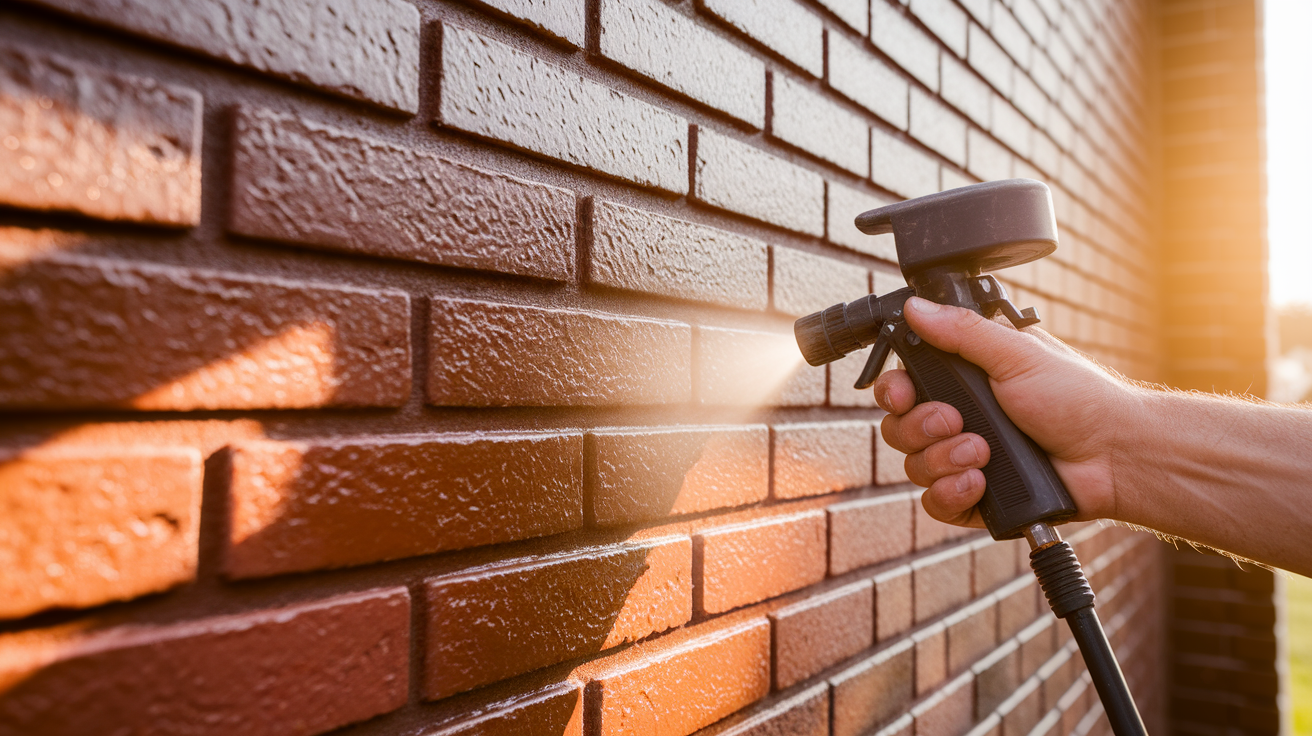
Work in small sections of 3-4 square feet at a time. Apply stain with steady, even strokes using a brush or sprayer. Keep the application wet at edges to avoid visible lines.
Start from the top if working on a wall to catch any drips. Maintain a steady pace without stopping in the middle of a section.
Materials Required
- Brick stain
- Pump sprayer or brush
- Gloves
- Face mask
- Extension pole
- Paint tray if using a brush
Step 6: Let it Dry Completely
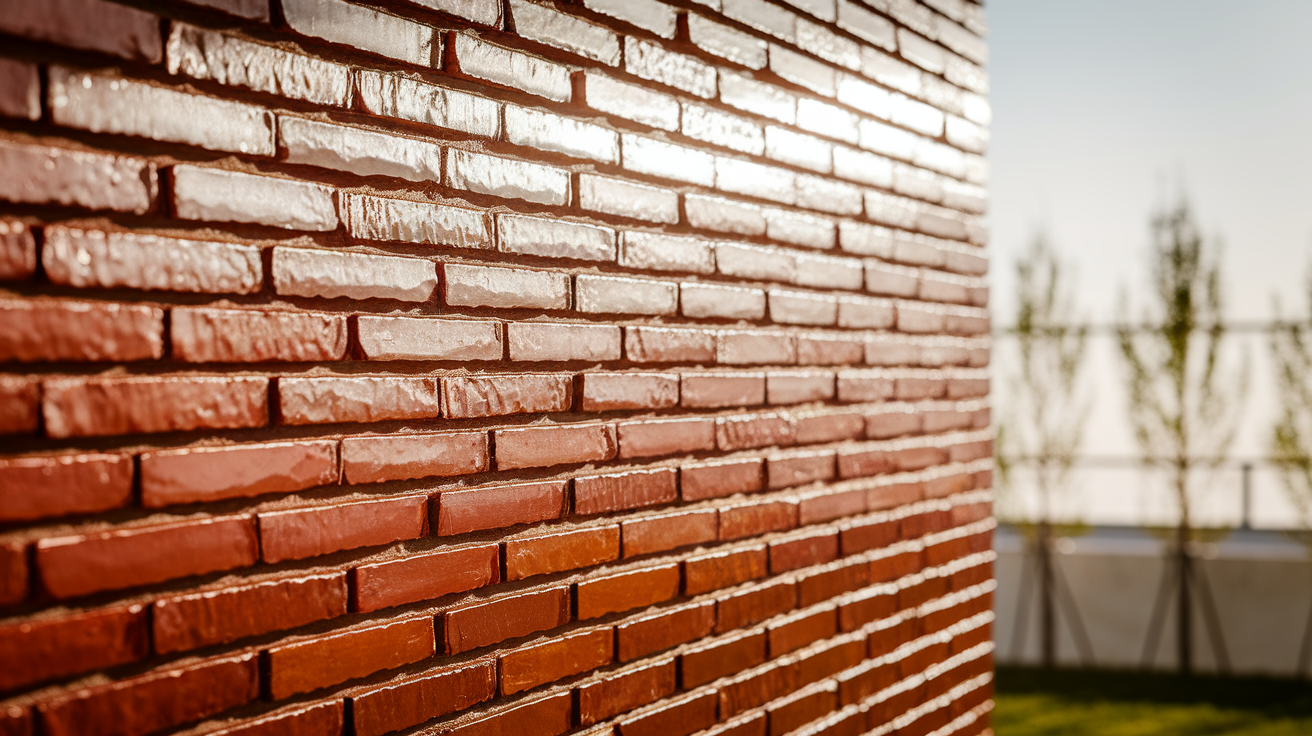
Allow the first coat to dry fully according to the product instructions. This usually takes 4-24 hours, depending on the stain type and weather.
Don’t rush this step – applying a second coat too soon can cause peeling or uneven color. The surface should not feel tacky before you continue.
Note: There needs to be a good air flow and patience.
Types of Brick Stains
Brick stains come in several forms, each with its own uses and benefits. The type you pick depends on what you want the final result to look like and where you plan to use it.
Some work better for certain projects than others. Your choice affects how much the natural brick shows through and how long the color will last.
Here’s a simple breakdown of the main types to help you decide:
| Stain Type | Description | Best For | Durability |
|---|---|---|---|
| Water-Based | Made with water and color pigments. Easy to apply and clean up. | Indoor and outdoor projects. Good for beginners. | 5–7 years with proper application |
| Acid-Based | Contains acid that reacts with minerals in brick. Creates permanent bond. | Outdoor projects needing long-term color. | 10+ years, very weather resistant |
| Semi-Transparent | Allows brick texture to show through clearly. Subtle color change. | Projects where original brick look should remain visible. | Varies by base type |
| Solid Color | Provides more complete coverage. Less brick texture shows. | Covering major color flaws or making big color changes. | Varies by base type |
| Acrylic | Water-based with acrylic resins for better binding. | Areas with changing weather conditions. | 7–10 years with good preparation |
| Penetrating | Goes deep into brick surface. | High-traffic areas and places with harsh weather. | Very high, minimal fading over time |
Mistakes That Can Mess Up Your Brick Makeover
When staining bricks, some errors can ruin your project or cause the finish to fail early. Here are the key mistakes you should watch out for:
- Skipping thorough cleaning: Dirt, old paint, or sealers left on bricks block stain from soaking in evenly. This leads to patchy, blotchy results that look unprofessional.
- Working in bad weather: Staining in direct sun, high heat, or humid conditions makes the stain dry too fast or too slow. This creates streaks and uneven color on your brick surface.
- Using the wrong stain type: Picking a stain not made for your brick type or location (indoor vs. outdoor) leads to poor results. Always check if the stain suits your specific project needs.
- Rushing between coats: Not letting each coat dry fully before adding the next one causes peeling and bubbling. Follow the drying times listed on your stain product.
- Forgetting to test first: Jumping straight to staining without testing on a small area can lead to color surprises. Brick takes stain differently based on age, type, and past treatments.
- Applying too much stain: Putting on thick coats thinking it gives better color actually creates a film that peels. Thin, even layers work much better for lasting results.
- Neglecting safety gear: Working without gloves, eye protection, and good air flow can cause skin burns, eye damage, or breathing problems from stain chemicals.
Conclusion
That wraps up this guide about brick staining. A well-done staining job can boost the look of any brick surface.
The key steps include – cleaning well, using the right stain type, and taking time between coats – lead to the best results.
What makes brick staining worth the effort? It changes the look while keeping the brick’s natural texture. Unlike paint, it won’t peel or chip over time.
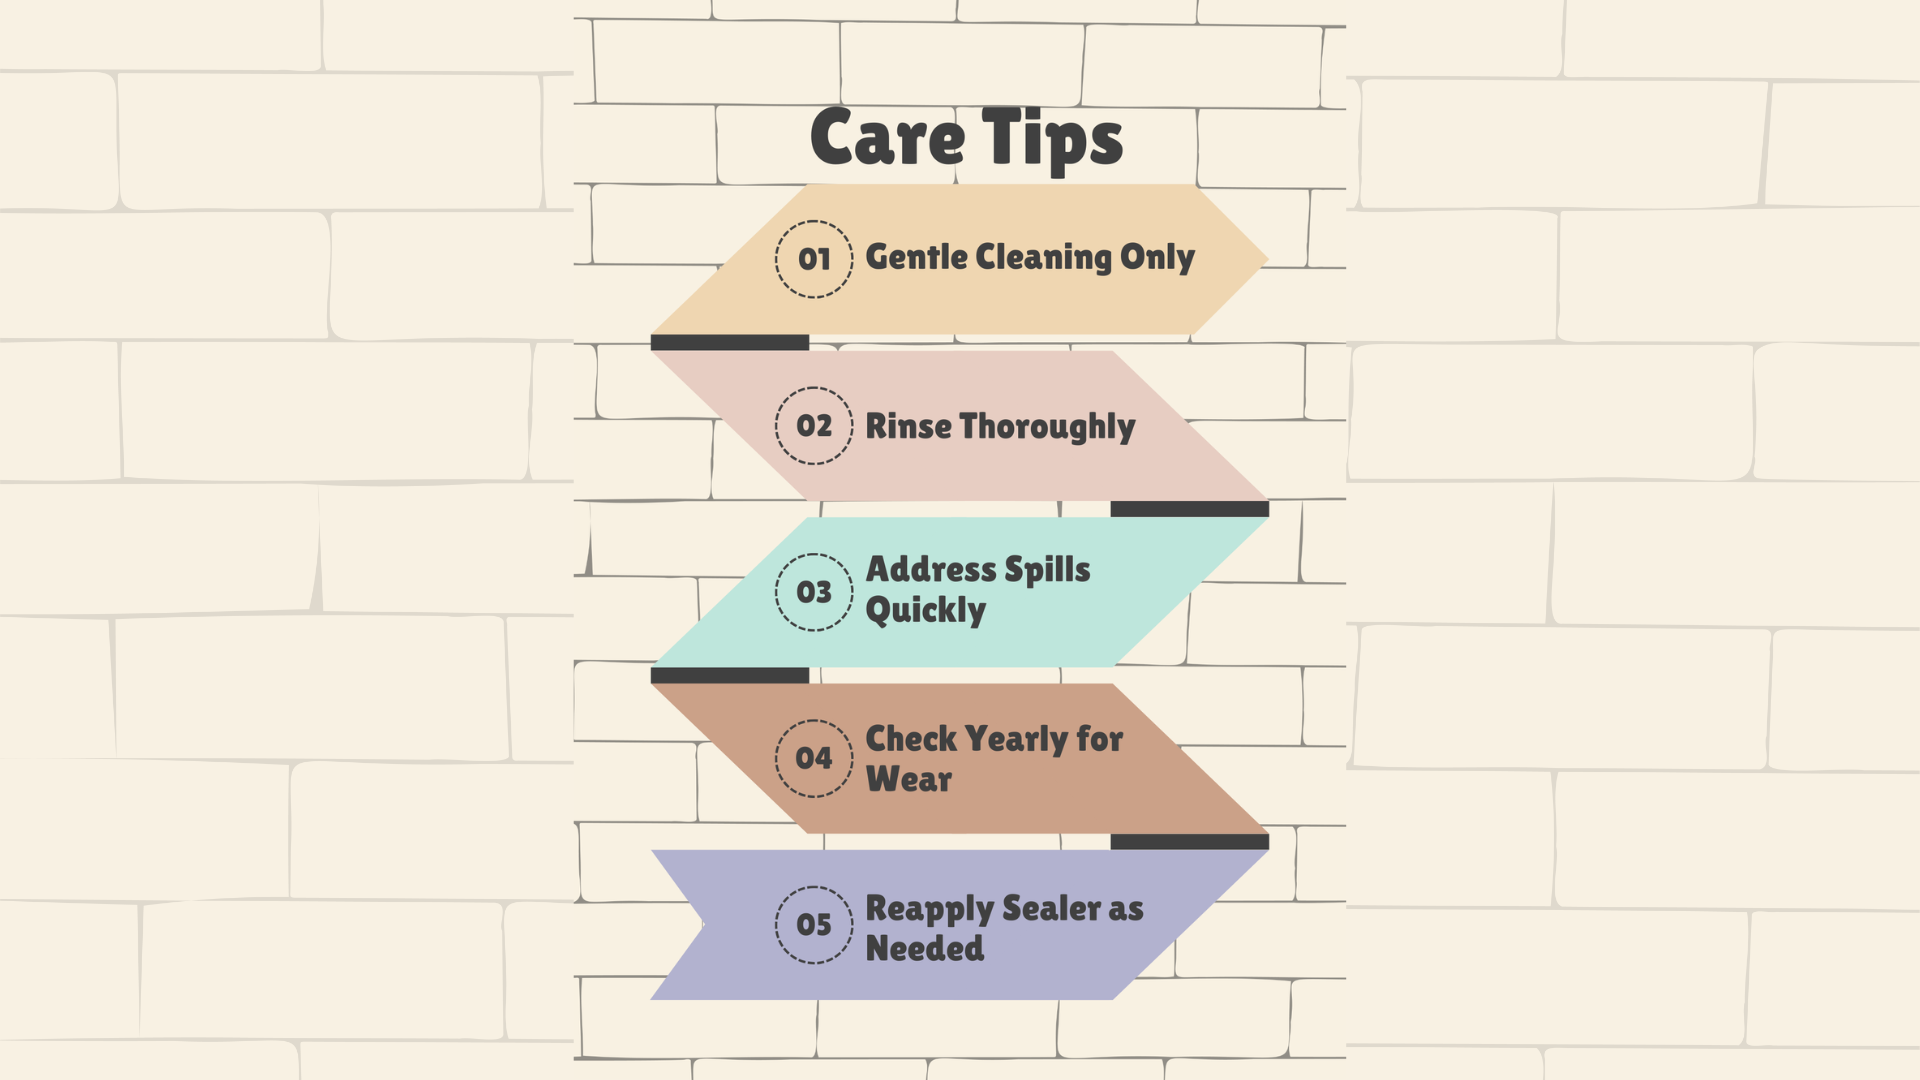
With good care, your stained bricks will look fresh for years to come. Now that you know how to stain bricks and avoid common errors, you can start your own project with more trust in your skills.
Remember that good prep work makes all the difference in the final look.
Ready to start? Gather your tools, pick your stain, and set aside enough time to do the job right. Your patience will pay off with great-looking bricks that add charm to your home.

