Easy DIY Earring Holder on a Budget
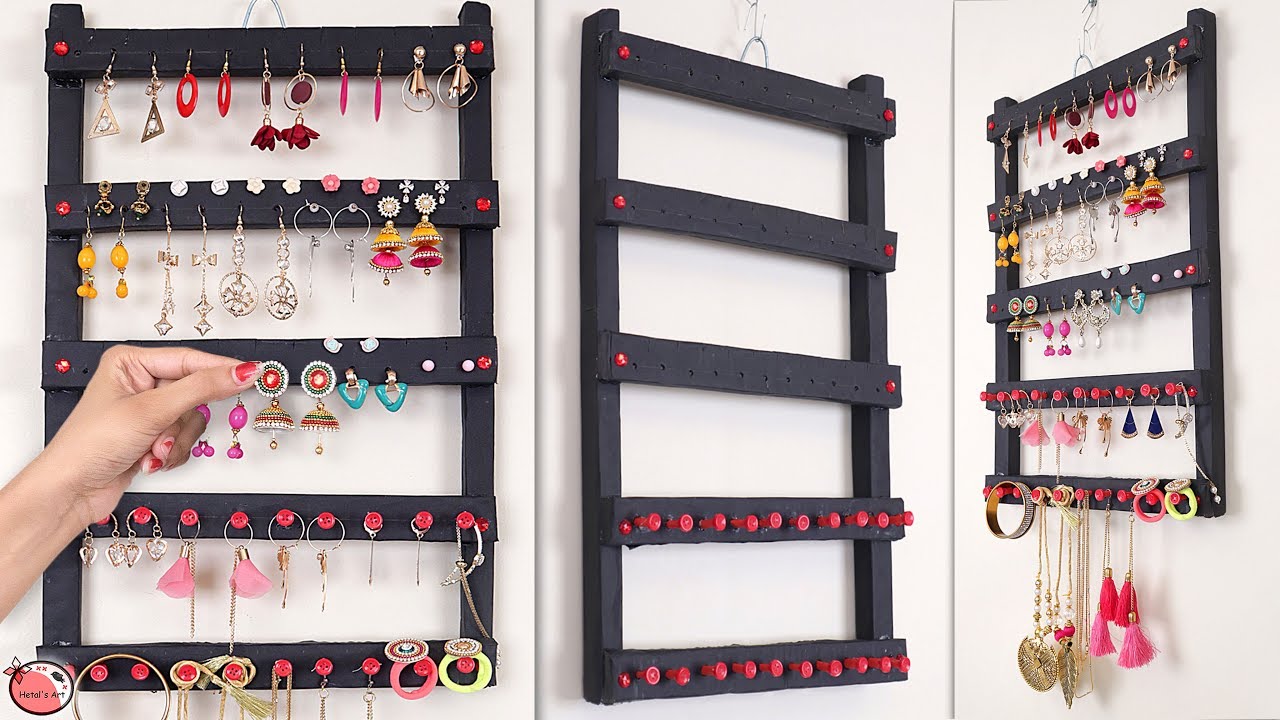
Do you ever have trouble finding your favorite pair of earrings?
Maybe they are hidden at the bottom of your jewellery box, or even worse, tangled up with all the others!
Yep, we have all had that happen.
But don’t worry! Making your own earring holder is easier than you think. It’s also a fun way to decorate your room and keep your earrings neat and easy to find.
Whether you love crafting or are just trying it out for the first time, this guide has something fun for you.
You might even discover a new hobby!
Let’s get started!
Tools & Materials Required for Wooden Frame Earring Holder
Below is the list of various tools and materials required before you start making your own wooden frame earing holder.
- Oak picture frame (11×14 size)
- Scrap wood for a shelf
- Sawtooth hangers
- 7/8 inch cup hooks
- Quarter-inch hardware cloth
- Wood glue
- Screws or an air nailer
- Felt pads
- Paint (Rust-Oleum black satin or your preferred paint)
- Stapler and staples
Steps by Step Process for Making a Wooden Frame Earring Holder
If you have an old wooden frame lying around, you can transform it into a stylish and functional earring holder.
Here’s how you can make your very own wooden frame earring holder:
Step 1: Prepare the Picture Frame
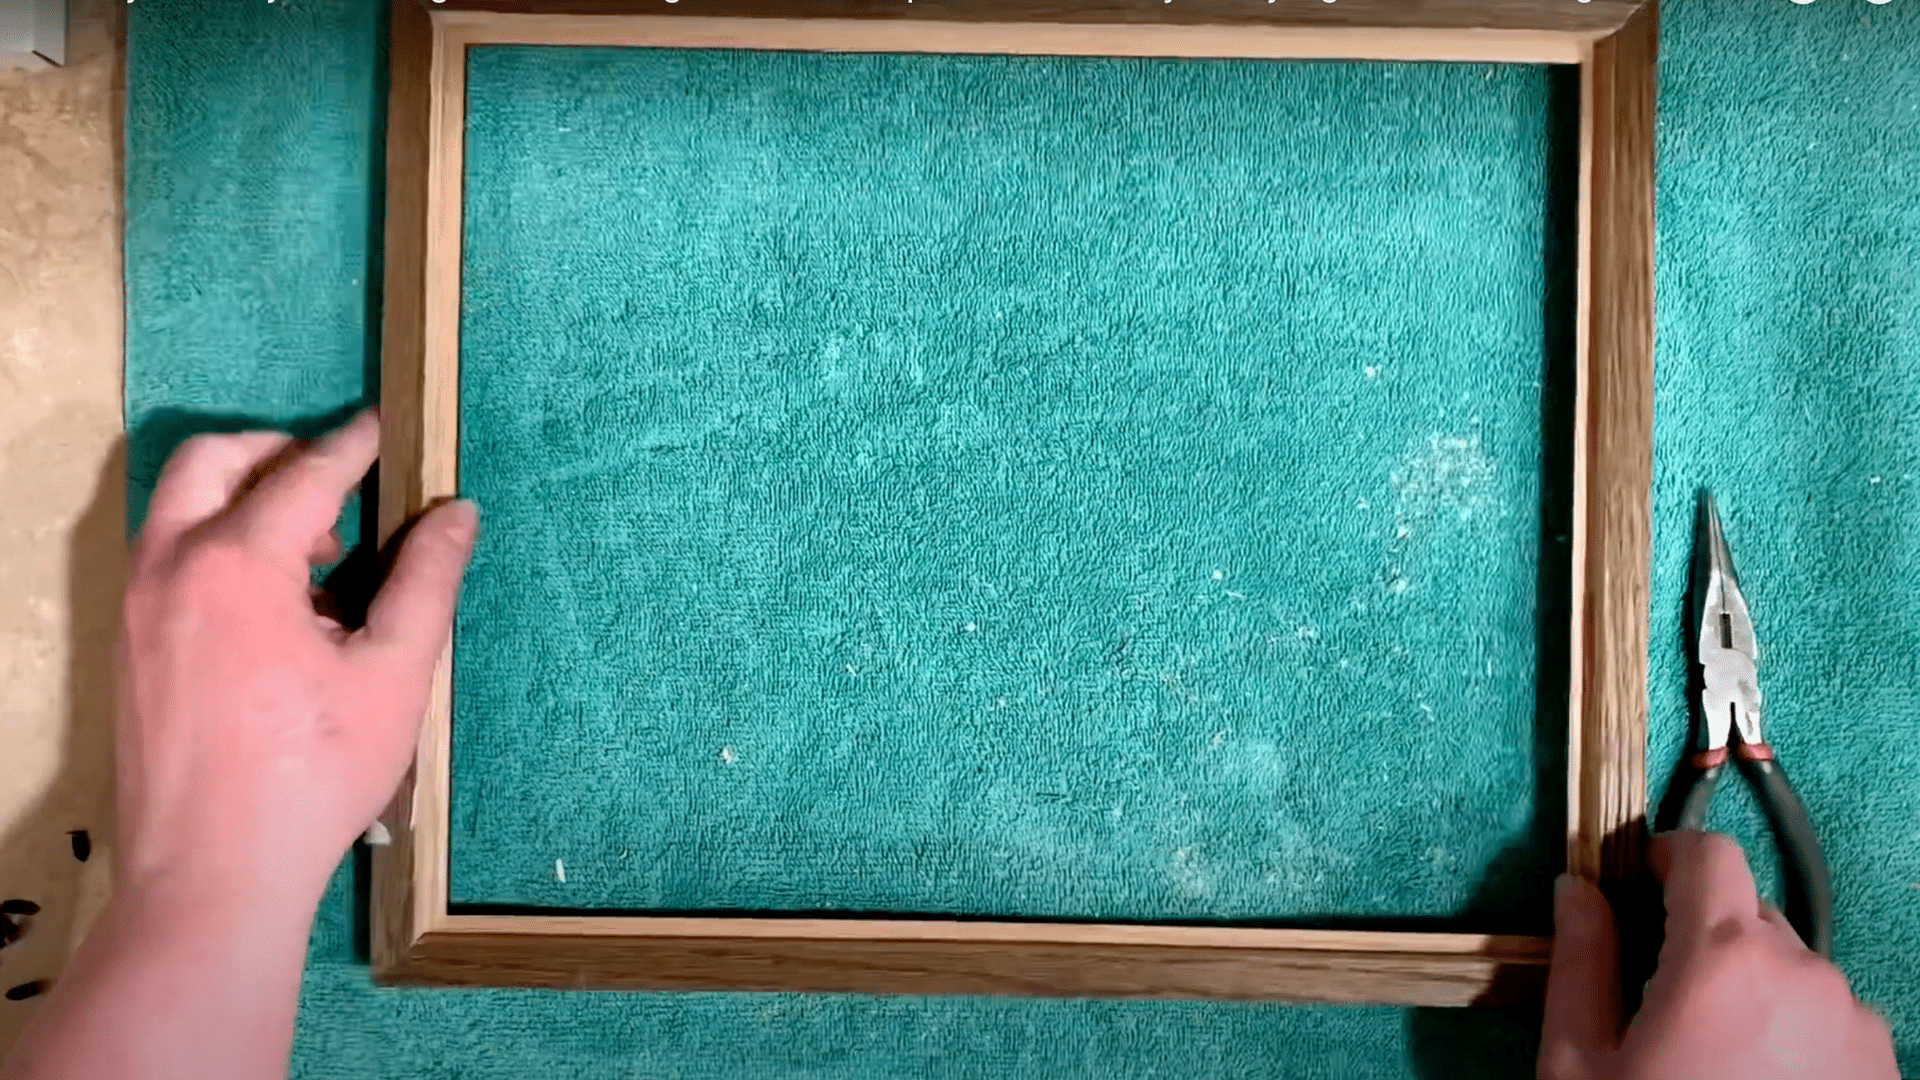
Start by removing the glass and the backing from the picture frame.
Then, use needle-nose pliers to carefully remove any staples holding the back in place. This will leave you with just the frame for the next steps.
Step 2: Attach the Sawtooth Hangers
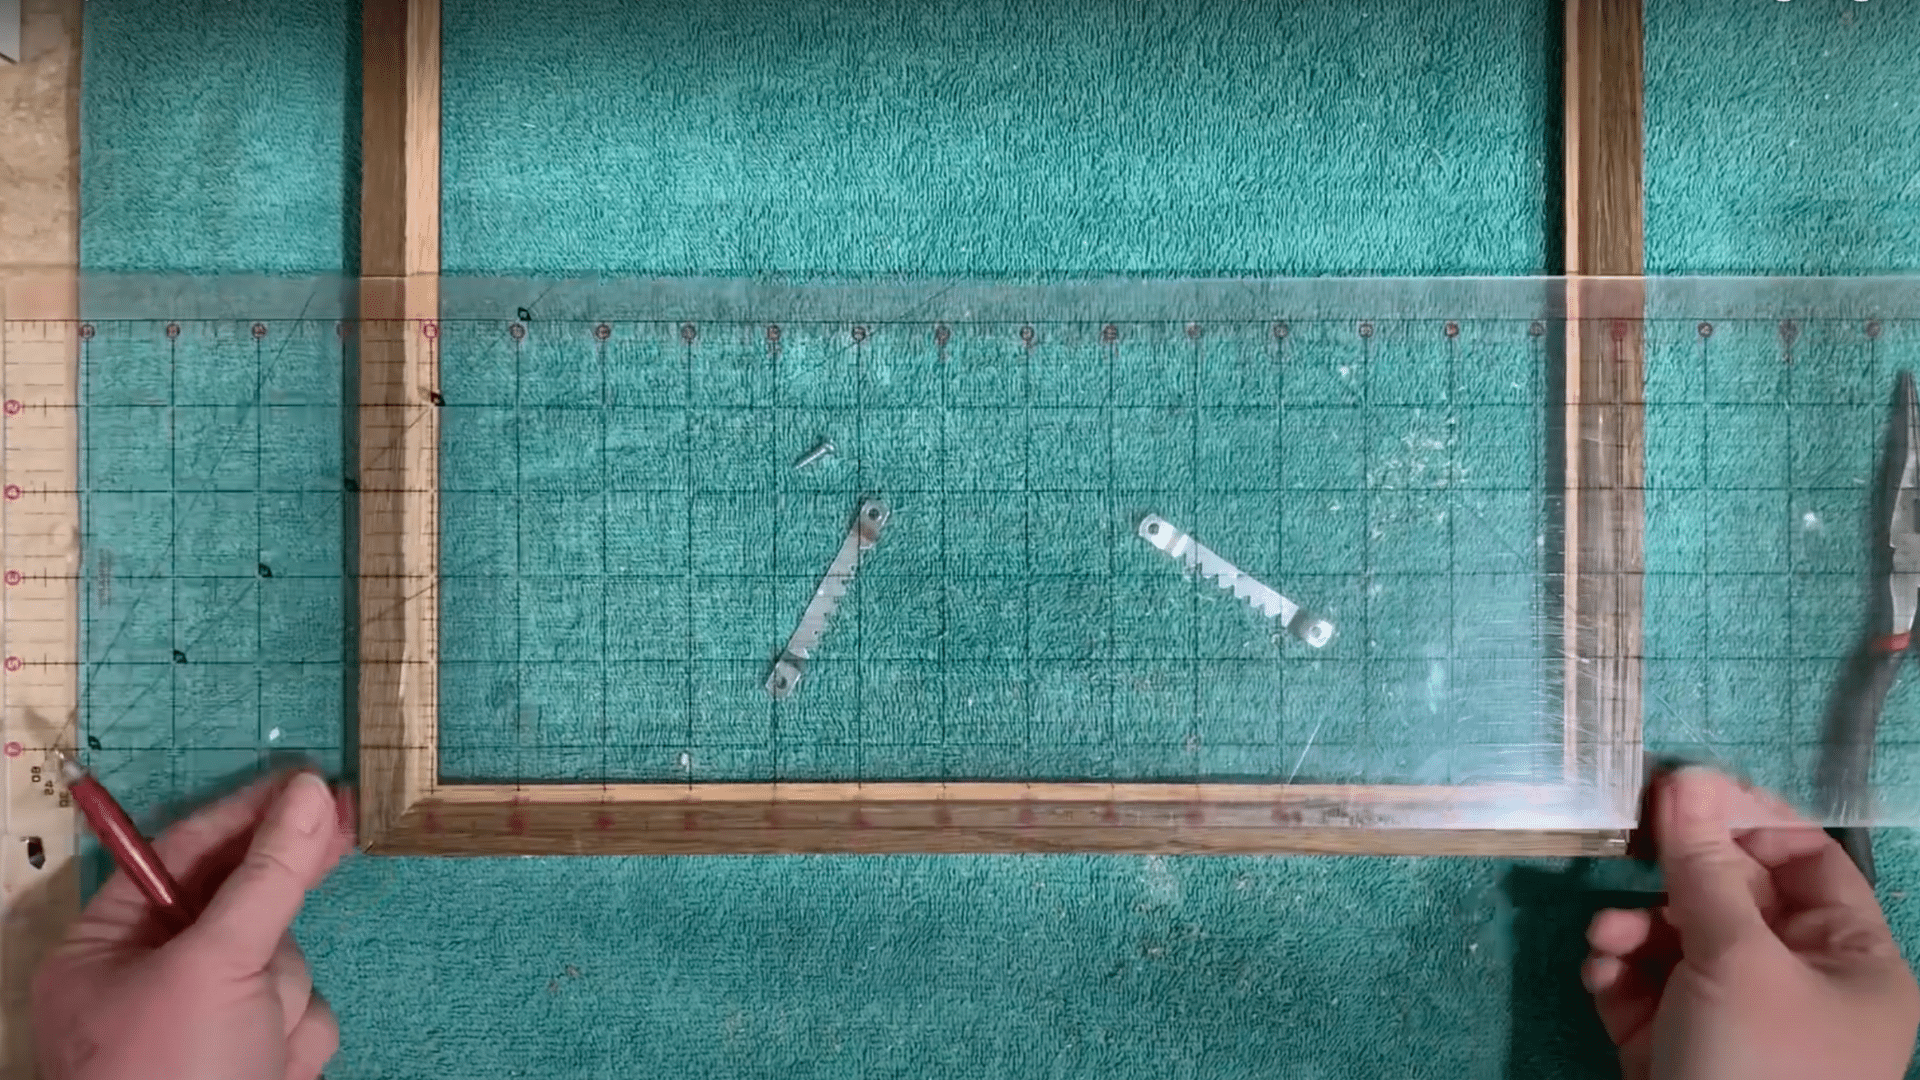
Once the frame is ready, mark a spot about 2 inches from the edge on the long side of the frame.
After that, attach the sawtooth hangers with screws, ensuring they are level to guarantee your frame hangs evenly on the wall.
Step 3: Attach the Shelf
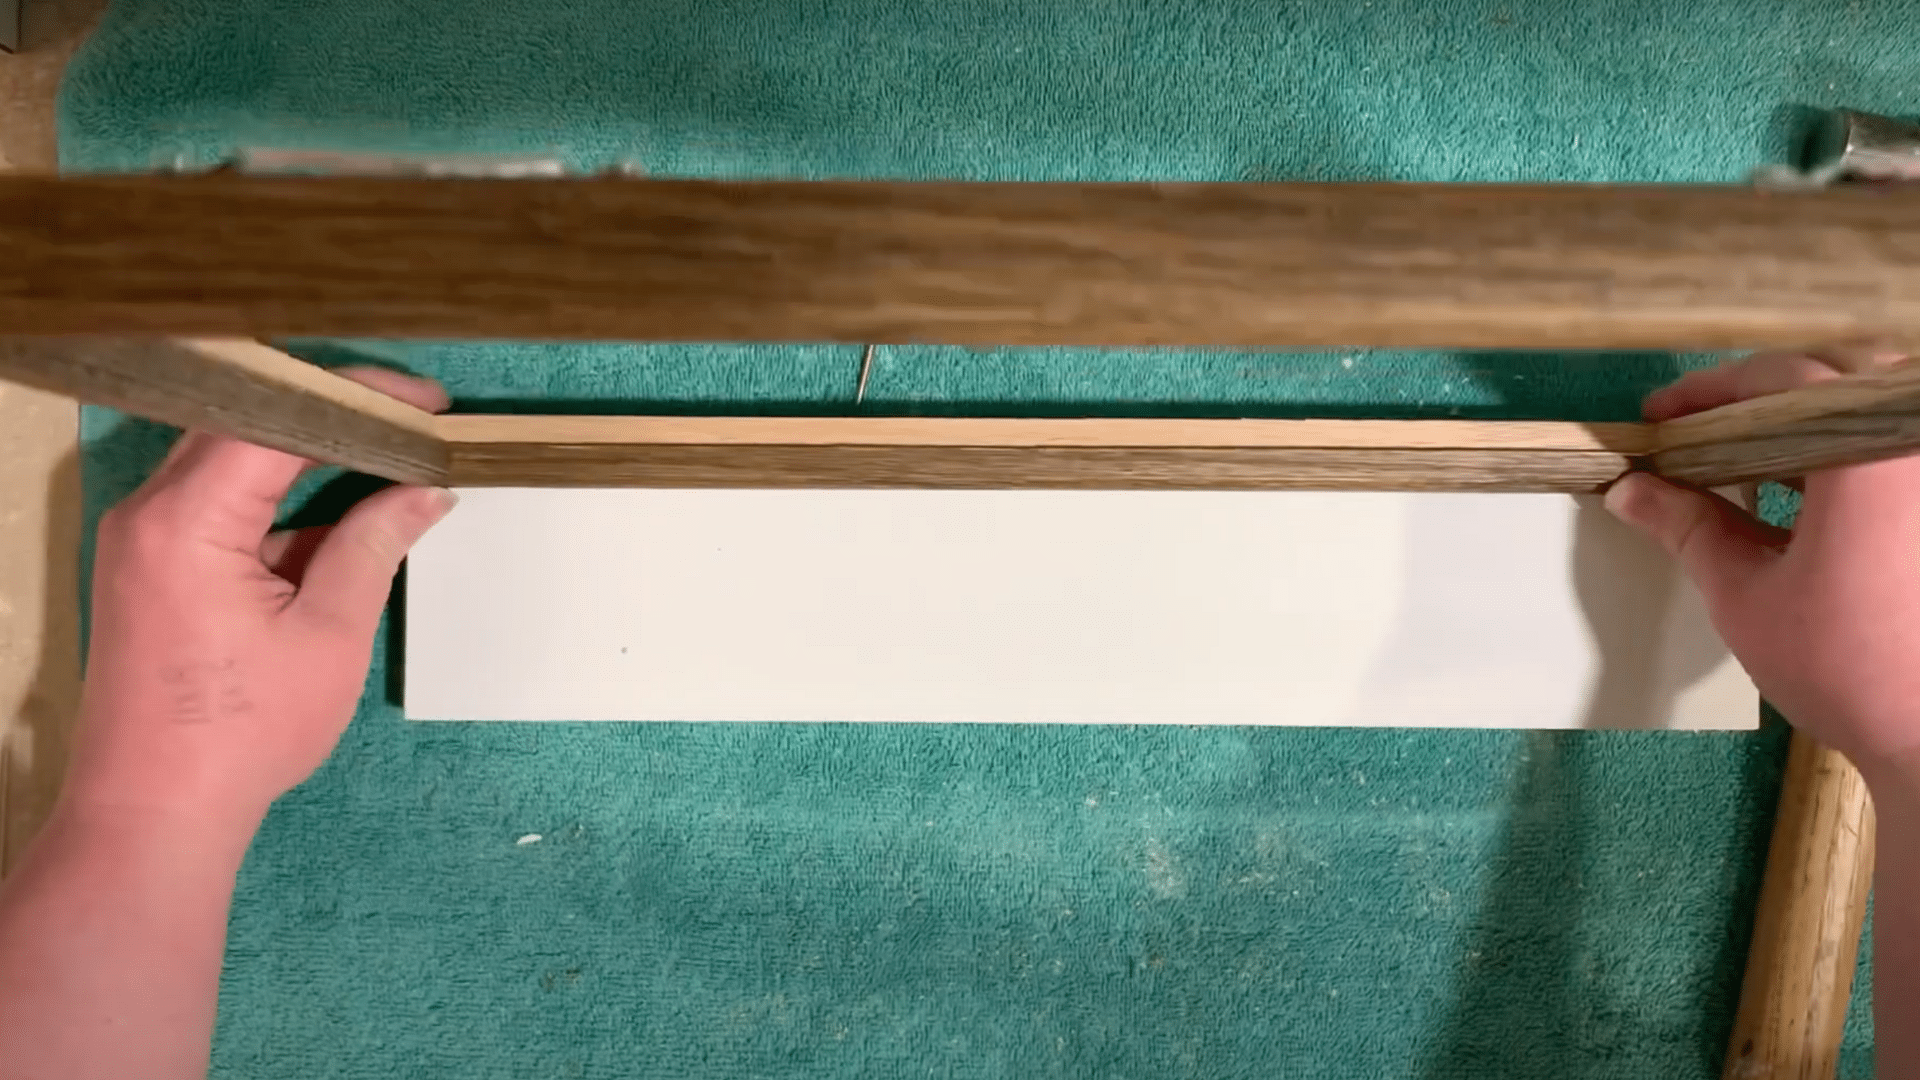
After attaching the sawtooth hangers, place a piece of scrap wood on the frame to serve as a shelf.
Then, secure the shelf with wood glue, allowing it to dry for 24 hours.
For extra durability, consider using screws or an air nailer to secure it further.
Step 4: Cut and Attach Hardware Cloth
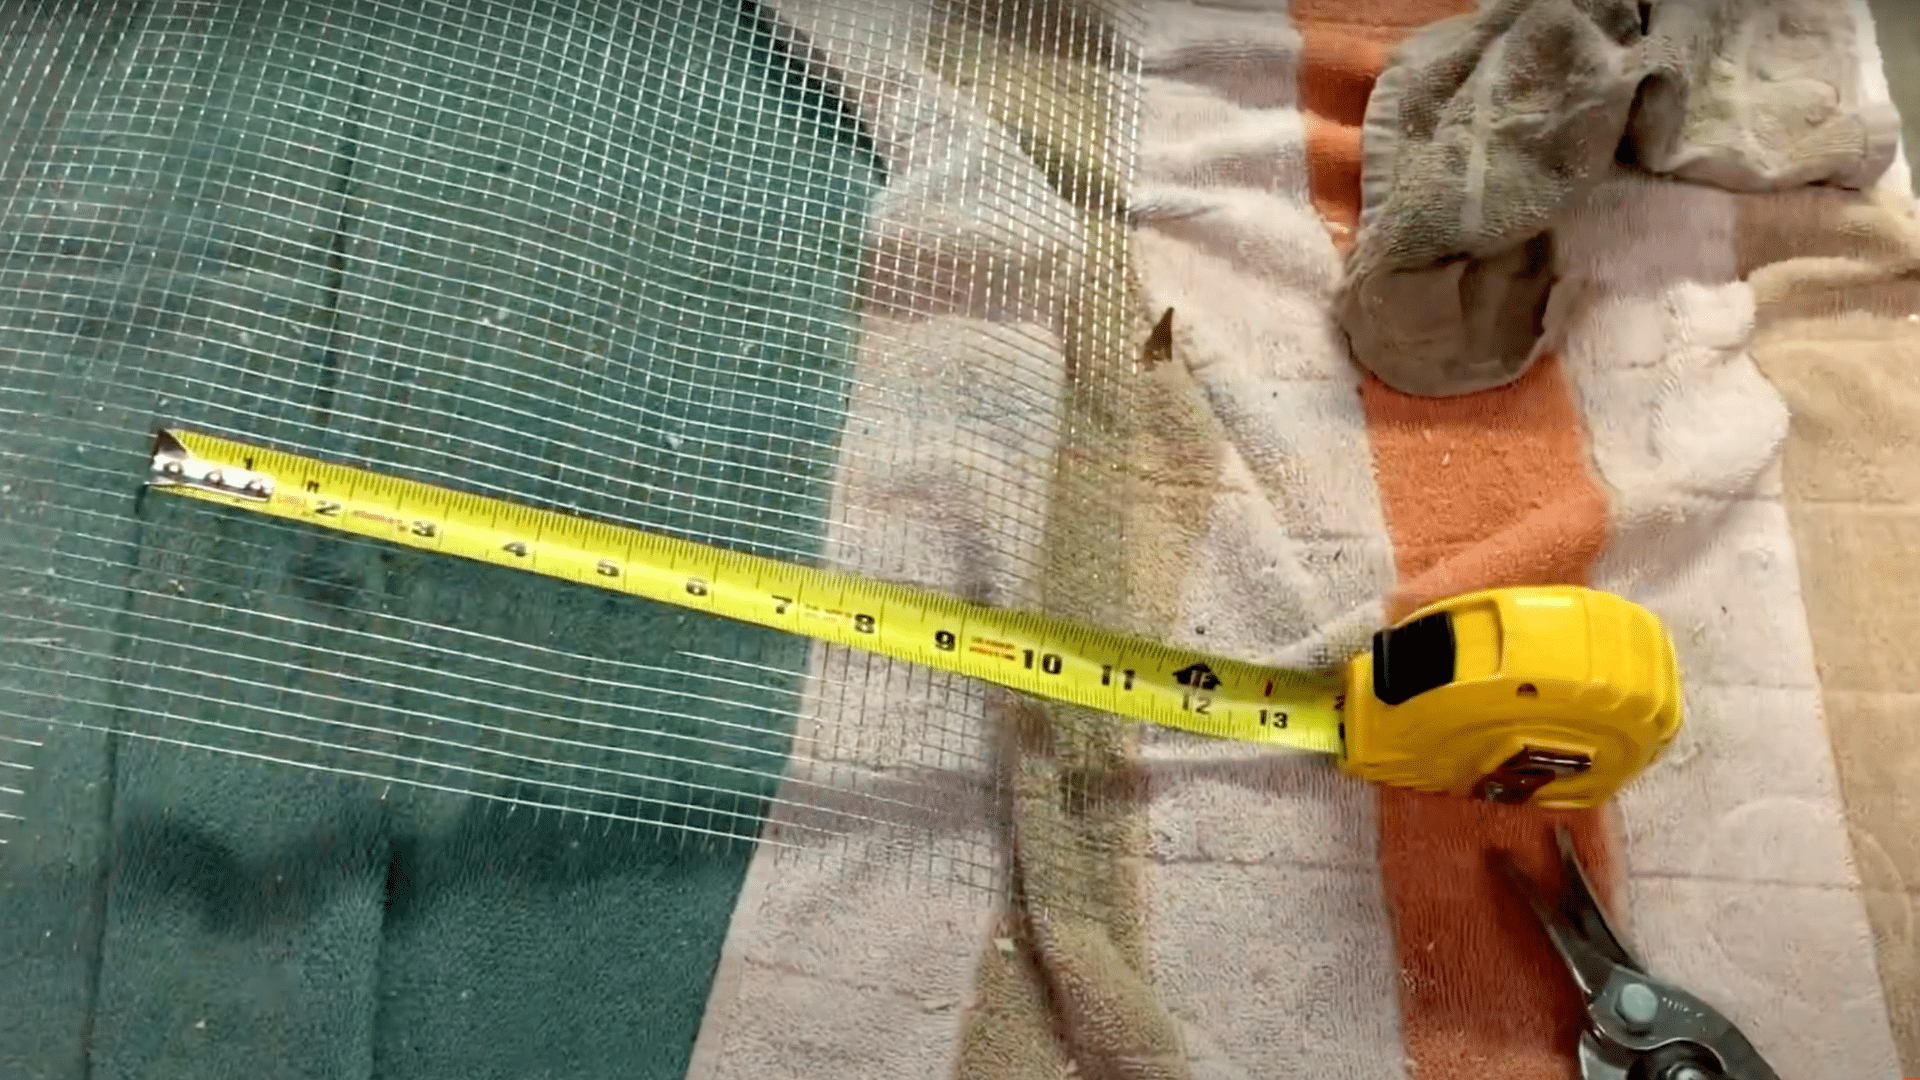
Measure and cut the hardware cloth to fit your frame, ensuring it fits snugly.
Trim any sharp points or excess edges for safety.
Then, staple the hardware cloth to the frame, folding the edges neatly to secure it in place.
Step 5: Install Cup Hooks
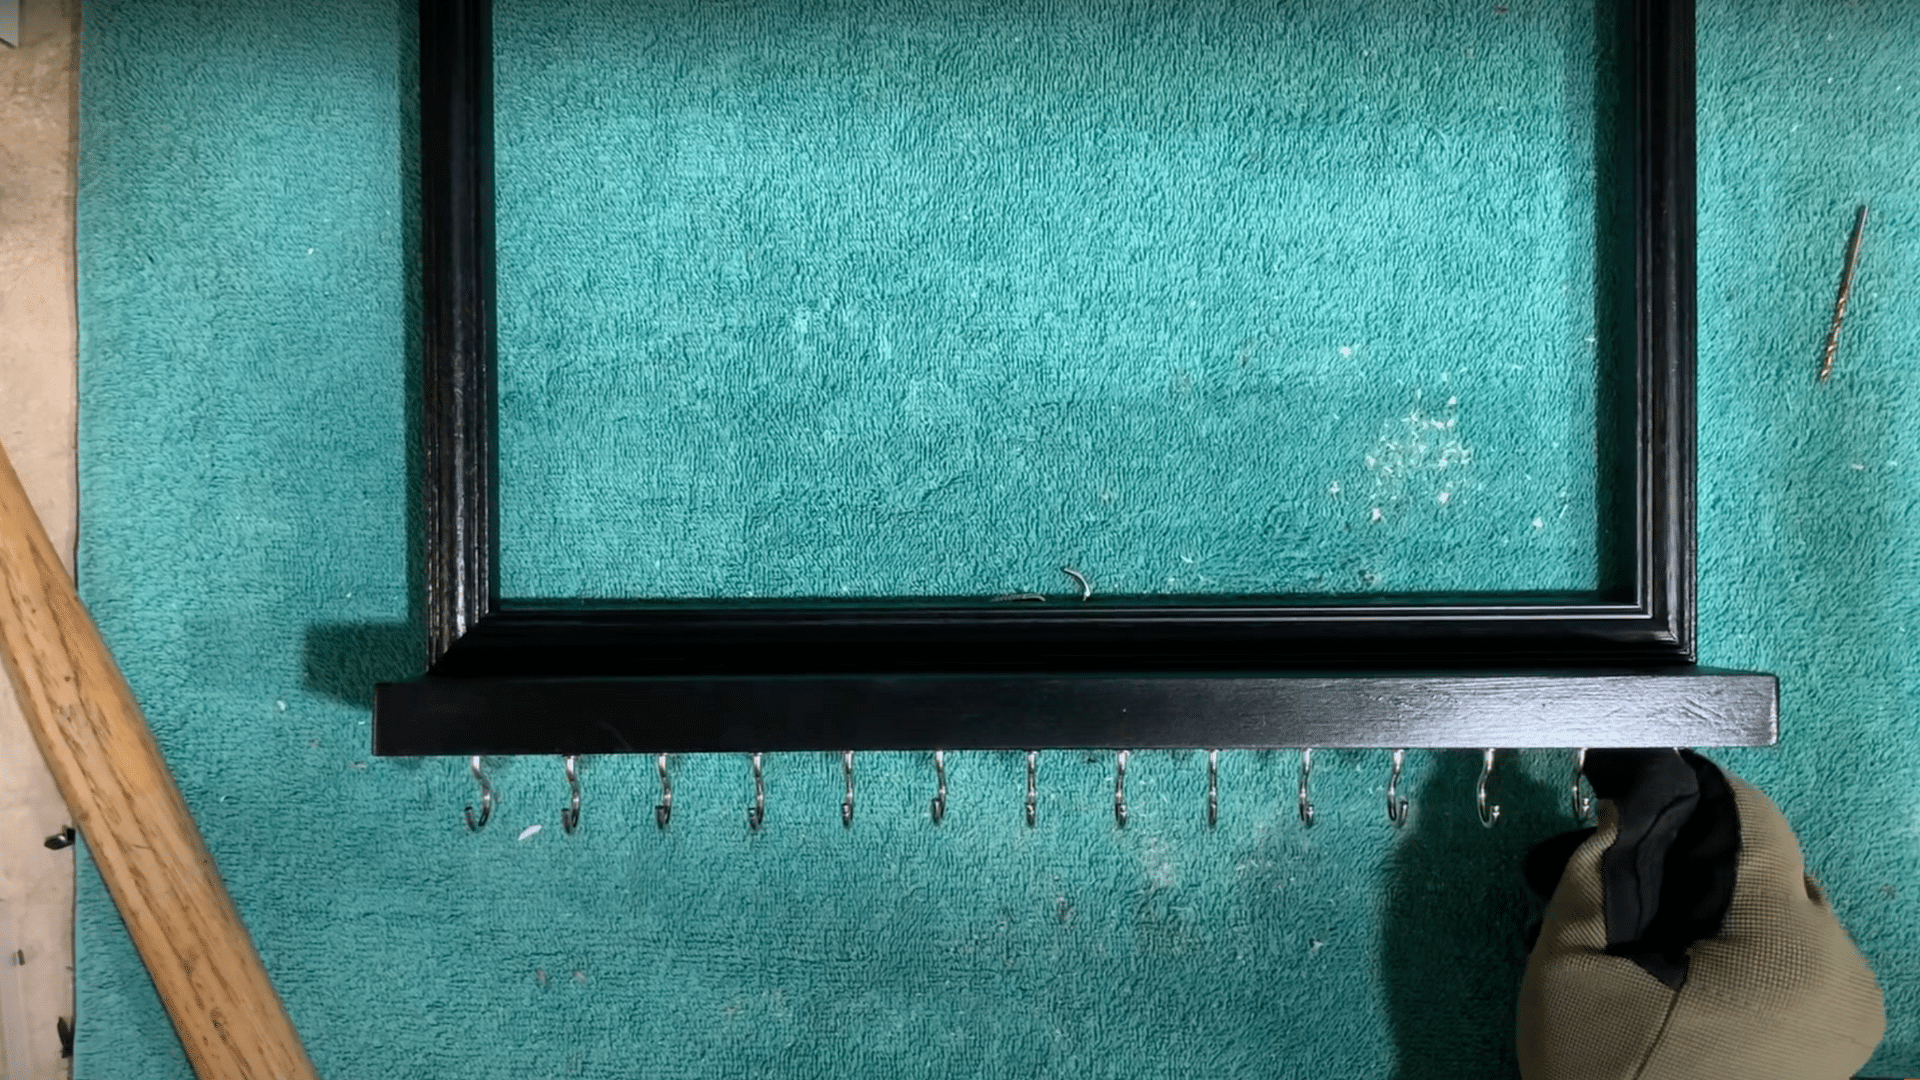
Just after attaching the hardware cloth, mark spots for the cup hooks about one inch apart.
Pre-drill small holes in these spots, then screw in the cup hooks into the front of the frame. This will create a functional and stylish space to display your jewelry.
Step 6: Add Felt Pads
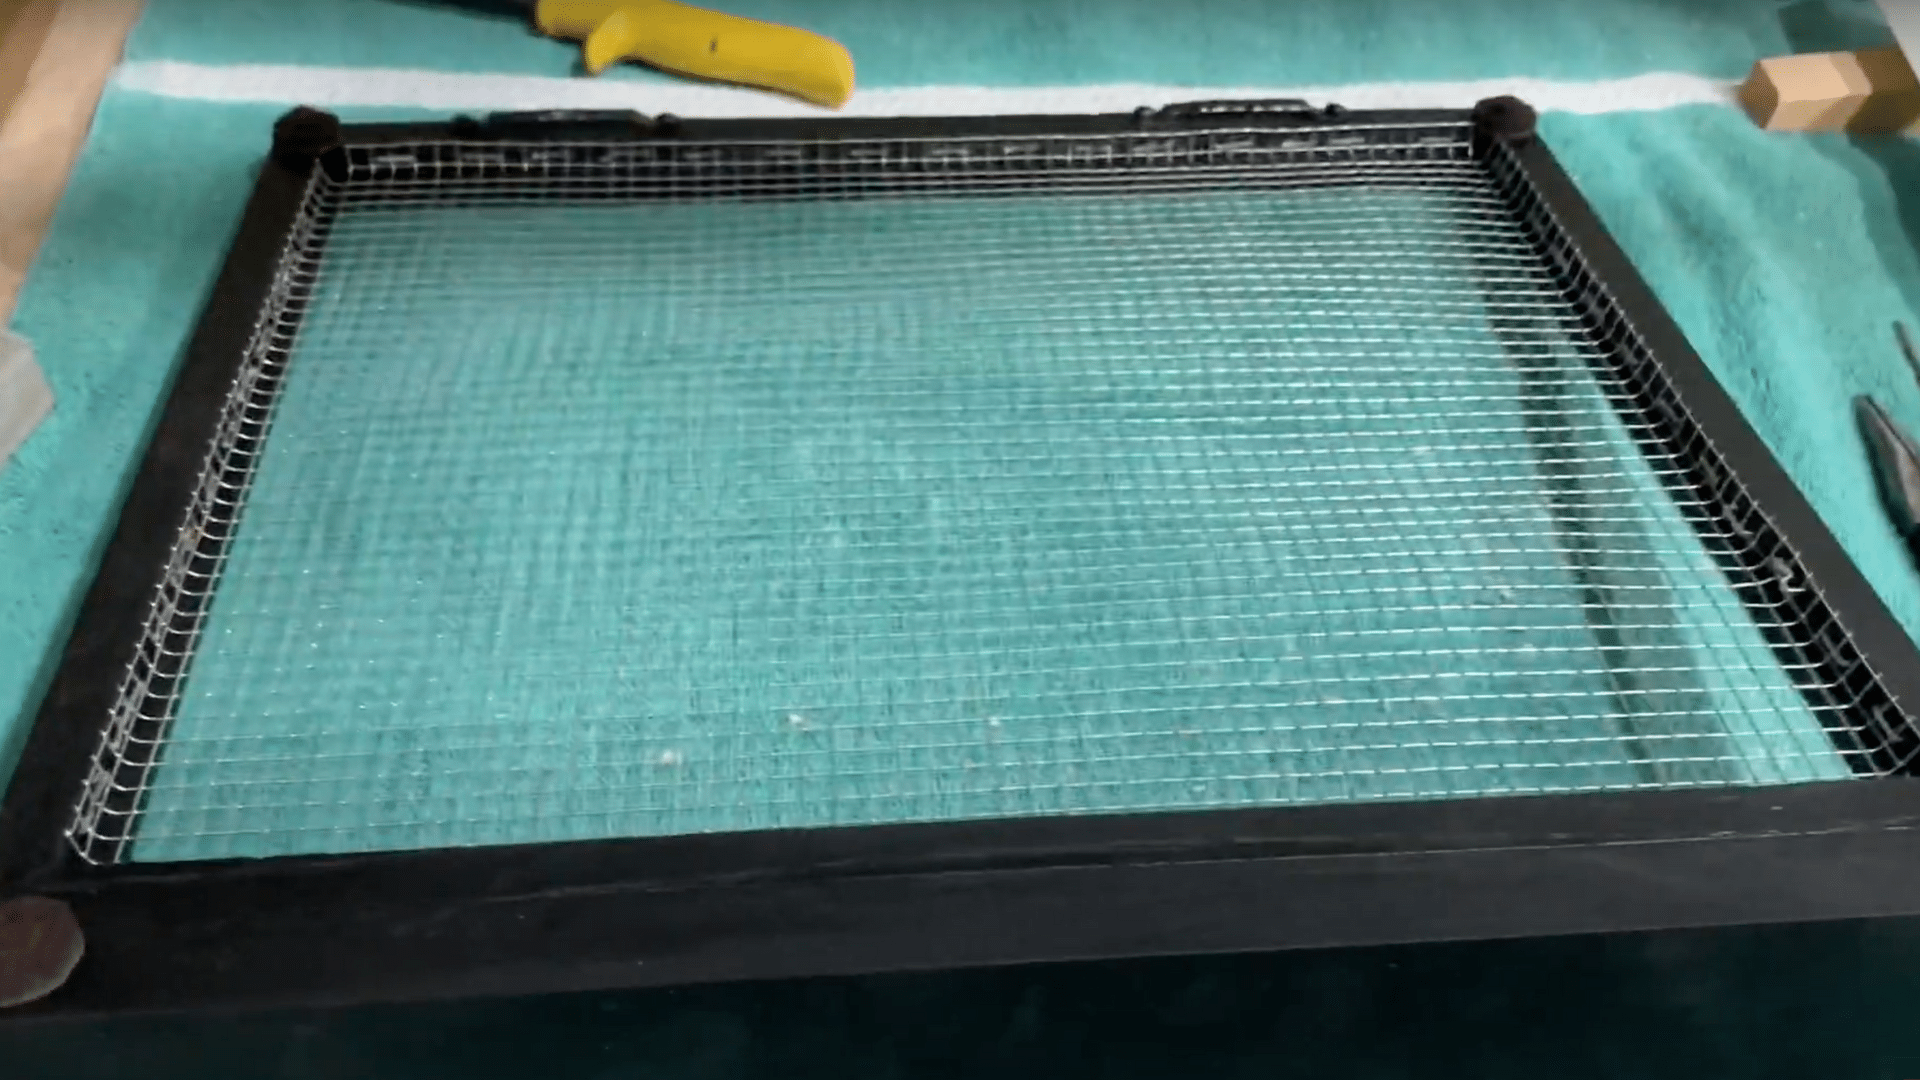
Now cup hooks are installed to protect the wall, attach felt pads are attached to the back of the frame.
These small pads will prevent any damage to your wall when hanging the frame.
Step 7: Style and Hang
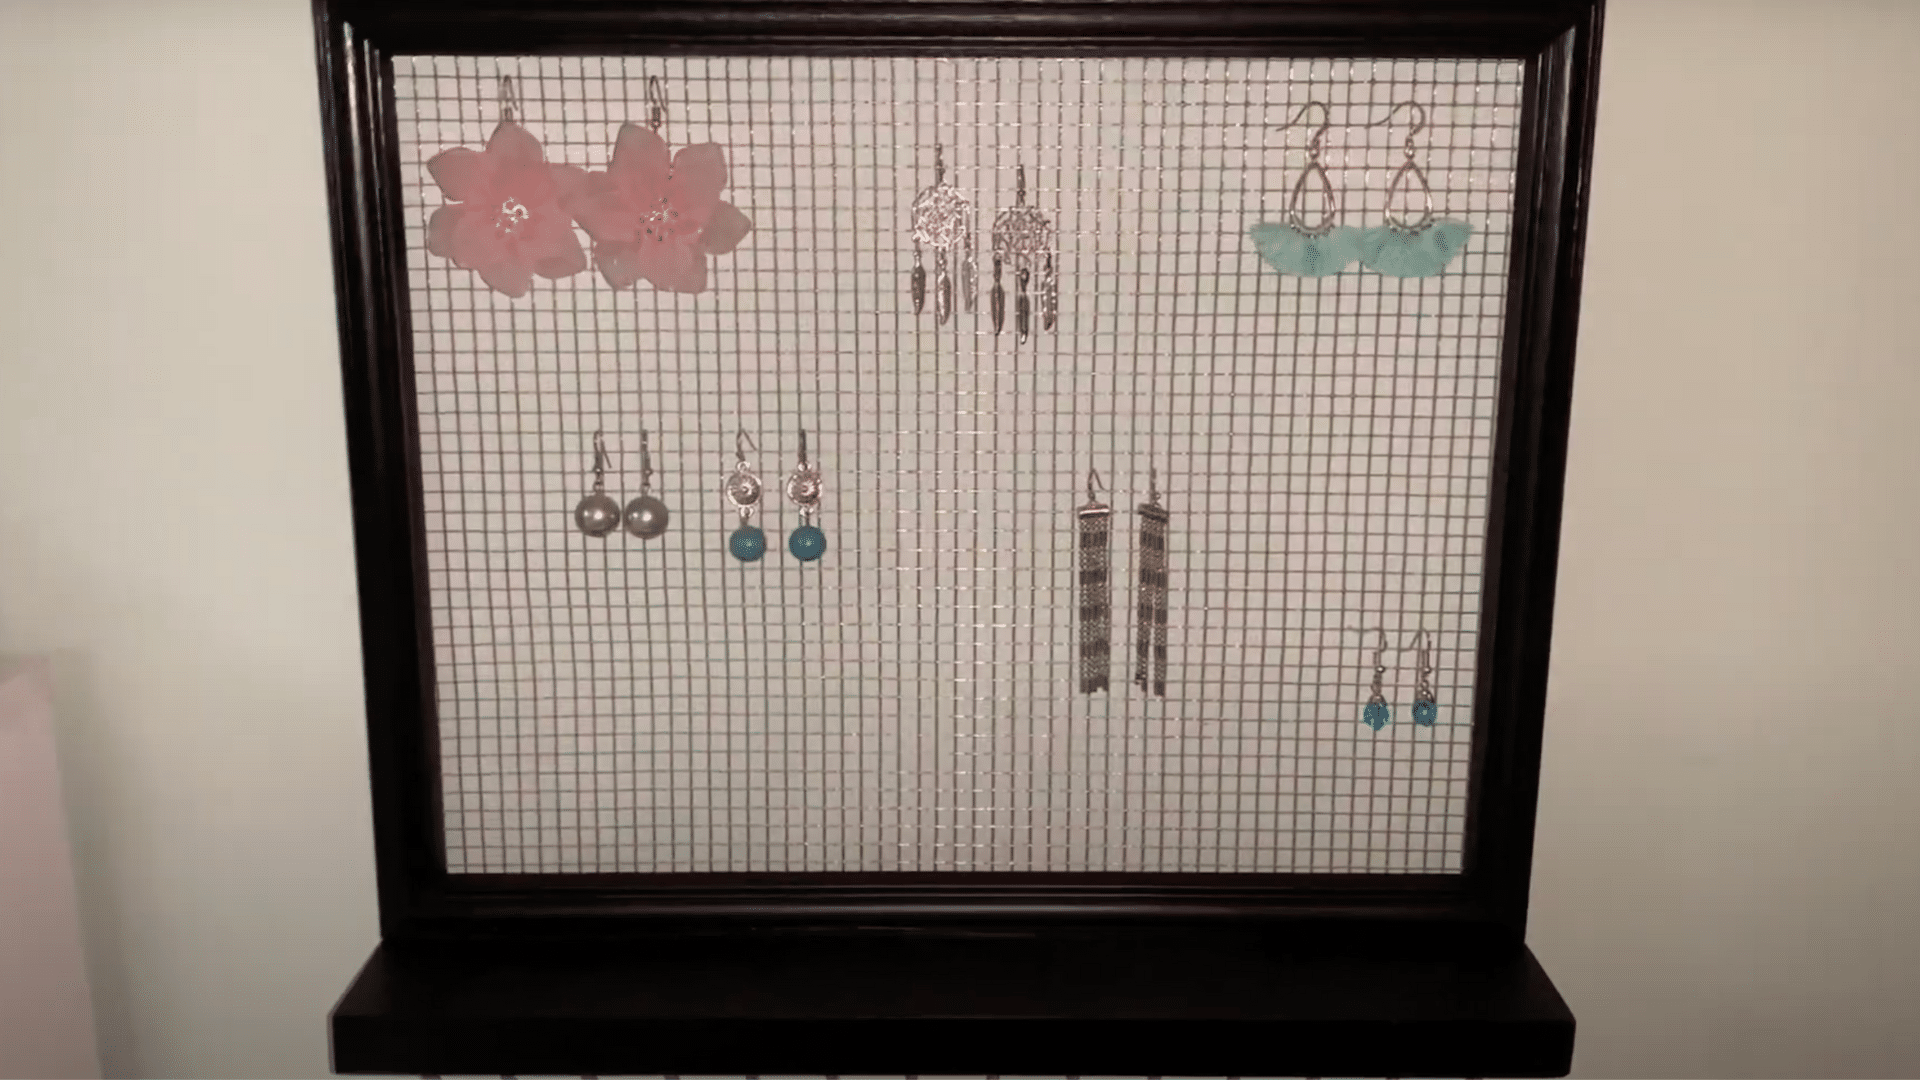
Last but not least, now, it’s time to add your earrings, necklaces, and other jewellery to the hooks.
You can also place perfumes or nail polish on the shelf for extra storage.
Finally, hang the jewellery organiser on the wall, and enjoy your new decorative piece!
Different Creative Ideas for DIY Earring Holders
Here are some DIY earring holder ideas that are perfect for getting creative while staying organised:
1. Wire Mesh or Chicken Wire Holder
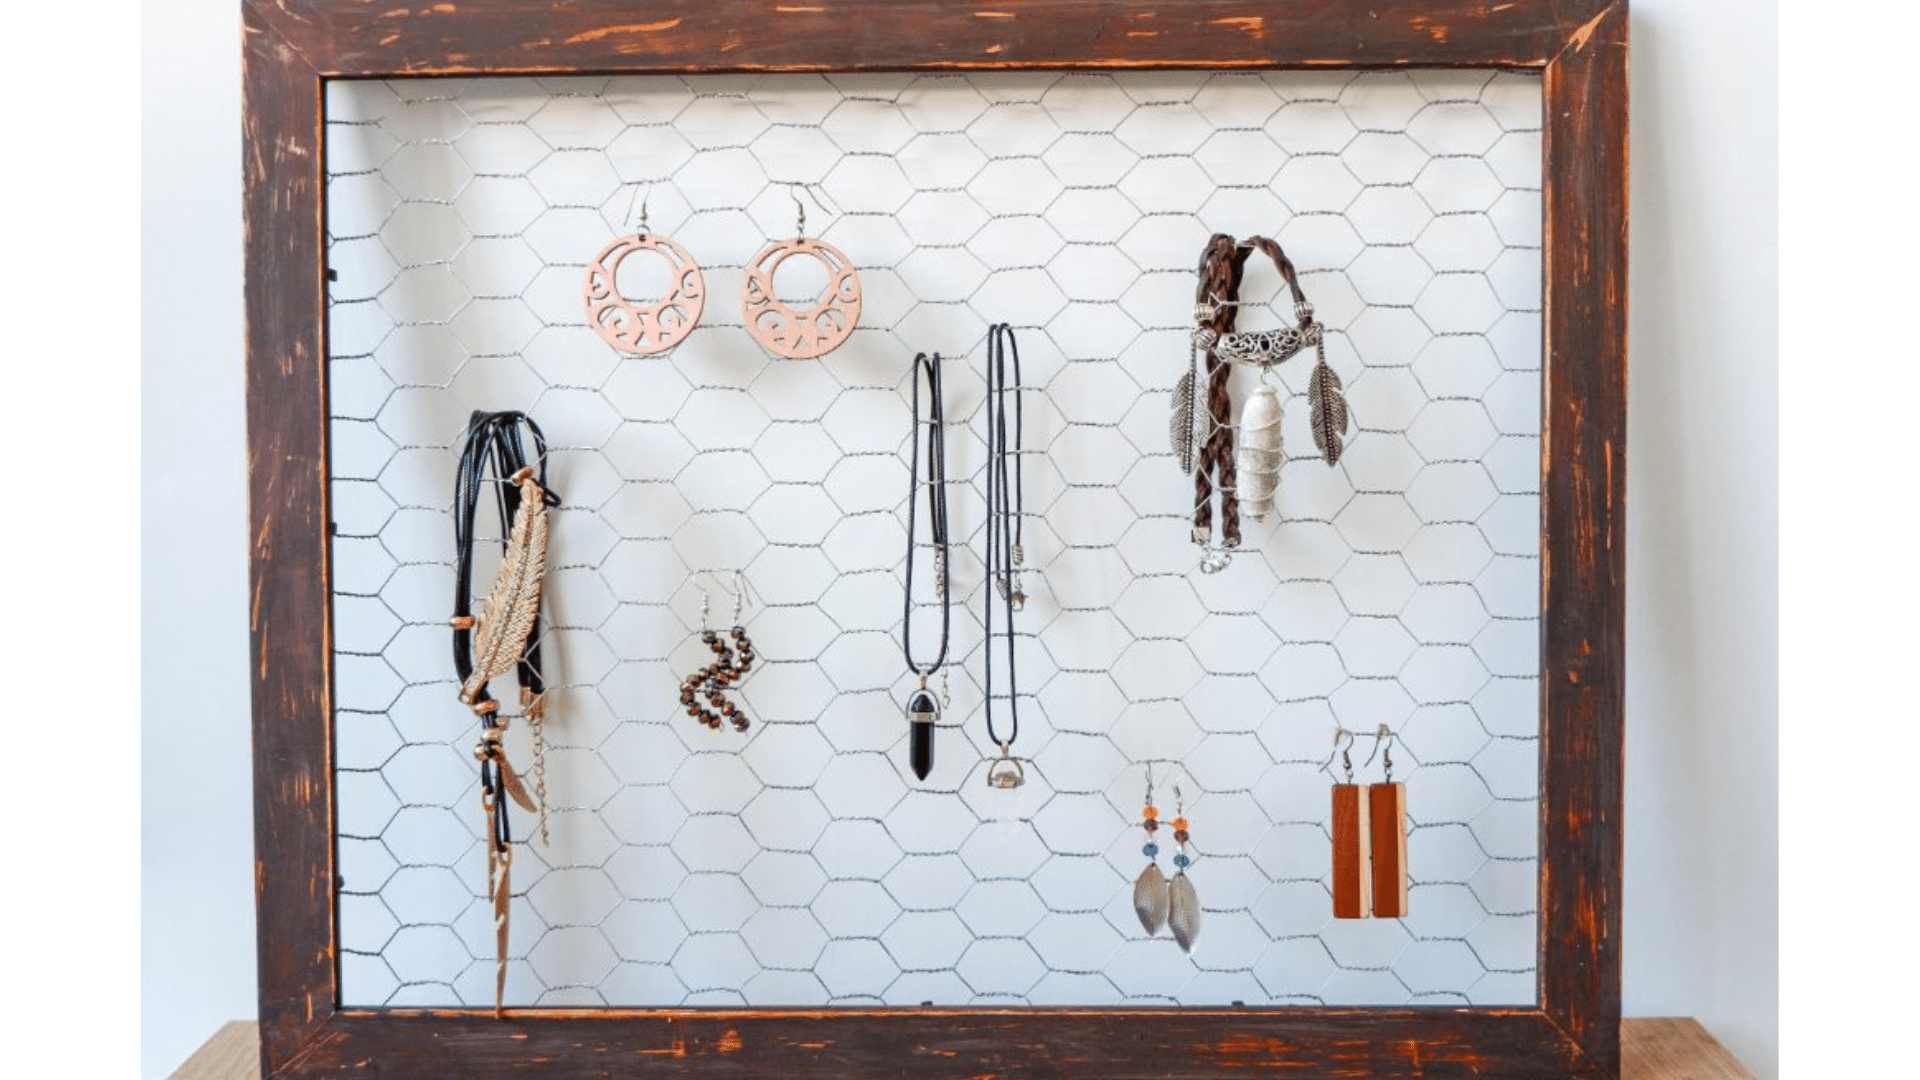
If you love a rustic or industrial vibe, a wire mesh earring holder is the perfect choice. The best part about this project is that it’s super easy to make, and it looks awesome!
Simply stretch some wire mesh over a wooden board or frame, and hang your earrings from the holes. It’s like your earrings have their very own art gallery!
What You’ll Need
- Wire mesh or chicken wire
- Wooden board or frame
- A staple gun or a hot glue gun to attach
Steps for Making
- Cut the Wire Mesh: Measure and cut the wire mesh or chicken wire to fit your frame or wooden board.
- Attach the Wire: Use a staple gun or hot glue gun to attach the wire securely to the back of the frame or board.
- Secure the Edges: Fold the edges of the wire over the frame for a neat finish, and secure them with glue or staples.
- Decorate (Optional): You can paint or distress the frame to match your home decor.
- Hang Your Earrings: Once it’s all set, hang your earrings on the wire mesh. They’ll look great and stay in place!
2. Jewellery Stand Using Tree Branches
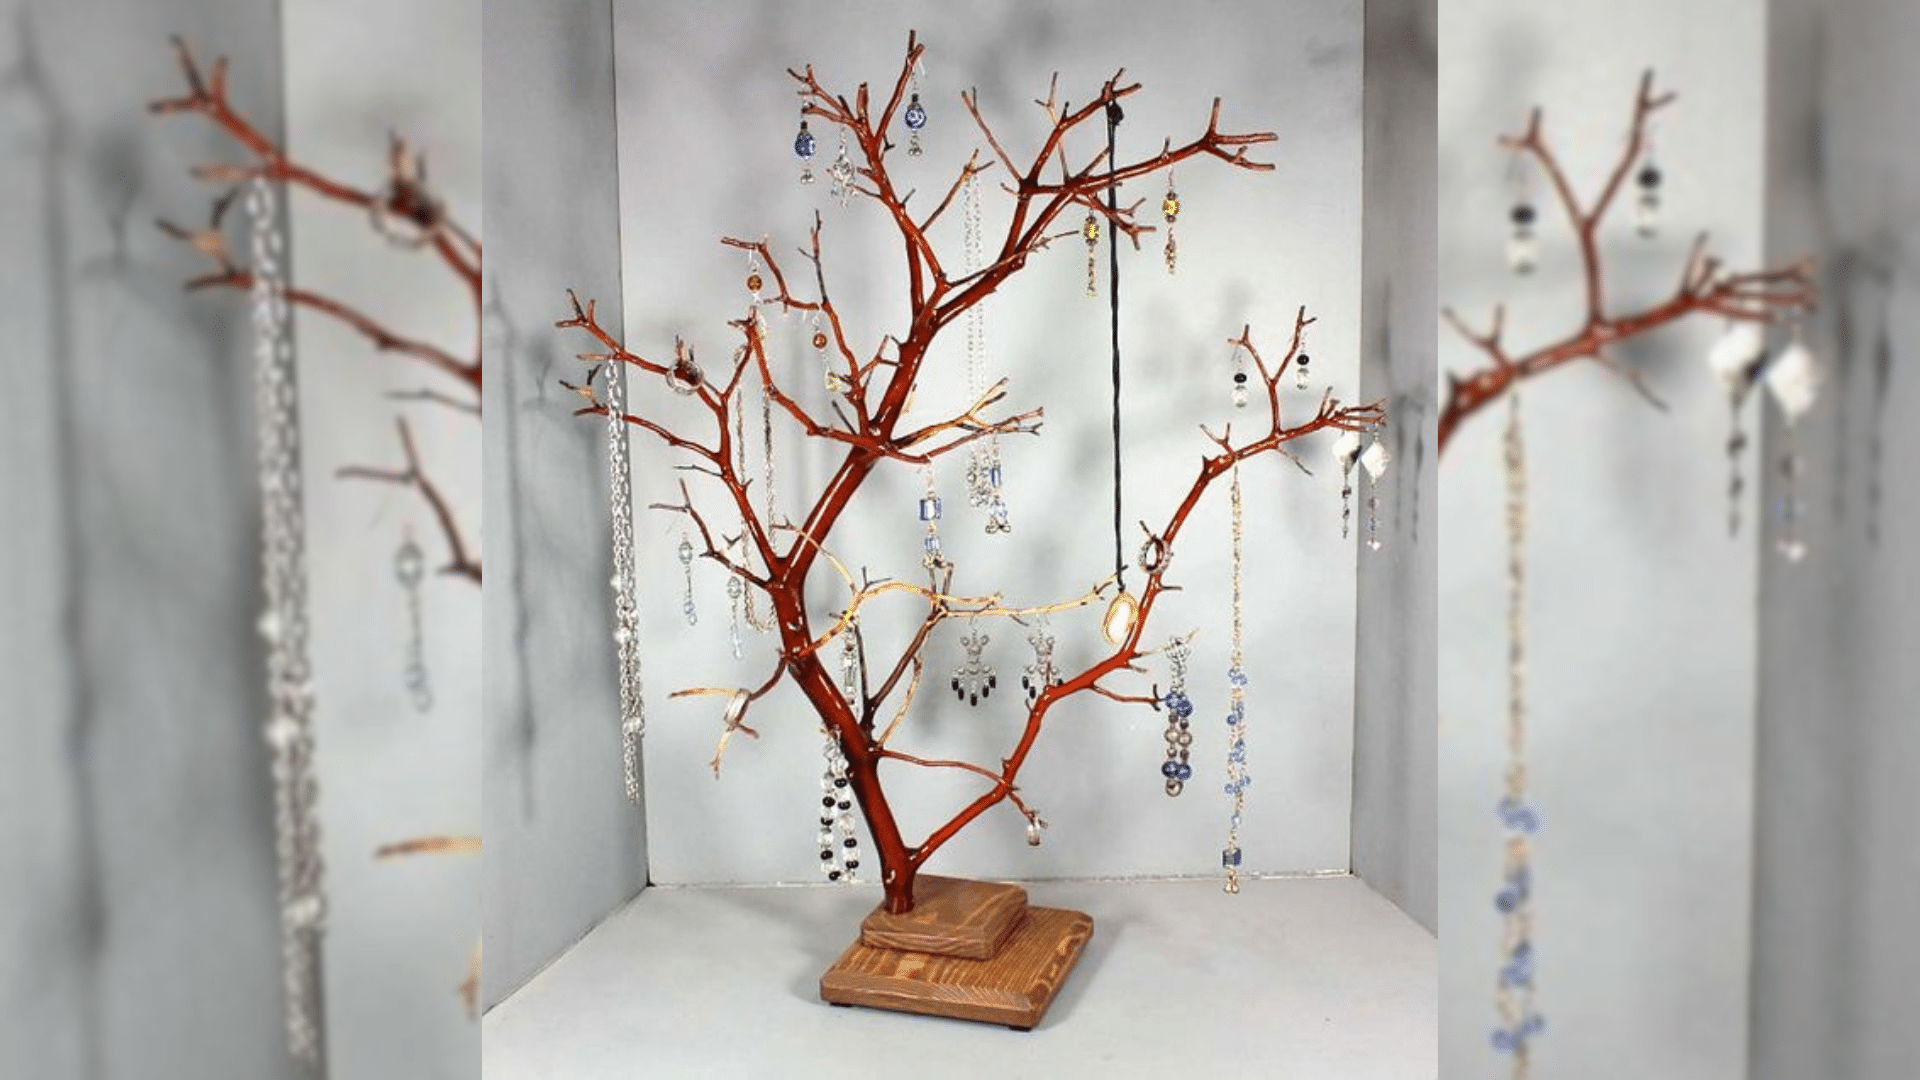
For all you nature lovers, why not create a jewellery stand using a few branches? It’s eco-friendly, beautiful, and you’ll have your very own mini tree of earrings.
This design adds a rustic touch to your home while providing a great way to keep your jewellery organised. You can even paint or decorate the branches to make them uniquely yours.
What You’ll Need
- Tree branches (or driftwood works too!)
- A sturdy base (wooden block or a small pot)
- Glue or nails for stability
Steps for Making
- Pick Your Branches: Go outside and find a few sturdy tree branches or pieces of driftwood. They should be at least a few feet long.
- Prepare the Base: Use a small wooden block or flower pot as the base. If using a pot, fill it with something heavy (like stones) to keep it steady.
- Attach the Branches: Glue or nail the branches into the base. You may need to use a few branches for a more stable stand.
- Decorate: You can paint the branches or add ribbons to make them match your style.
- Start Hanging Your Earrings: Hang your earrings on the branches, and enjoy your unique, nature-inspired jewellery holder!
Conclusion
So, are you ready to create a DIY earring holder that’s both functional and fabulous?
Whether you choose to repurpose old items, use a wooden frame, or even get crafty with some tree branches, the options are endless.
Now it’s your turn! What will your DIY earring holder look like?
Happy Crafting!

