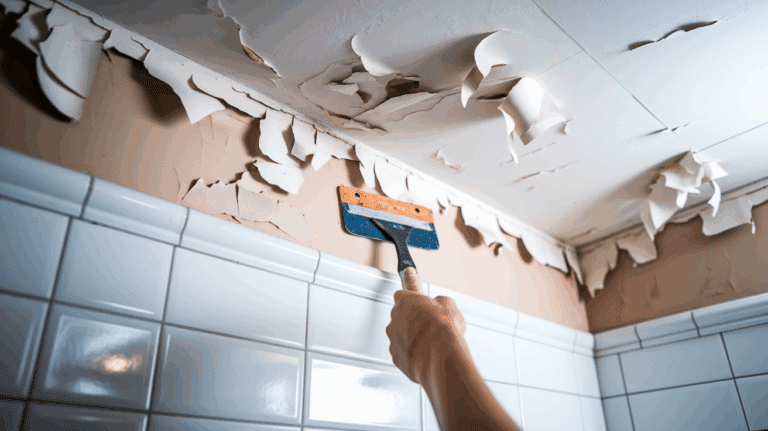
How Much Does a 20×20 Room Addition Cost? Full Breakdown
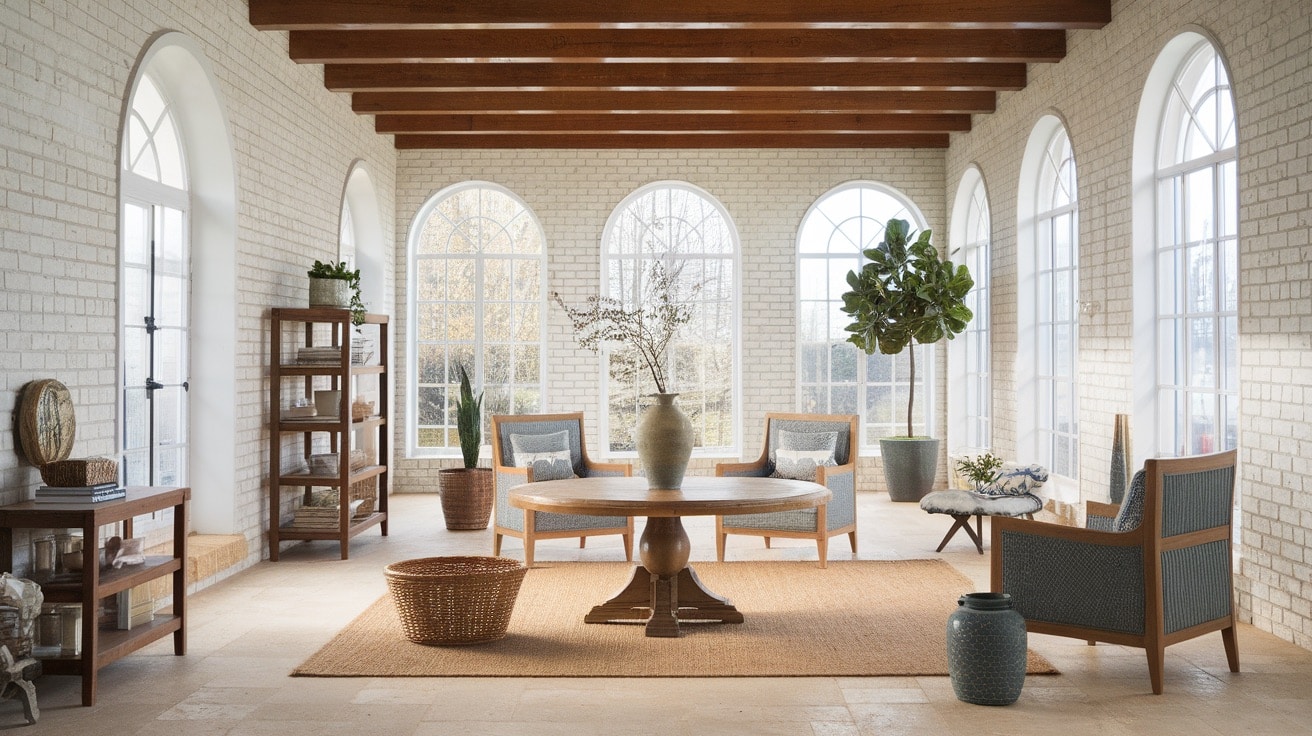
Thinking about building a 20×20 room onto your house? You’re probably wondering, how much does it cost to add a room to a house right now?
Costs can vary significantly, especially when considering a simple living area versus a full 400 sq ft master suite addition with a bathroom and closet.
The real 20×20 room addition cost depends on many things, and we’ll help you understand it easily.
We will show you real prices, cost breakdowns, and smart tips so you can plan wisely and avoid big surprises during your project.
How Much Does It Cost to Add a Room to a House?
A 20×20 room equals 400 square feet. The cost to build that size room usually falls between $40,000-$80,000, based on location and materials.
This equals around $100 to $200 per square foot, depending on where you live, what materials you choose, and the room type.
This basic price range usually includes the foundation, framing, roofing, siding, and additional features, as well as standard flooring options like carpet or vinyl.
But once you add things like a bathroom, custom closet, or special finishes, the cost can increase due to extra labor and materials.
In that case, the cost of the 400 sq ft master suite addition can range from $70,000 to $100,000, or possibly higher, depending on your layout and upgrades.
Detailed Cost Breakdown for a 20×20 Room Addition
Here’s a complete, detailed breakdown of the major cost categories for a 400-square-foot room addition:
| Category | Description | Cost Range |
|---|---|---|
| Structure & Foundation | Foundation, framing, roofing, exterior work | $12,000 – $28,000 |
| Systems | Electrical, plumbing, and HVAC extensions | $6,000 – $14,000 |
| Interior Finishing | Drywall, flooring, paint, doors, trim | $8,000 – $18,000 |
| Labor & Management | Contractor fees and project oversight | $8,000 – $15,000 |
| Permits & Miscellaneous | Building permits, inspections, contingency | $2,000 – $5,000 |
Total Cost: $36,000 – $80,000
Factors That Affect The Cost
You might wonder why one person spends $45,000 while another spends $85,000 for the same 20×20 room. From everything I have seen on job sites, these five factors play the biggest role:
1. Location
Where you live makes a big difference. Labor, permit fees, and material prices all vary by region.
For example, building in California or New York usually costs a lot more than in the Midwest or South. I’ve worked in both, and the price gap can be tens of thousands of dollars.
2. Room Type
The type of room you are adding affects the cost a lot. A simple bedroom or living space is the cheapest. But a master suite with a bathroom can add $15,000-$25,000.
A sunroom or office costs more, too, especially if you add custom windows, storage, or unique finishes.
3. Materials
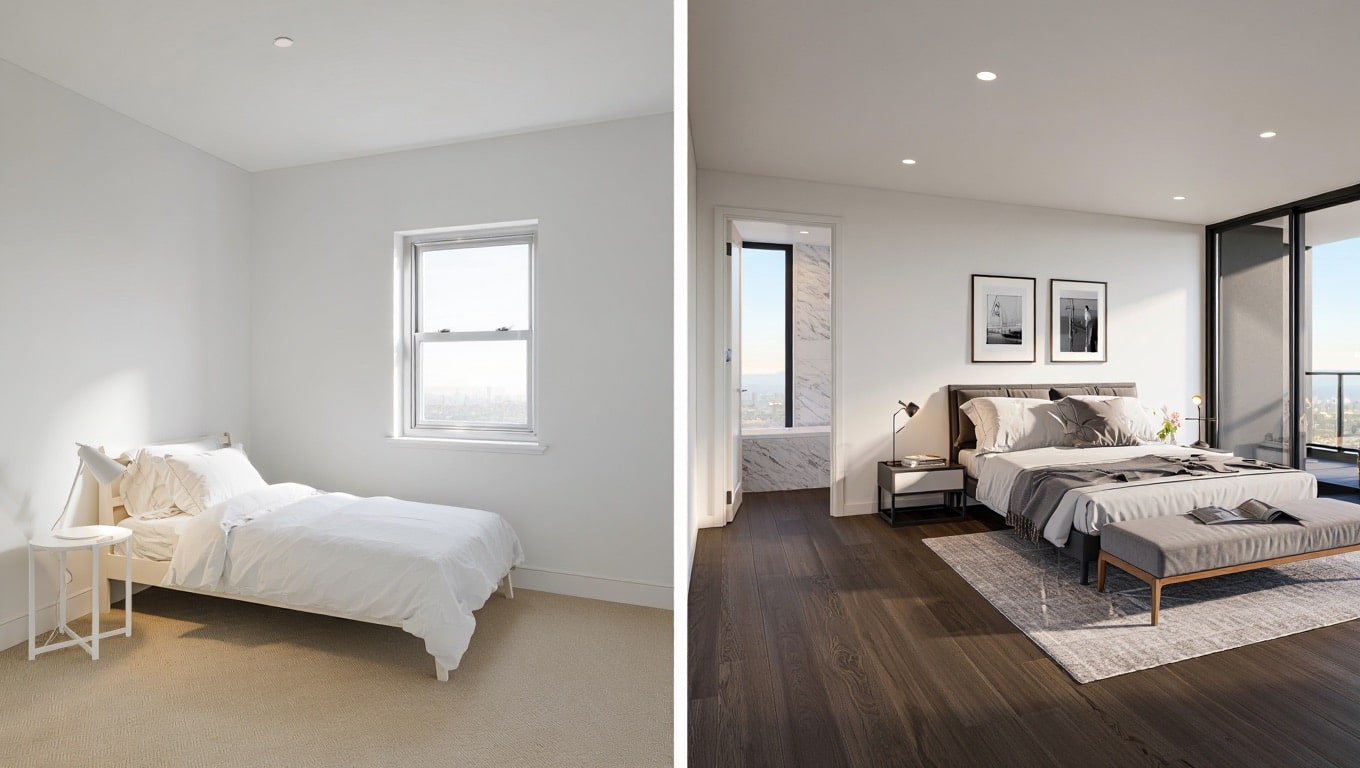
Your material choices can quickly raise or lower your budget. Hardwood flooring, high-end tiles, or custom cabinets all cost more than standard options.
Even roofing choices matter, such as the fact that metal roofing is more expensive than asphalt.
And little upgrades like extra outlets or windows add up fast when you’re working with a 400 sq ft space.
4. Foundation Needs
The kind of foundation you need can make a huge difference. A concrete slab is the cheapest and fastest. A crawl space costs a bit more.
But if you need a basement, expect to add $25,000 or more to your total. Not all properties allow every option, so check first.
5. Layout & Connection
It’s much easier and cheaper to build out than up. Adding a ground-level room from the back or side of your house is simpler than putting it on a second floor.
Also, if the new space connects easily to your existing HVAC or plumbing, that saves money and time too.
Real-Life Costs from Homeowners I’ve Worked With
Over the years, I have worked with all kinds of homeowners, and no two additions are ever the same.
Below are three real-world examples that show how different layouts, finishes, and locations can affect the final cost of a 20×20 room addition.
1. Mike in Georgia: $47,000 for a Family Room
Mike wanted extra space where his family could relax, watch TV, and have game nights. He built a 20×20 family room off the back of his home.
He chose basic materials like laminate flooring, standard drywall, and regular paint. No bathroom or plumbing was needed, and we tied the HVAC into his existing system.
The cost stayed lower because:
- Labor and permit fees in his area were reasonable
- The room was ground-level with easy access from the back
- He didn’t ask for any upgrades or custom work
In the end, he got a warm, cozy family space that blended nicely with the rest of the house, all for just $47,000.
2. Sarah in Oregon: $72,000 for a Master Suite Addition
Sarah wanted a peaceful retreat, a 400 sq ft master suite with its own bathroom and a walk-in closet. She built it onto the side of her ranch-style home.
She picked mid-range finishes: tile in the bathroom, a double vanity, a large shower, and vinyl plank flooring throughout the room.
Cost went higher here because:
- She installed all new plumbing and added a bathroom
- She requested larger windows for natural light
- She built a walk-in closet with custom shelving
- Labor and material costs in Oregon are on the higher side
Even though it cost more, Sarah said it completely changed how she uses her home. For $72,000, she basically added a private getaway inside her house.
3. Daniel in Texas: $58,000 for a Sunroom with Large Windows
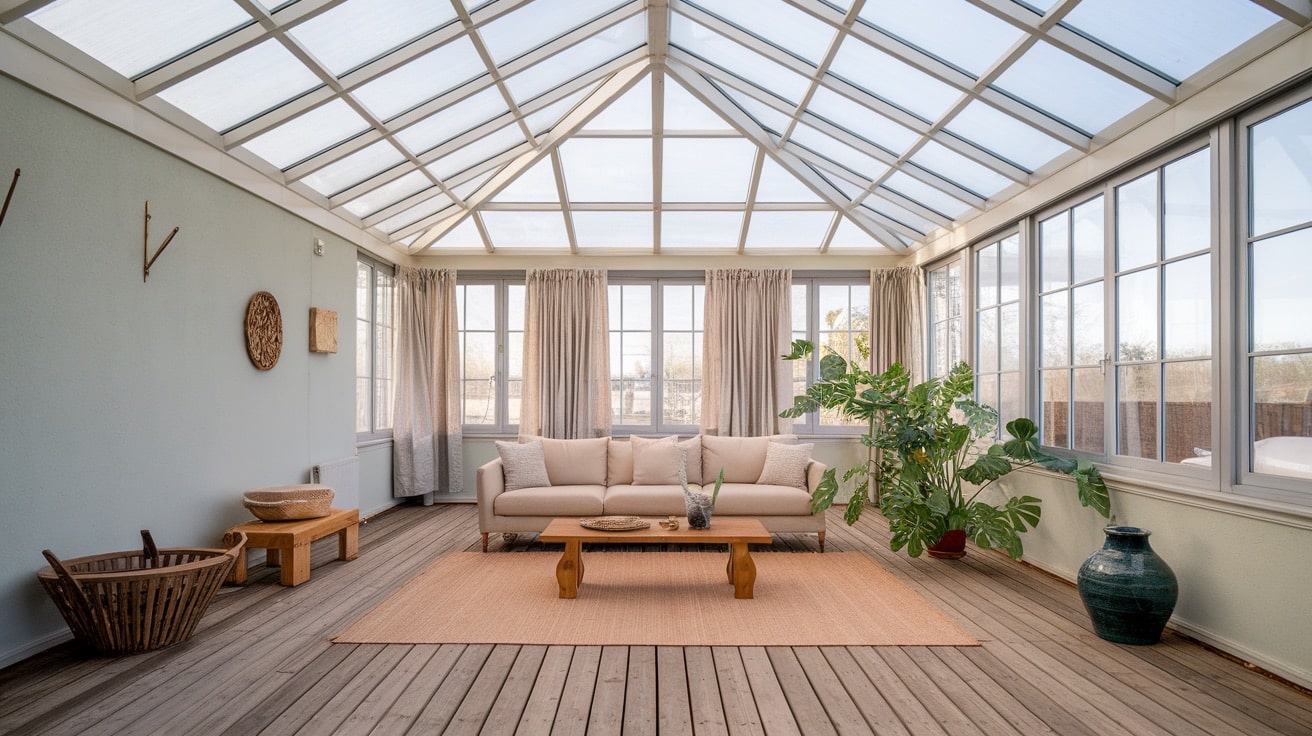
Daniel’s project was all about natural light and outdoor views. He added a 20×20 sunroom off his kitchen, filled with large windows on three sides.
The space wasn’t used as a bedroom, so there was no need for plumbing or a closet. He added tile flooring and chose higher-end windows with UV protection.
Why the price landed in the middle:
- The windows were a major cost factor
- We added extra insulation to control heat from the sun
- He didn’t need HVAC, but opted for a ceiling fan and baseboard heaters
At $58,000, the room became a sunny breakfast nook, reading corner, and indoor garden space all in one.
DIY vs Hiring a Contractor
Here’s a clear comparison of DIY vs hiring a Contractor for a room addition, including key differences in cost, effort, quality, and safety:
| Aspect | DIY (Do-It-Yourself) | Hiring a Professional Contractor |
|---|---|---|
| Cost | Lower upfront cost (you save on labor) | Higher cost due to labor, but often more predictable |
| Time Commitment | Takes longer, especially if done part-time | Faster, with a team working on the schedule |
| Skill Requirement | Requires hands-on skills and knowledge of building codes | Professionals bring years of experience and training |
| Permit Handling | You’ll need to get the permit process yourself. For some, you may need professional help only | Contractors typically handle permits and inspections |
| Mistake Risk | Higher risk of costly mistakes or delays | Lower risk; professionals know how to avoid common errors |
| Stress Level | It can be stressful and overwhelming | Less stressful with a good contractor managing everything |
If you’re handy and just want to paint, install flooring, or do trim work, then DIY can save you money.
But for framing, foundation, roofing, and any technical parts, hiring licensed pros is the safest, most efficient path.
Note: Remember that some work can not be done by yourself and a professional with license may be mandatory.
Smart Budgeting Tips from My Job Sites
Over the years, I’ve learned some solid budgeting tips from job sites. Always get multiple quotes, and don’t settle on the first one.
Plan for surprises by adding 10–20% extra to your budget for unexpected costs. Stick to your original plan as much as possible; last-minute changes are often pricey.
If you’re tight on cash, consider phasing the project, start with essentials, and upgrade finishes later.
Many homeowners go over budget just by adding things mid-project.
A clear plan, realistic goals, and a little wiggle room in your budget can help you stay on track and avoid unnecessary stress down the line.
The Bottom Line
Building a 20×20 room is a big deal, but it does not have to feel hard. If you plan well and stay focused, it can go smoothly.
Think about what kind of room you need, how much it will cost, and where you might be able to save money. Your space should work for you, not just look nice.
Take your time, ask good questions, and pick the right help for the job.
Have you built or planned a 20×20 room before? What did it cost, and what did you learn? Tell us, share with us in the comments below.

