How to Frame a Door and Install Your Door Frame Right

Putting in a new door might seem like a job for experts, but with the right steps, you can do it yourself. Door framing is a basic home skill that can save you money and give you pride in your house.
This guide breaks down door framing into simple steps that anyone can follow. No fancy tools or special knowledge needed, just straightforward instructions that make sense.
By the end of this post, you’ll understand exactly how to measure, cut, and set up a door frame correctly.
Ready to learn how to frame a door for your home? Let’s start with the basics.
Steps to Frame a Door
Learn how to frame a door with these simple steps, ensuring accuracy, efficiency, and a professional-looking finish for your project.
Step 1: Gather the Necessary Tools and Materials

Having everything ready before you start saves time and prevents rushed trips to the hardware store during your project.
Buy straight lumber free from warps or cracks. Lay pieces flat and look down their length to check for bends that might cause issues later.
- Tools needed include a hammer, tape measure, level, circular saw, drill, screws, and nails.
- Materials required are 2×4 lumber for the frame, shims for adjustments, and ideally, a pre-hung door unit.
Step 2: Measure and Mark the Rough Opening

Measure the door unit’s width and height, then add 2-3 inches for the rough opening. Mark these measurements on your wall with a pencil. Add notes beside your measurements to keep track of what each mark means.
This helps prevent confusion when you return to the project after breaks.
Double-check all numbers because mistakes here will cause headaches later. These marks will guide where you cut into existing walls or build new framing.
Step 3: Remove Existing Wall Material

Turn off the power to any nearby outlets before cutting into the walls. Use a drywall saw for clean cuts along your marked lines. Lay down drop cloths to catch dust and debris.
This makes cleanup much easier and protects your floors from scratches during the work.
Remove the wall material carefully to avoid damaging what’s behind it. Check for any pipes or wires in the area before cutting deeper into the wall structure.
Step 4: Build the Door Frame

Cut your 2x4s to the correct length for the frame’s top (header) and sides (jack studs). Attach the jack studs to full-length studs (king studs) that run from floor to ceiling. Install the sole plate at the bottom to anchor your frame.
Then attach the header across the top between the king studs, creating a U-shaped frame. When possible, pre-assemble the frame on the floor, then tip it up into place. This makes it easier to secure joints properly.
Step 5: Install the Cripple Studs and Door Header
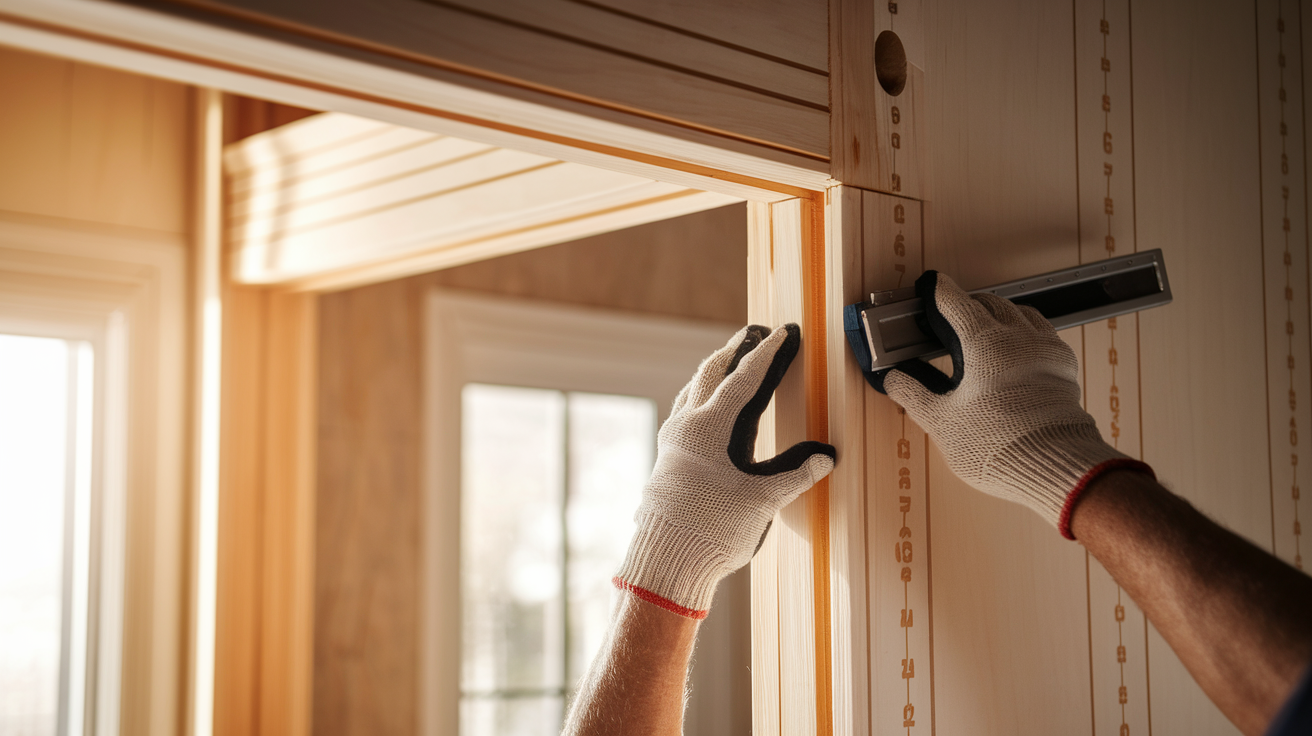
Cut shorter 2×4 pieces for cripple studs that go above the door header. These connect the header to the top plate of the wall. Each cripple stud should be cut precisely to fill the gap.
Mark stud locations on both the top plate and header to ensure proper spacing. Use a speed square to keep everything at perfect right angles.
Space them at the same intervals as your wall studs (usually 16 inches apart) to maintain wall strength and provide support for drywall later. Make sure studs nail securely into both the header and plate.
Step 6: Check for Level and Plumb
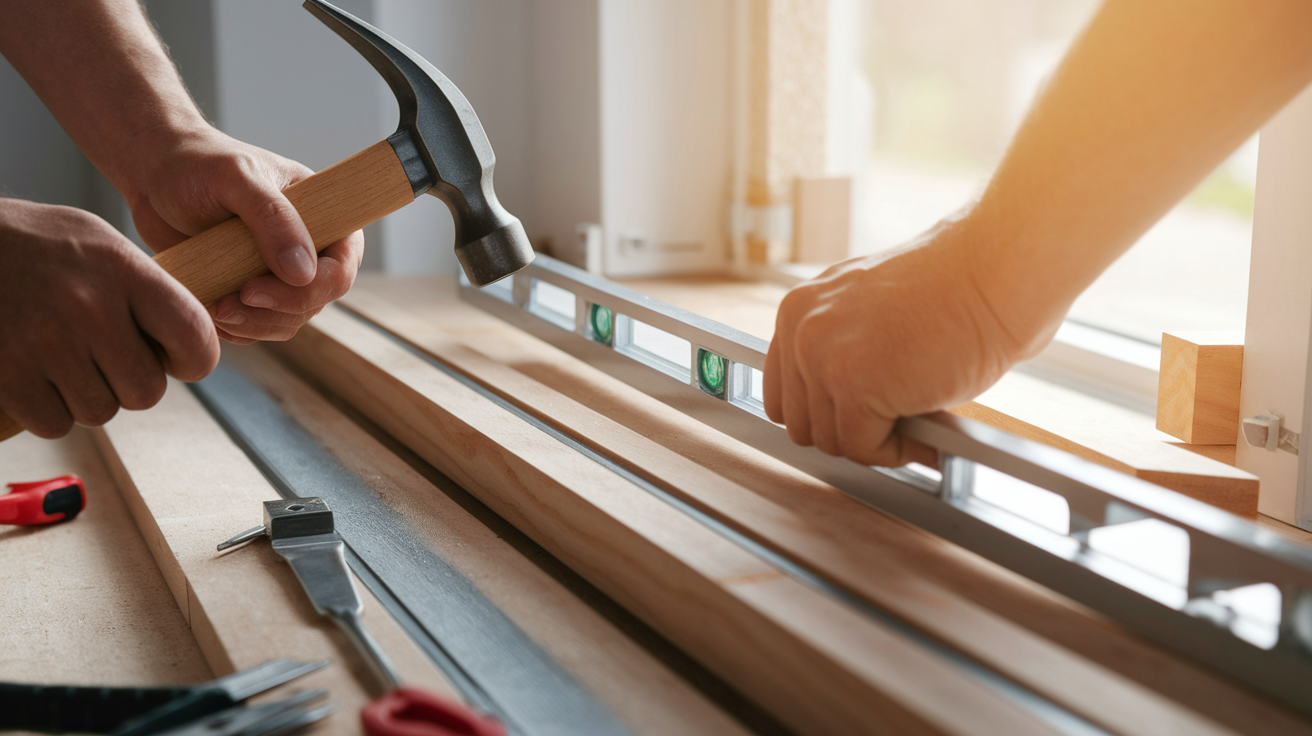
Use your level to make sure the frame sides are perfectly upright (plumb) and the top is completely level. Check the level in multiple spots on each piece, including the hinge jamb and side jamb areas.
A frame might be level in one spot but off in another, which can still cause problems.
This critical step ensures your door will open and close smoothly. Adjust the frame as needed by tapping with a hammer or using shims until every measurement shows level and plumb.
Step 7: Secure the Frame
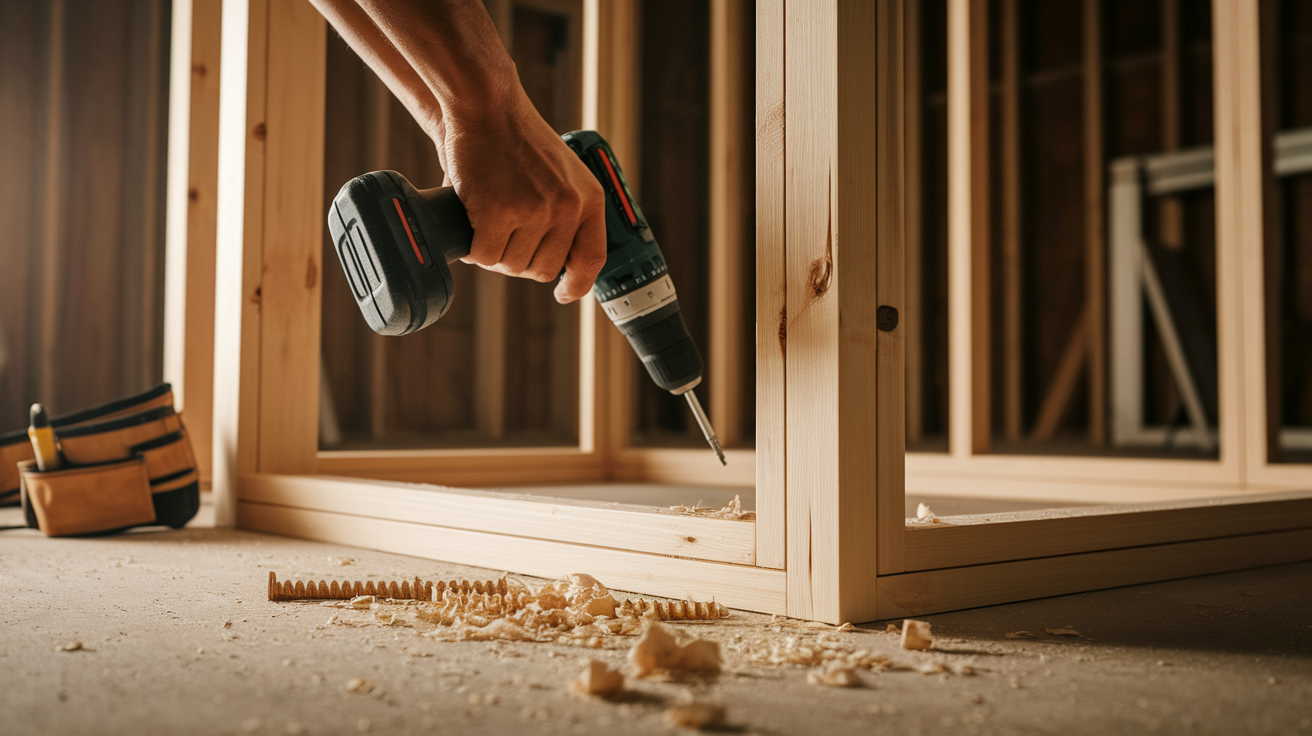
Once the frame is level and plumb, drive nails or screws through the king studs into the surrounding framing. Use 3-inch screws rather than nails for better holding power, especially in areas that might experience stress when the door is used. The king stud connections are critical for stability.
Add extra screws wherever the frame connects to existing structures. Nail through the bottom plate into the floor for added security. This makes the frame solid and prevents shifting that could cause the door to bind or stick.
Step 8: Prepare for Door Installation
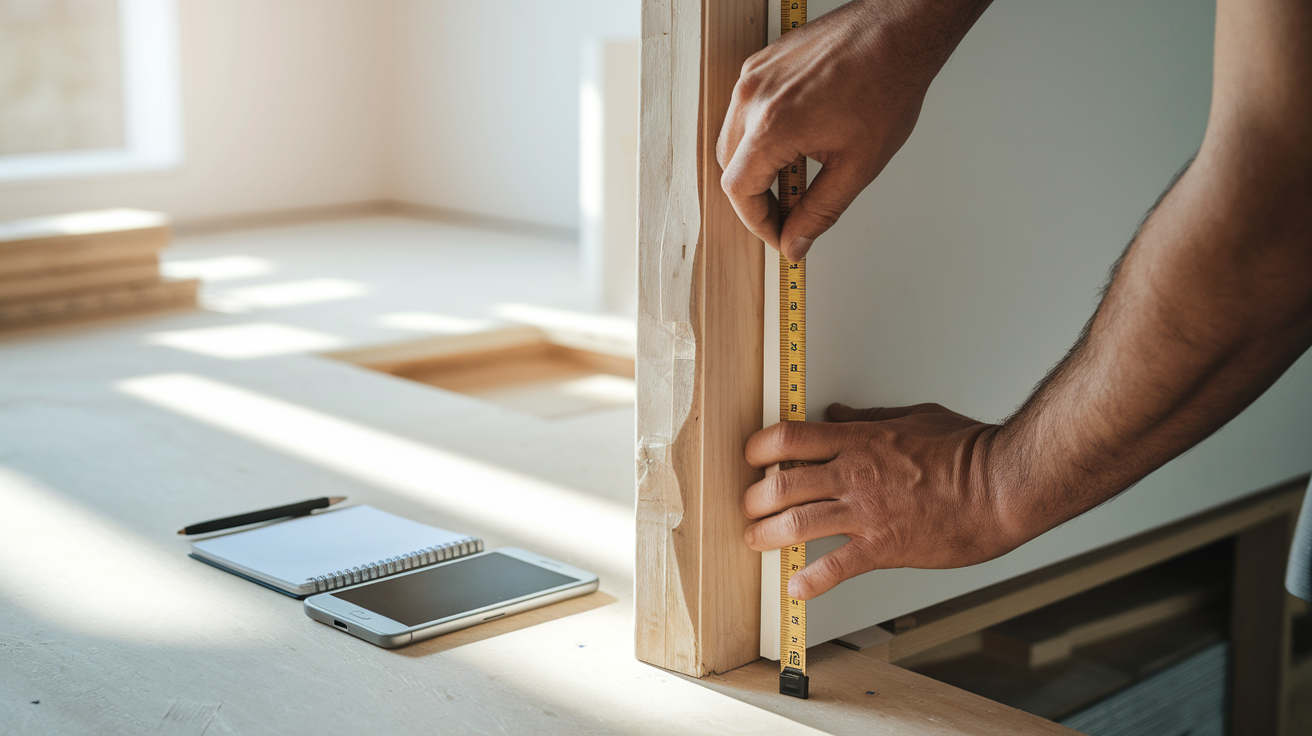
Remove any temporary braces, clean the area of debris and dust, and measure the opening one final time to verify that it matches your door unit’s specifications. Install any necessary trim pieces before hanging the door.
The rough opening should be about 2 inches wider and 1 inch taller than your door unit to allow for adjustments during installation. Check that the jamb fits properly within the opening.
Bonus Tip: Take photos of the framed opening before covering anything up. This helps you know what’s behind the walls if you need to make repairs in the future.
Cost Analysis of DIY vs. Hiring a Professional
| Option | Estimated Cost (2025) | Time & Considerations |
|---|---|---|
| DIY | $1,500 – $10,000 (materials) | Takes several days to weeks; cost-effective but time-intensive. Mistakes may reduce savings. |
| Professional | $5,500 – $15,000 (labor + materials) | Completed in 1–2 days for minor jobs, up to 3–4 weeks for full remodels; higher cost but faster and more polished. |
| Key Factors | Depends on location & job complexity | Consider your skill level, available time, and whether DIY savings outweigh potential risks. |
Alternative Door Framing Methods
Here are some adaptable door framing methods to help you find the perfect fit for your project, balancing style, practicality, and ease of installation.
Metal Stud Door Framing For Stability
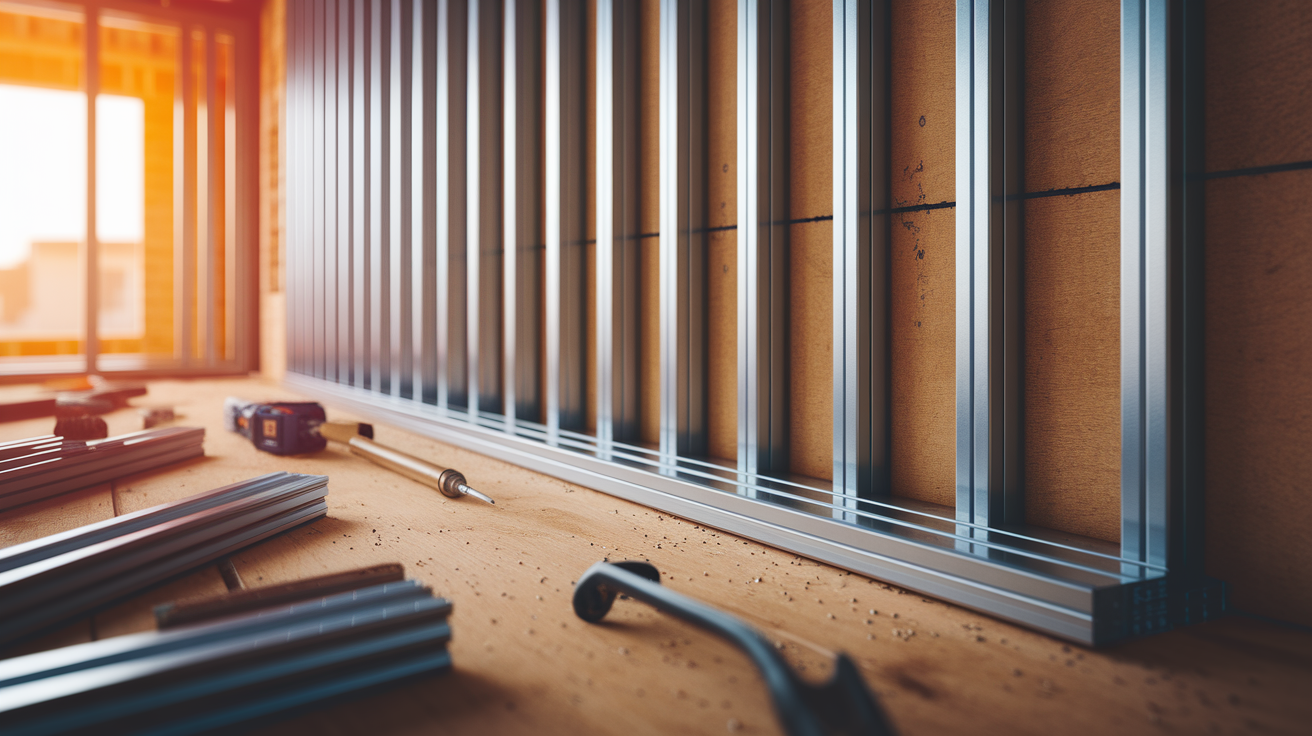
Metal studs offer better fire resistance and won’t warp, shrink, or split like wood. They’re lighter to carry and create perfectly straight walls.
Useful for: Modern builds, basements prone to moisture, or fire-resistant requirements.
Why try: They last longer than wood and resist pests and mold.
Pros: Lightweight, durable, consistent sizing, fire-resistant.
Cons: Requires special screws, harder to modify on-site, poorer insulation than wood.
Pre-fabricated Door Frames to Save Time
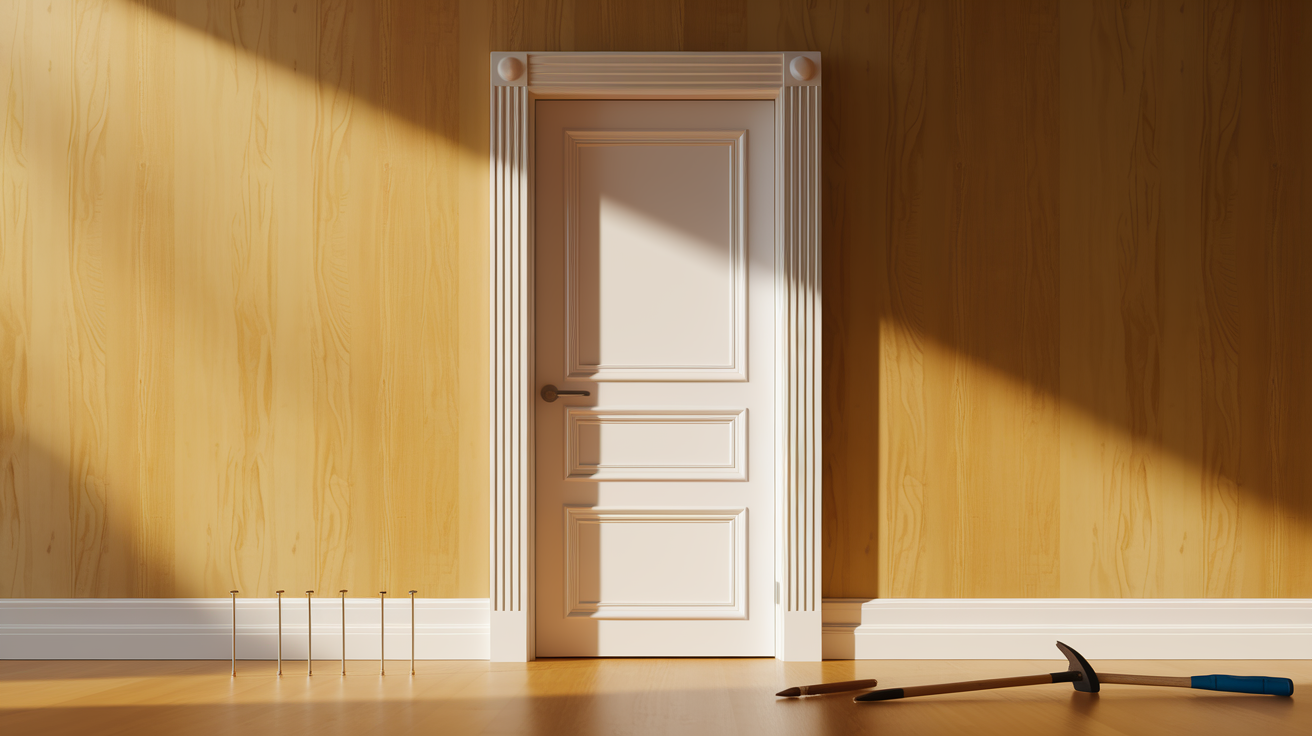
These ready-made frames come assembled and ready to install, saving you cutting and assembly time. Just place them in the rough opening and secure.
Useful for: Quick renovations, beginners, or when you need consistent results.
Why try: Cuts installation time in half with professional-looking results.
Pros: Fast installation, perfect measurements, factory finish.
Cons: Limited size options, higher cost, less customization.
Pocket Door Framing for Small Spaces
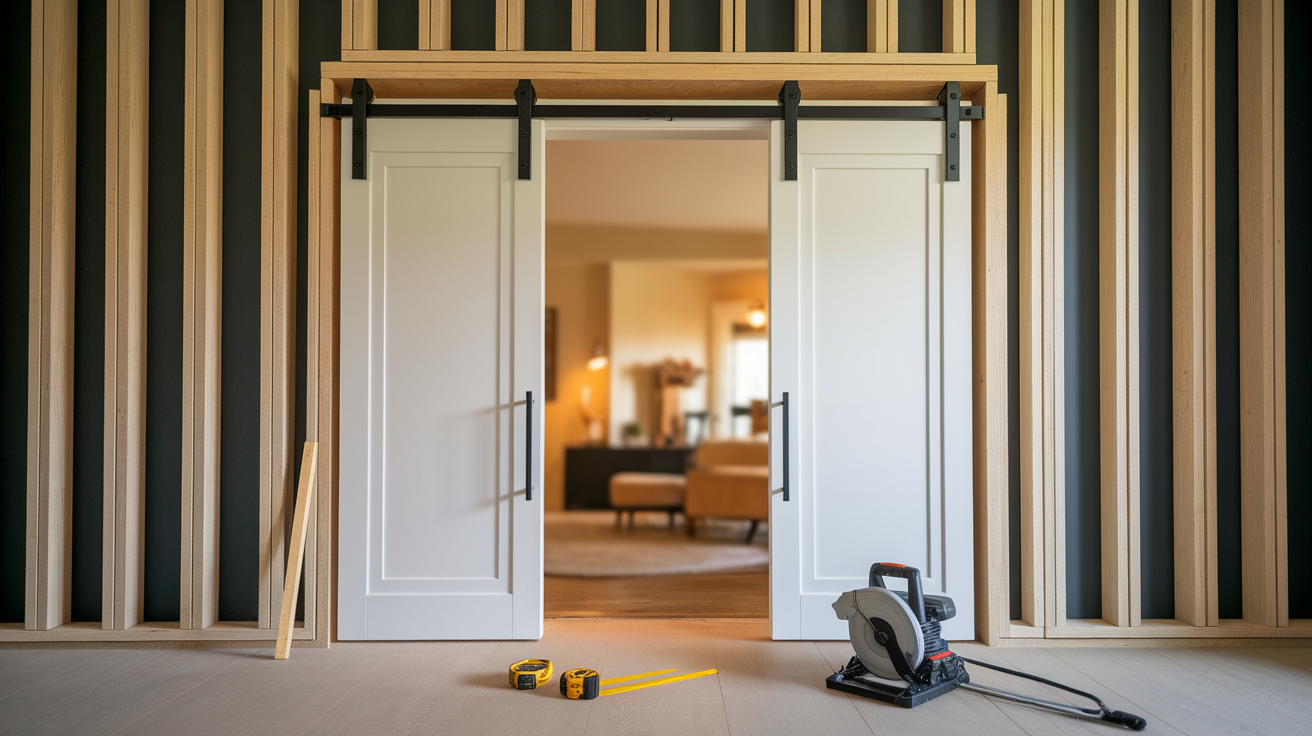
This method creates a wall cavity where the door slides in when open, saving floor space in tight areas.
Useful for: Small bathrooms, closets, or anywhere you need to save space.
Why try: Gives you back 10 square feet of floor space that a swinging door would require.
Pros: Space-saving, modern look, good for tight areas.
Cons: More complex installation, needs thicker walls, and limited hardware options.
Maintenance Tips for a Long-Lasting Door Frame
Keep your door frame in top shape year-round with these simple maintenance tips that help prevent damage and extend its lifespan.
- Inspect your door frame once a year for water damage or wood rot, especially near the bottom where moisture builds up.
- Tighten any loose screws immediately to avoid misalignment or structural issues down the line.
- Use wood filler to patch small cracks before they expand and lead to more serious damage.
- Wooden frames should be repainted or resealed every 3–5 years to protect them against moisture, sun, and general wear.
- For squeaky hinges, apply a lubricant instead of adjusting or shifting the door frame.
- Check the caulking around the frame to ensure no gaps are letting in water or air.
- Clean the frame with a mild soap and water solution to remove grime and spot early signs of wear.
- Keep an eye on door alignment; doors that stick or sag may signal underlying frame issues that need attention.
Conclusion
You now have all the know-how needed to frame a door properly. With these steps, you can tackle this project confidently, save money, and add a useful skill to your DIY toolkit.
Remember that patience pays off. Taking your time with measurements and checking for level will save hours of frustration later. Don’t rush the process.
Even if it takes a weekend, the satisfaction of walking through a door you framed yourself makes it worthwhile. And if you run into trouble, don’t hesitate to ask for help at your local hardware store.
Ready to get started? Grab your tools, follow these steps, and enjoy your new doorway.

