A Guide on How to Demo a Bathroom (Bathroom Demolition)
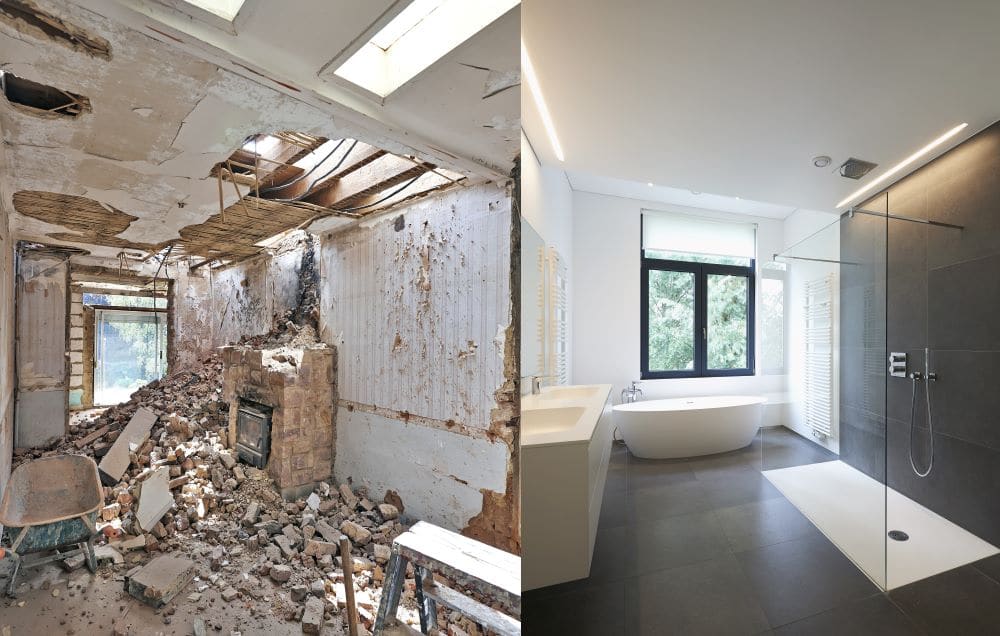
Do you want to remodel your bathroom and go for a brand-new makeover?
To do so, you may have to dismantle the existing bathroom’s furniture and fittings and then make a way to remodel your bathroom.
In other words, you may have to undertake a thorough bathroom demolition to pave the way for a new or remodeled bathroom.
Not many of you prefer hiring a bathroom specialist to get the job done. For working couples, time is a major constraint indeed.
Not many have the time or patience to arrange an appointment with the plumber or bathroom designer and get the job done.
However, with easy and simple DIY steps, you can work on how to demo a bathroom (Bathroom demolition) and recreate spaces to make a new one.
Helping you through the steps one by one.
Prep up Your Bathroom Supplies in a Systematic Manner
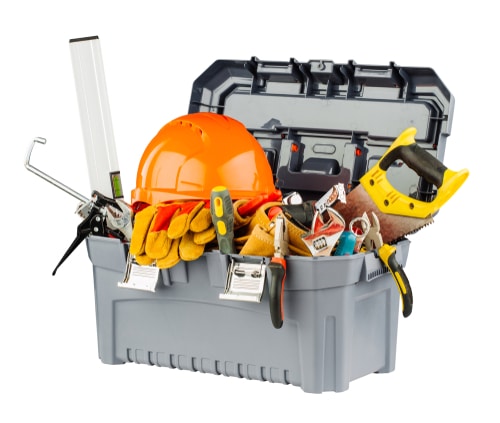
You may have to prep up your supplies systematically and effectively to undertake the job from start to finish.
For most bathroom demo operations, these are the supplies you may have to rent or borrow. Here is the list you can think of:
- Wrenches, buckets, and chisels
- Duct tape, drain covers, and large-scale garbage bags
- Hammers, protective face masks and jig-saws
- A durable pair of knee-pads, plastic clothes, and a large ladder
- Pliers and the kit
- Rags and sustainable saws
- Gloves that are made from rubber and a pair of goggles
- Knives, power brushes, and other utility accessories
You must also ensure you have other cleaning supplies, such as broomsticks, mops, rug clothes, and dust-collecting pans, at your disposal.
You must also make sure you know where you will throw away dismantled washbasins, sinks, or other utilities once you are through with the process.
You can hire or rent out a residential roll-off dumpster. This way, you needn’t worry about effectively disposing of your debris.
Prepping up Your Bathroom for Demolition
These are the steps that will help you undertake a proper demolition of your bathroom. Taking you through the series of steps that are involved here:
1. Have You Set Aside Time for Your Bathroom Demo?
Remember that you cannot build a city in a day. Similarly, you must also understand the fact that a bathroom demolition cannot be undertaken in a day.
Depending on the DIY steps you know and the number of people available to help you at your disposal, the process can take time.
Post the demolition of your bathroom, a remodel of the bath must also be carried out. Therefore, the process can take you about 7 days to complete the job from start to finish.
2. Removing the Clutter and Stuff
To dismantle the bathroom neatly and effectively, you must be able to remove the clutter and stuff. These can be miscellaneous items inside your sink drawers or toilet cupboards. Similarly, you can dismantle bathroom shower cabinets and wall mounts.
Then, shower rods, towel rods, curtain drape rods, towels, and other wash clothes can be removed slowly.
Apparently, bathroom mirrors, decorative art pieces, baseboards, and trims can also be removed extensively.
3. Shutting Off Water Sumps and Electricity
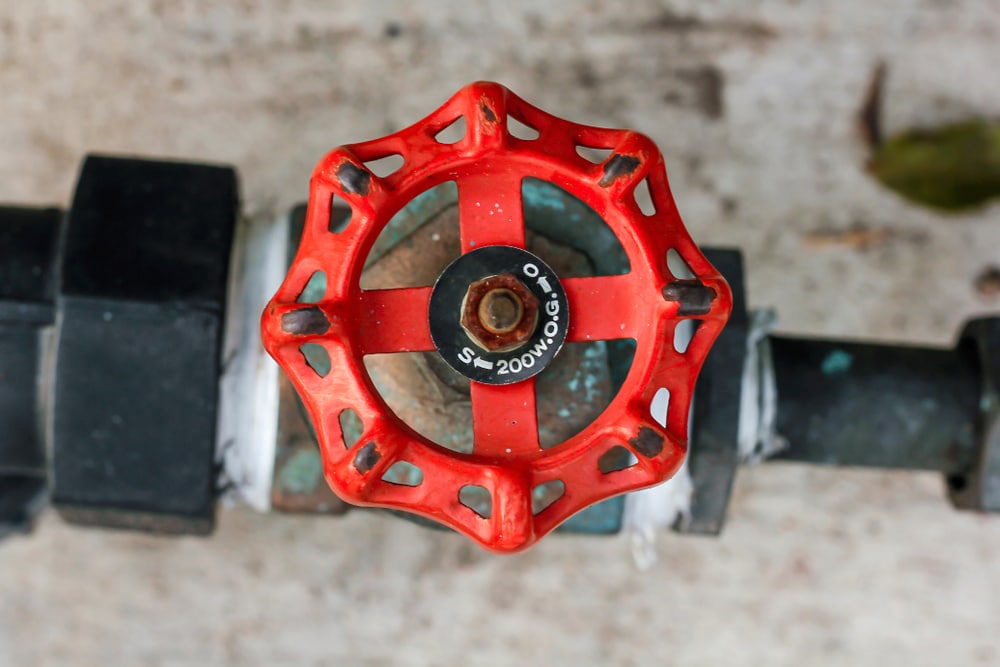
While dismantling your bathroom, this is an important step you cannot afford to miss out on. You must shut off the water sump and electricity units as you do not want a short circuit or a mini flood to happen in your bathroom.
Therefore, from a pure safety point of view, the water sump must be closed, and the electrical power grids must be shut down.
Sometimes, even after shutting out the water supply completely, water might leak into your faucets, sinks, or other taps inside your bath. Therefore, you must allow the water to drain out from the flush tanks and then put a rubber seal across the water vents.
You can use a pair of rubber gloves and a mop drainer to drain out the remaining water. The other bathroom vents can also be sealed with rubber to prevent further water leakages from walls or ceiling areas inside your bath.
Paving the Way to Demolish Your Bathroom Vanity
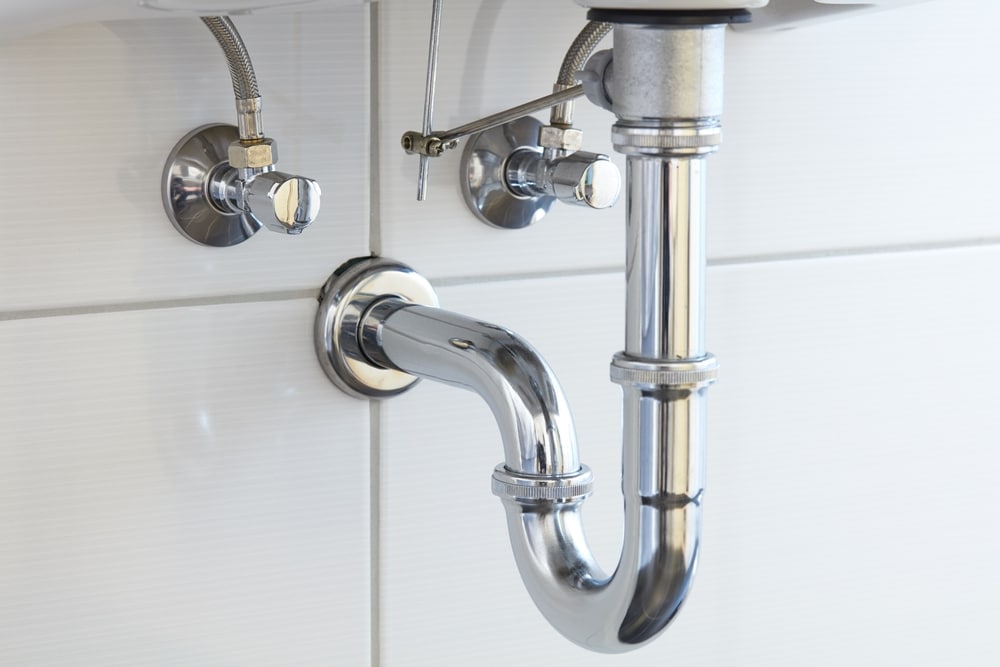
These are the series of steps on how bathroom fittings and vanity settings can be demolished. Let us have the demo steps explained to you in a nutshell:
1. Removal of Your Pipes and Drains
Do you find a U-shaped bend beneath your piping systems? You must place a bucket underneath it. This way, the water present inside the tap will fall into the bucket of water that you have placed beneath the fittings.
Then comes the next step. You may have to dismantle the pipe fittings using pliers or wrench boards. You can get help from your plumber to dismantle the pipes and drains out of your bath.
2. Getting the Sink Area Removed
Now is the time to get your wash basin sink dismantled. When the sink tank is separated from the vanity top, the sink is removed first. The bolts and nuts connected with the sink fittings must then be disconnected from the wall cabinet. If the washbasin or the sink is heavy, you can also get professional help.
3. Getting the Vanity Top Dismantled
The next step is to have the vanity top dismantled. When you have a wall or a caulk to which the vanity top is connected, the edges may have to be softened, and this process is carried out using a utility knife.
Then, the bolts and nuts covering the unit must be removed slowly. The vanity top must now be pulled up away from the wall. You can also avail yourself of professional help if the process gets a little complicated.
4. Removal of The Cabinet and Clean up Of Debris
The next step involved is getting the cabinet removed smoothly and delicately. The caulk trims involved with the cabinet set are removed from the wall area.
If your wall cabinet has screws and bolts that are anchored to the wall space, then you must remove them one by one.
For a wall cupboard that has been done with nails, you use a plier to have them removed.
After the process, the debris accumulated from the vanity-removal process can be collected into heavy-duty garbage bags or dumping units you have arranged for the purpose.
How Do You Systematically Demo Your Toilet?
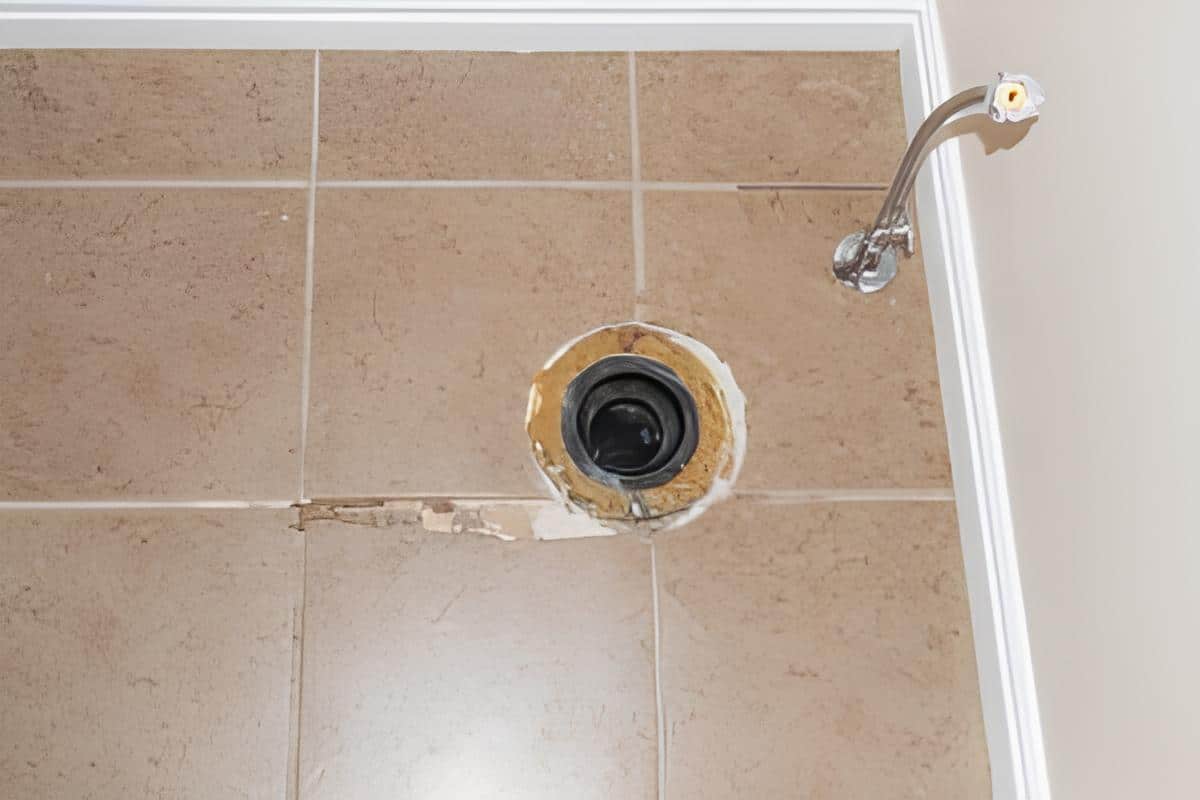
These are the series of steps that are involved in dismantling your toilet or Western closet systematically. Helping you with a run down through the steps involved:
1. Disconnecting the Bathroom Toilets from Water Supply
The water supply valve must necessarily be disconnected from the bathroom toilets or faucets. You can drain out the water from the restroom’s flush tank and seal the pipes that provide water. Water leakage vents can be closed off using rubber seals.
2. Removal of The Toilet
Now is the time to get the toilet seat and its body dismantled. The base is removed on the first go if you have a two-piece toilet. The body of the bathroom is then unbolted from its floor area. If you find this process a little complex, you can avail of a professional service to get things done.
While you plan to unbolt the toilet from its floor area, you may have to unscrew nuts, bolts, and brackets connected to the fittings. You can use WD-40 to ensure they fit or fixtures are loosened correctly.
To break the seal of your toilets, you may require a utility knife to cut through the caulk. The caulk unit connects the furniture or fittings to the wall-mount area. The body of the toilet is lifted. Once this is done, you can keep it tucked into a corner of your bathroom.
3. Getting the Drain Area Cleared Up
To clear up the drain area, gently remove the wax ring surrounding it. A utility knife is used to cut it through. You can also use a paint scraper or a metallic spatula to help smoothen the process. Do you still have the flange intact?
Then, you can have it cleaned up using a wire brush. If the flange is not in good condition, then the screws can be dismantled and removed. Using drain covers, the holes can be closed or sealed.
The debris that remains post-dismantling of your toilet seat can then be cleaned up and put into garbage bags or cardboard boxes that are meant for disposal.
How Can Bathroom Tiles Be Removed?
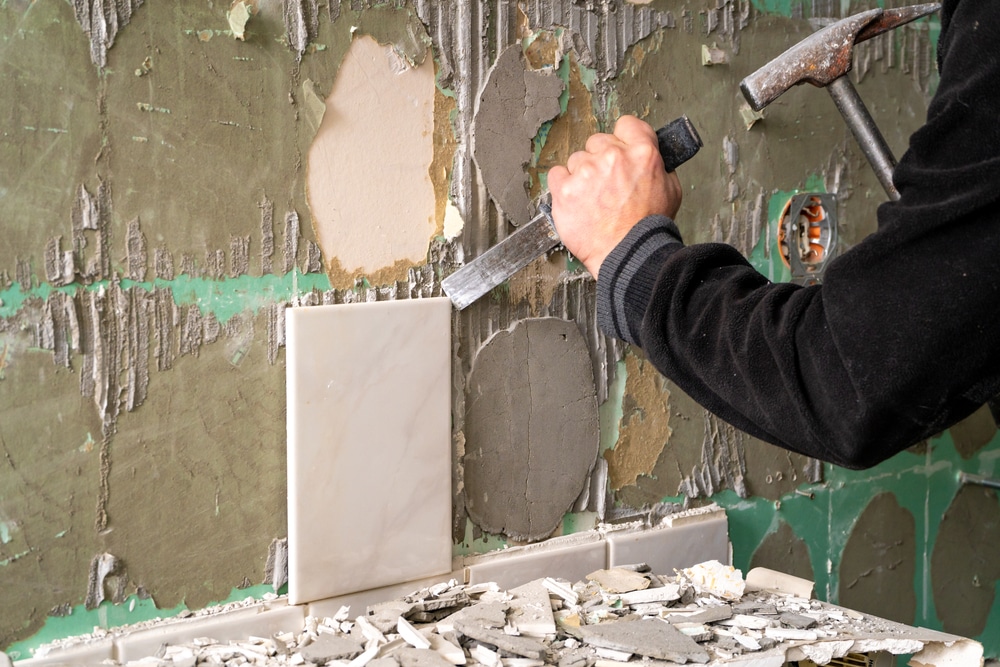
The bathroom tiles can be demolished using the series of steps that are involved. Let us take you into a rundown concerning the same:
1. Getting Your Doorway Covered
To transition yourself into a tile removal process, the doorway for the bathroom must be dismantled as soon as possible. There is one more reason as to why you must have the door removed.
You do not want tile dust to accumulate all over your house. You can use a plastic tarp to create enclosures around the door area. This way, you allow the tile dust to accumulate within the walls of the enclosure. The vents, as always, must be sealed or covered.
2. Demolition of Shower Tiles
The shower tiles must now be demolished one by one. To do so, you may need pliers, hammers, and chisels to get the job done. Removing each bathroom tile one by one can be a tiring process, after all.
Wear a protective mask while you work to prevent sawdust from entering your mouth or nostrils. Take a footer and mark a horizontal line as you dismantle the shower tiles across the horizontal plane.
Then, you can dismantle shower tiles on a vertical pane. You may have to use a heavy-duty saw to cut through the seam that exposes the dry-wall area. Sometimes, the tiles may not be scraped out completely.
Therefore, you may have to use a ply bar to cut through the half-cut tiles until they are completely scraped out of the wall.
The tile removal process can be the most exhausting part of the campaign, which is titled ‘How to demo a bathroom (bathroom demolition).’
Therefore, you can get the job done in a phased-out manner indeed. You may have to repeat the process until you have got all the tiles dismantled.
3. Clearing up The Debris
Using your work gloves, you can slowly mop up the debris and collect the same into a dumpster fill or heavier garbage bags.
You must clean up all the debris that accumulates during the tile removal process.
You can also use a vacuum cleaner to mop away the extensive tile dust that has accumulated during the tile demolition process.
Again, you can dump the vacuum dust bag into garbage bins or bags that are meant to collect your debris.
Demolition of The Bath-Tub
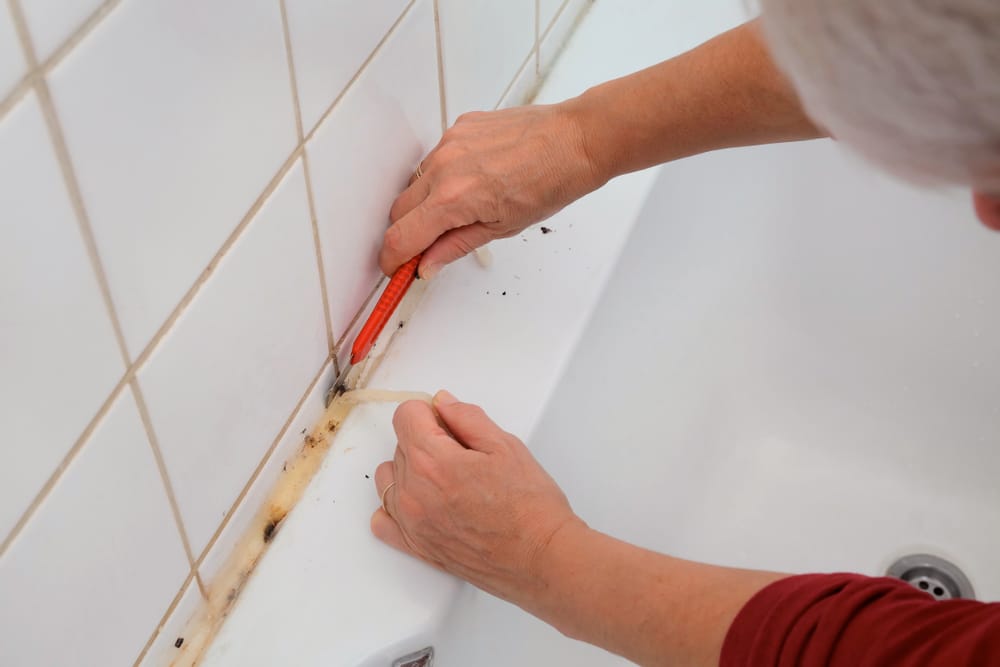
In this online guide titled ‘How to demo a bathroom’ (bathroom demolition), we have come over to the last step. This is the systematic removal of your bathtub. Let us discover the series of steps that are involved in the process:
1. Prepping Up The Process
Firstly, you must make sure that the tub is entirely dry. If there are fixtures, soap holders, or any other stuff, you can get the debris removed.
2. How Do You Unanchor the Tub from Your Wall and Floor?
What is the size of your bathtub? Depending on the size of your bathtub, you must cut through the drywall that is exposed through the basin.
You can leave a gap of about 8 inches or so. You must check the area covering the caulk of the base area of the tub. You can use a utility knife to cut through the caulk area.
Do you have nuts, bolts, or screws covering the bathtub area? Using spanners or pliers, you can have them unscrewed one by one. You may have to separate the tub from the wall area for a couple of inches.
3. How Do You Cut the Tub?
A heavy-duty bathtub may be difficult to dismantle and move across through the doorway. Therefore, you may want assisted professional help in cutting your bathtub. You must be able to cut your bathtub into as many pieces as possible.
Using the jigsaw, you can cut the tub into smaller fragments and get the same disposed of in your bathroom as quickly as possible.
Once the cutting process is done, the debris of the bathtub gets collected into garbage bags or dump holders that are meant for the purpose.
Concluding lines
In this comprehensive guide on how to demo a bathroom (bathroom demolition), we have seen a systematic dismantling of each section of the bathroom through easy-to-understand snippets.
As a Senior citizen, you may find the dismantling process highly complex and labor intensive. Therefore, you can hire professional help that lets you complete the process out there in an instant.
A bathroom demolition expert would need 3-4 days to dismantle the bathroom section-wise. The debris can also be collected neatly before they are disposed of.
DIY steps can also be taken if you have the time and stamina to complete the process.
You may need help from your kids or other family members to help you through. Dismantling a bathroom cannot be done by one person on the whole.
So, how did you find our steps on bathroom dismantling? Please let us know about the same!


