How to Install and Style Shiplap Paneling with Creative Ideas
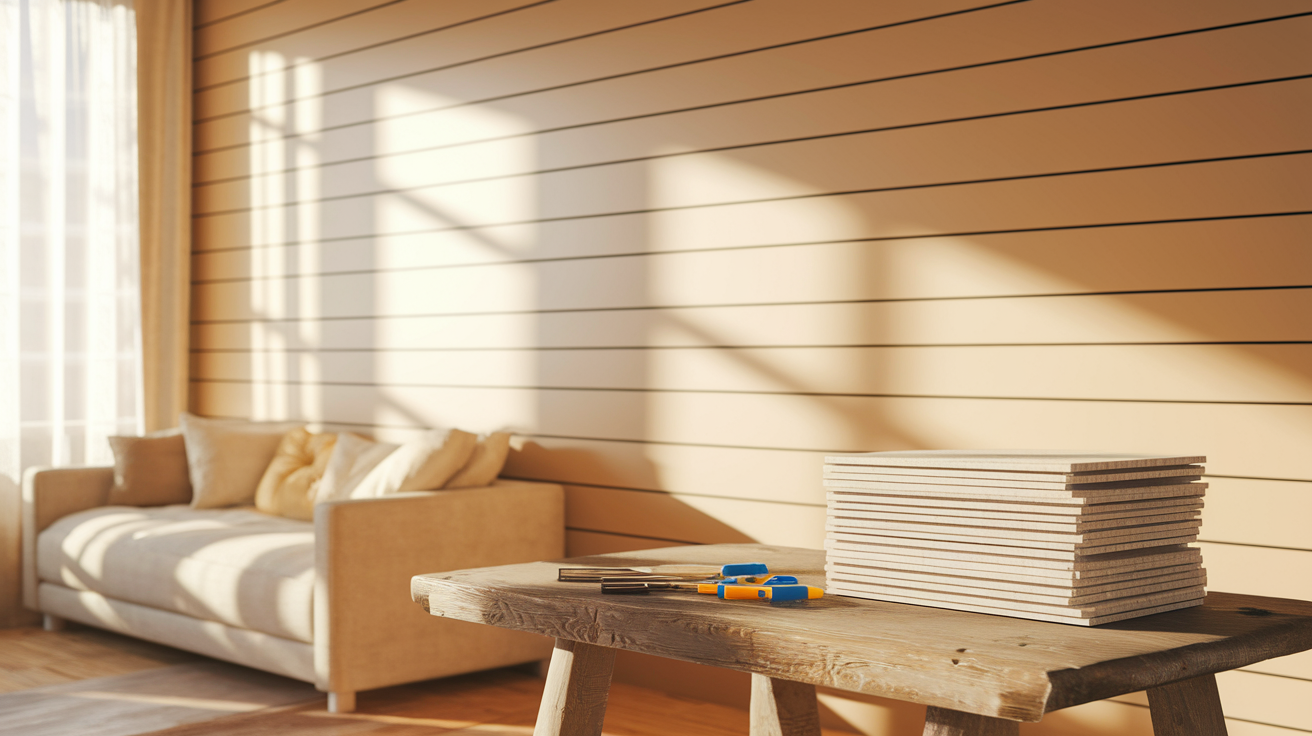
Want to add some charm to a plain wall without spending a lot? Shiplap could be the answer. It’s a budget-friendly way to give any room a cozy, stylish look.
The best part? It’s easier to install than it seems. With a few basic tools and some weekend time, this project can totally change a space.
There’s no need to hire a professional; just follow these simple steps. The clean lines of shiplap work well with all kinds of styles, from modern to farmhouse.
Whether it’s one wall or the whole room, this design adds texture and interest quickly. This guide breaks it all down step by step, making it easy to follow and reducing the risk of mistakes.
Pre-Installation Preparation
Proper preparation now can save hours of headaches later. First, remove all furniture and wall decorations from the area. Then, clean the walls thoroughly, removing dust and filling any holes with spackling.
The wall surface doesn’t need to be perfect since it will be covered, but major bumps should be addressed. Using a stud finder, locate and mark all wall studs with small pencil marks – these marks will guide nail placement for secure attachment.
Next, measure the wall’s height and width to calculate the number of boards needed, adding 10% extra for mistakes.
Let the shiplap boards sit in the room for 48 hours before installing them, allowing the wood to adjust to the room’s humidity and temperature.
Materials and Tools Needed
Here’s a simple list of all the materials, tools, and finishing supplies you’ll need to install shiplap paneling successfully.
Materials:
- Shiplap boards (real wood or manufactured)
- Finishing nails
- Wood glue
- Caulk
- Paint or stain
Tools:
- Tape measure
- Level
- Stud finder
- Pencil
- Hammer or nail gun
- Circular saw
- Jigsaw (for cutting around outlets)
- Safety gear (goggles and gloves)
- Optional: Miter saw (for angled cuts)
Finishing Supplies:
- Sandpaper
- Wood filler
- Paint brushes
How to Install Shiplap Paneling
Here are some easy-to-follow steps for installing shiplap paneling, changing your space into a stylish and practical masterpiece.
Step 1- Plan Your Layout
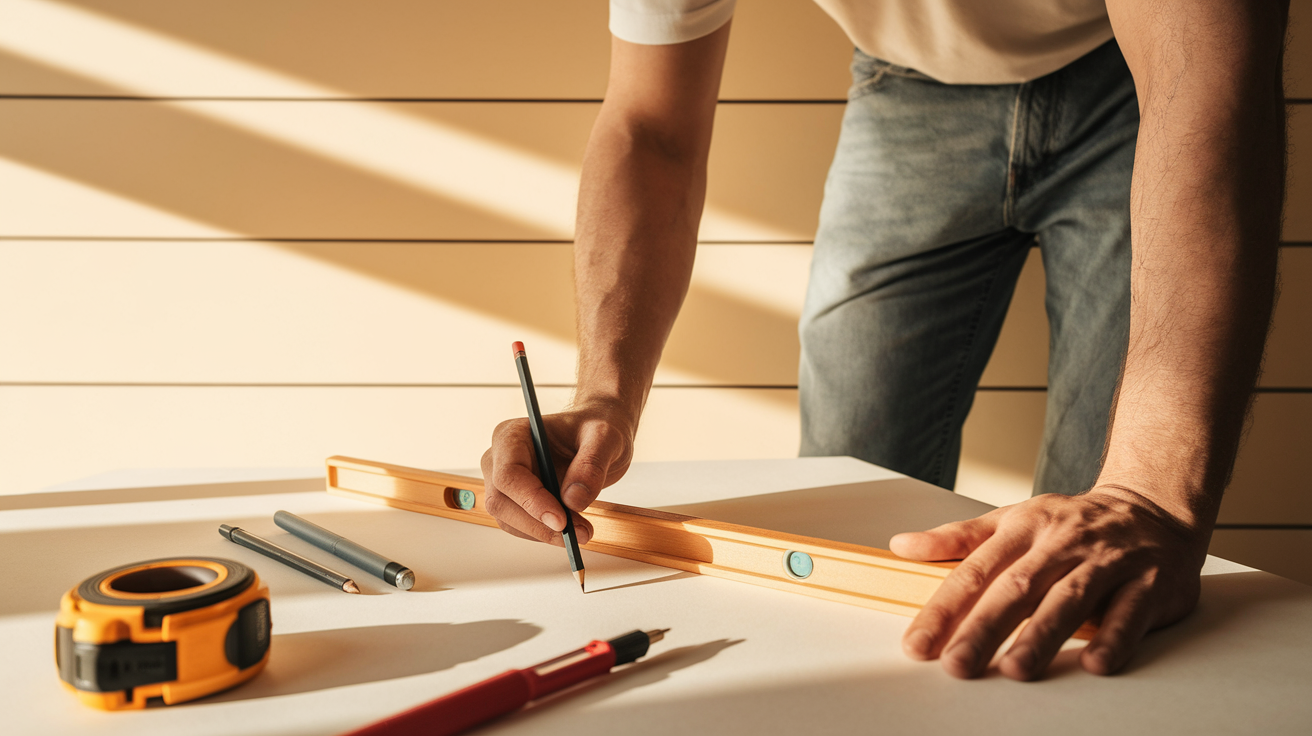
Good planning prevents wasted materials and frustration. Start by deciding if the boards will run horizontally (traditional) or vertically (for a taller-looking space). Next, determine the board arrangement – will the bottom row be a full board or cut to size?
Using a pencil and level, draw a straight line across the wall where the first board will go.
This line serves as a guide to keep everything straight. Plan how boards will meet in corners – straight cuts look clean, while mitered corners (cut at 45-degree angles) offer a more finished look.
Also, decide how to handle outlets and switches – marking their positions helps avoid surprises. Taking 15 minutes to think through these decisions saves hours of fixes later.
Step 2 – Cut Shiplap Boards to Size

Cutting boards might seem scary, but it’s quite simple with the right approach. Measure the wall length and mark this measurement on your first board.
For the cleanest cuts, use a circular saw with a fine-tooth blade, cutting with the good side down to prevent splintering.
When measuring, remember the saying “measure twice, cut once” – double-checking saves materials and money. For odd-shaped cuts around outlets, draw the shape on the board and use a jigsaw to cut it out.
Make cuts in a well-ventilated area, preferably outside or in a garage. Keep a small piece of sandpaper handy to smooth any rough edges.
Most importantly, wear safety glasses to protect your eyes from flying wood chips.
Step 3 – Install the First Board
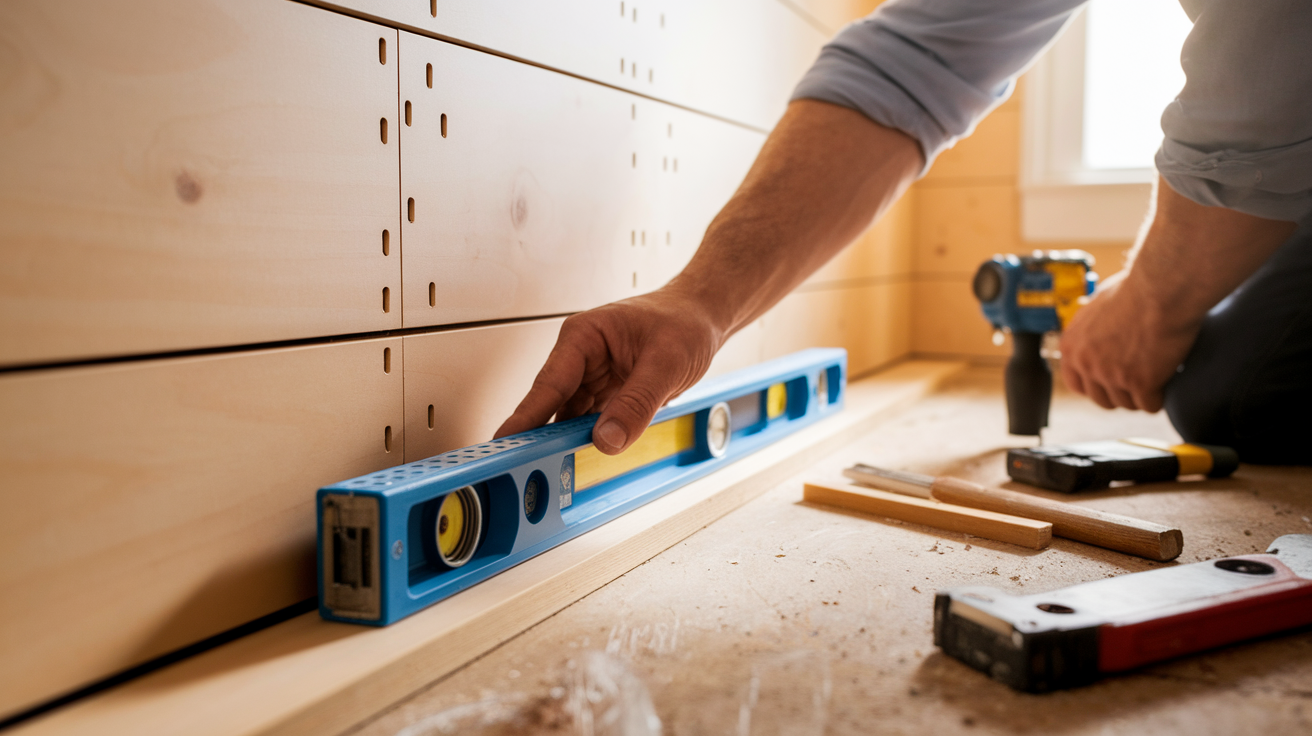
The first board sets the foundation for the entire wall, so getting it right matters most. Place this board along the bottom of the wall, making sure it’s perfectly level – even a small tilt now means bigger problems later.
Leave a 1/4 inch gap between the board and the floor to allow for normal house settling. Secure the board by driving nails through it into the wall studs (marked earlier).
For extra hold, add a small line of construction adhesive on the back before placing. If the wall isn’t perfectly straight, you might need to scribe (trace and cut) the board to match the wall contours.
Once secured, check with a level once more before moving to the next board.
Step 4 – Continue Installing Boards
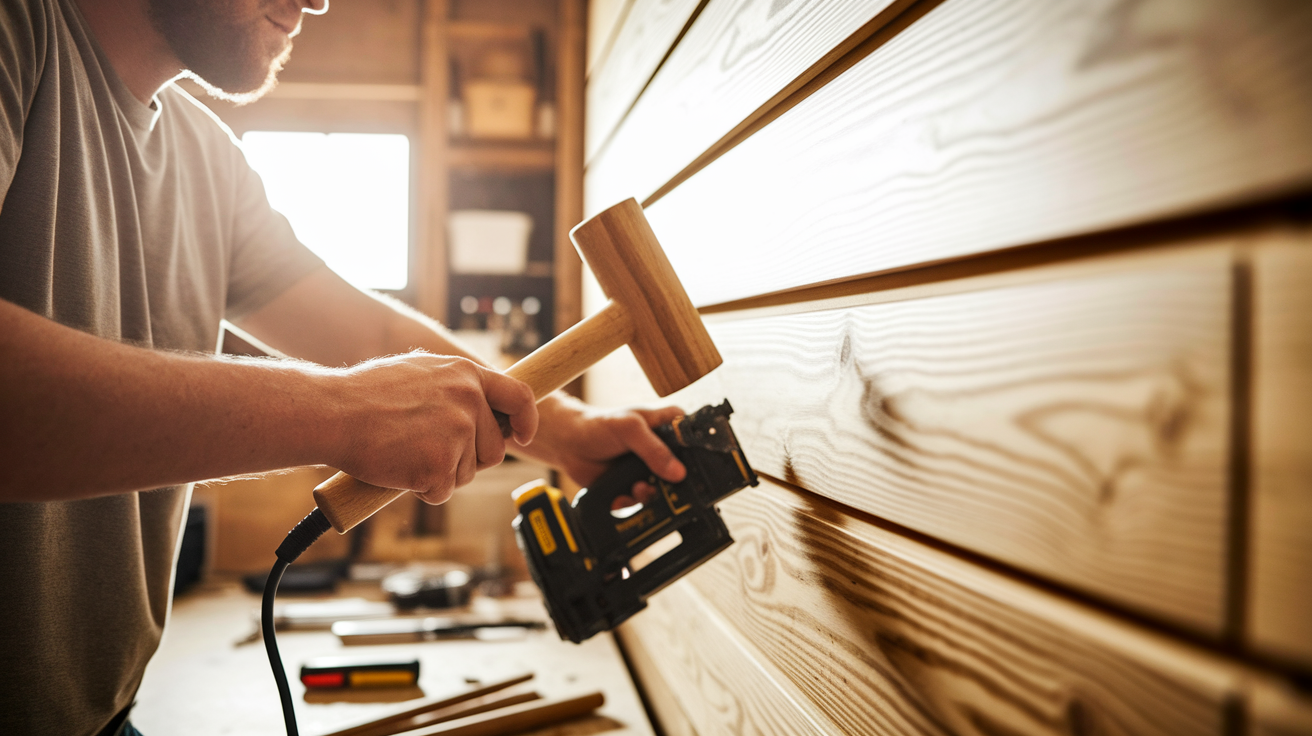
With the first board in place, the rhythm of installation begins. Each new board sits on top of the previous one, with the tongue and groove edges fitting together. This creates that signature small gap between boards that gives shiplap its distinctive look.
Check each board with a level before nailing it in place. Use finishing nails along the bottom edge where the next board will cover them.
For the top edge, nail through the face about 3/4 inch from the top – these holes will be filled later.
Keep checking every few boards that everything remains level across the wall. Tap boards gently with a rubber mallet if needed to get a snug fit without damaging edges.
Step 5 – Fit Around Obstacles
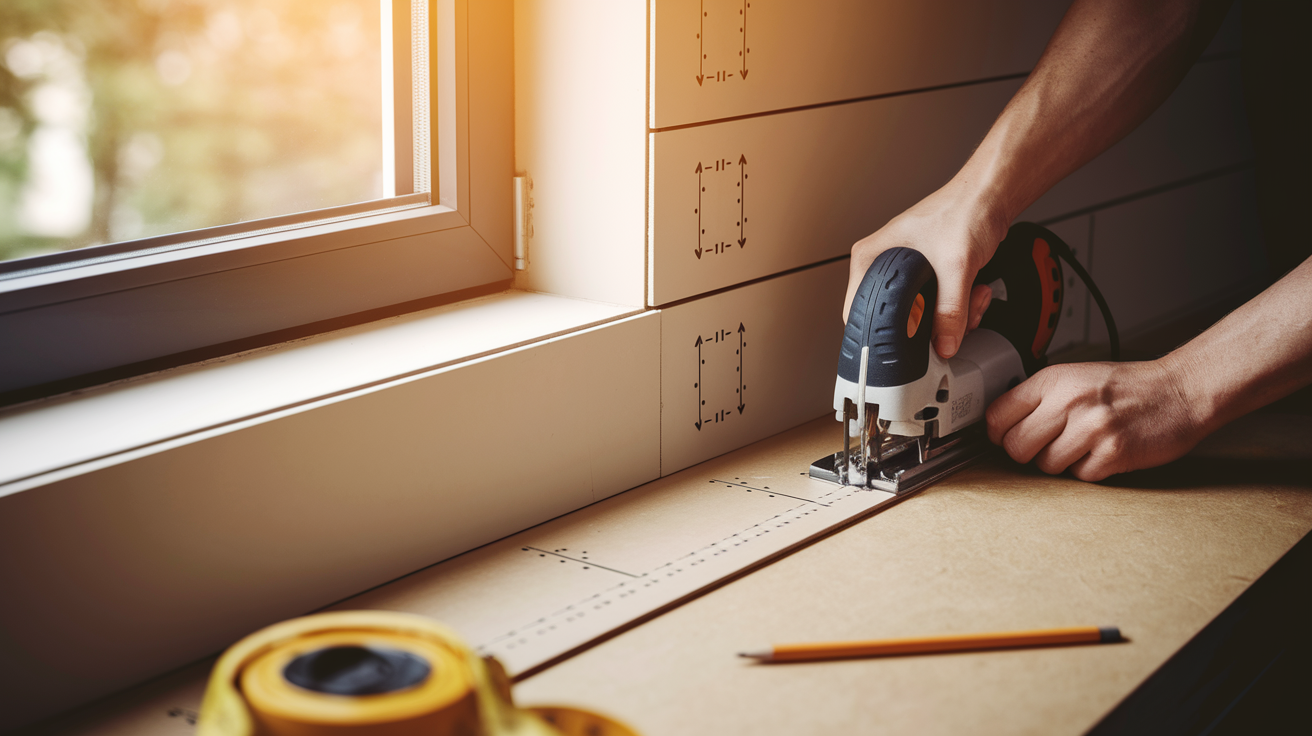
Working around outlets, switches, and windows takes extra care but isn’t difficult. For electrical boxes, turn off the power at the breaker box first for safety.
Measure the position of each obstacle carefully, marking both height and distance from the side wall. Change these measurements to the shiplap board and cut out the shape with a jigsaw.
To allow room for adjustment, make the cutout slightly larger (about 1/8 inch all around) than the actual size. Test fit the board before nailing it in place. For windows, measure and cut boards to fit snugly against the window trim.
Taking time with these details makes the final result look professional, hiding the fact that the installation was a DIY project.
Step 6 – Finish the Top Row
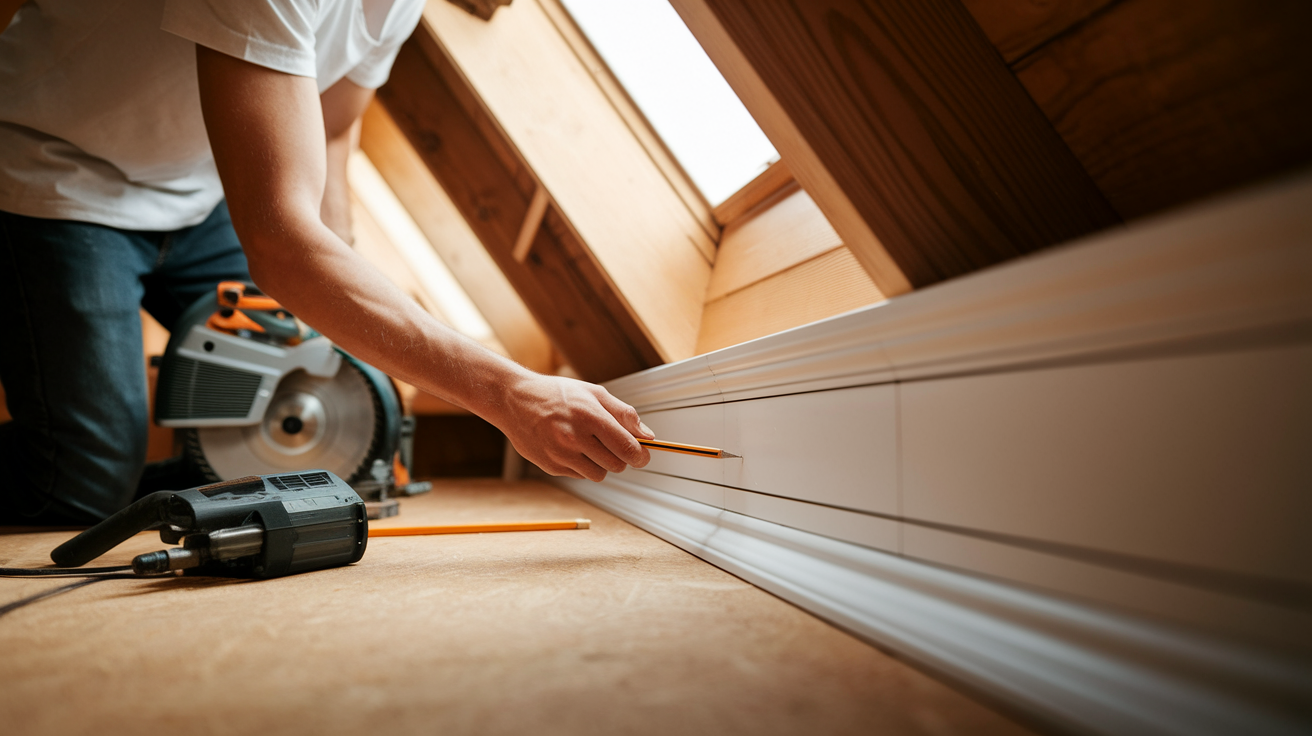
The final row often needs special treatment. Measure the remaining space between the last installed board and the ceiling. If it’s less than a full board width, cut the boards lengthwise (ripping) to the correct width, allowing for that consistent gap.
Use a table saw for the cleanest long cuts. If the ceiling isn’t perfectly level (most aren’t), you might need to scribe the top board to match the ceiling contours. Mark the variation with a pencil and trim accordingly.
For the most finished look, add a small piece of trim molding where the shiplap meets the ceiling, hiding any slight gaps. The top row should receive face nailing since there’s no board above to conceal the nail holes.
Pros and Cons of Installing Shiplap
| Category | Pros | Cons |
|---|---|---|
| Visual Appeal | Adds texture and visual interest to plain walls | Trendy style may eventually feel dated |
| Surface Coverage | Hides imperfections in the wall surface | Can damage drywall or plaster when removed |
| Budget & Affordability | Cost-effective compared to other wall treatments | Wood shiplap may warp in humid environments if not properly sealed |
| DIY Friendliness | DIY-friendly and can be installed by most homeowners | Gaps between boards collect dust and require regular cleaning |
| Cost Savings | Saves on professional labor costs | Mistakes during DIY installation can lead to added repair expenses |
| Material Options | Manufactured boards offer budget-friendly alternatives to real wood | Lower-cost materials may lack durability or visual authenticity |
Design Ideas and Inspiration
Take a look at these creative ideas and smart solutions for improving your space with shiplap, which combines style and practicality.
1. Accent Wall in a Bedroom

To upgrade a bedroom, add shiplap to the wall behind the bed. This creates a focal point without overwhelming the space.
Use light paint colors for a spacious feel or darker tones for coziness. Playful hues or patterns work for kids’ rooms.
Shiplap can cover damaged walls and provide texture, while floating shelves offer display space.
- Cost: $100–$400, depending on wall size and shiplap material (MDF, pine, or reclaimed wood).
- Time Required: 1–2 days for a standard wall.
- Pro Tip: Use pre-primed shiplap for easier painting and a smoother finish. Add floating shelves for extra function and style.
2. Bathroom Statement Wall
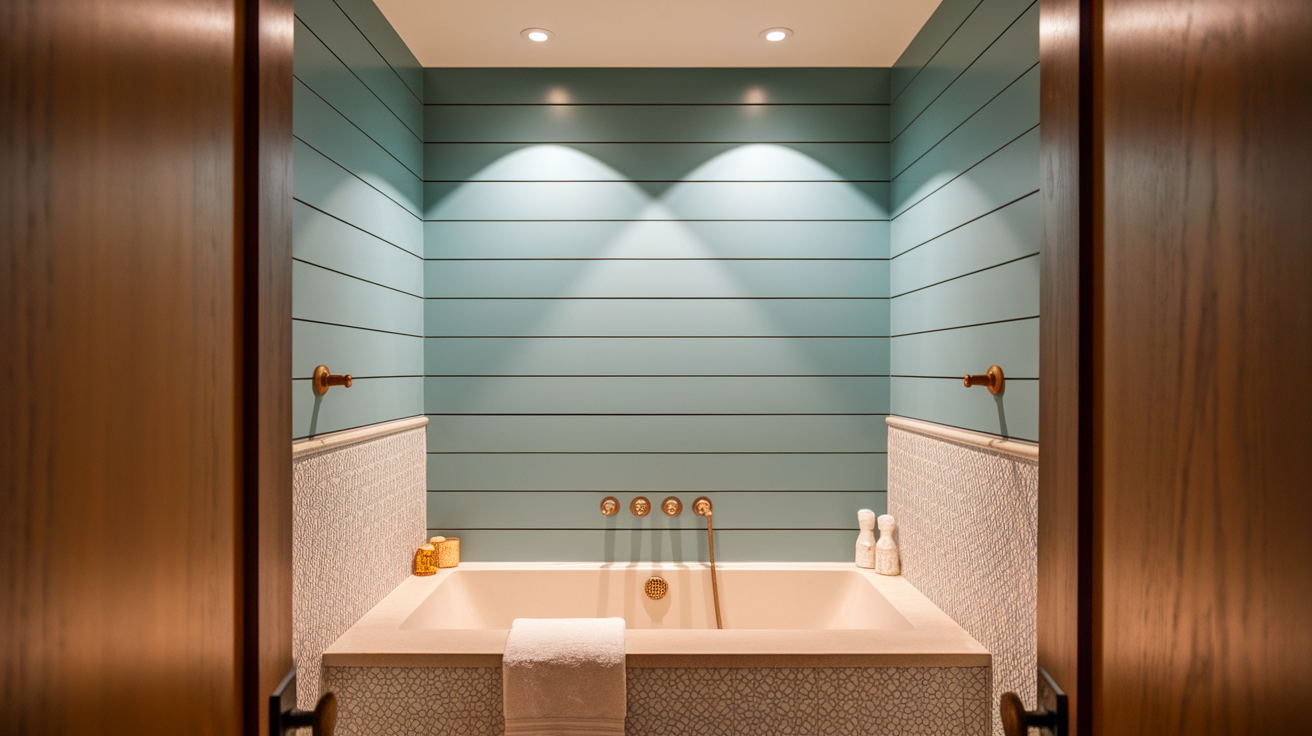
The addition of shiplap brings warmth and texture to bathrooms. For charm, install it behind freestanding tubs or vanities, ensuring proper sealing to resist moisture. Use semi-gloss or satin paint finishes for durability.
White shiplap brightens small bathrooms, while blue tones add a spa-like feel. Shiplap blends beautifully with cold surfaces like tile, bringing character to the room.
- Cost: $80–$300, depending on area and moisture-resistant materials.
- Time Required: 4–8 hours for a single wall.
- Pro Tip: Seal all edges and joints with waterproof caulk to prevent moisture damage, especially near tubs or sinks.
3. Ceiling Shiplap
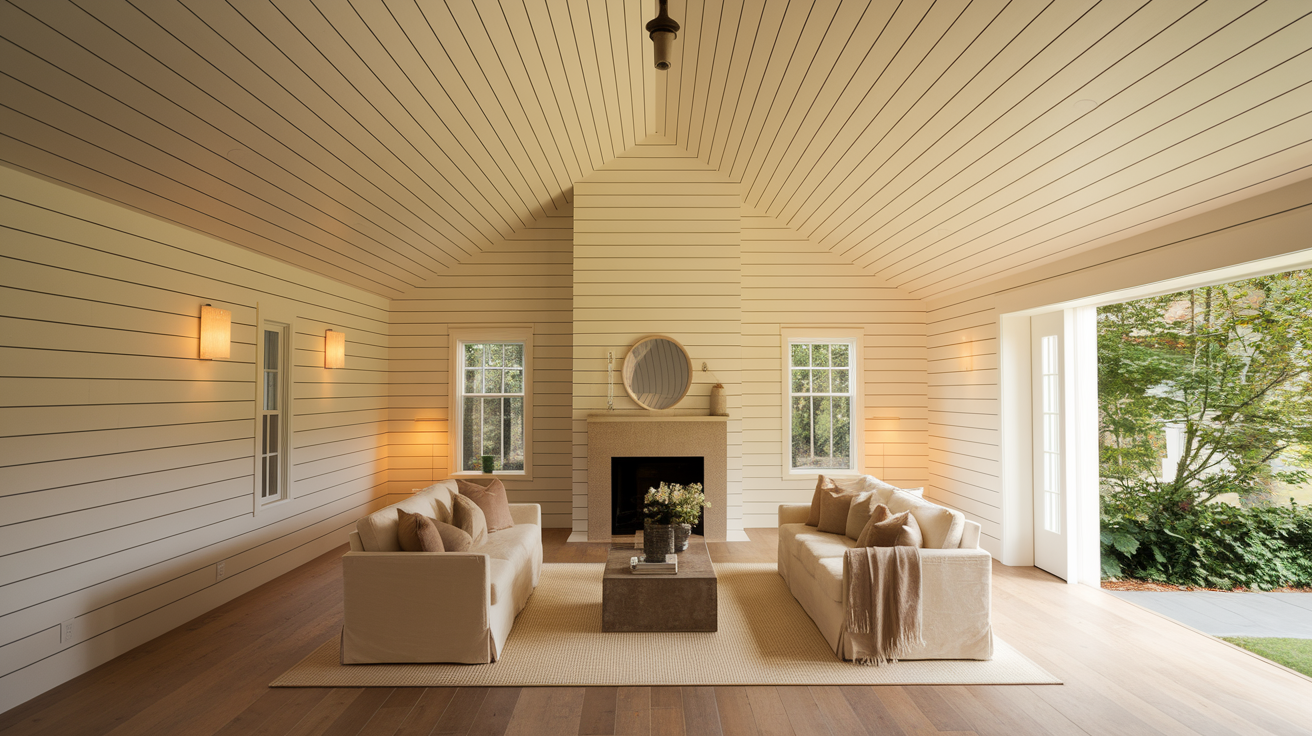
Add interest to often-overlooked ceilings with shiplap, ideal for rooms with high ceilings or architectural features.
Whiteboards visually brighten and lift the space while opposing the flooring direction ensures balance.
The finished shiplap ceiling creates a cocoon-like effect, making the room feel special and cohesive with wall treatments.
- Cost: $200–$600, depending on ceiling size and shiplap type.
- Time Required: 1–2 days for an average room.
- Pro Tip: Install boards perpendicular to ceiling joists for better support and a visually balanced look.
4. Entryway or Mudroom
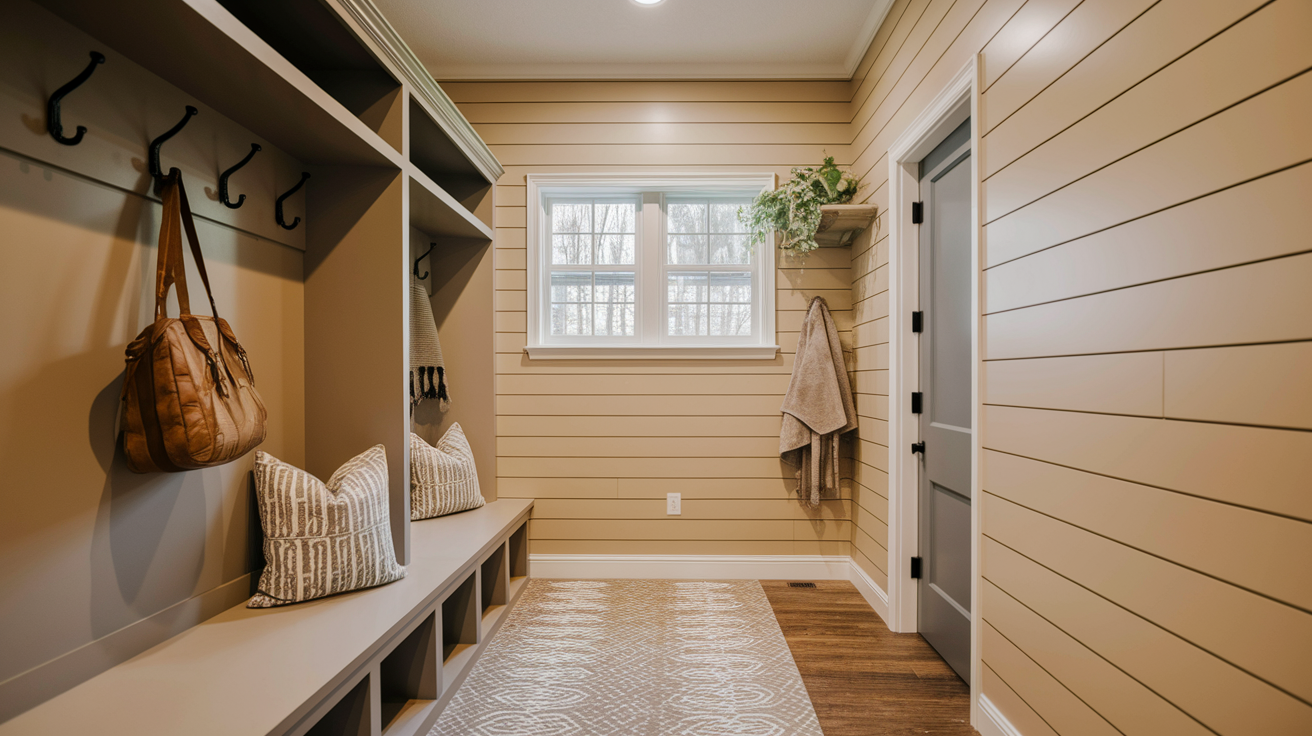
Shiplap boosts style and durability in high-traffic areas like entryways or mudrooms. Its textured surface hides scuffs and pairs beautifully with hooks, benches, and built-ins for practicality.
Paint the lower sections darker to mask dirt and lighter shades above for contrast.
Adding a chair rail or shelf introduces functional display space while combining shiplap with cubbies creates a clutter-free drop zone that’s both attractive and organized.
- Cost: $120–$350, depending on area and built-in features.
- Time Required: 1 day for a small entryway.
- Pro Tip: Use semi-gloss paint for easy cleaning in high-traffic areas. Add a chair rail for extra durability.
5. Fireplace Surround
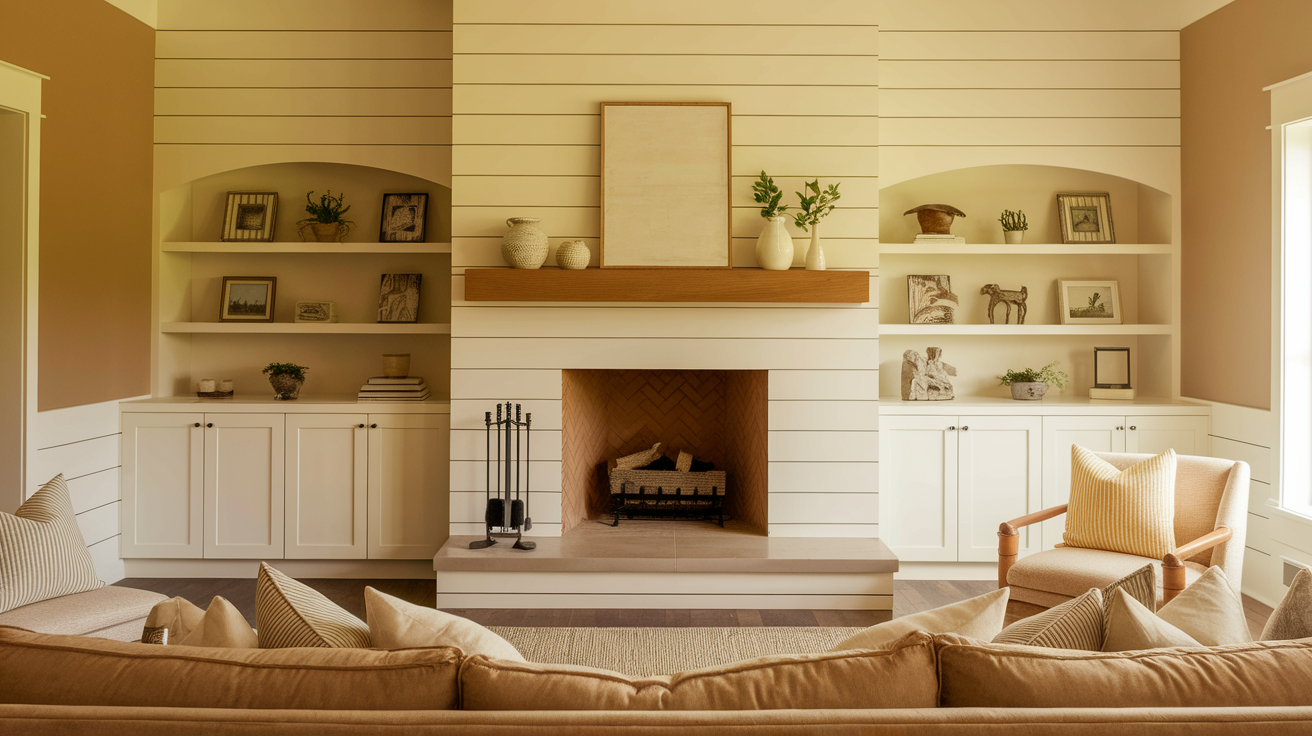
Frame a fireplace with shiplap to create a striking focal point. Extend it to the ceiling or above the mantel.
Paint colors can match the room for harmony or contrast for drama. Adding a coordinated mantel shelf completes the look, seamlessly blending texture and style.
- Cost: $80–$250, depending on the size and type of shiplap.
- Time Required: 4–8 hours.
- Pro Tip: Always keep shiplap at least 6 inches from the firebox, and check local building codes for fireplace surrounds.
Post-Installation Tips
Once your shiplap boards are installed, don’t overlook the final details. These small finishing touches are what give the project a polished, professional appearance.
- Fill all visible nail holes with wood filler that matches the wood tone.
- Let the filler dry completely, then lightly sand the area until smooth.
- Use a small bead of paintable caulk to caulk any gaps where the shiplap meets trim, windows, or other woodwork.
- If you plan to paint, start with a quality primer (unless you are using pre-primed boards) and apply two coats of paint.
- For natural wood finishes, use a wood sealer to protect the surface from moisture and stains.
- Clean up any remaining dust or debris before moving furniture and décor back into place.
These finishing steps tie the whole project together and ensure your work holds up over time. By taking a little extra care now, you’ll enjoy a space that looks professionally done. What was once a plain wall is now full of depth, texture, and charm.
Conclusion
This guide has given you the know-how to tackle your own shiplap project! From picking the right boards to adding that final coat of paint, you now have all the steps to make it happen in your home.
What people love most about shiplap is how it works in so many rooms—kitchens, bathrooms, living rooms—you name it. It brings warmth and texture without being too much.
Start small if you’re new to DIY projects. Maybe try a single wall before doing an entire room. The best part? Your shiplap will look great for years to come.
Which room will you add shiplap to first? Let us know in the comments!

