How to Make Concrete Countertops: A Simple DIY Guide!
Thinking about changing the look of your kitchen or bathroom?
Concrete countertops are a cool and modern way to do it. They are strong, look great, and can be made in many different styles and colors.
You might be surprised, but lots of people are making their own concrete countertops at home!
It takes some time and work, but it’s a fun project that can give you a countertop you’ll be proud of.
In this guide, you will learn a step-by-step guide on how to make a concrete countertop, from planning to finishing.
Let’s get started!
How to Plan Your Concrete Countertop Before Making It?
Before you start working on your DIY concrete countertops, it is important to plan your project the right way.
- Measure Your Space: Use a measuring tape to check the length and width of the area where you want the countertop. Write the numbers down so you know how big your mold needs to be.
- Choose the Shape and Style: Decide what shape you want, straight, L-shaped, or something else. Consider the thickness of the countertop and whether you would like any special edges or corners.
- Pick a Spot to Work: Make sure you have a clean, flat place to build and pour the concrete. A garage, shed, or outdoor area with a cover is a good choice. You will need space to set up your mold and let the concrete dry.
- Plan for Lifting: Concrete is heavy, even in small sizes. If your countertop is large, plan to have someone help you move it. You can also pour it in smaller sections if needed.
- Gather Tools and Materials: Before you begin, make sure all your tools and materials are ready. This will help the job go faster and smoothly.
Tools and Materials Required to Build Concrete Countertops
| Tools Required | Materials Required |
|---|---|
| Measuring tape | Concrete mix |
| Concrete mixer or bucket | Water |
| Trowel | Wood or melamine boards |
| Level | Screws |
| Sandpaper or sander | Wire mesh or rebar |
| Gloves | Concrete sealer |
Step-by-Step Process for Making Concrete Countertops
Follow these steps carefully to build your own concrete countertop from start to finish.
Step 1: Measure and Build the Mold
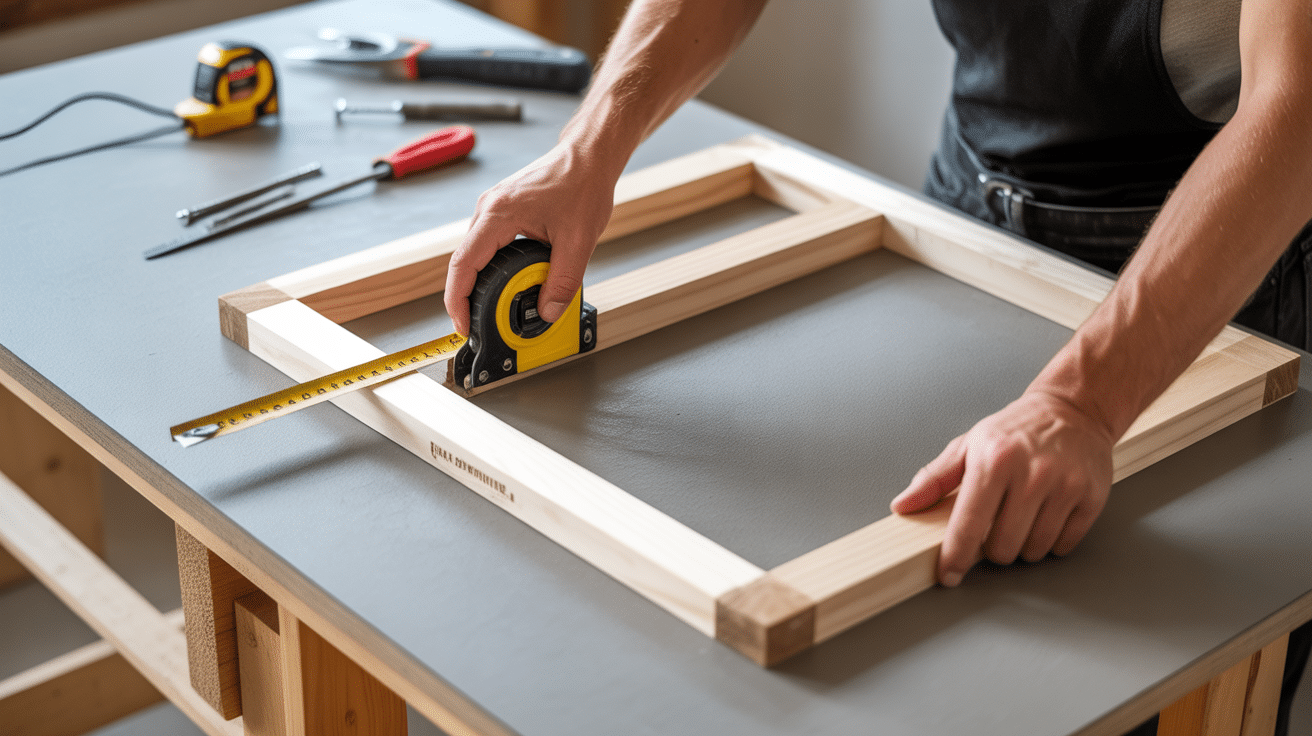
Start by measuring the size of your countertop space.
Then, you can cut wood or melamine boards and screw them together to build a mold.
Make sure the mold is flat and tight to hold the concrete properly.
Step 2: Prepare the Mold

After measuring and cutting the mold, spray the inside of the mold with cooking spray or a mold release agent.
This stops the concrete from sticking.
Add wire mesh or rebar to the inside of the mold to strengthen the countertop.
Step 3: Mix the Concrete
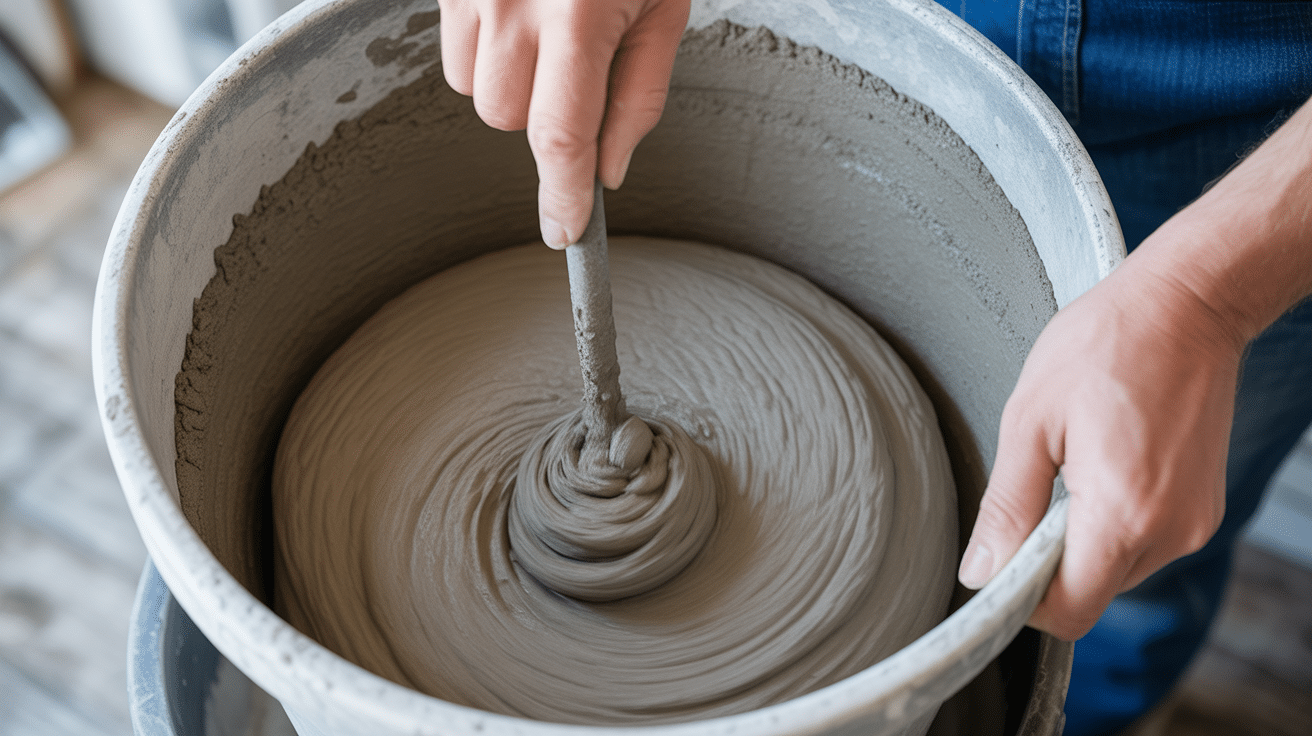
Then, in a bucket or mixer, combine the concrete mix with water.
And, stir it well until the mix is smooth and thick, like pancake batter.
Make sure there are no dry parts left.
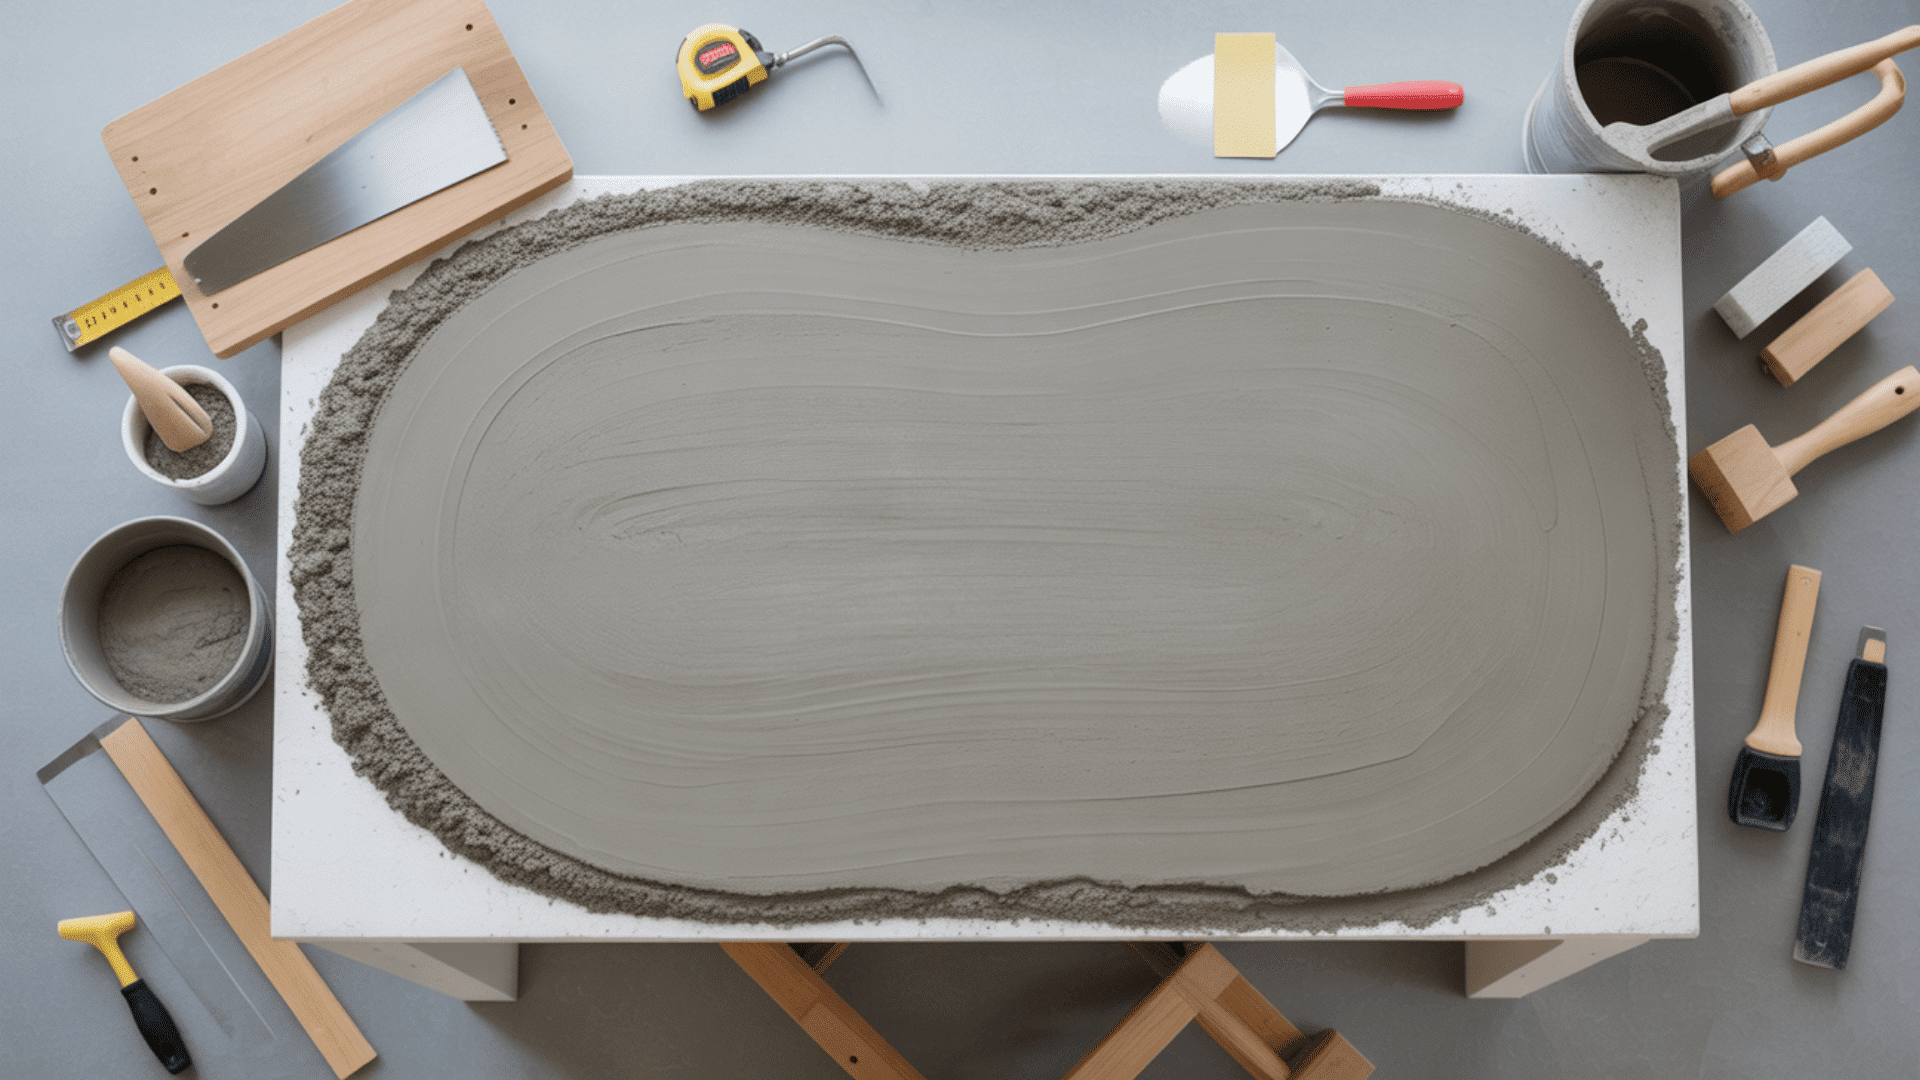
Step 4: Pour and Level the Concrete
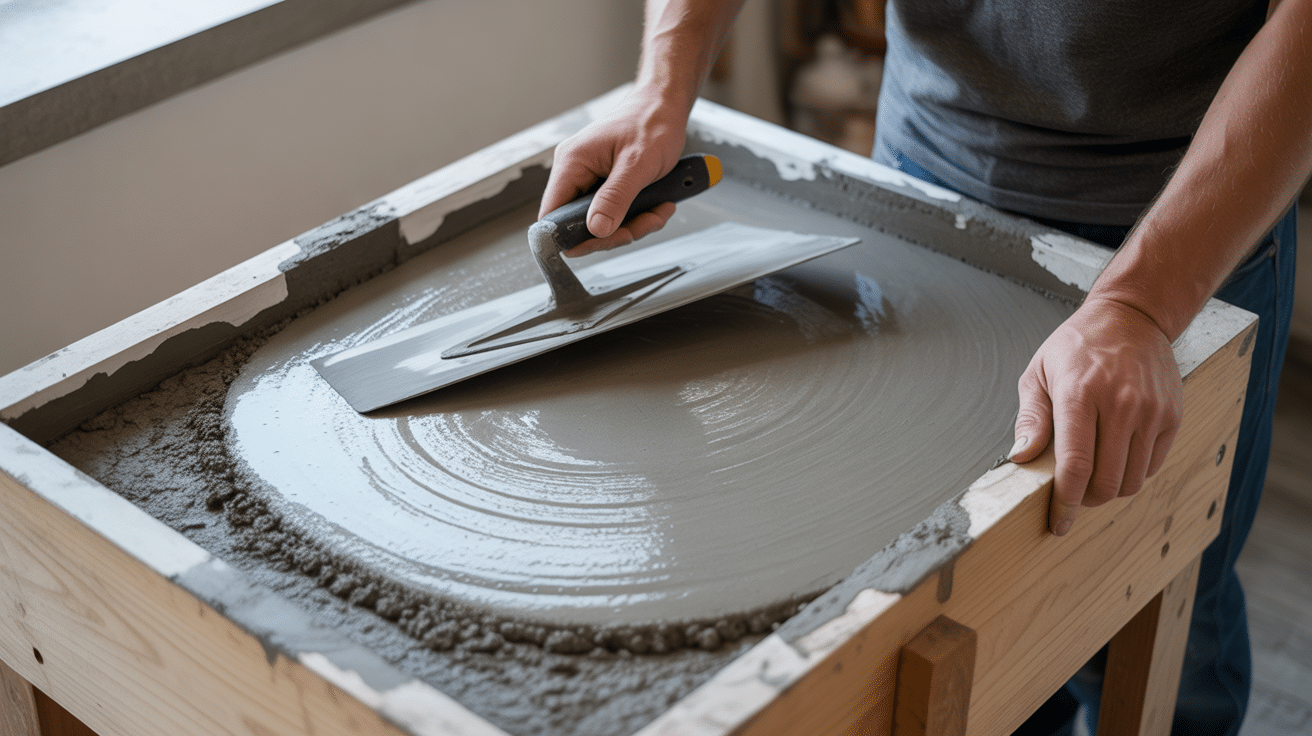
Once the mixture is ready, slowly pour the concrete into the mold. Fill all corners and edges evenly.
Use a trowel to spread the concrete and make sure it’s level on top.
Then, tap the sides of the mold gently to remove air bubbles that could leave holes.
Keep smoothing the top with the trowel until the surface looks flat and neat.
Step 5: Let It Dry and Remove the Mold
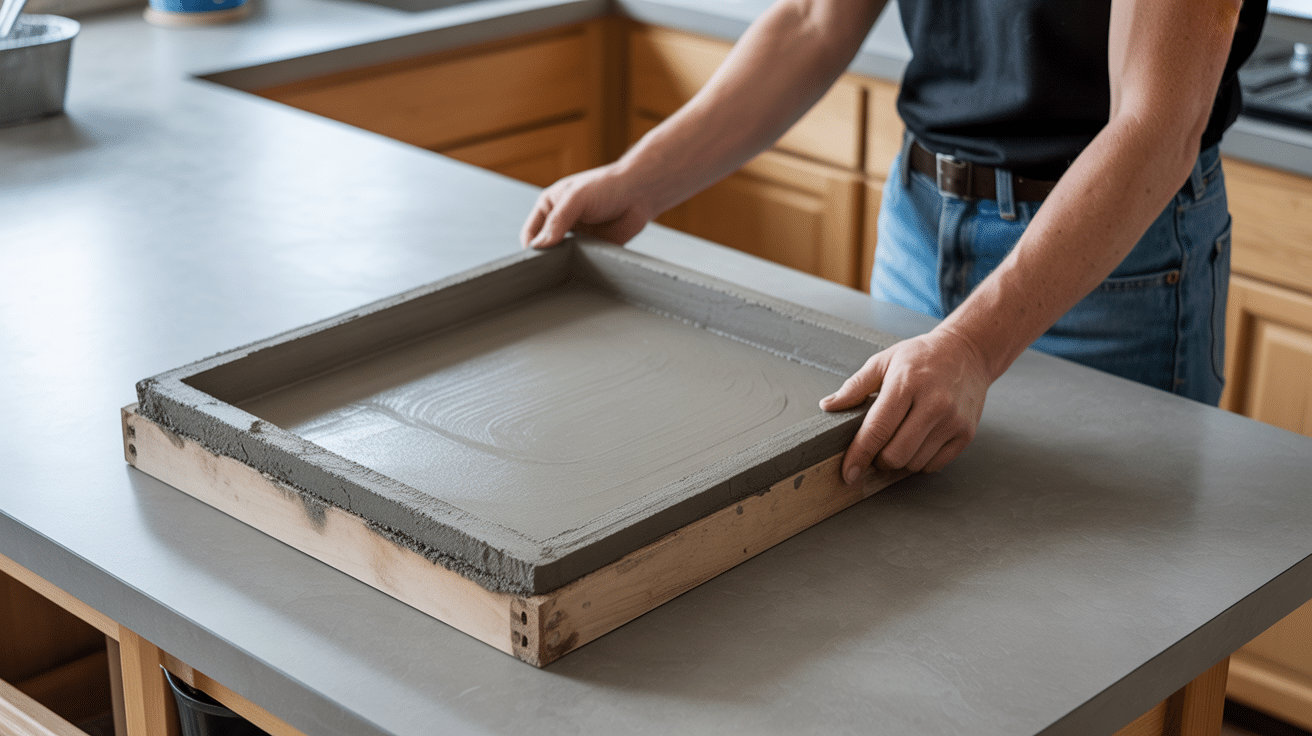
Let the concrete dry, or cure, for at least 48 hours. Store it in a safe location where it will be protected from being touched or moved.
Once it’s fully dry and hardened, carefully remove the screws and disassemble the mold.
Be gentle to avoid cracking the edges. You’ll now see your concrete countertop take shape.
Step 6: Sand and Seal the Countertop
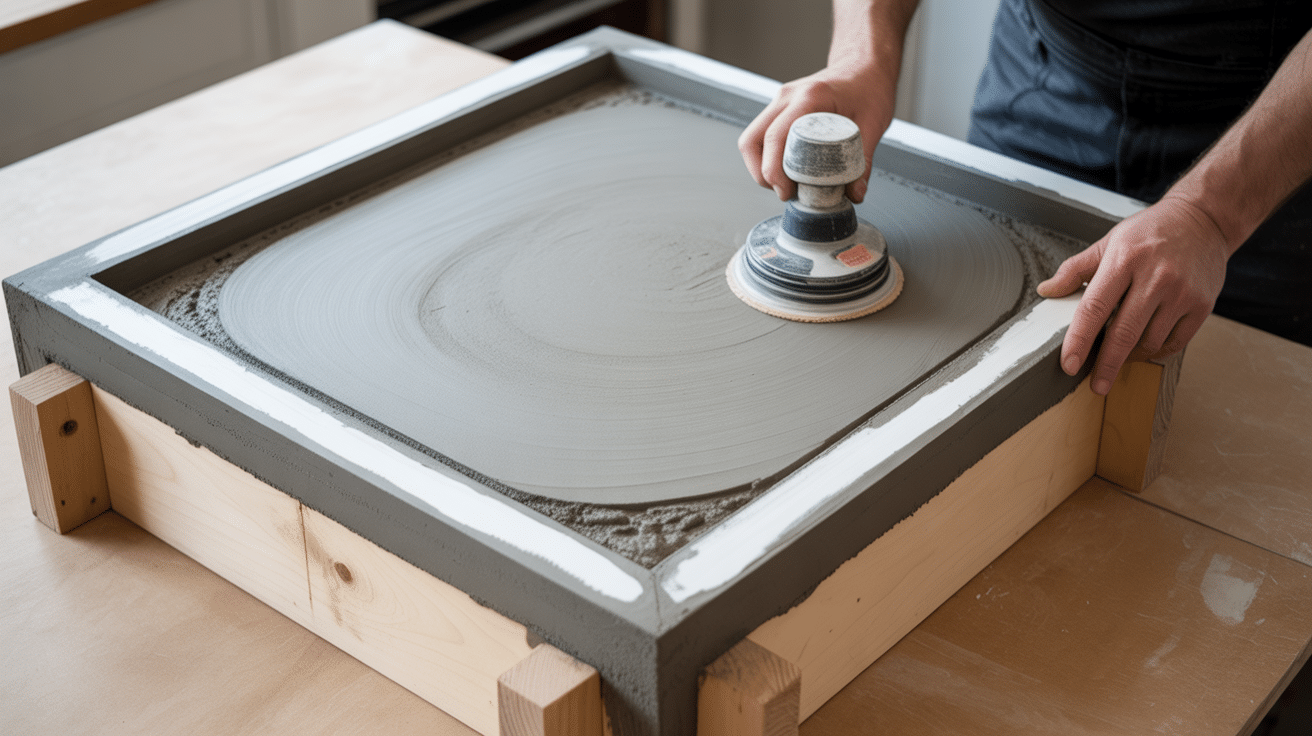
After removing the mold, use sandpaper or a sander to smooth the top and sides.
This removes rough spots and improves the surface’s appearance.
When the surface feels smooth, apply a concrete sealer using a brush or roller.
The sealer will protect the countertop from stains, water, and other types of damage.
Once it dries, your countertop is ready to use
Maintenance & Care Tips to Follow
To keep your concrete countertop looking great and lasting a long time, follow these simple maintenance and care tips:
-
Clean spills quickly to prevent stains, especially from acidic or oily substances.
-
Use a soft cloth or sponge with mild soap for regular cleaning, and avoid harsh chemicals.
-
Reapply sealer every 1–2 years to protect the surface from water and stains.
-
Use cutting boards instead of cutting directly on the countertop to avoid scratches.
-
Avoid placing hot pans directly on the surface; use trivets or heat pads to prevent heat damage.
-
Wipe the surface dry after use to avoid water spots or mineral build-up.
-
Check for cracks regularly and patch them early to prevent further damage.
Conclusion
Always keep in mind that creating a concrete countertop by yourself is a great way to add a personal touch to your home.
It may take some time and effort, but the process is simple if you follow each step carefully.
With the right preparation and care, you can build a strong, stylish countertop that fits your space perfectly.
Best of all, you will end up with something that’s both useful and handmade by you.
Frequently Asked Questions
How Long does It Take to Make a Concrete Countertop?
It usually takes around 3-4 days, including drying time.
How Do I Prevent Cracks in My Concrete Countertop?
Use wire mesh or rebar for reinforcement to prevent cracks.
Is It Safe to Put Hot Items on My Concrete Countertop?
It’s not recommended, as heat can damage the surface over time.

