How to Paint a Front Door: Step by Step Guide
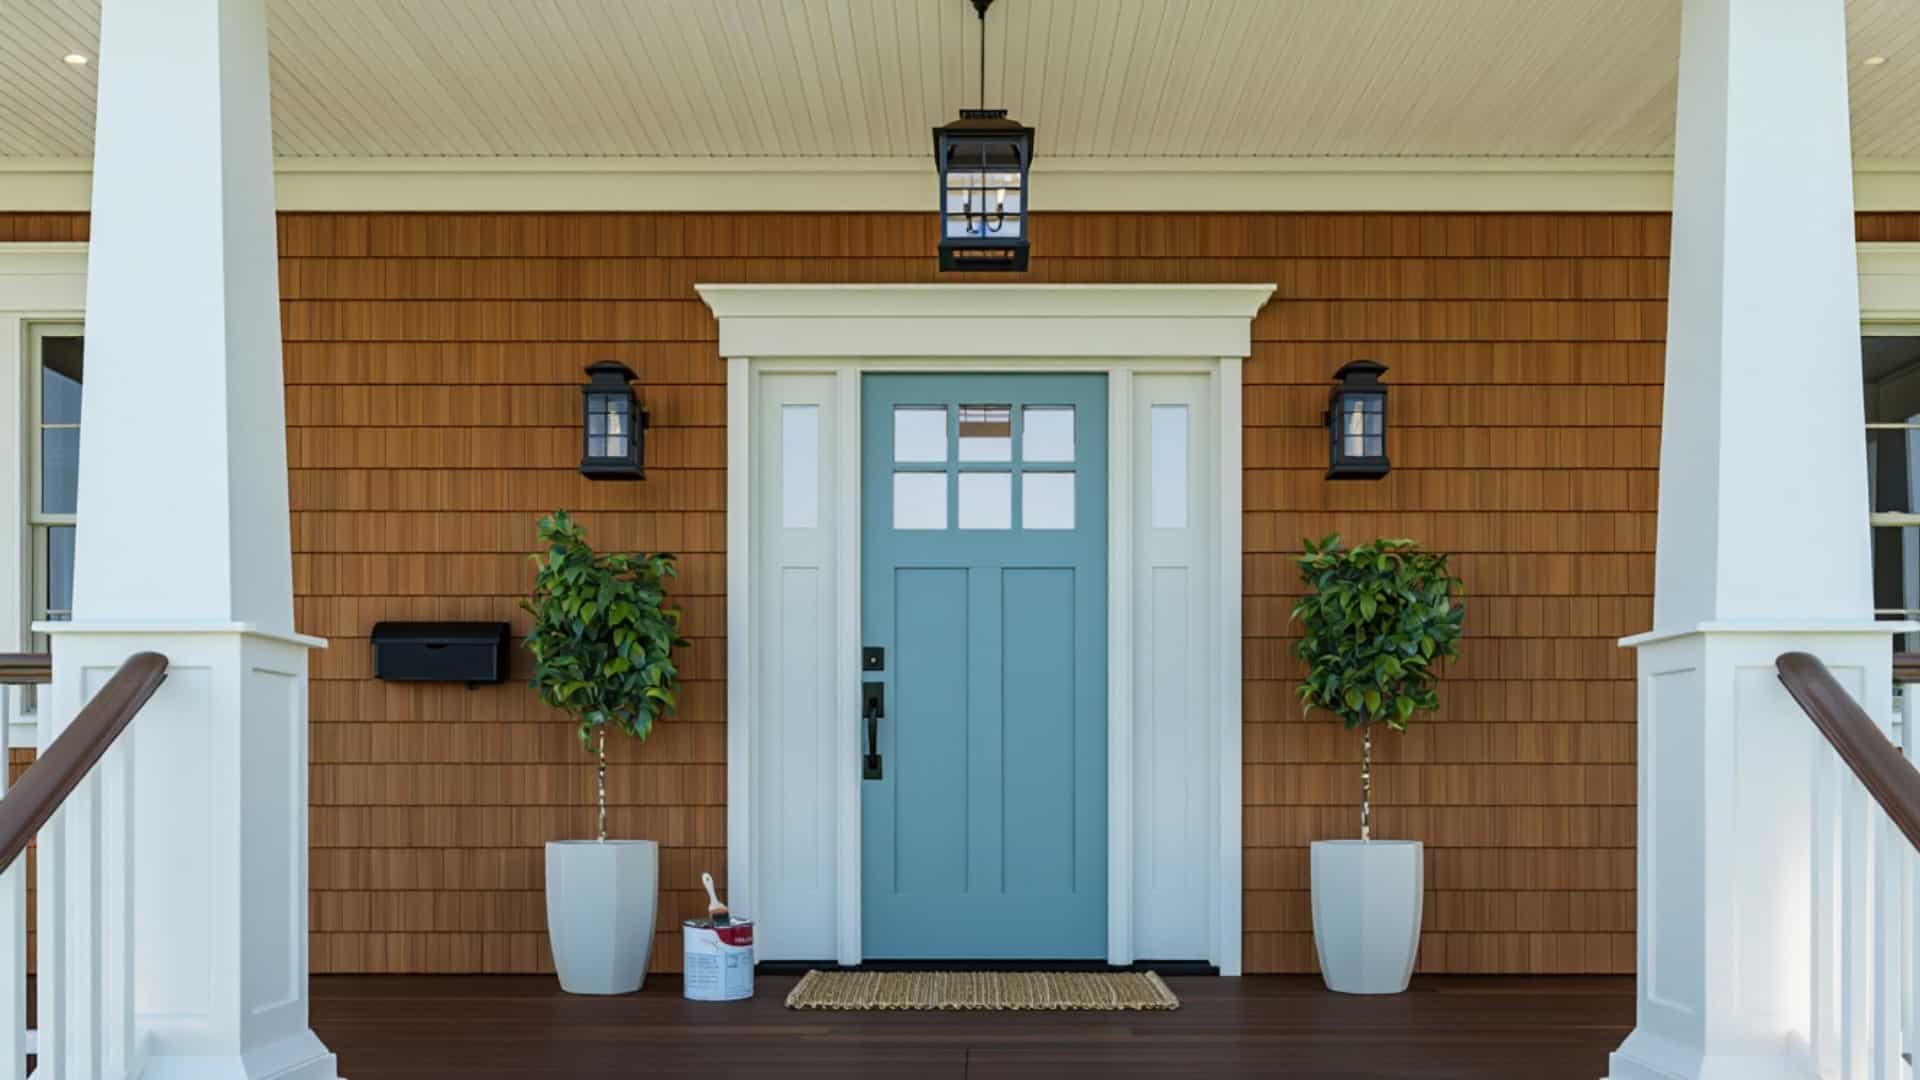
Your front door is the first thing visitors notice, so why not make it look inviting and fresh?
A well-painted door can boost your home’s curb appeal and make a great first impression. You don’t have to deal with removing the door to achieve a professional finish.
By painting your front door while it’s still hanging, you save time, effort, and the stress of complicated hardware removal.
We will be telling you how to paint your front door without removing it, covering the best techniques, tools, and tips to make the process smooth and effective.
Essential Tools & Materials
Before you start, make sure you have all the necessary tools and materials to paint a front door.
| Item | Use |
|---|---|
| Sandpaper | Smooths the door surface |
| Rags or Paper Towels | Cleans the door |
| Drop Cloths/Plastic | Protects the floor |
| Painter’s Tape | Covers edges you don’t want painted |
| Angled Brush | Great for edges and corners |
| Foam Roller (optional) | Covers large areas faster |
| Screwdriver | Removes door hardware |
| Plastic Bags | Covers hardware if not removed |
| Primer | Helps paint stick and last longer |
| Outdoor Paint | Made for doors and outdoor weather |
How to Paint a Front Door Like a Pro: Step-by-Step Guide
To get the best results when painting your front door, it is essential to follow each step carefully. Taking your time and doing it right will help your door look great and last longer.
Step 1: Prep the Door Surface
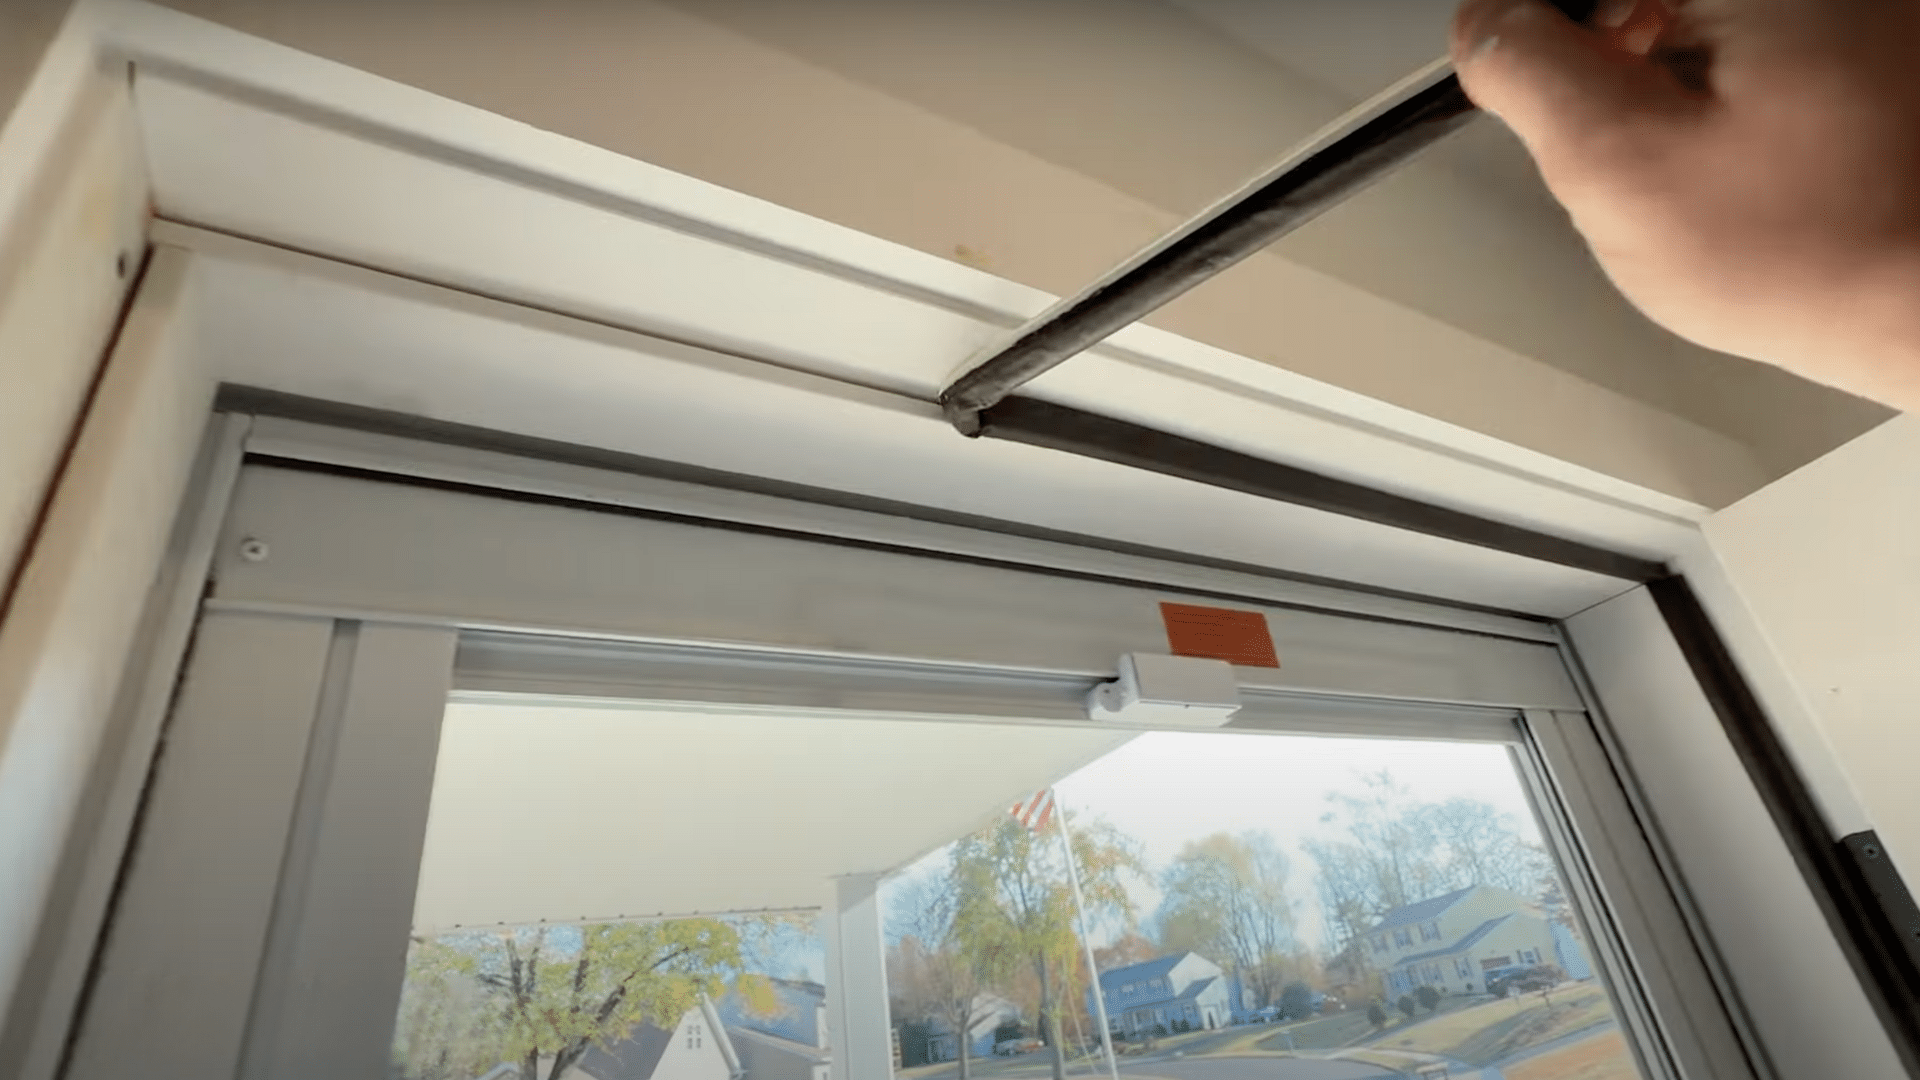
Start prepping by removing any weather stripping around the door frame and taking off the hardware, such as the lockset and handles, if you can do so easily.
If your door has been painted before, lightly sand it to smooth out any rough spots or peeling paint.
For new doors, a quick wipe-down with a damp cloth to remove dust is sufficient.
Step 2: Remove Hardware
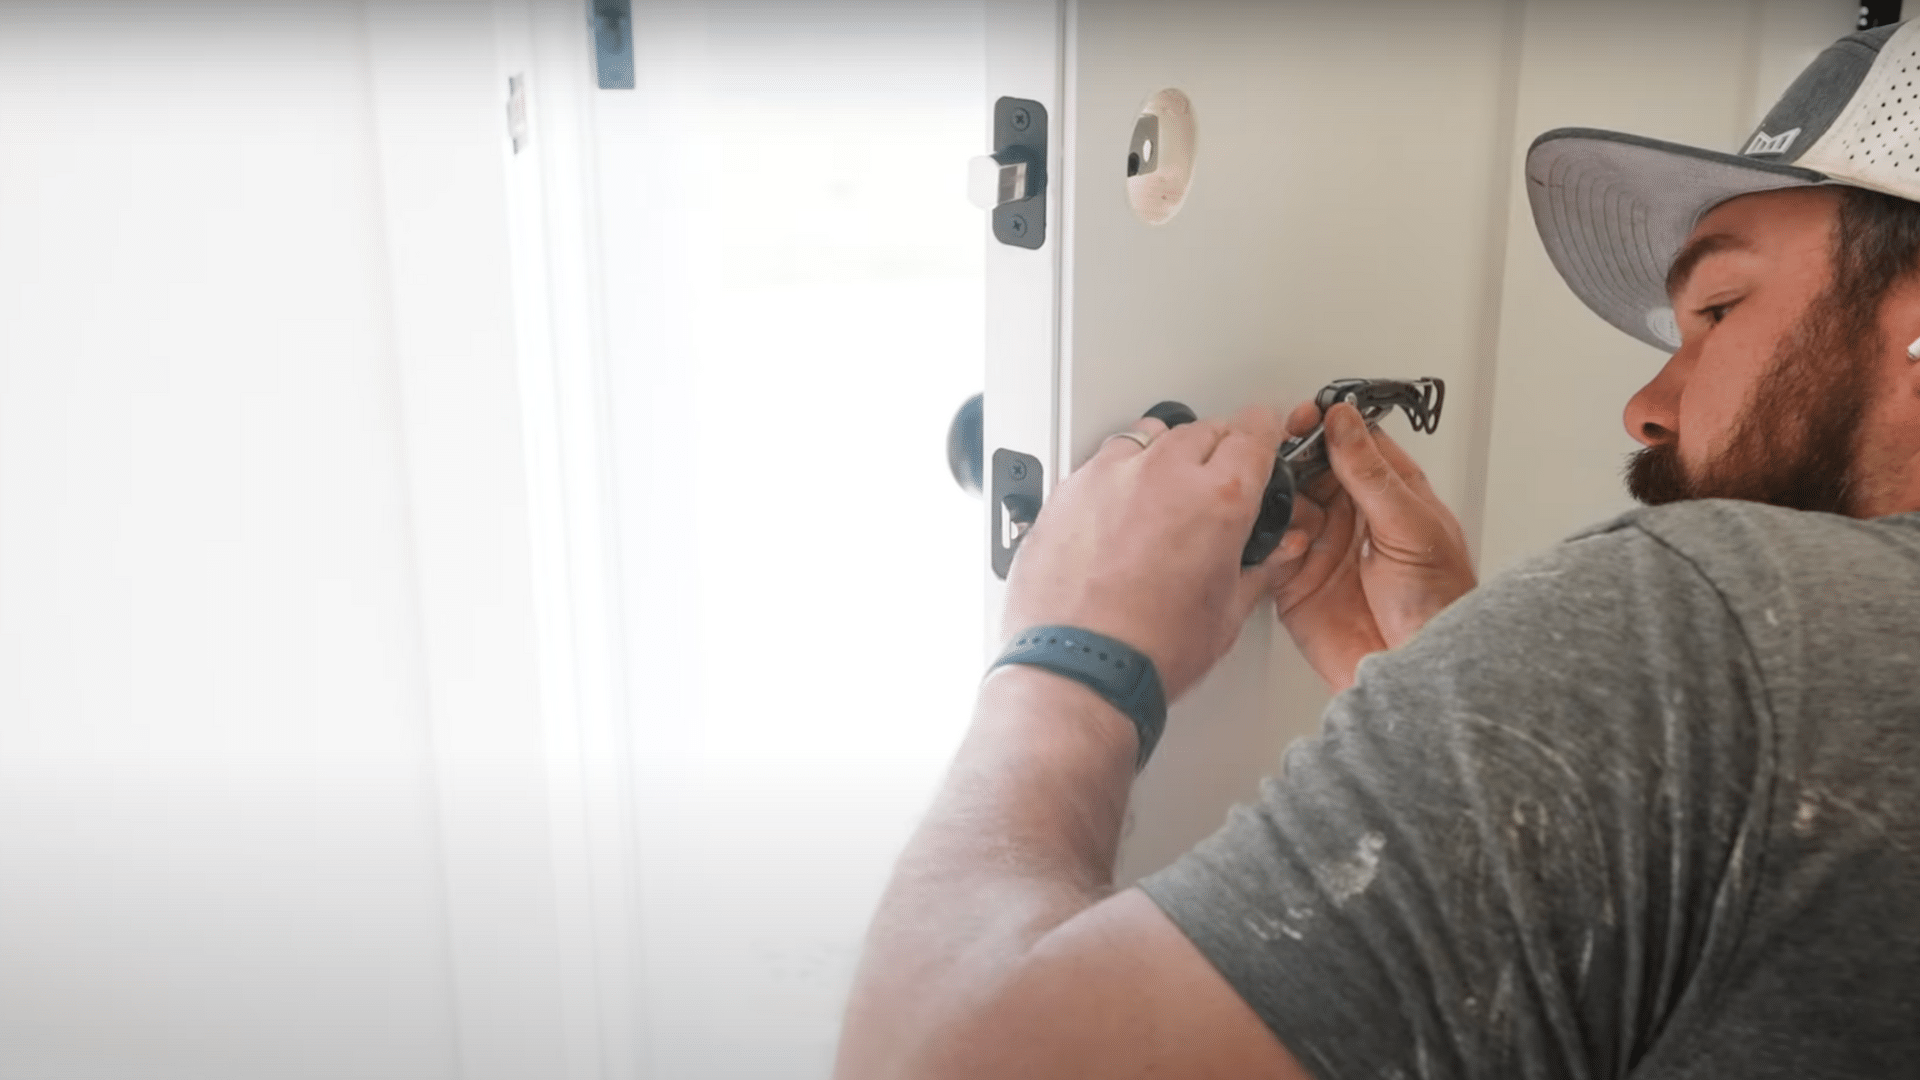
Before painting, it is best to remove the door hardware, including the lockset, handle, and any decorative plates. Taking these parts off makes painting much easier.
Most modern locksets can be removed with just a screwdriver, but some are more complex, so if you’re unsure, take note of how pieces are assembled or snap a few photos for reference.
Step 3: Tape Off Areas You Don’t Want to Paint
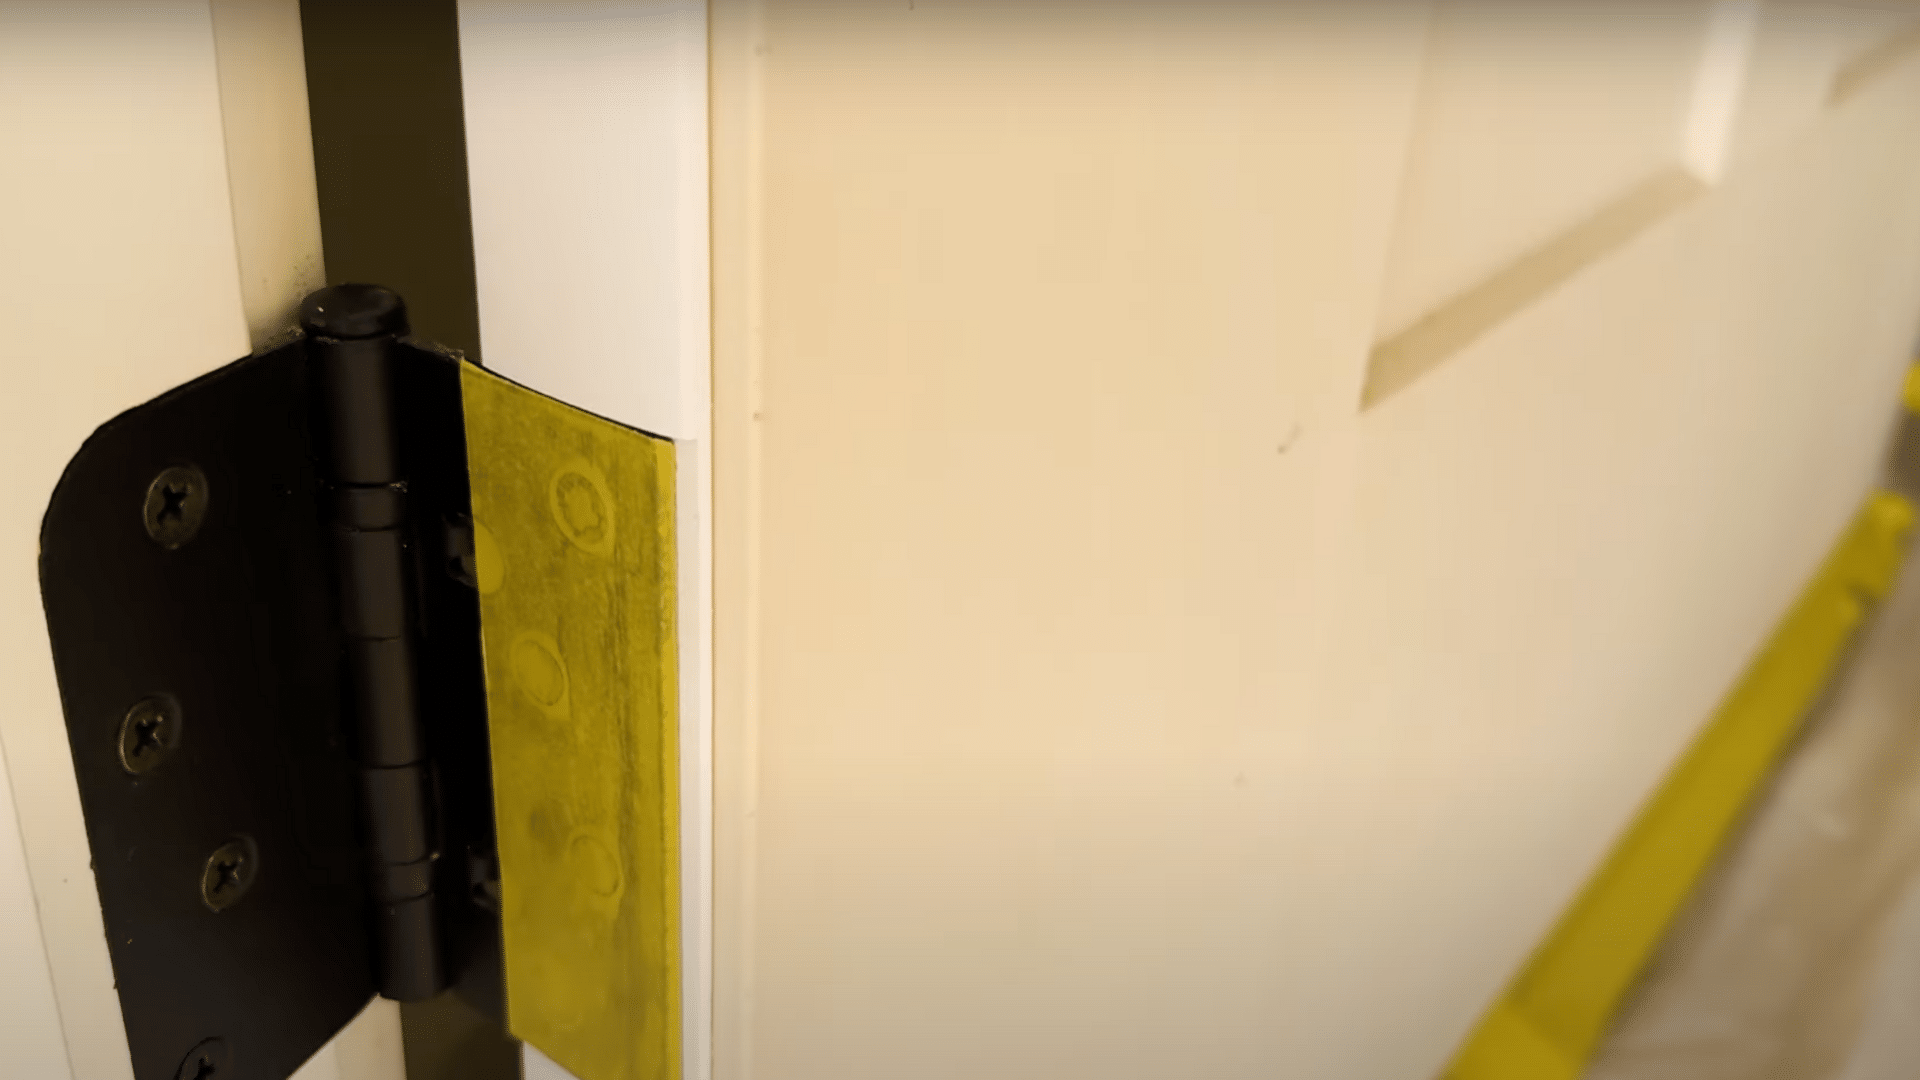
Use painter’s tape to carefully protect any parts of the door and surrounding areas that you want to keep paint-free.
Tape around the hinges, door sweep at the bottom, lockset area if you did not remove it, and any glass panes or grills. It ensures clean edges and prevents accidental paint splatter on hardware or trim.
Step 4: Cut In With a Brush
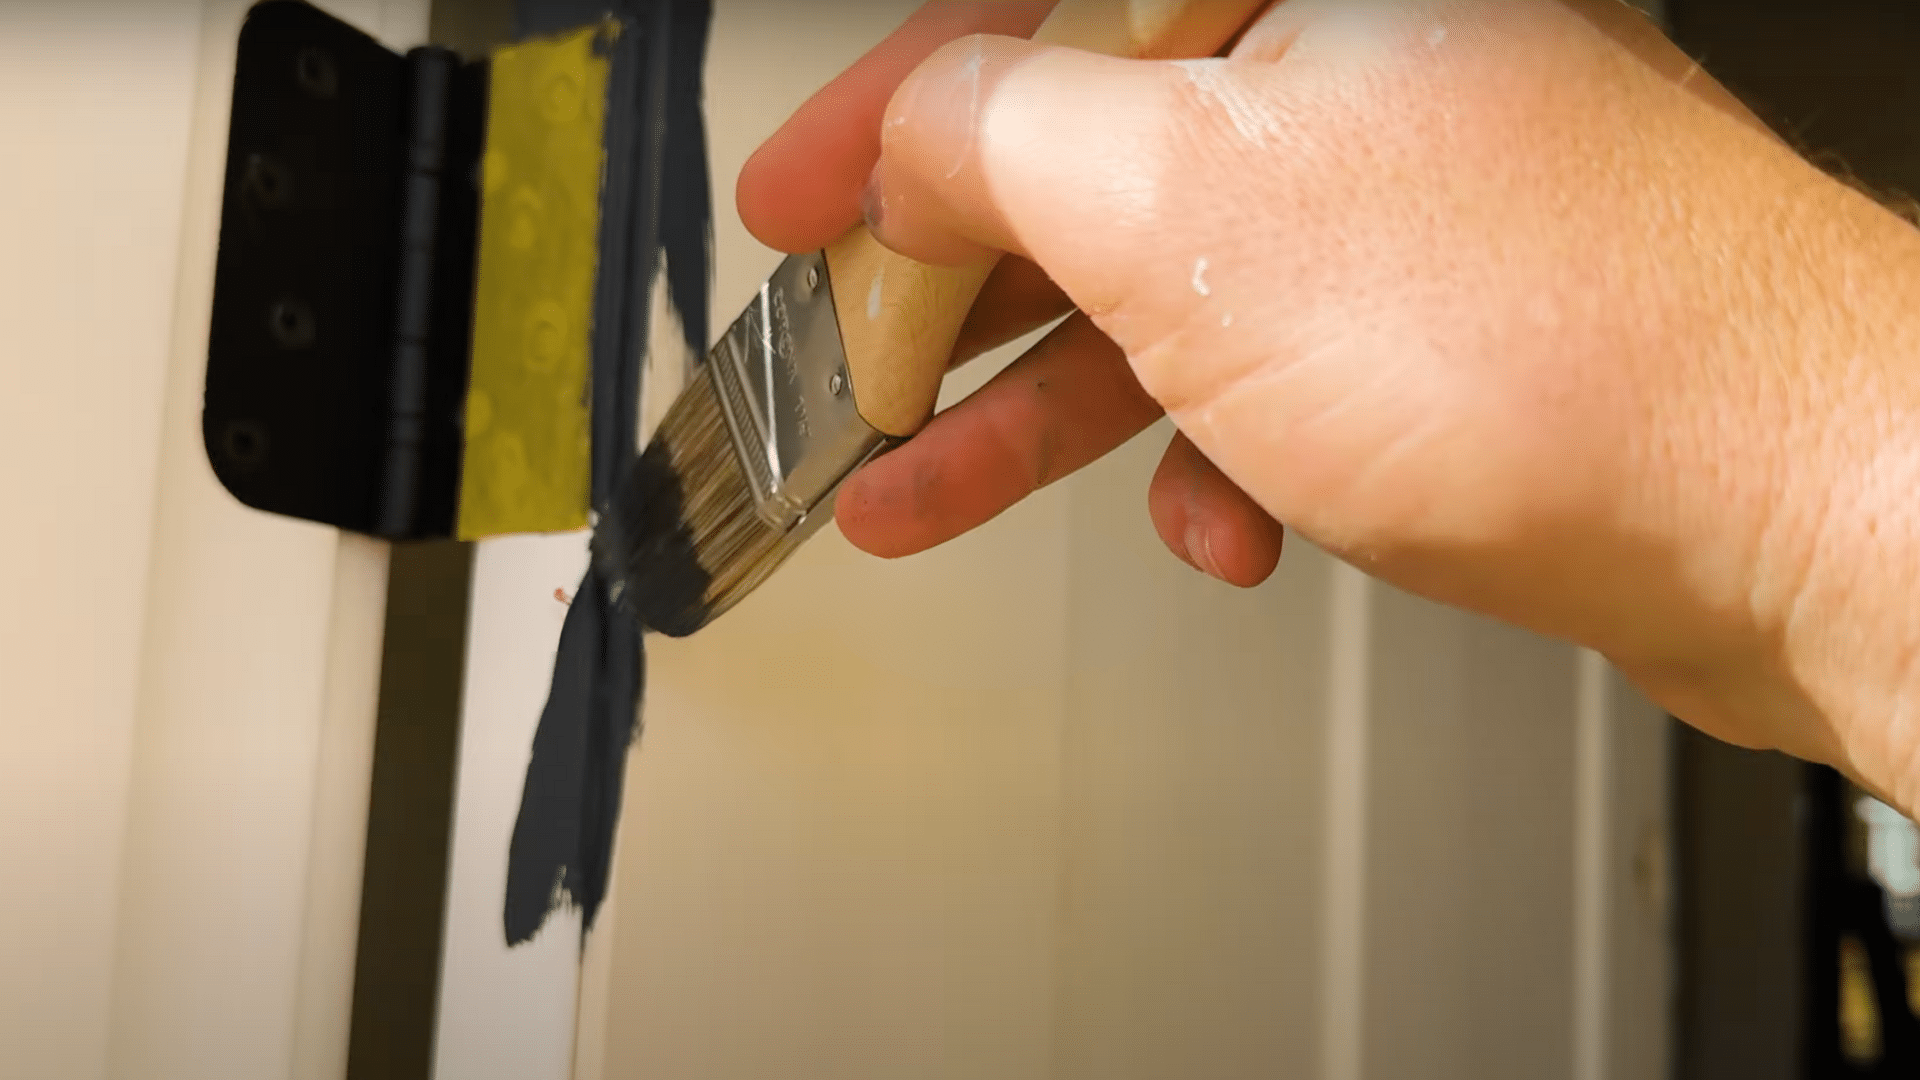
Before rolling, cut in around the door’s edges and hard-to-reach spots using your brush. This includes around the hinges, the toe, and window grills or mullions inside the glass panel.
Use vertical brush strokes along these edges to create a smooth, continuous look. This step is crucial because the roller can’t reach these tight spots.
Step 5: Roll the Main Door Surface
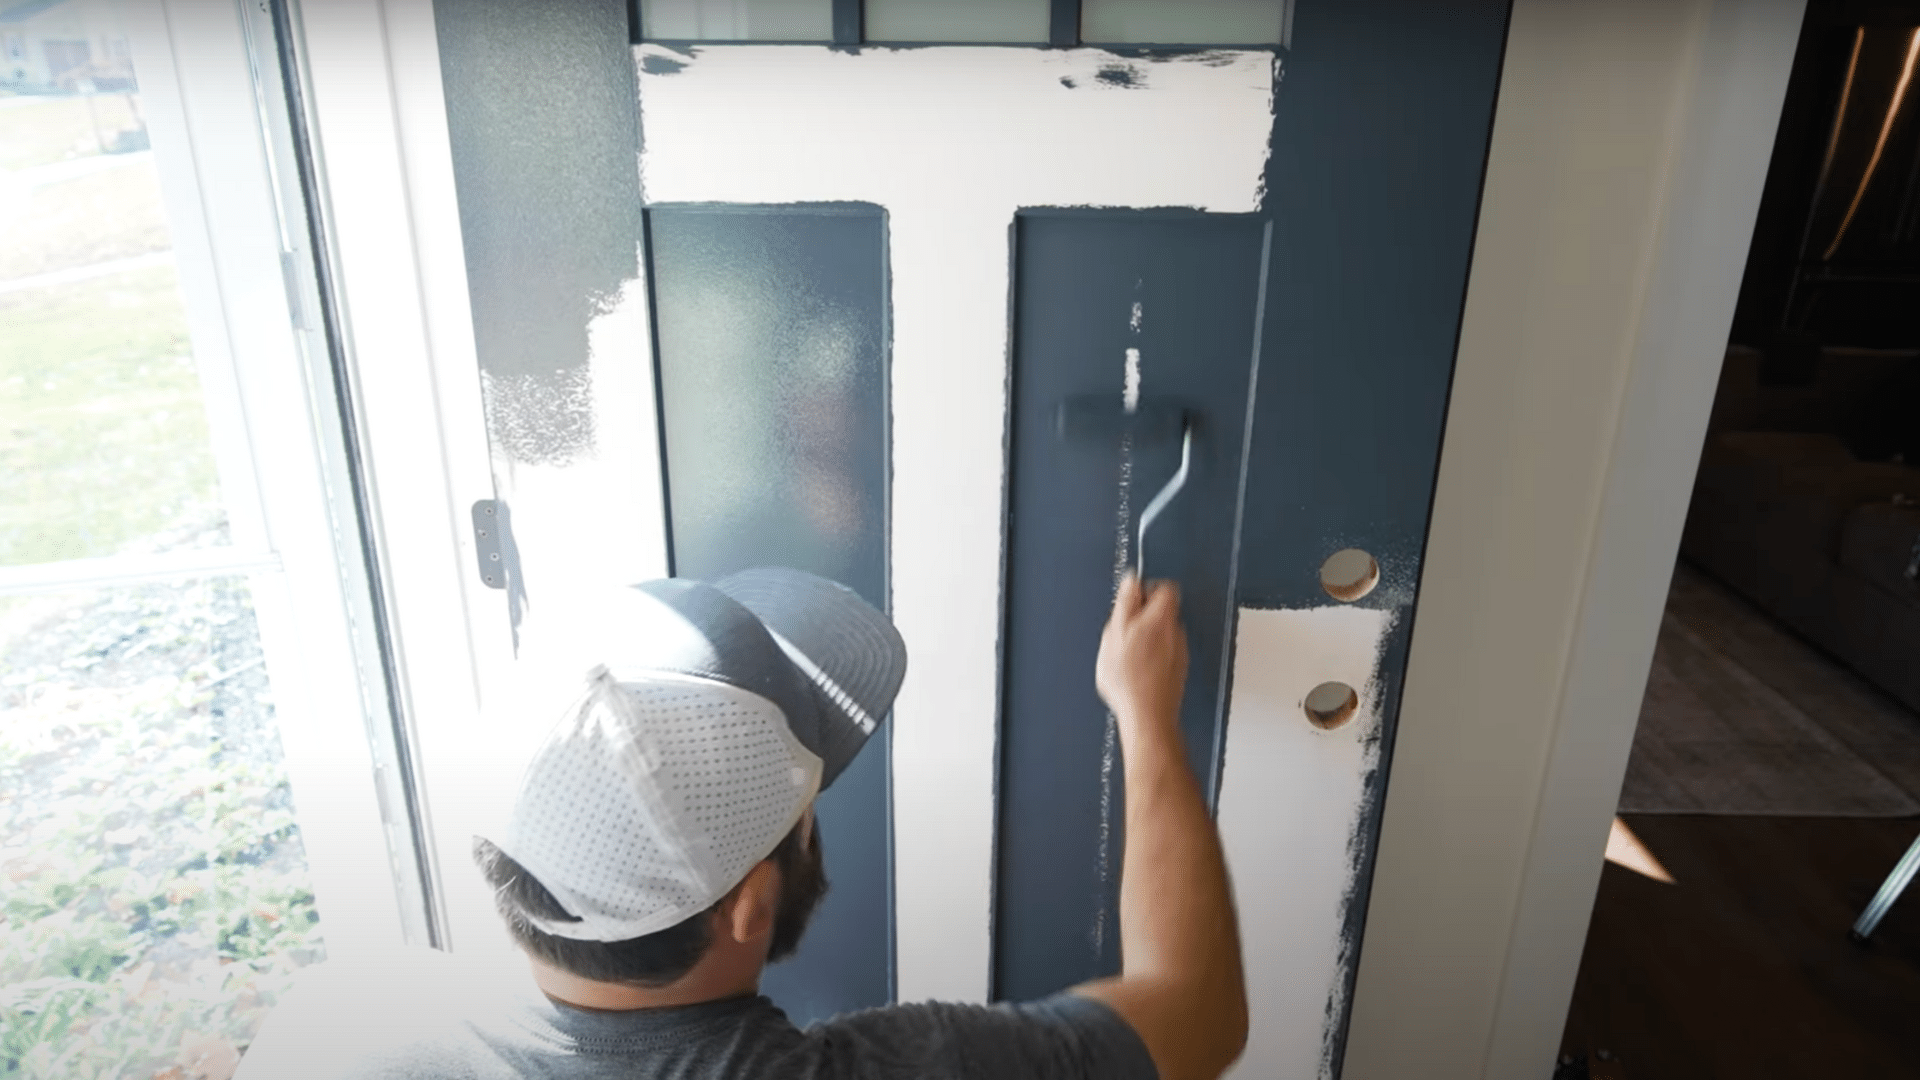
Now, it’s time to roll the main panels of the door. Using your mini roller, apply paint evenly on the larger flat areas, such as the vertical rectangular panels below the window.
Roll in smooth, consistent strokes to avoid roller marks or bubbles.
Since the door is primed and possibly coated with a grey primer first, the finish paint will cover well with two coats.
Step 6: Apply Additional Coats if Needed
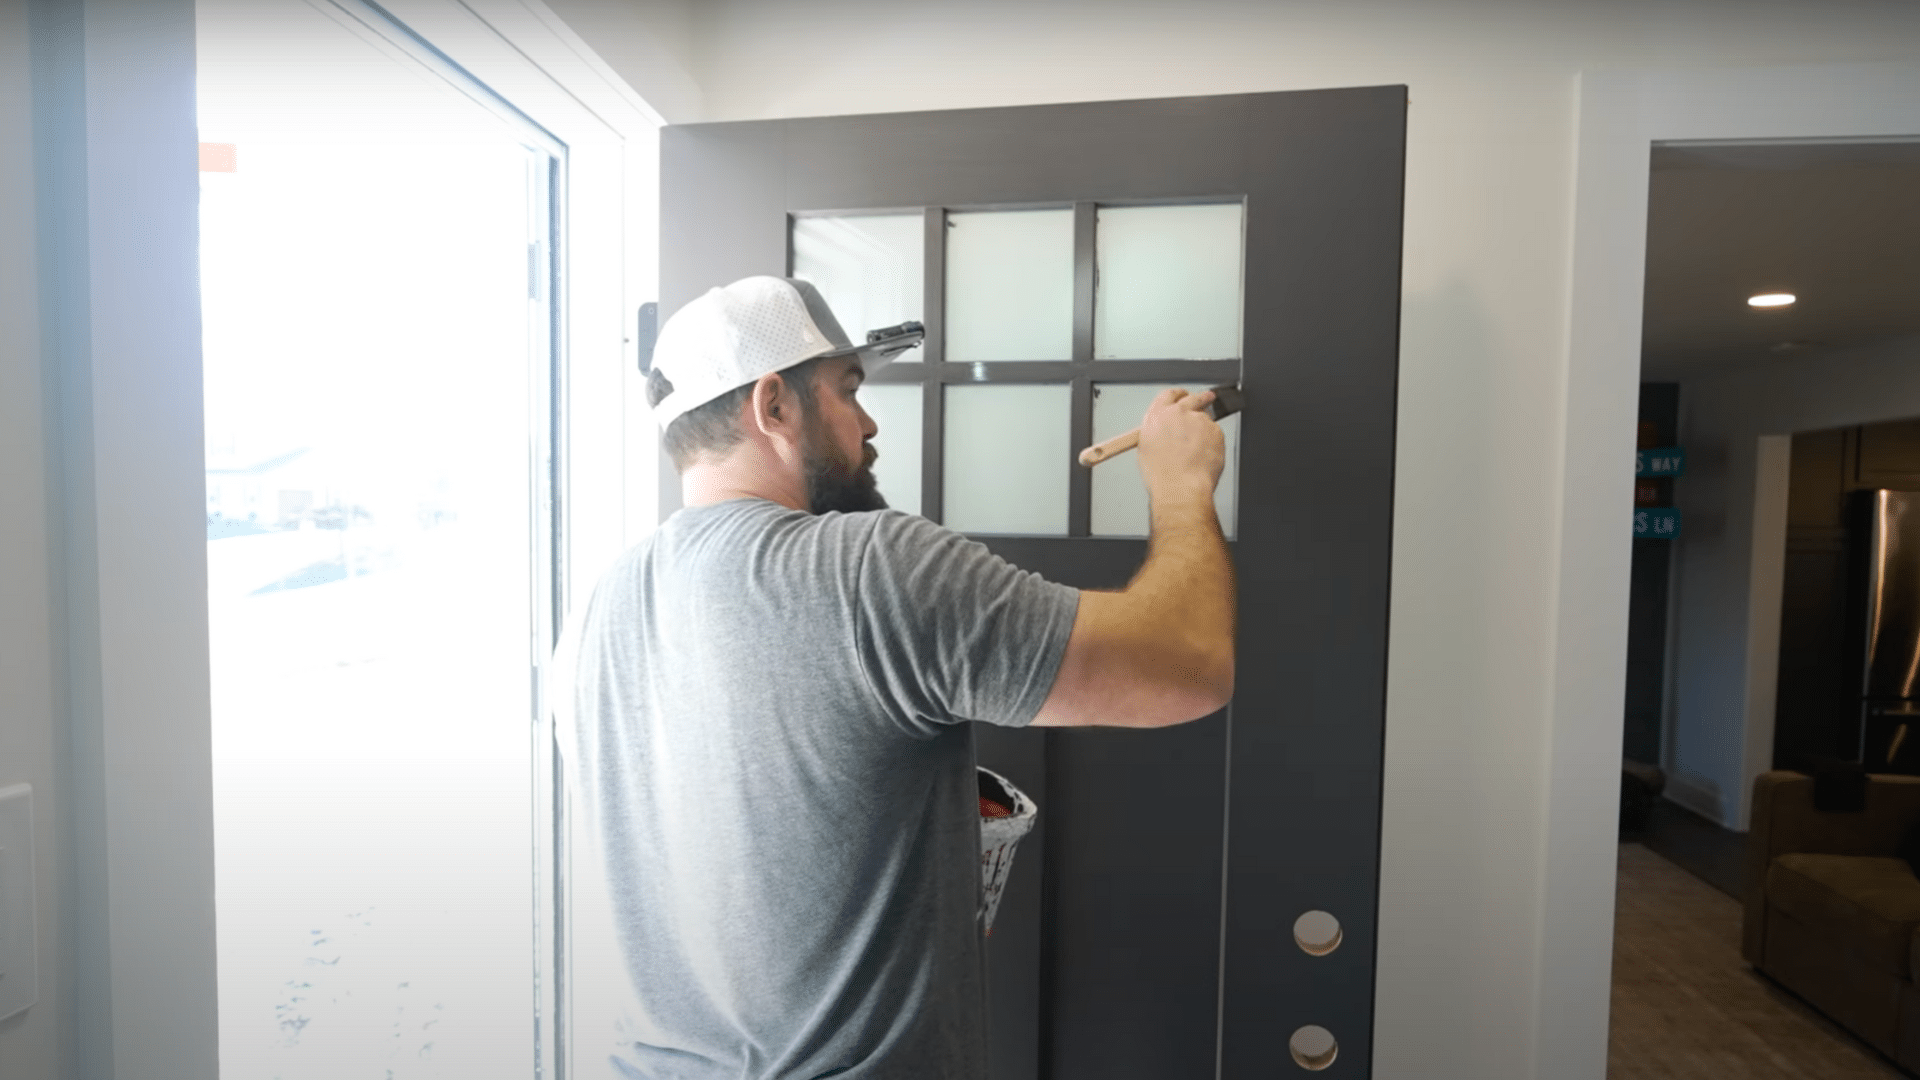
Inspect the door to see if additional coats are necessary for complete coverage. Dark colors over lighter primers usually require two finish coats to look even and vibrant.
Sand lightly between coats if the surface feels rough or if you see imperfections.
Reapply paint using the same cutting-in and rolling technique to ensure full, smooth coverage.
Step 7: Remove Tape and Reattach Hardware Carefully
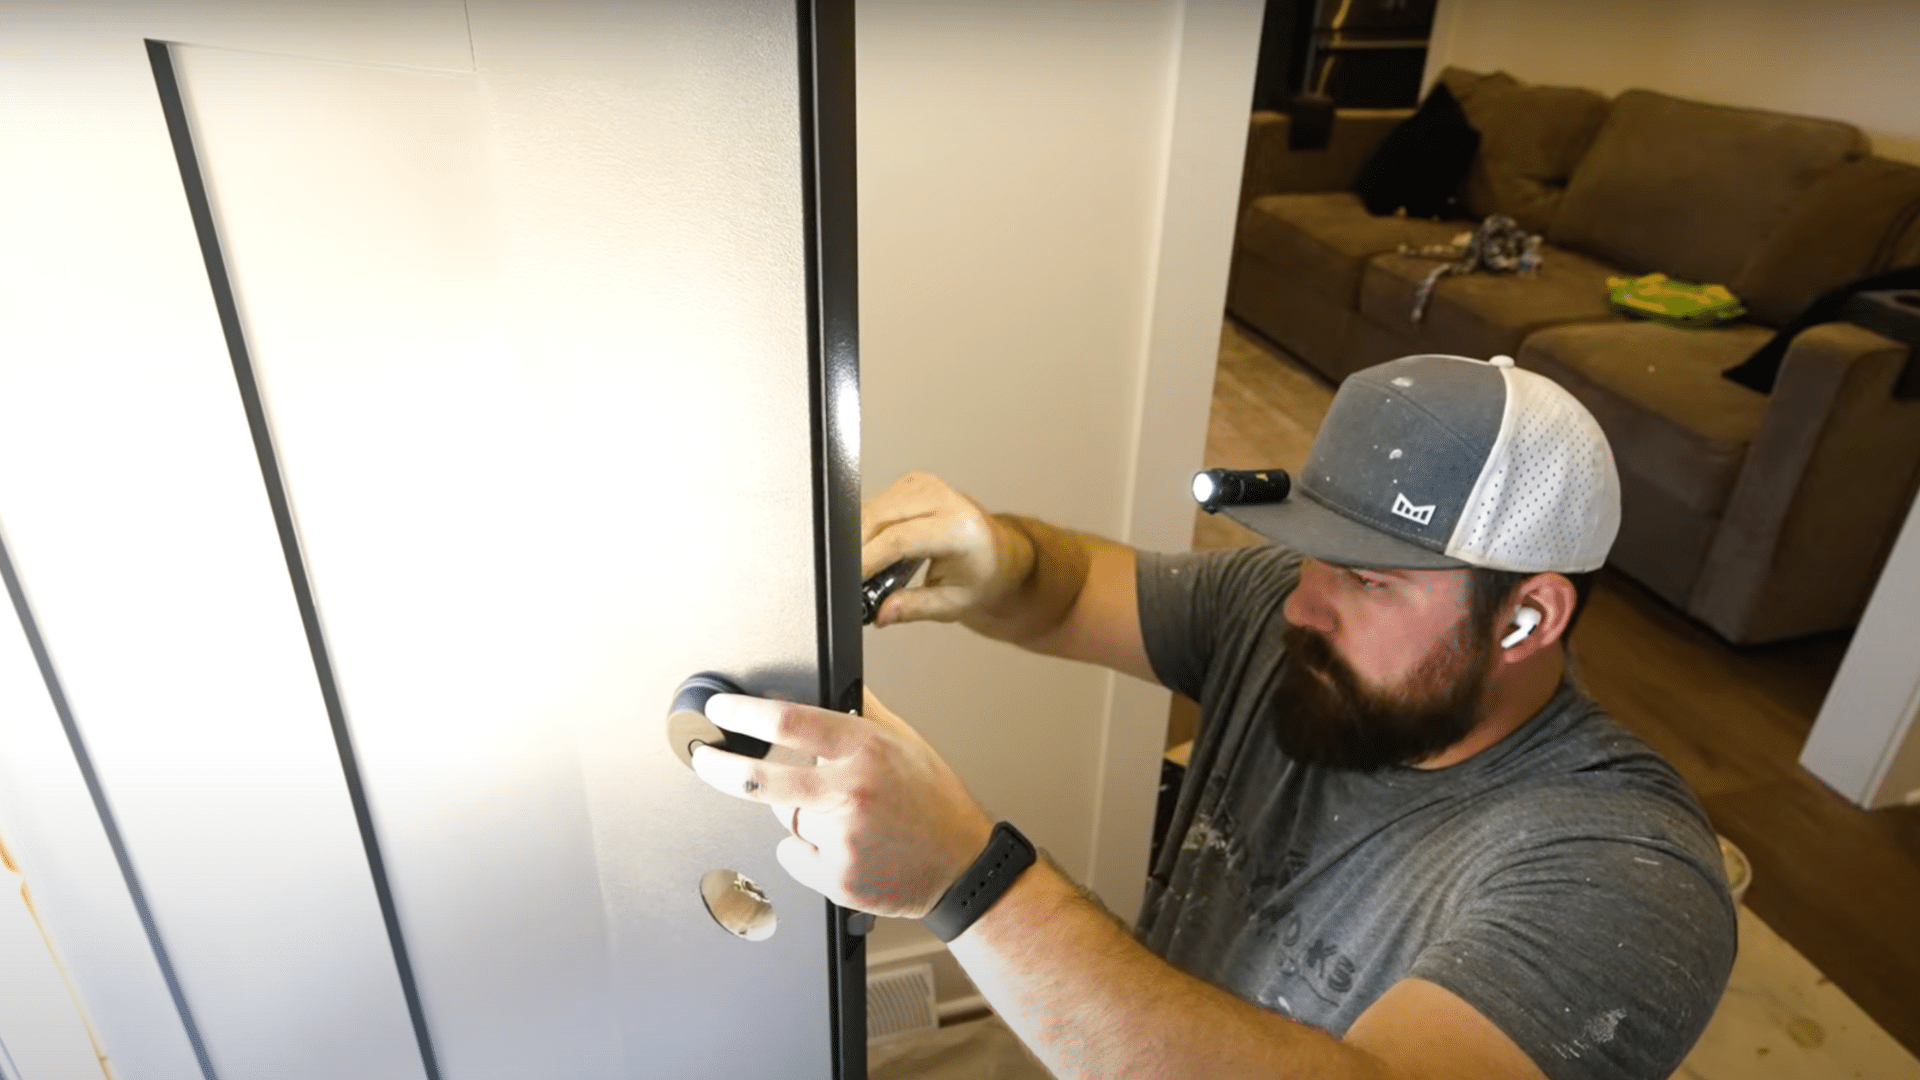
Once the paint is fully dry, carefully remove all the painter’s tape to reveal clean lines. If you removed the hardware earlier, reinstall it gently to avoid scratching or damaging the fresh paint.
For areas where you taped around locks and handles, remove the tape slowly to avoid peeling paint.
Also, reinstall weather stripping around the door frame to maintain energy efficiency.
Check Out How It’s Done: Painting Front Door
For more visual guidance and tips, watch this detailed tutorial on painting a front door by SuperVassarBrother.
Common Mistakes to Avoid
Here are some common things people do wrong and how you can avoid them for a better result:
- Skipping the cleaning step: Not cleaning the door before painting can lead to poor paint adhesion and a messy finish.
- Painting in the wrong weather: Avoid painting on very hot, cold, or rainy days. These conditions can affect how the paint dries.
- Applying thick coats: Thick coats of paint can lead to drips and uneven drying. Always apply thin layers and let each one dry before adding another.
- Not using primer: Skipping the primer can result in the paint not sticking well and may cause uneven color or coverage.
- Ignoring drying times: Don’t rush. Allow enough time for the paint and primer to dry fully between coats for the best finish.
By avoiding these common mistakes, you will enjoy a smoother painting experience and a more attractive front door.
Take your time and follow the steps for the best results.
Colour & Finish Recommendations
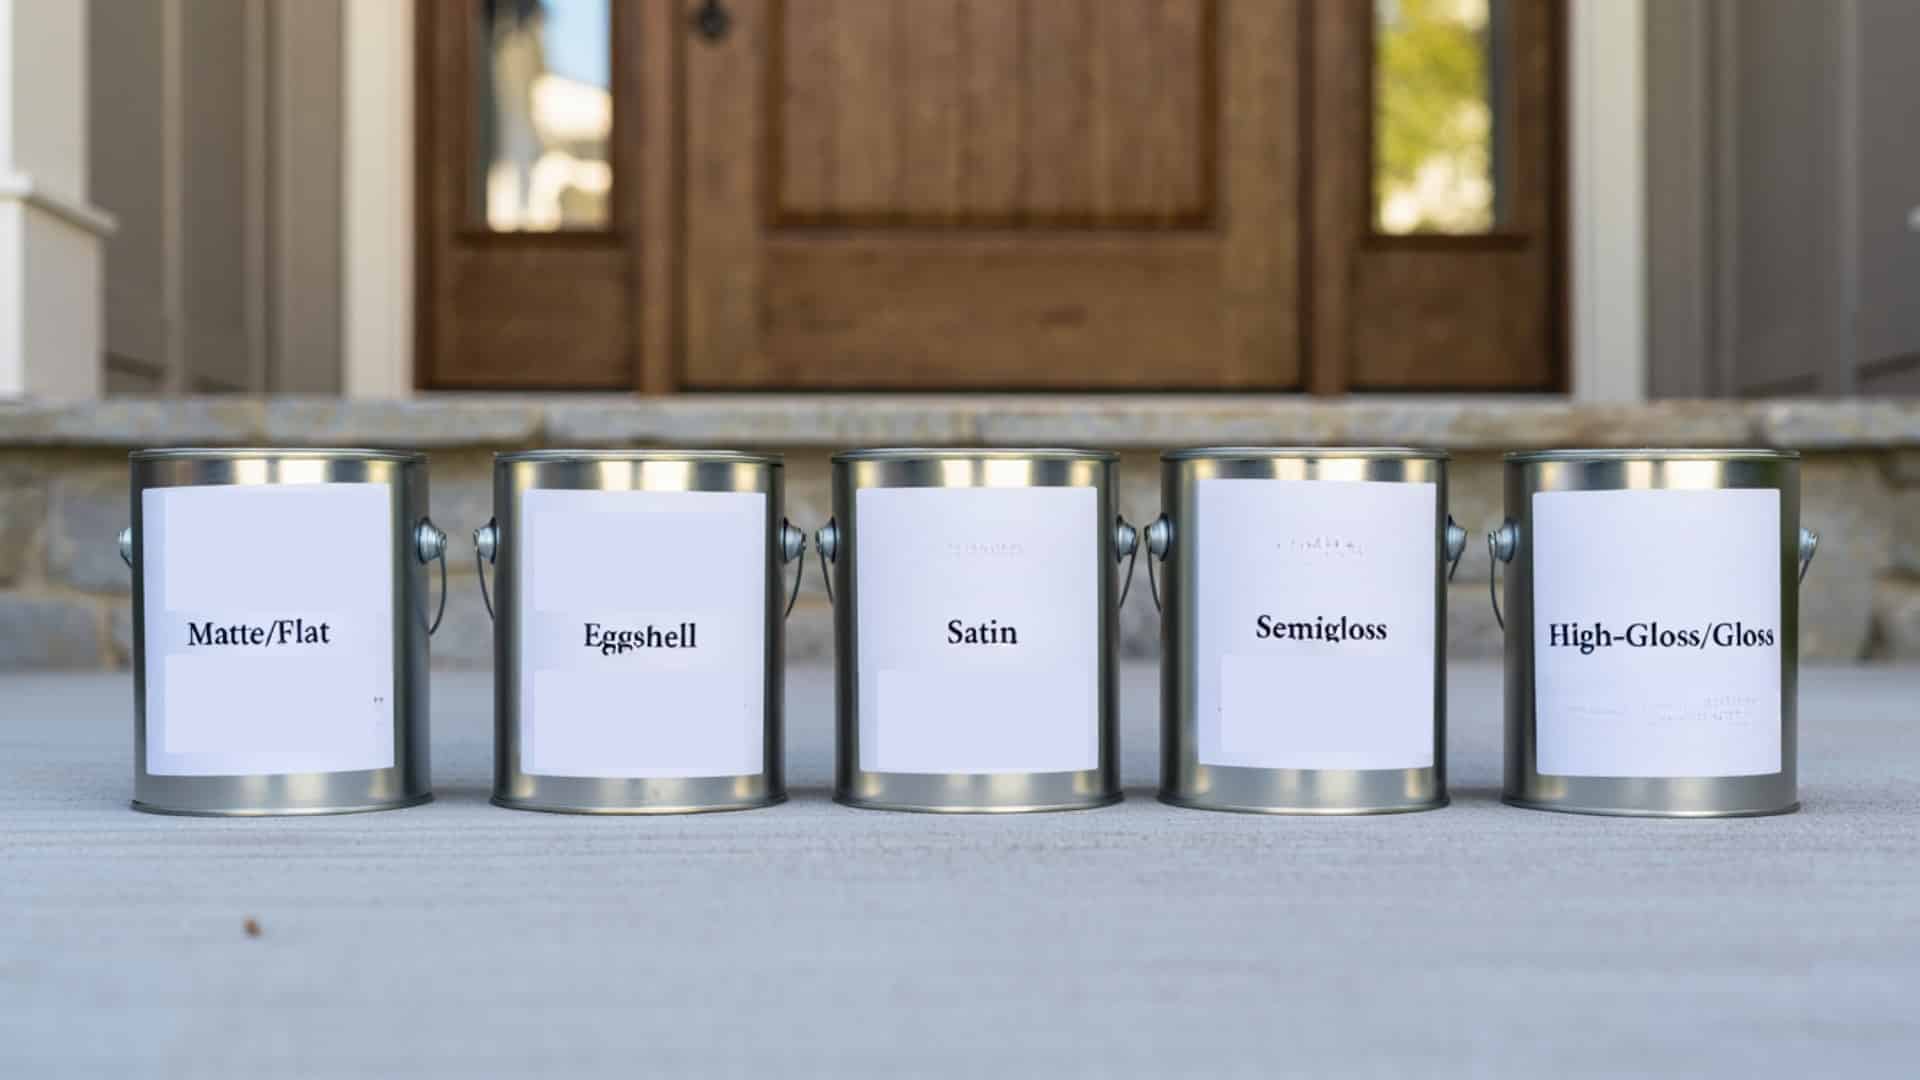
Choosing the right color and finish for your front door is an important step. The finish you pick can help your door last longer and look better.
A semigloss or satin finish is a great choice because it is strong, easy to clean, and can handle different weather.
If you want something even tougher, an oil-based gloss finish is very durable, but it takes longer to dry and has a stronger smell. If you prefer something quicker and with less odour, a water-based paint is a good option.
When it comes to color, you can go classic or bold. Neutral colors like black, gray, or white give your door a clean and timeless look.
If you want your door to stand out, try bright colors like red, blue, or even green. These colors can make your home look cheerful and boost curb appeal. Pick what fits your style and home best.
The Bottom Line
Learning how to paint the front door without removing it can give your home a fresh, welcoming look while saving time and avoiding unnecessary hassle.
With the right preparation, tools, and attention to detail, you can create a smooth finish that stands up to daily use and changing weather.
This project is more than just a coat of paint; it is an upgrade that adds charm, value, and personality to your home’s entrance for years to come.
What color would you choose if you painted your front door today? Tell us and share your ideas in the comments below.
Frequently Asked Questions (FAQs)
What Type of Paint Should I Use for a Front Door?
Use exterior paint made for doors to handle weather changes.
Can I Paint My Door if It is Raining?
No, avoid painting when it is rainy or too humid, as it can affect drying.
How Long Should I Wait Between Coats of Paint?
Wait at least 2-4 hours between coats for the best result.
How Do I Clean My Brushes After Painting?
Wash brushes with soap and water or use paint thinner if you used oil-based paint.

