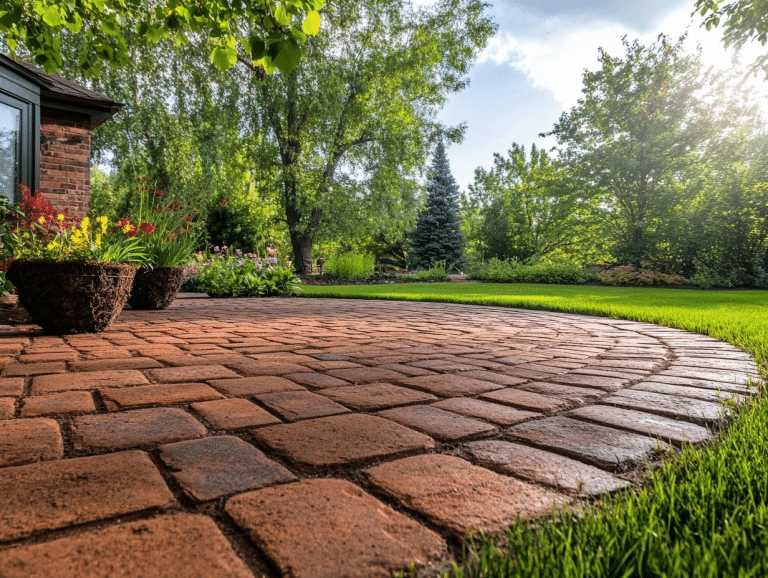
Step-by-Step Guide to Laying Laminate Flooring on Concrete
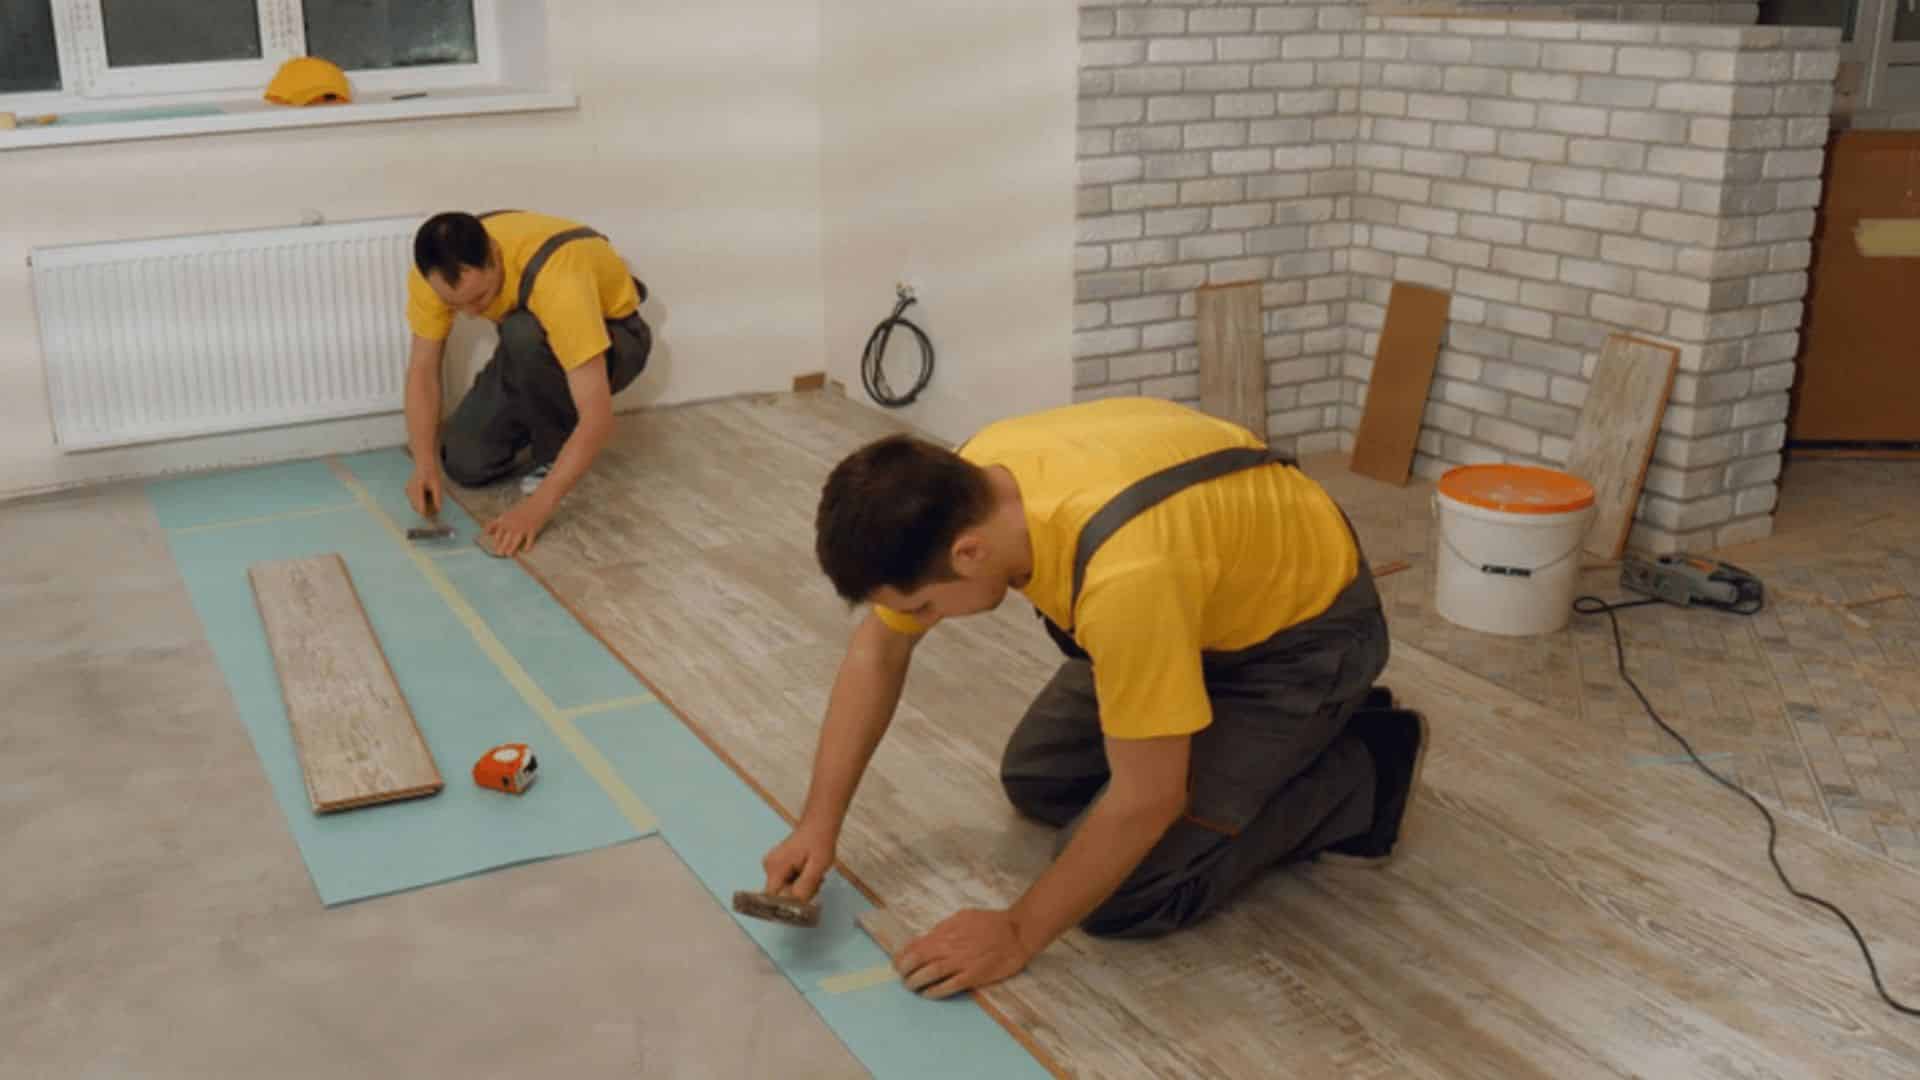
Dreaming of a fresh, modern floor that looks amazing and lasts for years?
Laminate flooring can be the perfect way to upgrade your space without breaking your budget.
It blends style, durability, and easy care, making it a favorite for many homeowners.
Installing it over concrete is easier than most people think, and the results can be truly impressive.
If you are wondering how to lay laminate flooring on concrete, we will be telling you everything you need to start confidently and finish with a floor you will love.
What is Laminate Flooring?
Laminate flooring is a kind of floor that looks like real wood, stone, or tile but costs less and is easy to keep clean.
It is built in layers that make it strong and last a long time. The top layer keeps it safe from scratches, spills, and fading so it stays looking nice.
Under that is a picture layer that gives it the style you like, such as wood or stone. The middle layer is thick and firm so the planks stay flat and solid.
The bottom layer stops moisture from coming up from the floor.
This mix makes laminate a smart and good looking choice for changing the look of any room without spending too much.
Types of Laminate Flooring
There are several types of laminate flooring, each offering different features and benefits. Here are the main types:
- High-Pressure Laminate (HPL): Made under high pressure for extra strength, ideal for busy households and commercial spaces.
- Direct Pressure Laminate (DPL): Affordable and great for normal home use with moderate foot traffic.
- Water-Resistant Laminate: Has a protective surface that helps prevent damage from spills, moisture, or humidity.
- Scratch-Resistant Laminate: Designed with a tougher wear layer to withstand pets’ claws, kids’ toys, and daily wear.
- Click-Lock Laminate: Planks snap together without glue or nails, making installation quick and DIY-friendly.
- Textured Laminate: Has a surface that feels like real wood or stone for a more natural look and touch.
Tools & Materials Required in Laminate Flooring
Before you start laying laminate flooring on concrete, it’s important to have all the right tools and materials ready.
The right tools will make the work faster and easier, while the right materials will help your floor last longer and look great.
Tools Required:
| Tool | Purpose |
|---|---|
| Tapping Block | Helps gently push planks into place without damaging the edges. |
| Pull Bar | Tightens planks near walls where a tapping block cannot fit. |
| Spacers | Keeps the expansion gap consistent around the edges of the room. |
| Utility Knife | Cuts underlayment, vapor barrier, or trims neatly. |
| Moisture Meter | Checks if the concrete floor has too much moisture before installing. |
| Level (Spirit Level) | Ensures the floor is even before starting work. |
| Carpenter’s Square | Checks straight cuts and aligns planks accurately. |
| Measuring Tape | Measures the room and planks for accurate cutting. |
| Miter Saw | Cuts laminate planks to length with clean, straight edges. |
| Jig Saw | Cuts planks around corners, door frames, or obstacles. |
| Rubber Mallet | Gently taps planks into place without damage. |
Materials Required:
| Material | Purpose |
|---|---|
| Vapor Barrier | Stops moisture from seeping up from concrete into the laminate. |
| Foam Underlayment | Adds comfort underfoot and reduces noise. |
| Combination Underlayment | Foam underlayment with a built-in vapor barrier for convenience. |
| Concrete Filler / Patch Compound | Smooths holes or cracks in concrete before installation. |
| Quarter Round or Base Molding | Covers the expansion gap near walls for a finished look. |
| Adhesive Tape | Seals underlayment seams to stop shifting or moisture. |
Steps for Laying Laminate Flooring on Concrete
Here are the steps for laying laminate flooring on concrete:
Step 1: Prepare the Concrete Floor
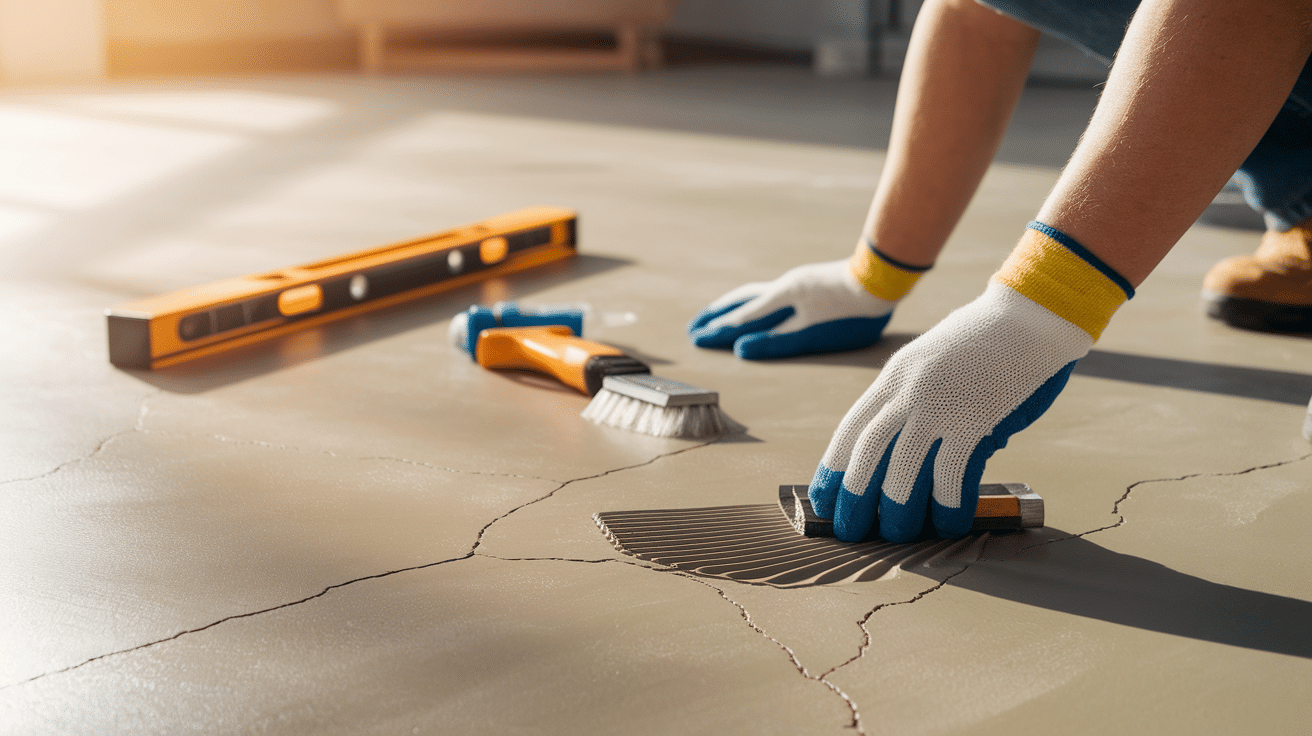
Begin by sweeping and vacuuming the concrete floor to remove all dust, dirt, and small bits that could stop the planks from sitting flat.
Check the floor for any damp areas and use a moisture meter to test it. If moisture is too high, you will need a vapor barrier.
Fill any holes or cracks with concrete filler and allow it to dry completely before moving forward.
Step 2: Install the Underlayment
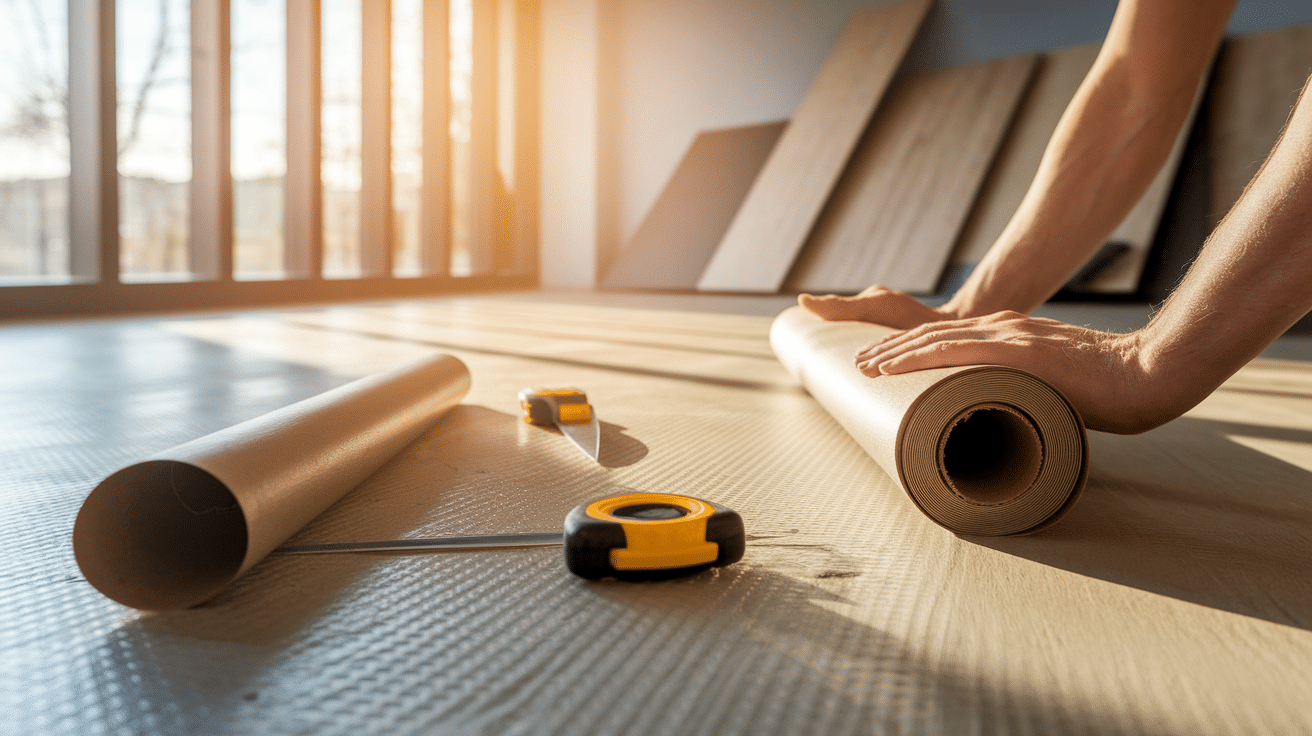
Roll out the underlayment across the entire concrete floor so it covers every inch of the surface evenly.
This layer will make the floor quieter, add comfort underfoot, and protect the laminate from moisture.
Note: Some underlayments come with a built-in vapor barrier, so you can protect against moisture and add cushioning in a single layer.
Step 3: Plan the Layout
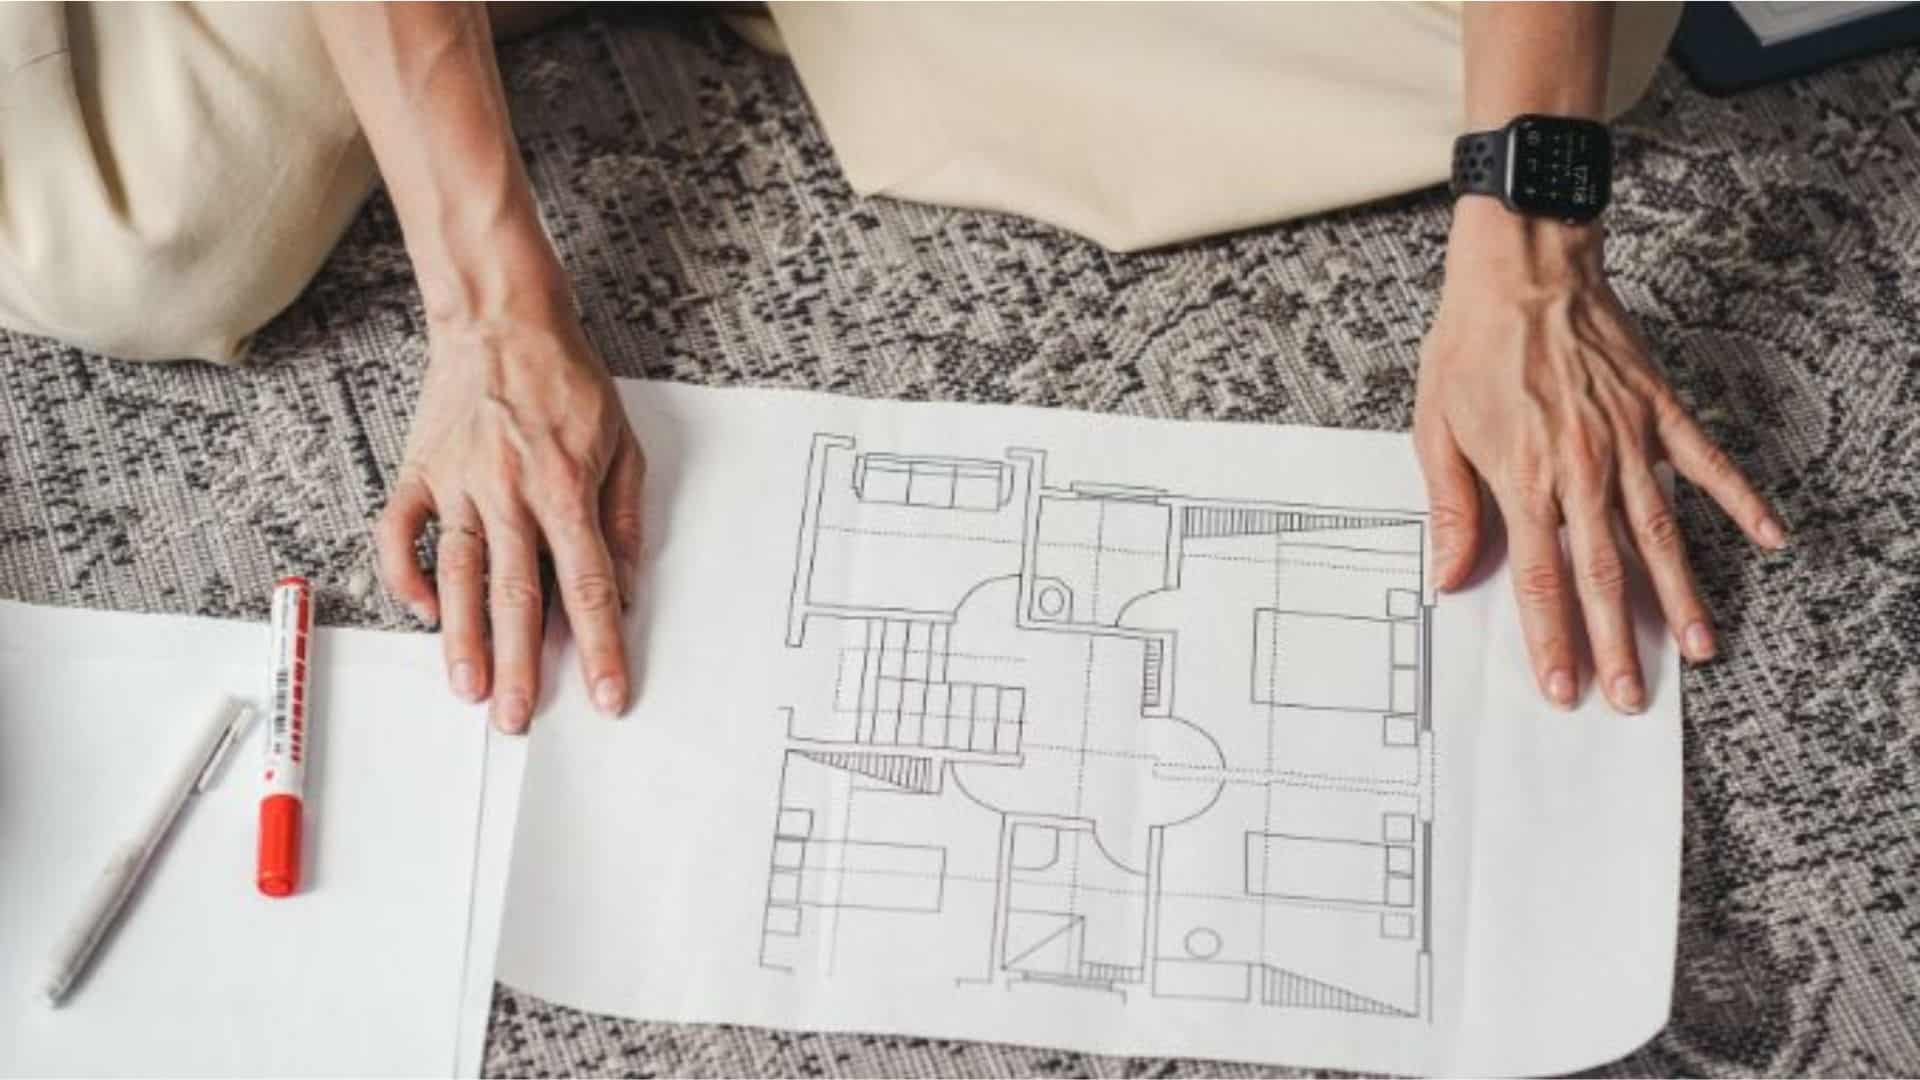
Measure the size of your room carefully so you can decide the best direction for the planks, usually along the longest wall.
Mark a straight line on the floor near your starting wall to guide the first row.
This line will help you keep each row perfectly straight from the beginning so the floor stays neat and even all the way across the room.
Step 4: Install the First Row
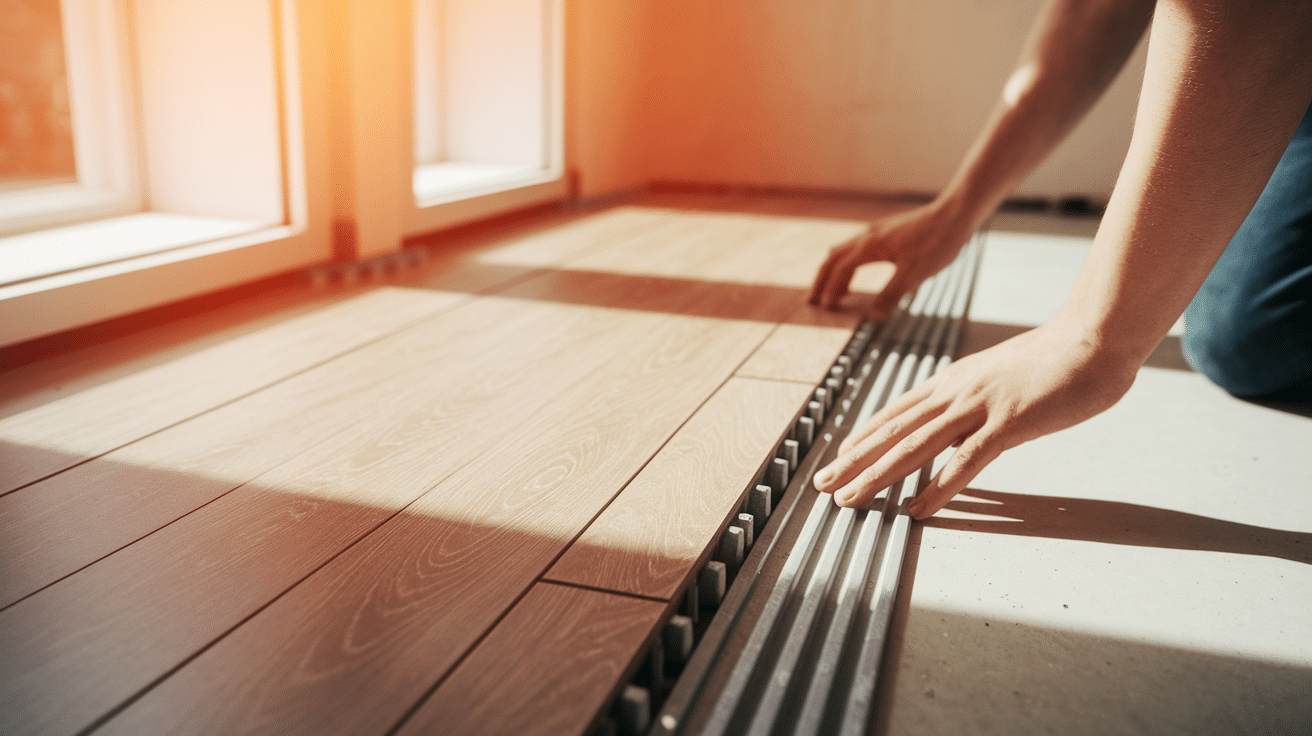
Place the first planks along your guide line, leaving a small gap of about one quarter inch between the planks and the wall for expansion.
Use spacers to keep the gap even and secure.
Fit the planks together by gently tapping the tongue and groove joints with a tapping block and rubber mallet so they lock tightly without damaging the edges.
Step 5: Continue Laying the Planks
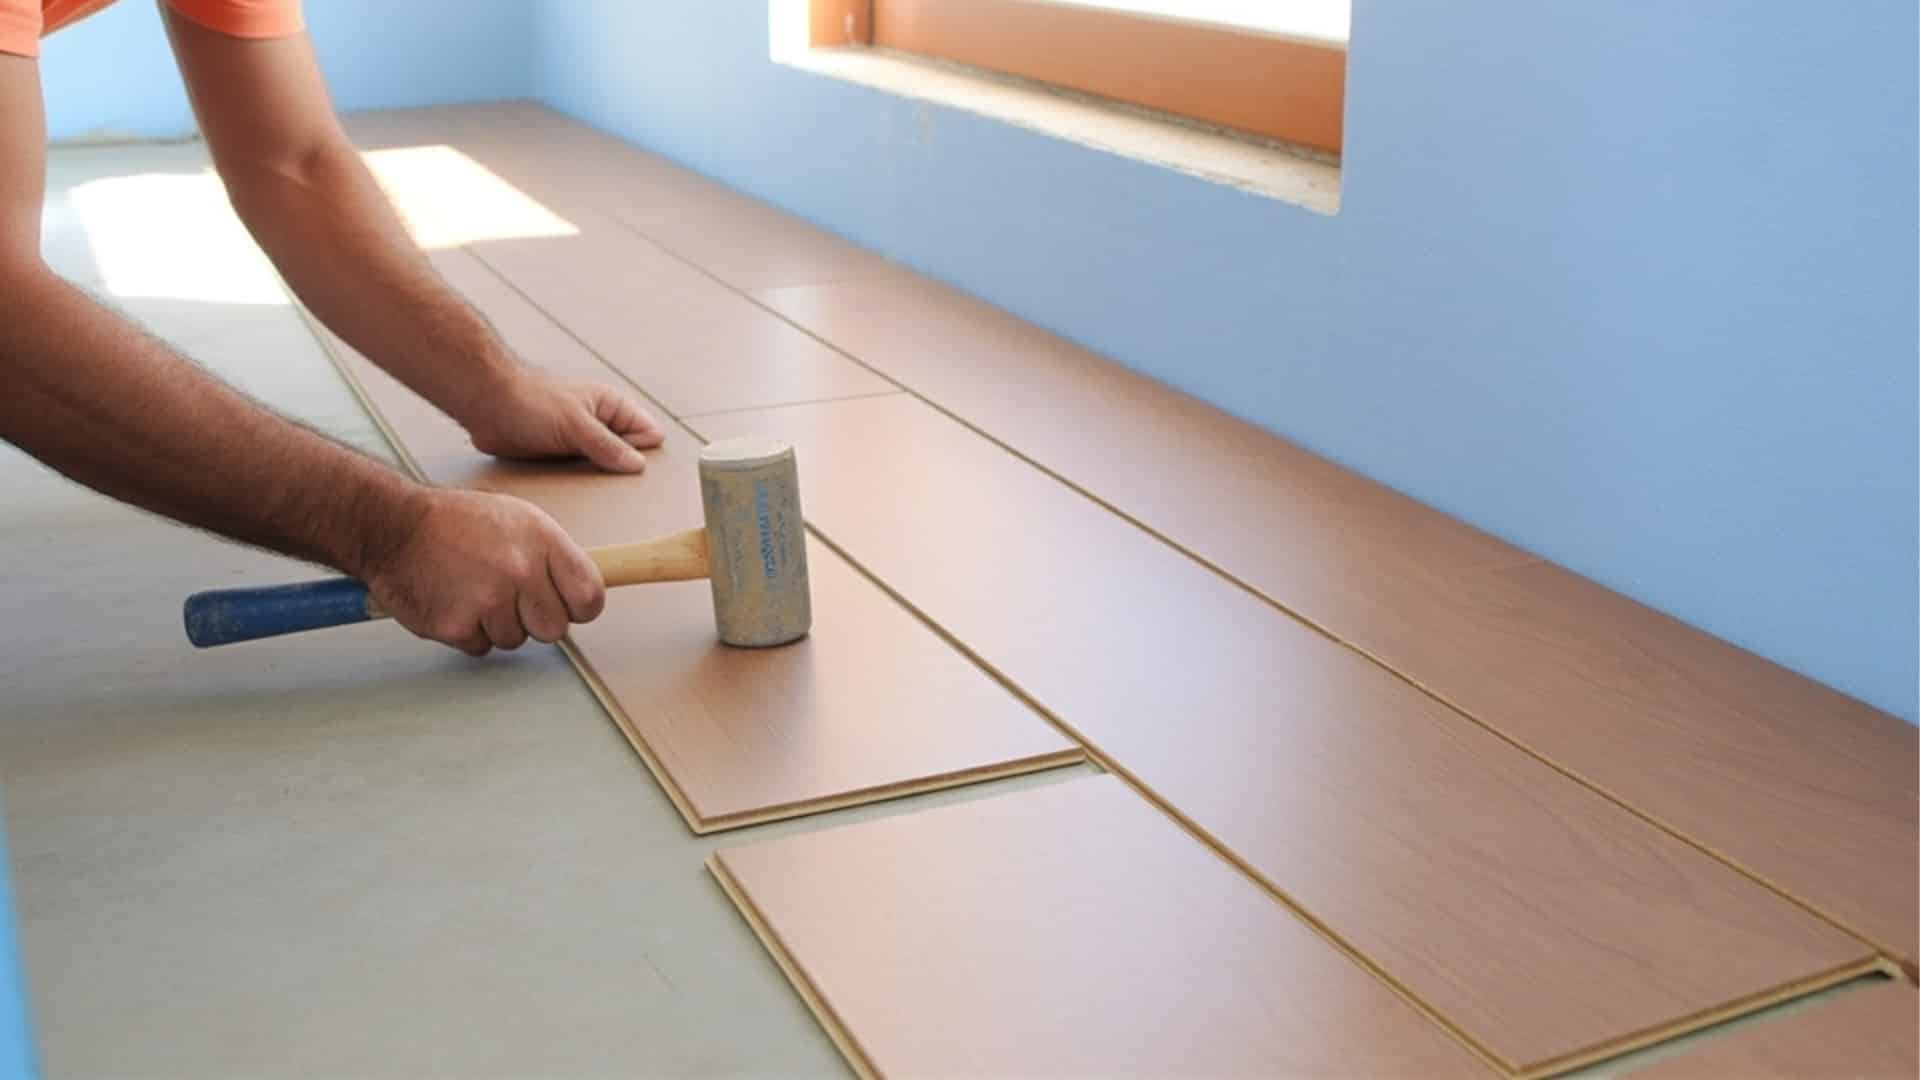
Work your way across the room by adding more rows of planks, making sure the seams are not lined up directly from one row to the next.
This gives a natural look and makes the floor stronger.
Use the click system to connect each plank, and if space is tight near walls or corners, use a pull bar to bring the planks together.
Step 6: Cut for Obstacles
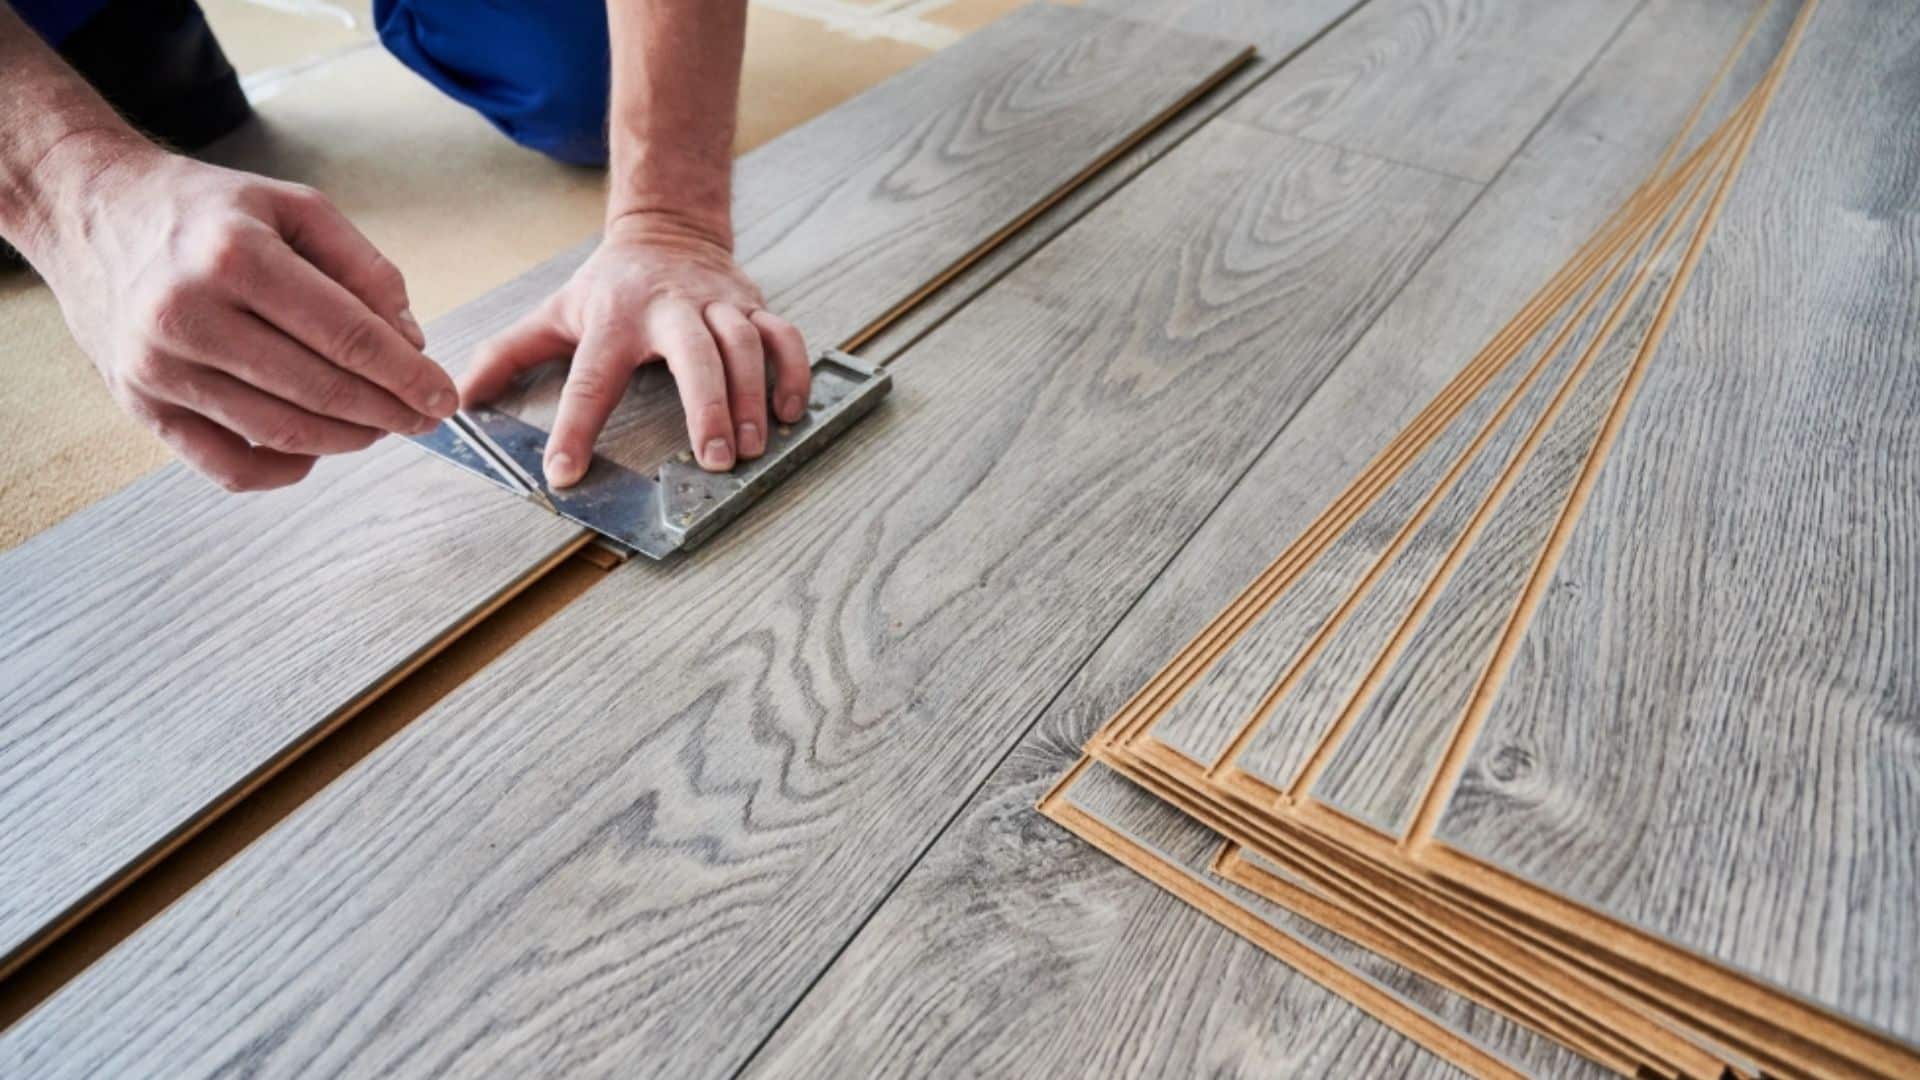
When you reach a door frame, vent, or corner, measure the space carefully and mark the plank where it needs to be cut.
Use a jigsaw for curved or detailed cuts and a miter saw for straight ones.
Work slowly and carefully so the cut edges are smooth and the plank fits neatly around each obstacle without leaving gaps or rough edges.
Step 7: Remove Spacers and Install Trim
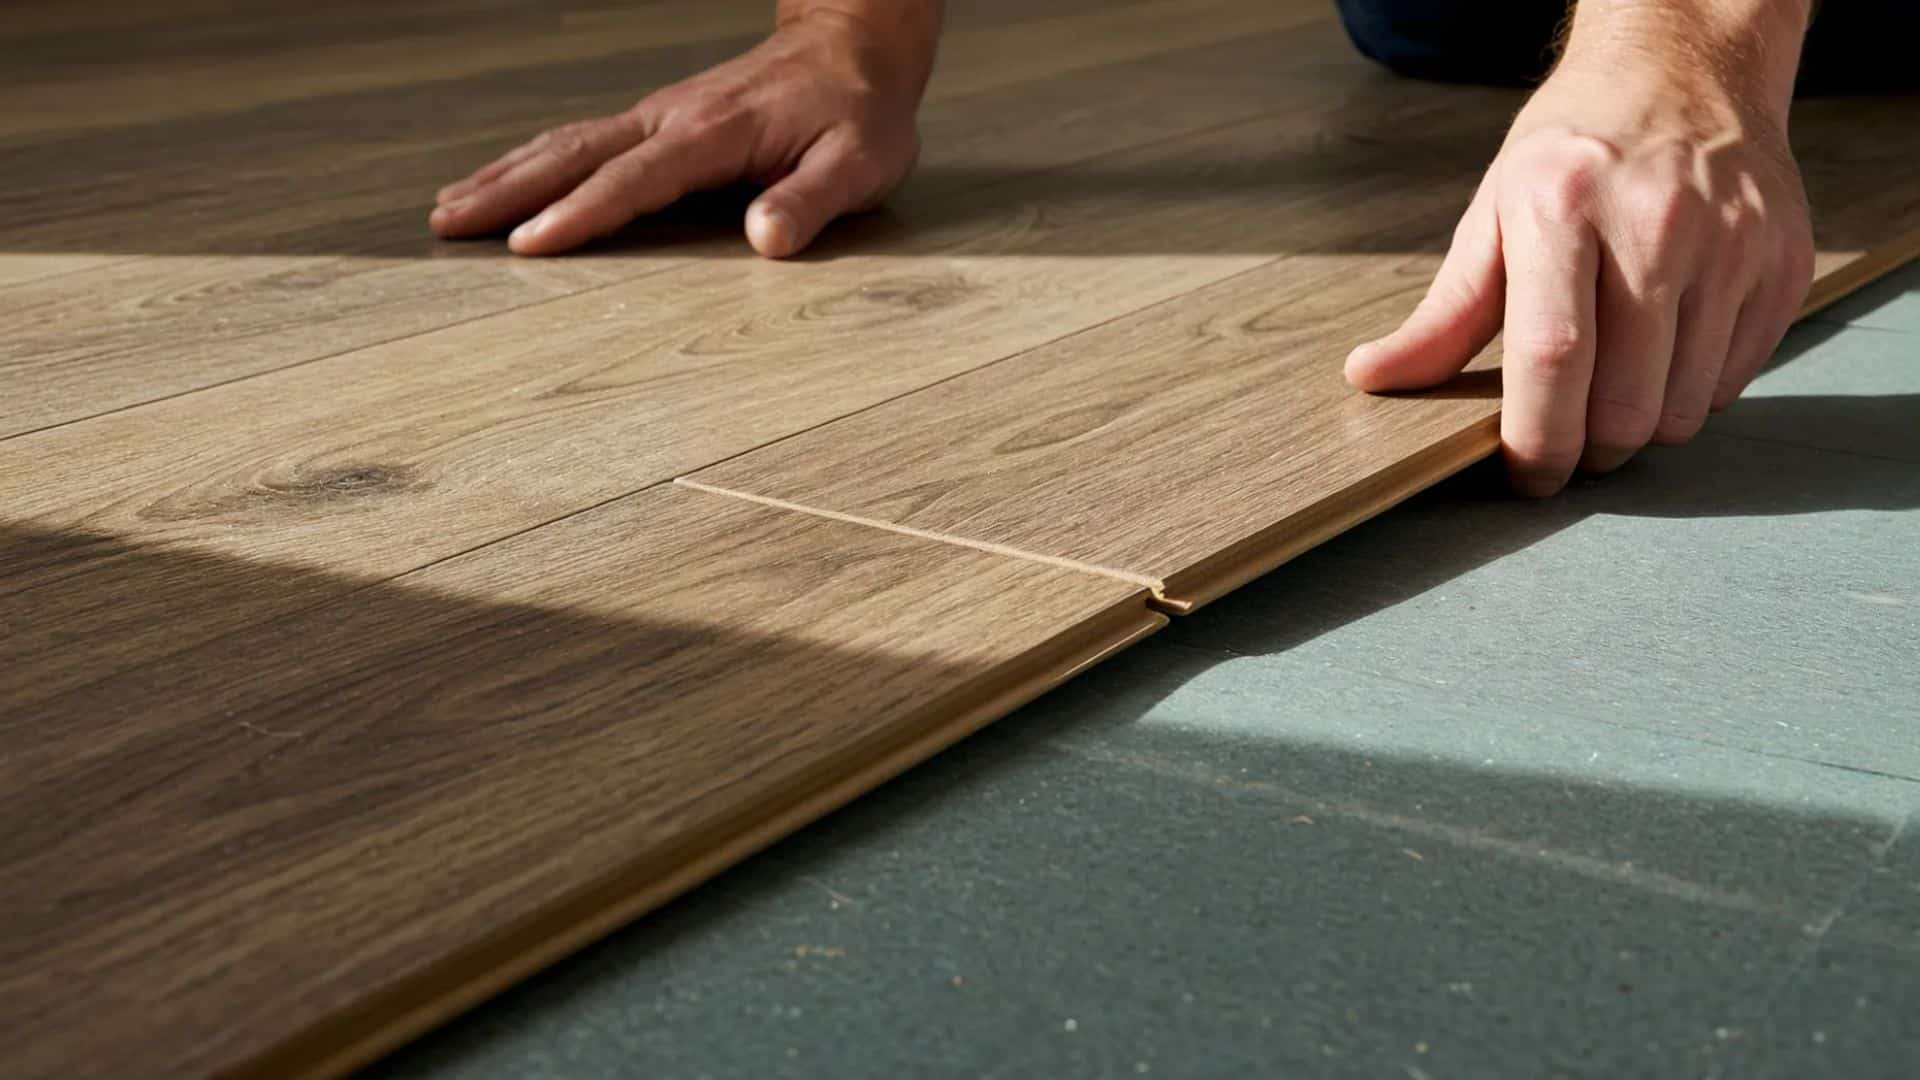
After the last plank is in place, go around the room and remove all the spacers from the edges.
Install baseboards or quarter round molding over the expansion gap to give the room a finished look.
Nail or secure the trim to the wall, not the floor, so the laminate can still expand and contract without causing buckling or damage.
Step 8: Clean the Floor

Once all the trim is in place, clean the floor well to remove dust and scraps from cutting.
Use a broom or vacuum designed for hard floors to avoid scratching the surface.
This will make your new laminate floor look fresh and ready to use while also helping to protect it from dirt and grit that could damage the surface over time.
Tips for Laying Laminate Flooring on Concrete
Here are some helpful tips for laying laminate flooring on concrete to ensure a smooth and successful installation:
- Acclimate the Laminate: Allowing your laminate planks to acclimate to the room’s temperature and humidity is crucial to avoid expansion or contraction post-installation.
- Check for Moisture: Before laying laminate on concrete, always test for moisture to prevent future damage from excess humidity that could warp the floor.
- Use Quality Underlayment: Choosing the right underlayment can protect your laminate from moisture, reduce noise, and provide extra comfort underfoot.
- Cut Laminate Carefully: Using the right tools and techniques to cut laminate ensures clean edges and a seamless fit during installation.
- Stagger the Seams: Staggering the seams between planks in each row enhances the aesthetic and structural integrity of your laminate floor.
Pros & Cons for Laying Laminate Flooring on Concrete
Before you decide on laminate for your concrete floors, it helps to weigh the advantages and drawbacks. Here’s a quick comparison to guide your choice:
| Pros | Cons |
|---|---|
| Affordable compared to hardwood or tile | Not fully waterproof; can warp with prolonged moisture |
| Durable surface resists scratches and dents | Cannot be refinished; damaged planks must be replaced |
| Easy DIY installation with click-lock design | Lacks the warmth and texture of real wood |
| Wide range of styles and colors | Feels colder and harder underfoot |
| Low maintenance and stain-resistant | Can be noisy without proper underlayment |
| Long lifespan with proper care | Needs a level, dry subfloor to avoid issues |
Final Notes
Installing laminate flooring on concrete can turn a plain room into a warm and inviting space that feels brand new.
With the right steps and attention to detail, you can create a floor that looks beautiful, lasts for many years, and stays easy to care for.
Choosing the right tools and preparing the surface well will make the work smoother and the results more rewarding.
Now that you know how to lay laminate flooring on concrete, you are ready to make your space truly stand out.
What design or style of laminate would you choose for your home? Tell us and share with us in the comments below.


