Why Does Paint Bubble on Walls and Ceilings
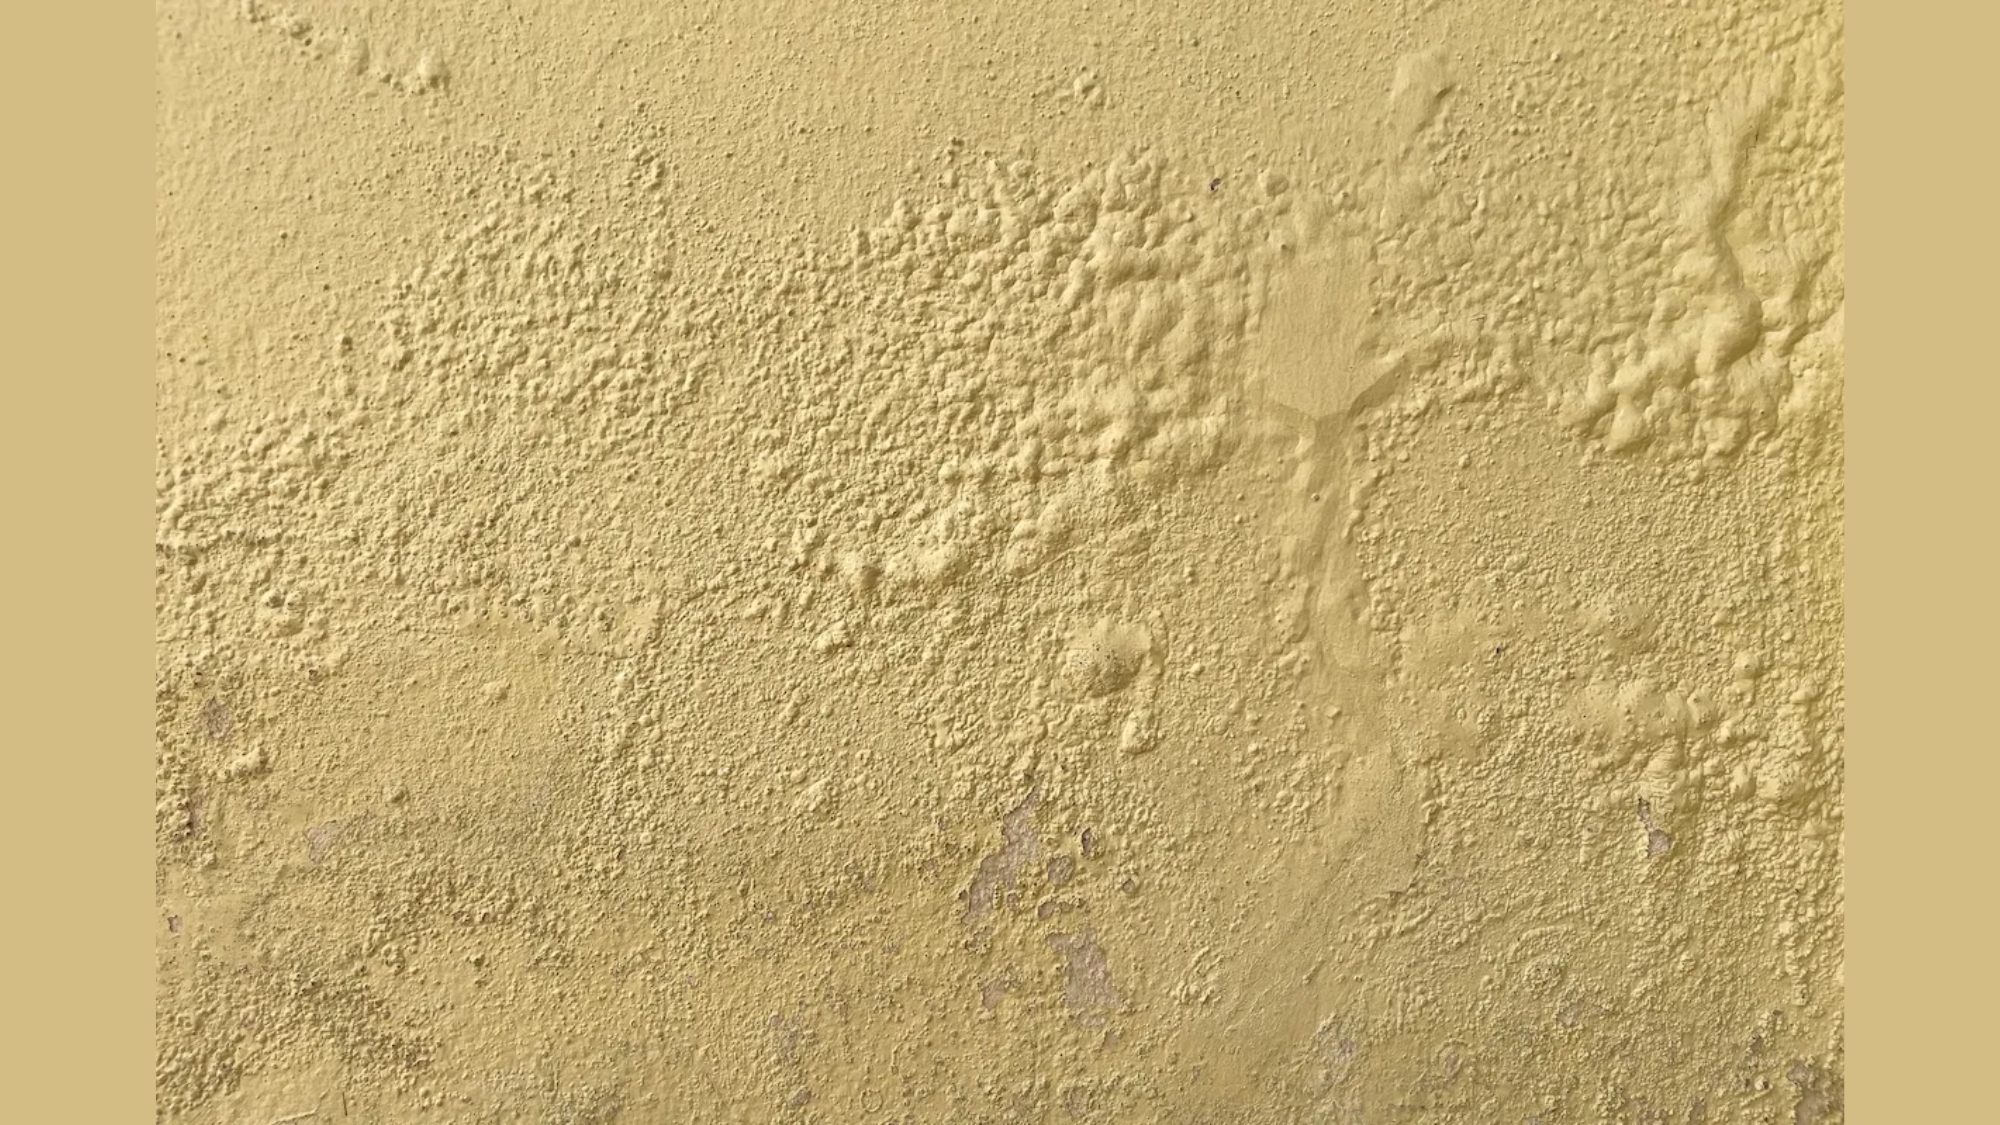
Have you ever noticed those unsightly bubbling areas on your walls or ceiling? Those are paint bubbles.
These small dome-shaped imperfections occur when the paint layer separates from the surface underneath. They typically appear days or weeks after painting and can range from tiny blisters to large bulges.
If left untreated, paint bubbles can worsen over time, potentially damaging the underlying surface. The good news is that this common problem can be fixed with the right approach.
This guide will help you understand what causes paint bubbles, how to prevent them, and the best ways to fix them when they appear.
Certain Reasons Behind Paint Bubbles
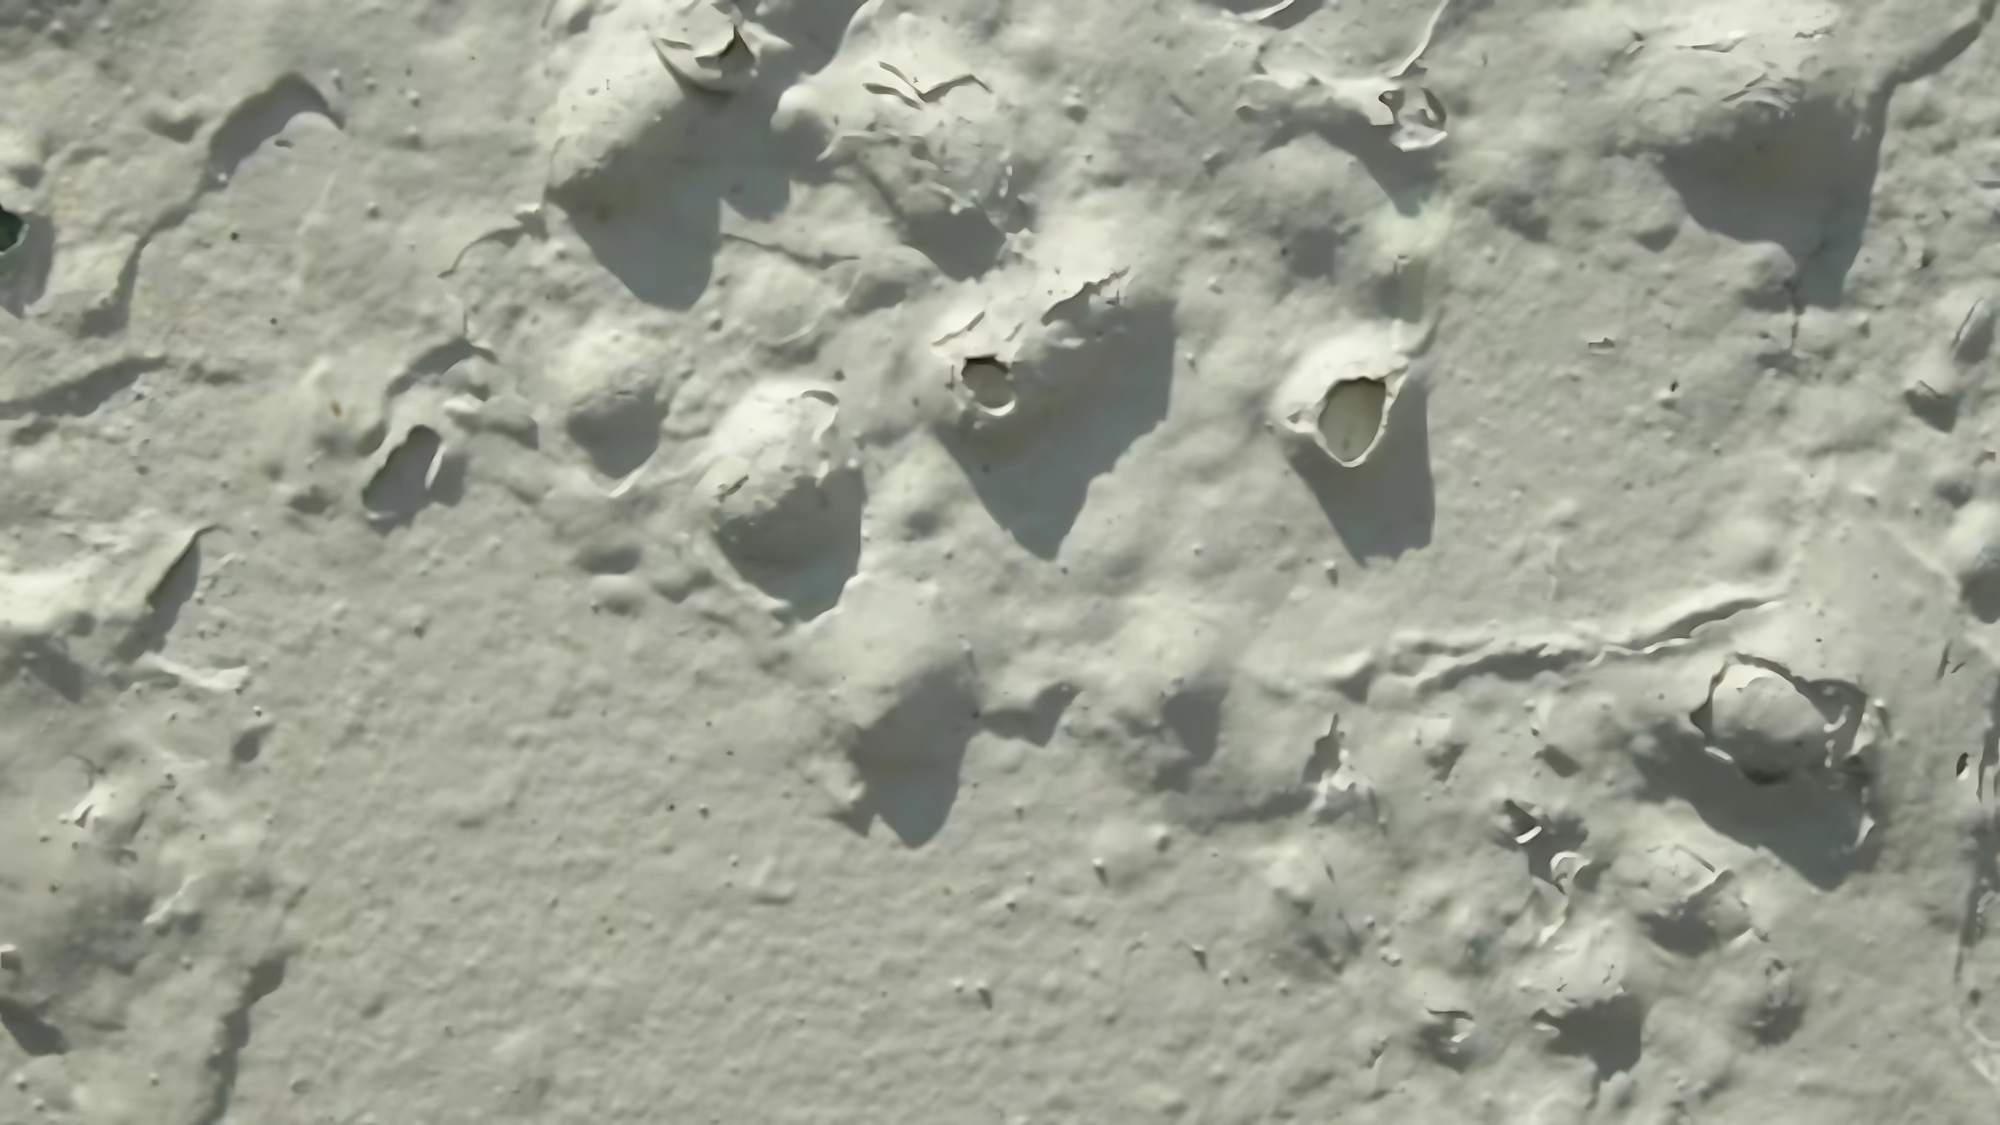
Understanding the causes of paint bubbles can help identify the root of the problem and guide you in taking the necessary steps to prevent future issues.
- Moisture Problems: When water gets trapped between the paint and the surface, it creates vapor pressure as it tries to escape. This pressure pushes the paint outward, forming bubbles.
- Poor Surface Preparation: Skipping proper cleaning, sanding, or priming leads to weak adhesion. Paint needs a clean, smooth surface to bond properly.
- Heat Exposure: Painting in direct sunlight or high temperatures causes the paint to dry too quickly on the surface while remaining wet underneath. This uneven drying creates tension in the paint film, pulling it away from the surface and forming bubbles.
- Incompatible Paint Layers: Applying oil-based paint over latex (or vice versa) without proper priming creates adhesion problems. The different formulations don’t bond well, causing the top layer to separate and bubble over time.
- Contaminated Surfaces: Dirt, dust, grease, or other residues prevent paint from adhering properly. The paint sticks to the contaminants rather than the actual surface, creating weak spots that easily bubble up.
- Improper Application: Applying paint too thickly or too quickly traps solvents that need to evaporate. As these solvents eventually try to escape, they push through the dried outer layer, creating bubbles in the process.
- Humidity Issues: Extremely humid conditions slow down evaporation and can introduce moisture into the paint film. This excess moisture becomes trapped and later forms bubbles as it tries to escape.
- Low-Quality Materials: Inferior paints and primers lack proper binding agents and additives that ensure good adhesion and flexibility. These products are more susceptible to environmental factors that cause bubbling.
- Skipping Primer: Bare surfaces or porous materials need primer to create a uniform surface for paint adhesion. Without primer, these surfaces can absorb paint unevenly or fail to bond properly, leading to bubbles.
- Painting Over Damp Surfaces: Applying paint to surfaces that haven’t completely dried traps moisture underneath. As this moisture eventually evaporates, it pushes through the paint layer, creating bubbles and blisters.
Effective Ways to Stop Paint Bubbles Before They Start
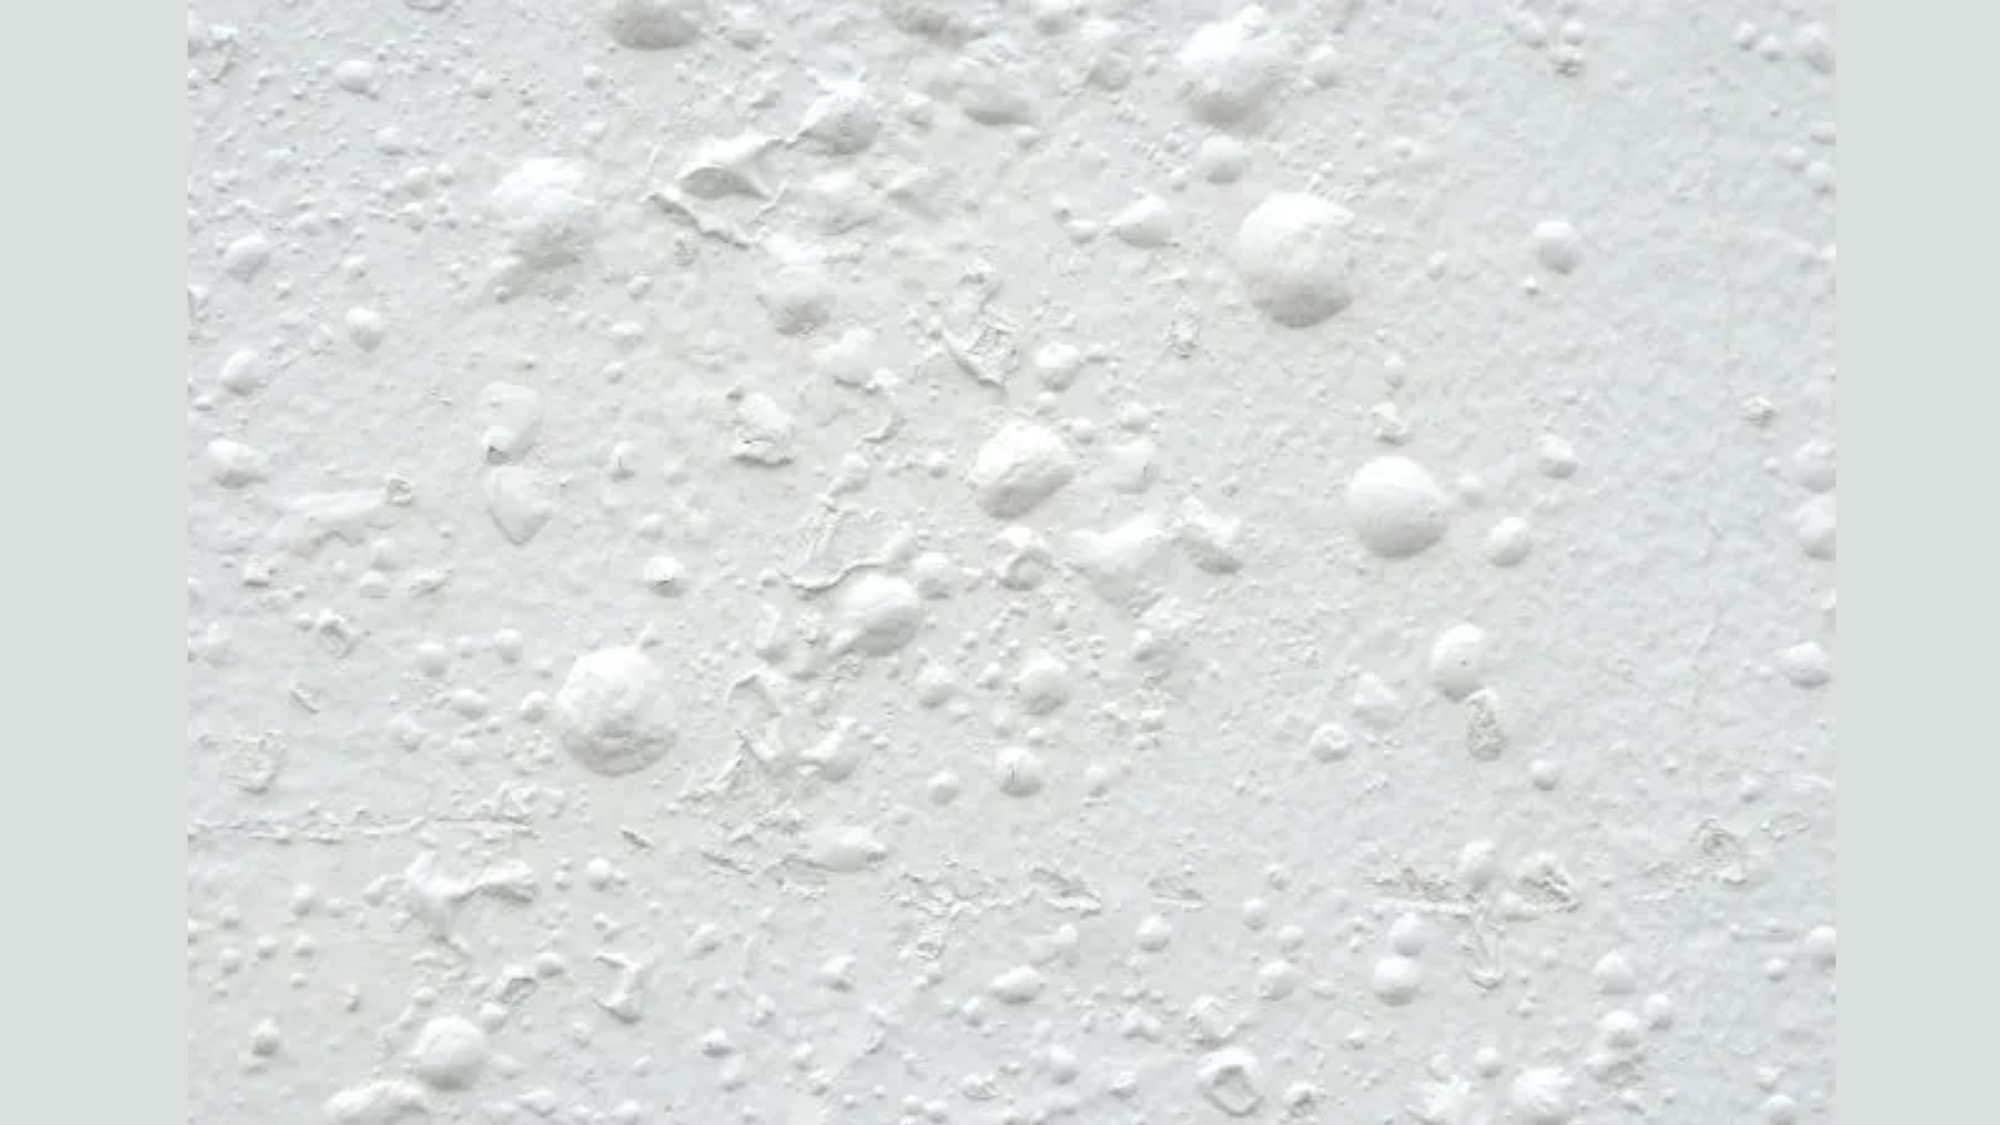
Those frustrating bubbles that ruin your fresh paint job can be avoided with the right approach.
Paint bubbles happen when the paint layer lifts away from the surface, creating raised imperfections that not only look bad but can lead to bigger problems later on.
However, you can prevent paint bubbles before they start with just a handful of proven techniques.
Let’s discuss some of the best ways to prevent paint bubbles, from proper preparation to application techniques that professionals use to get flawless results every time.
1. Proper Surface Preparation
Before you open a paint can, make sure your surface is ready. Remove all dirt, dust, grease, and old peeling paint with soap and water or appropriate cleaners.
Sand rough areas smooth and fill holes or cracks with spackling compound. Apply a quality primer, especially on bare surfaces, new drywall, or when making dramatic color changes.
This creates a uniform surface for the paint to bond with, preventing weak spots where bubbles can form.
2. Control Moisture
Moisture is the enemy of a good paint job. Fix any leaks or water issues before painting. Use exhaust fans in bathrooms and kitchens to reduce humidity.
Check for condensation problems on exterior walls. Ensure surfaces are completely dry before applying paint; this means waiting at least 24 hours after washing walls.
For exterior projects, avoid painting after rain or during high-humidity days. Properly sealed surfaces resist moisture intrusion that can cause bubbling.
3. Use Quality Materials
Not all paints are created equal. Invest in high-quality primers and paints they contain better binding agents and additives that improve adhesion and durability.
Cheap paints often lack these essential components, making them more prone to bubbling.
Use the right paint for each surface, like exterior paints for outside, bathroom-specific paints for high-moisture areas.
Make sure your primers and paints are compatible (water-based with water-based, oil-based with oil-based) unless using a transitional primer.
4. Apply Correctly
Proper application techniques make a huge difference. Apply thin, even coats rather than one thick layer allows proper drying throughout the paint film.
Use appropriate tools, which are high-quality brushes and rollers designed for your specific paint and surface. Allow adequate drying time between coats (follow manufacturer recommendations).
Avoid painting in a rush; patience during application and drying prevents trapped solvents that cause bubbling.
5. Mind the Weather
Environmental conditions significantly impact paint performance. Avoid painting in direct sunlight or on hot surfaces; the heat causes the paint to dry too quickly on the surface while remaining wet underneath.
The ideal temperature range for most paints is between 50-85°F (10 and 29°C). Humidity should be moderate (40-70%). Check weather forecasts before exterior projects and plan accordingly.
For interior projects, maintain consistent temperature and ventilation throughout the drying process.
How to Fix Those Pesky Paint Bubbles
| Process | Description |
|---|---|
| Scrape and Sand | Remove damaged paint with a scraper, then sand the surface smooth using medium-grit sandpaper (120-150 grit) and finish with fine-grit (220 grit)—clean dust with a damp cloth. |
| Fix Underlying Issues | Check for water leaks, humidity, or moisture issues. Repair any leaks, improve ventilation, and seal exterior surfaces. Allow the surfaces to dry completely. |
| Spot Prime | Apply primer to bare spots where paint was removed. Use a primer suitable for the surface and compatible with the topcoat paint. Allow it to dry. |
| Skim Coat | Apply a thin layer of spackling or joint compound for uneven areas. Smooth with a putty knife or drywall taping knife. Once dry, add more coats if needed. |
| Feather Edges | Sand the edges of the repaired area lightly to create a seamless transition between the repaired and existing paint. Wipe away dust before painting. |
| Match Paint Properly | Match the paint color and sheen to the original, using the same paint can if available. If not, get a custom match. Repainting the whole wall may be necessary for consistency. |
| Apply Thin Layers | Apply multiple thin layers of paint rather than one thick coat. Allow proper drying time between layers, and use high-quality tools. Work in sections to maintain a wet edge. |
Conclusion
Fixing paint bubbles isn’t just about creating a smooth surface; it’s about addressing the root causes so they don’t return.
Remember that patience is key. Take time to scrape, sand properly, and prime before repainting. Pay attention to underlying moisture issues that might be causing the bubbles in the first place.
Even if you’re dealing with extensive bubbling, these repair techniques can save you from the cost and hassle of hiring professionals.
With the right tools and a careful approach, you can achieve results that look as good as new.

